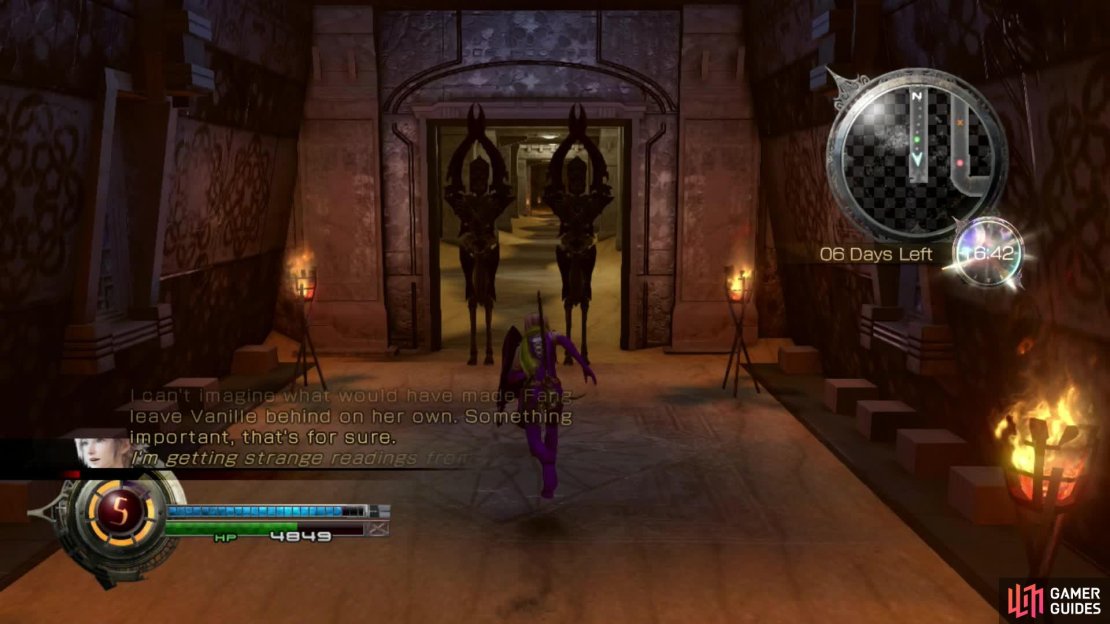
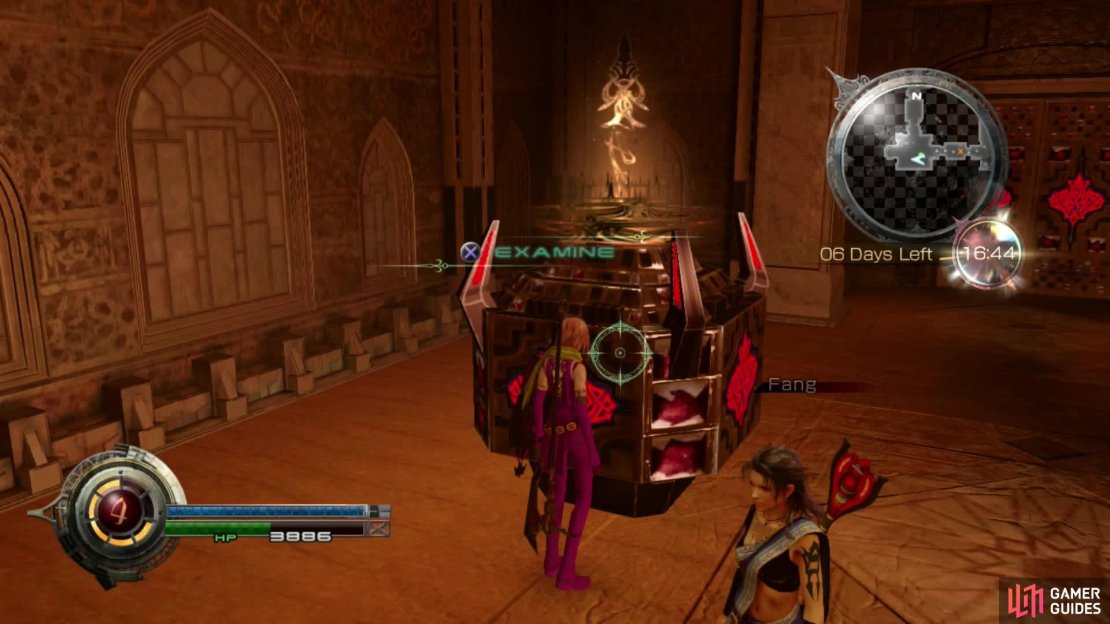
You can now visit the ruins marked out by the waypoint. Go straight there and inside, Fang will tell you why she needs the Clavis and about a mystery door that was found here. Fang is sure there is something good behind it so you need to go and inspect it.
Follow the path until you hit the room with the Cactuar Stone. Touch it to create a teleport point with the other stones out in the desert. You will fight a lot of Goblots in the ruins, so many that you may end up encountering the Last One after a while. Carry on round the left path until you reach the hole in the floor. Grab the Guard’s Cravat and then jump down.
Always pay attention to the door opening and closing times. Examine the murals to have a marker placed on your map.
Fang will give you a tutorial on the timed doors in the temple. These doors open and close on the hour every hour. This isn’t too bad in terms of the main quest because there are enough alternate routes that allow you to complete it regardless of the doors. It becomes more difficult when you want to collect the items. Using Chronostasis can counteract the problem. The best way is to use Chronostasis and collect all the items you can through whichever doors are opened at that point and then wait till the others open and use Chronostasis again so you can collect those.
These ruins are a bit of a maze and with the timed doors making things more tricky, it can be disorientating trying to find your way around. Don’t worry too much for now and focus on getting to the Sacred Gate. Use Chronostasis and go through the open door. These directions are based on the hour being an even hour so only use Chronostasis when it hits an even hour.
In the next room is a stone monument that will tell you whether the nearby door is open or closed. It’s always worth touching these because you can then see on your map which doors are open, allowing you to plot your course better. Carry on around the corridor until you see the skeletons blocking the doorway. Whenever you see these, smash them with your sword because they drop items much like the Lizards in the desert. Sometimes however, you will have to fight a battle with real skeletons.
Always smash the skeleton statues because sometimes they drop items.
The skeletons drop Yellowed Skulls , an item needed in a Canvas of Prayers quest so always collect those. Keep running straight ahead until you get to another timed door. Inside the room is Deprotect Level 2 . The next room also has treasure in the form of Slow Level 2 . Return to where you were and enter the large room. Across to the north is a room with a ladder leading down. Jump down now.
You will be in a large hallway with timed doors leading off to either side. Two will be open, one will be closed. Take the open door on the left making sure Chronostasis is still active on the even hour. At the end of the far room (the one adjacent to the ladder you came down from) is another treasure sphere with Deshell Level 2 inside.
Return to the large hall and go through the other open door and almost immediately you will come upon a Warding Talisman . Guarding the next room is an Earth Eater but don’t try and fight him at the moment! They aren’t easy to defeat at the best of times so just avoid it for now. Return to the hall and run through the doorway straight ahead.
Inside this room you will be introduced to the switch/door process. Of course Lightning is the only one who can work the devices so touch the device to have it unlock the door. You can find these spread around the ruins so if you ever come upon one of these doors, look for a nearby switch to open it.
If you find a switch like this, a door it opens is usually nearby. Likewise if you find a door with red symbols on it, these are the switches to find.
Enter through the newly opened door to the Path of Vicissitude. Fang will get a bit excited in the next room so follow her to see what all the fuss is about. You will arrive in the Chamber of Floods (Sacred Gate) where another Cactuar Stone stands. Touch it to unlock the new teleport location. Go and examine the Sacred Gate.
You find out from Hope that you must find the three murals in three galleries spread around the ruins. It was never going to be that easy, was it? Return to the Chamber of Flame and go through the southern doorway you haven’t been through yet. Surf down to the bottom to reach the Sacred Grove and a Pilgrim’s Crux .
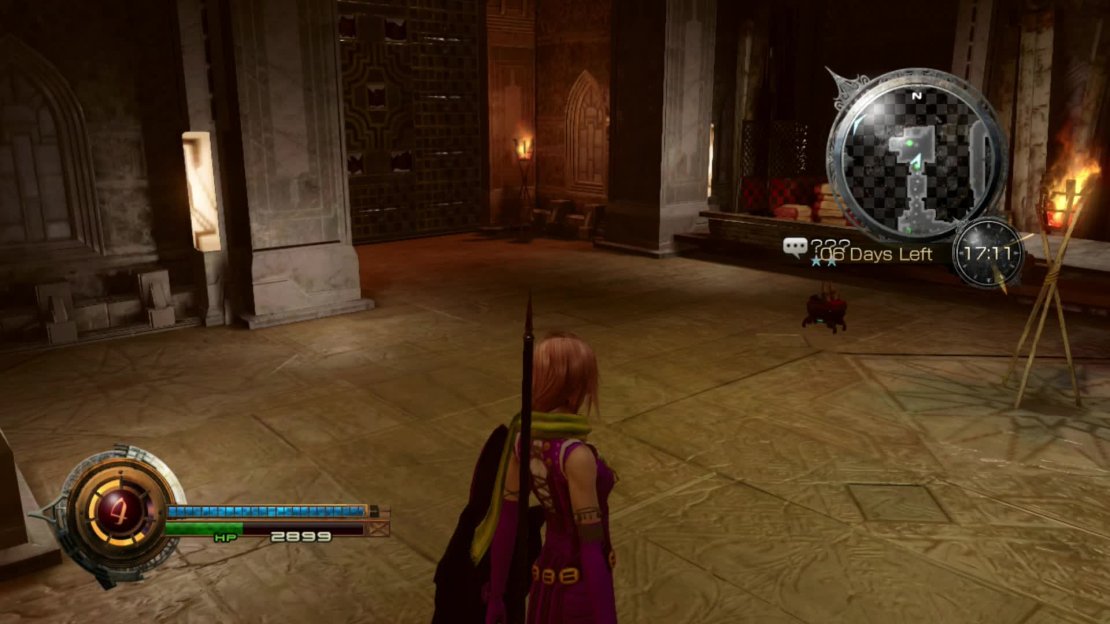
Open the door with the Crux and Lightning’s space magic to discover a handy shortcut out of the ruins. Ignore Hope about exploring the path for now and enter the right-hand room. Head right to find another Pilgrim’s Crux and a little robot at the end who has a side quest for you. This is Bhakti, a robot locked in here for hundreds of years. You can automatically complete “ The Life of a Machine ” as you have already procured enough Oil. Teleport back to Ruffian when you’re done.
Speak to Bhakti in this room to begin his quest.


No Comments