Local Enemy Bestiary
| Enemy Name | Notes |
|---|---|
| Aka Manah | Weakness to Holy, fairly high HP |
| Barbuta | Weakness to Lightning |
| Cephalotus | Weakness to Fire |
| Creeper | None |
| Epitaph | Weakness to Water/Holy, high HP |
| Flan Rojo | Weakness to Ice |
| Hexapod | None |
| Hug Bug | None |
| Lich | Holy + Variable weaknesses |
| Mycotoxin | Weakness to Fire |
| Peregrine | Flying |
| Queen Coeurl | None |
| Watcher-A | None |
| Watcher-R | None |
| Watcher-S | None |
| Zu | Flying, high HP |
When you arrive, speak with the female and choose “ Not at all “ and leave the agency to collect your reward. It will differ upon who the culprit was. The precise details are below; essentially, those wanting 100% need Calli, the Chocobo Eater, or Rikku to be the culprit, with Rikku being optimal. (The Ragnarok has an inherent Spellspring ability, nullifying MP costs regardless of dressphere or action, and HP costs from the Dark Knight’s abilities are nulled as well.)
| Culprit | Items Earned | Rideable Chocobos | Episode Complete? |
|---|---|---|---|
| Rikku | Ragnarok | Yes | Yes |
| Chocobo Eater | None | Yes | Yes |
| Calli | None | No | Yes |
| Rin | Gippal’s Sphere | Yes | No |
| Prophet | None | No | No |
After that, you’ll probably want to go south-to-north along the Highroad as usual to obtain the myriad items in the area. There are a couple of items you can’t obtain normally though. Remember how you needed Chocobos in FFX to get some treasures in Mi’ihen and the Calm Lands? The same is true now! Get a Chocobo and ride to the northern part of the Newroad (southeast of the Mushroom Rock entrance); look around for a Chocobo feather on the ground, stand near it for a couple of seconds, then choose “ Am I ever! “ to leap up to the five Phoenix Downs , then leave the screen and return to the same spot to find a Victor Primoris in the chest again!
There is also an extra dungeon in this area; you must send a Level 5 Chocobo to Mi’ihen, though. Once it returns, you can possibly find the fiend colony bonus dungeon, found near where the Chocobo Eater was fought in Chapter 2, but now in a greenish fog. Whilst in the dungeon, you’ll have to take note that you can find walls to blow up, and it is easy to distinguish which ones to use S-, M-, or L-Bombs on. Destroyable walls are easily noted when Yuna’s skirt begins to flutter around whilst near a wall.
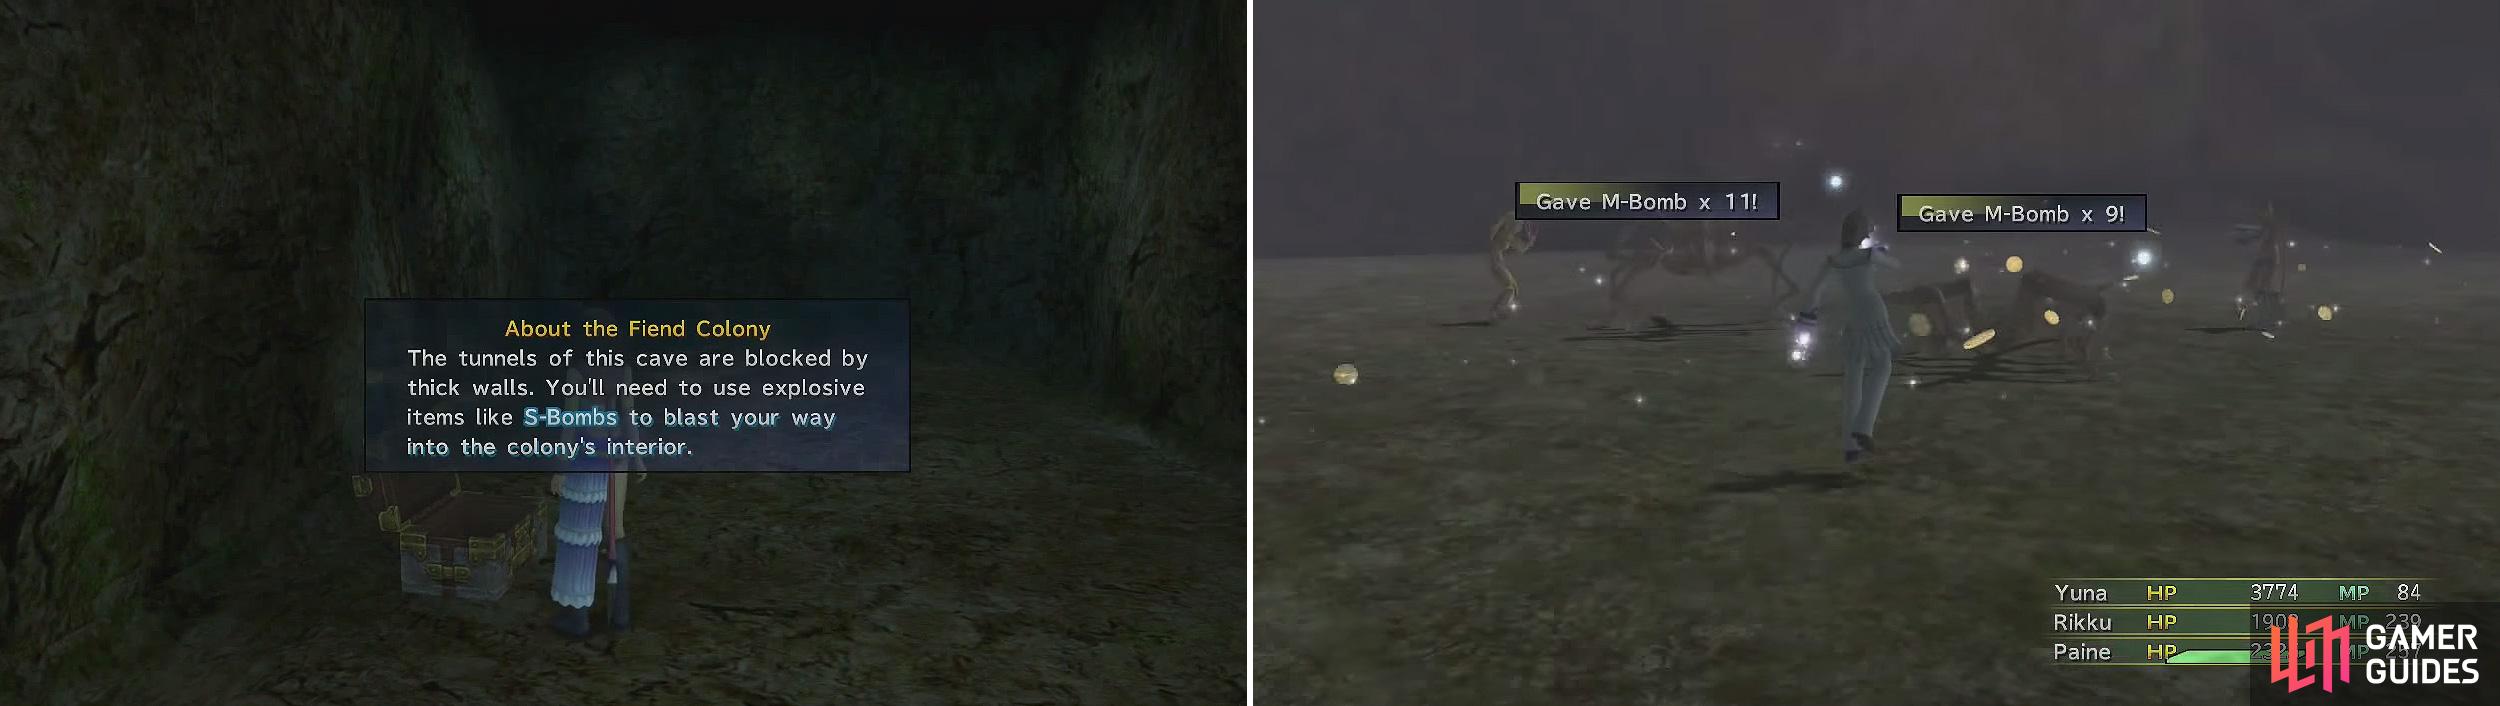
Bombs are needed for blowing up walls inside the colony (left). You can collect more from killing enemies (right).
Within the dungeon, go north to the intersection and there, go east if you want to battle an Epitaph, or north to find a Mega Phoenix . From the first intersection, go west and along to a second where you can go west to a Black Tome , then go north to a small clearing. There, go west/southwest to find another Epitaph to fight, if you want. Otherwise, go northeast. The path will make a sort of square around the wall here; north of it is where you’ll find a White Tome , and south is a trapped chest. Go east from the square and along to the end of the path to find an Elixir , then return to the small clearing from before.
Go north and past the five chests (they’re empty) to soon find another intersection. Go along the path to the east for an Elixir , then go north of the intersection a bit and west to find a trapped chest, if you want a free battle. North from there you’ll soon find two paths off to the west; the southern one is an Epitaph battle, and the northern one yields another Mega Phoenix . Continue north from there and bypass the intersection, using the first path to the west to find an Elixir , then head back to the main path and further north and east to a forced Epitaph battle.
Return to the skipped intersection from before and go east from it. As you reach the portion of the area with the numerous side paths, you should be able to find the Nature’s Lore nearby (it’s a slightly random location). Go along the first of the southbound paths you found for a Sword Tome , then go east to the multiple righthand paths. The northern one has a Turbo Ether at the end, the next one an Epitaph battle, and the next one nothing. Go along the next one (the southernmost righthand path).
This is actually the main path. You’ll soon come to a north/east fork; go east if you want another Epitaph battle. Otherwise, go north and, at the next north/east fork, go east and snatch up the Arcane Tome . Continue north along the main path, gathering the Bushido Tome on the way (another slightly random location), and you’ll eventually reach the boss.
BOSS - King Vermin
| King Vermin | Details (Oversoul) |
|---|---|
| Max HP / Max MP | 39,857 / 872 (41,850 / 872) |
| Elem. Weak / Resis / Immunity / Absorb | None / None / Gravity / Fire (None / None / Gravity / Fire and Holy) |
| EXP / GIL / AP | 5,000 / 3,500 / 15 (7200 / 3800 / 2) |
| Common Steals / Rare Steals | Turbo Ether / None (Turbo Ether x2 / None |
| Common Item Drops / Rare Item Drops | Power Gloves / None (Champion Bit / None) |
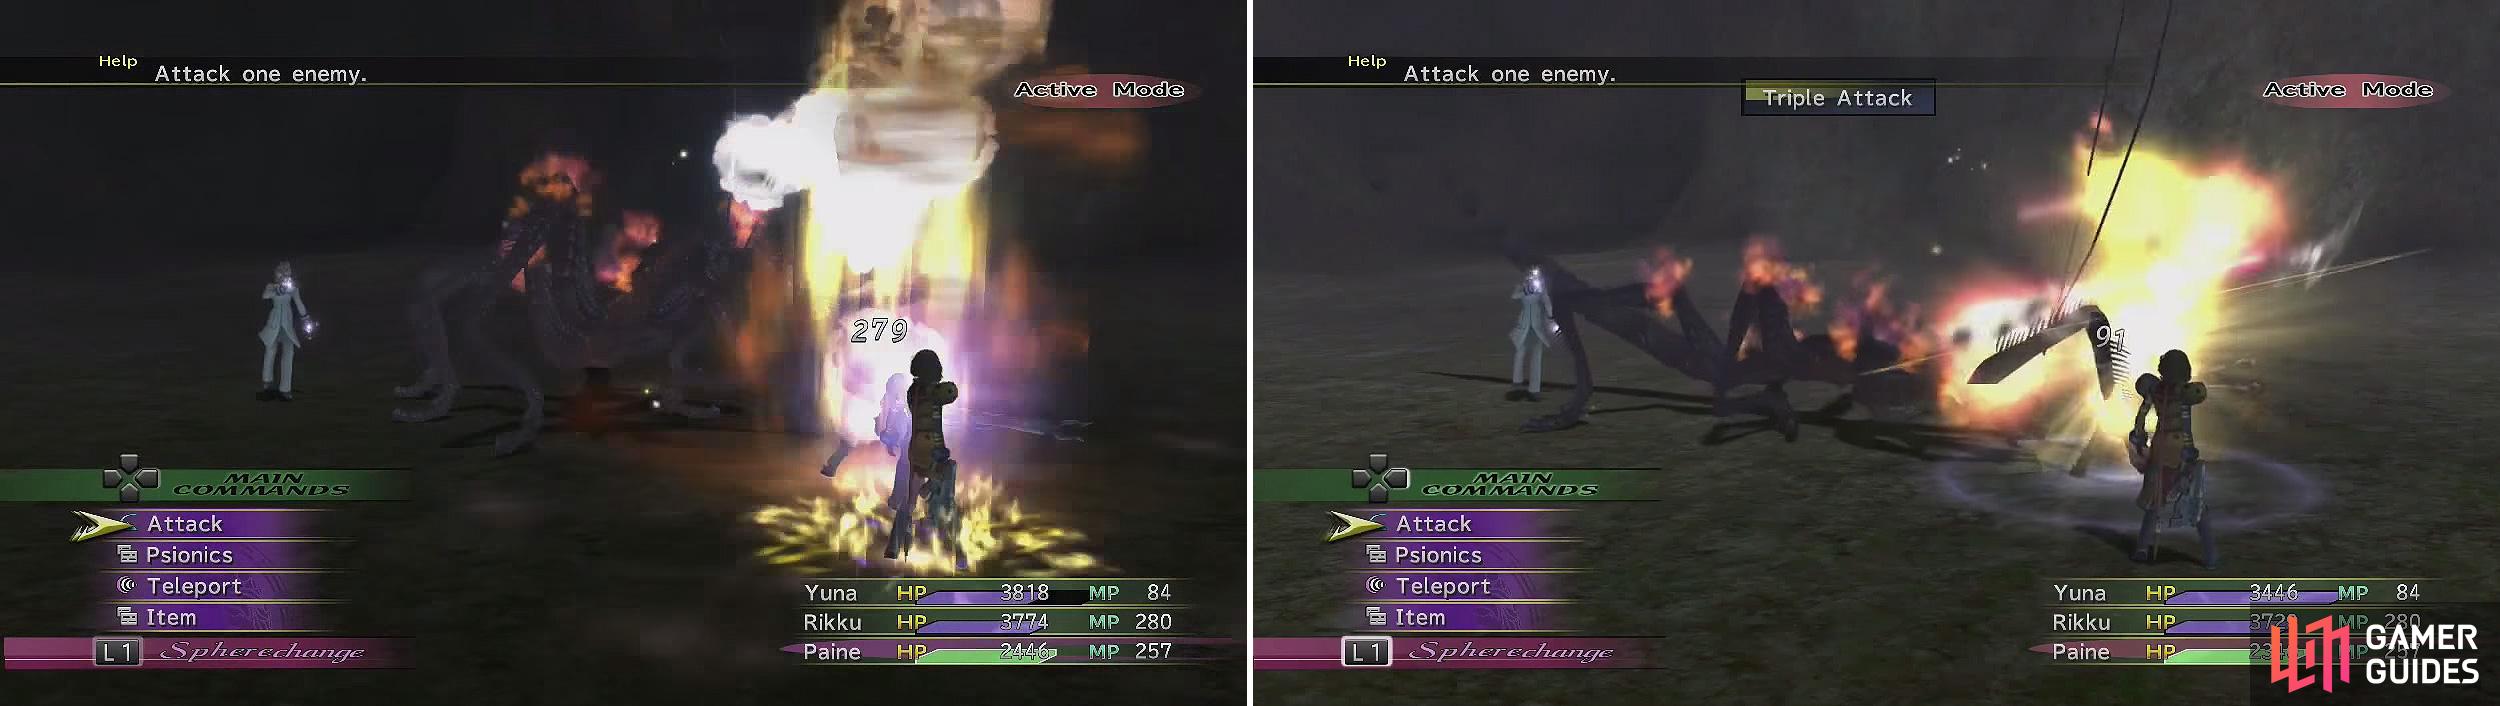
This enemy can be a bit of a pain to deal with as it lasts a while and this guy’s no pushover. You can expect an Attack (also Sleep) and Firaga most of the time. It’s a bit tougher to deal with this boss’s Oversoul, though! You’ll see Demi (fractional damage), Flare (high magical damage), Holy (high 8-hit holy damage), and Triple Attack (three-hit unblockable physical).
It’s clear that you’ll want to come in wielding two things: Ribbon, Shmooth Sailing, or Twist Headbands to nullify Attack’s Sleep side-effect, and NulBlaze Rings (or something stronger) to nullify Firaga. Wall Rings also have their own use in halving all damage but, unless you plan to fight an Oversoul, NulBlaze Rings (as Firaga is used roughly 67% of the time) are preferable.
When you begin the battle, how you start off depends on what you have already. If you don’t have NulBlaze Rings, you’ll want a Gun Mage to open with Mighty Guard or someone throw up Shell, then Protect on everyone. If you have Haste/Hastega, that’s actually pretty decent to use here as well. The NulBlaze Ring and Sleep nullification alone basically turn the regular form of the battle into a monotonous grind with a little healing here and there; nothing specific is needed for an offense, though Power/Armor/Magic/Mental Break do work like always.
As for the Oversoul form? That’s a bit different. Here, the NulBlaze Ring is pointless, due to what you’ll be using. Open with the following: throw up Mighty Guard, then Reflect on your party. This will nullify much of King Vermin’s offense by bouncing it back at him. Granted, he’ll absorb the high-power Firaga and Holy, which means you should throw up Shell on him, especially if your offense is intended to be physical, as at least it’ll mess with his healing.
From there, healing can be a bit difficult. A Ragnarok-wielding Dark Knight does nicely for an offense since they won’t consume HP, making it easier for a support unit (whoever that may be) to heal everyone with Hi-Potions rather than forcing a need for Mega-Potions due to high HP consumption on two. Do what you will with the other person. In essence, Reflect and Shell really affect King Vermin’s offense, making things a fair bit easier on you.
King Vermin should be easy for you if you are sufficiently levelled, even in Oversoul form. His attacks are quite weak with the right setup.
After the battle, the Font of Power Garment Grid is yours!
No Comments