Local Enemy Bestiary
| Enemy Name | Notes |
|---|---|
| Flam Amarillo | Weakness to Water |
| Flan Blanco | Weakness to Fire |
| Kukulcan | Weakness to Ice, very high HP at this stage. |
| Skink | Weakness to Ice |
| Vertigo | None |
| YAC-13 | Weakness to Lightning |
| YAU-28 | None |
| Yevon Defender | None |
| Yevon Guard | None |
| YSLS-99 | Strong, high HP. |
| YSLS-Zero | None |
Take note that, of course, whoever you gave the sphere to at the start of the Chapter will end up influencing a bit on who you battle and when. There is nothing major to be concerned about, though. It’s mostly just the random stuff. After you arrive, you’ll see a Save Sphere and Barkeep (the Celsius’s shopkeep, remember?) nearby. Peruse them both, then go along the path, through the waves of soldiers as applicable. Go through the door at the north side into the HQ, then go east an area. Climb the stone here and a wall will fall elsewhere; go west two areas to that place and climb into the hole on the wall and drop down. Examine the lowest of the pedestals and you’ll make a lift activate in the entrance area to the east. Go there and use it to head to the trials.
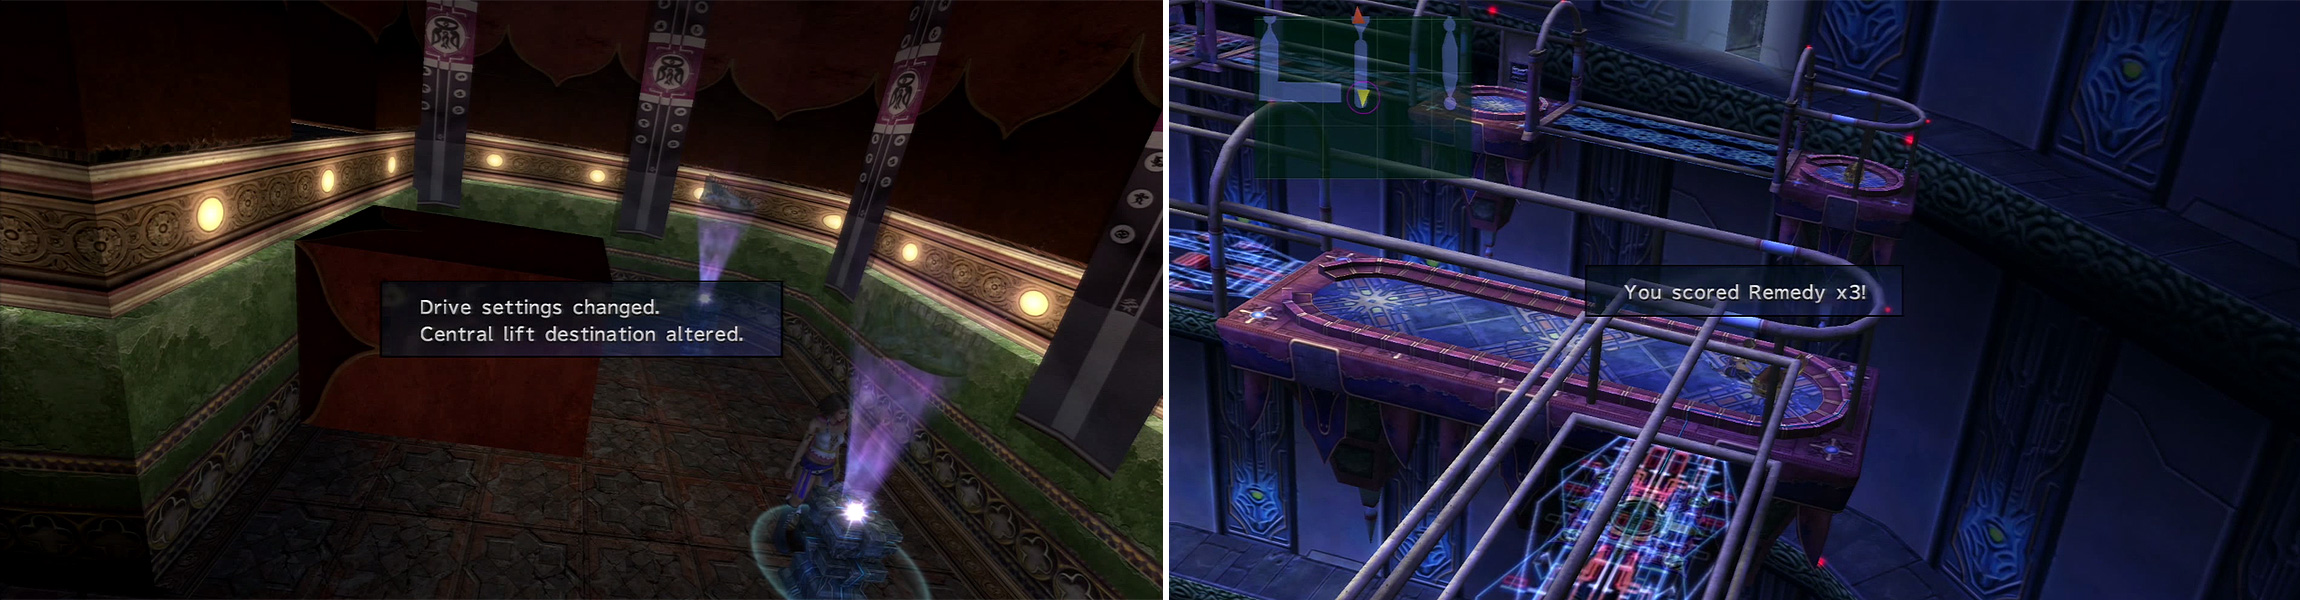
When you gain control, go along the only path before you for the moment. After, go further along to the intersection; go east there and get the three Remedies and three Remedies from both chests. Return to the intersection and go west to another, at which you should go south to find 3,000 Gil . Return to the intersection and go north, then west at the next to find a Hi-Potion . Return to the last intersection and go east from it to find eight Potions and four Phoenix Downs as you make your way to a lift to the next area.
Here, climb up the stairs and continue along into the antechamber. You’ll find a Chocobo Feather in a chest here as well as a Save Sphere. Save here again, and the same goes for shopping with Barkeep. Continue into the next area; there, go east for a scene, then examine the pedestal on this ledge for details about the security system. In essence, the lower sanctum of the temple is blocked because of it, and thus, you need to disable it by triggering the blue-lit towers. (There are also red-lit ones that cause battles.)
Talk to Leblanc nearby, then follow her directions: walk north to the end of the ledge and slide on down the chain. Defeat the robots nearby and you’ll be near one of the six towers. We’ll name this Tower 1, and going clockwise you’ll find Towers 2, 3, 4, 5, and 6. Use Tower 1 and defeat the robot that battles you; now go to Tower 5 and repeat, and the same with Tower 3. Be sure to heal well ahead of time, though, since you get a boss after the third tower.
BOSS - Precepts Guard
| Precepts Guard | Details |
|---|---|
| Max HP / Max MP | 3,680 / 9,999 |
| Elem. Weak / Resis / Immunity / Absorb | Holy / None / Gravity / None |
| EXP / GIL / AP | 700 / 800 / 1 |
| Common Steals / Rare Steals | Mana Tablet / None |
| Common Item Drops / Rare Item Drops | Regen Bangle / None |
| Precepts Guard (Oversouled) | Details |
|---|---|
| Max HP / Max MP | 7,864 HP / 9,999 MP |
| Elem. Weak / Resis / Immunity / Absorb | Holy / None / Gravity / None |
| EXP / GIL / AP | 1,500 / 1,200 / 2 |
| Common Steals / Rare Steals | Recovery Bracer / None |
| Common Item Drops / Rare Item Drops | Mana Tonic x3 / None |
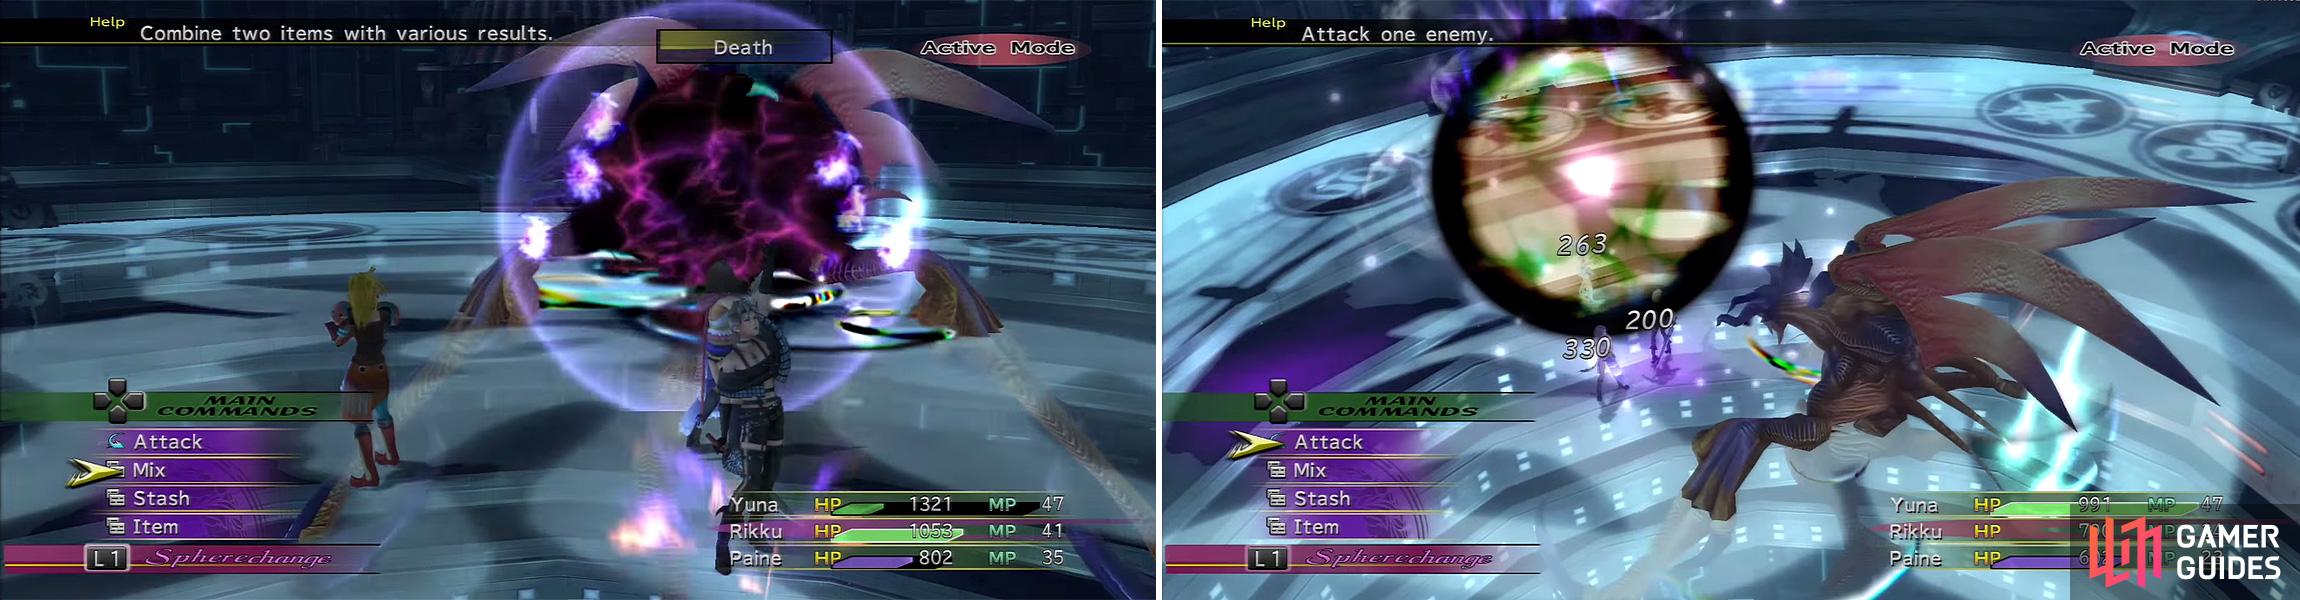
The Precepts Guard can be pretty difficult to contend with. He has quite a few higher-level magic spells in his regular form. These mostly consist of Drain, Osmose, Demi (removes 25% of current HP), Bio (Poisons), Slow, and Death. The Oversouled form is a bit more interesting: it can use an Attack and Anti-Dressphere (damage + Itchy), mostly. You’ll also see it use Magic Catalyst to boost its Magic as time goes on, which strengthens its Fire/Blizzard/Water/Thunder spells against everyone.
As far as we can tell, it always opens the battle with Death, so quickly revive the person who died. Throw up Shell if you’re fighting the regular form, and Shell and Protect for the Oversouled form, then quickly cast Armor and Mental Breaks, as well as Magic Break, which is only effective on the regular form.
From there, you need to simply keep healing and reviving every turn while maintaining an offense. Using the Reflect tactic should work interestingly enough on its Oversoul form since it powers itself up, only to have those spells bounced back. It’s pretty simple, either way.
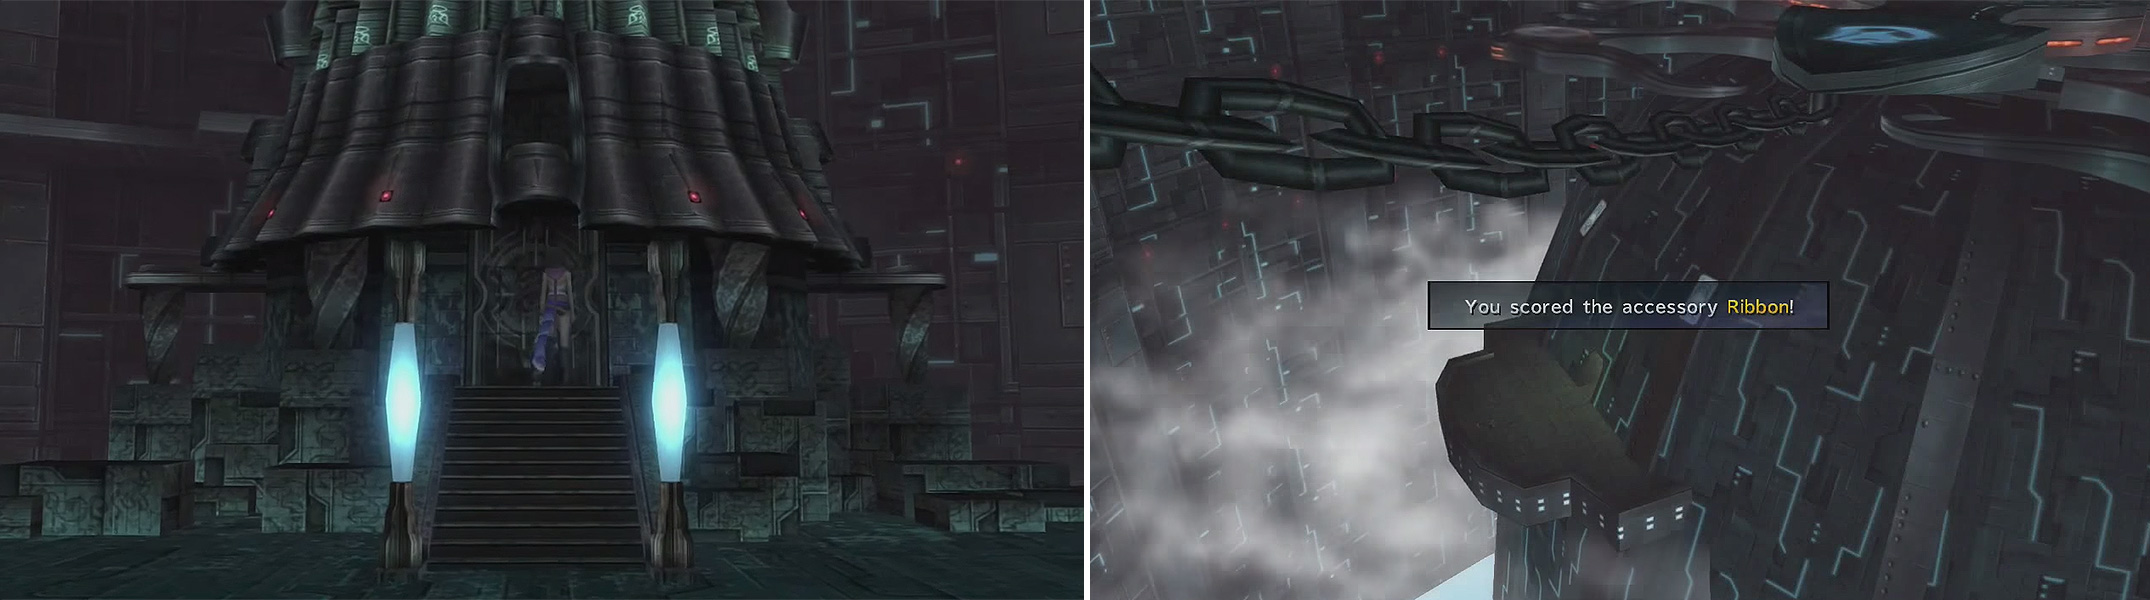
After the battle, the lower sanctum can be accessed. Don’t go down, yet, though - if you finish up everything here, you can get a Ribbon .
Go to Tower 2 (going clockwise from the start still, Tower 1 being where you arrived in case you forgot) and kill another robot. Now head to Tower 1 and you’ll have to fight the Precepts Guard no less than four times. Go along to Tower 6 now, then Tower 1 for two more Precepts Guard battles, then to Tower 4 for another boss.
BOSS - Georapella
| Boss - Georapella | Details |
|---|---|
| Max HP / Max MP | 4,420 HP / 9,999 |
| Elem. Weak / Resis / Immunity / Absorb | Holy / None / Gravity / None |
| EXP / GIL / AP | 800 / 1,000 / 1 |
| Common Steals / Rare Steals | Water Gem / None |
| Common Item Drops / Rare Item Drops | NulTide Ring / None |
| Boss - Georapella (Oversouled) | Details |
|---|---|
| Max HP / Max MP | 6,641 / 9,999 |
| Elem. Weak / Resis / Immunity / Absorb | Holy / None / Gravity / None |
| EXP / GIL / AP | 1,600 / 1,500 / 2 |
| Common Steals / Rare Steals | Short Circuit / None |
| Common Item Drops / Rare Item Drops | Water Gem x3 - x4 / None |
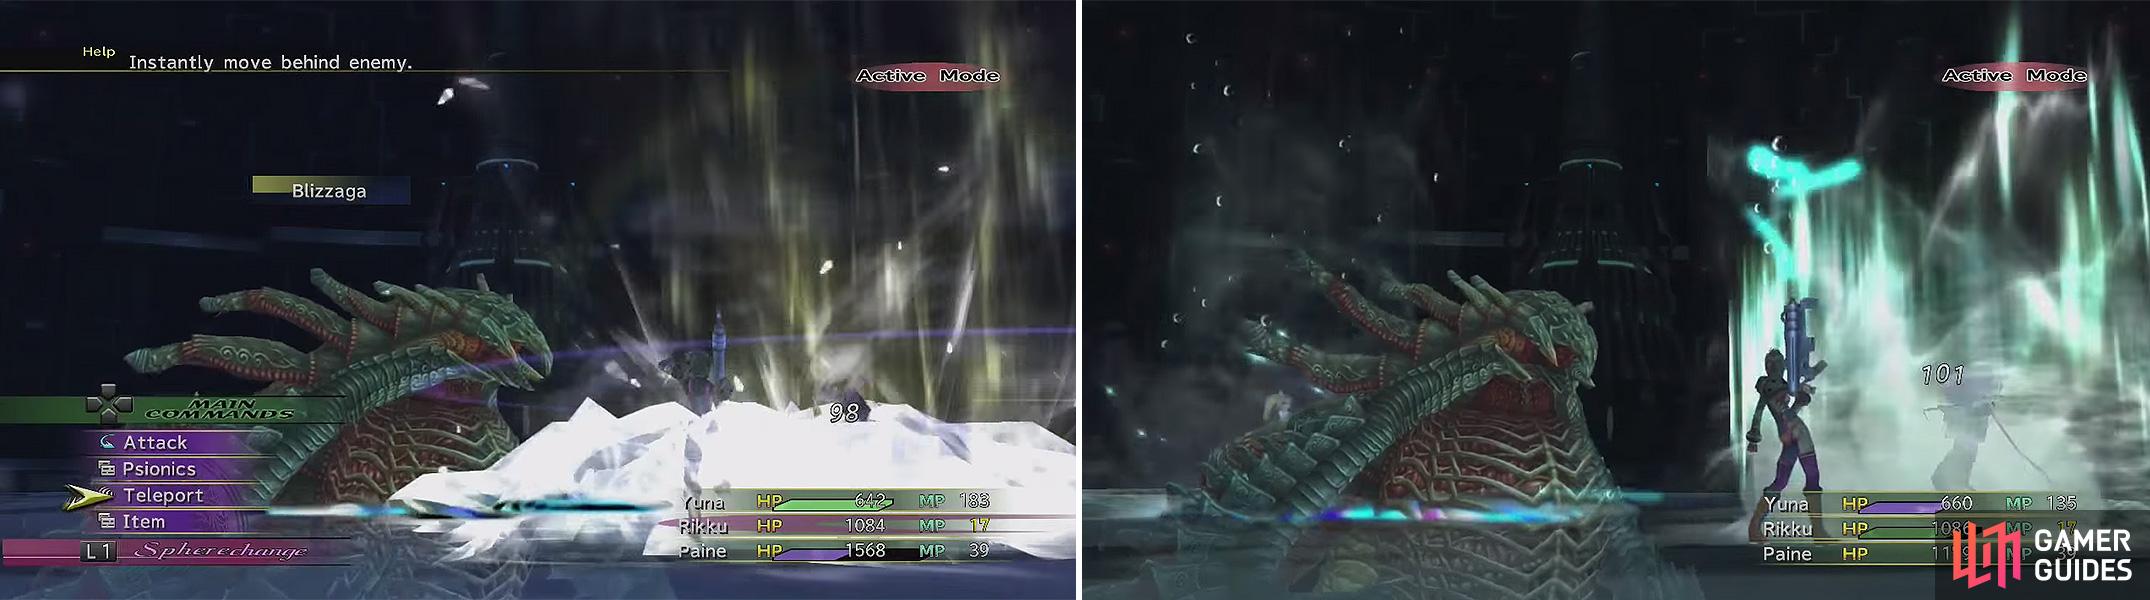
This boss is pretty nasty to deal with. It will likely be the first thing you’ve seen thus far to use Firaga, Thundaga, Blizzaga, and Waterga, and each will hit everyone. It will use these in both forms as well. In its regular form, it also has Osmose, but in Oversoul, it can use Power Catalyst and an Attack; Power Catalyst boosts Strength over time, making its Attack very lethal over the course of the battle.
If you’re fighting the regular form, simply throw up Reflect on everyone and sit back to watch the carnage. The “-ga” spells and Osmose are Reflectable, meaning you won’t have to do anything.
For the Oversoul, you’ll have more trouble. Reflect is still a nice idea since you’ll still be seeing those “-ga” spells 80% of the time, but it’s best to wait for that until you’ve throw up Protect (Power Catalyst + Attack). You’ll also want to hit it with Magic Break (mostly if you can’t use Reflect, which means you should throw up Shell to quarter the damage). That’s about it. A lot of the time, you’ll be Reflecting spells it casts, but keep Pray and Hi-Potions flying around to keep HP topped up.
After the battle, Georapella will put out the fifth plate. Go to Tower 5 and kill it three more times and use the plates you’ve been revealing to find a Ribbon in the chest there. Return to the six-tower platform; behind the fifth one, you can find a chain to a 500 Gil chest, and the same with Tower 4 to find a Glass Buckle in a chest after a battle. Tower 2 has another right and a Pearl Necklace behind it.
Finally, go behind the third plate you revealed to the Labyrinth in the temple. Go along the linear path (not much of a labyrinth) here. Drop down the ledges when you reach them, then climb two more to a four-Ether chest. Go down more ledges and north, then climb some more, then jump to the next ledge. Open the chest as you land for four Remedies , then go along the path to the intersection.
Head east here and, at the large gap, stand on the middle pillar and a lift will appear. Use it to cross the gap; grab the chest here for the Downtrodden Garment Grid , then backtrack to the intersection earlier in the Labyrinth. There, go west and climb onto the right pillar there. Then climb the pillar on the left that rose up and go along to the the next area. Open the chest to the northwest where you’ll find five Phoenix Downs within. Approach Ormi and Logos, also nearby, and then go southwest and off the ledge. Here, you’ll find a switch plate; step on it and the machine will stop, then step on it again to restart it. Keep an eye on the pistons; when one of them is aligned with Ormi and Logos such that the top is just above their level, like a stair, stop the machine.
Climb the piston that you kept your eye on and use the ramp. In this area, you’ll need to press Square to tell Rikku how to operate the platform-pistons - keep in mind that you can only do so in one of the small alcoves in the wall. Use Yuna to jump towards one of those alcoves and press Square; when the platforms move, keep an eye on the one that would be the back-left one. When it rises as high as possible while the one to its right is about halfway up, press Square again to stop them. Jump onto the back-right piston, then to the rear-left one, then get on the ledge in the back wall to find a Bloodlust .
From here, press Square again so you can further operate the platform-pistons. Again, you’ll want the back-left one to be as high as possible, but the back-right one to be as low as possible. Get to the back-right platform again, then jump on the ledge and go through the door to the next area to find the Wring accessory. Return to the piston-platform area and press Square; when either of the back platforms is as low as possible, stop them and get on it. Get to the top of the front platform and jump down and go west to the next portion of the labyrinth.
Here, go towards the wall. After it collapses, you’ll see three lifts ahead. Get on the one to the left and head to the upper level; there climb up the to the final lift here to reach a Hi-Potion . Go south from there to fall down, then use the northern lift to go to the switch. Climb it and two more pillars will rise somewhere else. Go down towards the start and use the rightmost of the lifts to go up, then use the lift on the left down, then go north and use the lift to reach another switch. Climb onto it and you will reach the Dark Knight Dressphere in a moment. Ride back down and use the left lift, then the top lift. Use the pillars to grab the Dark Knight Dressphere , finally!
Save with the Save Sphere, then use the platforms to the east to cross the gap and start up another boss fight.
BOSS - Baralai
| Baralai | Details |
|---|---|
| Max HP / Max MP | 3,380 HP / 540 MP |
| Elem. Weak / Resis / Immunity / Absorb | None / None / Gravity / None |
| EXP / GIL / AP | 1,000 / 1,300 / 10 |
| Common Steals / Rare Steals | Charm Bangle / None |
| Common Item Drops / Rare Item Drops | Pearl Necklace / None |
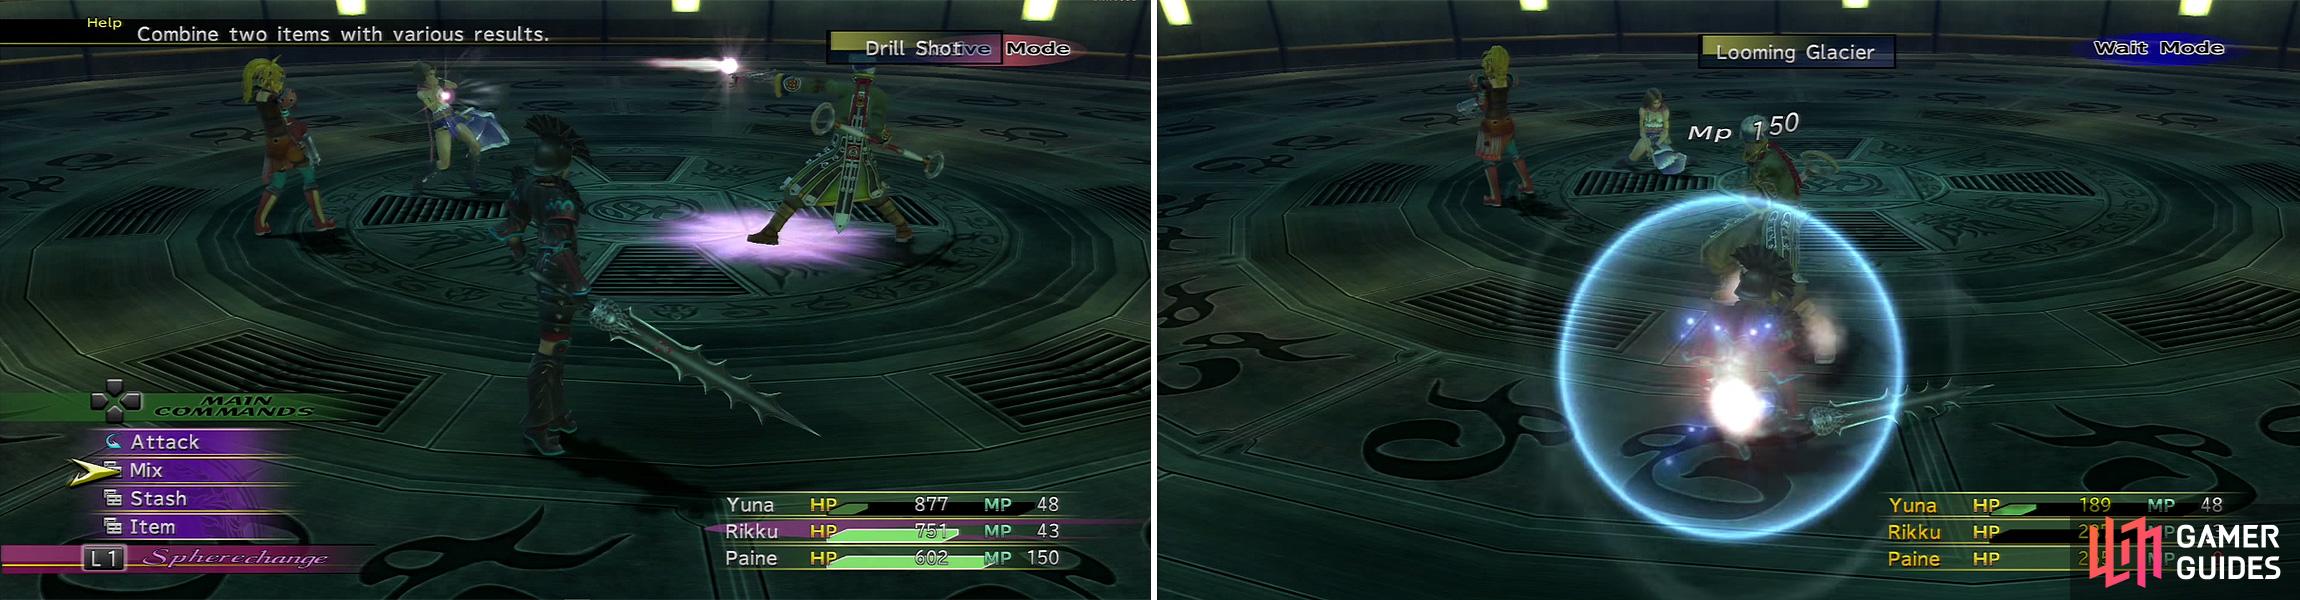
Baralai has a pretty decent offense. He can, of course, use an Attack, which hits for about 200 damage, as do most of his attacks. There’s also a few magical attacks: Absorb (basically Drain and Osmose together), Osmose, and Demi (25% current HP). Physically, he can use Glint against several characters, Drill Shot (damages for 3/4 of your maximum HP), and Looming Glacier (eliminates your MP and causes Stop). Drill Shot is used only as a counterattack, and that’s with every ten times his HP changes (for example, ten Attacks yields a Drill Shot). Drill Shot would be great to get for your Gun Mages to learn, so you may want to start the fight by smacking Baralai with your magical Mages’ Attacks. (If need be, you can heal him: it’ll still count as an HP change.)
Firstly, you’ll want to open with Protect and Shell, and probably Regen, too, to help keep your HP up whenever your MP is blasted away. Other than that, you’ll want this same support unit throwing up Cura/Curaga every turn to prevent Drill Shot from killing you (it being the main threat here) and using Esuna or Remedies to deal with Looming Glacier’s Stop side-effect.
As for offense, we really favored the Dark Knight and their Darkness skill: while you will lose 1/8 of your HP in this way, you’ll do a fair bit of damage, especially given that it ignores Defense. Since it’s a starting skill for that job, it’s pretty much the method we recommend since you’re healing every turn already.
Backtrack to the Save Sphere and use before you continue on to the final area of the dungeon where you’ll find a familiar face.
BOSS - Dark Bahamut
| Dark Bahamut | Details |
|---|---|
| Max HP / Max MP | 8,400 / 9,999 |
| Elem. Weak / Resis / Immunity / Absorb | Holy / None / Gravity / None |
| EXP / GIL / AP | 1,300 / 1,000 / 15 |
| Common Steals / Rare Steals | Mute Shock / None |
| Common Item Drops / Rare Item Drops | Gris-Gris Bag / None |
FFX vets will know exactly how this is going to go. Almost. Dark Bahamut is, even two years later, still limited to a basic Attack (100 damage), Impulse (removes 3/8 of your current HP), Curse (causes Curse), and Mega Flare (500-1,000 magic damage to all). Of these moves, you’ll see a constant attack pattern - Curse/Attack, Attack, Attack, Impulse, Impulse, five-turn wait, and Mega Flare.
When the fight opens, quickly put up Protect, and Shell as well since you’ll probably see Mega Flare at least once and you can’t send in Aeon cannon fodder anymore. After that, simply keep your support unit healing for a few turns; after Dark Bahamut’s third turn, don’t worry for a bit since you can’t be killed by Impulse. On the fourth or fifth turn of the countdown, though, be sure to slap up a Cura/Curaga to heal your party before Mega-Flare is unleashed. But, otherwise, you can really go all-out on him with pretty much anything you want.

And, with that, Chapter 2 is complete!
No Comments