Local Enemy Bestiary
| Enemy Name | Notes |
|---|---|
| Adamantoise | None |
| Amorphous Gel | Variable weaknesses |
| Armet | None |
| Balivarha | None |
| Blue Elemental | Weakness to Lightning |
| Chocobo | None |
| Daeva | Weakness to Holy |
| Flan Blanco | Weakness to Fire |
| Flan Rojo | Weakness to Ice |
| Grim Gaze | None |
| Haunt | Holy + Variable weaknesses |
| Leucophylla | Weakness to Fire |
| Enemy Name | Notes |
|---|---|
| Pairika | Weakness to Fire/Holy |
| Peregine | None |
| Protean Gel | Variable weaknesses |
| Queen Coeurl | None |
| Rhyos | None |
| Skink | Weakness to Ice |
| Tomb | Weakness to Water/Holy |
| Vespa | Weakness to Ice |
| Watcher-A | None |
| Watcher-R | None |
| Watcher-S | None |
| Wild Wolf | None |
| Zurvan | Weakness to Fire |
When you arrive, begin at Rin’s travel agency. West of it are the Spring Shoes and to the east is a Mega-Phoenix . Speaking of the Agency itself, it’s offering a few accessories; your offensive units may find the Power Wrist or the Tarot Card rather useful (STR and MAG +20, respectively) To the south/southeast of there (east of the Macalania entrance) are three Ethers . In the Bridge area northeast of the main Calm Lands, you’ll find a Hi-Potion , with two Mega-Phoenixes easily found in the gorge below.
Now visit the area to the east of the central Calm Lands, where the Monster Arena was in FFX (if you remember where that was). If you spoke with Clasko in Chapters 1 or 2, you’ll find him outside. You can then attempt the mission here if you didn’t do so in Chapter 2, since it’s still available; see Chapter 2 - Calm Lands for more on that.
Next head to the Cavern of the Stolen Fayth. FFX players should know where this is. If not, head to the Gorge area - you just found two Mega-Phoenixes there; it’s northeast of the central Calm Lands, then along the path below the Bridge to the cave. Opt to help the tourists in the cave; there are 15 in all down there.
Go north and into the first room. Go east and along the path to the intersection, at which point you should head east for one of the people (1/15) . Return to the intersection and go north to another room and another person (2/15) . Go north from there to another intersection and a third person (3/15) . Go west and keep an eye out for the fourth person (4/15) that will be running nearby; mash X as they pass to get ‘em. (He’ll return to the room where the second person was if you missed him.) With four people in your care, return to the entrance and clear the luggage for Energy Cores 1 and 2.
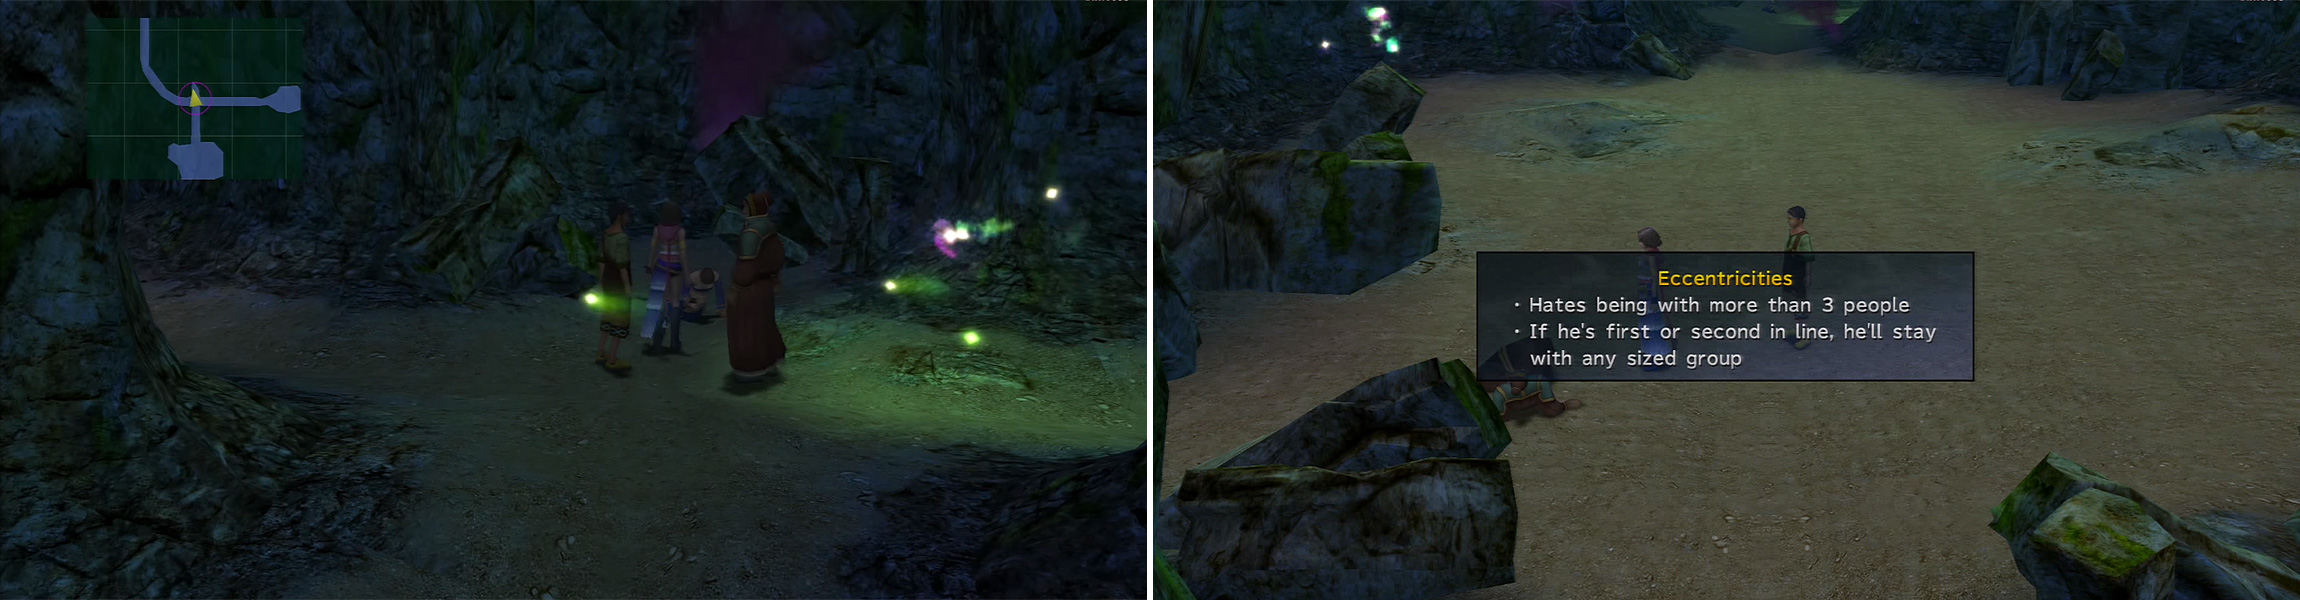
Each person has their eccentricities (left) so you should find them in the order suggested here.
Now, backtrack along to the second intersection you were at. Go east from there into another room where you’ll find three people (7/15) and a White Ring . Return to the intersection and go west to another intersection; go north there to find two people (9/15) and a Blue Ring , and east from the same intersection to find one more person (10/15) . Return to the Cavern’s entrance and clear some more luggage for Energy Cores 3 and 4 .
Remember that intersection you were perusing most recently? Go west from it to a fourth intersection, then west again. Behind the wall there, you can find another person (11/15) ; you may have to just randomly mash X as you go. Go back to the intersection after grabbing them and head east into the clearing. You’ll find two kids on the north side of the room (13/15) . Return to the entrance and clear up some more luggage, netting you Energy Cores 5 and 6 .
At that point, leave the cave. Speak with one of the guys gazing at the cavern and you’ll get Energy Core 7 from him. Return inside the cavern and use the teleporter in the entrance room to go along to the room where the kids were. Face east and step on the teleporter to go to another room. Get the Lightning Gleam from the chest here, and also rescue the person nearby (14/15) . Return to the entrance and he’ll give you Energy Core 8 . Now, once more, go back to the room where those kids were and use the teleporter in that room whilst facing west. You’ll find the final person in the room beyond (15/15) ; you’ll also be able to get a Wall Ring from the nearby chest.
After this, you should find a Save Sphere somewhere. When you’ve saved and healed, go back, once more, to the room where the kids were. Face north there and use the teleporter to find an old friend… if you had the deep pockets that is.
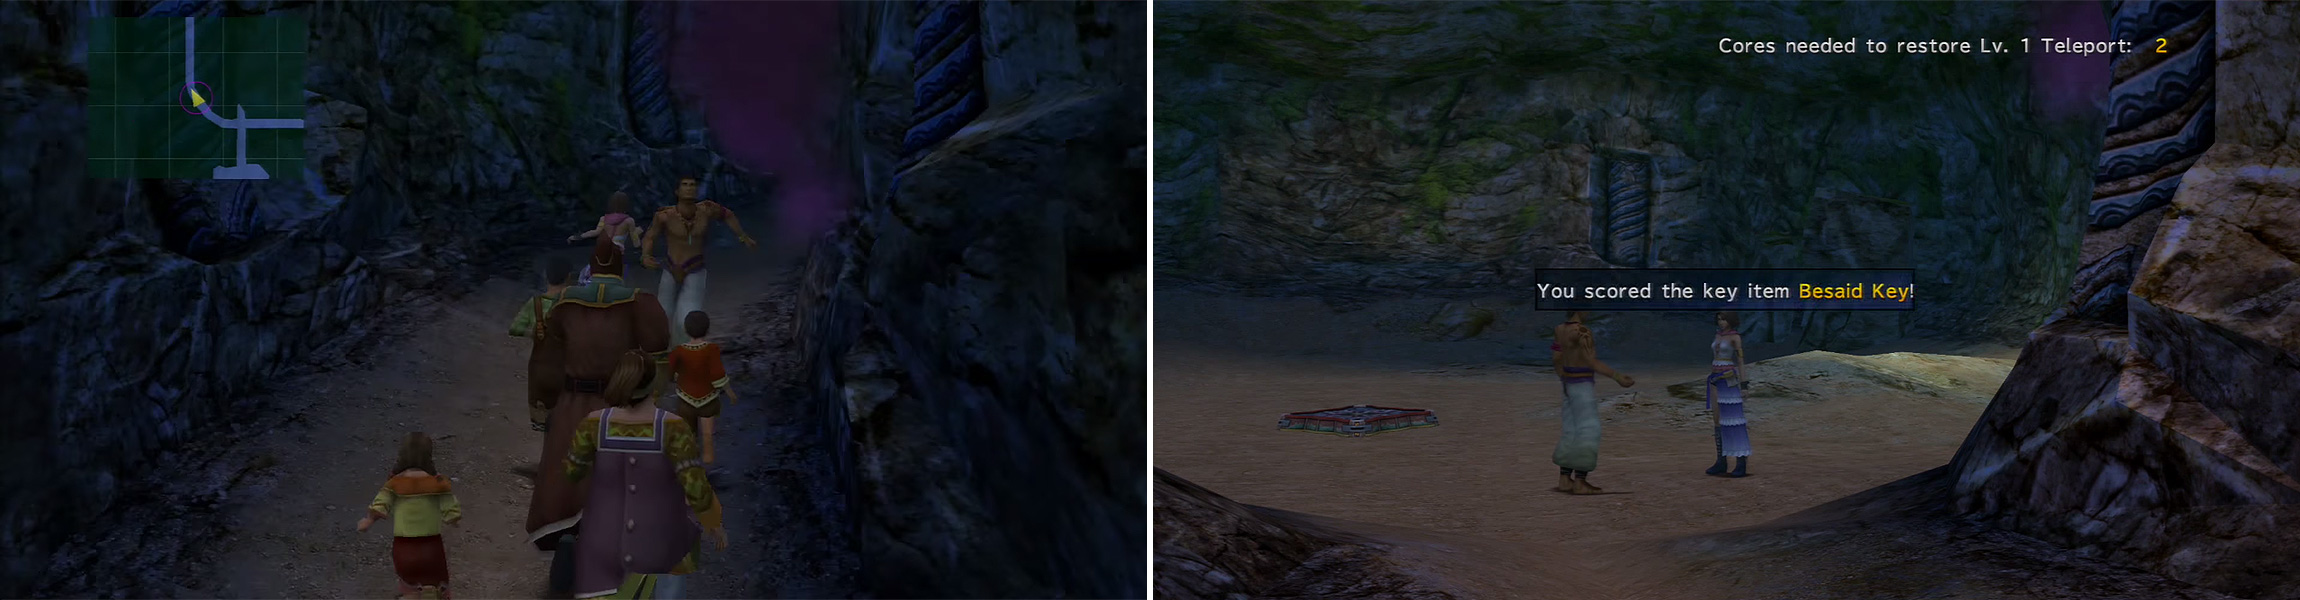
This man rushes past you (left) so you must be quick to catch him. When you return to the entrance, one of the group will give you the Besaid Key (right).
BOSS - Dark Yojimbo
| Dark Yojimbo | Details |
|---|---|
| Max HP / Max MP | 22,000 / 9,999 |
| Elem. Weak / Resis / Immunity / Absorb | None / None / Gravity / None |
| EXP / GIL / AP | 2,000 / 1,500 / 15 |
| Common Steals / Rare Steals | Power Wrist / None |
| Common Item Drops / Rare Item Drops | Recovery Bracer / None |
Dark Yojimbo’s offense is one you ought to be able to predict if you fought him in FFX in any form. If not, then we may as well get on explaining it. You’ll see Daigoro (physical damage), Kozuka (current MP -25%; Poisons target), Wakizashi (hits one or everyone), and Zanmato (reduces HP and MP of all to 1). Obviously, he’s a bit simpler than his FFX counterpart in that you don’t need to pay him a billion gil to inflict Zanmato.
Opening the fight with Protect on everyone is a good idea, or Mighty Guard to make things quicker. Haste will also be nice to help counteract the huge damage Zanmato may do: after a Zanmato, an all-hitting Wakizashi will kill you unless you throw up Curaga or a Mega-Potion beforehand, so the extra Agility Haste provides will be a huge boon.
Beyond that, there’s not much to say, since you can’t affect his status (in a useful way). Heal Poison when it’s inflicted and throw your best attacks at it. A physical-oriented offense will do best here since Kozuka is used pretty often in our experience and 25% is a huge chunk to chop off in regards to magic teams. Dark Knights work especially well if you have a good White Mage on the team.
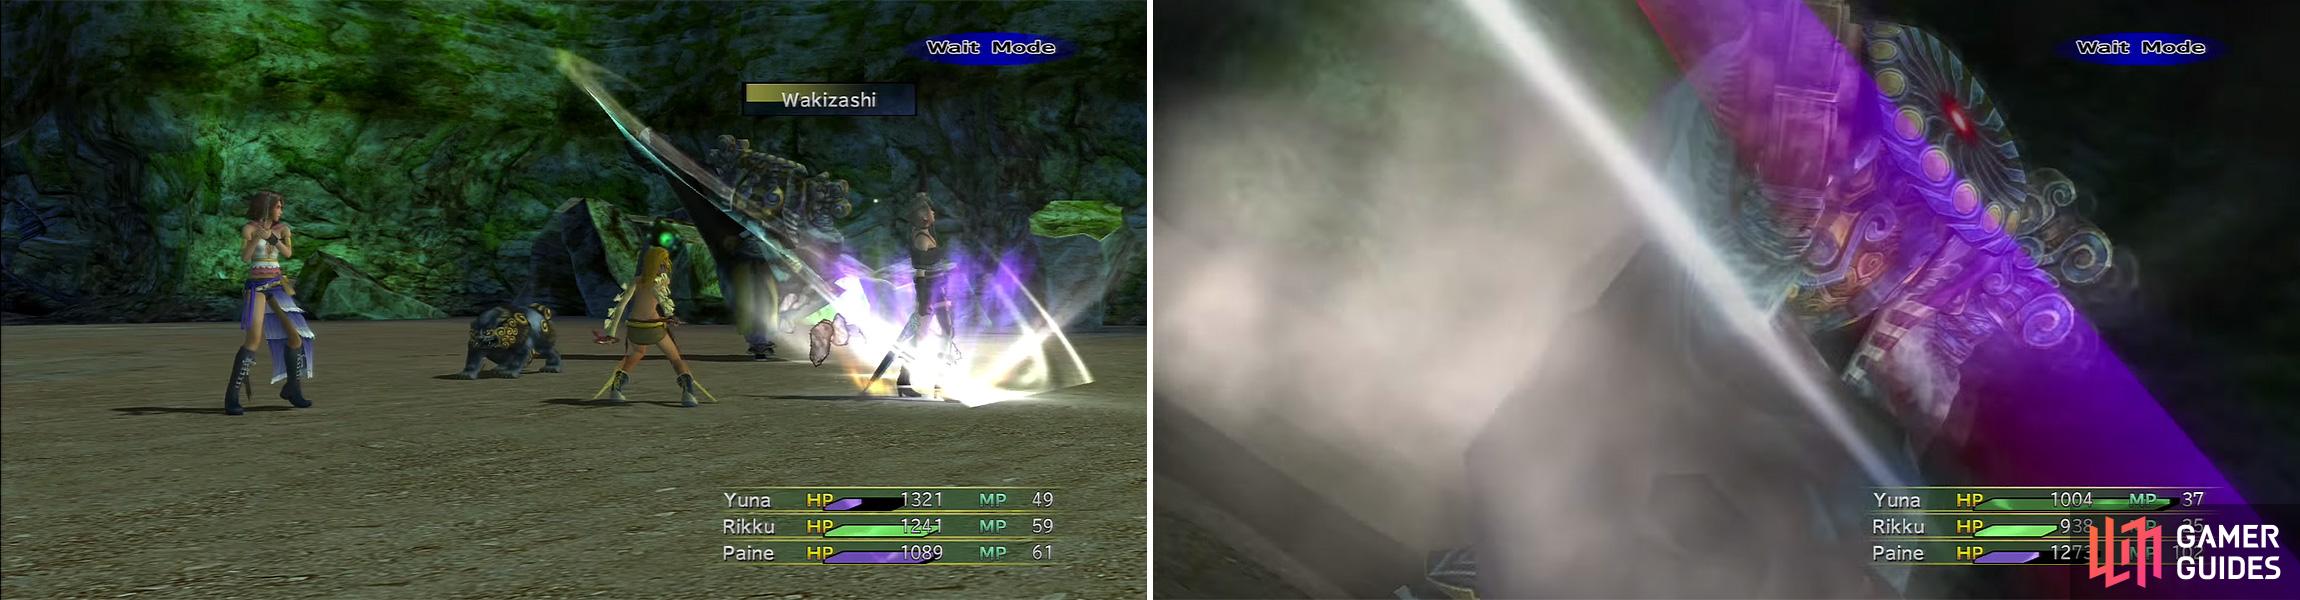
Dark Yojimbo uses his normal attacks from FFX, notably Zanmato (right).
After defeating Dark Yojimbo, you’ll complete the mission (if everyone was saved) and get the Tetra Master Garment Grid . Also revisit the room where you fought Dark Yojimbo to get a Star Bracer . Beyond this lengthy mission and the treasures, there’s not much unless you want to continue doing things for those PR missions. Also revisit the travel agency in the middle of the Calm Lands to get a CommSphere installed, and the same for the upper floor of the Chocobo Ranch.
No Comments