Local Enemy Bestiary
| Enemy Name | Notes |
|---|---|
| Bully Cap | Weakness to Fire |
| Divebeak | Flying |
| Flan Palido | Weakness to Fire |
| Fly Eye | Flying |
| Iron Giant | None |
| Purpurea | Fire |
| Quadricorn | None |
| Shantak | None |
| Wild Wolf | None |
We’ll begin with the same stuff as in Chapter 1 - basically, start at the south end and run northward along the linear path, picking up the treasures from the seven chests on the way. Bypass the Agency for the moment, since you will basically forfeit 100% completion if you go inside. Continue along the remainder of the main Highroad and plunder more chests along the way. You’ll also be able to engage in the usual PR/bridal quest stuff from the Calm Lands if you wish.
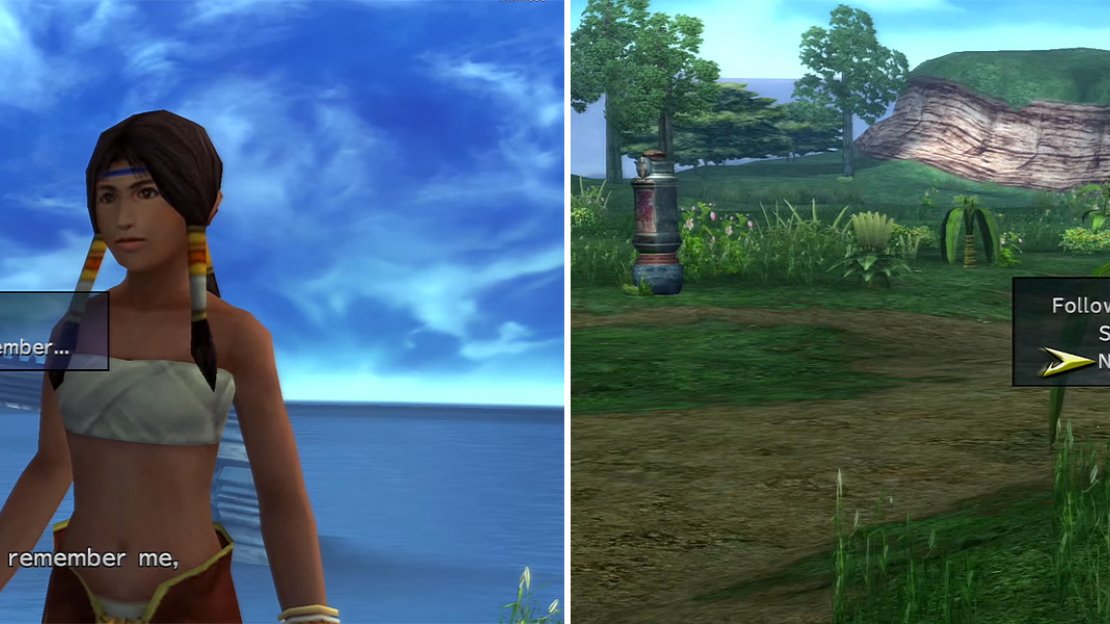
Finally, enter the agency and speak with the girl talking about Chocobos. Go outside and speak with the girl, Calli, and tell her “ I think I remember “ and “ Of course “ in the scene that follows. This starts up another mission.
Follow Rikku at the start of the mission, heading south of the agency and continue following her thereafter. As you go, pay attention to the ground; you’ll notice some yellowish feathers at some points. Run over them and make the chime sound: each time Rikku stops, you can pick “ Sure “ to get a possibility to nail a prize. (Pick “Not this time” to continue running.) If you opt for the prizes, you get two Chocobo Feathers for 1-3 feathers, three Chocobo Feathers for 4-14 feathers , two Chocobo Wings for 15-17 feathers, and three Chocobo Wings for any more .
As you leave the screen, you will also get a Gold Hourglass for 1-8 feathers, a Chocobo Feather for 9-15 feathers, and two Chocobo Feathers for any more than that.
You meet a very grown up version of Calli (left) from FFX for this mission. During the mission, you need to collect feathers while following Rikku (right). Trust her instincts after you’ve collected enough.
When you meet the Chocobo, it’ll rush along the left, right, or middle of the road, and you must block it. Look at the Chocobo to know which direction to block it in, and that’ll do it. However, mess up a couple of times (three should do it) to make a Chapter 4 event occur later. Afterwards follow Rikku and Paine and there will be a scene when you reach them; after the second one, run south and you’ll see Rikku land on her rear. After the third scene in total, the Chocobo escapes, after which you should go to the south end and speak with the Al Bhed woman - tell her “ Please, yes! “ to get the chocobo.
After, save the game, then run far to the north to eventually encounter a very familiar boss. Hiya.
BOSS - Chocobo Eater
| Chocobo Eater | Details (Oversoul) |
|---|---|
| Max HP / Max MP | 2,350 / 230 (2,993 / 230) |
| Elem. Weak / Resis / Immunity / Absorb | Fire / None / Gravity / None |
| EXP / GIL / AP | 350 / 500 / 1 (680 / 770 / 2) |
| Common Steals / Rare Steals | 1 X-Potion / 2 X-Potions (1 Shining Bracer / 2 Shining Bracer) |
| Common Item Drops / Rare Item Drops | 1 Wall Ring / None (3 X-Potions / 5 X-Potions) |
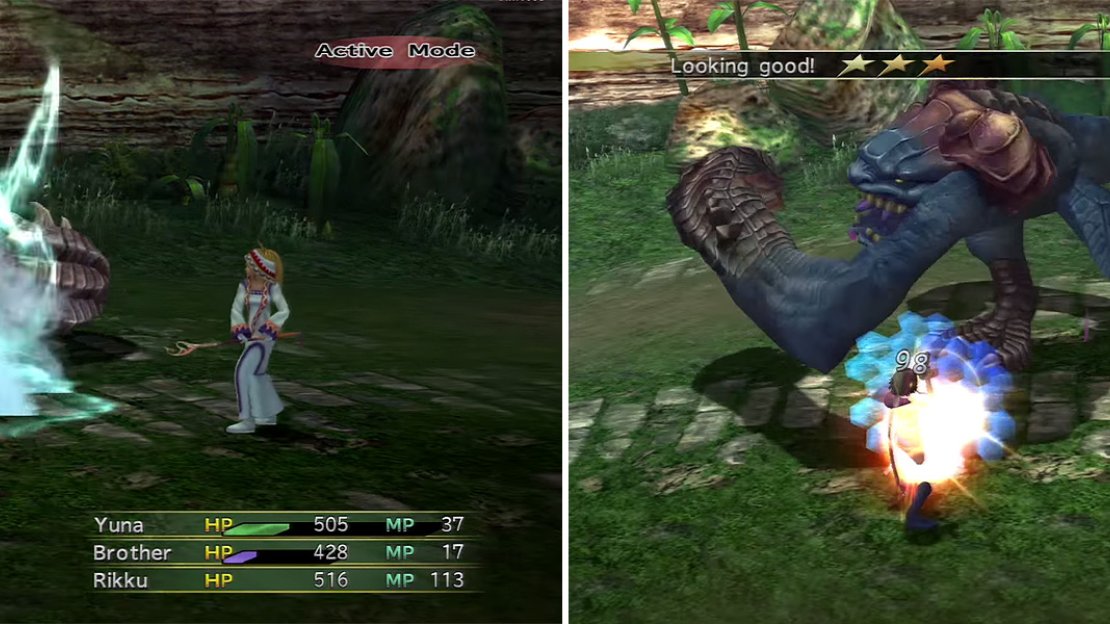
When you fight the Chocobo Eater, you’ll notice he is a bit superior to his FFX variation. Not to mention there’s no more of the whole segmented-battlefield thing. You’ll see a physical attack (hits highest-HP character), Fira, Watera, Blizzara, and Thundara for the most part. You’ll also see a sort of “Me no like you!” thing in the Oversoul form, after which he hits a certain character four times, probably killing them.
The non-Oversoul form is ridiculously easy. The main thing you’ll want to do first is Silence it as well as hit it with Armor and Mental Break. The Silence takes care of 80% of its normal offense, and the Breaks help boost your damage. You’ll also probably want to induce Slow if you can, and throw up Protect on your highest-HP character. As a result, the Chocobo Eater will rarely hit (relatively) and typically deal minimal damage to the target (Protect, and Sentinel if possible), especially if you got the Adamantite from the Gunner’s Gauntlet (Chapter 2 - Besaid). From there, just apply weaknesses: Fire or Fira from magic users, and Firestrike (item is purchased in Bikanel - Fiery Gleam accessory) from physical powerhouses.
Oversoul Chocobo Eater can a bit more difficult if you don’t have the Agility needed to outspeed it before it gets in a lot of hits. As before, opening with Silence takes care of a lot of the magical damage, and Protect on everyone (the “Tired of” attacks) will help. Also go for the Armor/Mental Breaks as well. At that point, you simply need someone to heal as necessary and, again, use Fire/Fira/Firestrike. The only real difference is that, when the Eater begins to charge for “Tired of [character]”, you’ll want as many people to use Sentinel beforehand - using Slow on the boss somehow can really help in giving you the time needed for that.
The Chocobo Eater uses second tier spells like Watera (left) and a basic physical attack which you can guard with Protect (right).
After the battle, you’ll gain the Selene Guard Garment Grid ! Also be sure to watch the ending sequence for the episode in full. After, return to Mi’ihen and speak with Clasko and the girl near him to be able to bring them to the Celsius.


No Comments