Anything marked with a single asterisk ( * ) in the list below implies that this enemy can only be fought if you sided with New Yevon by going to Bevelle before Mushroom Rock. There are also items that are only available depending on who you gave the sphere to before.
We have also divided the walkthrough into two separate bits based on which you did. See Chapter 2 - Mushroom Rock - Siding With the Youth League if you’re coming here before Bevelle, or Chapter 2 - Mushroom Rock - Siding With New Yevon if you went to Bevelle first.
Local Enemy Bestiary
| Enemy Name | Notes |
|---|---|
| Bully Cap | Weakness to Fire |
| Coyote | None |
| Drowsy Ochu | Weakness to Fire |
| League Raider * | None |
| League Ranger * | None |
| League Soldier * | None |
| League Trooper * | None |
| League Warrior * | None |
| Red Elemental | Weakness to Ice |
| Tonberry | Quite a lot of HP |
Mushroom Rock - Siding With the Youth League
When you arrive in Mushroom Rock, follow the red arrow on the minimap to a scene and the ravine path. Use the lift after and go along the part northward. You will eventually encounter some Drowsy Ochus - you’re welcome to slice them up or fry ‘em, whatever you prefer, or you can just carefully walk by them. Other than that, when you hit the lift, grab the chest for a Shining Bracer before actually using the lift. At the Youth League’s headquarters, go to the east and jump to the small path there for a Mythril Bangle , then speak with Elma and Lucil in the area. Other than this, there’s nothing else to do here.
Mushroom Rock - Siding With New Yevon
Follow the red arrow in the minimap as you arrive to reach a scene. It seems that the Youth League is not particularly happy with YRP. Oh well. Head to the next area to begin the mission! Dispose of the two soldiers in front of the lift, then use and kill the next two soldiers, and the two thereafter. You’ll find a couple of Drowsy Ochus on the way as well; you can tiptoe by them if you want. Past them are a few more soldiers to battle, then there’s a bit of a miniboss.
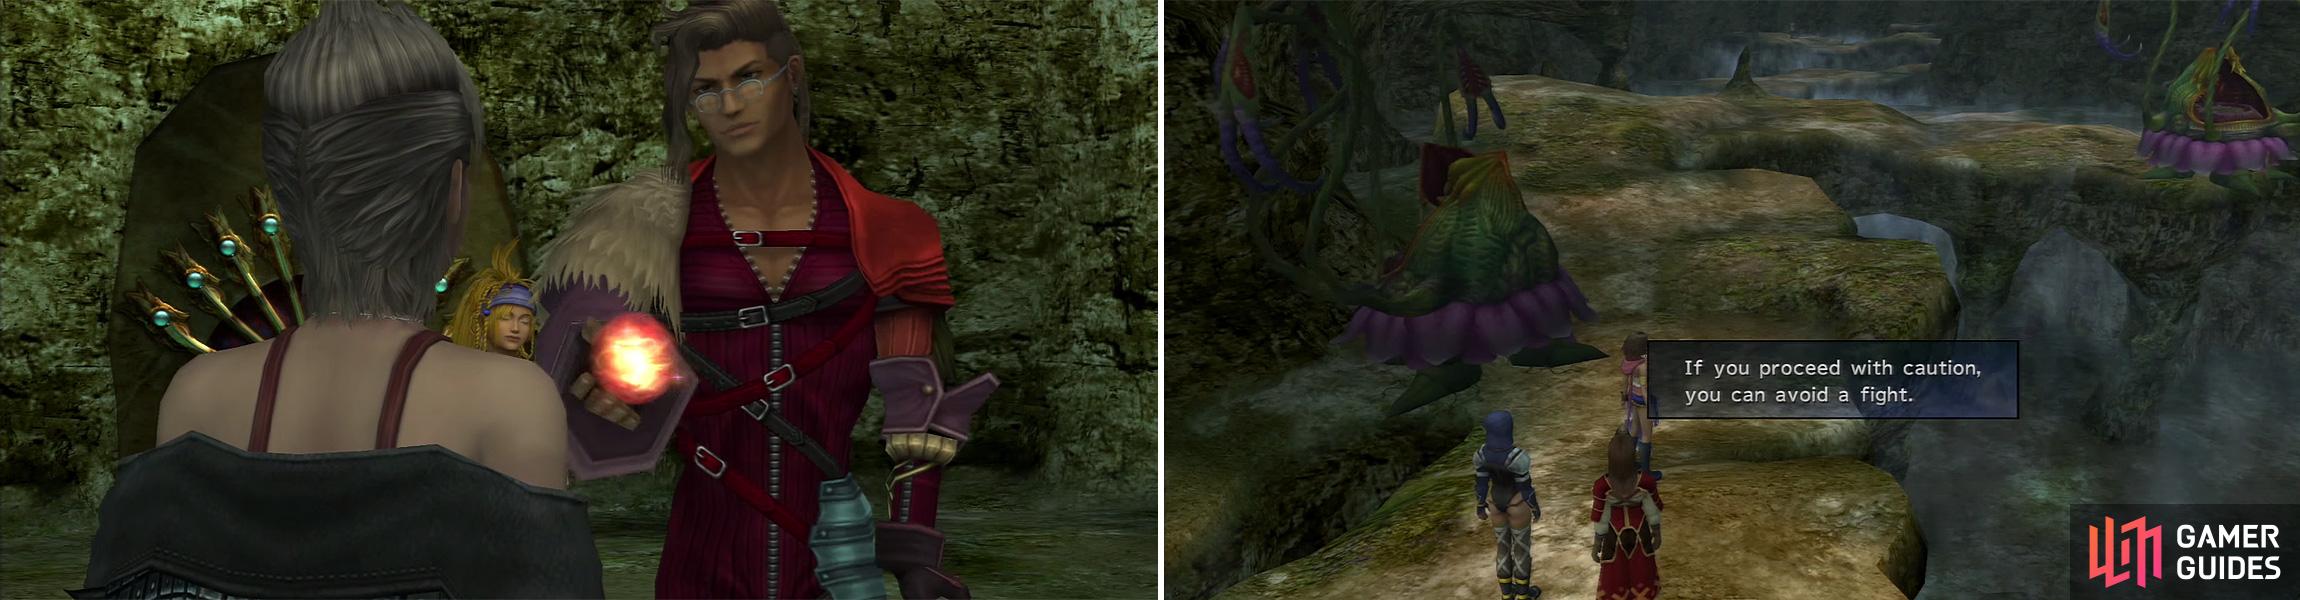
Visiting the entrance to the Den of Woe results in Nooj handing over one of the 10 Crimson Spheres (left). You can sneak past the Ochus to avoid a fight (right).
BOSS - Elma & 2 League Warriors
| Elma | Details |
|---|---|
| Max HP / Max MP | 1840 HP / 450 MP |
| Elem. Weak / Resis / Immunity / Absorb | None / None / Gravity / None |
| EXP / GIL / AP | 200 / 230 / 2 |
| Common Steals / Rare Steals | 3 Phoenix Downs / 2 Mega Phoenixes |
| Common Item Drops / Rare Item Drops | 1 Wall Ring / None |
| League Warrior | Details |
|---|---|
| Max HP / Max MP | 422 HP / 26 MP |
| Elem. Weak / Resis / Immunity / Absorb | None / None / Gravity / None |
| EXP / GIL / AP | 70 / 120 / 1 |
| Common Steals / Rare Steals | 1 Hi Potion / 2 Grenades |
| Common Item Drops / Rare Item Drops | 1 Hi-Potion / 2 Grenades |
Elma is the main threat in this fight; the League Warriors you’ve already dealt with, probably, and they only use a basic physical. Elma is able to use a basic physical attack and Thunder to do damage, Sleep to put you to sleep, and she can also use some time-based magic: Haste on herself and Slow on you.
Generally, you’ll want to spend your first couple of turns blasting away the League Warriors - for the most part, Elma will use Haste on herself as soon as she can, so that’s basically a free shot. Focus your offenses on the Warriors and they should be down pretty quickly. During that time, you may want to try to Dispel Elma’s Haste if you can; otherwise, Protect and Shell would be great alternatives to lower her offensive power, as would Power and Magic Break.
Your actual offense can’t really consist of much. If you have Reflect, that could work so long as you have ample Hi-Potions to suffice for healing; Reflect will bounce back her Thunder and Slow magics. While Slow won’t affect her, it’s still better that nothing hits you than getting pummelled by magic. Offense is basically Armor/Mental Break supplemented by your best attacks.
As a footnote, Elma can be put to Sleep, which makes that Reflect idea a bit funnier. In any case, put her to Sleep somehow and she won’t awaken for a few turns or until hit physically, meaning magic-oriented parties will have no problem here at all.
After the battle, go along the path to the end and the mission will eventually conclude, netting you a Kinesis Badge and the Shining Mirror Garment Grid in the process.
No Comments