Local Enemy Bestiary
| Enemy Name | Notes |
|---|---|
| Barong | Weakness to Fire |
| Detonator | Weakness to Ice |
| Flan Blanco | Weakness to Fire |
| Georapella | Weakness to Holy |
| Malboro | Can inflict a myriad of status ailments |
| Precepts Guard | Weakness to Holy |
| Skink | Weakness to Ice |
| YAC-92 | Weakness to Lightning |
| YAU-71 | None |
| YSLS-99 | None |
When you arrive, head north to the doorway and you’ll have a cutscene with Maroda, after which you need to go and see Isaaru. Doing so will net you part of the 100% completion stuff here (and Episode Complete) and the Scourgebane Garment Grid . Return to Bevelle again afterwards and go through the trials and stuff like in Chapters 2 and 3 again, plundering the chests.
Return to the first part of the headquarters after and go east to meet up with the Kinderguardians. The teleport here will take you to the Via Infinito. The Via Infinito is a lengthy dungeon filled with repetitious battles against myriad enemies across 100 floors of a dungeon, with bosses at every 20th floor. (If you played the non-Japanese Dark Cloud on the PS2, imagine it as the Demon Shaft with four more boss battles.) It is required to obtain 100% completion as well . It also nets you two of the best accessories: the Cat Nip and the Iron Duke . It is not recommended for the faint of heart, however, as some of the strongest bosses in the game reside here. We recommend leaving this part for last in the chapter, and grinding your way up to Level 75-99.
- Charm Bangle will not work - you can escape random encounters, though, but anything encountered in the field by touching it or as a boss is not skippable.
- You can find full-heal spots on every floor where there is a blue insignia; it can also teleport you from the dungeon
- If you exit the dungeon, you can restart from the last multiple-of-20 floor (0, 20, 40, 60, 80)
- To go to the next floor, find the hole in the floor (you tend to need to finish off a puzzle or something)
- Unless we’re mistaken, every trip through the same floor is unique in some way, so you’re pretty much on your own
- The dungeon gets progressively more difficult; by Floor 100, you’ll either need extreme Cat Nip abuse and some good set-up or maxed-stat characters/monsters
- Again, there are bosses every 20 floors; they’re locked-in, so we can walk you through those at least
- Treasures by floor:
So, then, without further ado, the bosses of this terrible dungeon!
FLOOR 20 BOSS - Aranea
| Floor 20 Boss - Aranea | Details (Oversoul) |
|---|---|
| Max HP / Max MP | 18,280 / 178 (33,394 / 178) |
| Elem. Weak / Resis / Immunity / Absorb | None / None / Gravity / None |
| EXP / GIL / AP | 4,000 / 800 / 1 (7,500 / 2,500 / 2) |
| Common Steals / Rare Steals | Turbo Ether / Kinesis Badge (Turbo Ether x2 / Kinesis Badge x2) |
| Common Item Drops / Rare Item Drops | Stamina Tonic / Mythril Bangle (Stamina Tonic x2 / Crystal Bangle) |
A lot of Aranea’s offense mirrors that of Boris’s from back in Chapter 1, and it’s pretty obvious as to why it would. When it’s not Oversouled, you’ll see Gooey End at times: it’s 150 flat damage plus Poison and Stop. Both forms are known to use a two-hit Attack and a nonhalvable 1,000-damage Attack (a clawing strike and a bite, respectively). Finally, the Oversouled Aranea can use Duala Catalyst initially to boost its Strength and Magic as time goes on, Tempus Laxit to hit with Stop and some damage, the “-ga” Black Magics, and 10,000-Gil- Smoosher to deal some damage and remove 10,000 Gil from you.
Luckily, regular Aranea has a predictable pattern. It will use either Attack for four turns, then Gooey End. Can’t say the same for the Oversoul. Anyhow, begin the battle by throwing up Mighty Guard as soon as you can; also throw up Reflect on everyone if you’re fighting the Oversoul. From there, there isn’t much to say about your offense: using Darkness from Dark Knights whilst healing with Curaga or Mega-Potions works well enough, and you can have Berserkers use Eject or Thieves use Steal Will to try to Eject the boss, which it is oddly vulnerable to.
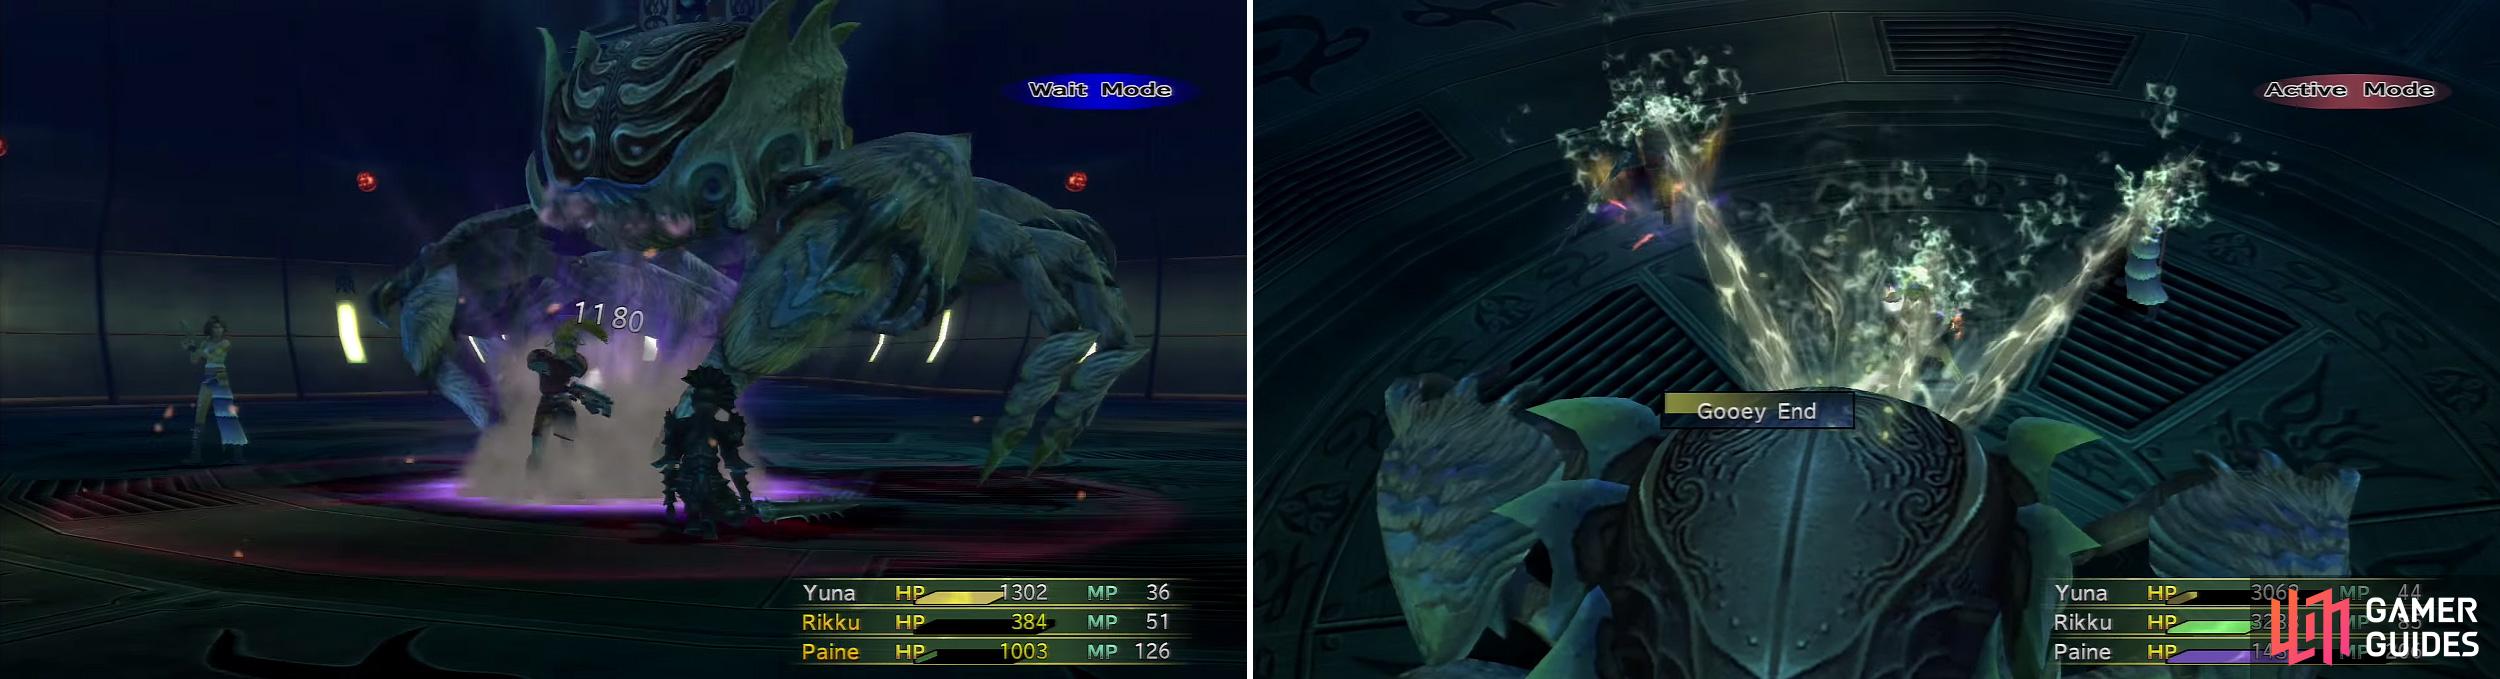
Aranea is a stronger version of Boris, the giant crab. It uses Spider Bite (left) and Gooey End (right) which is a stronger version of Sticky End. He isn’t difficult.
FLOOR 40 BOSS - Black Elemental
| Floor 40 Boss - Black Elemental | Details (Oversoul) |
|---|---|
| Max HP / Max MP | 9,999 / 2,380 (10,998 / 2,380) |
| Elem. Weak / Resis / Immunity / Absorb | None / None / Gravity / None |
| EXP / GIL / AP | 770 / 380 / 1 (1,200 / 1,200 / 2) |
| Common Steals / Rare Steals | Ether / Rune Bracer (Ether / Rune Bracer) |
| Common Item Drops / Rare Item Drops | Mana Tonic / Tetra Gloves (Mana Tonic x2 / Tetra Guard) |
You probably get what you expect from this boss, especially if you played FFX: it clearly specializes in magic. Offensively, it can use Flare and Ultima for damage, and Absorb to be like a Drain/Osmose combo; it’ll try boosting its damage with Magic Up as well. There’s also Berserk.
The Oversoul form is honestly a bit easier to deal with. It will only take the Ultima from its previous repertoire and throw in Firaga, Thundaga, Waterga, Blizzaga, Regen, and Full-Cure. (Full-Cure only works for up to 9,999 HP, but it does remove the boss’s ailments.)
There are a number of easy ways to beat this boss. You can Eject the boss (Steal Will from Thief, Eject from Berserker, etc.), you can drain its MP since it relies on MP (three Soul Springs), you can use Charon from a Dark Knight while over 5,000 HP (twice in Oversoul), and you can also just Reflect back the Oversoul form’s magic: be sure to put Reflect on the Elemental as well, since it loses Auto-Reflect in Oversoul for the sake of Full-Cure. (You may have to heal after Ultima, though.)
FLOOR 60 BOSS - Concherer
| Floor 60 Boss - Concherer | Details (Oversoul) |
|---|---|
| Max HP / Max MP | 343,280 / 170 (360,444 / 170) |
| Elem. Weak / Resis / Immunity / Absorb | None / None / Gravity / None |
| EXP / GIL / AP | 6,000 / 1,200 / 1 (9,000 / 3,000 / 2) |
| Common Steals / Rare Steals | Elixir / Elixir x2 (Elixir / Elixir x2) |
| Common Item Drops / Rare Item Drops | Blessed Gem / Crystal Gloves (Crystal Gloves / None) |
Boss Analysis: Oh, this guy is where the Via Infinito gets nasty. We’re taking a normally bulky species and giving it much higher HP, Defense, and Magic Defense, then doubling it with Auto-Shell and Auto-Protect. If you’re fighting the regular form, you’ll see an Attack, Megaton Press (essentially One-Hit KO), and Gunk (lose all MP and get poisoned). The Oversoul form uses an Attack, Flare, Thundaga, Demi, Slurp (magical damage + Itchy), and Radular Grudge (physical + Darkness, Silence, Confusion, and Poison).
Main Strategy: For this battle, a physical offense is pretty much required, and set-up is pointless, since you’ll be reinstilling it every time Megaton Press comes around. (That said, if you fight the Oversoul form, throw up Mighty Guard ASAP.) There isn’t a lot one can do about piercing those Defenses beyond an insanely long grind since you’ll end up reviving someone every few turns. Then again, there are several Defense-piercing skills, the strongest of which tends to be the Dark Knight’s Darkness as always. Just keep them supported.
The Oversoul, though, that’s a bit easier since Megaton Press is gone. That means you can do some set-up with less fear of it being wiped out; Mighty Guard works well. And, beyond that, it’s a long grind still. For that, we threw out two Dark Knights and used a lot of Darkness (since it ignores Defense), followed by healing from a White Mage. Not very unique but the most effective strategy.
FLOOR 80 BOSS - Chac
| Floor 80 Boss - Chac | Details (Oversoul) |
|---|---|
| Max HP / Max MP | 437,850 / 820 (459,743 / 820) |
| Elem. Weak / Resis / Immunity / Absorb | Ice / None / Gravity / Lighning |
| EXP / GIL / AP | 950 / 750 / 1 (2,200 / 2,200/ 2) |
| Common Steals / Rare Steals | Ether / Ether x2 (Ether / Ether x2) |
| Common Item Drops / Rare Item Drops | Shining Gem / Pixie Dust / (Shining Gem / Crystal Ball) |
Chac has one attack exclusive to its non-Oversoul form: Heaven’s Cataract , which hits everyone very hard and lowers their Defense, Magic Defense, Accuracy, Evasion, and Luck as far as it will go, essentially increasing the damage you take by approx 83%. Otherwise, it can use an Attack and Stony Glare in its regular form. Stony Glare will, without exception, Petrify you. This is regardless of your protection from Petrification: even if you wear a Ribbon or the like, you will be Petrified! The Oversoul form is a hell of a lot easier to deal with than the Heaven’s Cataract version. It’s Attack will now Poison you, and you can still get hit with Stony Glare. You’ll also see MP Break (MP damage), Hunter’s Gaze (tells you who will soon be attacked), and Destroy Soft/Remedy, which will damage you and destroy a Soft or a Remedy, respectively.
Main Strategy: Fight the Oversoul if at all possible. In any case, there’s a quick and easy way to try and win this fight: this boss is another that is somehow vulnerable to Ejection. That means Berserkers can use Eject, Thieves use Steal Will, and whatever other means you have at your disposal should work.
Otherwise? Opening with Mighty Guard is essential in the regular form, especially due to the heavy damage consecutive Heaven’s Cataracts can deal. From there, in either form, it’s mostly a battle of throwing up a good offense and healing whatever Stone Gazes come your way. It’s not that difficult, really, just a grind.
On Floor 100, you’ll end up fighting two consecutive bosses. Before fighting them, consider changing stuff around and other things.
- Come in at Level 99, using two Dark Knights at least and some supportive unit; this support unit should start as a Gun Mage before going to White Mage.
- Use the Valiant Lustre Garment Grid; this is for the Trema fight.
- Fight the Omega Weapon in the Farplane ten times; this will let Paragon Oversoul, oddly making things easier.
- Have a good stock of Soul Springs on hand.
- Set your Sphere Change sequence in the Config menu to “Short” for some mechanic abuse in the second fight.
FLOOR 100 BOSS #1 - Paragon
| Floor 100 Boss - Paragon | Details (Oversoul) |
|---|---|
| Max HP / Max MP | 200,000 / 9,999 (210,000 / 9,999) |
| Elem. Weak / Resis / Immunity / Absorb | None / None / Gravity / None |
| EXP / GIL / AP | 9,000 / 3,000 / 1 (13,000 / 8,000 / 2) |
| Common Steals / Rare Steals | Supreme Gem / Supreme Gem x2 (Supreme Gem / Supreme Gem x2) |
| Common Item Drops / Rare Item Drops | Supreme Gem / Dark Matter (Dark Matter / Dark Matter x2) |
Boss Analysis: In its regular form, Paragon’s offense is pretty simple. It can use a basic Attack, Big Bang (high unblockable damage based on Magic Defense), and Genesis (high magic damage with a Dispel effect). Note that the Attack will drain HP and cause Poison, Itchy, and Confusion.
In the Oversoul form, Paragon gains a ton of magical attacks, and his physical attacks seem to be unable to hit. He’ll begin to use Big Bang, Firaga, Thundaga, Blizzaga, Waterga, Demi, Osmose, Holy, Ultima, Dispel, Judgment (high single-target magic damage), and Final Impact (10 random-hit attacks, each removing 1/8 of your max HP/MP). Paragon also has the capability to counter moves as well. He will counter any Black Magic that you used against it, White Magic (except Holy/Dispel) with Demi, all Arcanas with whatever you used, and Supernova and MP Absorb with those as well. How fun.
Main Strategy: Opening this battle is a bit of luck: if you see Big Bang or Genesis too early, you’re basically screwed (they tend to pierce 10,000+ damage), so you may as well reset and retry. We’ll also assume you’re running against the Oversoul Paragon: you should be able to do that, and it makes things a lot easier.
When the battle begins, throw up Star Curtain and Mighty Guard to quickly get Protect, Shell, and Haste on everyone. After, begin by grinding away at its HP: we used Darkness from Dark Knights supported by an Alchemist using Mega-Potions. After crossing the 157,500 HP line (75% remaining), you’ll see Dispel. This will hit one of the girls; if you throw up Reflect or a Star Curtain again quickly enough, you’ll see Dispel again, or perhaps a “-ga” spell that’ll be reflected.
Eventually, it’ll go into Final Impact, hopefully, after which you should use Full Life and then a Megalixir. It’s basically a loop from there.
FLOOR 100 BOSS #2 - Trema
| Floor 100 Boss - Trema | Details |
|---|---|
| Max HP / Max MP | 999,999 / 999 |
| Elem. Weak / Resis / Immunity / Absorb | None / None / Gravity / None |
| EXP / GIL / AP | 10,000 / 10,000 / 50 |
| Common Steals / Rare Steals | Ether / Turbo Ether |
| Common Item Drops / Rare Item Drops | Dark Matter / Dark Matter x2 |
Boss Analysis: You’re finally at the end, and against the second-hardest boss in FFX-2 HD (barring Major Numerus in the Farplane Cup). He can use a variety of powerful spells, including Demi, Flare, Ultima, and Meteor . (Meteor will do ten random-target hits, each for 1/8 of your max HP.)
You’ll also see Dying Star (3 physical hits), Falling Leaf (three more), and Thundering Wave (three more) used consecutively for a total of nine physical hits. Then there’s Choking Mist (physical + Poison), Beguiling Mire (physical + Stop), and Waning Moon (three hits plus MP drain).
Main Strategy: When the fight begins, you should do two quick Spherechanges. Because of the “Short” setting in the Config menu, Trema won’t get a chance to attack during the intermissions. Since you’re on the Valiant Lustre Grid, too, you’ll get a Defense +40 boost per gate. Switch from whatever job you have to another, then head to the Dark Knight or your support role, basically crossing two gates and getting a Defense +80 boost. Further that quickly with Mighty Guard from your Gun Mage, while your Dark Knights throw up Soul Springs until Trema is out of MP.
So, what’s the story at the moment? Little damage taken (Megalixir if some is), Defense and Magic Defense +131%, and Trema can’t use most of his magic (so that Shell is kind of useless now). You’ll only be seeing physical hits for the remainder of the fight, too, so that’s nice. (Yes, Meteor is physical.)
So, what does this mean? Keeping in mind that Trema’s stats are around 255 (max), you’ll still have a hard time! Even so, Darkness from your Dark Knights will pierce that, and you should have maxed Defense x2.31 (around 589) due to your buffs. Just keep the healing up and you’ll do fine, lengthy though this battle is.


No Comments