Part 1: Fight
Once the lengthy opening sequence is done and you are back in control of Shay, exit the room and make your way down the stairs. You will be put in a fight against two unarmed attackers, simply counter and melee combo them until they drop. Afterwards another scene will play.
Part 2: Pursuit
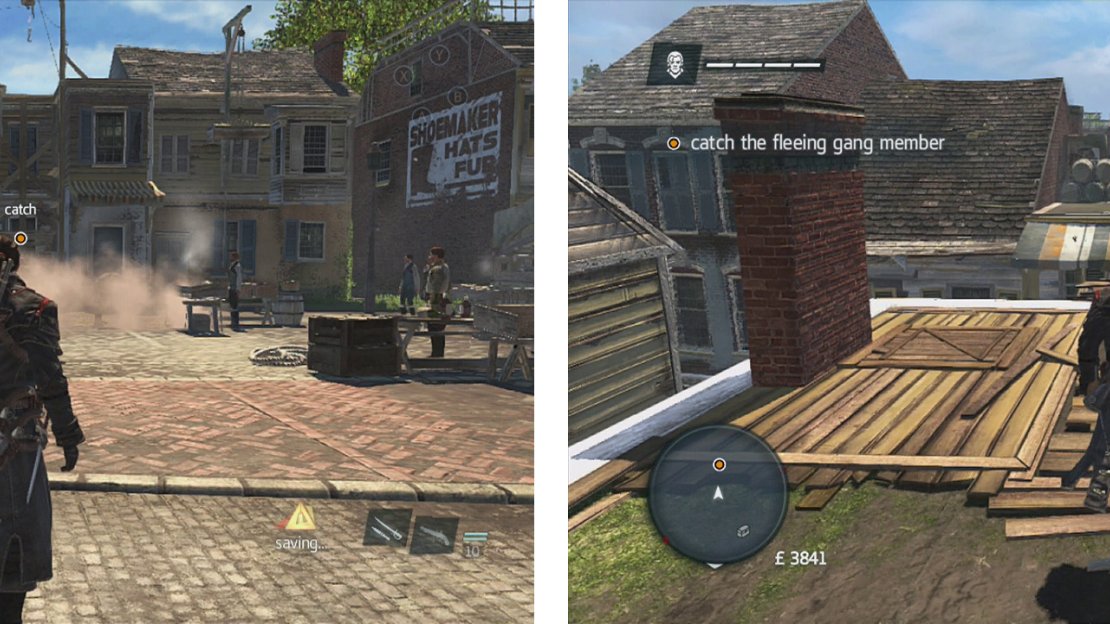
After the scene we’ll be outside. You’ll immediately see a gang member drop a smoke bomb in front of you and then take off up the side of the building directly in front of you. At this point, we will need to chase him across the rooftops. Note that he will periodically drop smoke bombs behind him as he goes. The smoke will stun Shay for a moment if you run into it, so do your best to find a route around it.
When he dives into the haystack after the first few rooftops, he’ll then run off to climb the wall in the corner to the left across the small market courtyard here. Instead of following him, look along the wall to the right of this to find a rope lift. Use this to reach the rooftop and you should beat him up. Run over and quickly tackle him for a scene.
Avoid the smoke when the bad guy drops it (left) and chase him down (right).
If you miss him, you’ll need to try and catch up with him. The chase won’t last too much longer however as if you fail to catch him quick enough, he’ll soon meet up with a pair of friends and the three of them will attack you. Dispatch the three of them for a scene.
Part 3: Gang Headquarters Takeover
Following the scene, if you look at your map, you’ll notice that there is now a large green mission area marker on it. Note that at this point, the second optional objective kicks in – we need to not get shot! When you are good to go, head over to the green zone to start our first Gang Headquarters takeover.
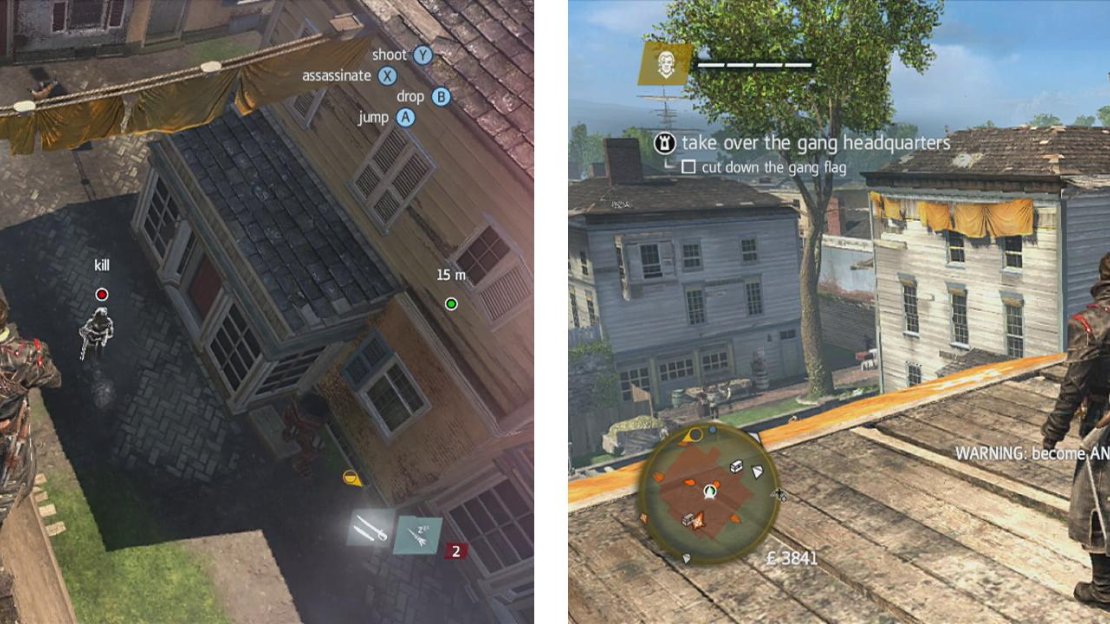
The Gang Headquarters Takeover side-activities will become available after this mission and the general idea is to sneak into the restricted area, use the Eagle Vision to locate him and kill him. Note that entering open conflict in the restricted area will spook the leader and he’ll relocate, often in hiding places such as haystacks or benches and will attempt to ambush you. Fortunately, the Eagle Vision mode now has a danger locator compass, which allows you to find and locate him. Once he is dead, you’ll need to find and cut down the flag to complete the takeover.
The restricted area indicates the gang hideout. There are three snipers in the area, one on the northern rooftops, one on the southern rooftops and one over to the west that we need to look out for if you want to earn that optional objective.
Find and kill the leader (left) and cut down the flag (right) to complete the HQ takeover.
I would recommend circling around and approaching from the north. Climb the building to the roof and take out the sniper here when it is safe. Next, run across the ropes strung between the roofs nearby to reach the building above the flag. Use your sleep darts to take out the sniper on the next rooftop. Look down into the courtyard below and use Eagle vision to spot the leader. If you are lucky, he’ll be midway through a lap around the building where we tranquilised the second sniper. Tag him and perform an air assassination on him as he walks below.
This will likely alert some guards, so quickly climb back up to the rooftop and drop down to the platform with the flag. Re-sleep the sniper if he has come to and then just sit at the flag until you become anonymous again. At this point, you can interact with the flag to end the takeover.
Part 4: Follow
After another scene, we’ll have met a new friend. Follow him through the streets. He’ll introduce you to renovating, so walk up to the fellow nearby and give him some money to renovate the nearby building.
After a few more words with our pal, the mission will end.


No Comments