Part 1: Tailing
Once the beginning scene has come and gone, make your way down to the Morrigan and climb aboard. Set sail for the large green search area to the southwest. Pull out your spyglass and use it to locate a frigate named the HMS Tryton.
Once you have located the target ship, an objective marker will appear above it. We want to tail this ship without being spotted. This becomes slightly trickier as you are in a red restricted area on the map. If you keep an eye on your mini-map you can keep track of the ships nearby and you can also see their field of vision. We need to keep after the target ship whilst avoiding the enemy ships. This is fairly easy as it is only a short sequence; just make sure you go to the left of the small island in the river to avoid being spotted as you move west.
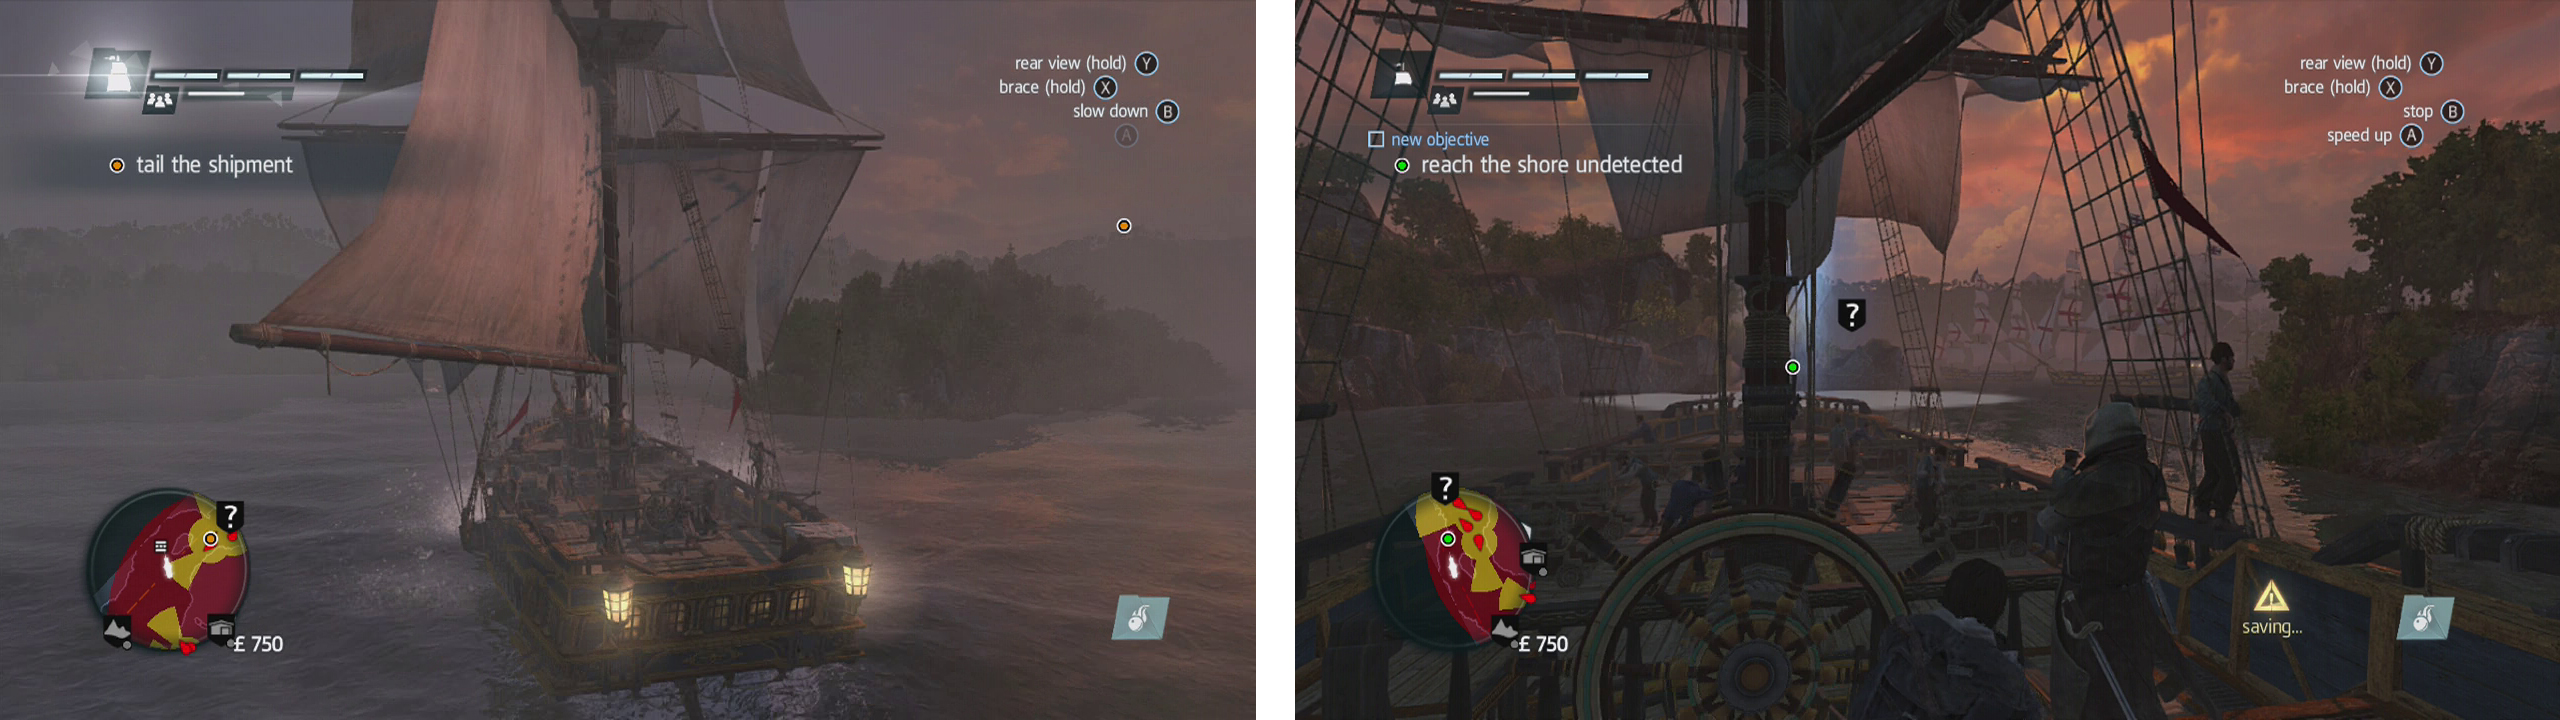
As you move through the channel, sail to the left of the island (left) to avoid detection. Dock at the area indicated (right).
After a short chase, you’ll be told to dock and follow the ship on foot. Hop off, swim ashore and climb the cliff in front. Follow the Cliffside path here across the platforms and through the trees whilst keeping an eye on the ship to the right.
Keep moving until you reach a populated area within a restricted area.
Part 2: Infiltrate
As you reach the ledge overlooking the town, you’ll notice that the ship we were chasing has moored at the dock. We need to get aboard. The problem? The restricted area is full of guards who don’t want us to! Fortunately, there’s an easy way to do it!
Dive into the haystack below and whistle to call over the nearby patrolling guard. Assassinate him. Wait for the other nearby guard to walk off and then sprint for the water. Swim out into the bay and then approach the ship from the far side. As you do this make sure that you utilise the stealth swim ability if a guard notices you to break line of sight.
Approach the ship directly beneath the objective marker, climb up when none of the guards on deck are looking and quickly loot the box for a scene.
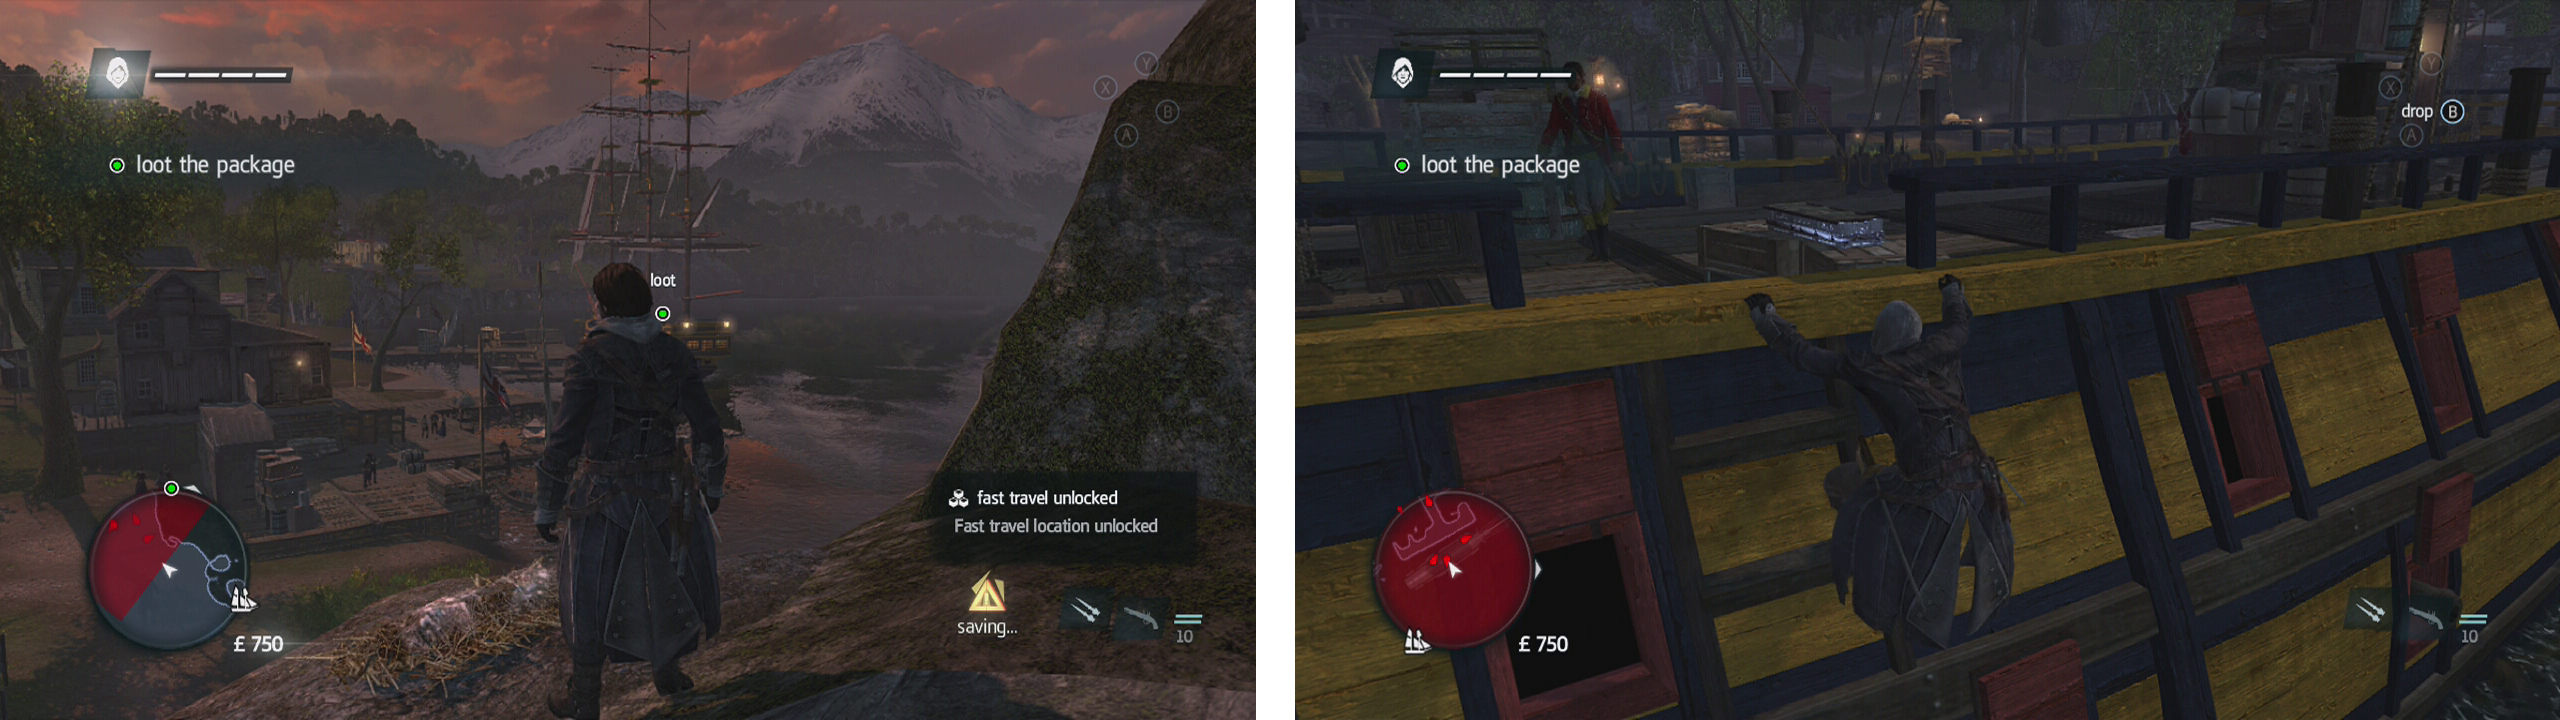
When you reach the view point, look for the ship to the right (left). Swim out and approach from the sea, climb up and grab the chest undetected (right).
We’ll now have the air rifle – think the blowdart from Assassin’s Creed IV: Black Flag. It can fire sleep darts which knock guards out for a short period of time and berserk darts which cause enemies to temporarily attack anyone and everything nearby, both of which are extremely useful during infiltration segments.
Dive off the back of the boat and swim again, using the stealth swim option if required. When you reach the land, quickly run up and enter the sugarcane field when it is safe to do so. Note that now that we have the air rifle, we can now earn the optional objective for making 4 guards berserk. From the cover of the field, hit the sniper in the tower above with a berserk round, the fellow patrolling nearby and the pair of guards standing by the building on the left side of the field.
Keep an eye on the right hand side of the field and along the wall for a cliff that we can climb. Make your way to the top of this and utilise the Synchronisation Point at the tree branch. From the branch, dive into the haystack on the ground below.
Part 3: Assassinate
Stay in the haystack until the patrolling guard walks past and assassinate him as he does. Keep an eye out for the shelter in the centre of the area, a guard will patrol in and out of here regularly. When he is not looking, we want to hop out of the haystack and enter the stalking zone bush next to the gate on the right.
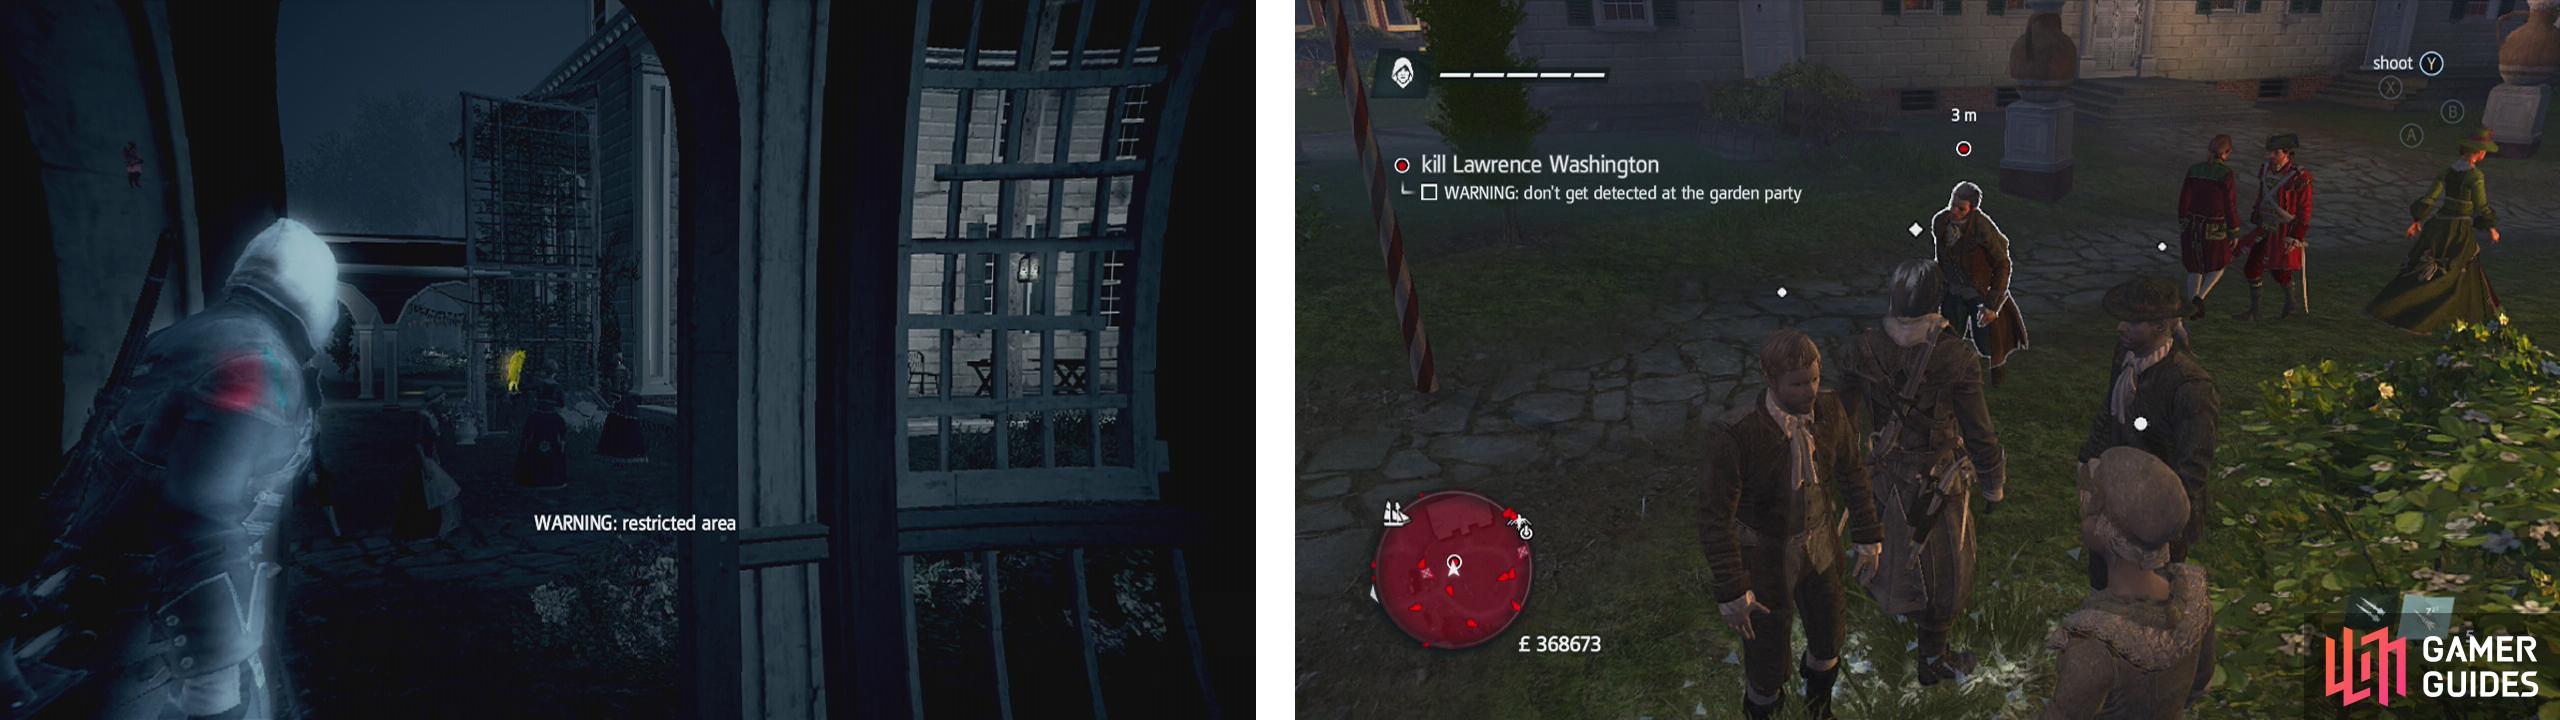
From the bushes here, you should be able to look through the open gate from cover. There is a pair of guards that patrol back and forth along the path just outside this gate. Wait for them to walk to your left and when your immediate area is free of guards (there may be one additional patroller to look out for here) quickly duck through the gate and into the bush along the wall next to the left of the gate. Wait for the patrollers to return back past your bush.

From the viewpoint, check out the gate to the right (left). Use the bushes through here to move up to the gazebo (right).
Keep an eye on your mini-map and when both guards up ahead and the two patrollers behind us are looking away, run up the main path, before hopping through the windows of the small gazebo here. From here, look towards the arched walkway between the two buildings directly to the east with Eagle Vision active to identify the target. When you spot him, a scene will play.
Following the scene, we’ll be in the gazebo. Note that there are multiple ways to kill the target including the standard suite of air and other assassination types, but the mission’s second optional objective wants us to perform the assassination whilst blended – which means standing in a crowd. As such, let’s do it that way!
Once you have spotted the target (left). Blend into a crowd (right) and assassinate him as he walks by.
Exit and follow the wall of the building in front to your right. When you reach the end, turn the corner and take cover in the bushes. Wait for the guard to patrol by beneath the arched walkway before running behind him and into the bush just inside the courtyard. Again, wait for all the enemies to look away before quickly running over to the group of revellers standing nearby.
Our target will cut loops around this circular courtyard here, so as long as you make your way into one of the groups, he will pass by eventually. When he comes into range, highlight him and hit the assassination button for a scene.
Part 4: Escape
As soon as the scene finishes, we’ll have an updated objective marker that we need to reach. We’ll also unlock smoke grenades, which are handy for temporarily stunning enemies whilst you run off or hide in a piece of cover nearby.
Immediately drop a smoke bomb and sprint towards the marker. Hop over the wall to the right of the gate to avoid the guards and as you reach the bottom of the hill, use the boxes to reach the roof of the small building here. From the roof you can jump to a treetop pathway that will lead you all the way back to the deck of the Morrigan.
When you arrive, take the wheel and immediately set sail. Don’t bother trying to fight the ships here as there are too many of them and you’ll end up having to reset the checkpoint, instead make haste to leave the restricted area as quickly as possible.
Once you are out of the red zone, the memory sequence will be completed.


No Comments