Part 1: Assassinate
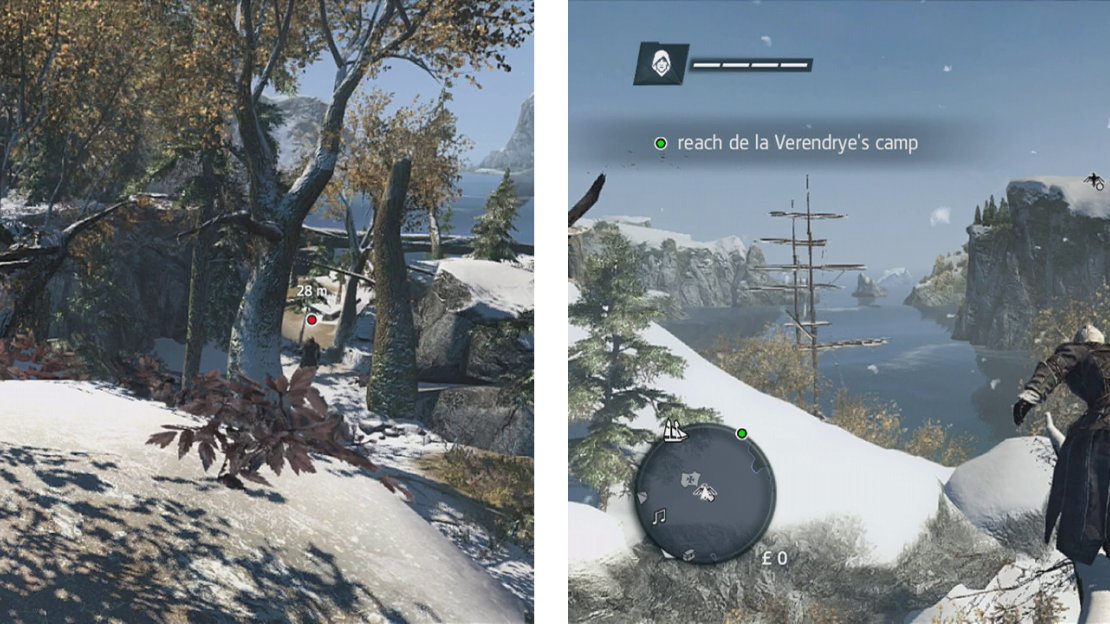
As we gain control of Shay for the first time, you’ll see a red objective marker appear below. We need to chase down and kill this individual. Use the passage along the branches to freerun through the trees here. When you reach the end, you should be on a log overlooking the assassin below. Hit the button prompt on screen to perform an air assassination.
Chase down and assassinate the target (left) and make your way tot he camp (right).
Following the scene, you will need to do a bit more freerunning. Fortunately, we have a buddy now who will lead us where we need to go. As such, stick to his tail until you reach another group of NPCs and a scene plays.
Part 2: Fight
We’ll now be in a fist fight. This acts as a bit of a primer or tutorial to the game’s hand to hand combat system (which can pretty much be applied to the melee weapons too). Follow the on-screen tutorials to practice attacking, string some attacks together for a combo and try countering. Once the tutorials have stopped, beat your opponent until another cut-scene occurs.
Part 3: Infiltrate
This section is where we can undertake and complete the two optional objectives. In the nearby area there is an on-shore camp and a boat filled with British soldiers and we need to kill them all without being detected.
Follow your friend up into the tree and he’ll perform an air assassination. From the tree here, there is an enemy directly below you and another off to your right. You’ll want to air assassinate the guy on the right first and then quickly enter the bushes behind the enemy below the tree and take him down from cover.
Return to where we killed the first guard and hide in the bushes. A patrolling guard will spot his body and run over. Either wait for him to enter the bushes or for him turn his back to you, either way when you see the opportunity - assassinate him.
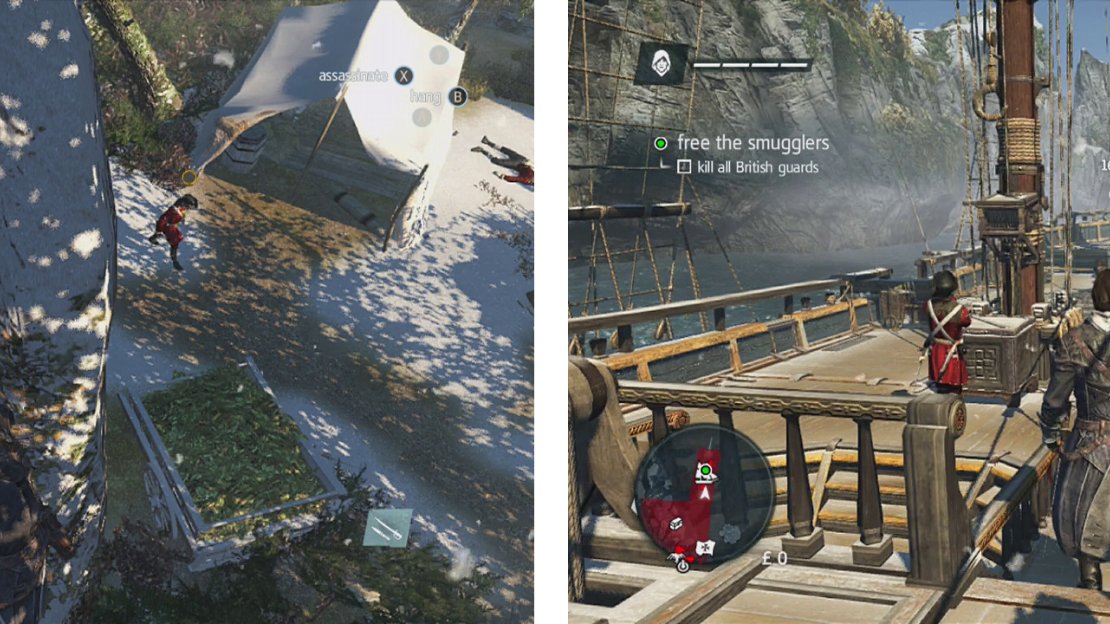
Go back to where we killed the other guard and fee the prisoner he was guarding. Climb the tree here and follow the branches until we are in a position over the camp to see a pair of enemies below and to the right. Highlight them and perform a double assassination. Free the pair of smugglers by the tent in front of you and then make your way to the nearby boat.
Clear out the guards in the camp (left) and then work your way across the ship’s deck, killing all the guards (right).
Now we need to hang from the back and scope out the deck. There are a total of six guards on the deck and fortuitously all but one of them will pose no threat as they have their backs turned to you. The final guard cuts a lap from the front of the ship, around the main mast and back again. Wait until the patroller turns his back to you and then hop up onto the deck, walk up behind each successive guard and assassinate them in turn. Finally hit the patroller last.
Once the deck is clear free the prisoners. At this point you should have earned both of the optional objectives for the mission.
Part 4: Naval Combat
After the scene, you’ll be behind the wheel of the Morrigan – your ship for the remainder of the game. Use this next section to familiarise yourself with the boat controls, noting that you can speed up or slow down. It should be noted that the slower you are piloting the ship, the more manoeuvrable it will become. Make your way to the objective marker out in the open sea. As you approach a group of enemy ships will show up.
The game will now pop-up a quick tutorial message for you on how to use the cannons on the side of the ship. Essentially, we need to face the side of our ship in the direction of where we wish to fire the broadside cannons – the left trigger will also provide us with a white aiming indicator for assistance.
Pilot the ship out to the open sea (left) and then use your weapons to take down the enemy ships (right).
There are four gunships, a frigate and a brig in the immediate area that are attacking an allied ship that we will need to defend. In addition to the aforementioned broadside cannons, we will also have explosive shot available at this point, which is fired using cannons mounted on the front of the ship. Again, it should be reiterated that the speed at which you travel will affect your manoeuvrability in the open water so use this to your advantage to position yourself and use broadside attacks or explosive shot when possible to fire on the bad guys.
Once all of the ships have been destroyed, a scene will play to end the mission.


No Comments