| Region Summary | . |
|---|---|
| Base Camp | 11 |
| Challenge Tomb | 3 |
| Mission Giver | 11 |
| Region Challenge | 6 |
| Treasure Chest | 3 |
| Crypt | 5 |
| Relic | 28 |
| Document | 42 |
| Mural | 23 |
| Survival Cache | 34 |
| Monolith | 7 |
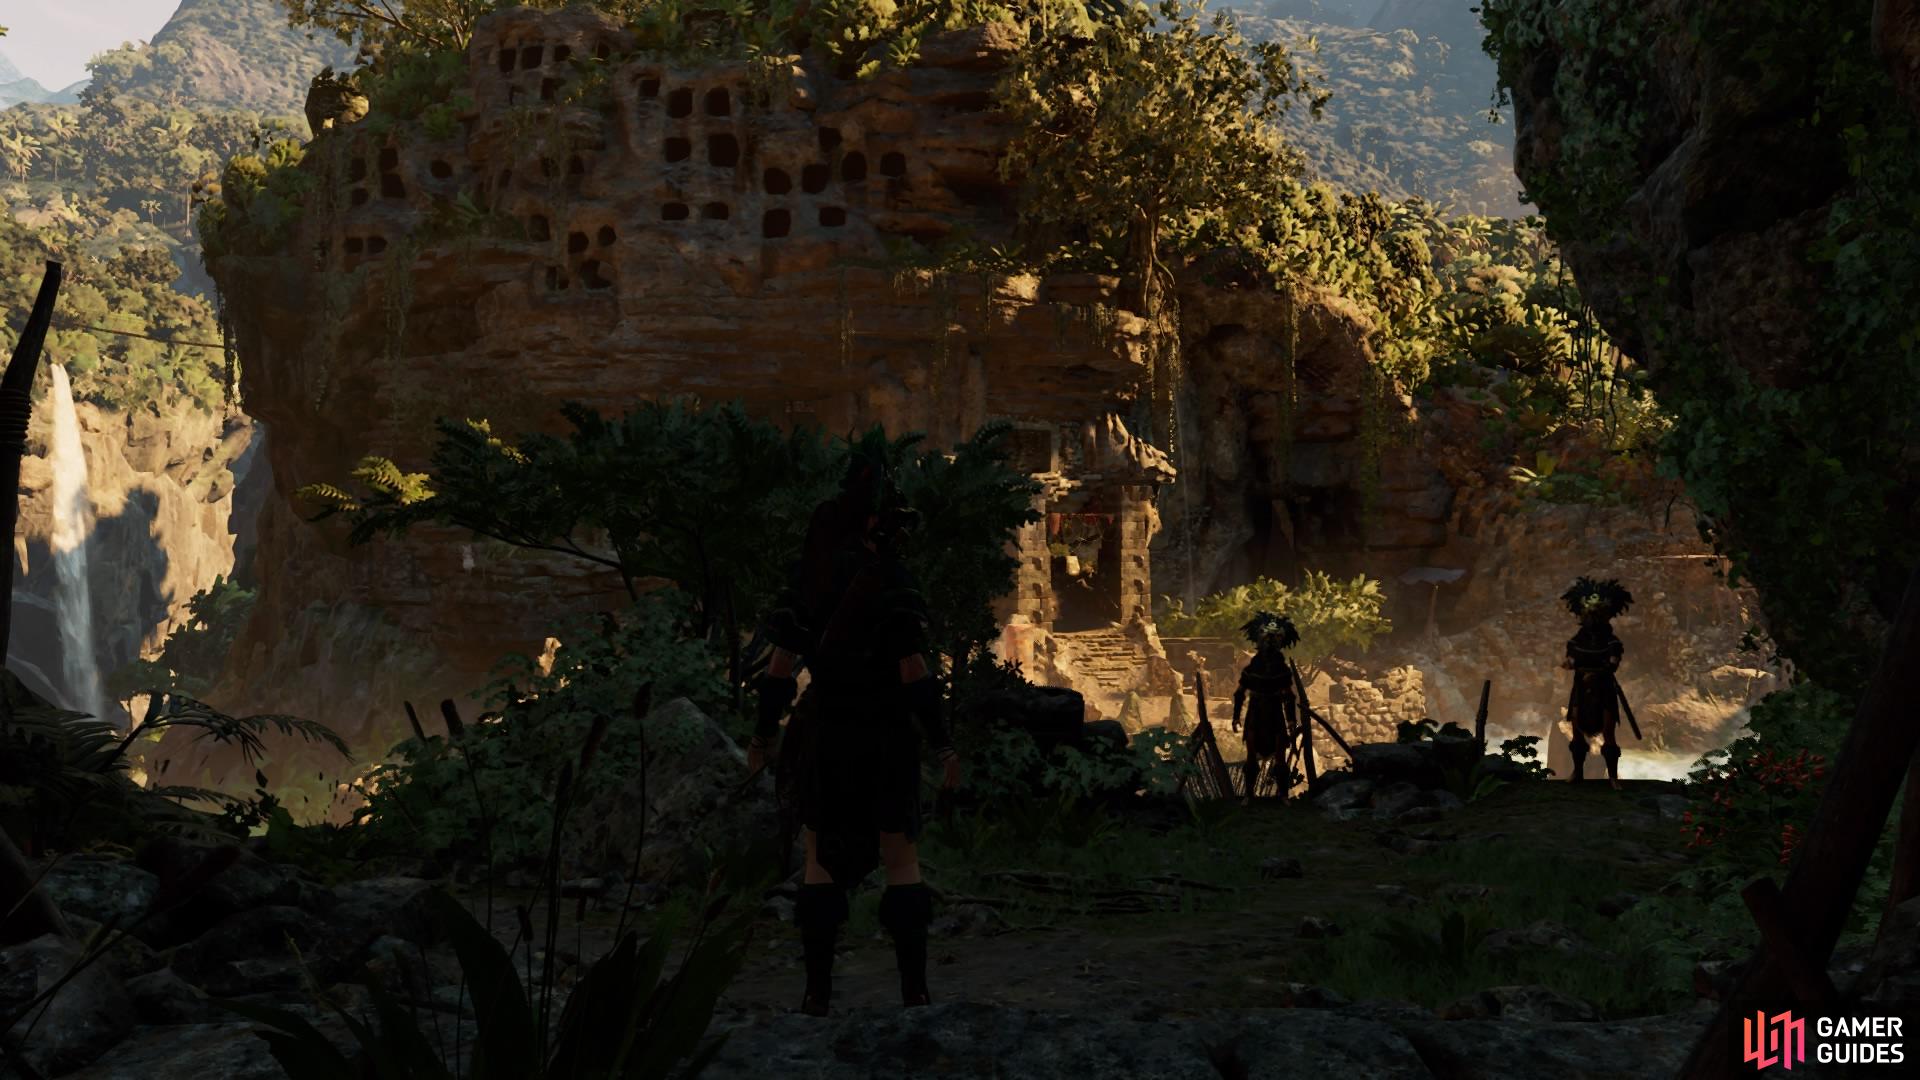
REBELLION LIVES - FIND THE REBEL CAVE
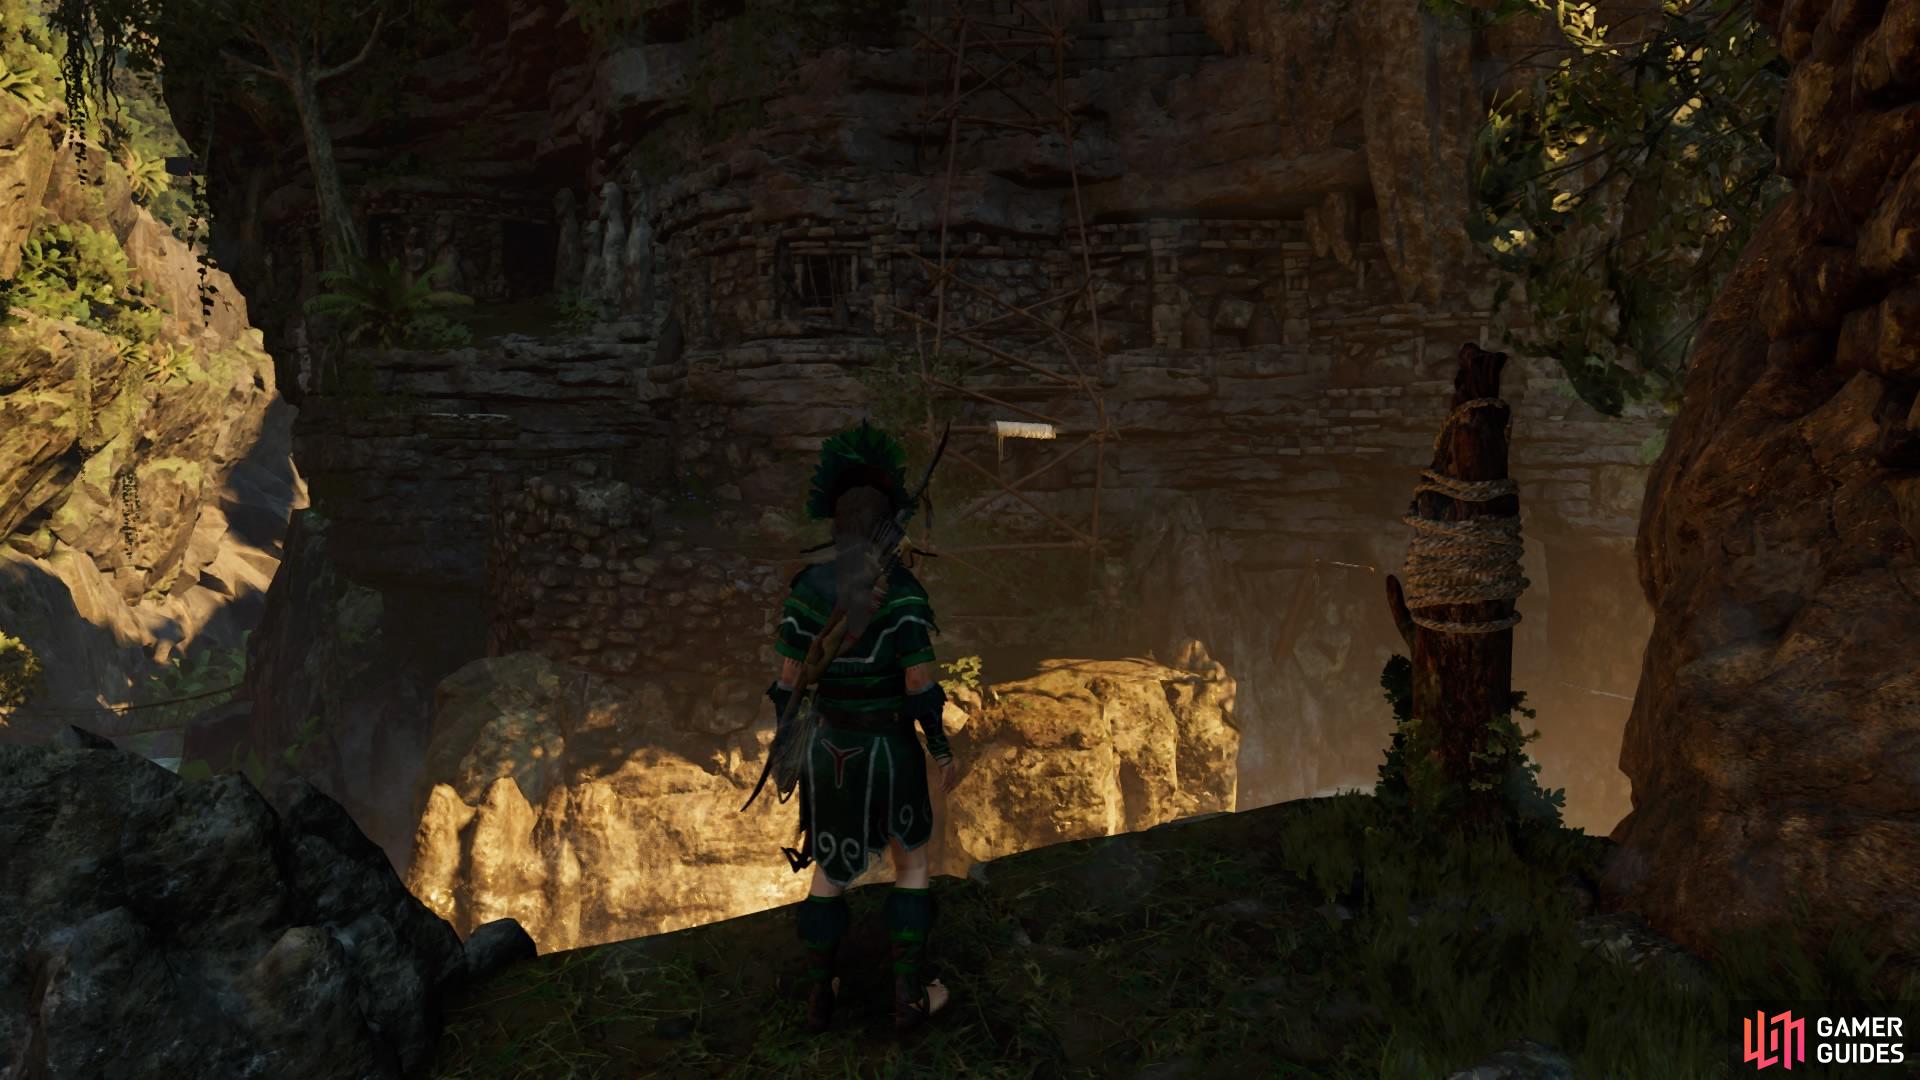
As you head towards the waypoint marker to Unuratu’s home, Jonah will tell you that they have moved location. Now you must find Skull Cave, located not far from Unuratu’s, so head to the new waypoint. Skull Cave is marked with a white symbol next to a narrow opening in the wall. Go inside to activate a cutscene with Jonah and Uchu.
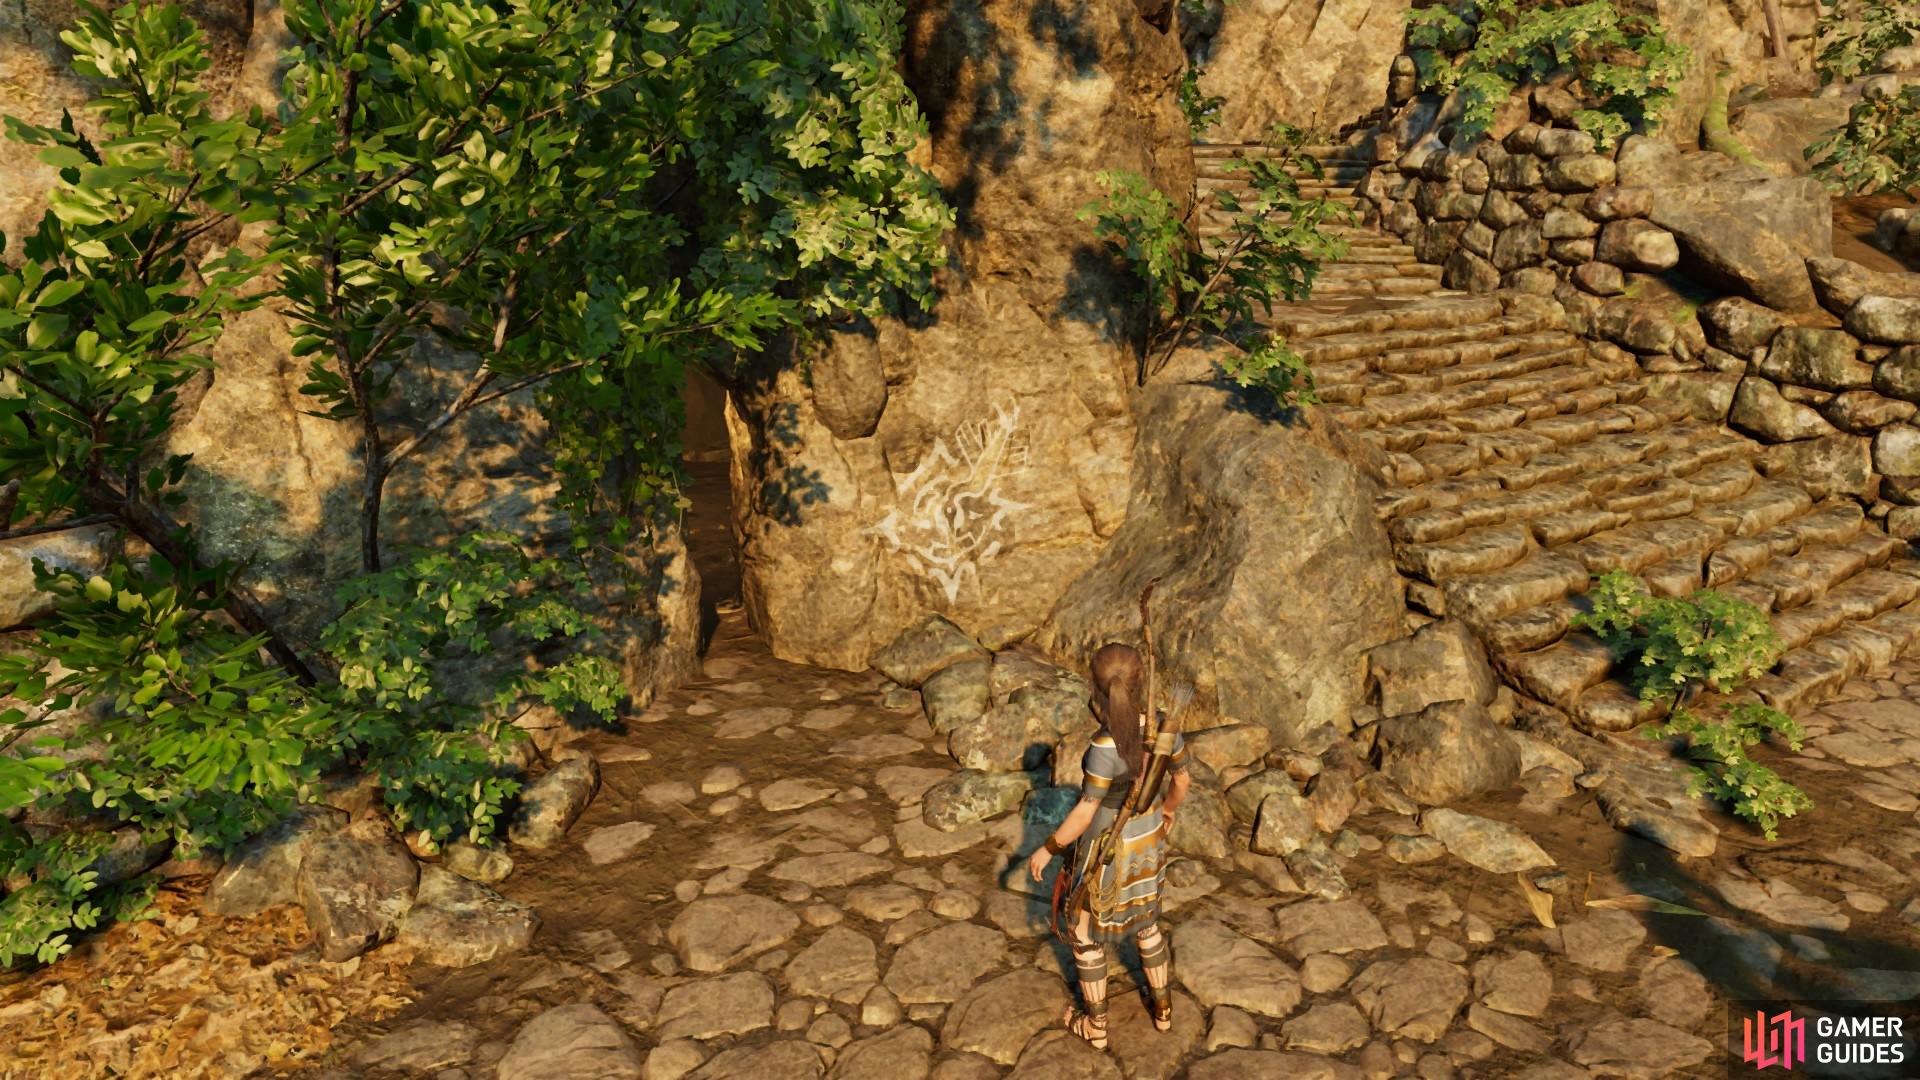
(1 of 2) Skull Cave
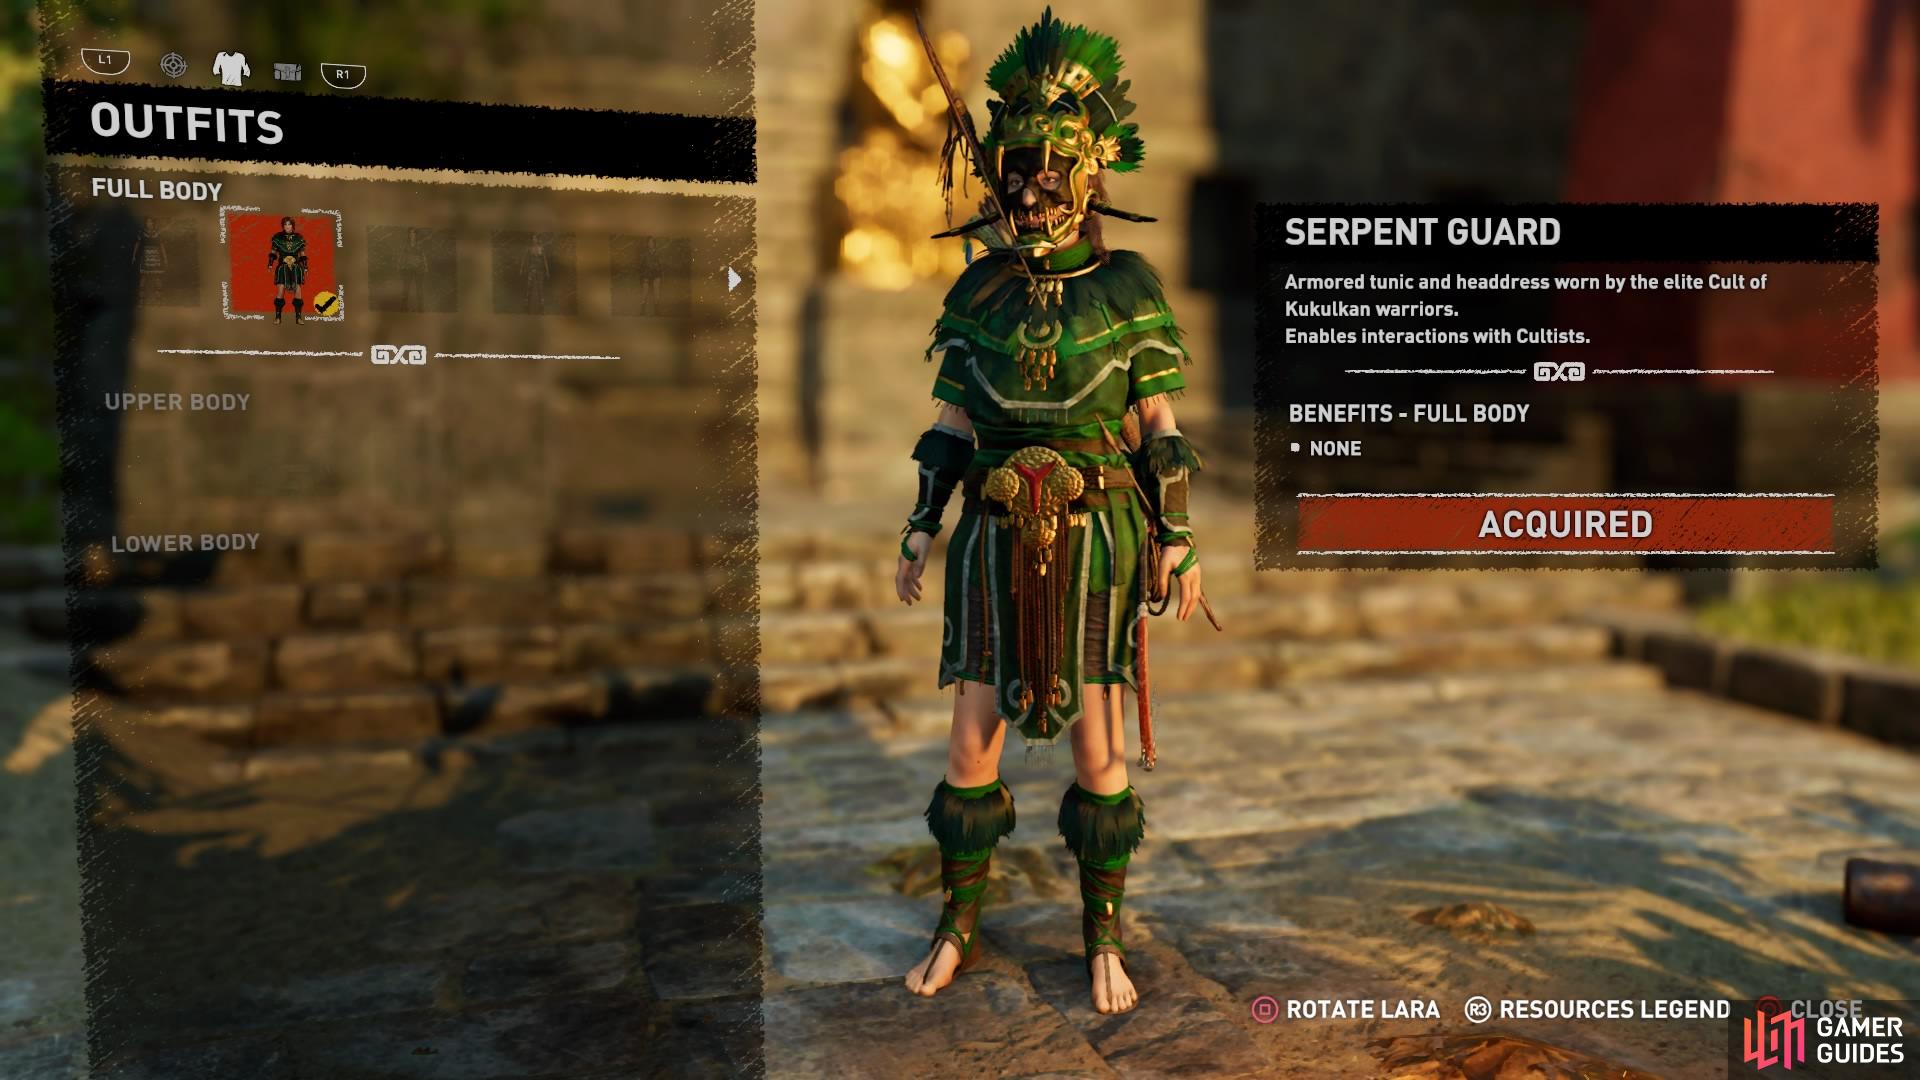
Skull Cave (left), Serpent Guard outfit (right)
MEET ETZLI IN UPPER PAITITI
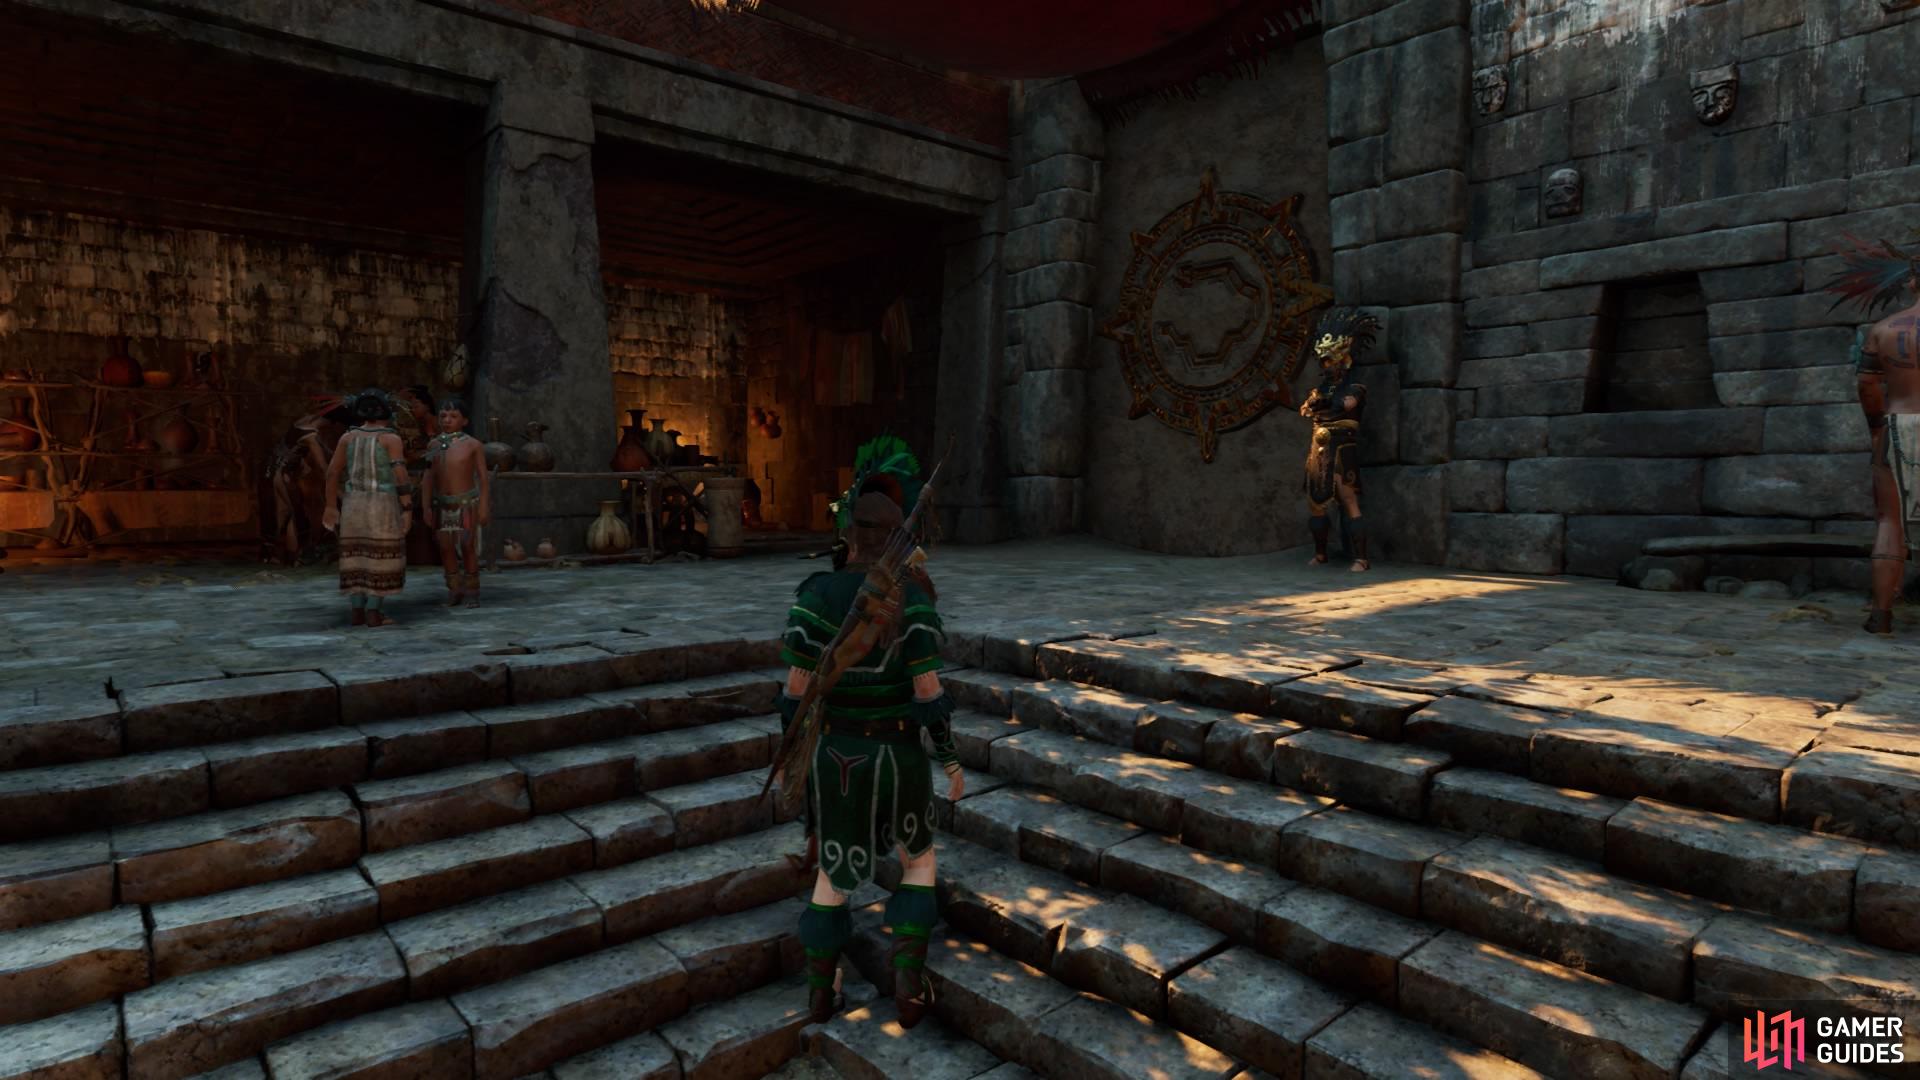
Head to the bridge near the Market District to cross over to Upper Paititi and slip through the opening to follow the corridors. There’s a braided rope-barrier along the way – if you have the Reinforced Knife, remove the barrier to find Relic - Year Bundle.
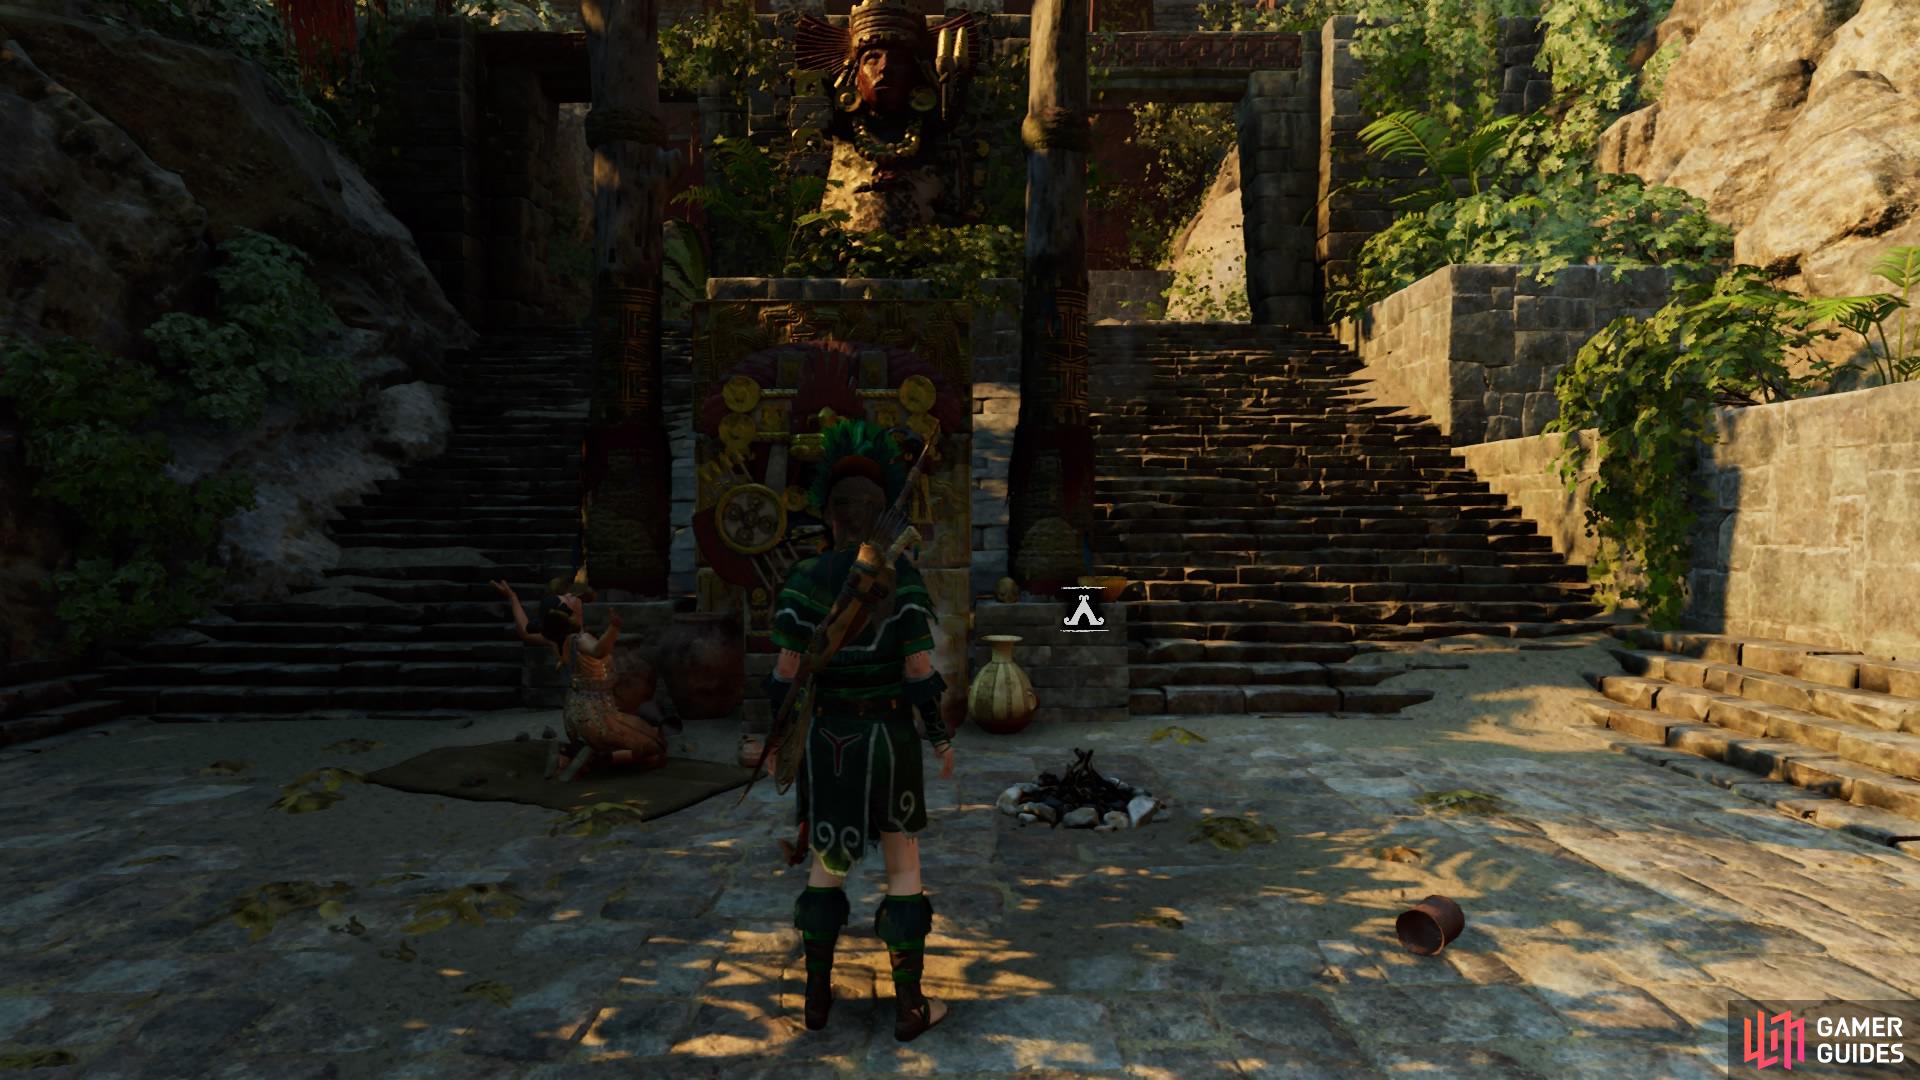
Continue on through the chamber until you reach the monolith on the other side, then turn around and follow the path to reach the Upper City Main Gate Base Camp before meeting up with Etzli. There are steps either side of the Base Camp that you can follow to the back to find Relic - Tlaloc Vase sitting on a table.
While discussing entry into the temple, Etzli will also mention that a friend of his needs help. This starts the side mission, Collateral Damage. It’s not necessary for the story, but now would be the most ideal time to complete it.
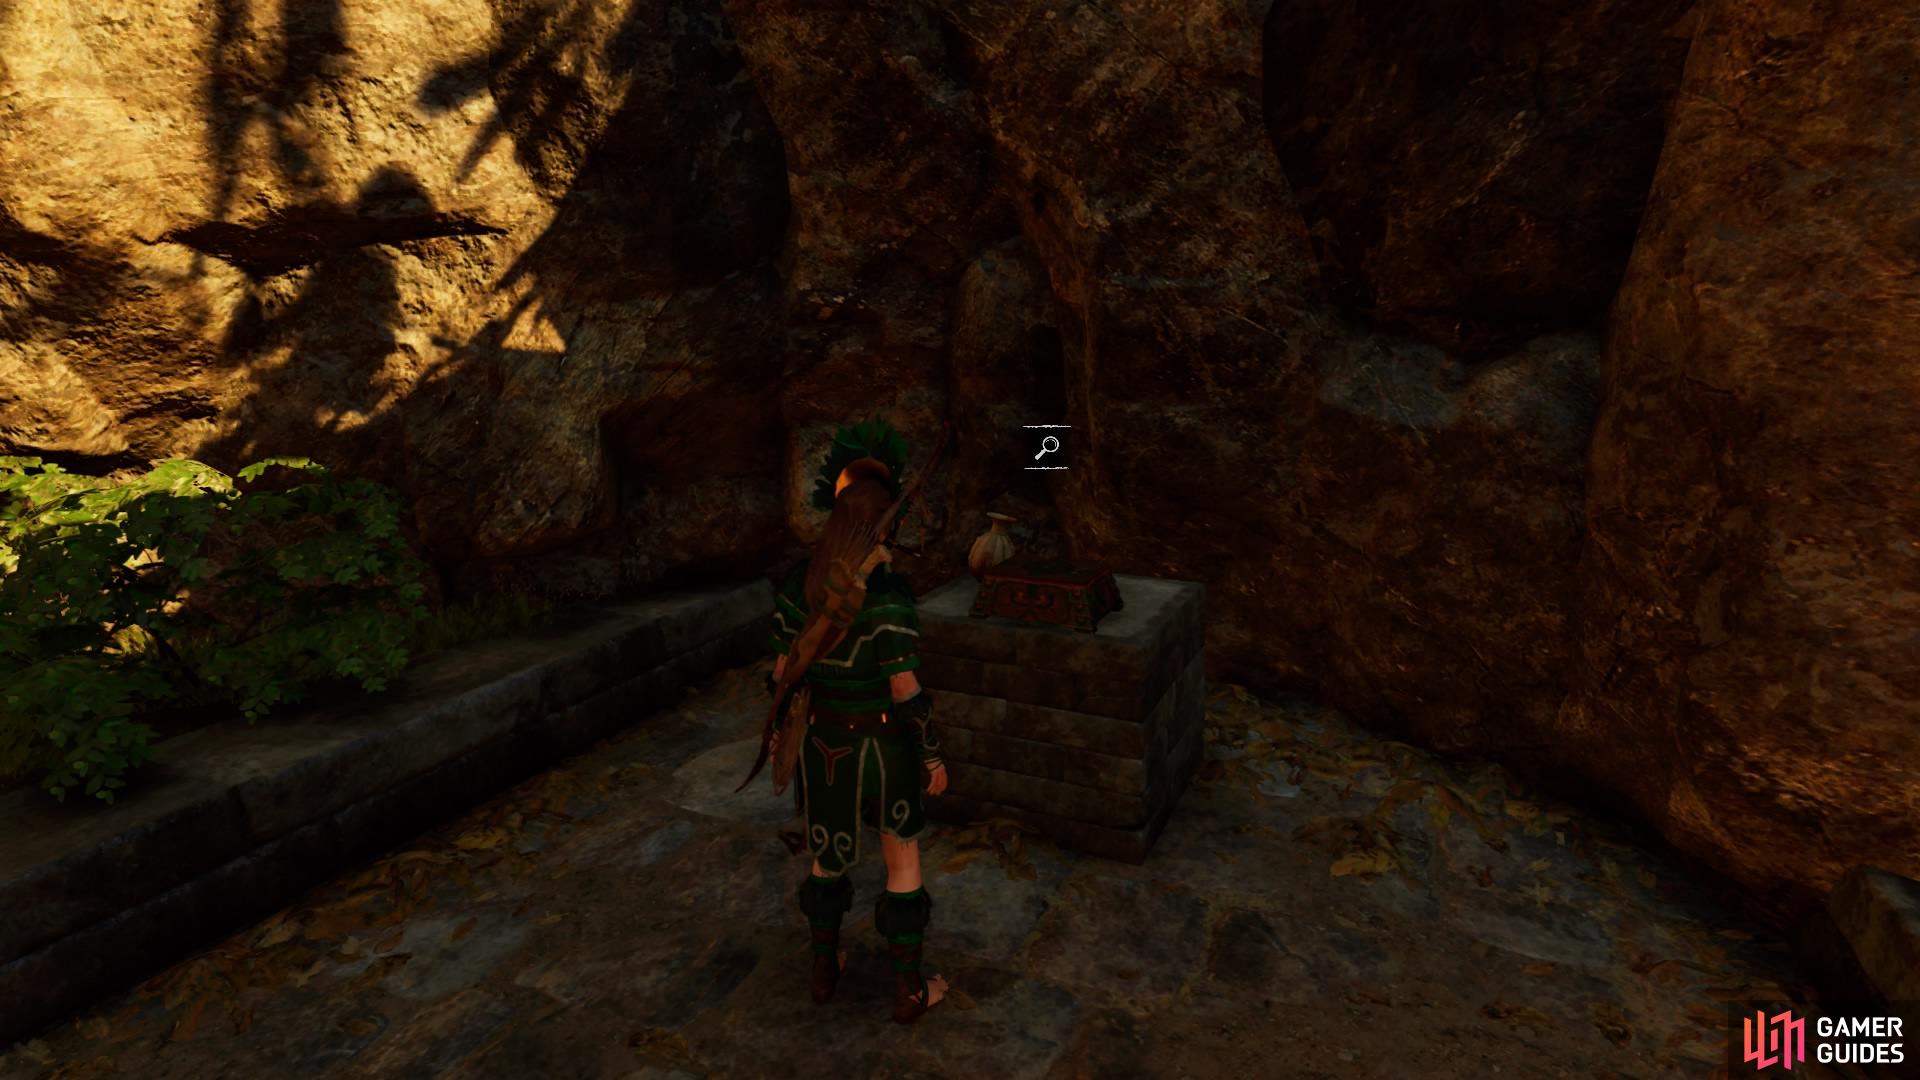
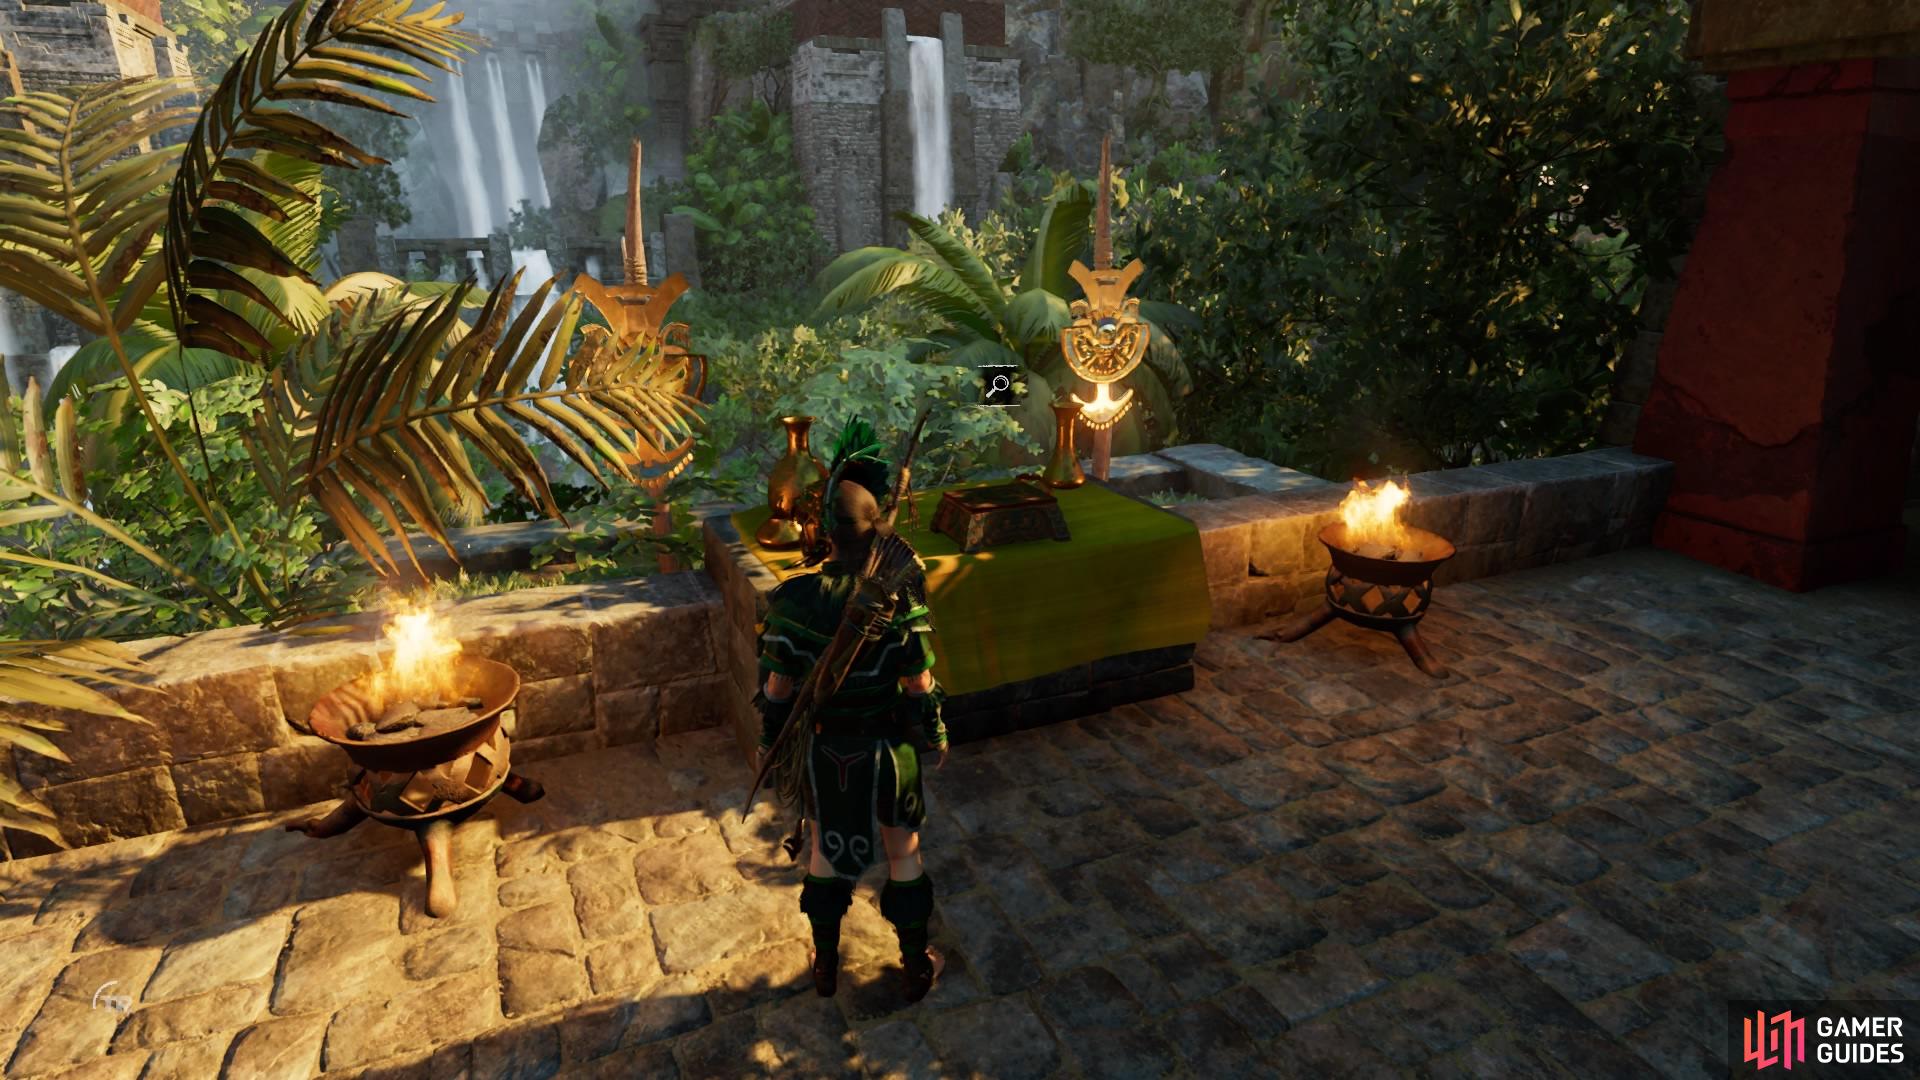
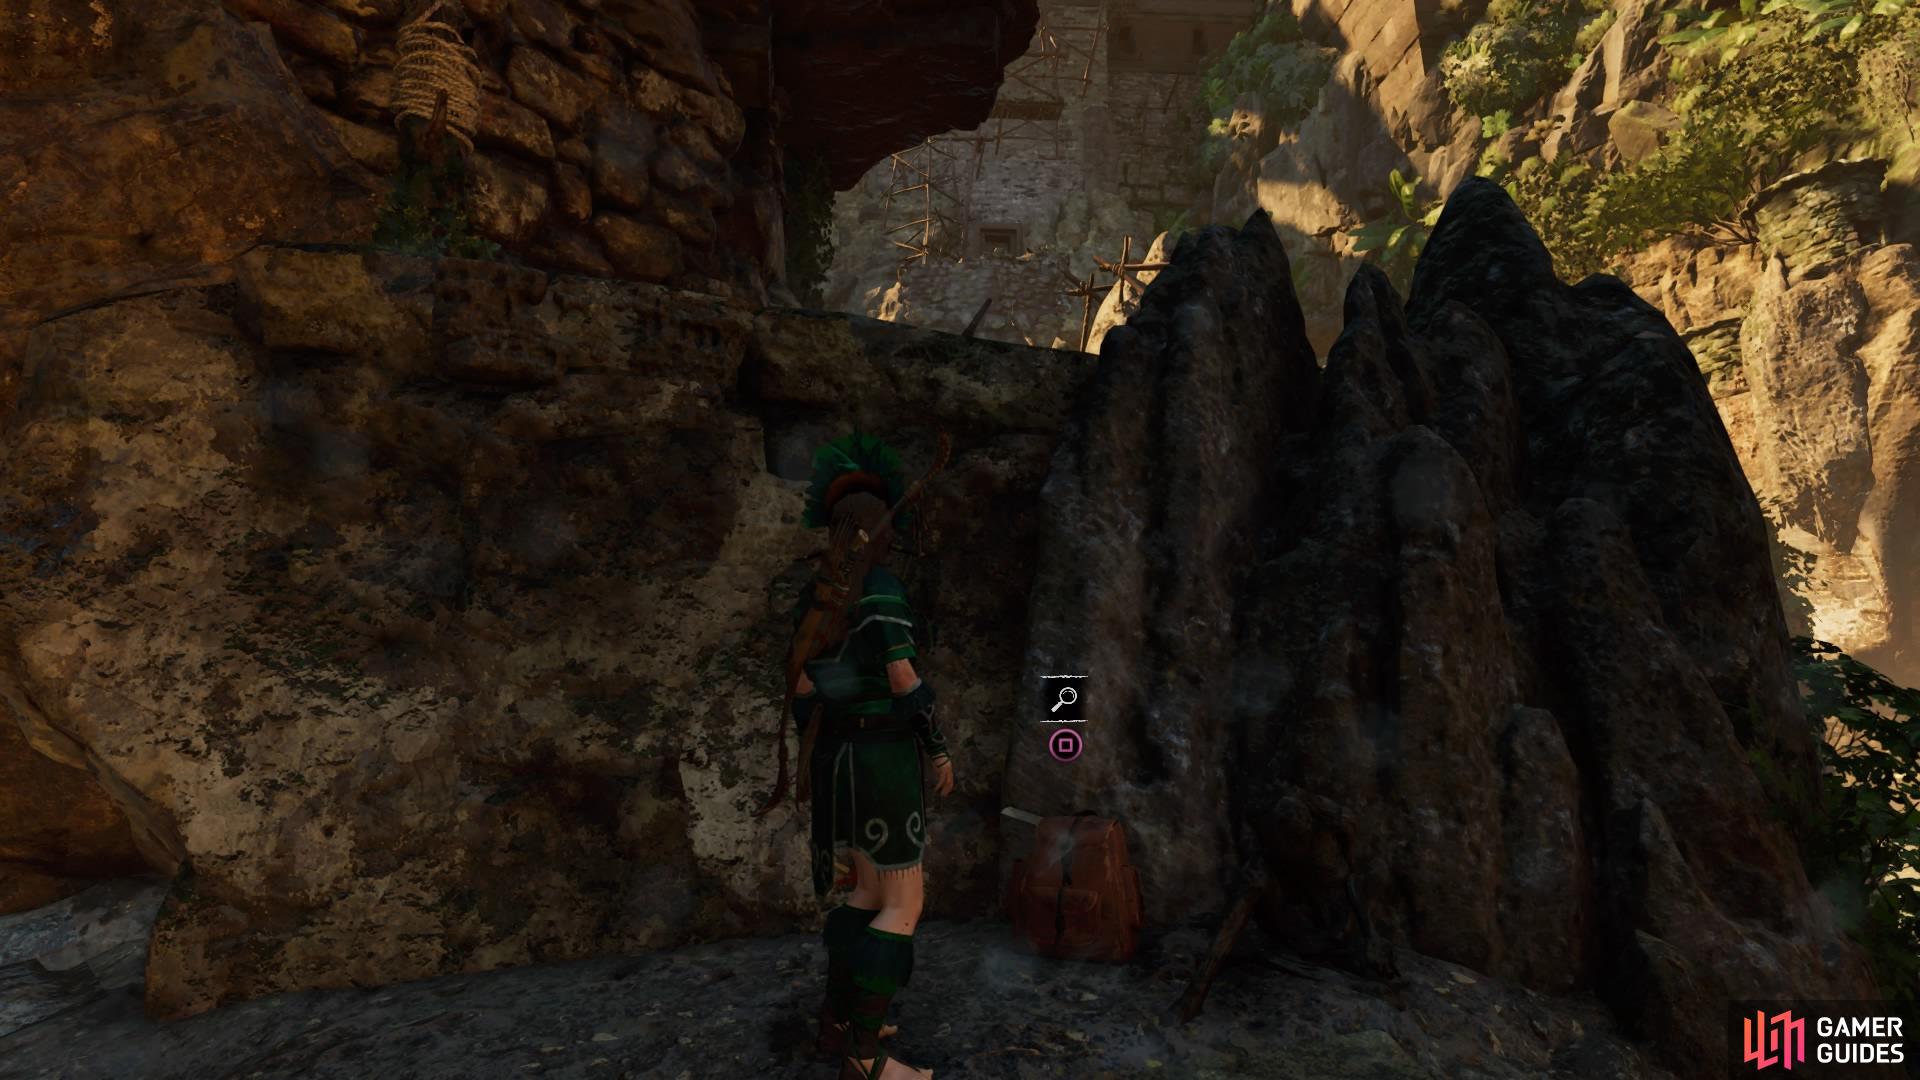
This area is also worth exploring for a few minutes to pick up Relic – Wooden Rifle and resources. At the back right of the area is a hole in the wall - scramble through to find two documents as well as an Archivist Map. There’s even a treasure chest available nearby if you have the Lockpick.

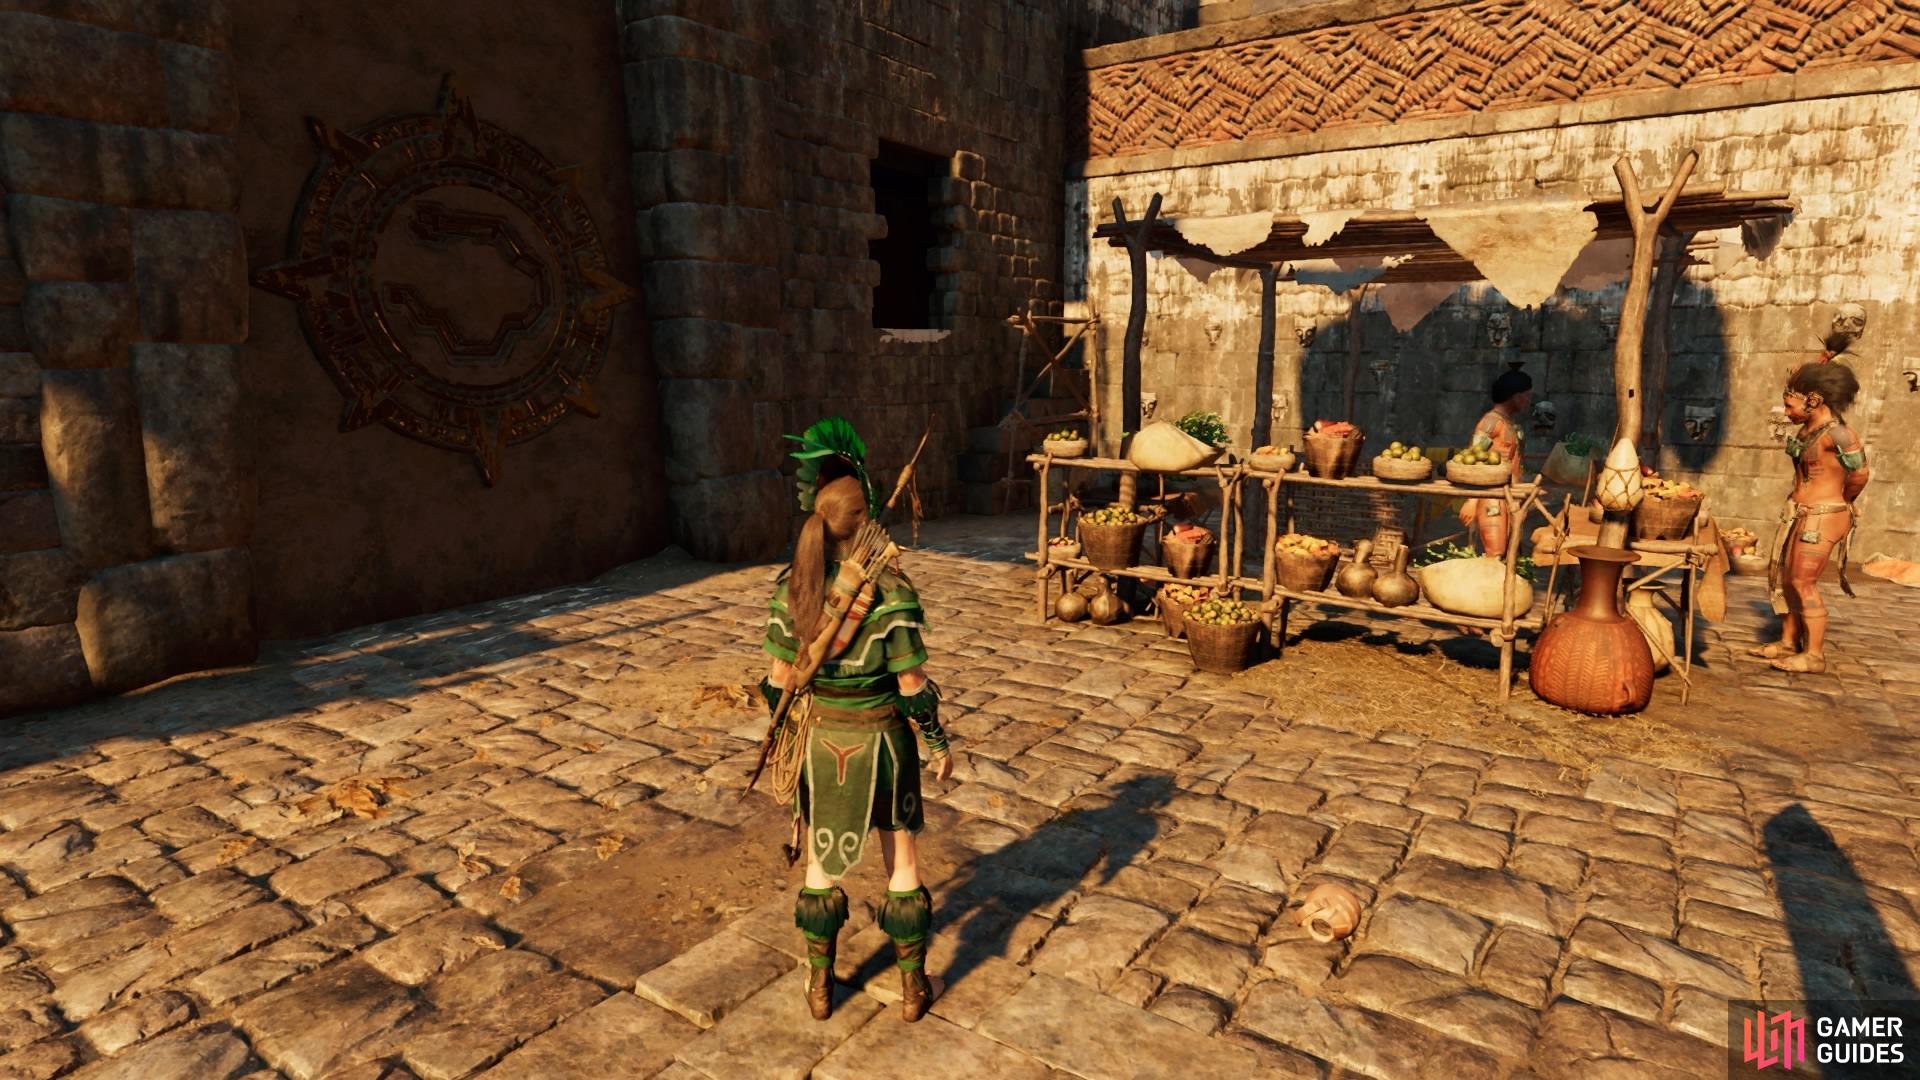
(1 of 4) Head to the upper back-left of the area for a Relic
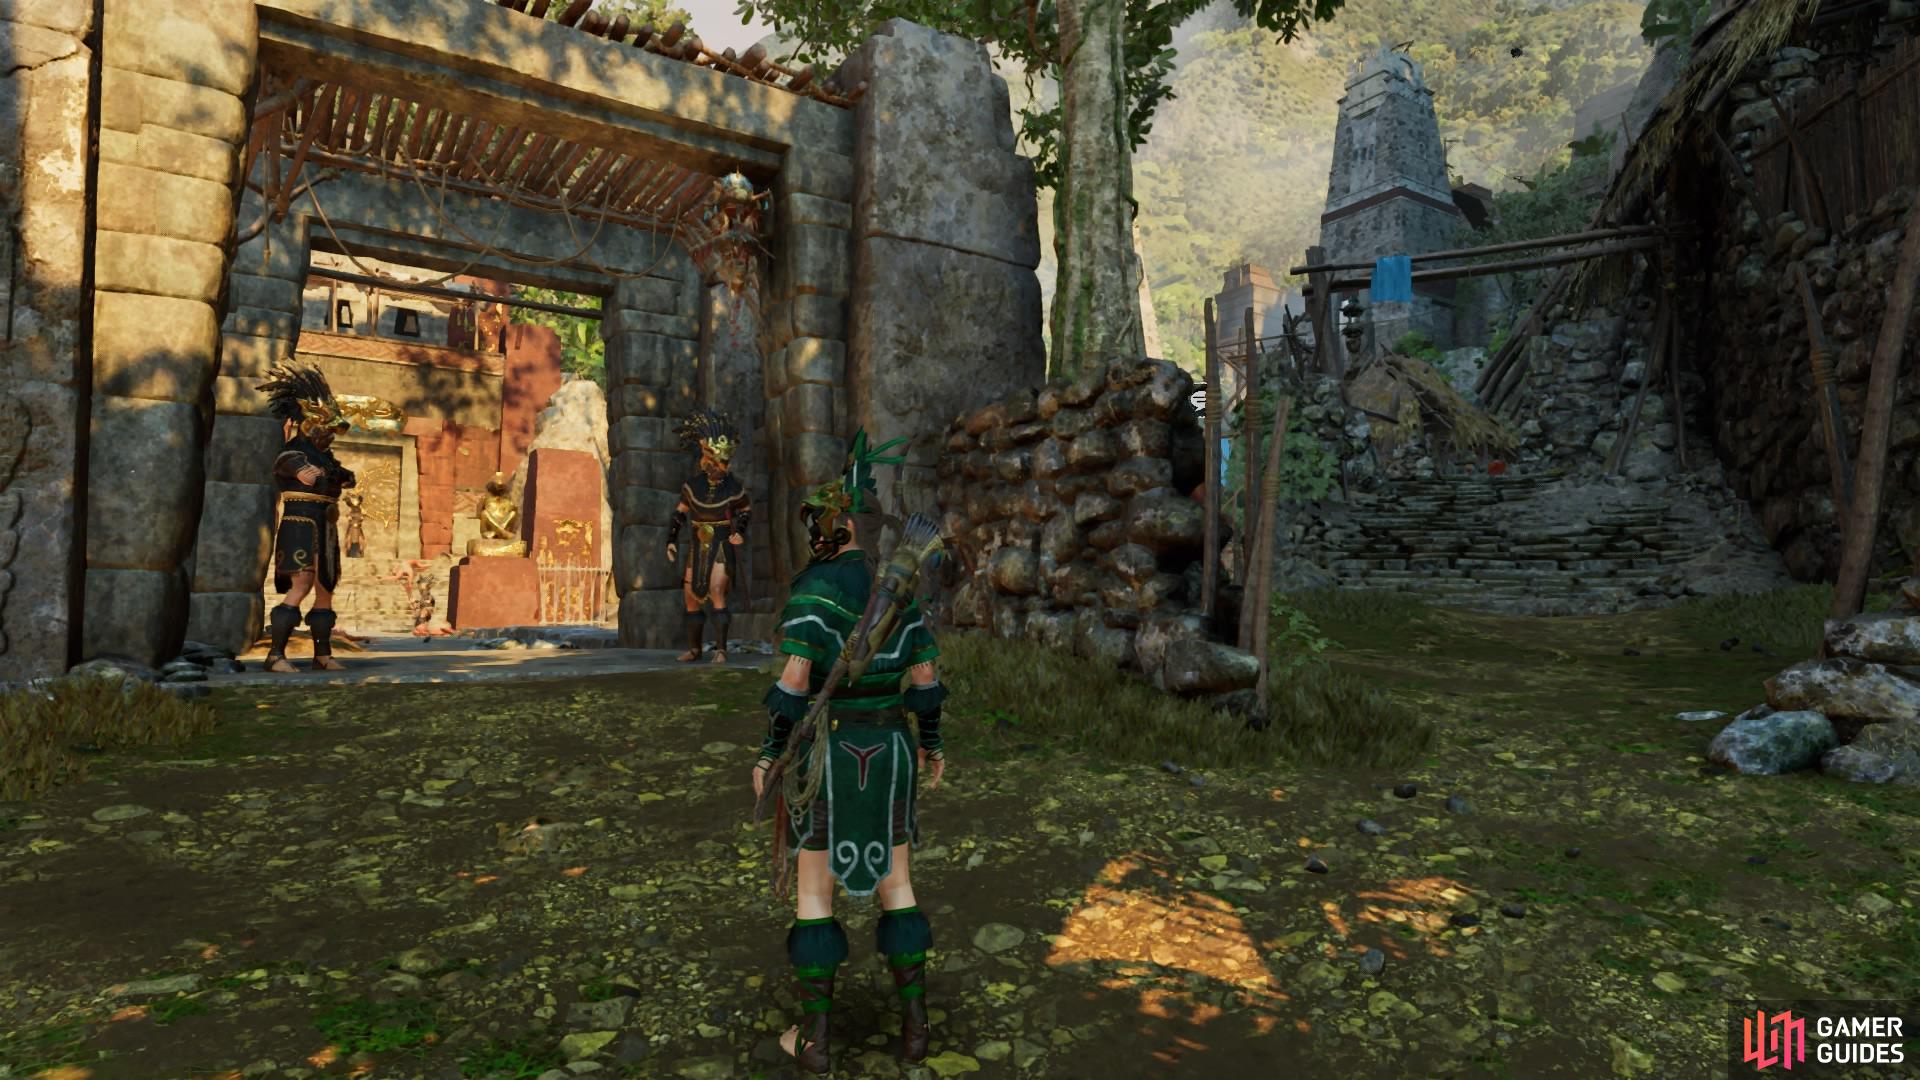
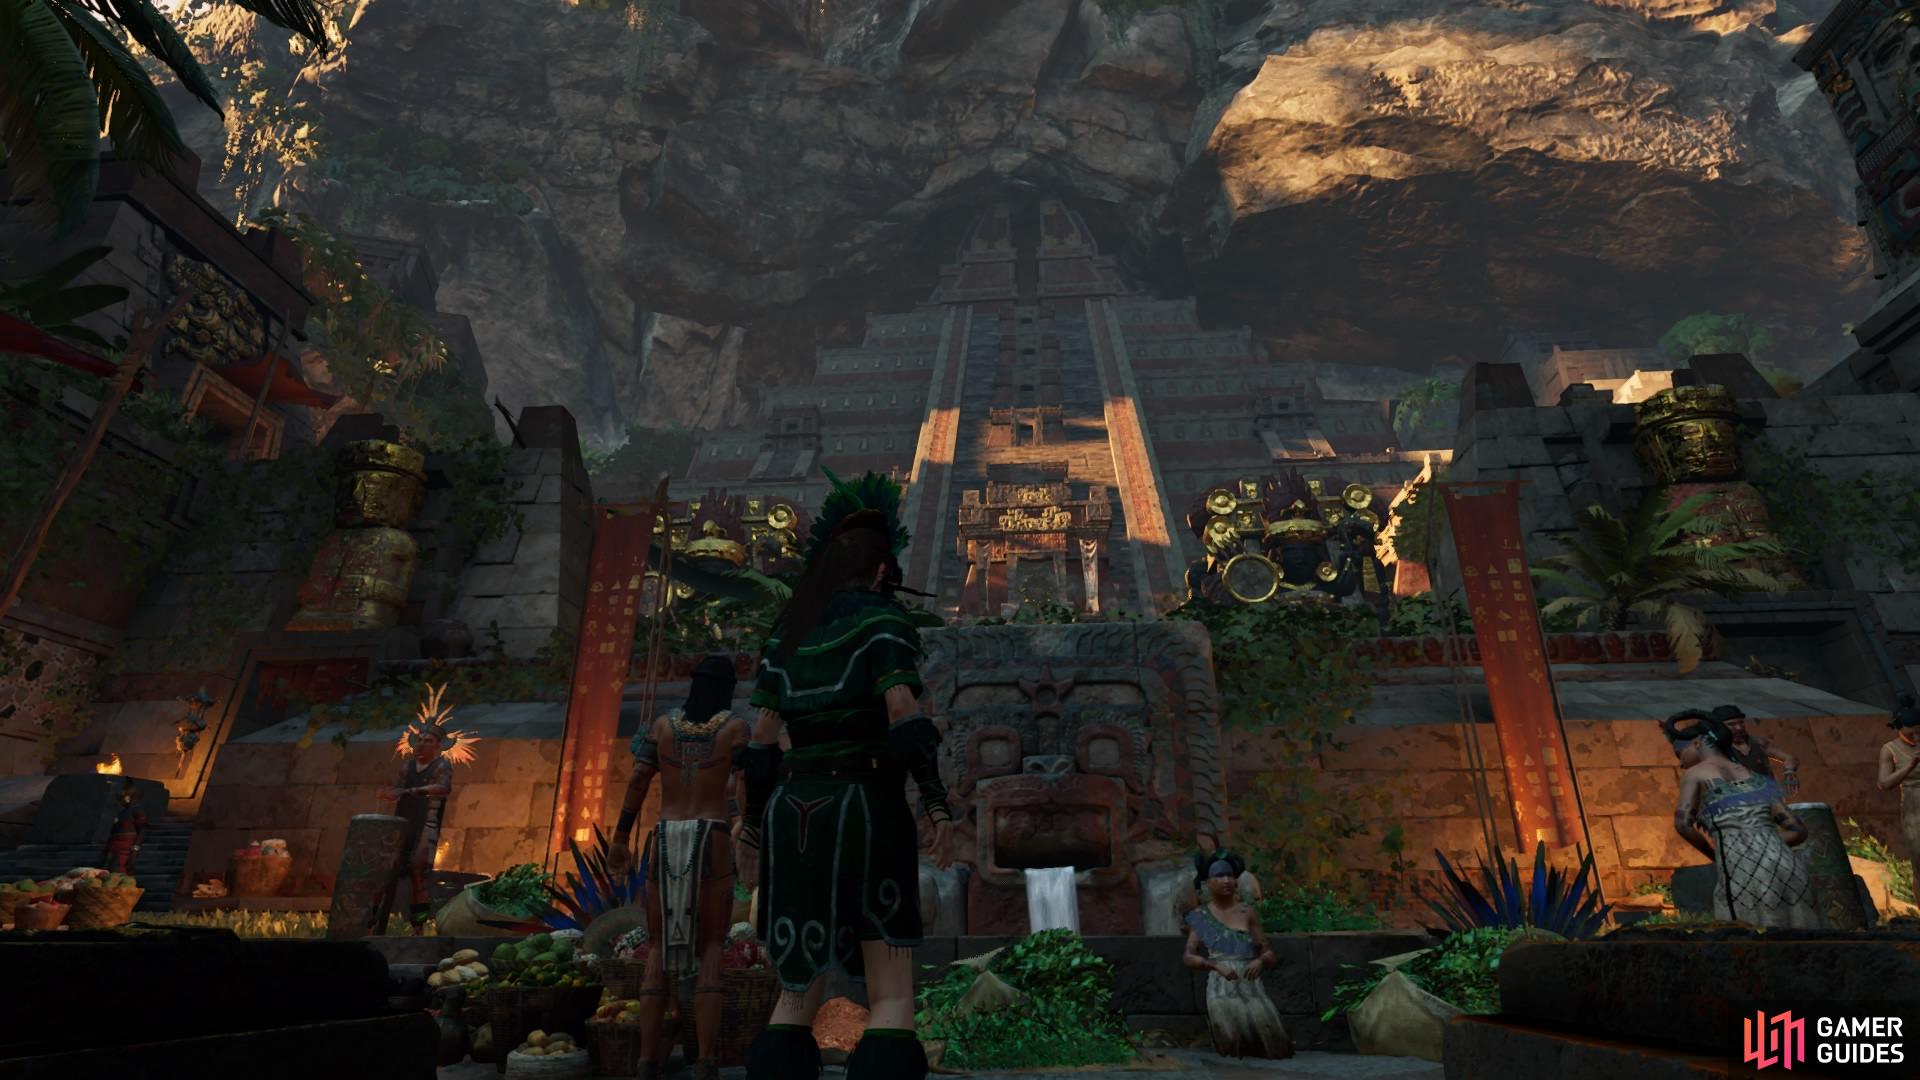
ENTER THE TEMPLE OF KUKULKAN
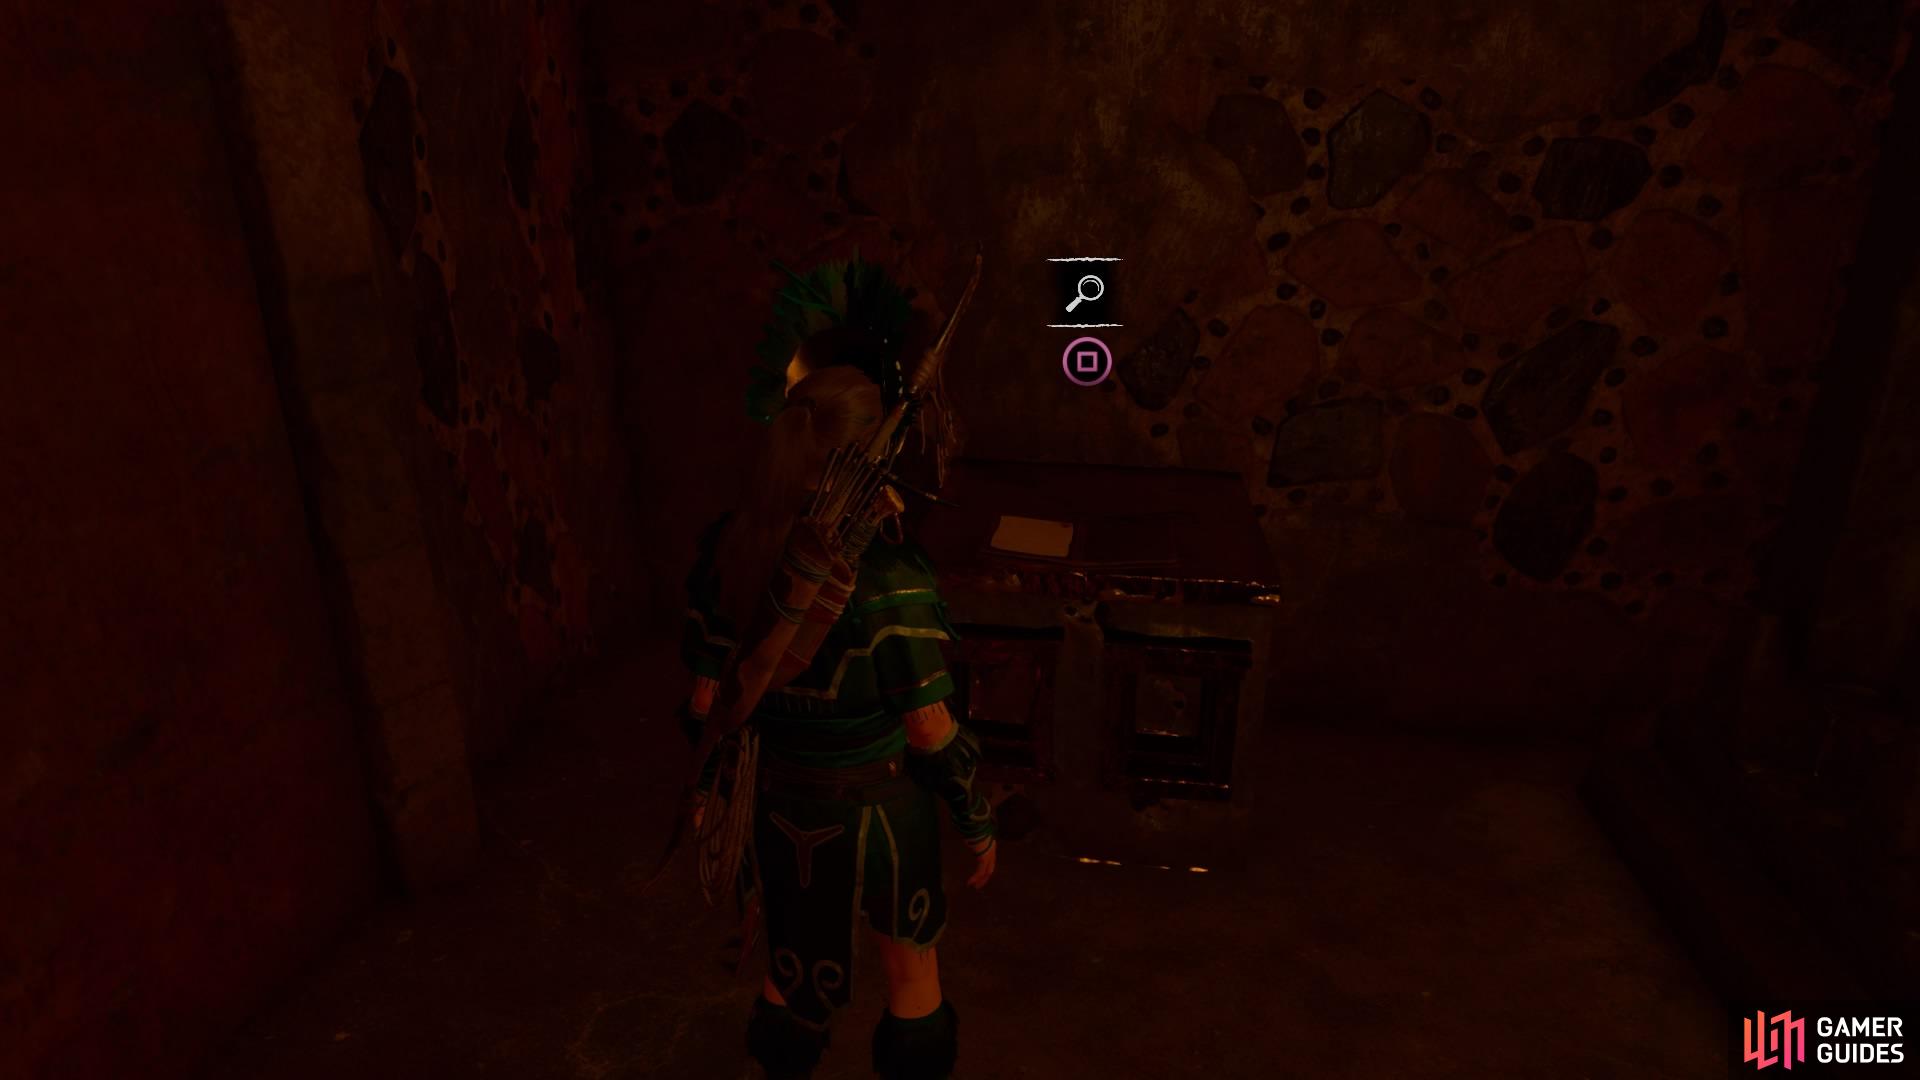
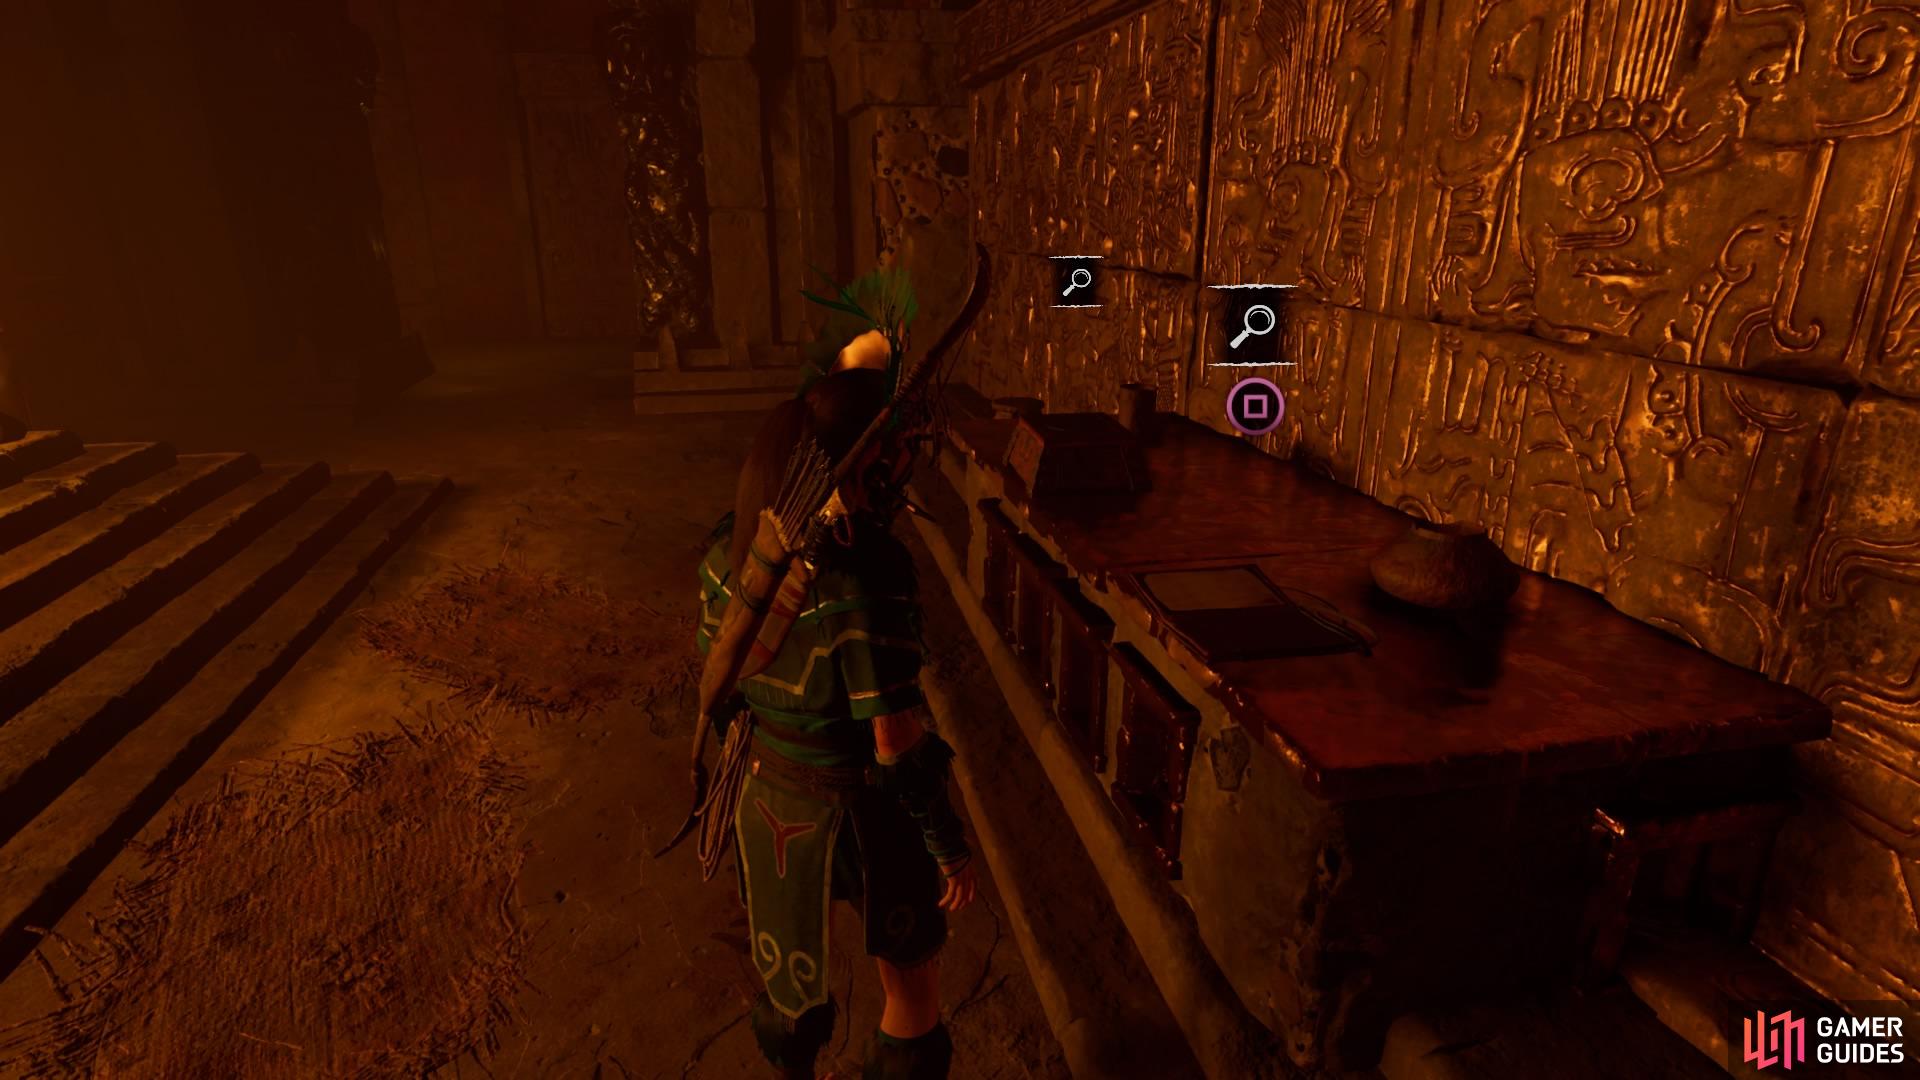
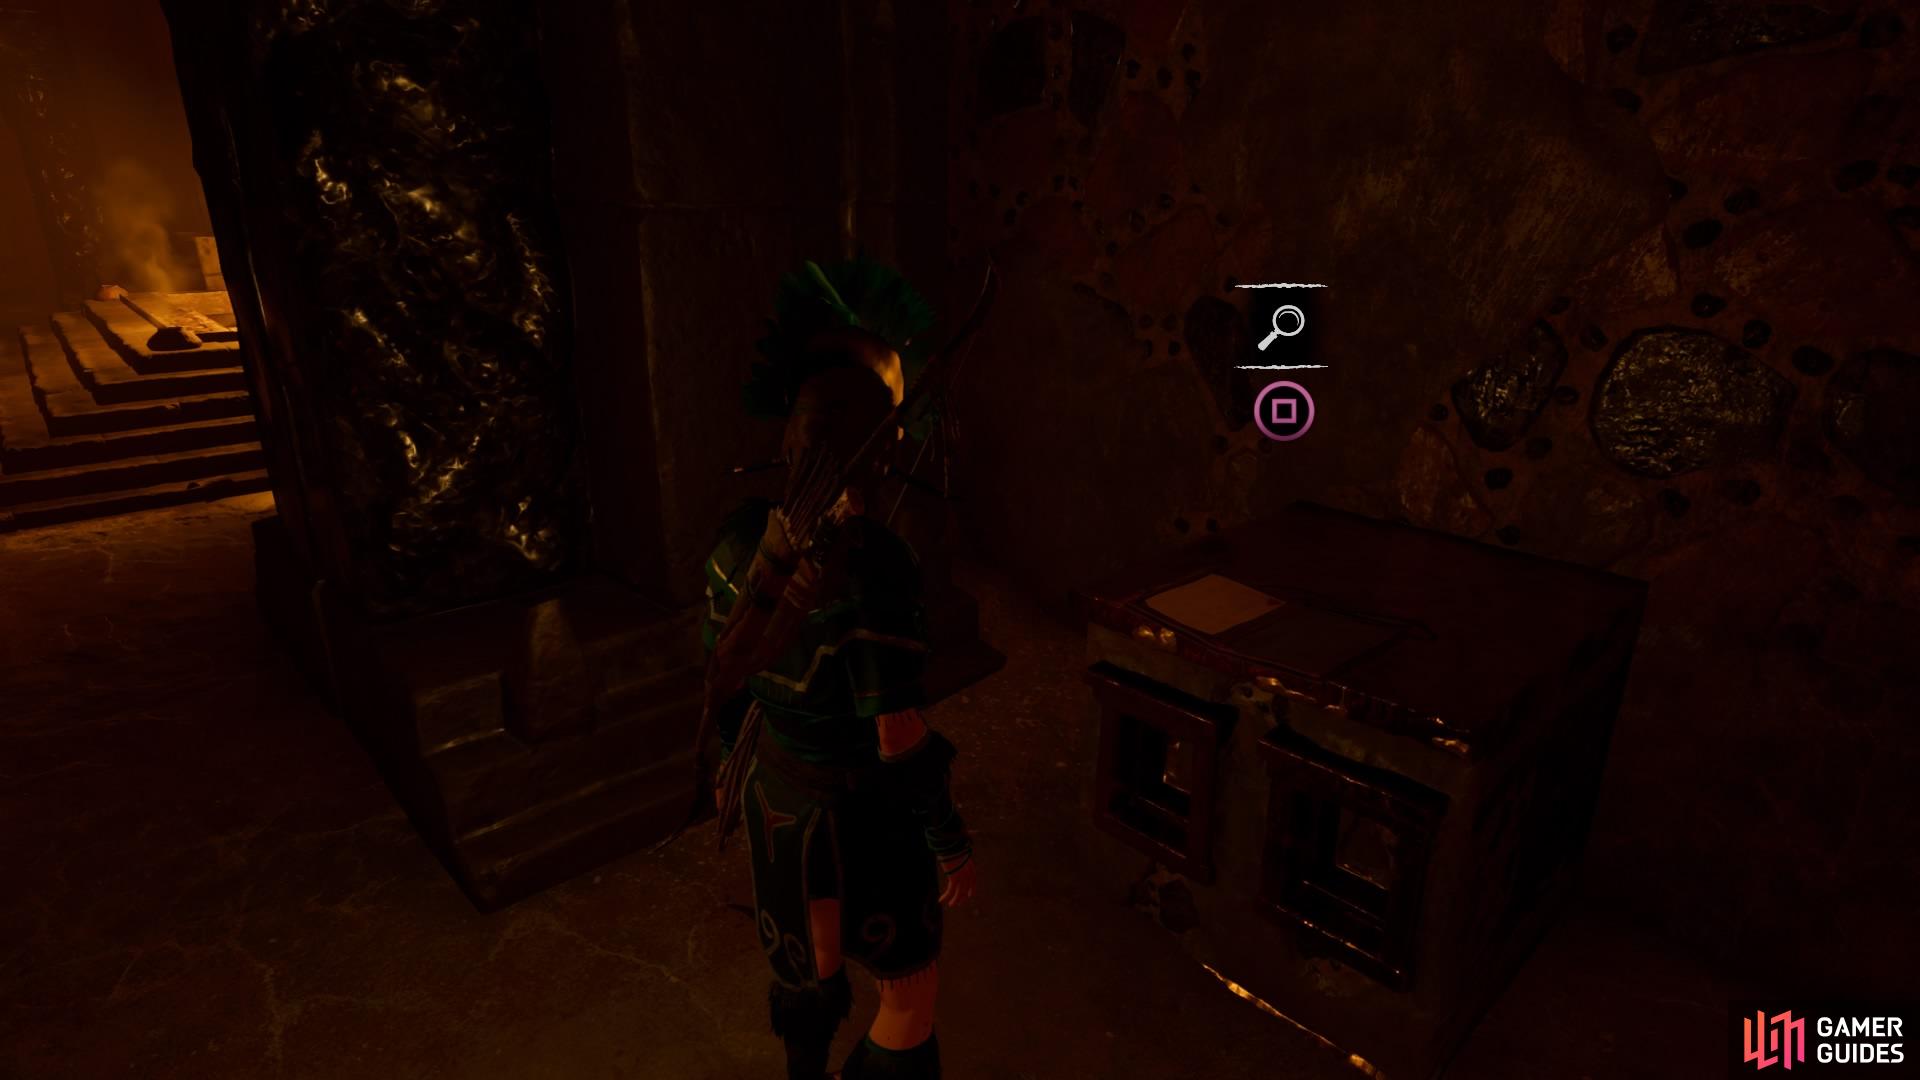
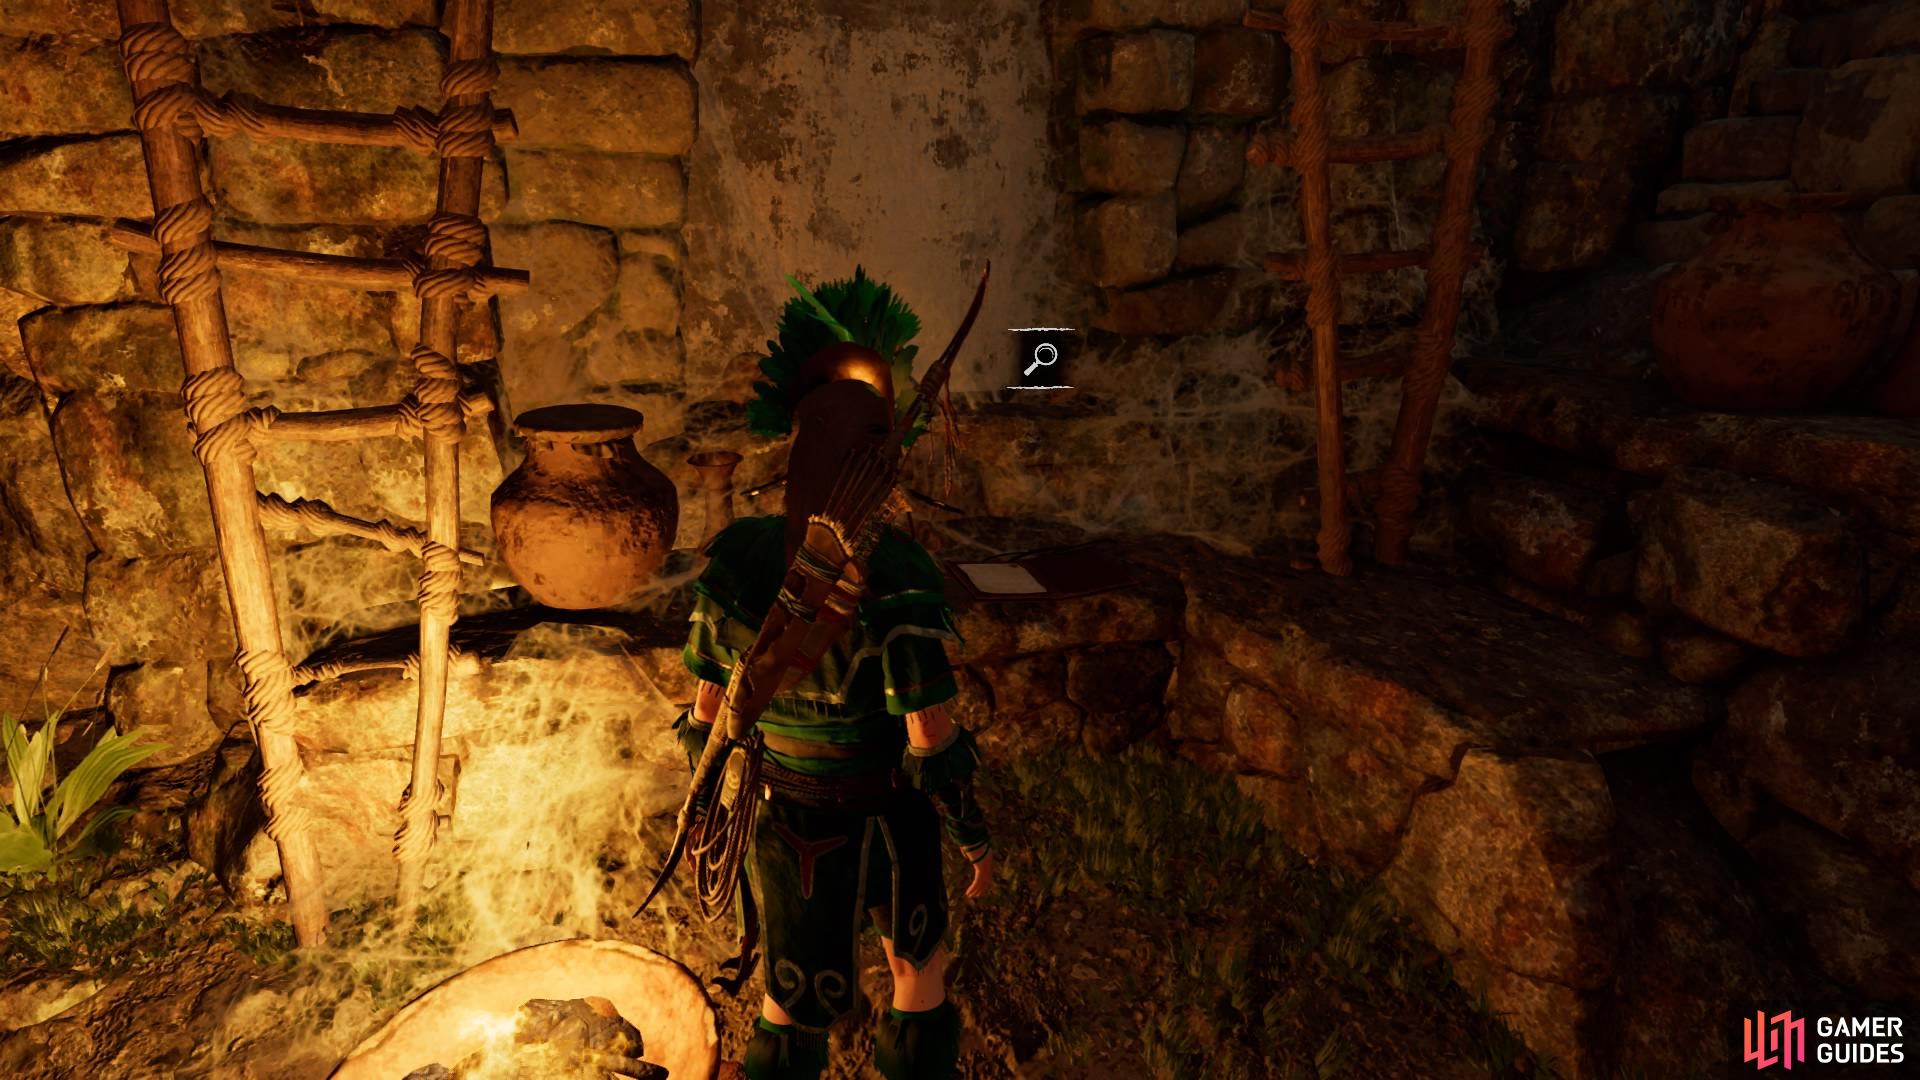
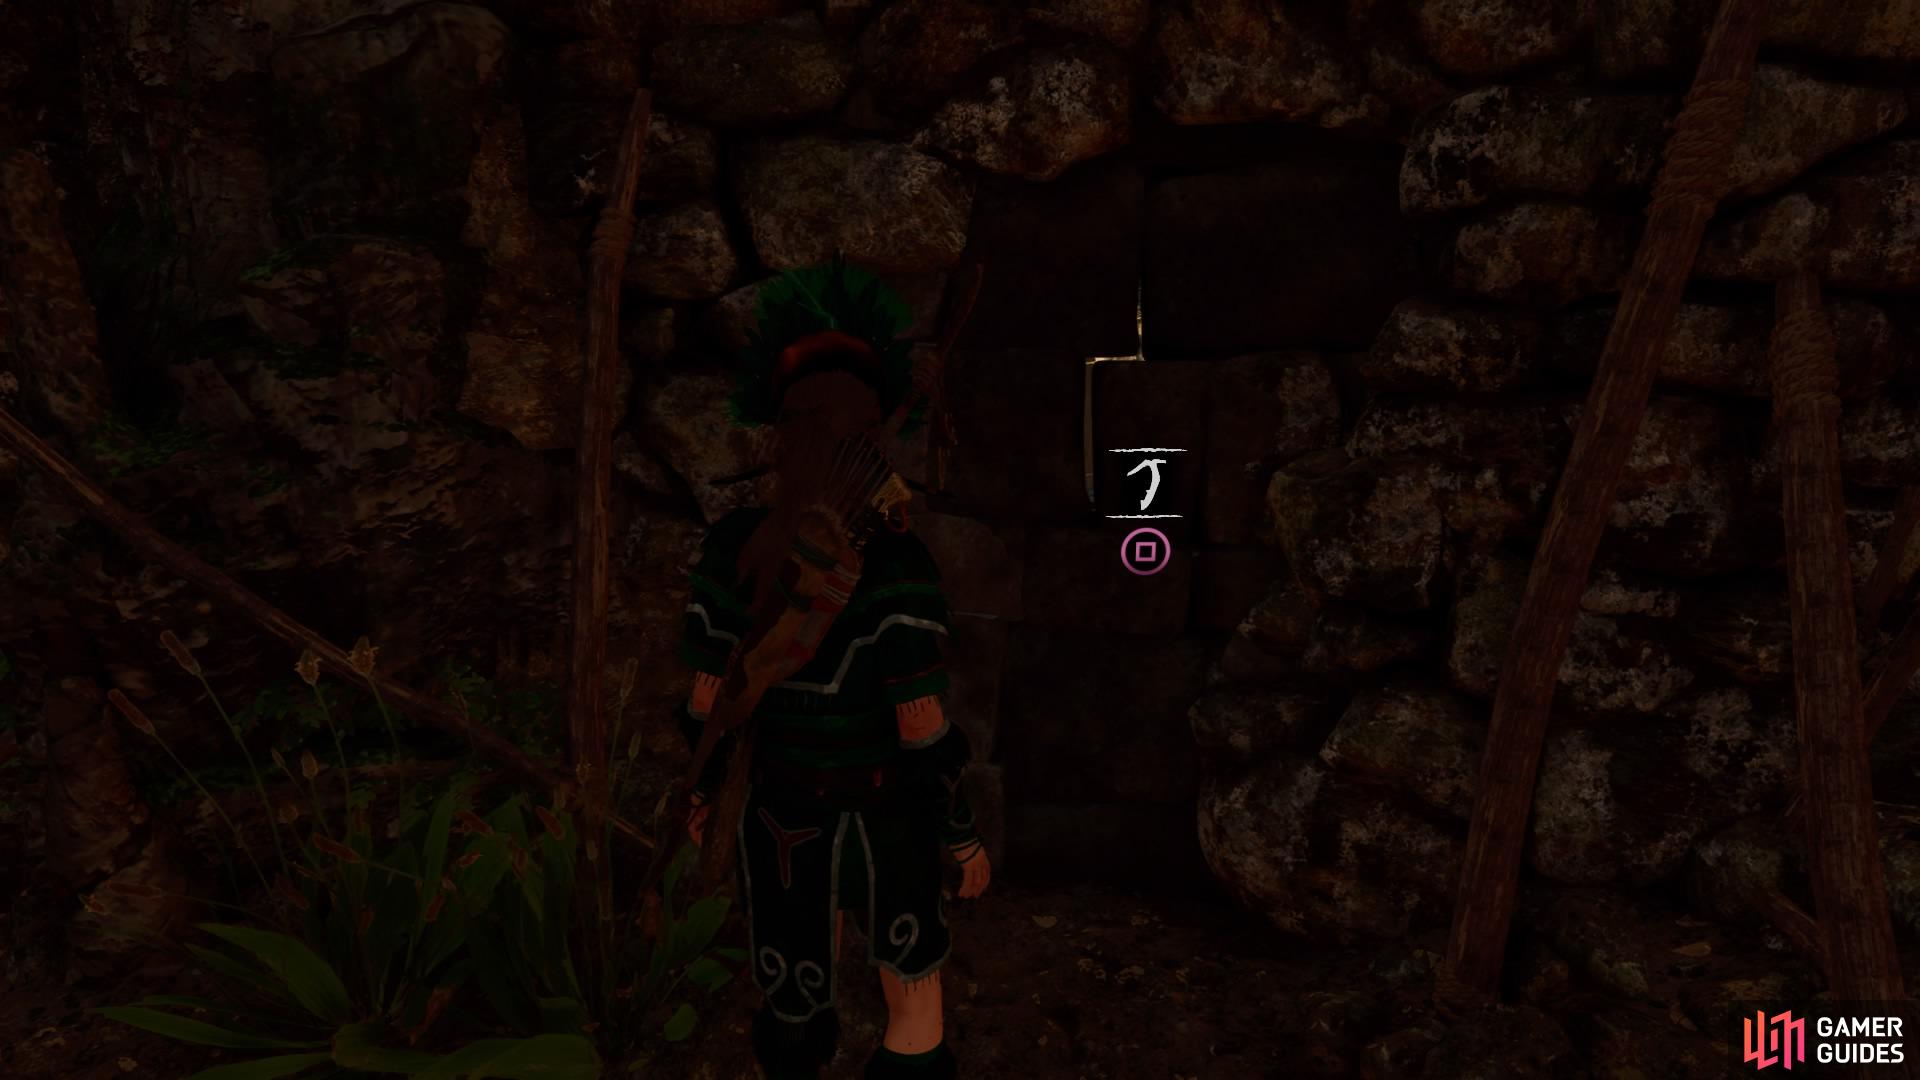
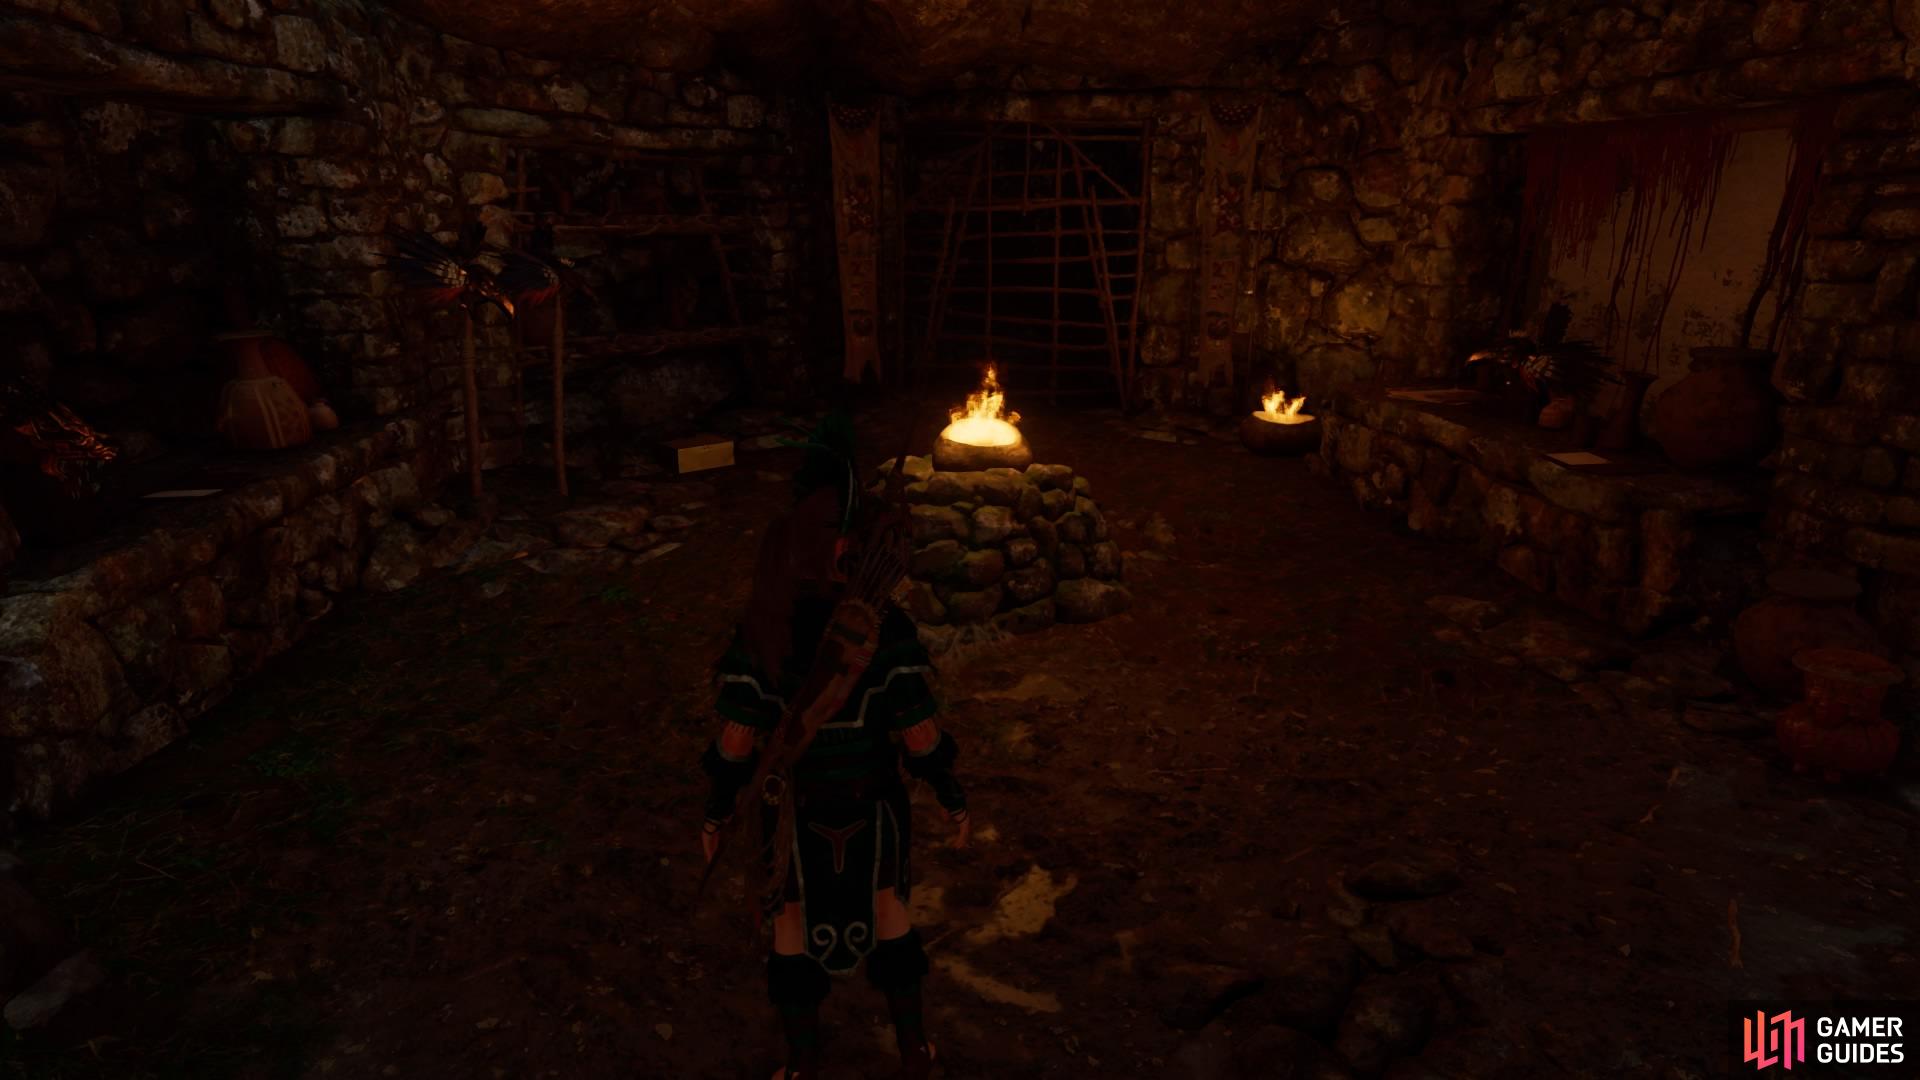
When you are ready, walk up to the two guards at the entrance to the temple and head inside. Follow the corridor straight until a cutscene starts. When it’s finished, you can take some time to explore the room for resources, several documents, and three relics.
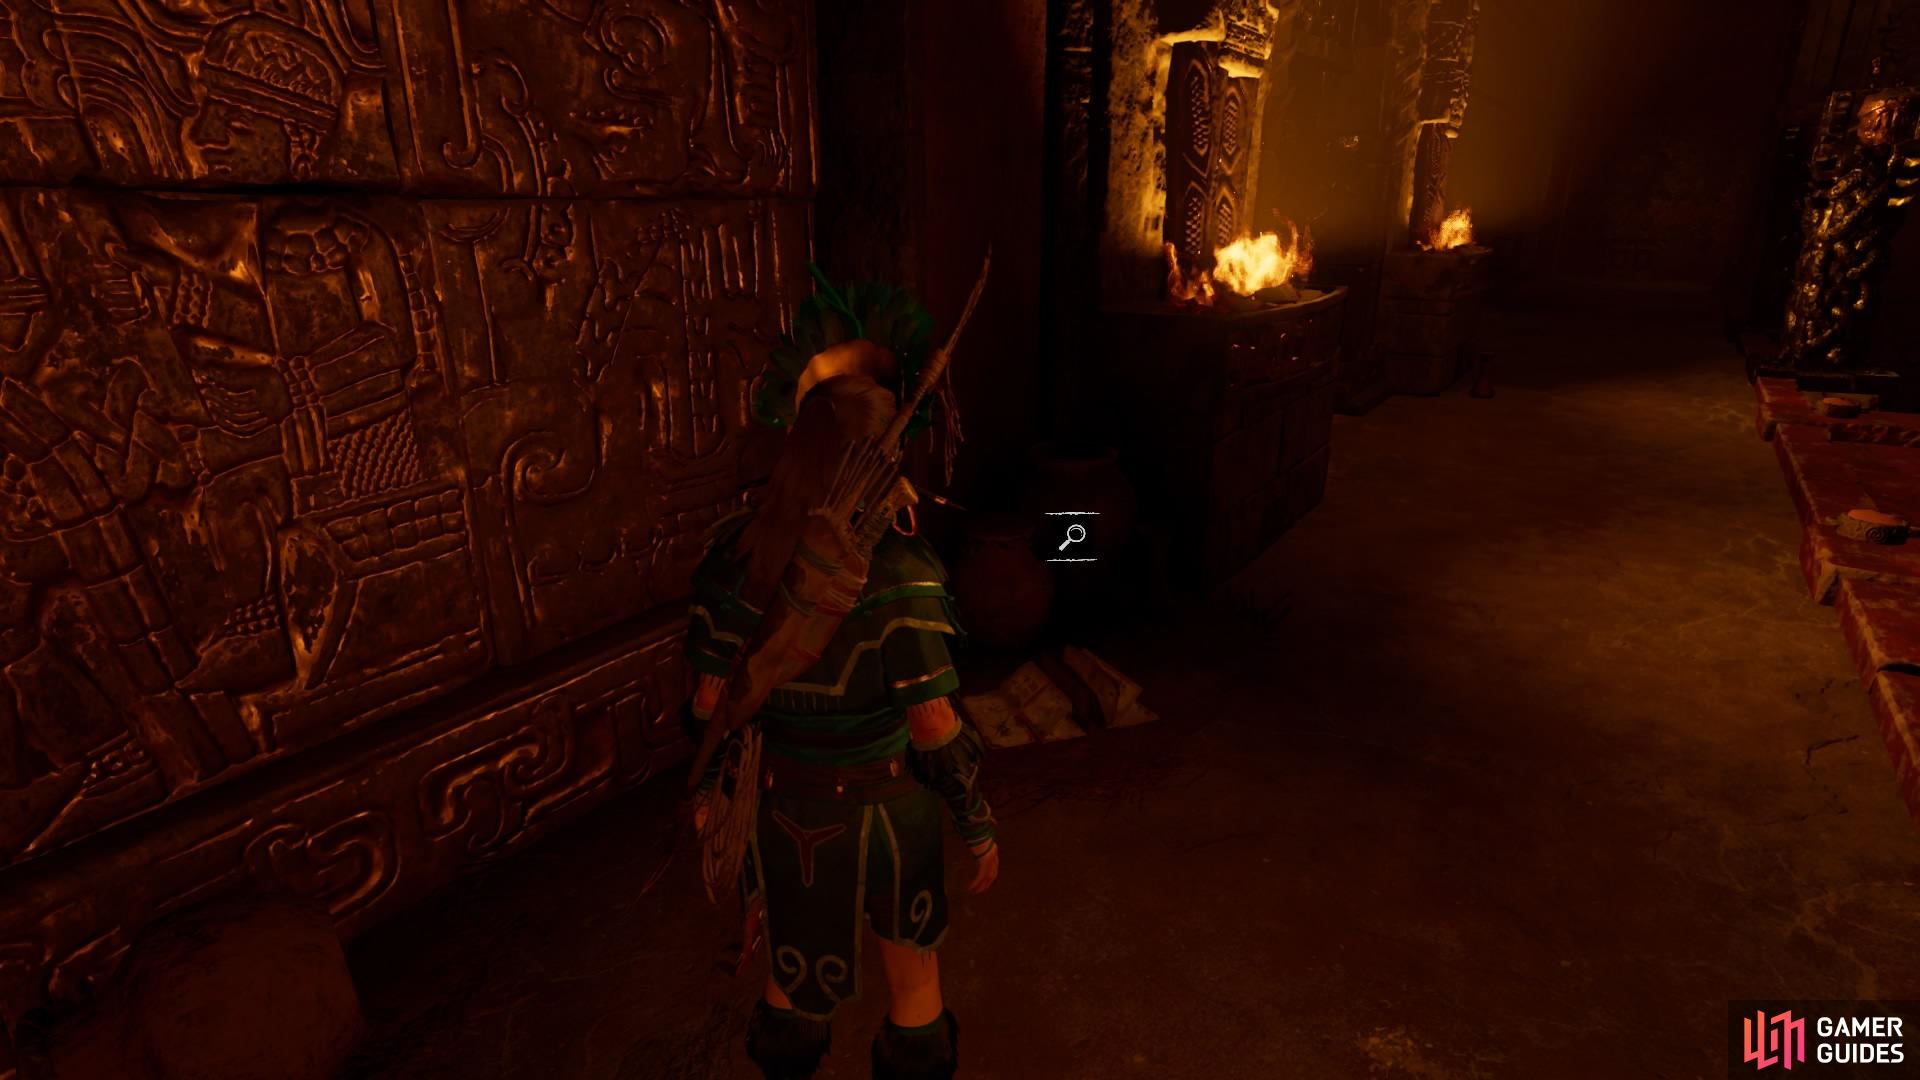
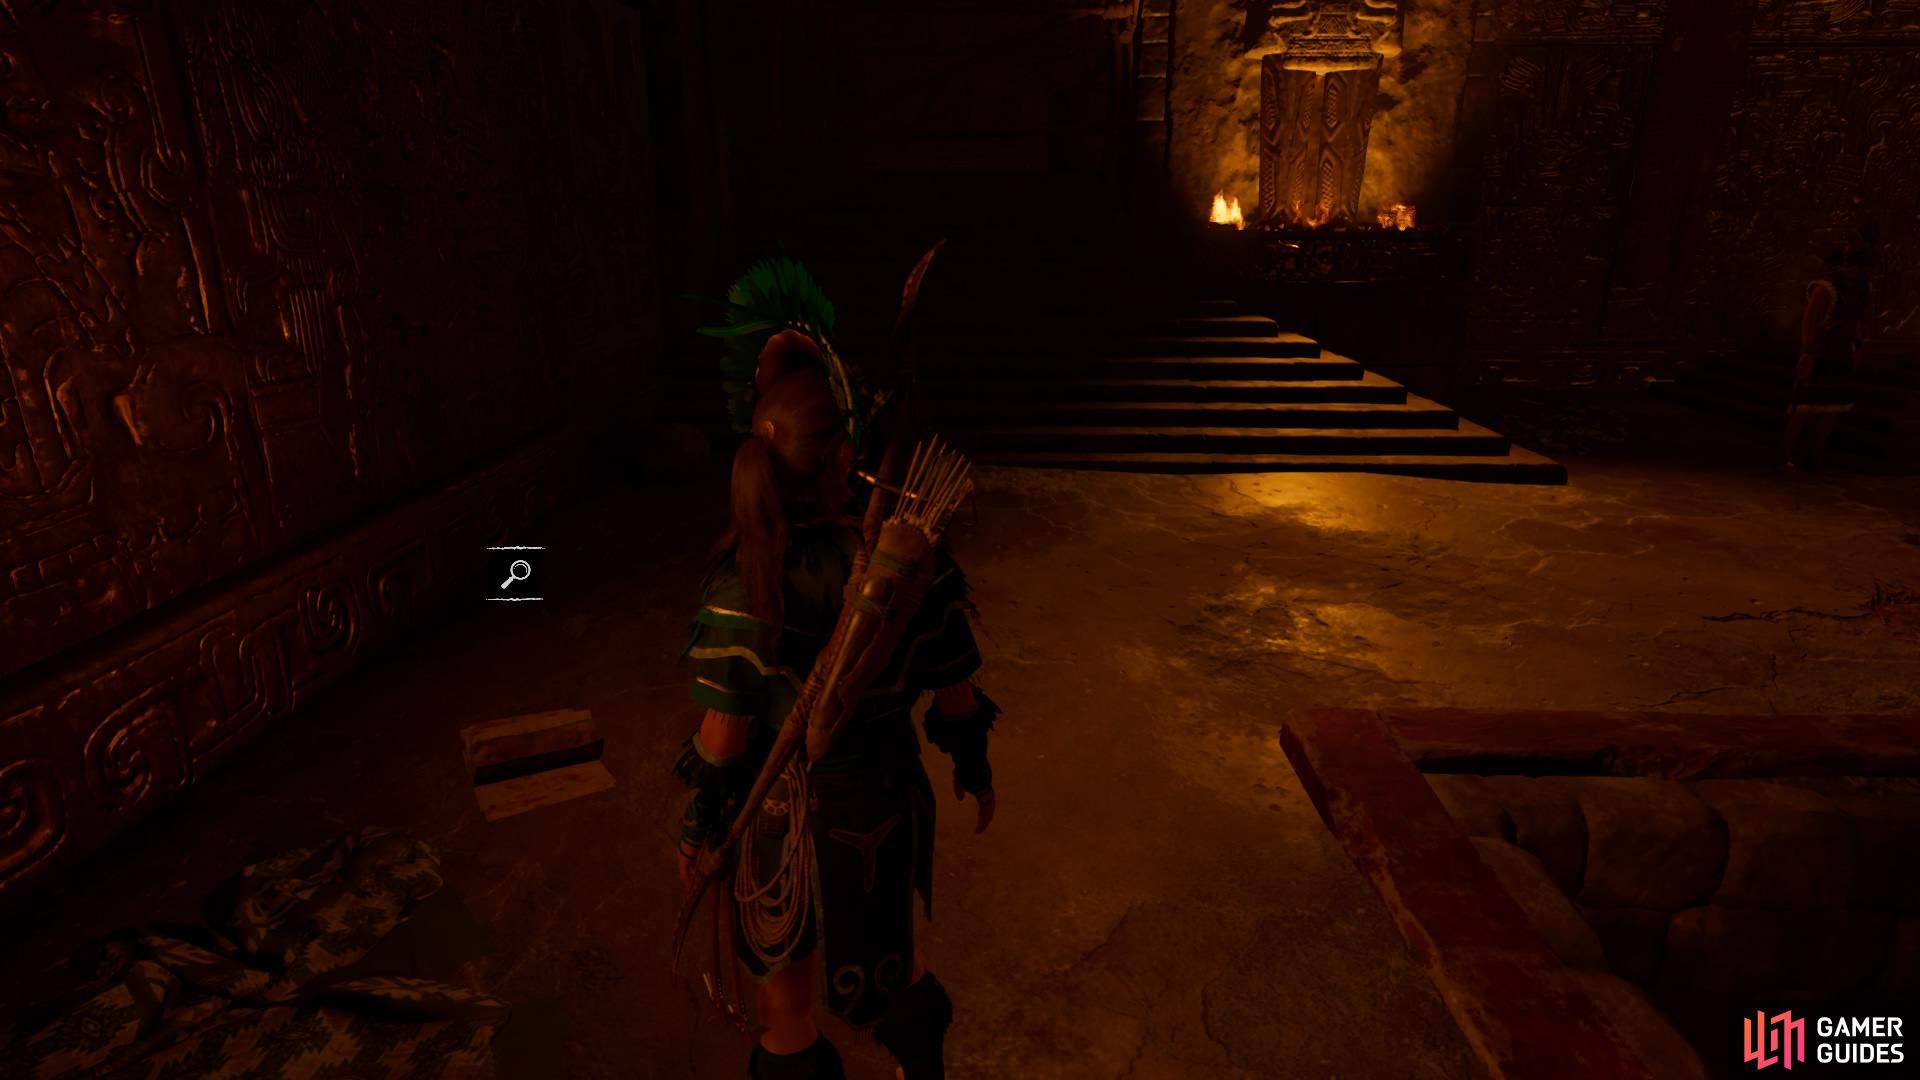
Exit out the right side and follow the corridor back outside.
BREAK UNURATU OUT OF PRISON
There are guards blocking the bridge, which means you’ll have to find a way around. Turn left, jump to the craggy wall, and move right.
-
Climb up to the beam and shimmy right. When it breaks in the middle, quickly grab on.
-
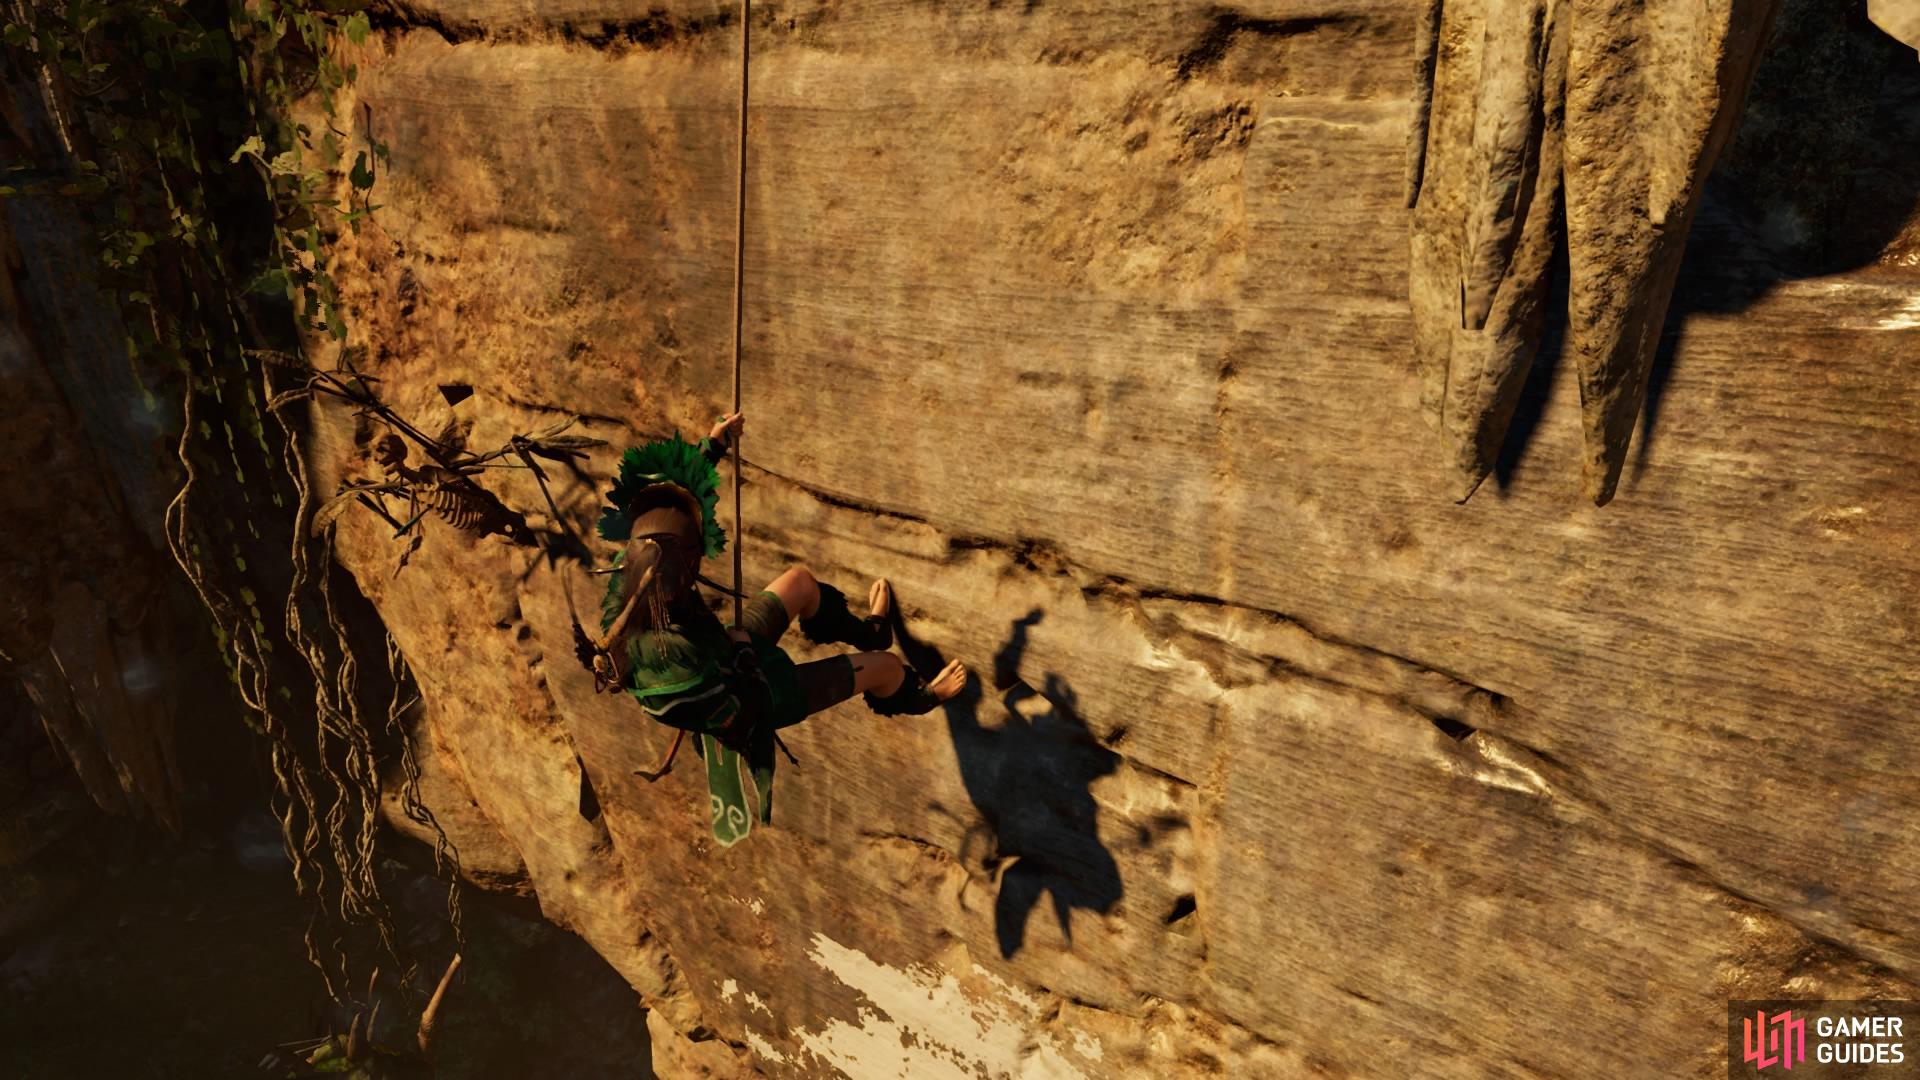
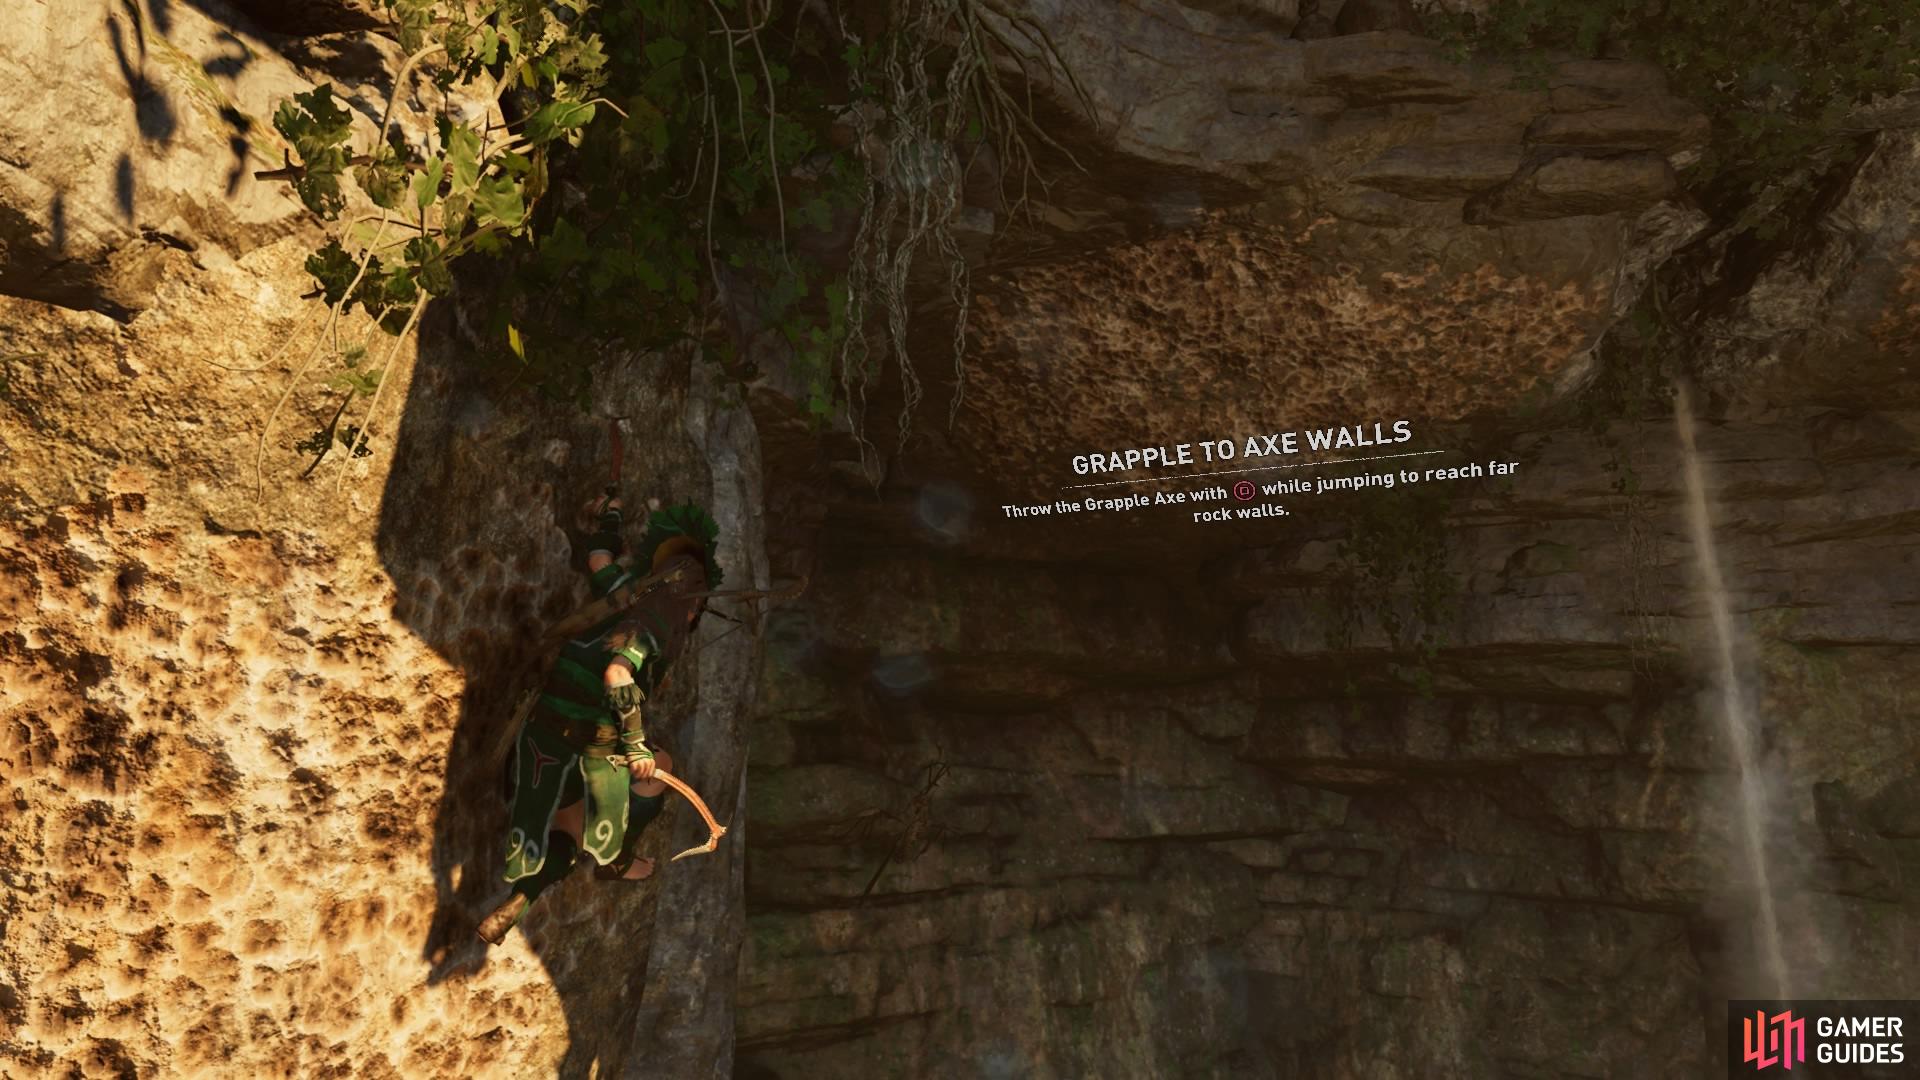
Continue right and then down, then rappel all the way down and wall-run to knock off the first skeleton for the Dunkin’ Bones challenge. Descend further to wall-run to the right and attach to the craggy surface – be ready to throw the Grapple Axe just in case!
-
Move left as the surface crumbles away and jump to the narrow shelf to shimmy left.
-
Scramble up the wall to the ledge and jump to the next surface on the left. Rappel down and swing left and right to take out the second skeleton for the region challenge. Now swing to the next platform.
-
Jump from the far side to wall-scramble to the craggy surface, then scale up and right.
-
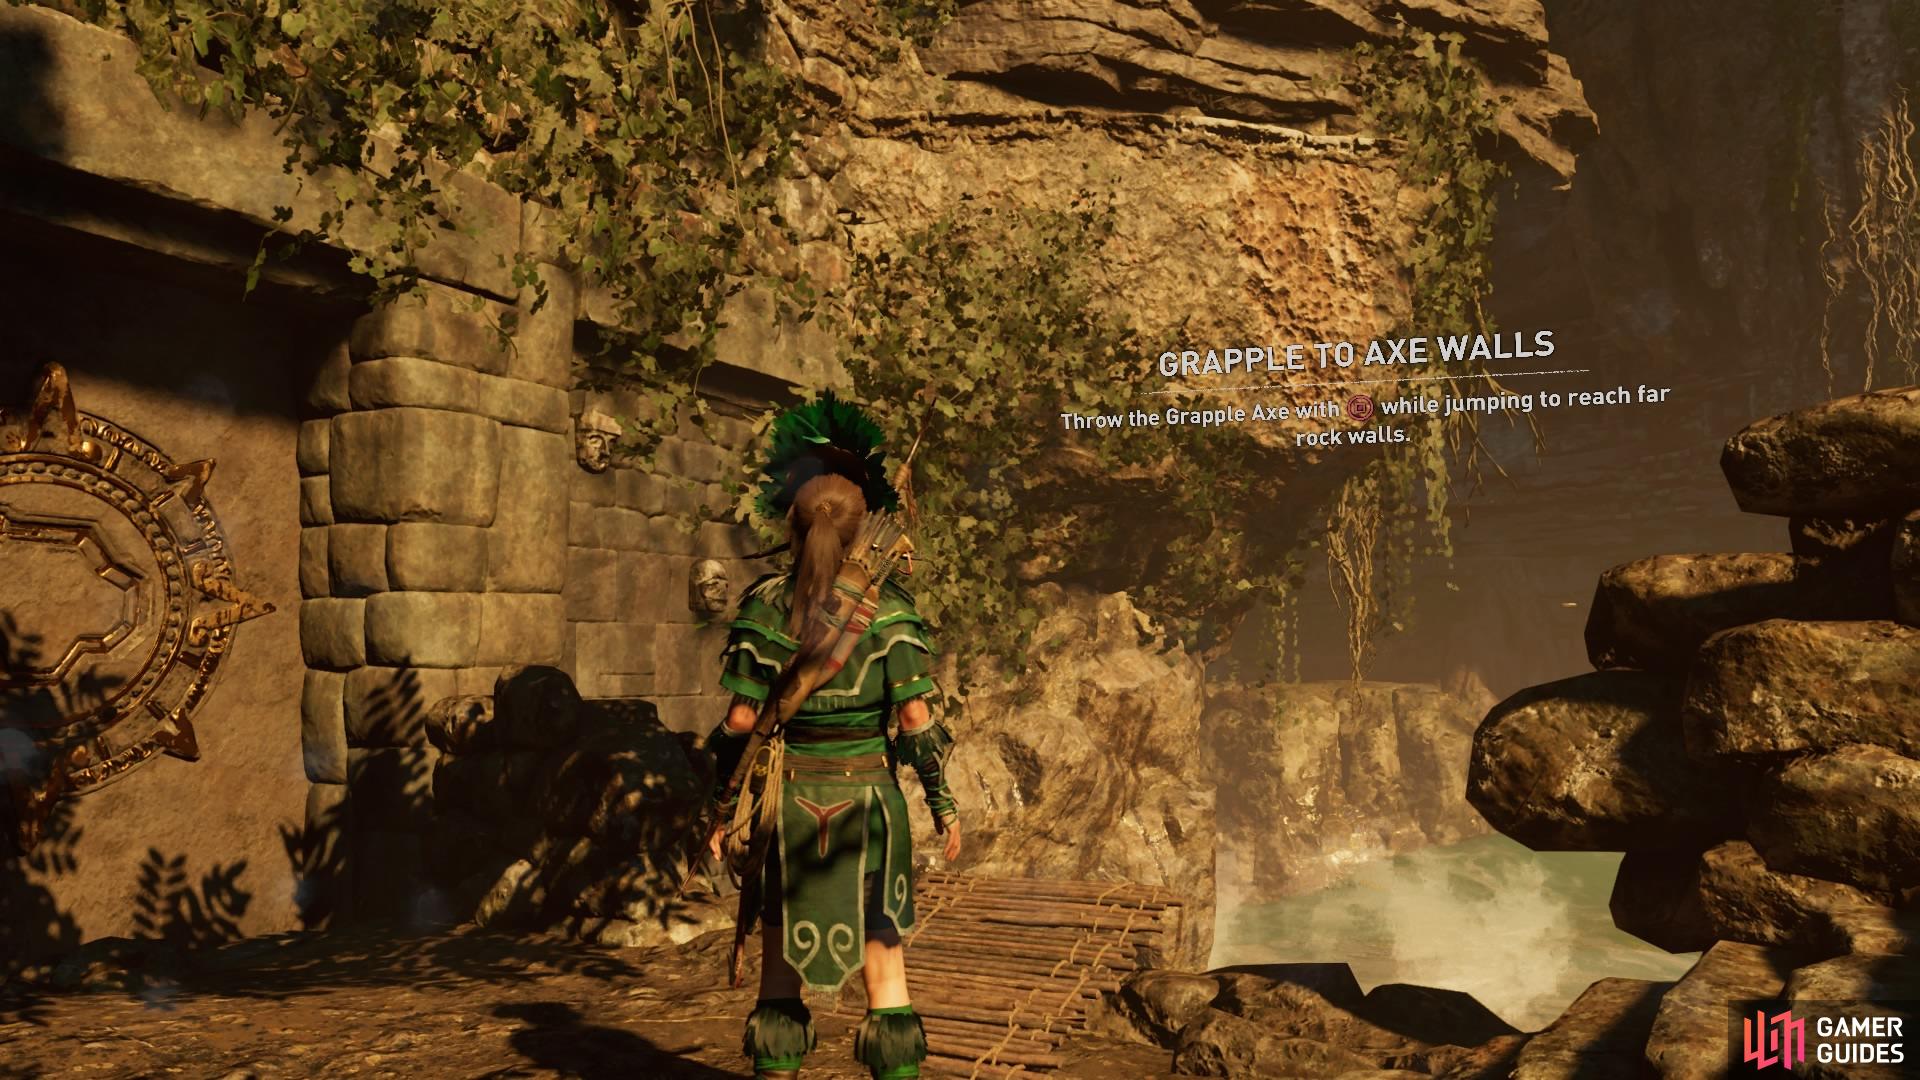
Throw your Grapple Axe to the metal hooks and swing to the ledge on the side of the prison.
-
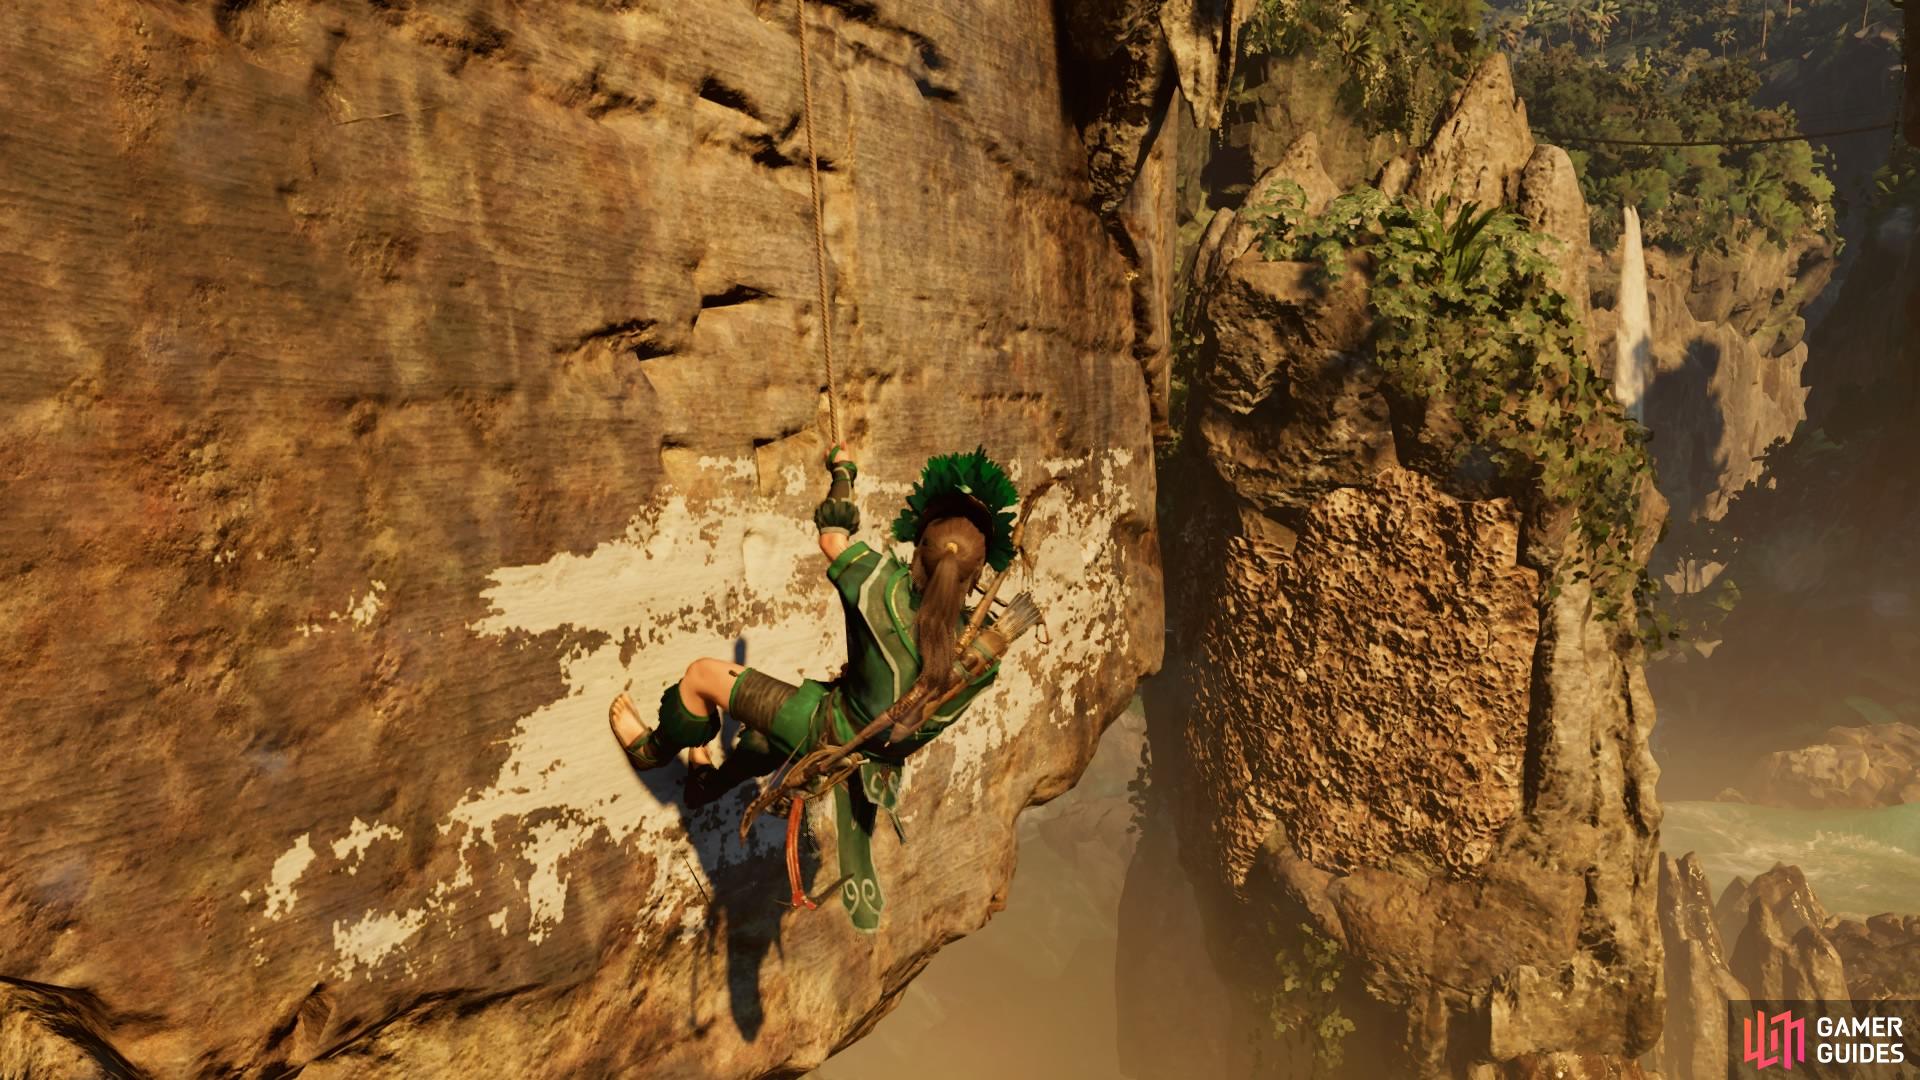
Shimmy left until you can climb up the cliff and stand next to the post – you can hang off the side to drop down for an Explorer Backpack. Then climb back up to tether a rope between the post and the beam on the other side of the river to get across.
-
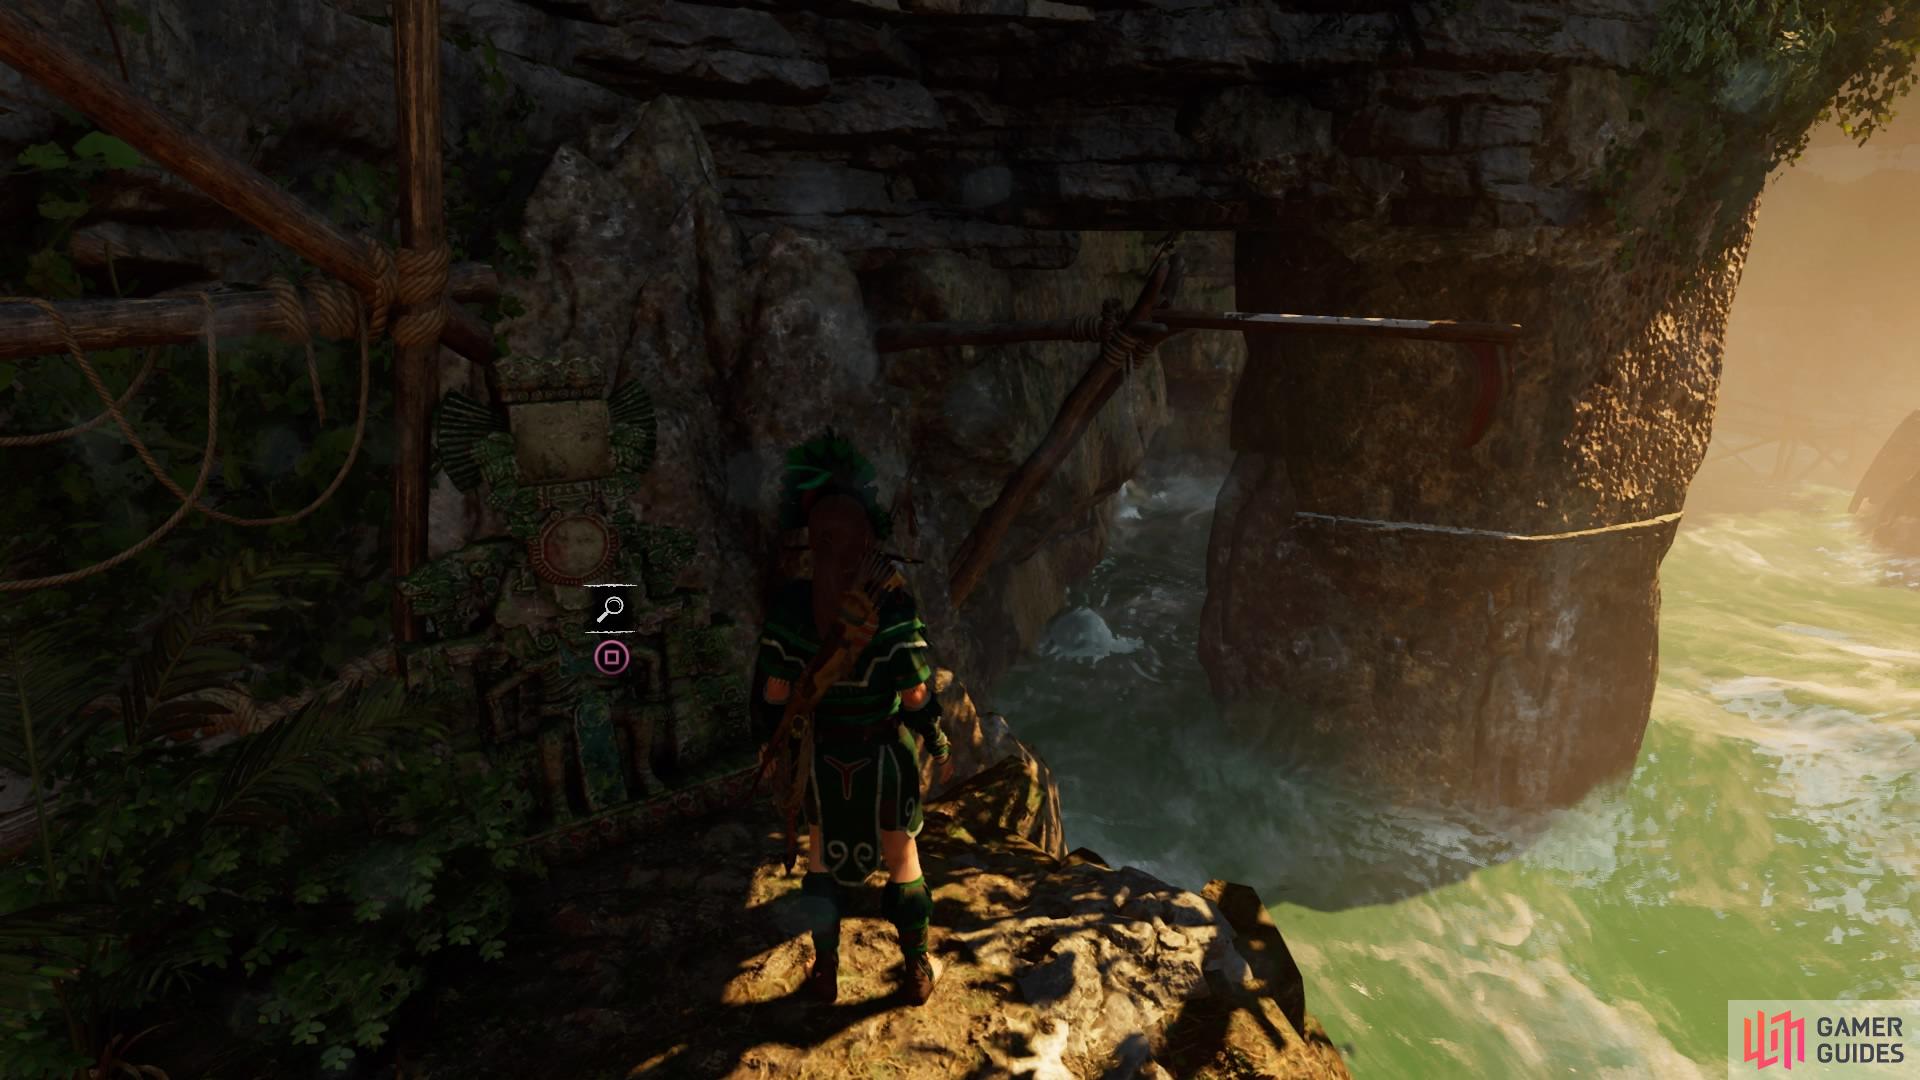
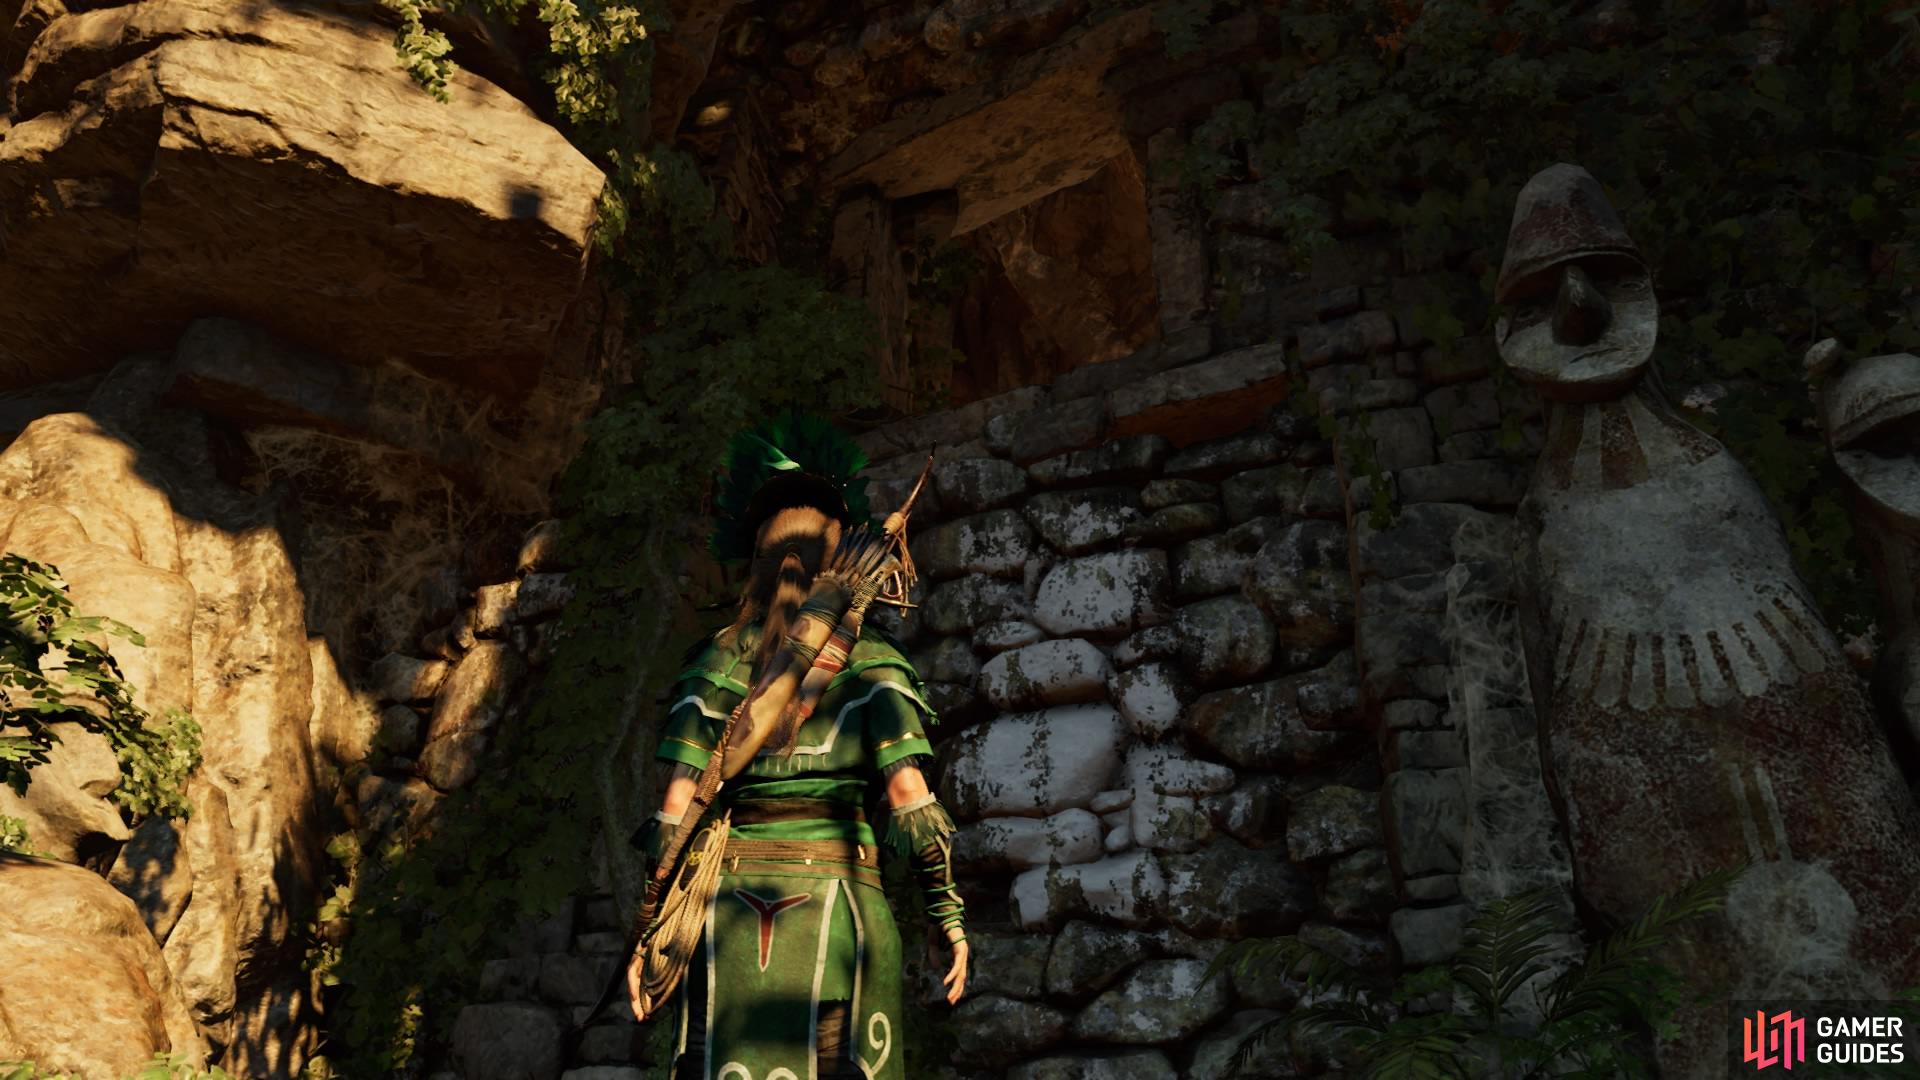
Inspect the mural, then use the pole to swing to the right to the pillar and shimmy along the shelf. Then climb up and right at the end.
-
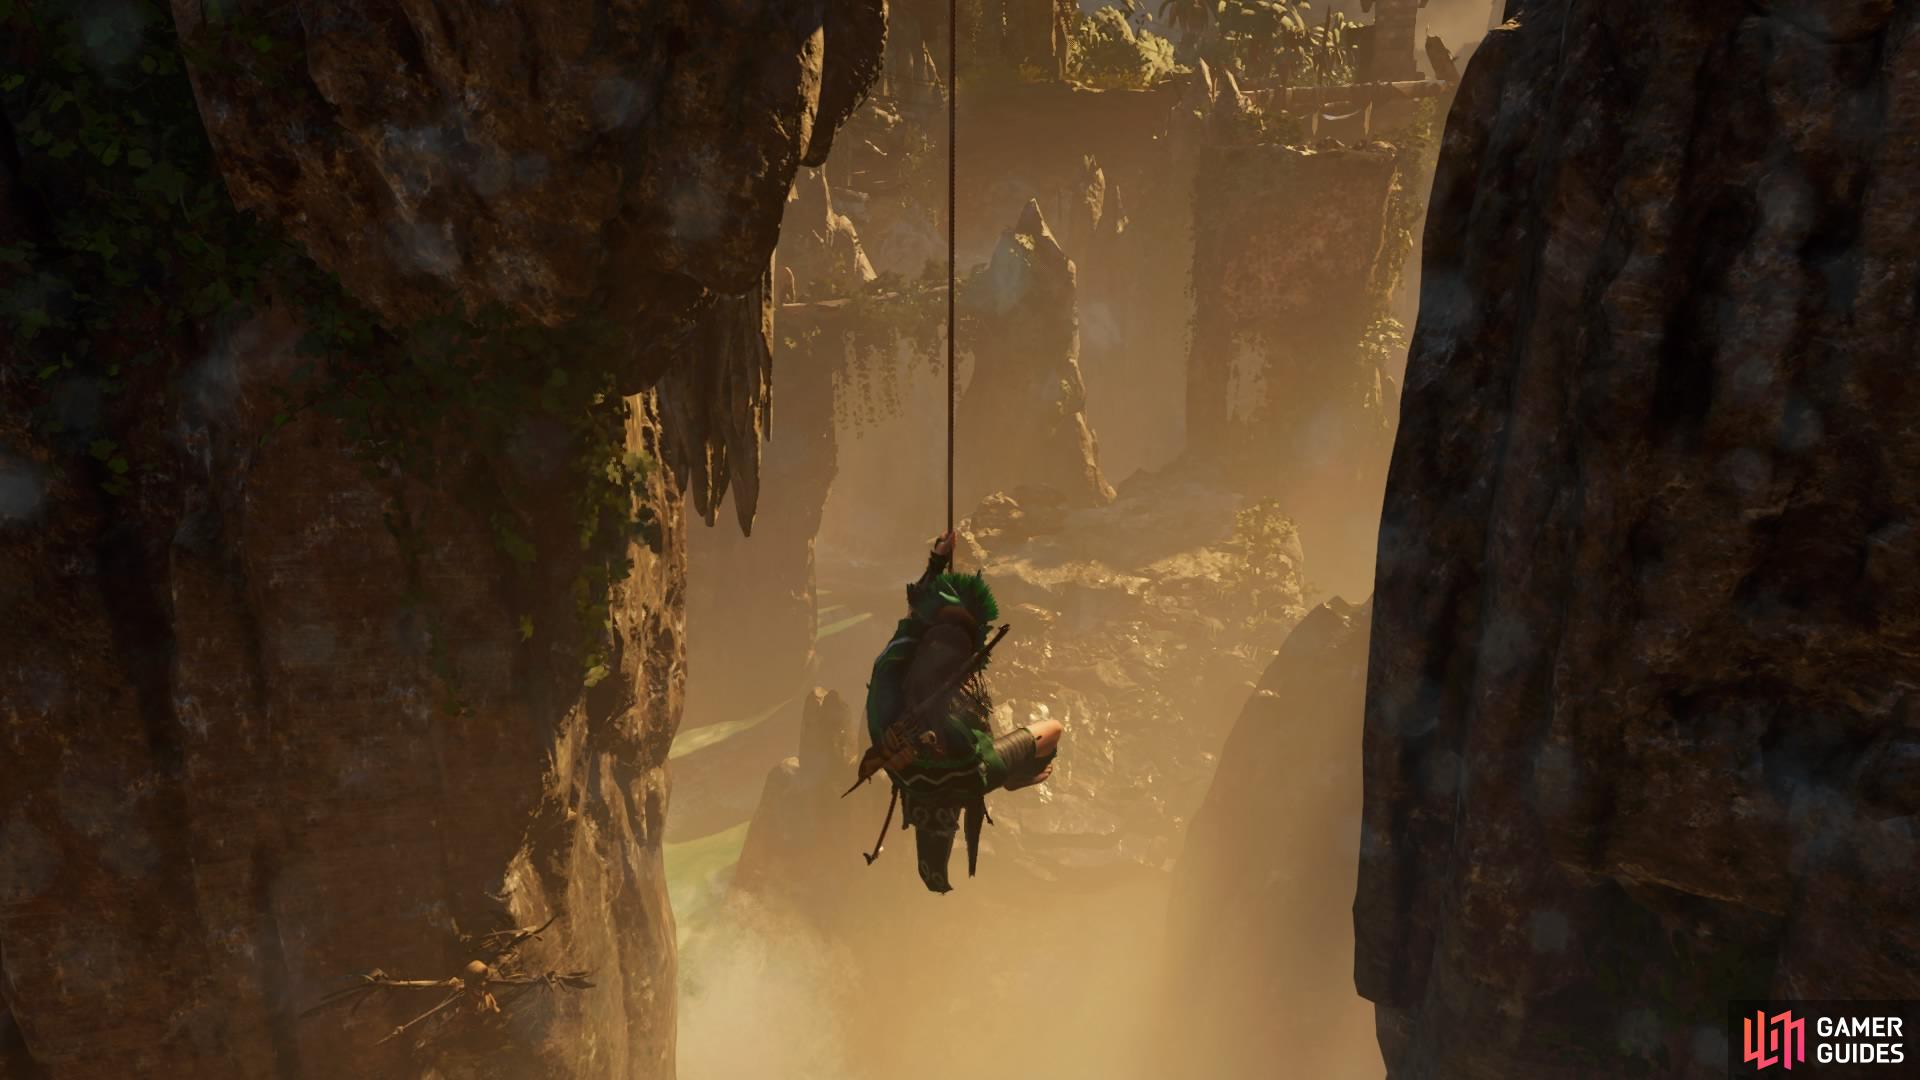
Throw the Grapple Axe to the overhang above the cliff face, then rappel down until you’re levelled with the third skeleton for the region challenge – swing into it to complete the challenge.
-
Climb to the overhang and scale right, then perform a lateral jump over the gap.
-
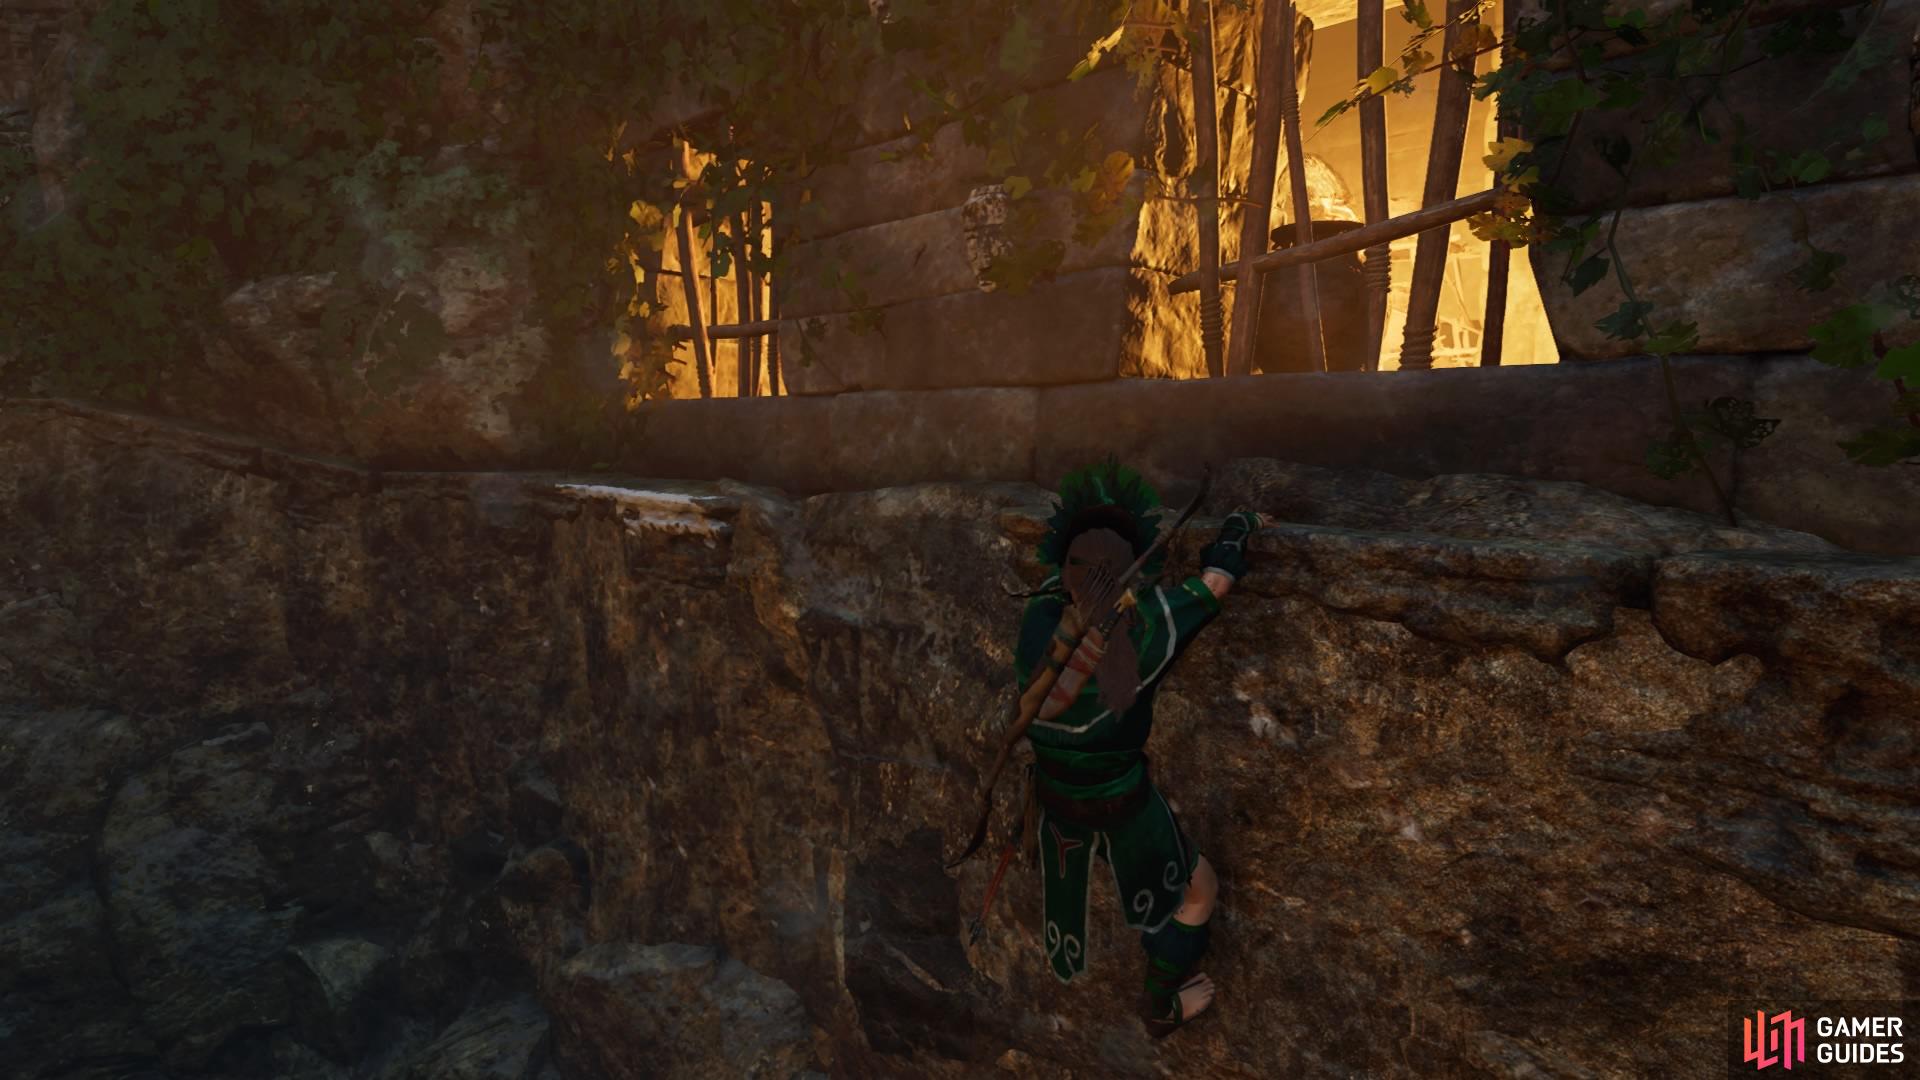
Continue along the craggy surface and go up until you reach the ledge. Jump up, shimmy right, and hoist yourself up to the next ledge.
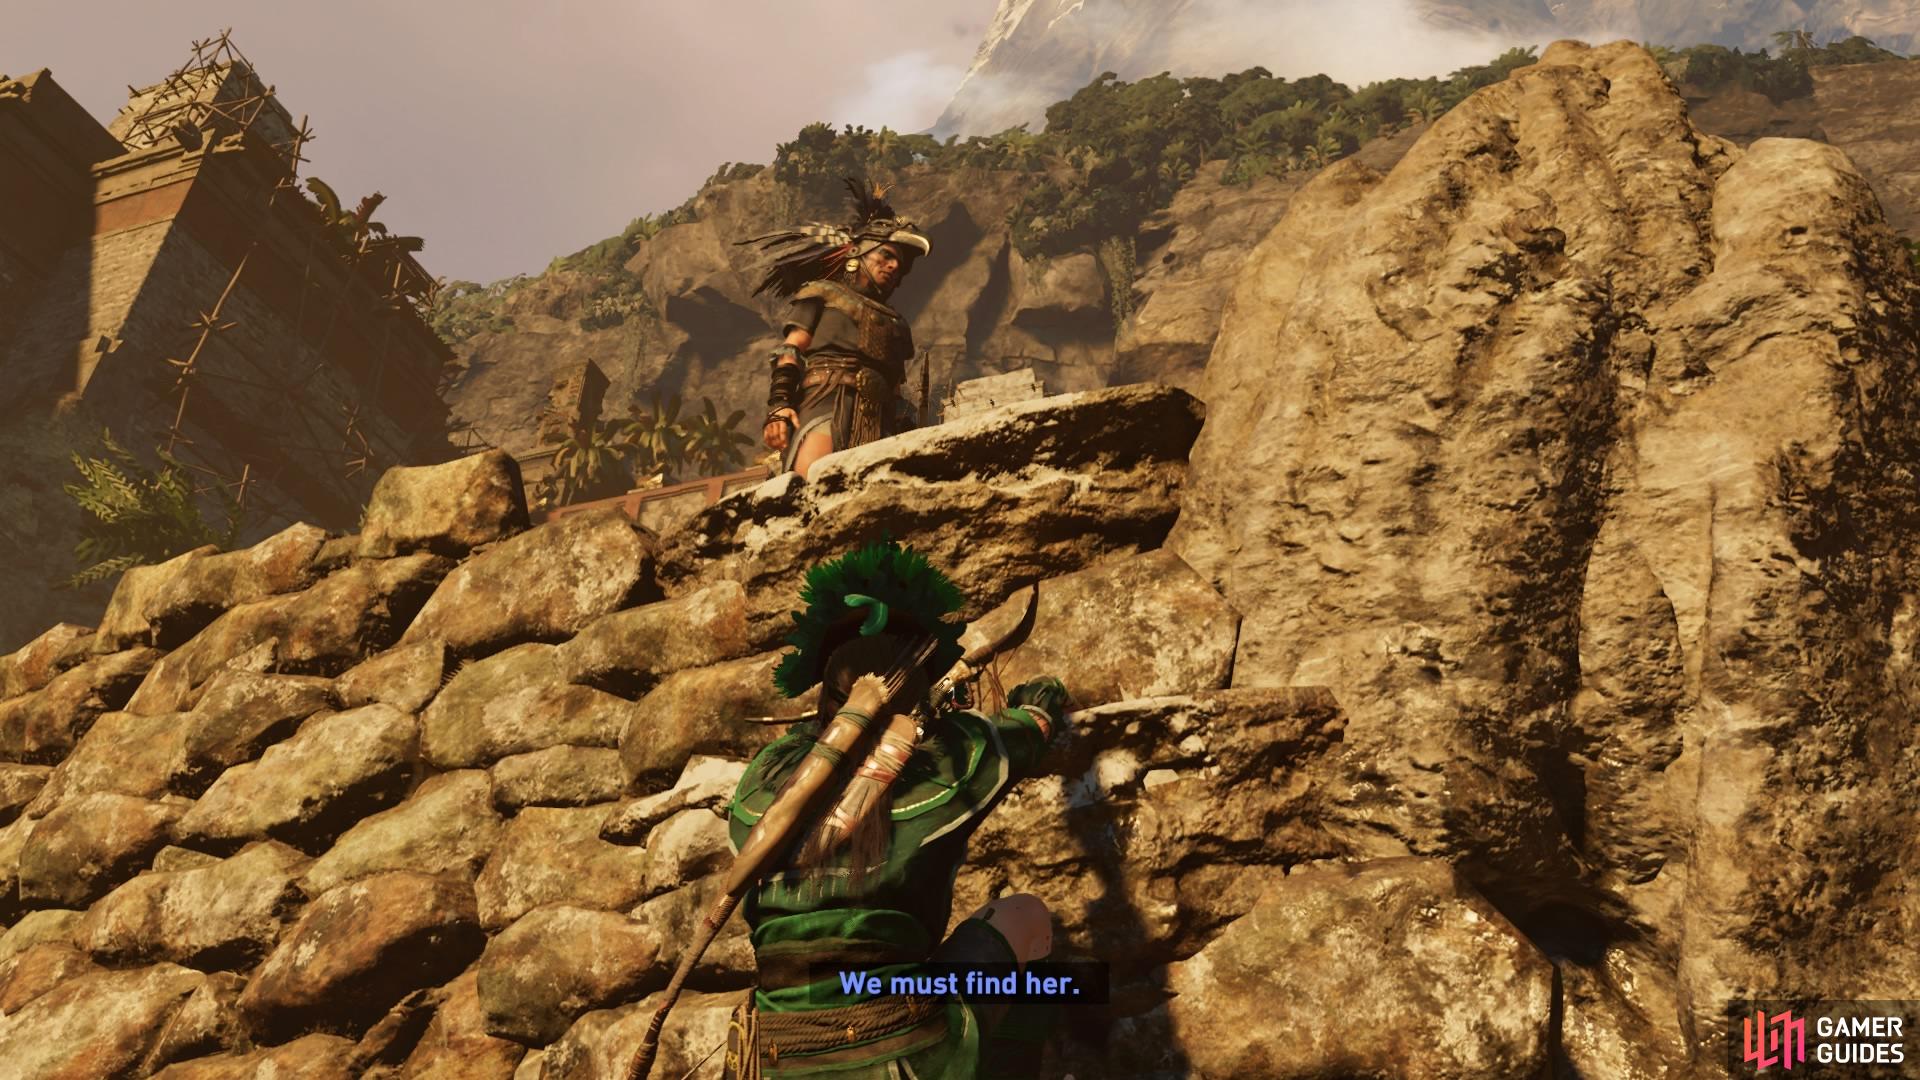
Now you can scramble through the window to activate a cutscene with Unuratu. Afterward, pick up Document - In Name Only on the wall behind you, then break through the weak wall ahead to escape.
LAST EMPEROR – FIND THE TOMB OF SINCHI CHIQA
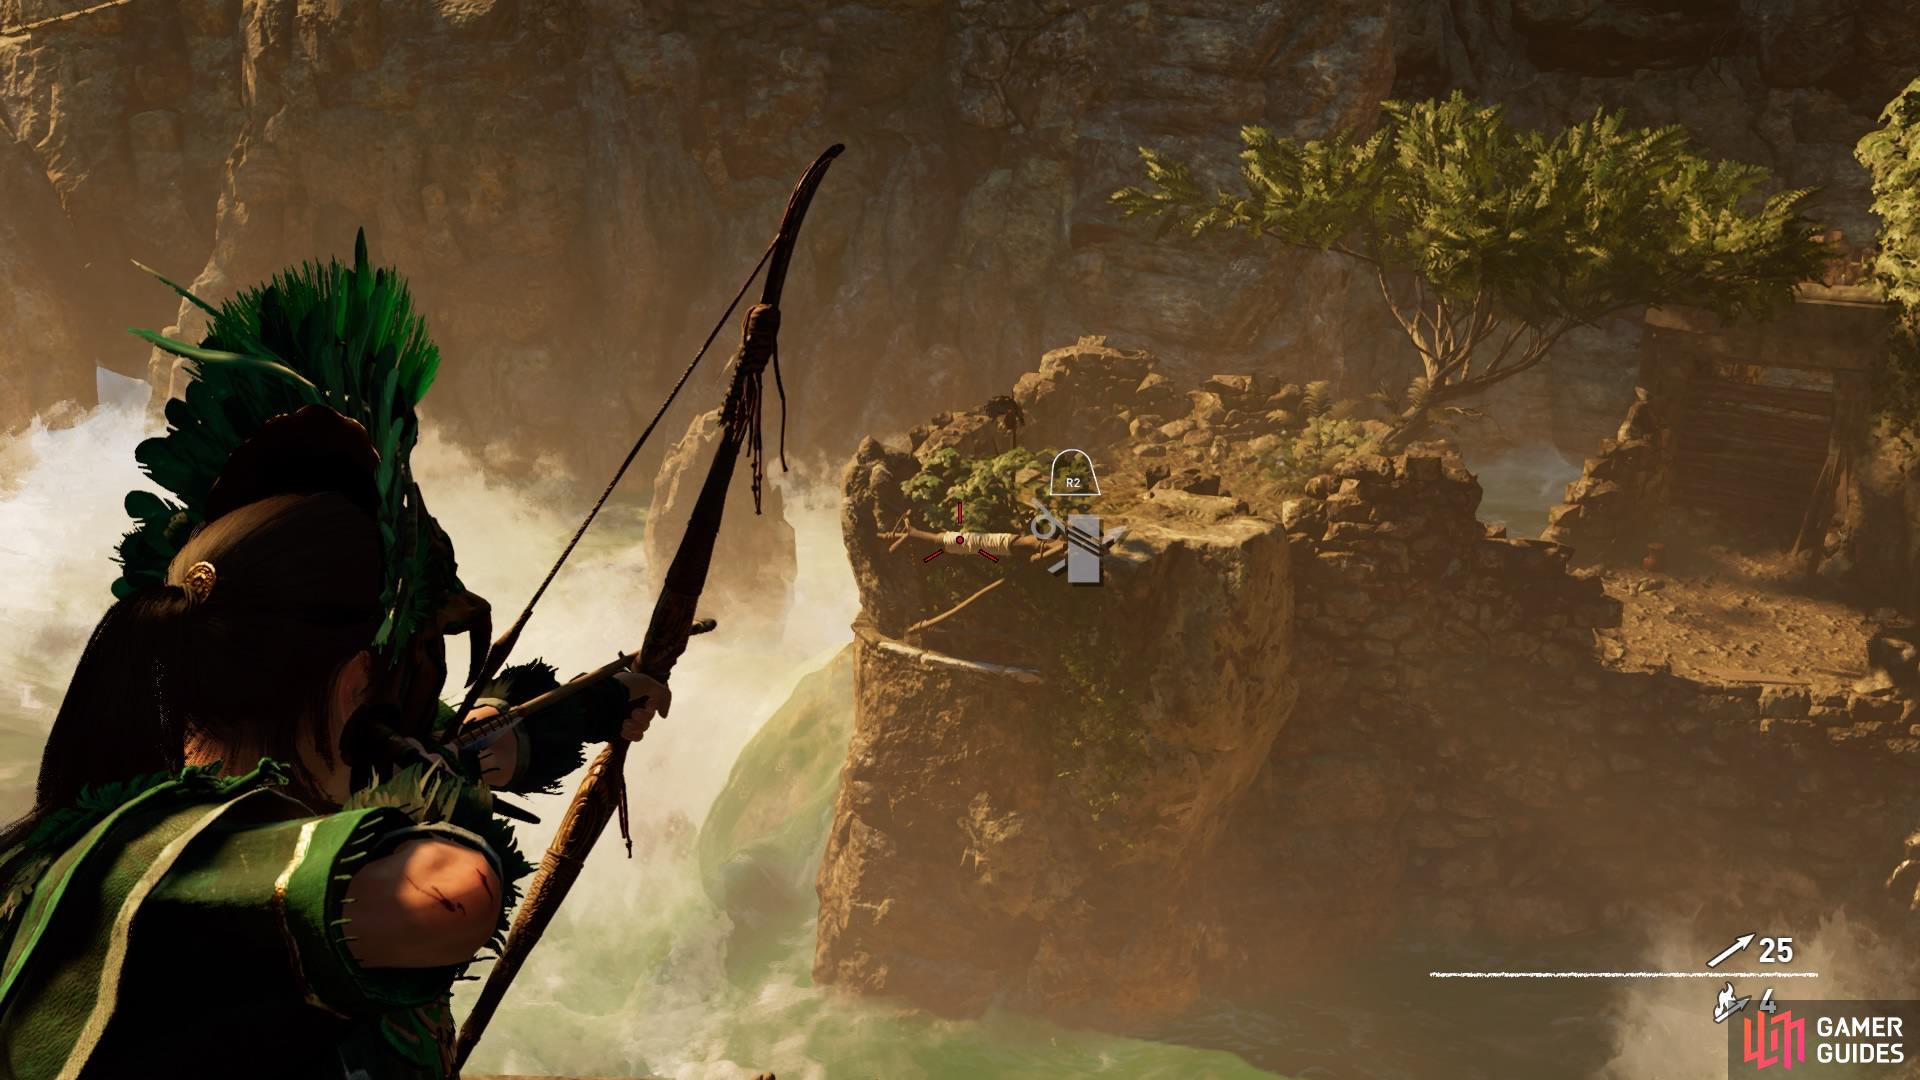
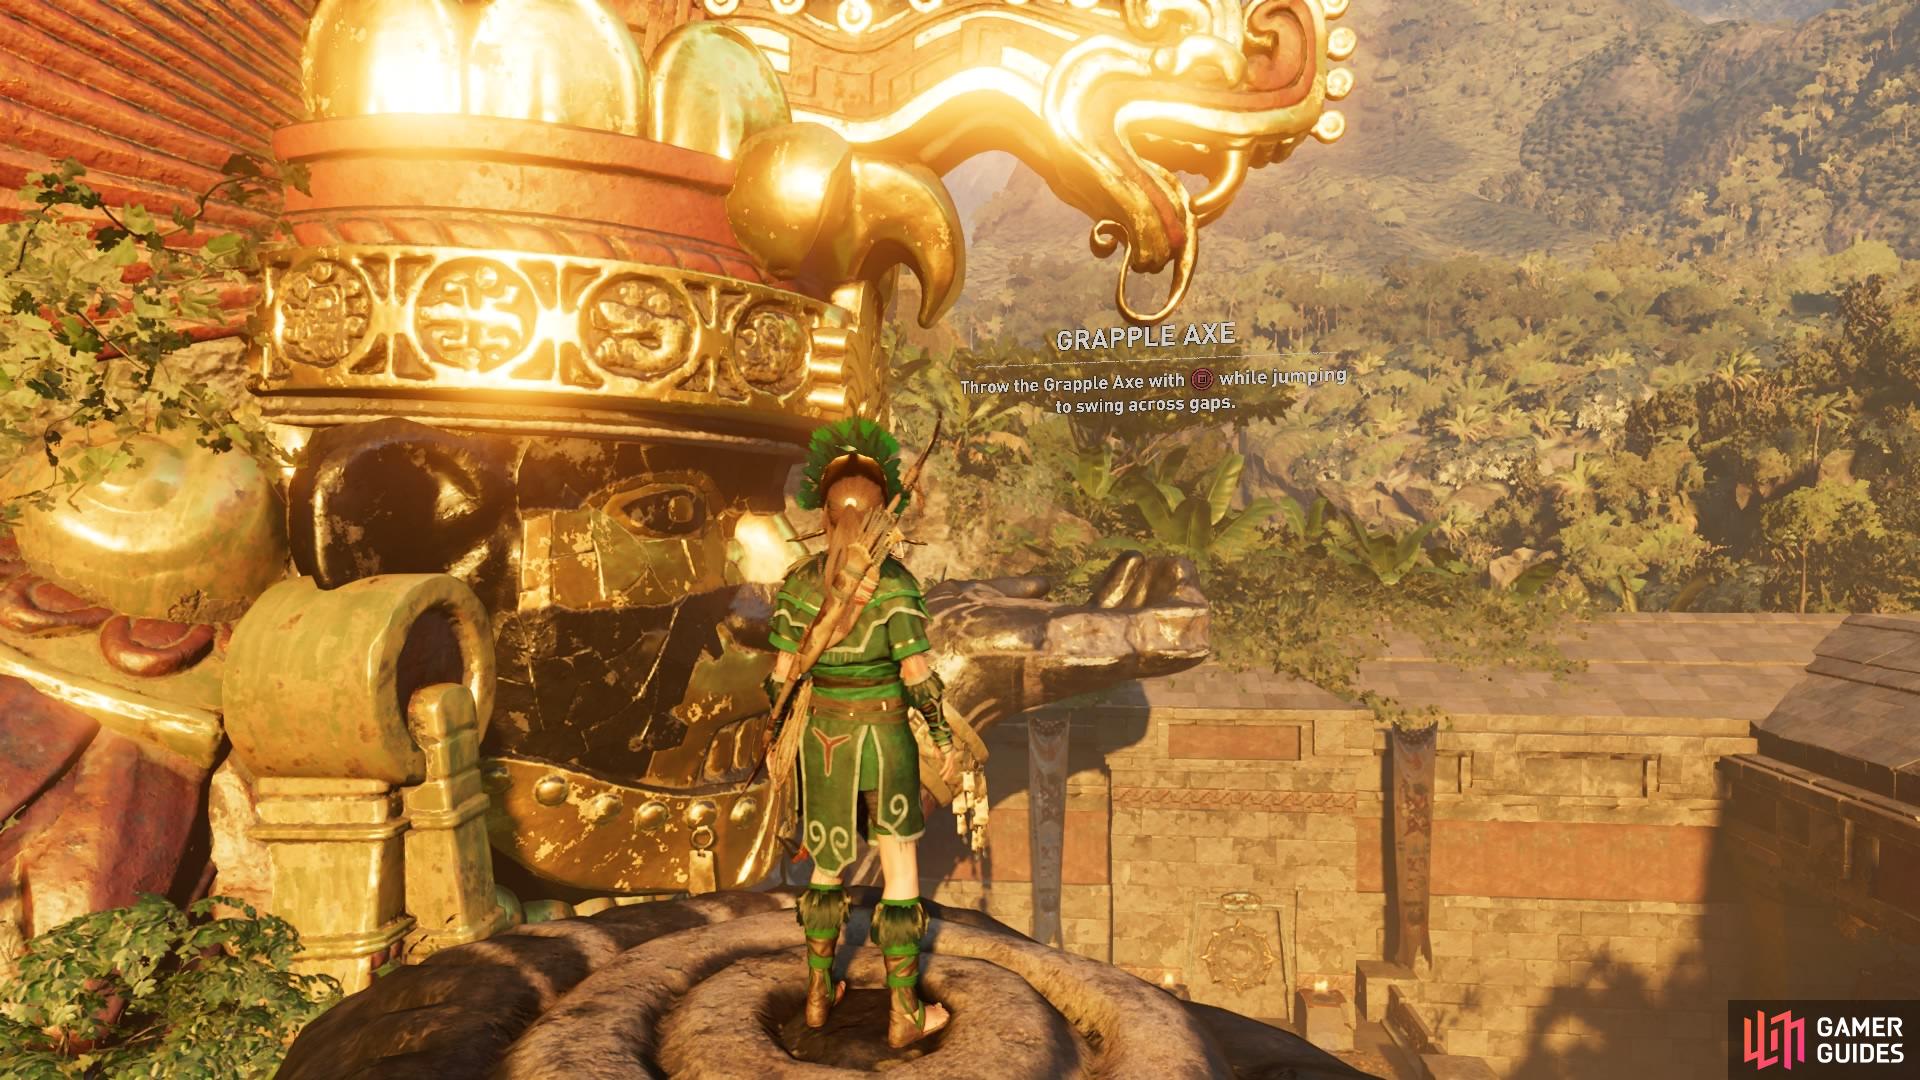
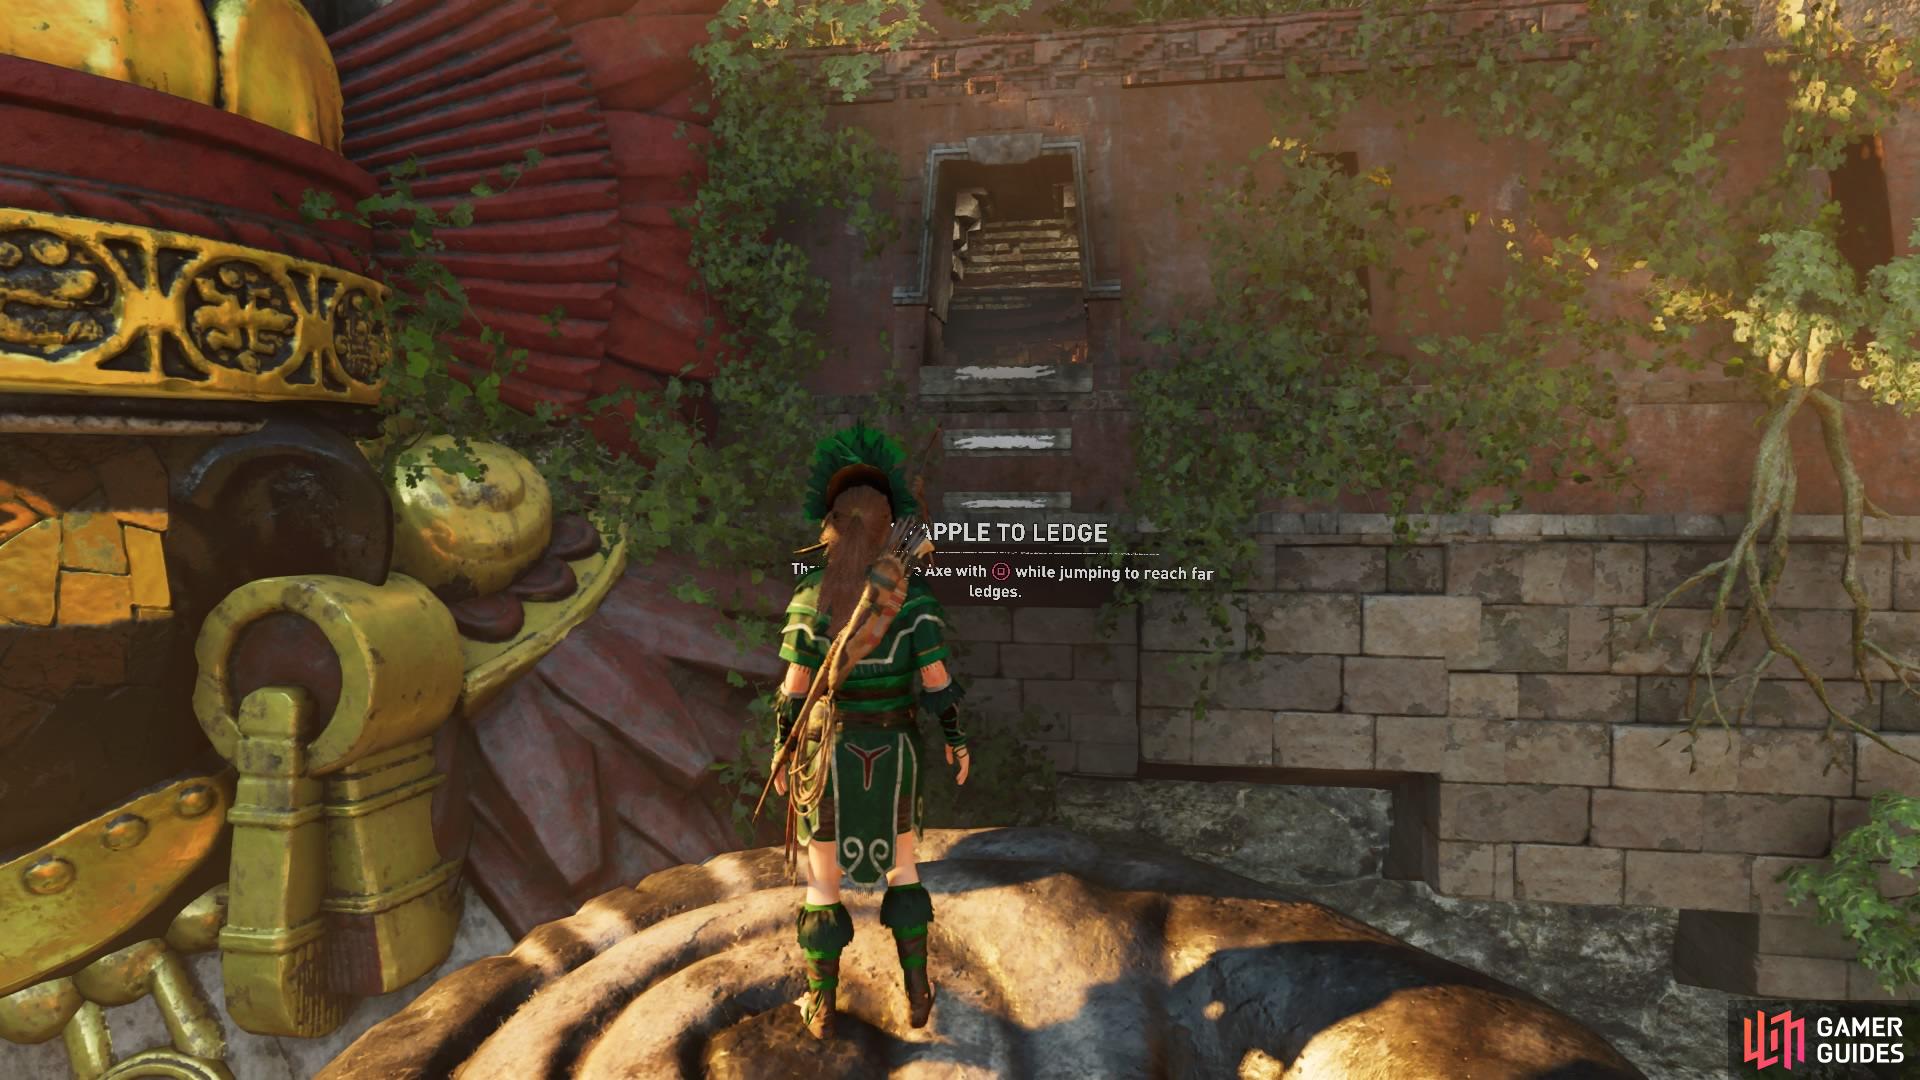
Step to the edge of the wooden platform and tether a rope to the coil on the other side, then slide down to the handhold. Shimmy left and climb up until you can grab the cultist soldier and pull him down into the water. Now follow the path to a small wooden ramp and jump to the craggy cliff using the Grapple Axe.
Pull yourself up to the ledge, shimmy left, and climb up to find an unsuspecting archer – throw him to the depths. Unuratu will dispose of the last guard.
(1 of 4) Slide down to the cliffs
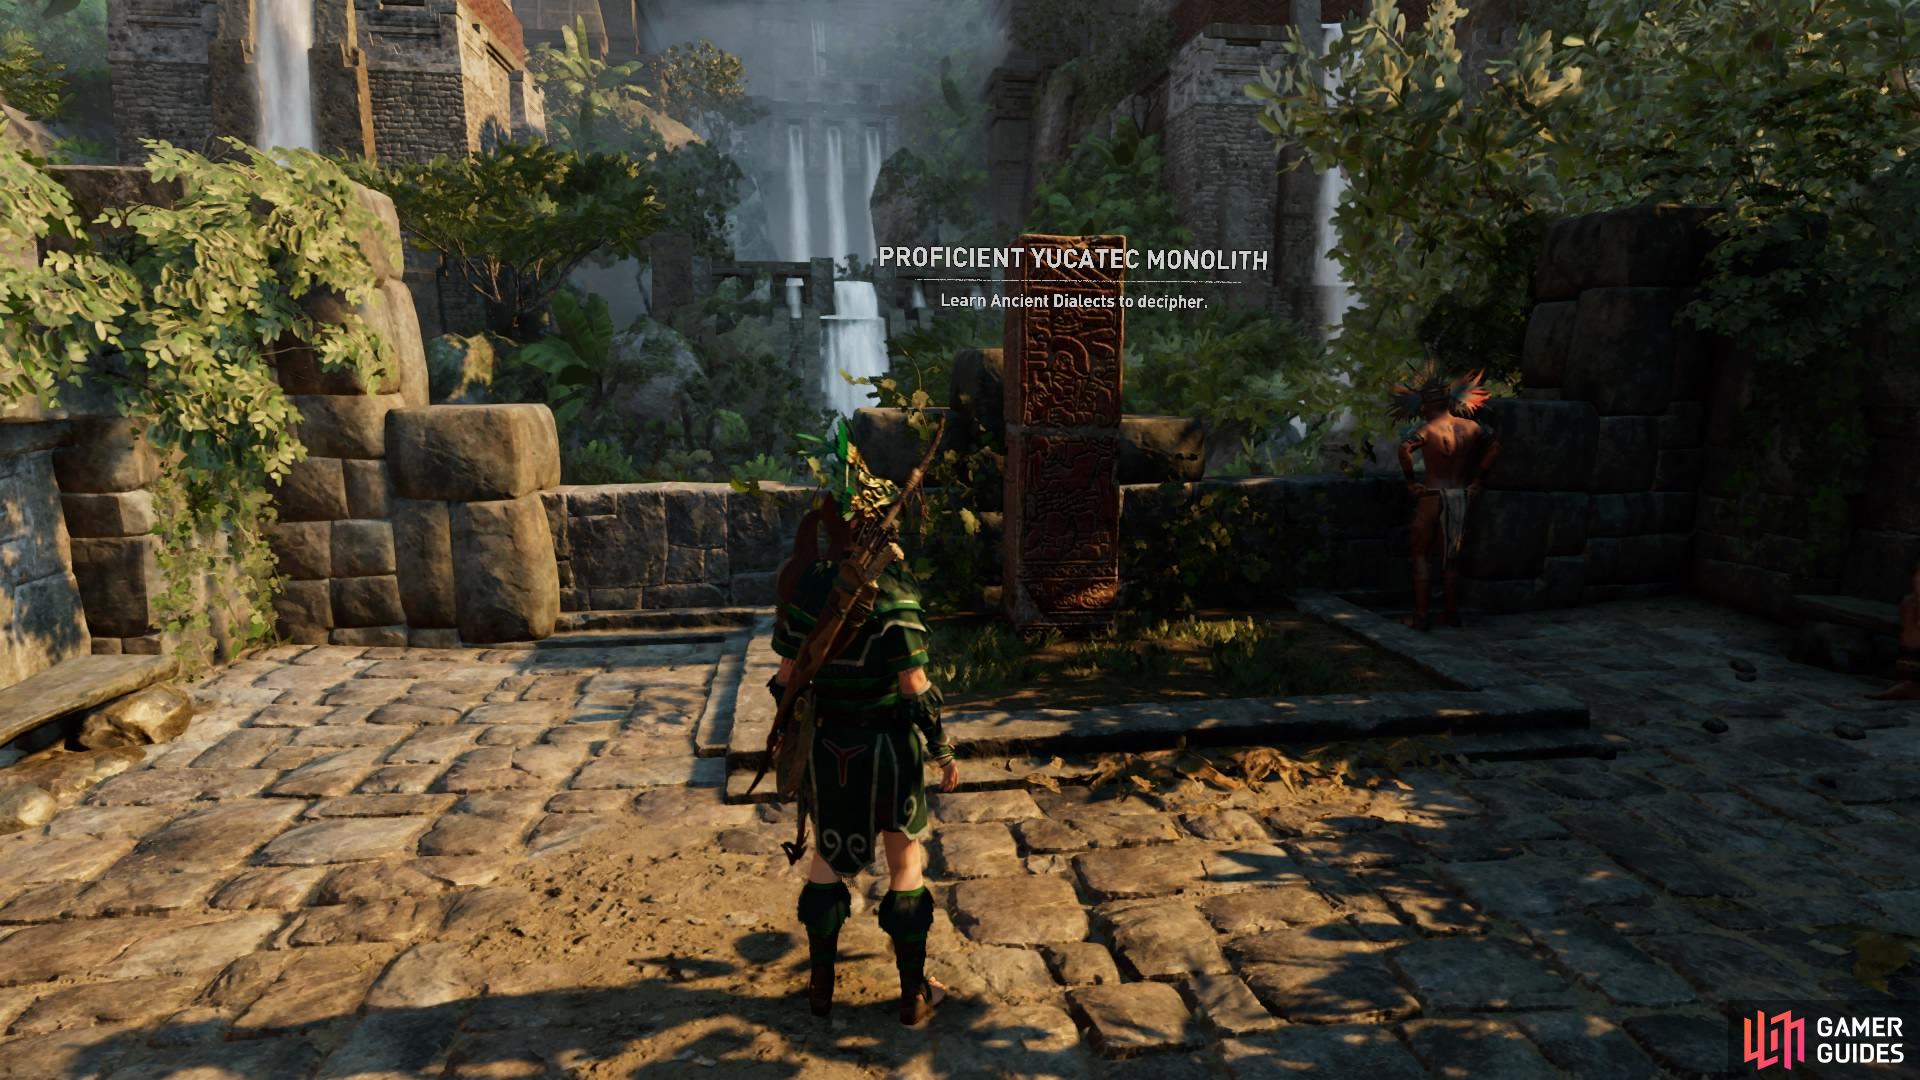
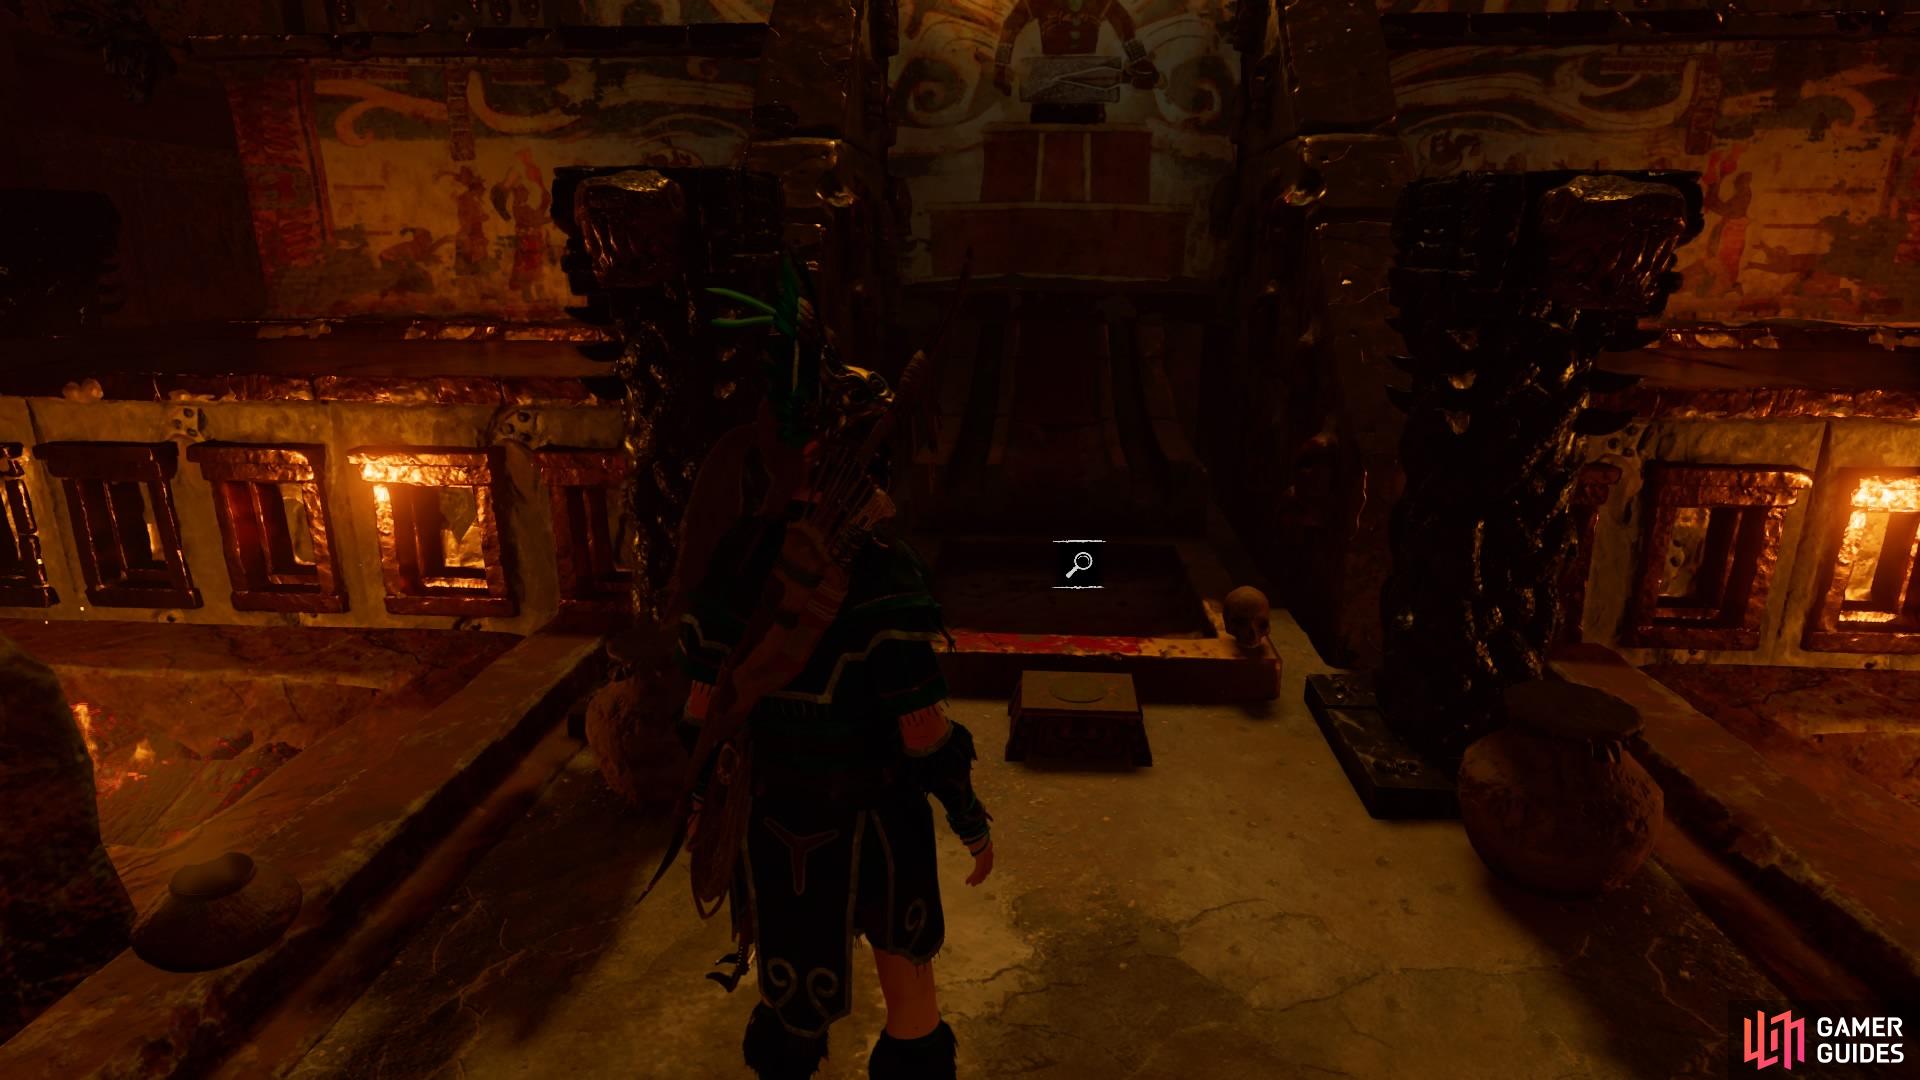
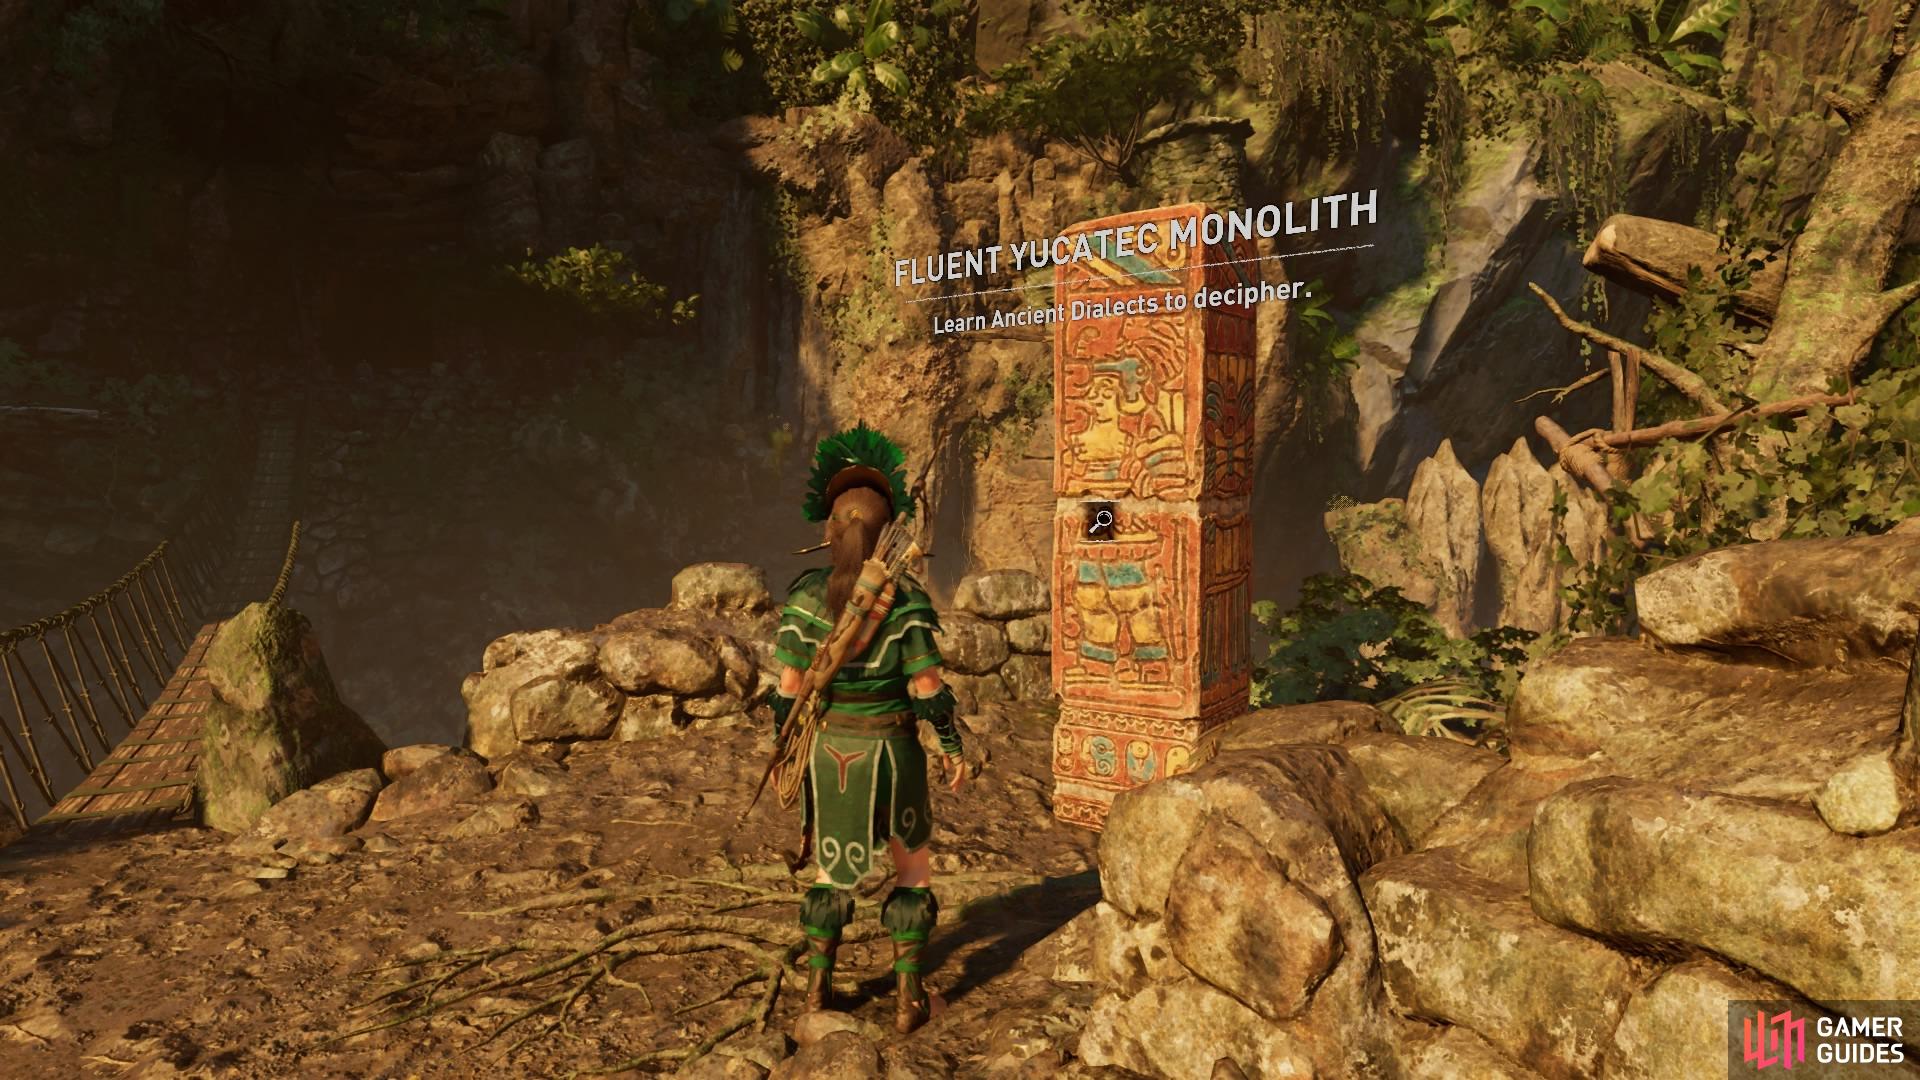
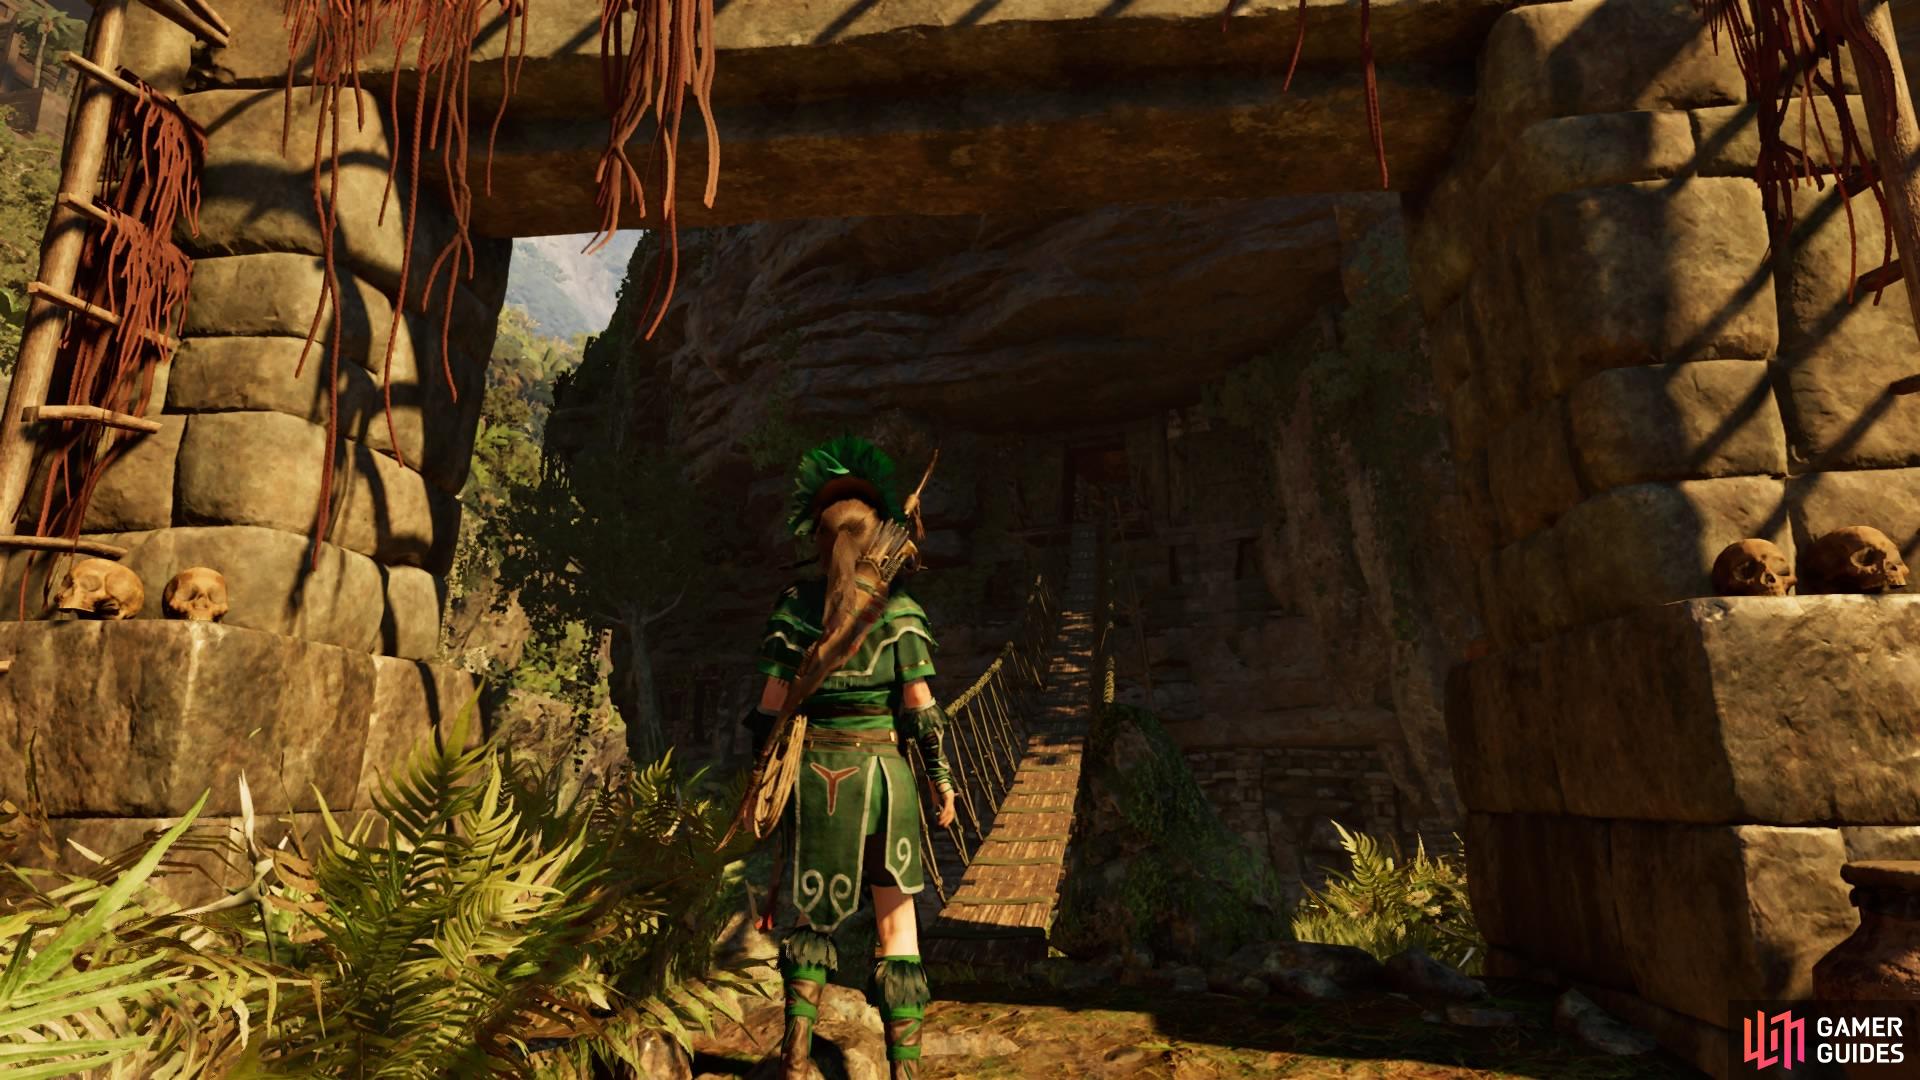
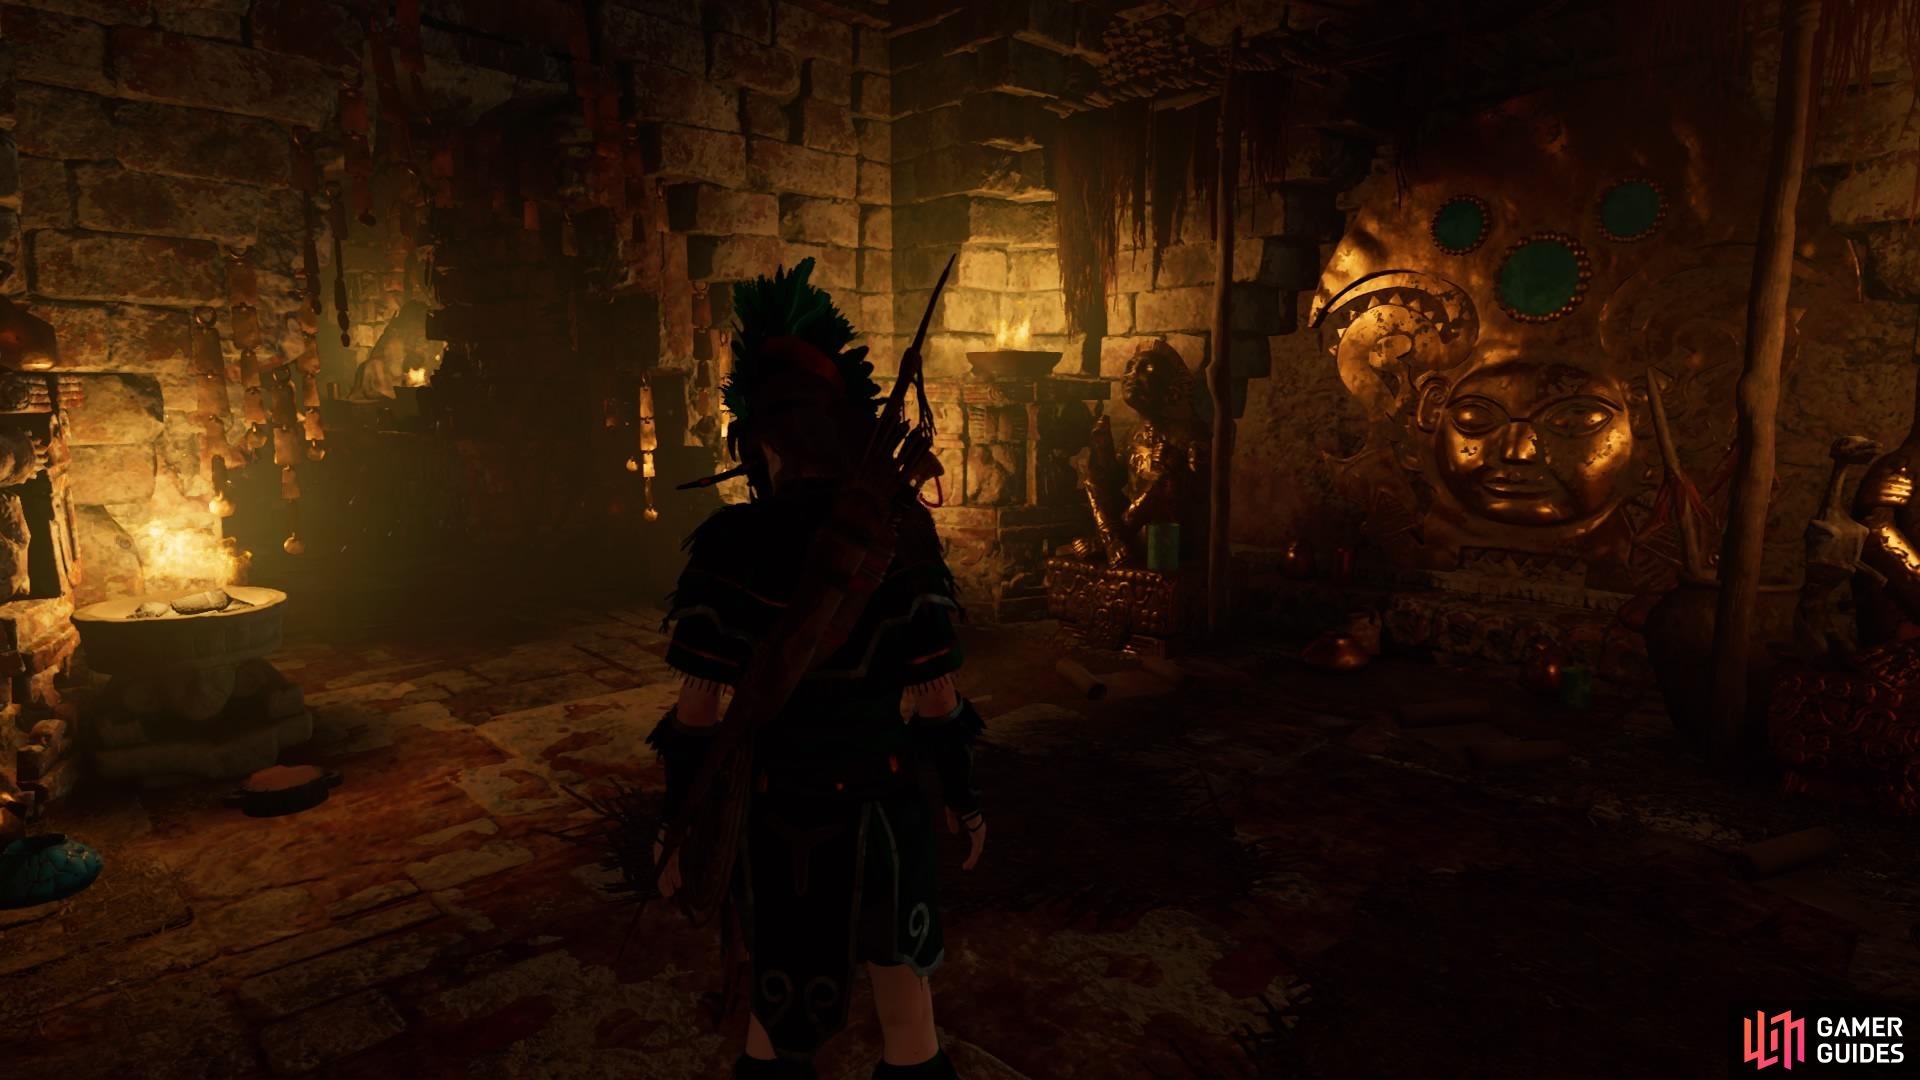
If your Dialect is high enough, you can inspect the monolith on the right. Then turn around, climb the steps, and cross the bridge to find a room full of collectibles. Grab what you can and cross the bridge to return to Unuratu.
(1 of 2) Head up to the room on your right
Head up to the room on your right (left), Two documents and a relic (right)
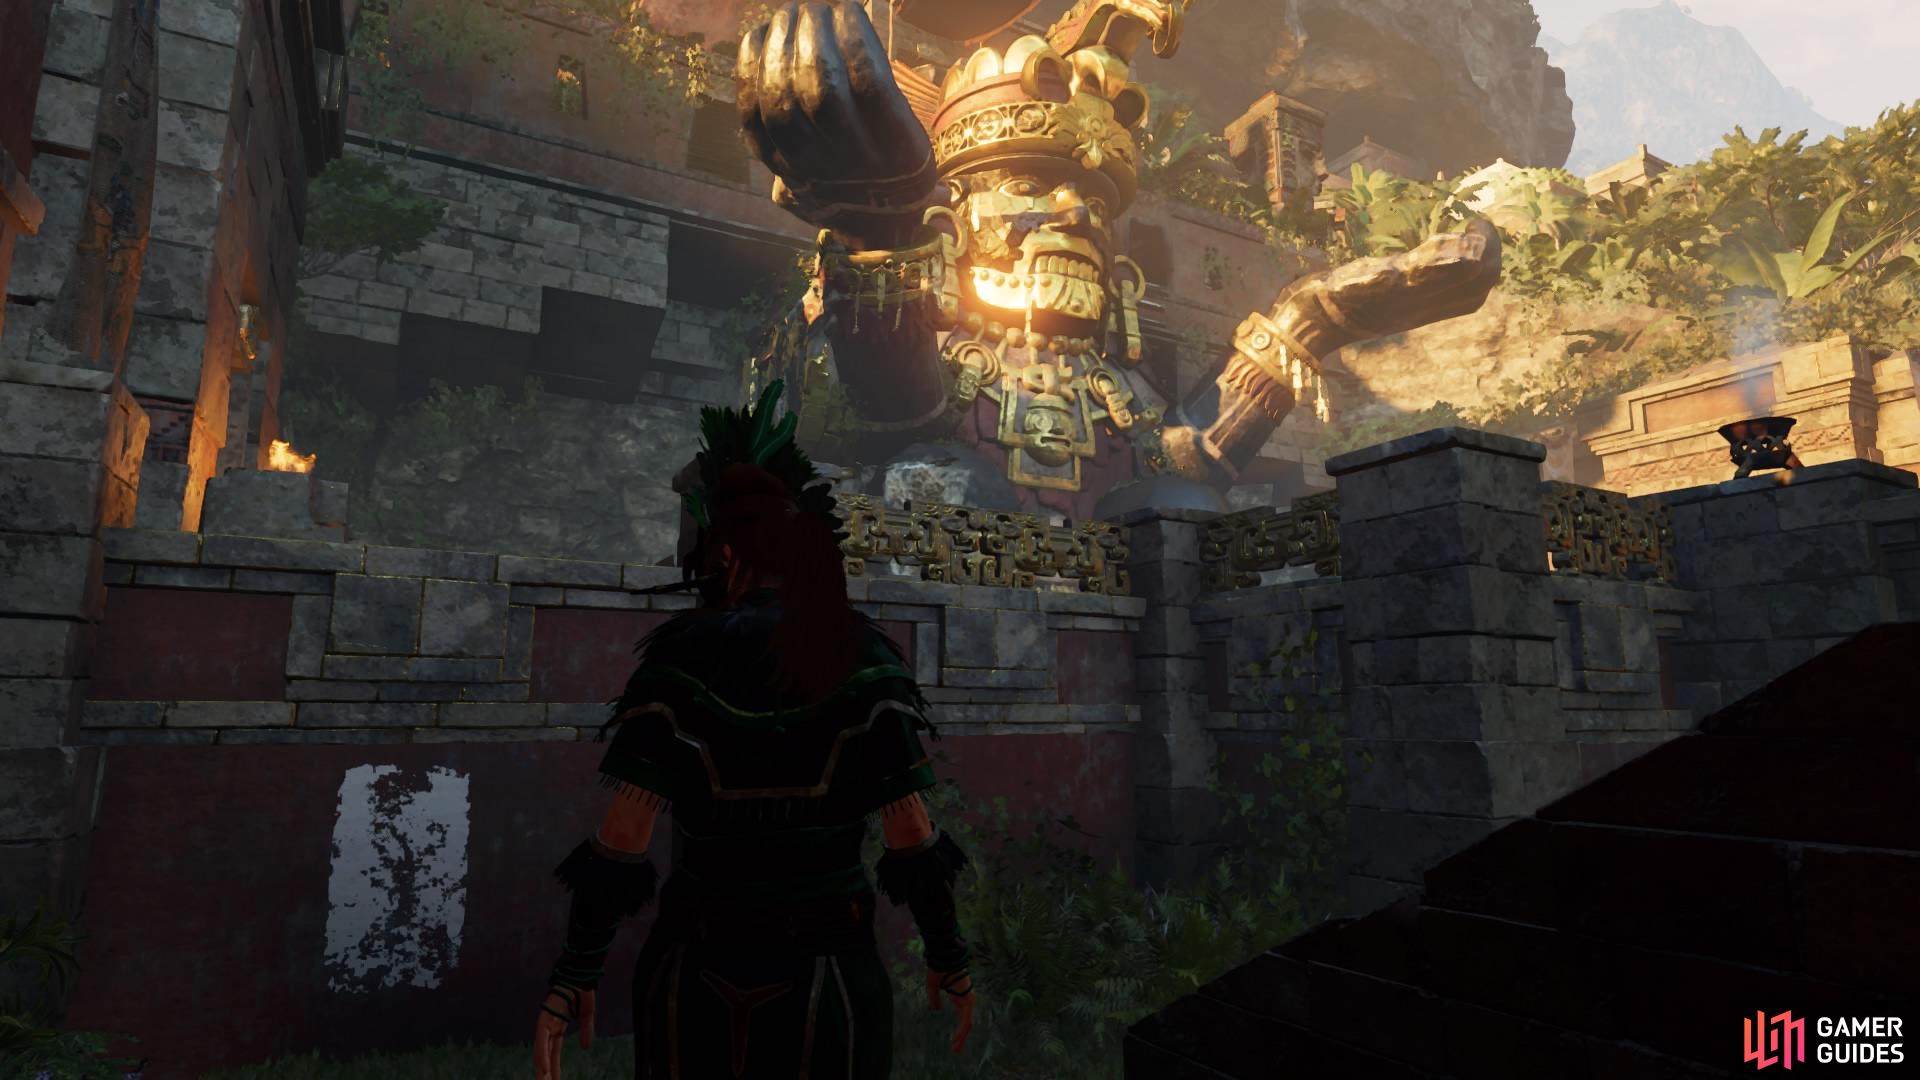
When you’re ready, follow Unuratu through the temple until you reach Upper Paititi and stay with her through the crowd. You’ll come to the gate on the far side which puts you close to the Emperor’s Tomb.
You’ll automatically gain entrance through the door and come out into a courtyard.
-
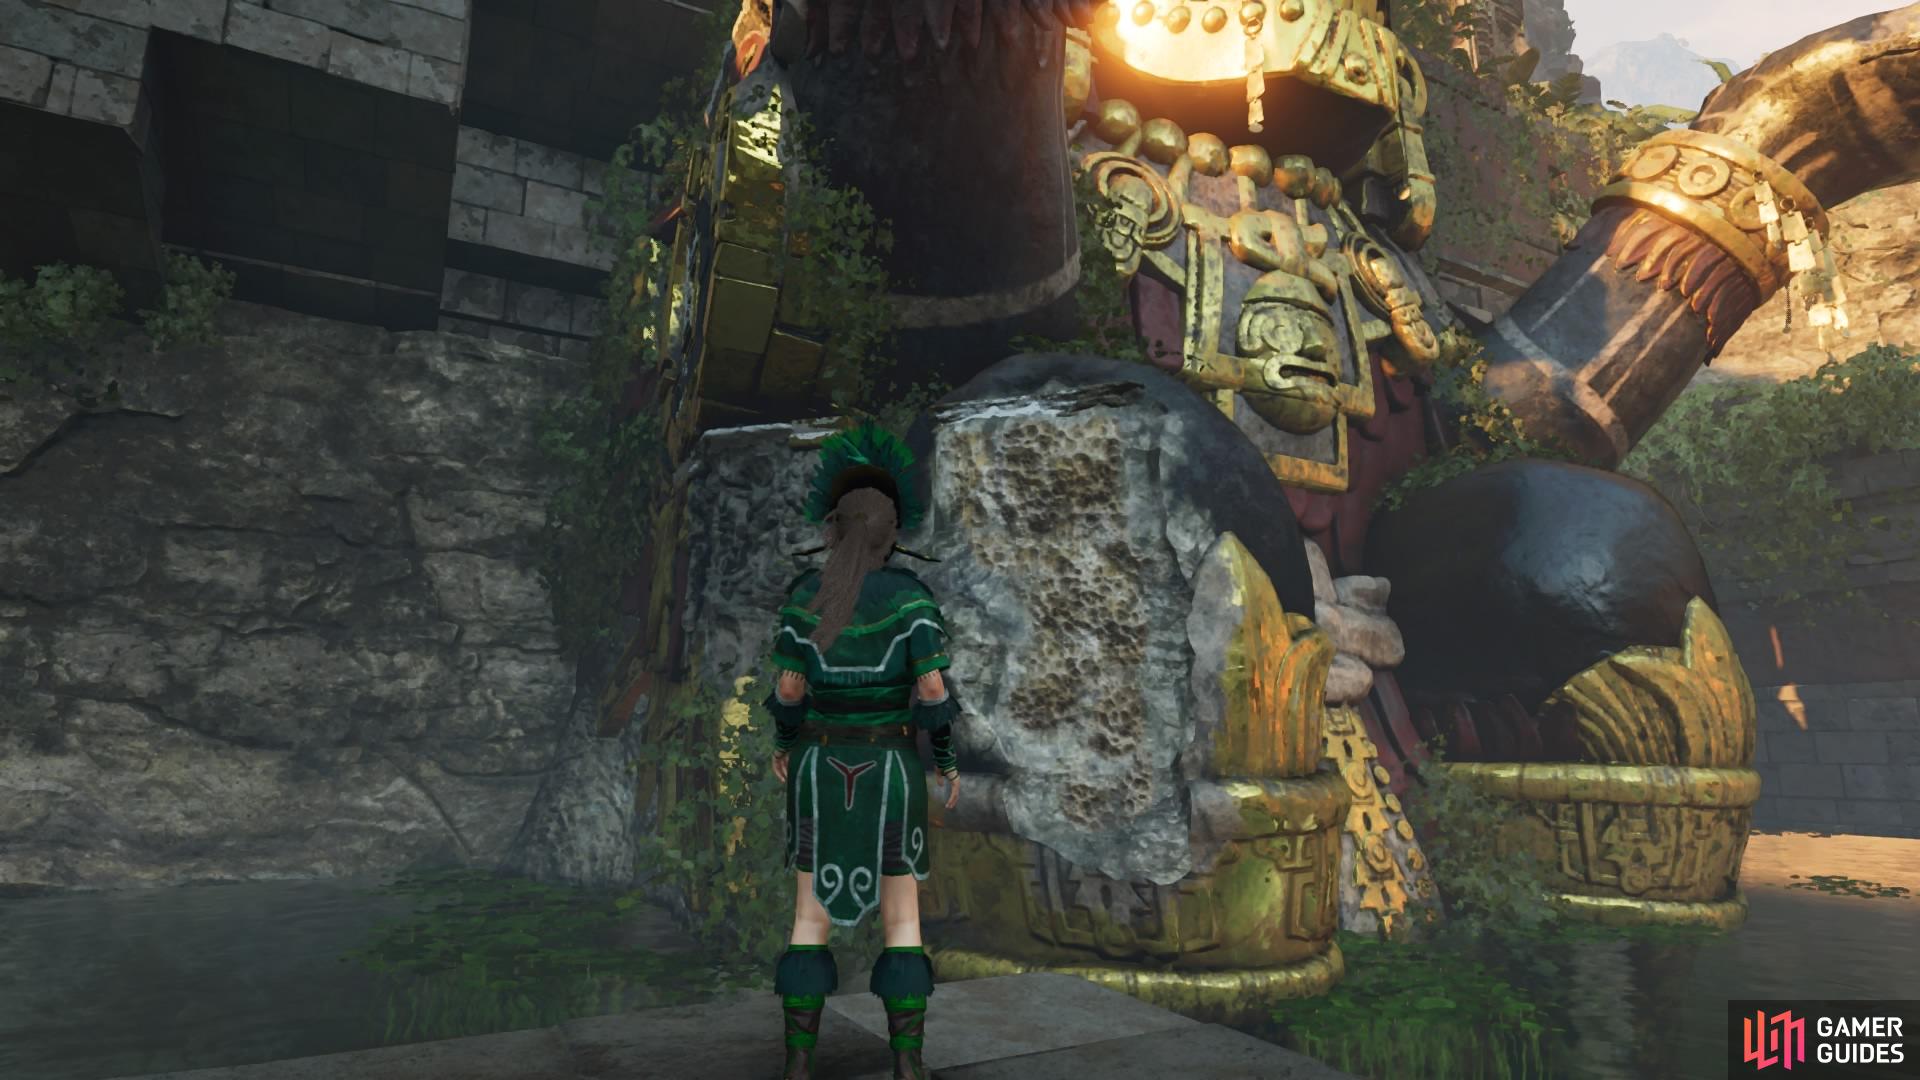
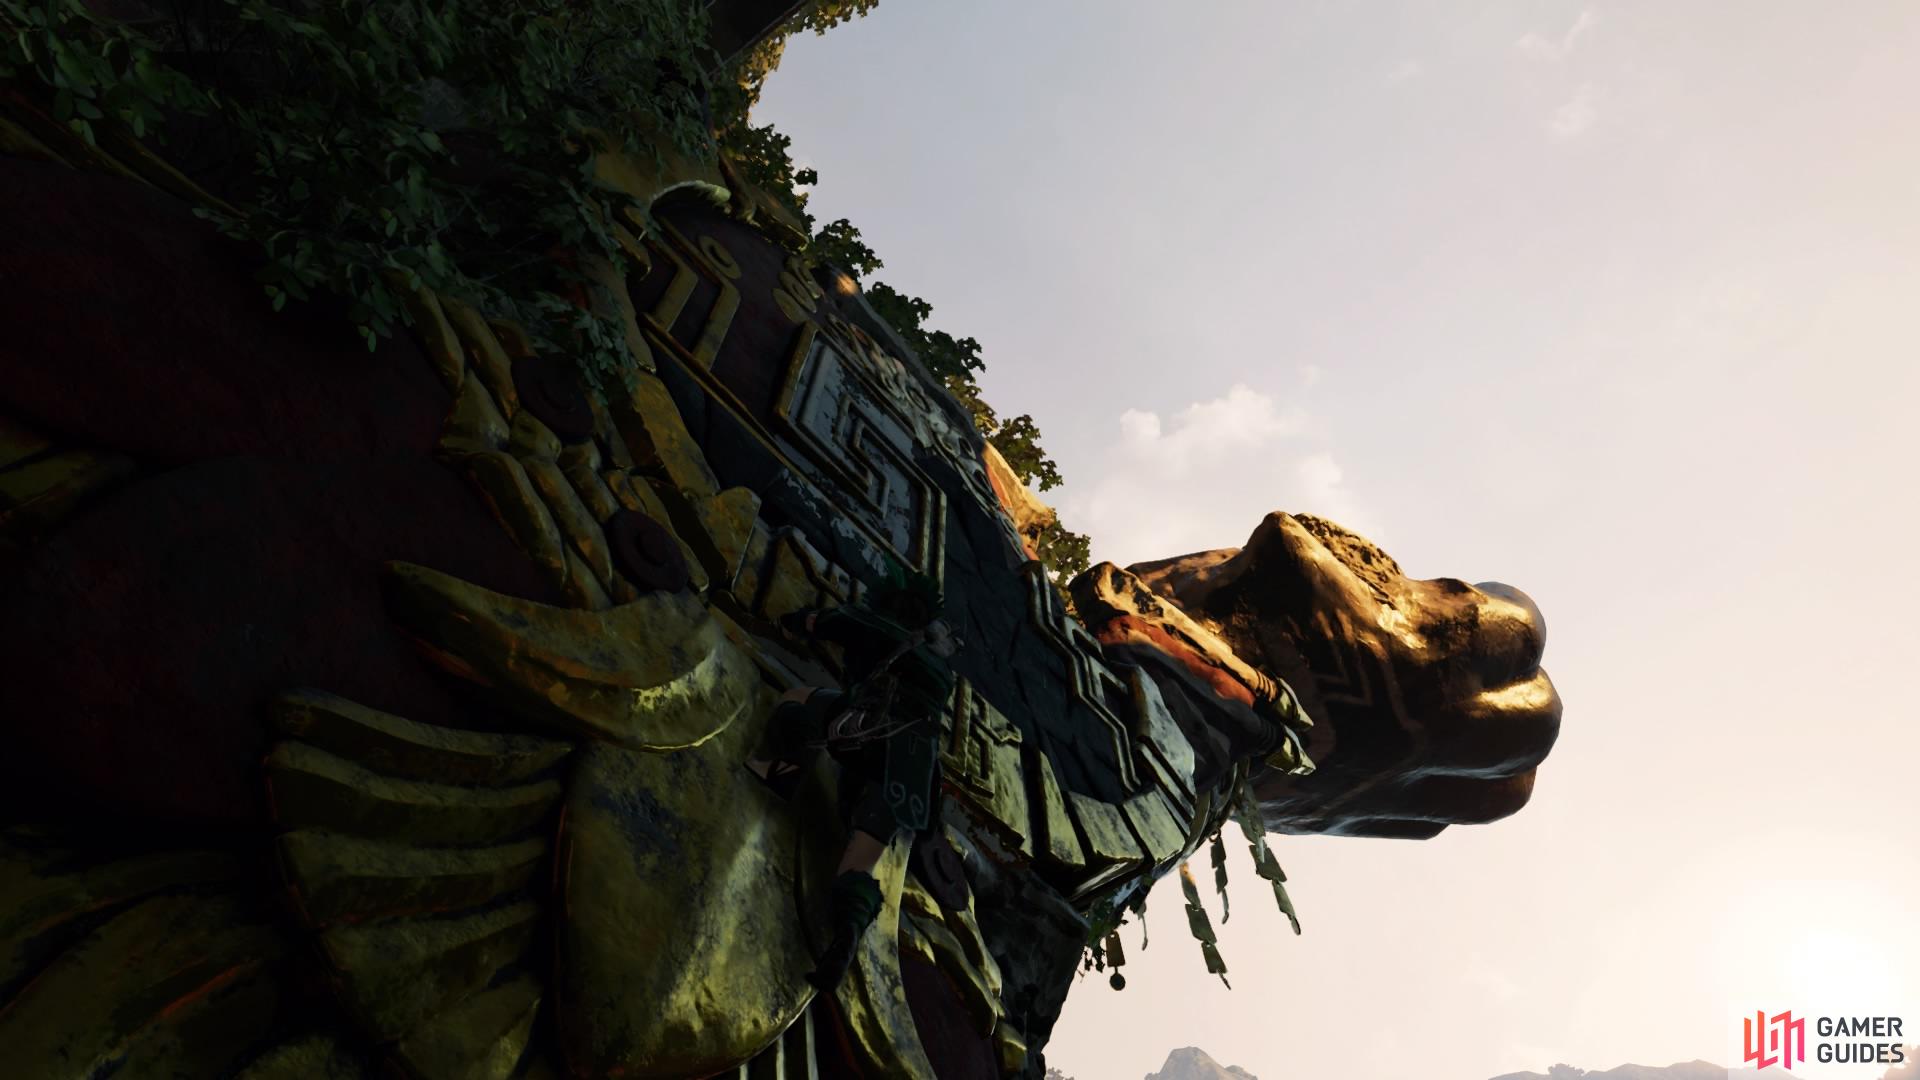
Head left and scramble up the wall, then run toward the statue and attach to the craggy wall at its leg.
-
Scale up and shimmy left along the shelf. Move up to the vegetation and shimmy right to reach the statue’s hand and hoist yourself onto it.
-
Jump to its left hand and throw the Grapple Axe to swing from the metal hook. Then shimmy right and pull yourself onto the hand.
-
Face the opening on the side of the temple and jump toward it, using the Grapple Axe to grab on. Then pull up into the window.
Now you can move through the temple, exploring as you go, until you eventually exit at the top of the statue.
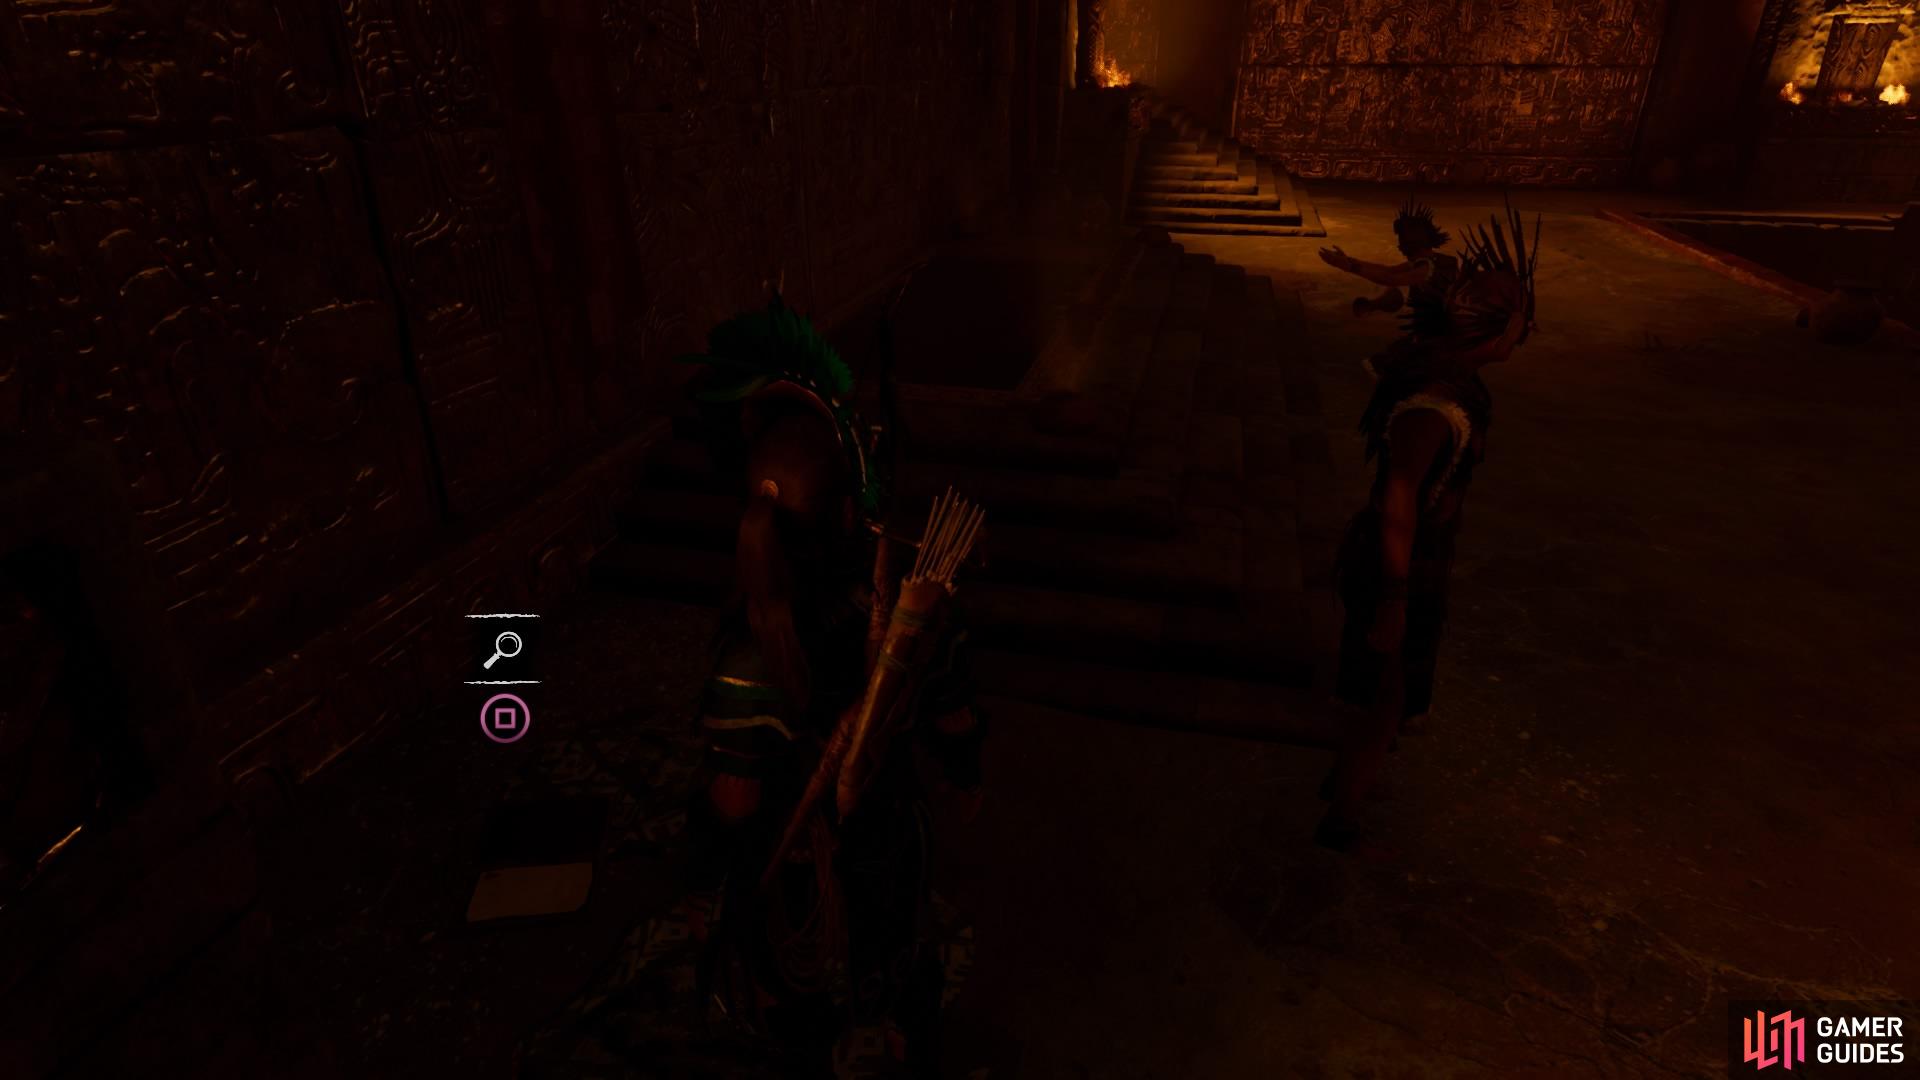
DEFEAT THE CULTIST WARRIORS
After the cutscene, cultist warriors enter the courtyard to search for you. There are plenty of concealment bushes and vegetation walls to provide cover and you should be able to scramble around the area easily and without detection.
You can pick them off with stealth kills if you isolate them, but if you get spotted you can run around the structures and into concealment again. If you listen closely to the enemies when they speak, they will let you know if they’re looking for or have lost track of you.
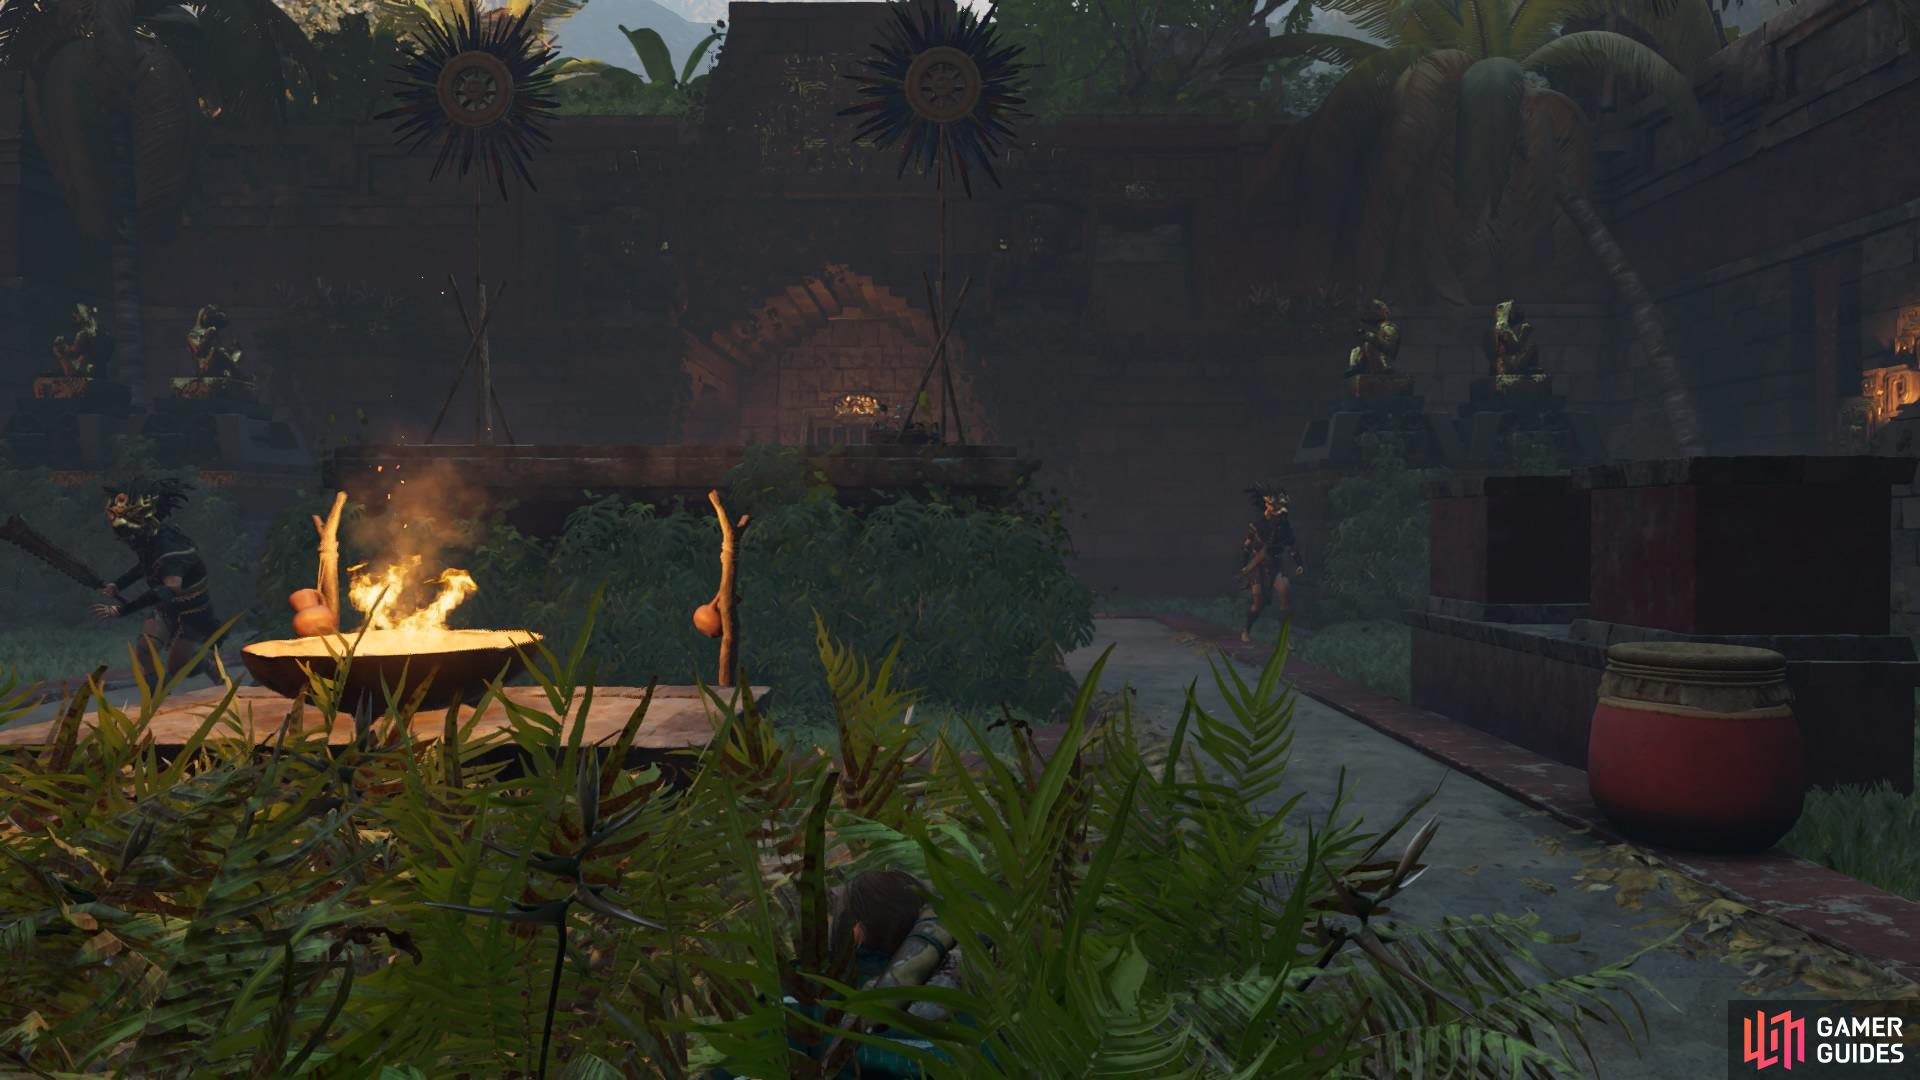
There are also red explosive barrels sitting along the walls around the area if you’d prefer to go all-out. When the enemies get close to them, shoot an arrow to cause a heavy damage explosion. Grabbing their attention like this can cause them to group up, providing opportunities for multiple kills. Just be aware of the fire they throw your way if they know your whereabouts.
Once they are all gone, make your way toward the exit. There’ll be a guard blocking the way, so take him out, but note that you can’t leave the area if you’re still engaged in combat.

 Sign up
No Comments