| Region Summary | . |
|---|---|
| Base Camp | 3 |
| Challenge Tomb | 1 |
| Mission Giver | 0 |
| Region Challenge | 2 |
| Treasure Chest | 0 |
| Crypt | 0 |
| Relic | 5 |
| Document | 6 |
| Mural | 0 |
| Survival Cache | 8 |
| Monolith | 0 |
EYE OF THE SERPENT – EXLPORE THE CENOTE
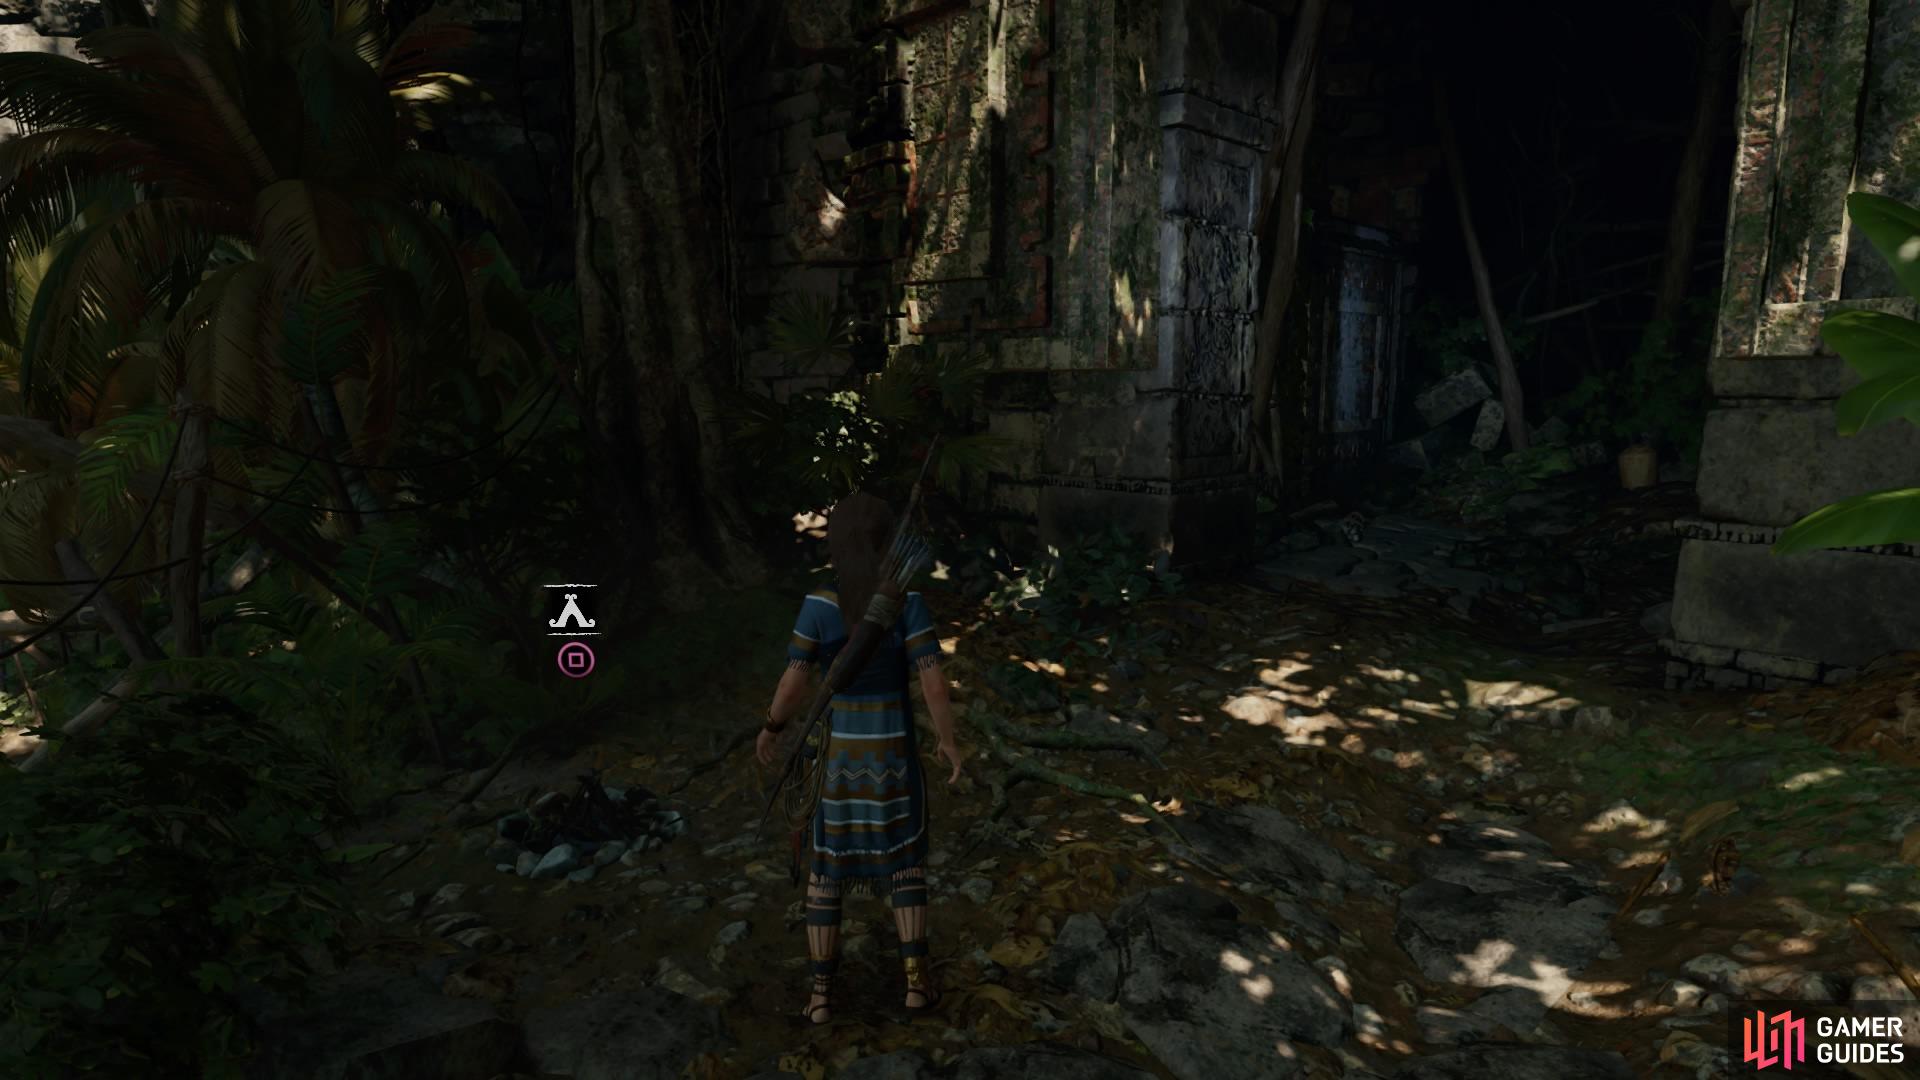
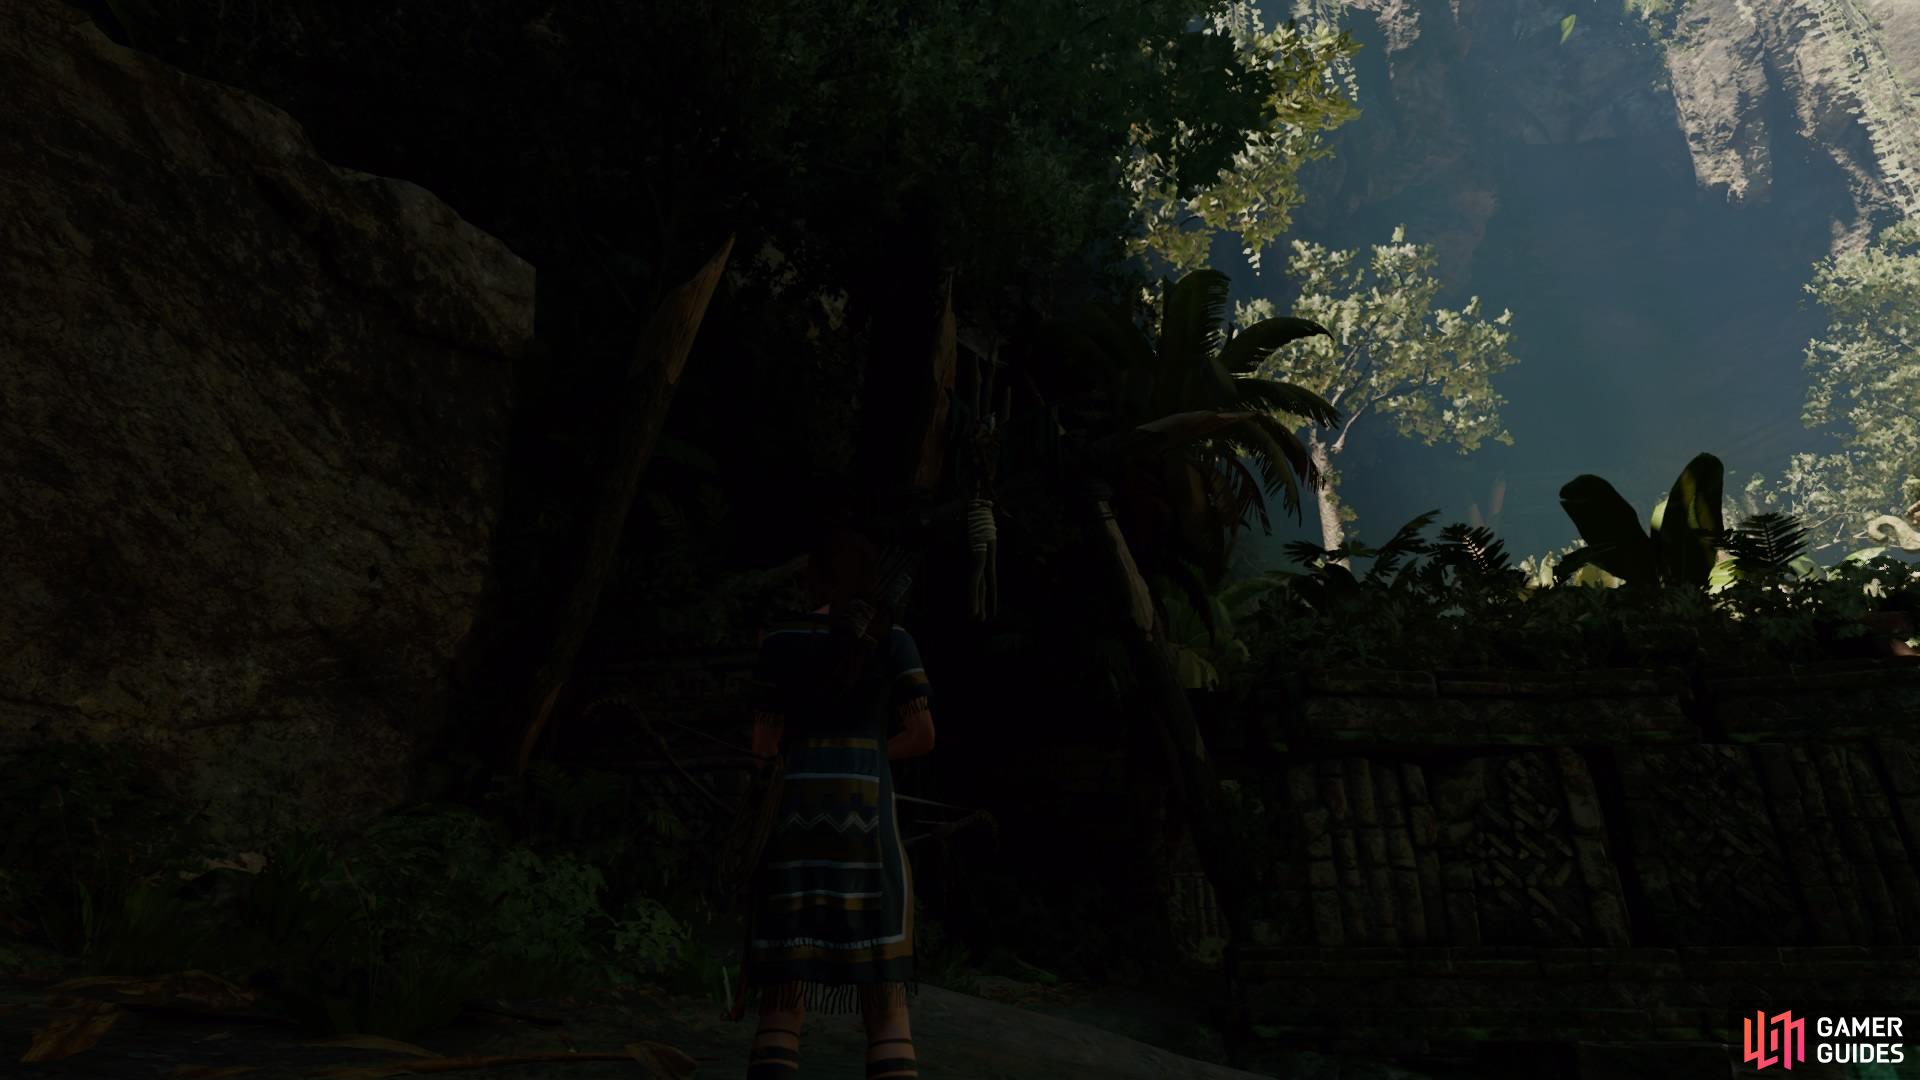
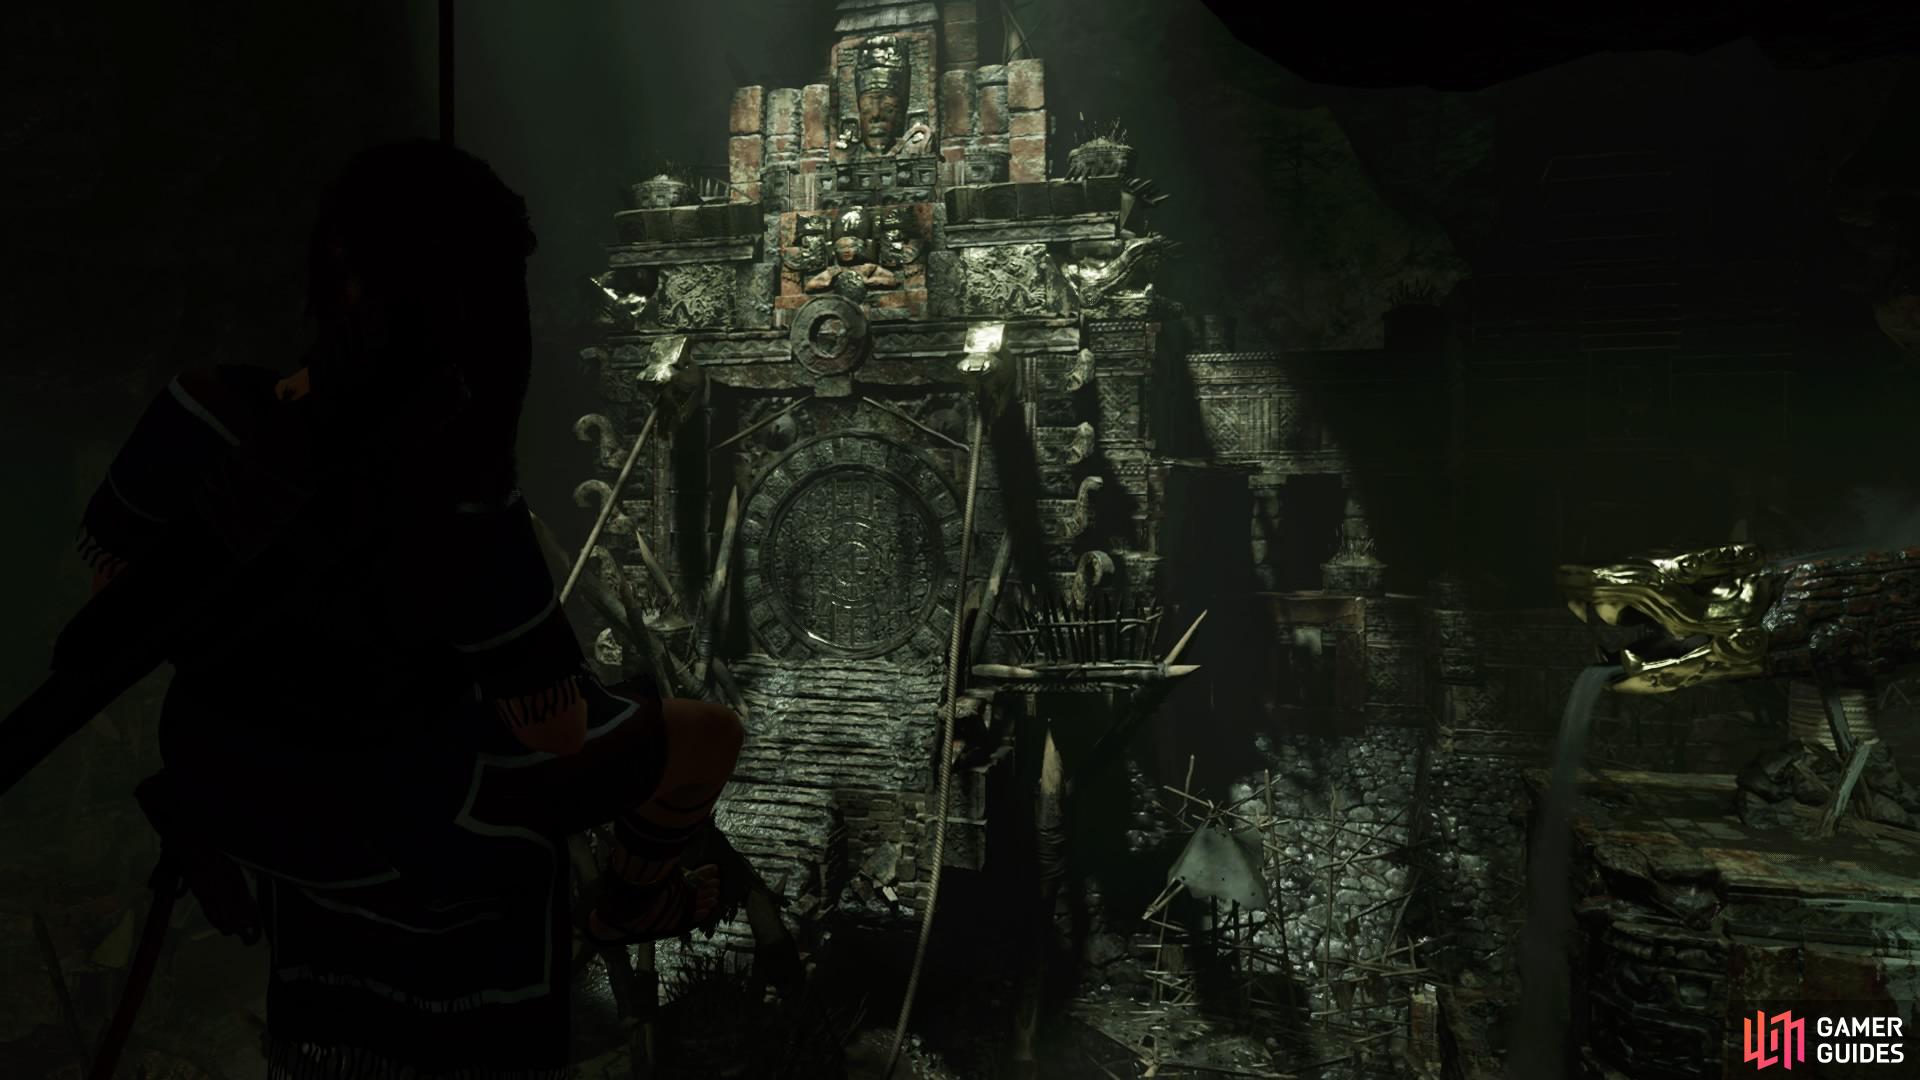
Swim through the tunnel ahead and resurface on the other side, then climb and scramble up the ledges to duck under a tree. After Lara notices a temple below, use the zipline to drop down into the Cenote Vista Base Camp. Upgrade or purchase Skills if needed.
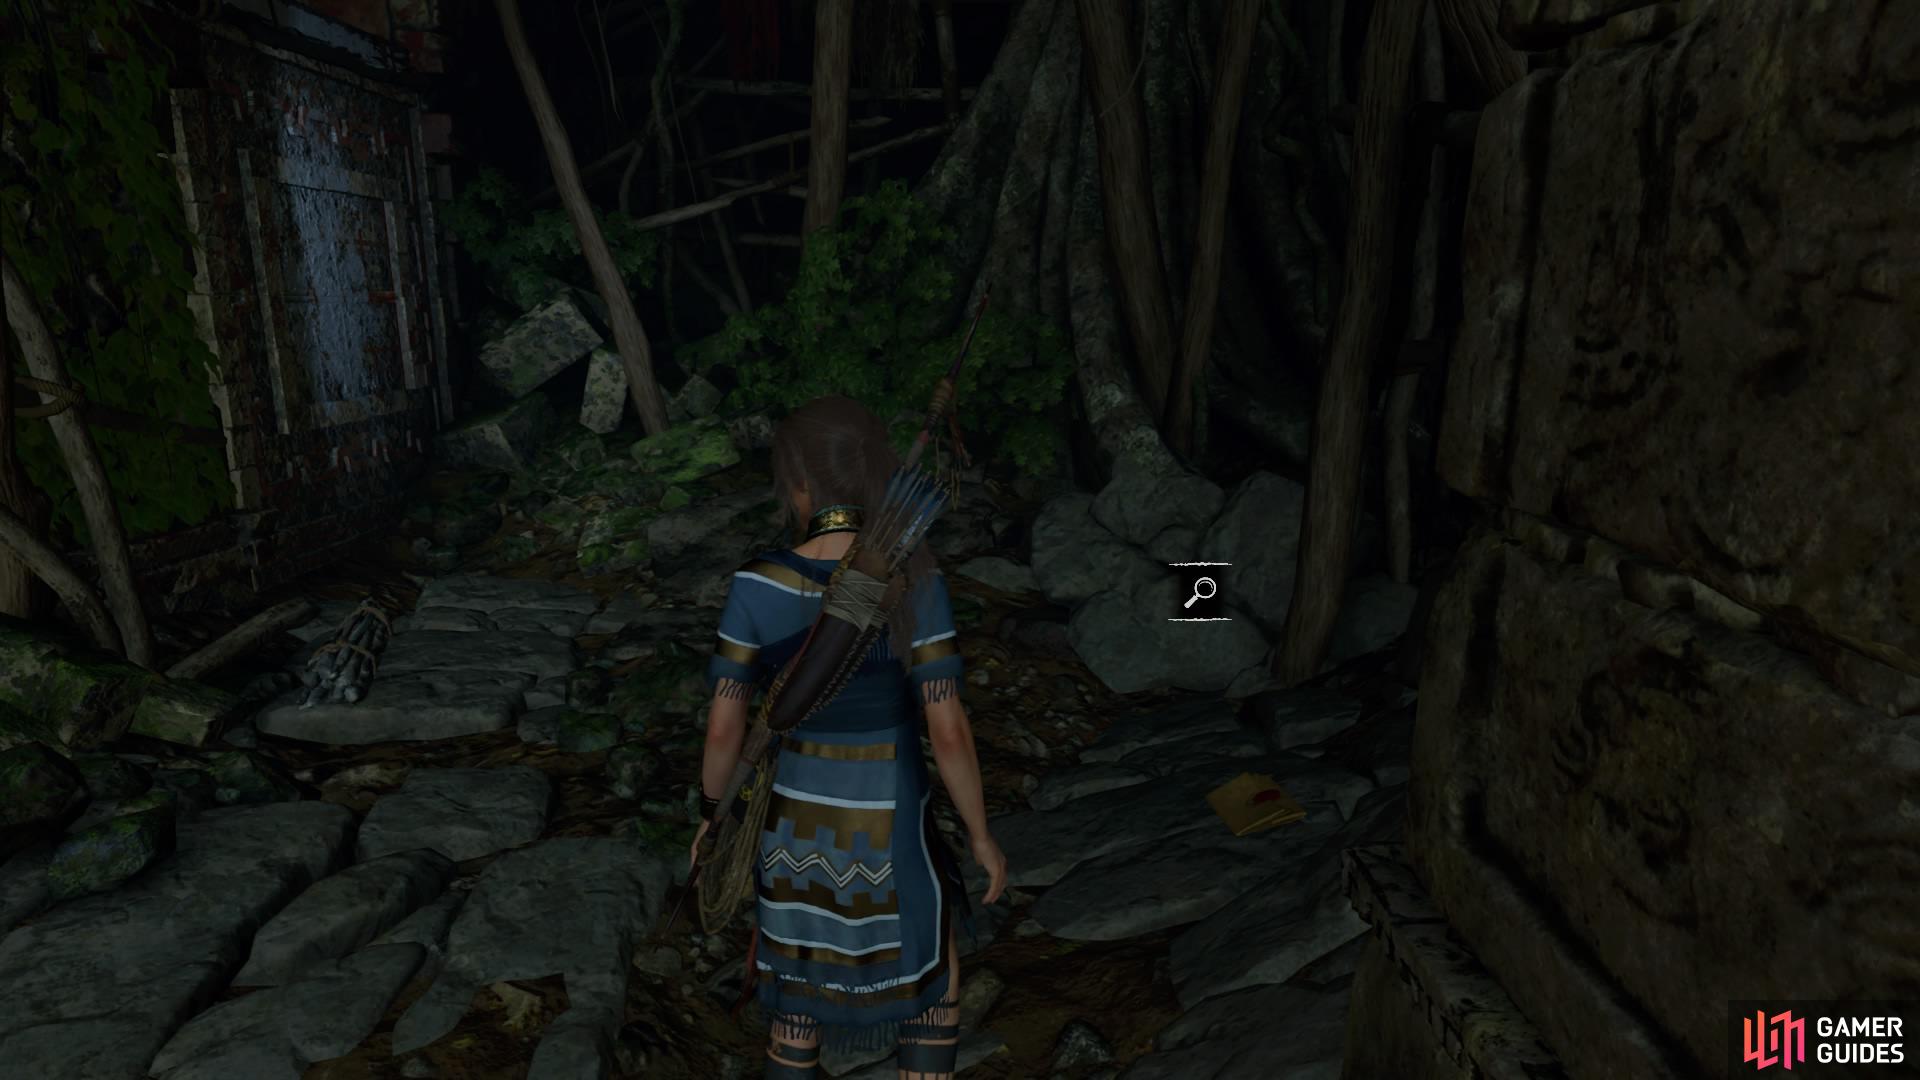
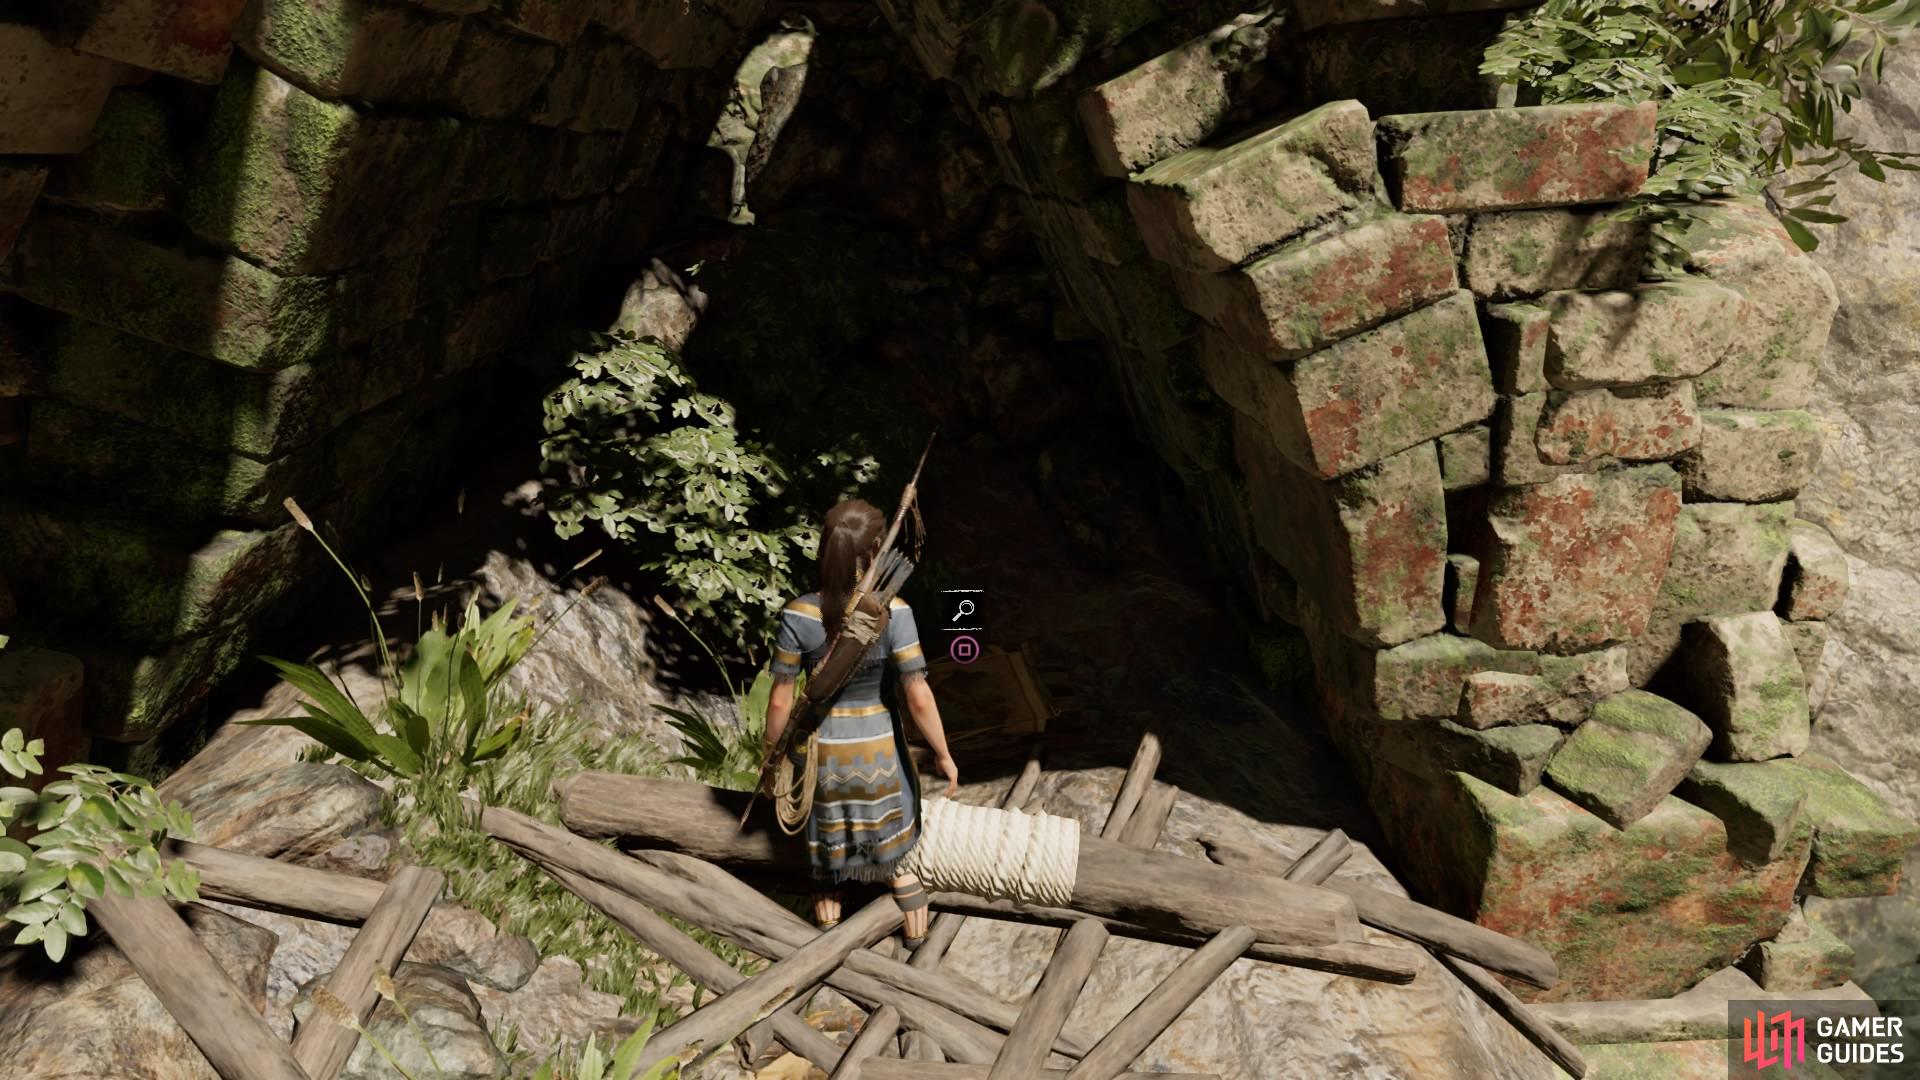
As you enter the doorway on the right, you can pick up Document – Journal of T. Serrano 2 as well as some resources, then scramble up the wall. Follow the trail and dive into the water below.

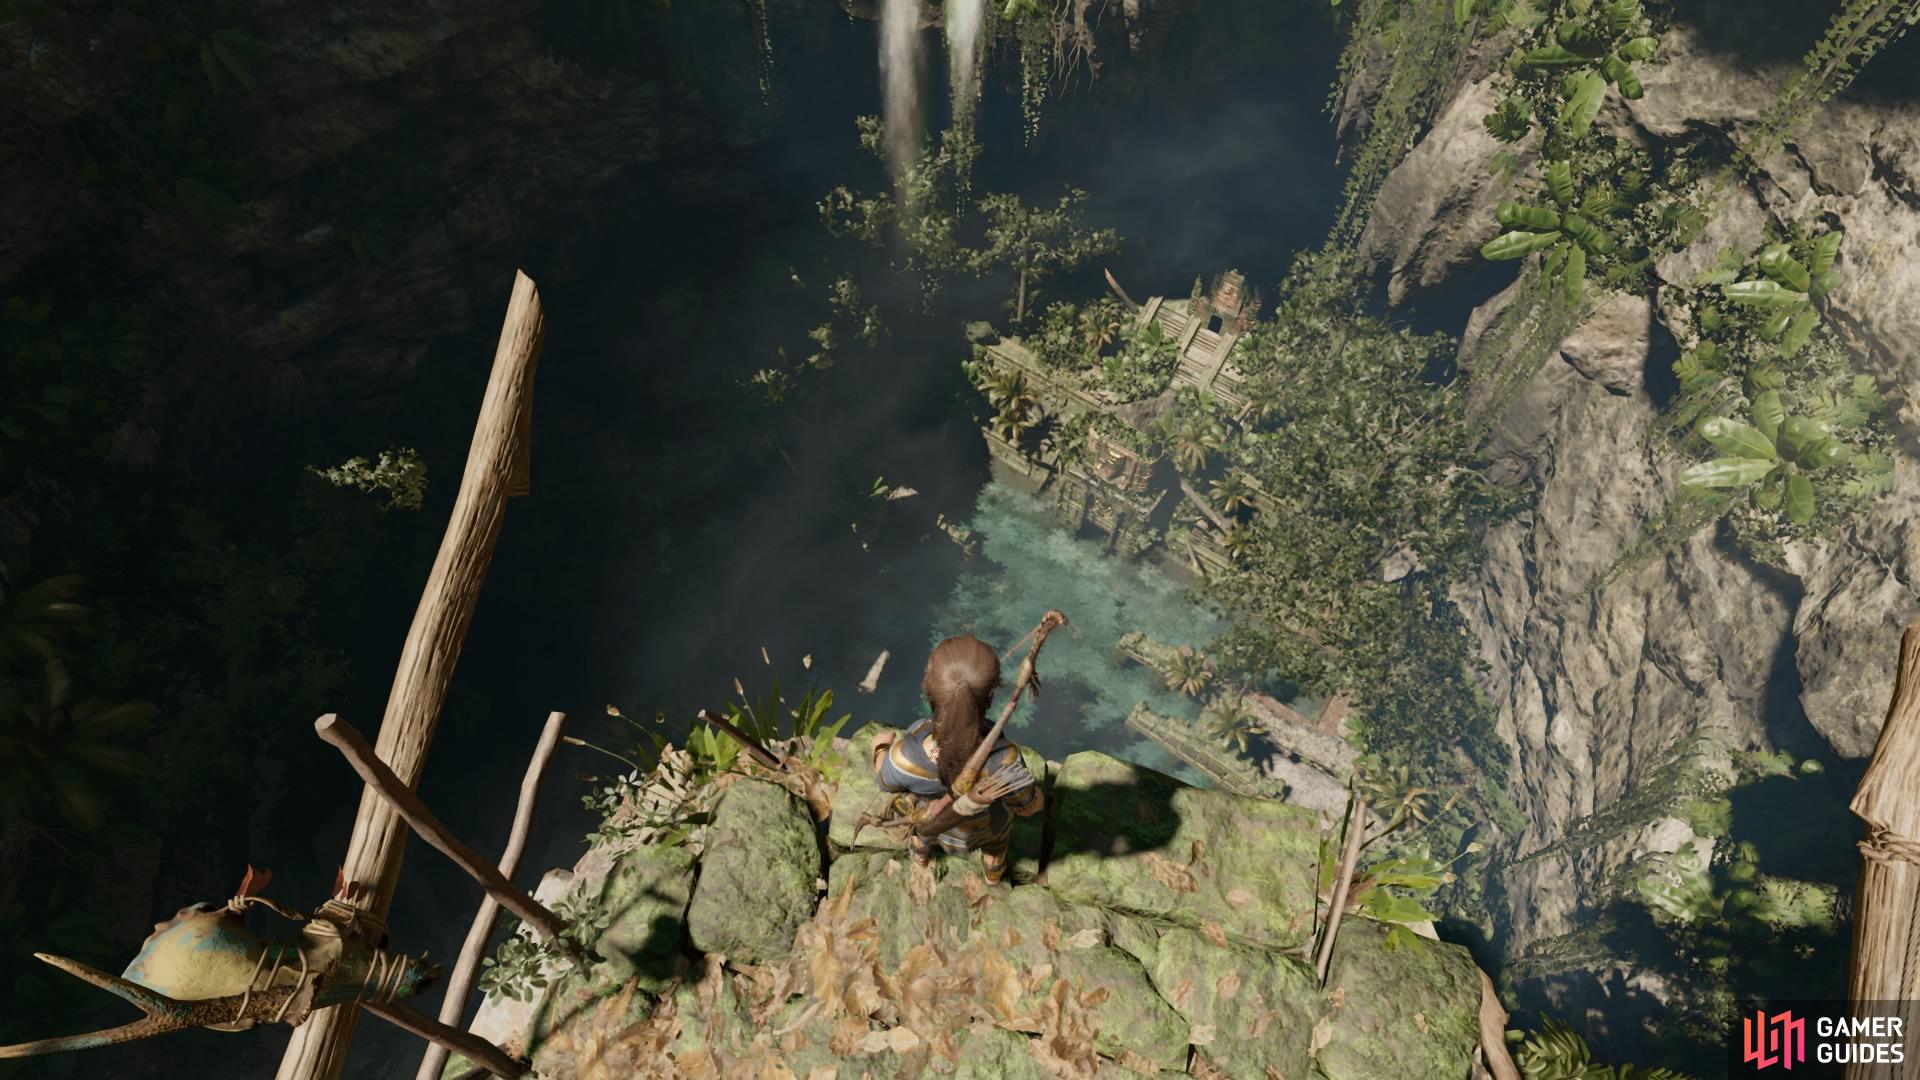
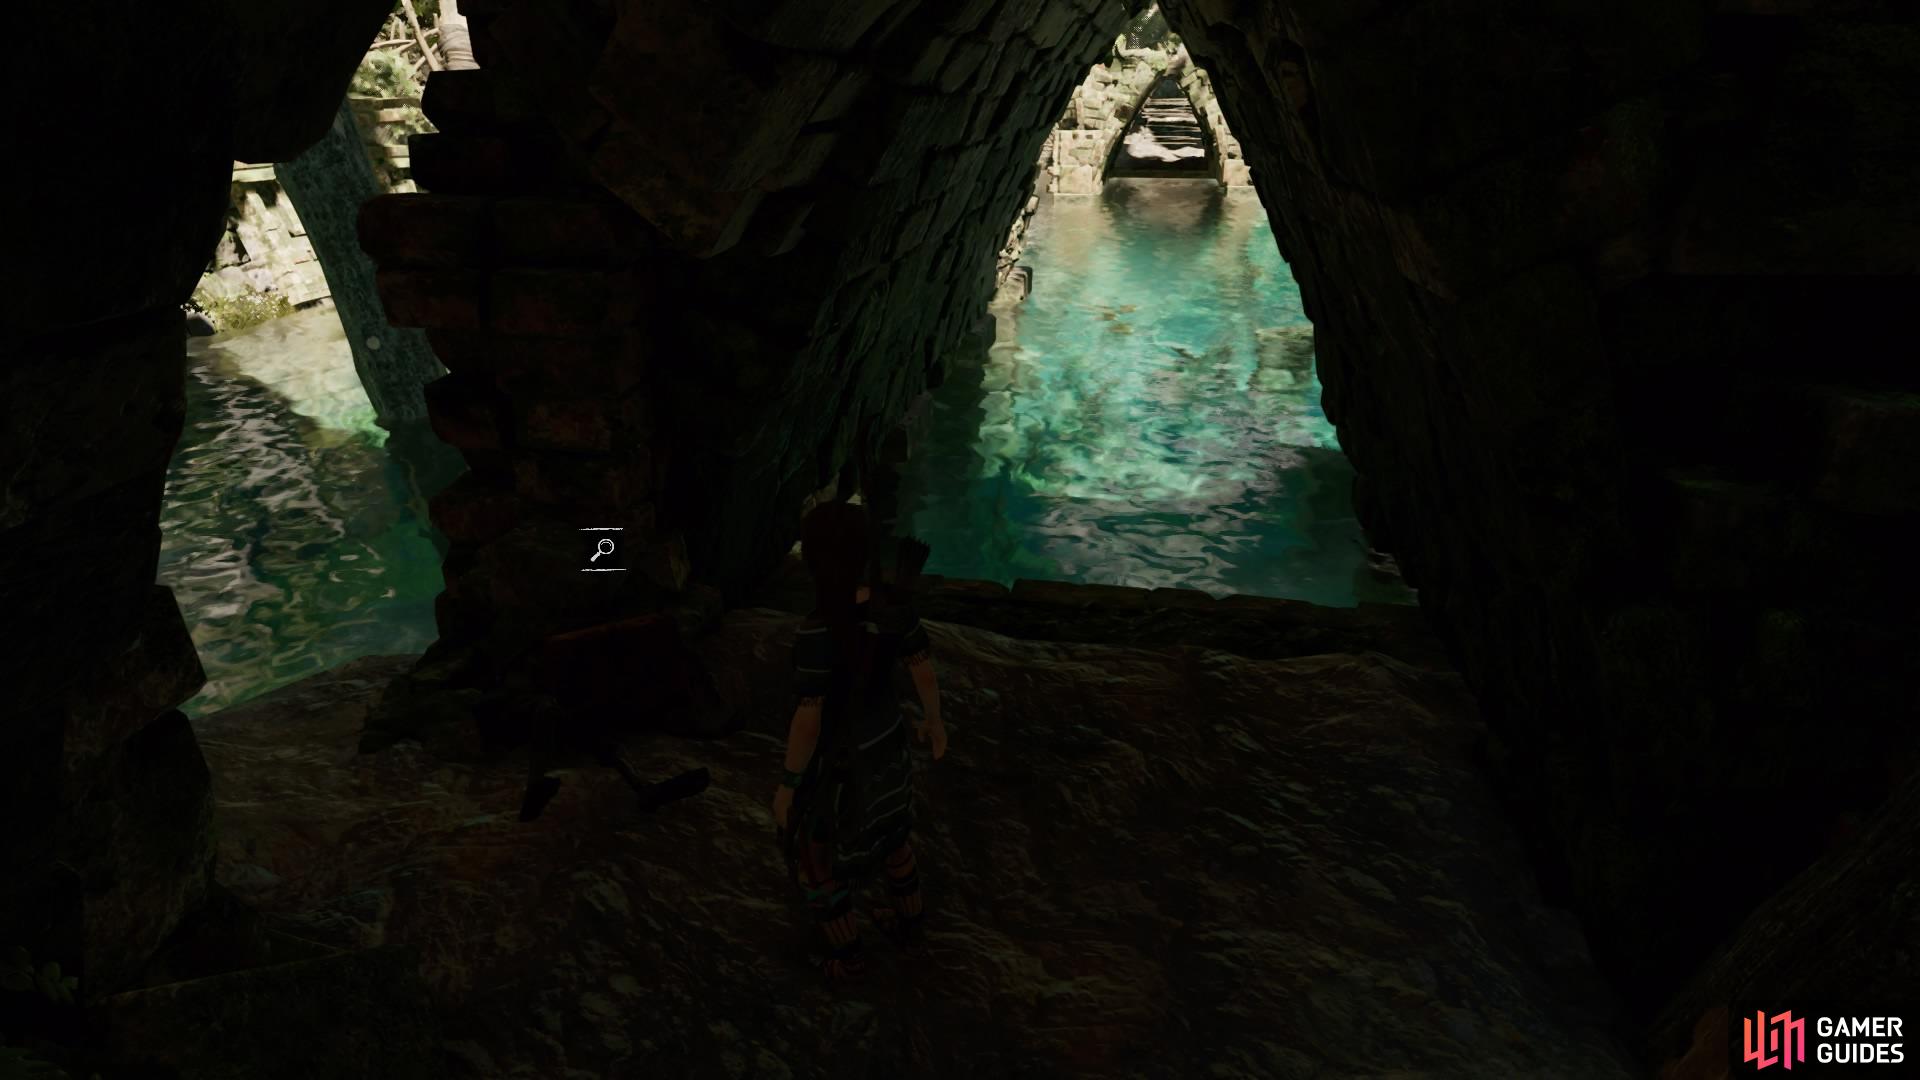
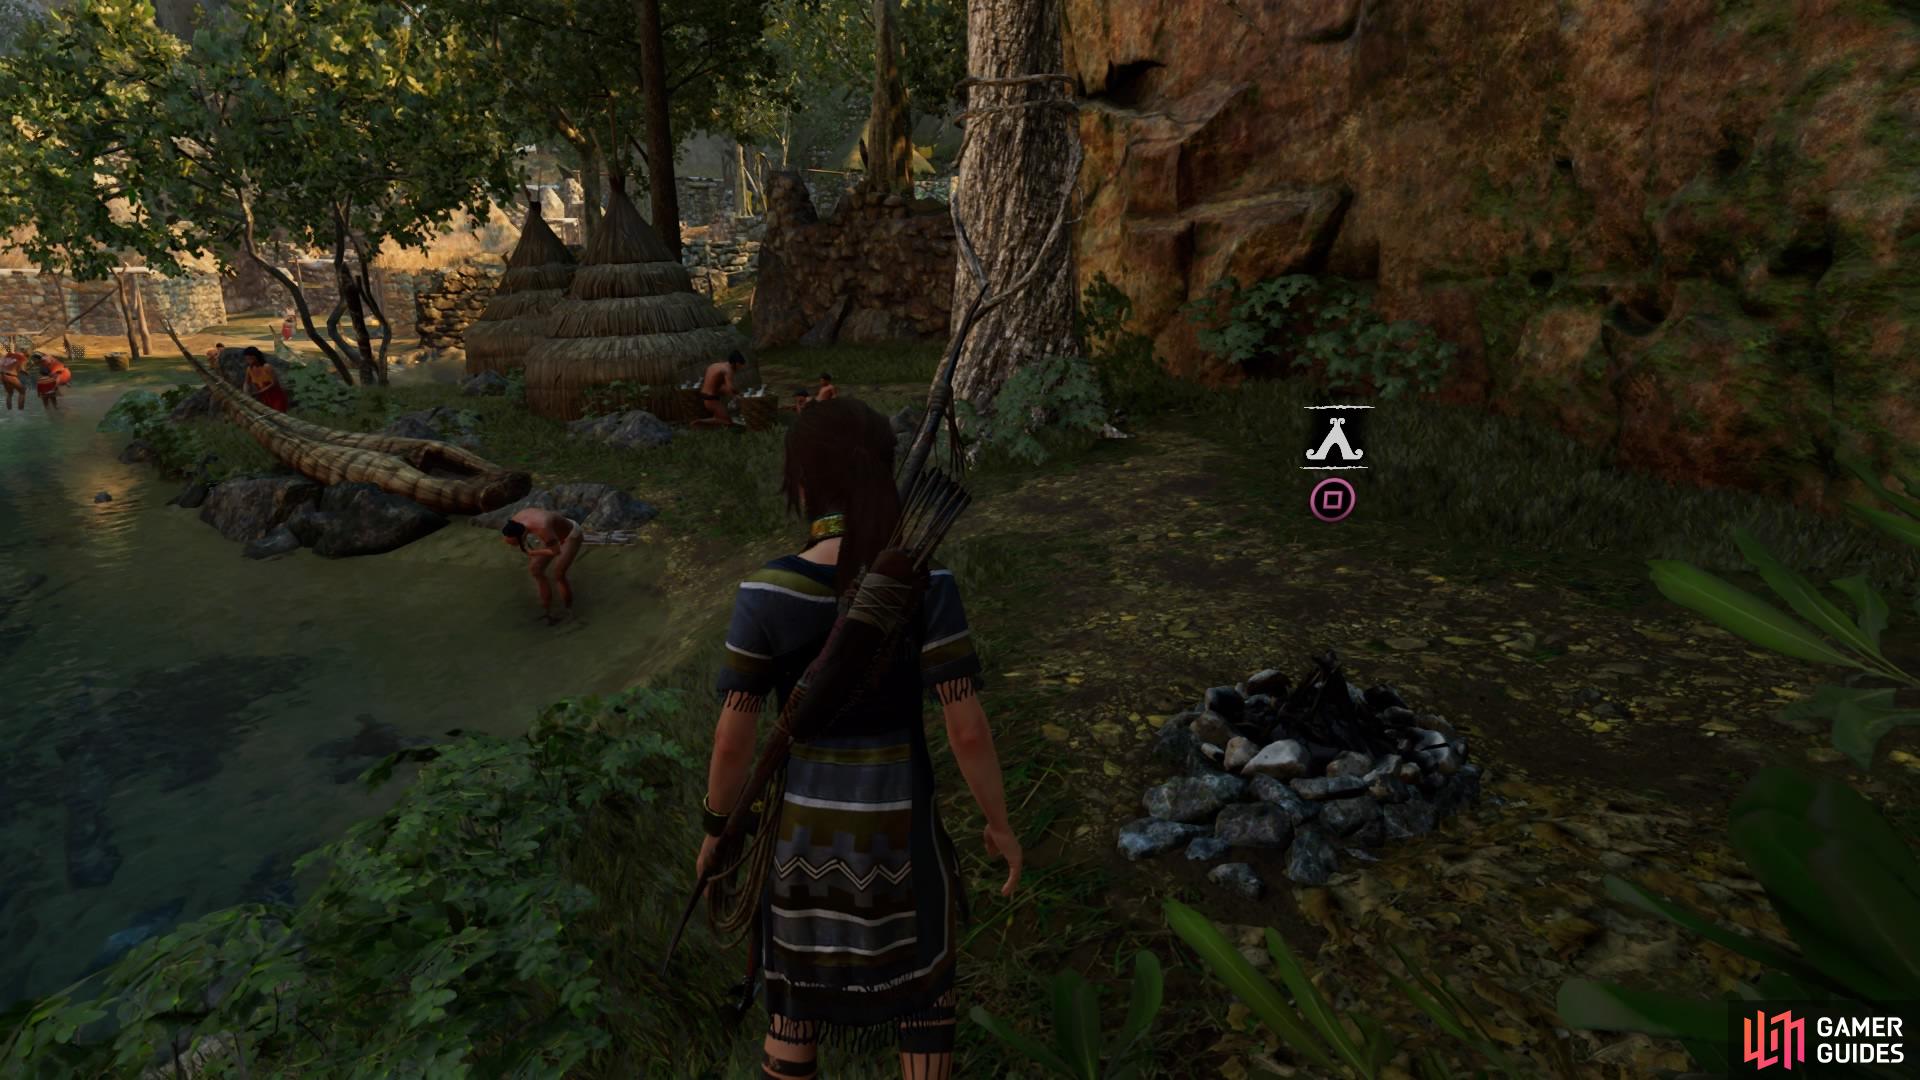
(1 of 4) Cenote Vista Base Camp
You can take the time to explore the cenote if you like – there are resources, survival caches, and Relics to find, as well as starting two region challenges. Directly beneath your starting position, however, are a group of piranhas that could spot you as you search for the goods.
Before moving on, swim left towards the shore and look inside the structure for an Explorer Backpack. You can also pull down the first effigy for the Respected region challenge. Directly opposite is the structure on the right side of the area – swim across to it to pull down a wooden barrier and pick up the Archivist Map.

EXPLORE THE TEMPLE
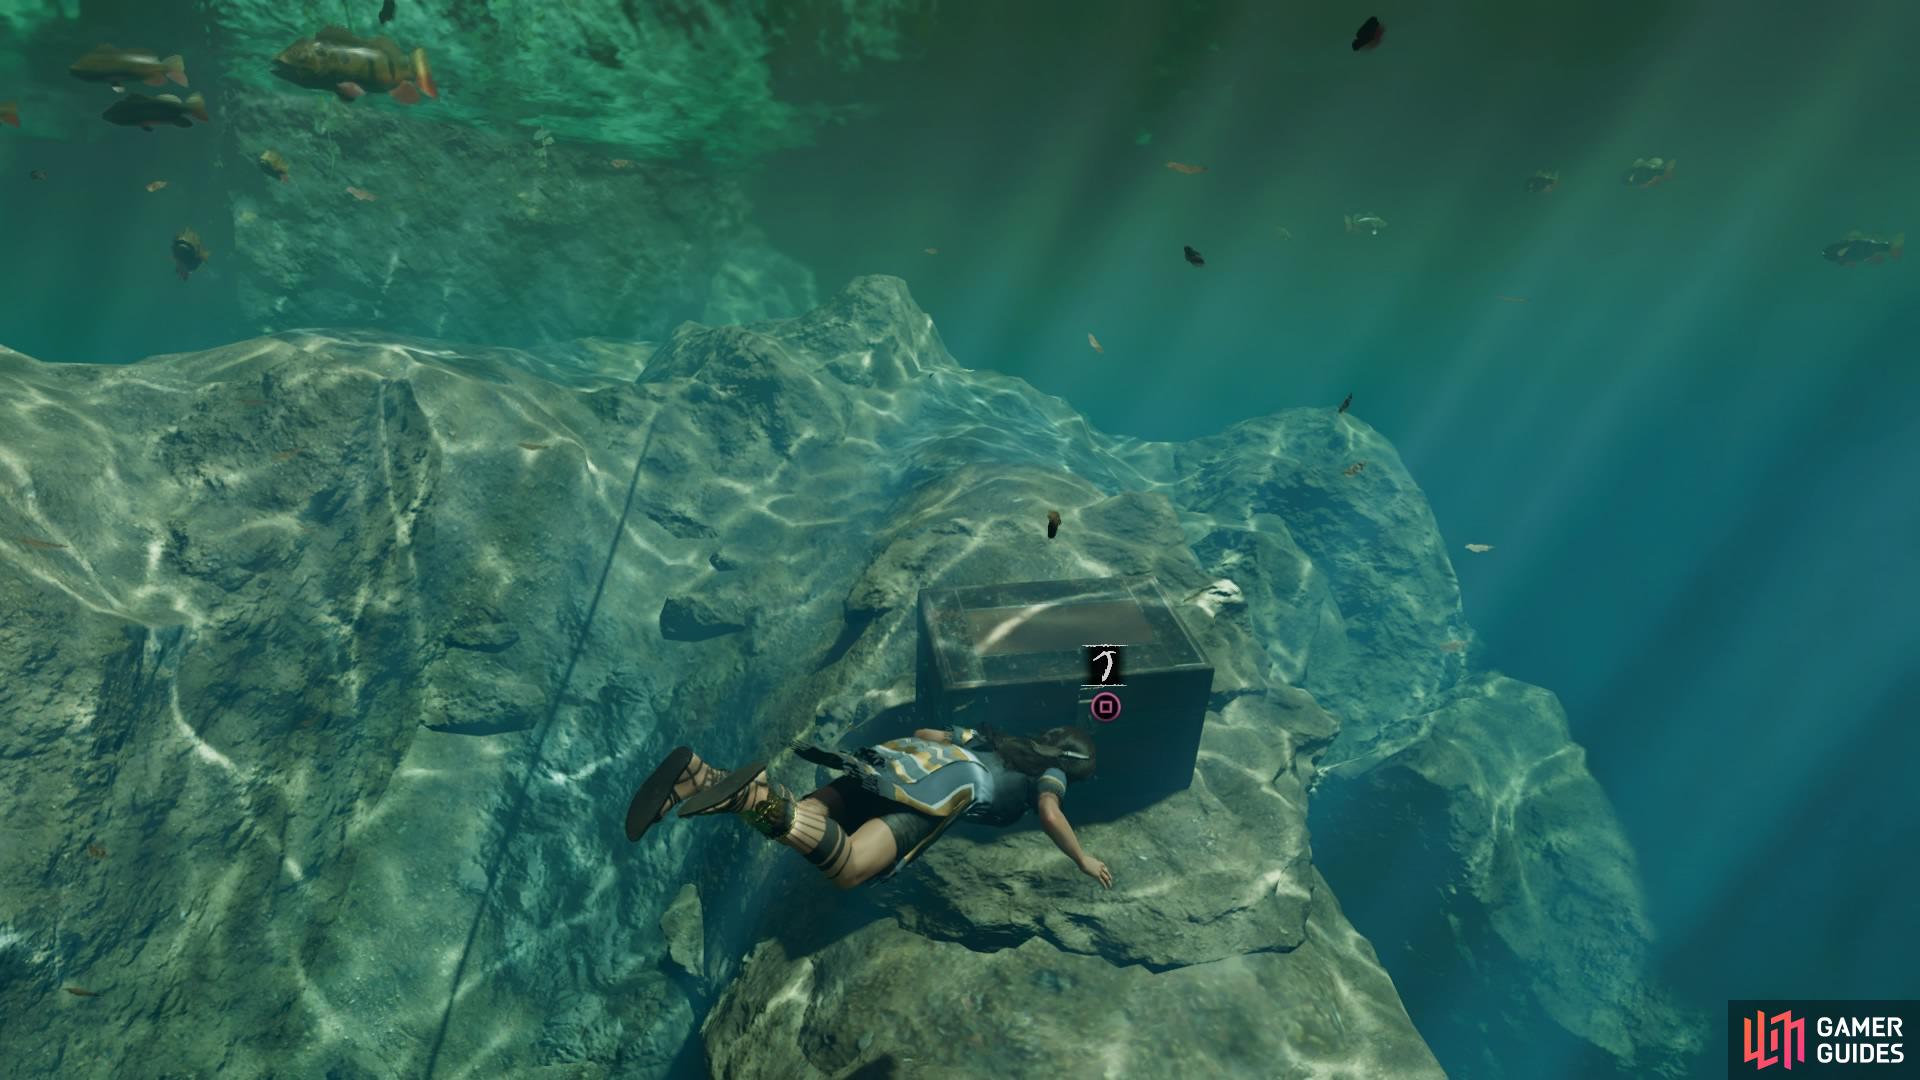
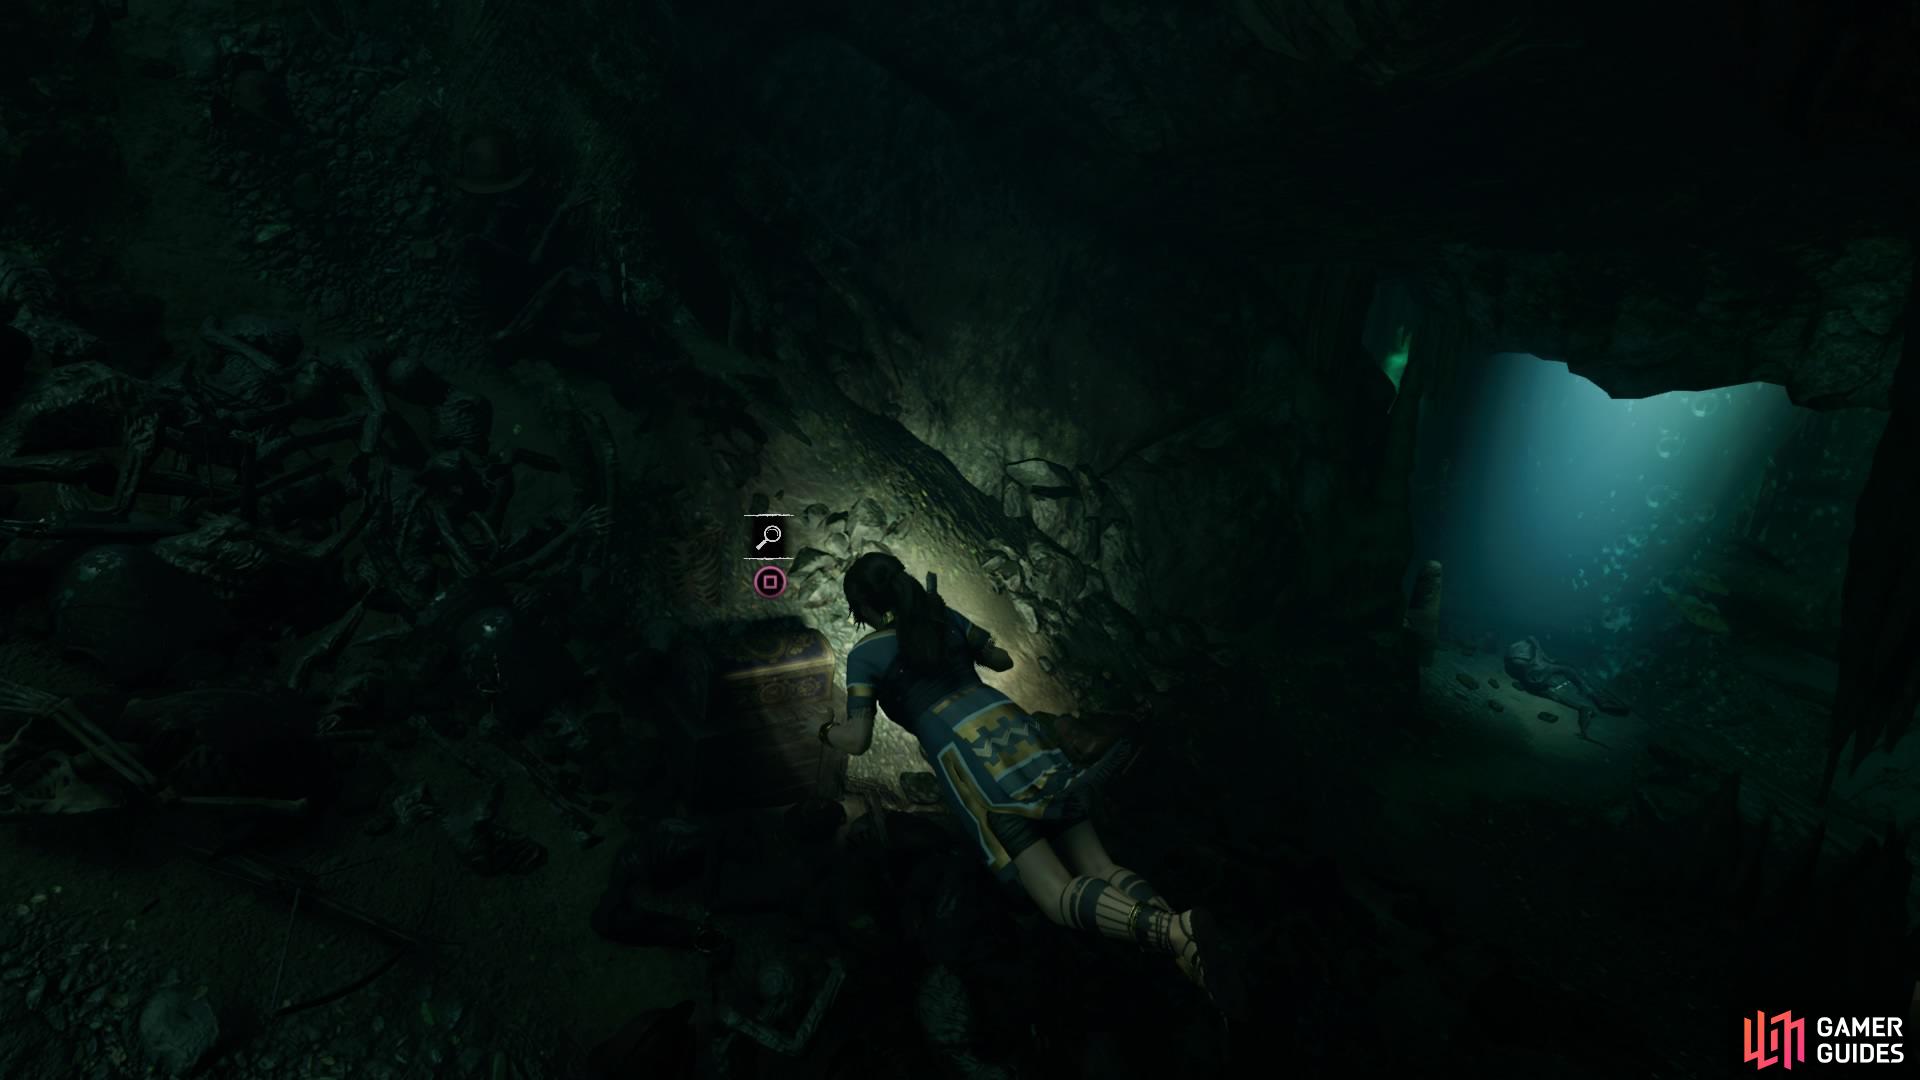
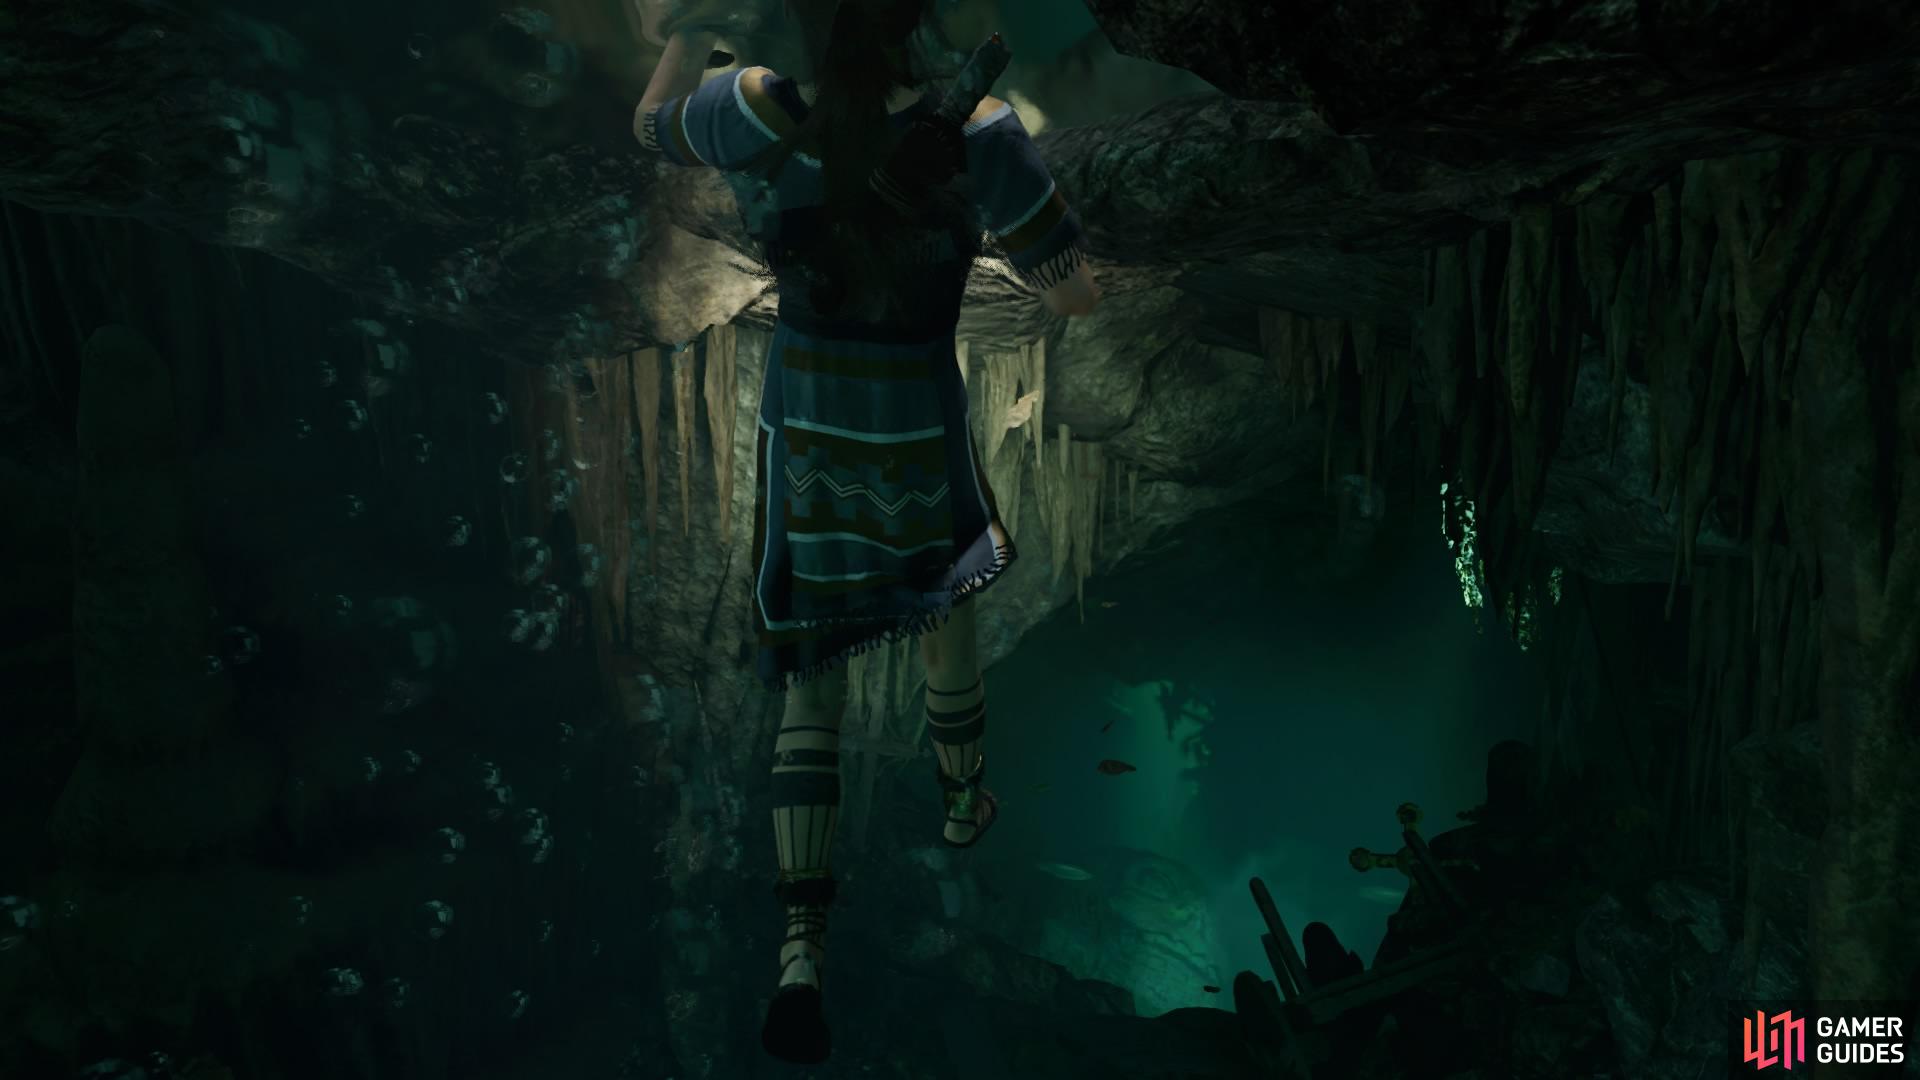
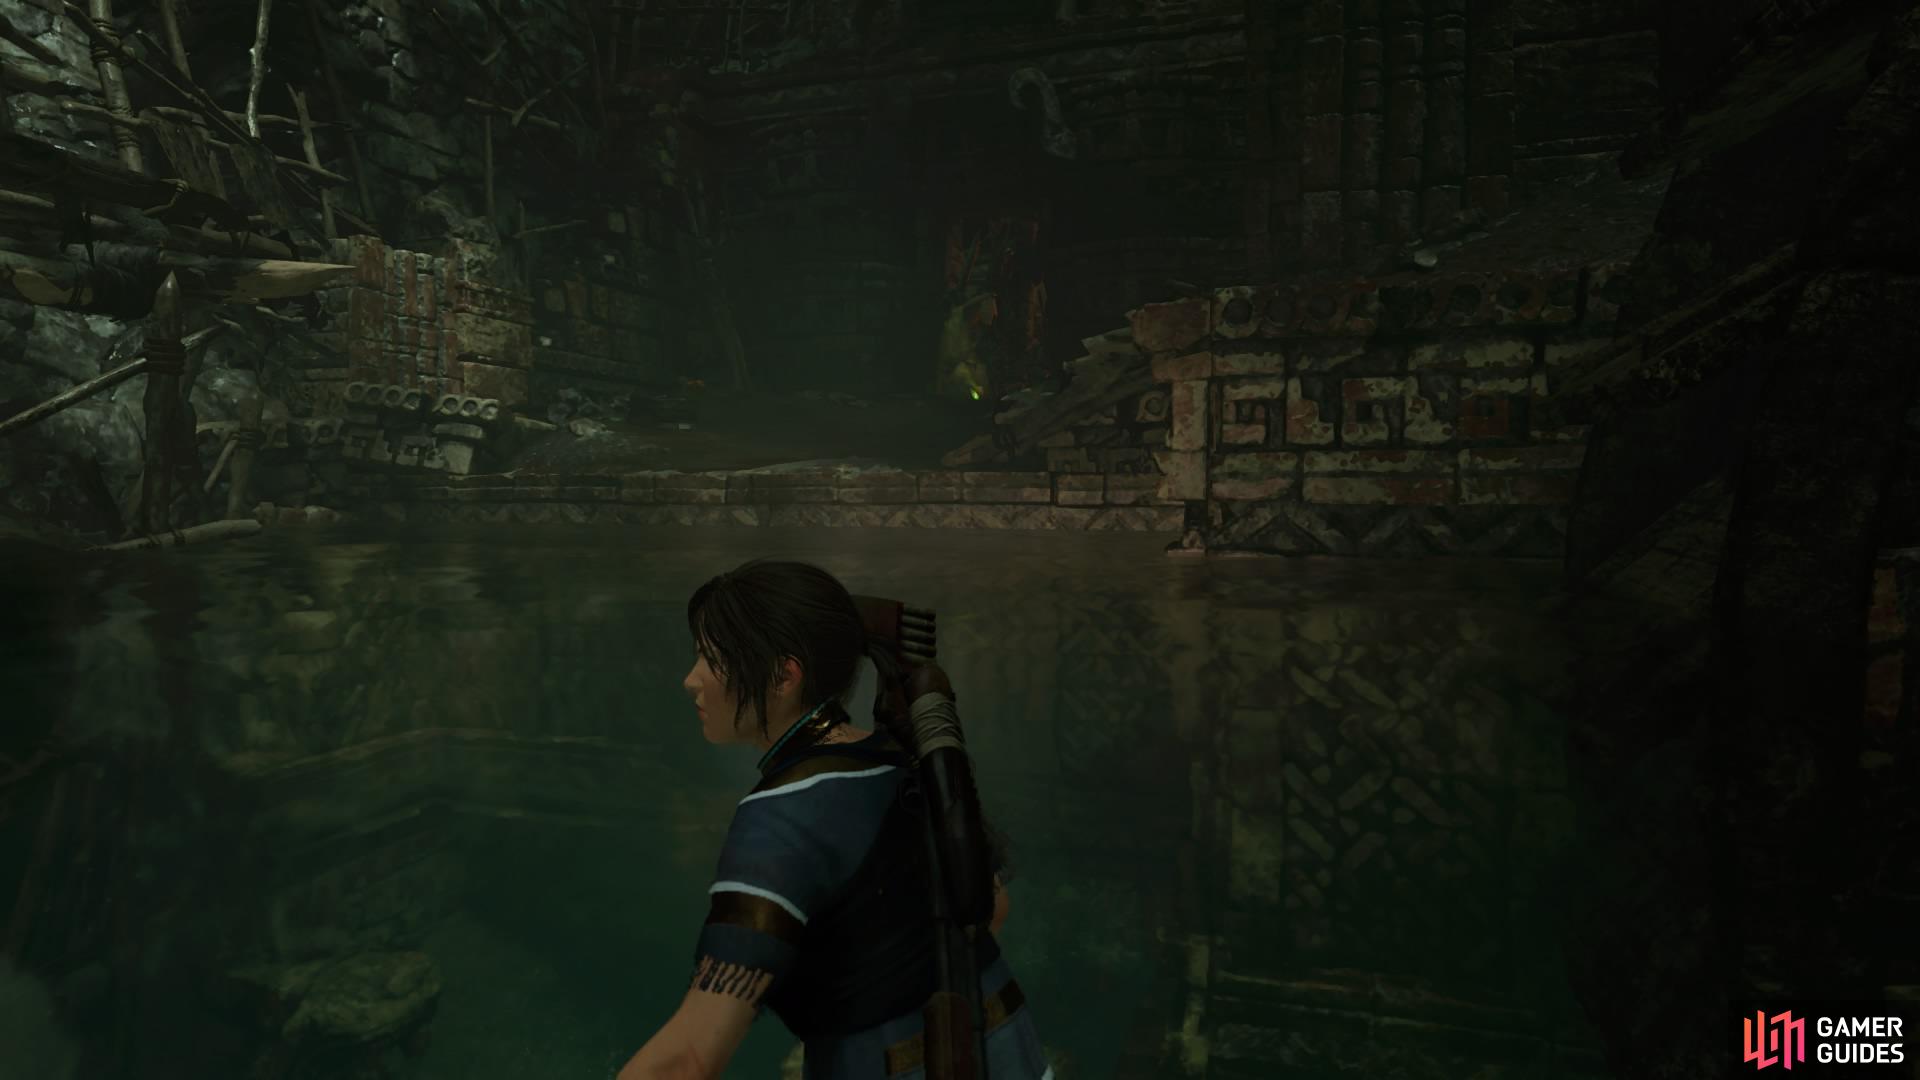
When you’re ready, head for the temple entrance on the far side of the area, and dive underwater to swim through the tunnel. You can explore this area before moving too far inside to find a Relic and a Document, and there are a couple of air pockets in case you need to catch your breath. There are also more resources lying around.
As soon as you leave the tunnel, swim towards the left where you can resurface and climb out to pick up some Jade and inspect a wall mural. Before you resurface, you’ll find a small chest with Relic – Knight’s Morion inside.
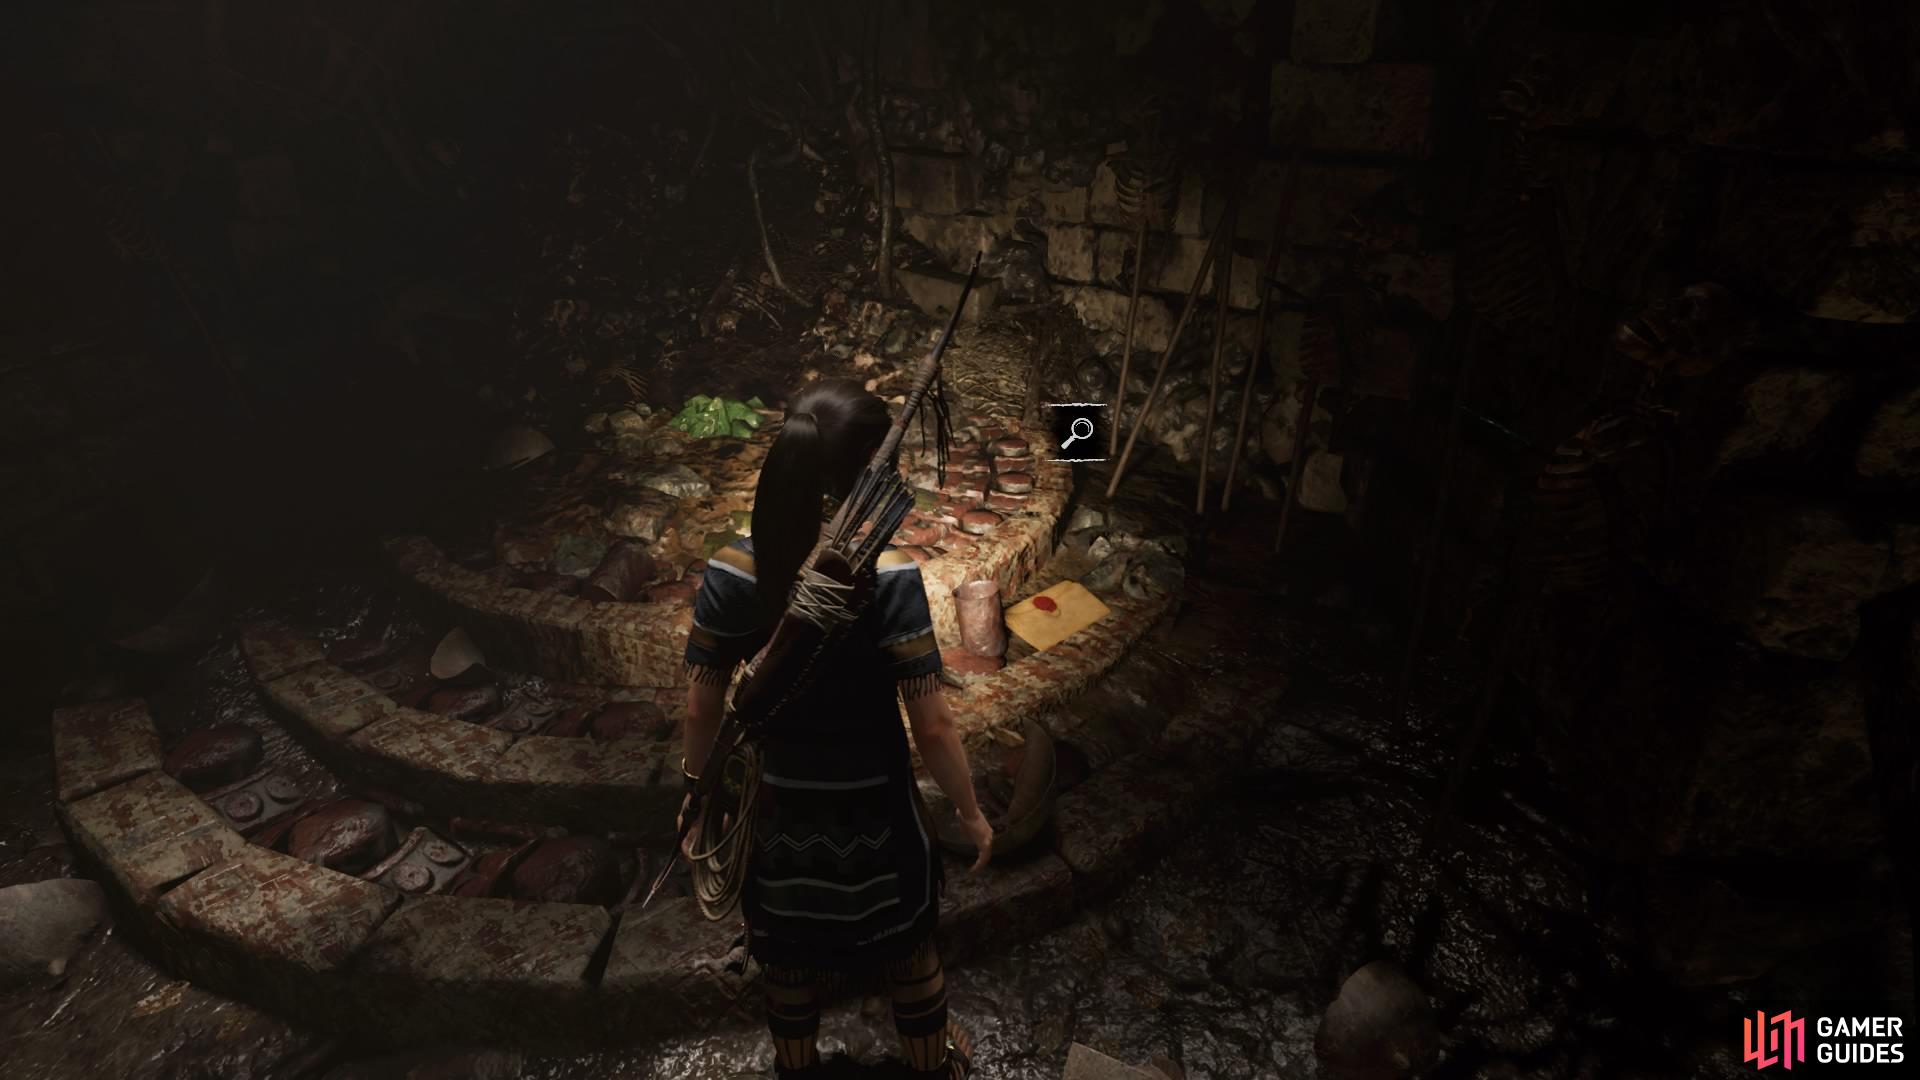
When you reach the first air pocket, swim forward a bit and then head right (ignoring the obvious route ahead) to follow the tunnel to a secret area. Resurface and climb out to pick up Document – A Warning and some more Jade.
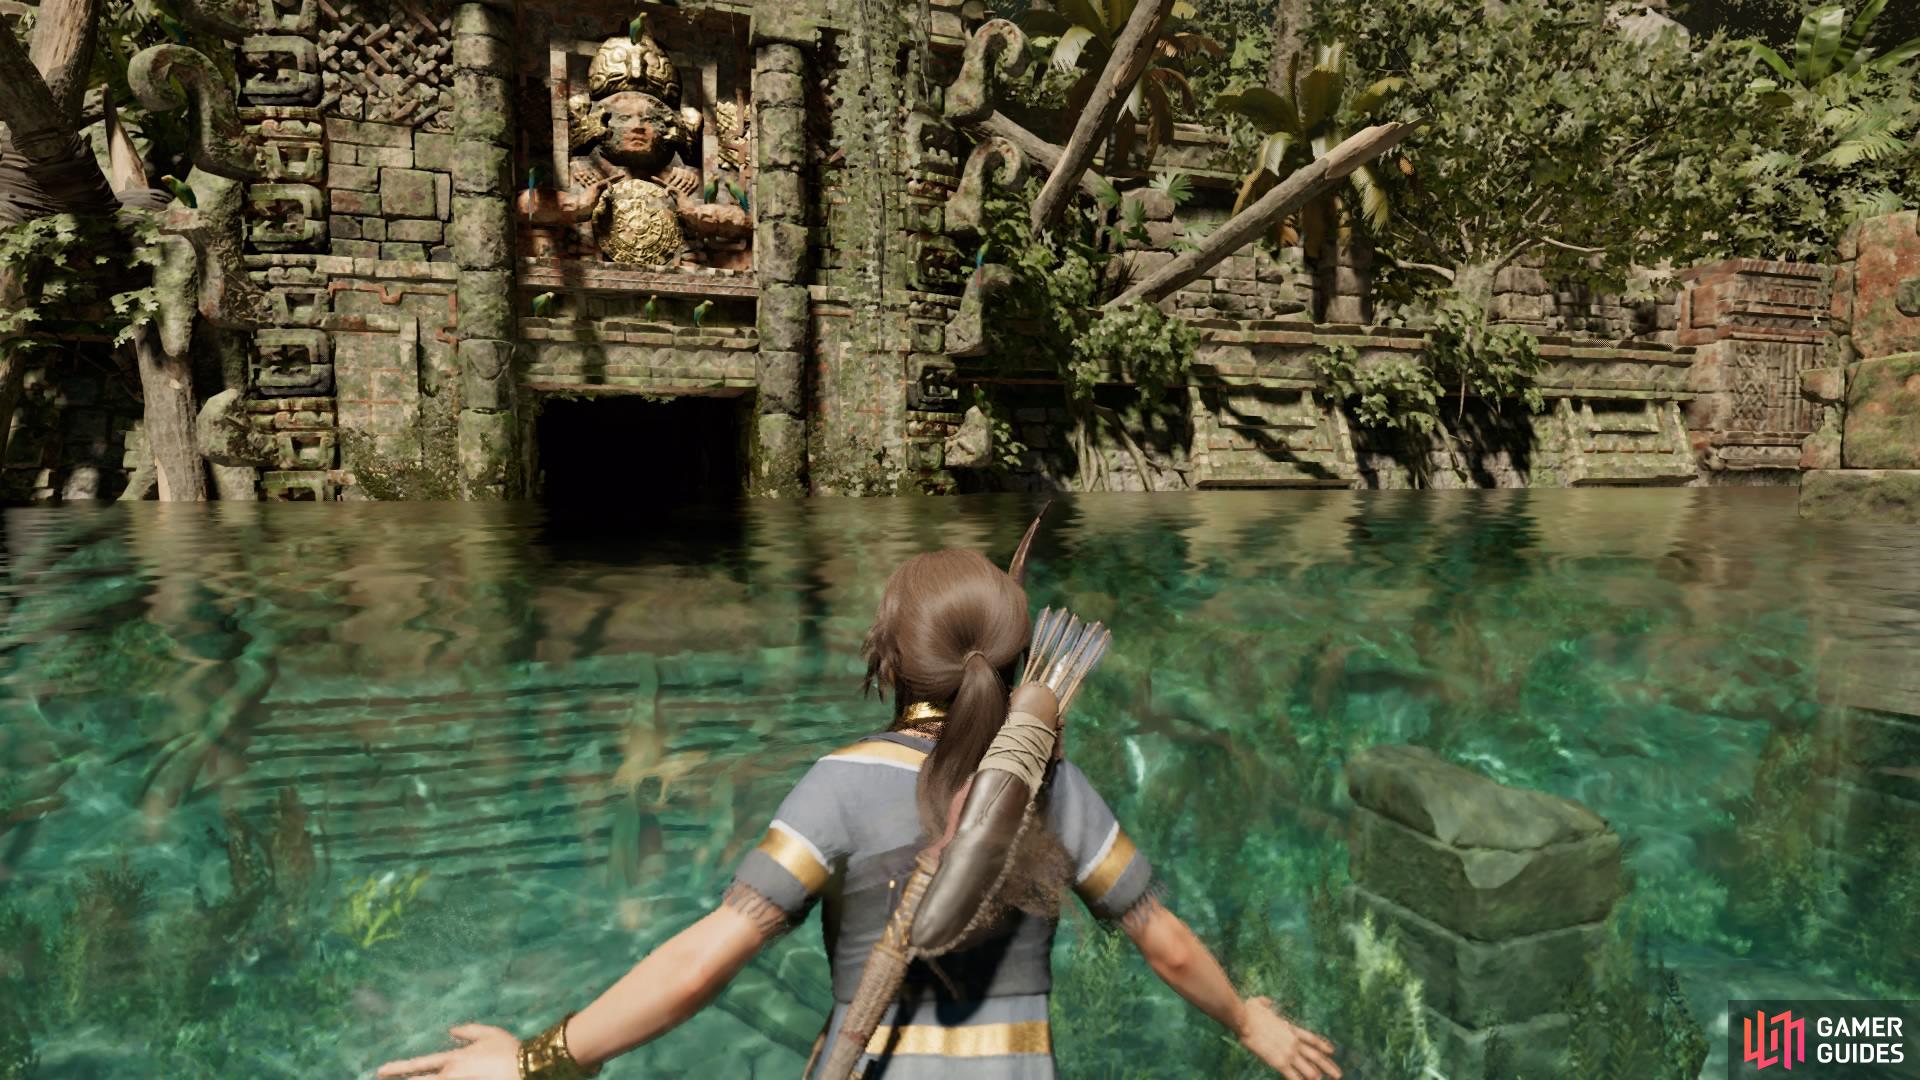
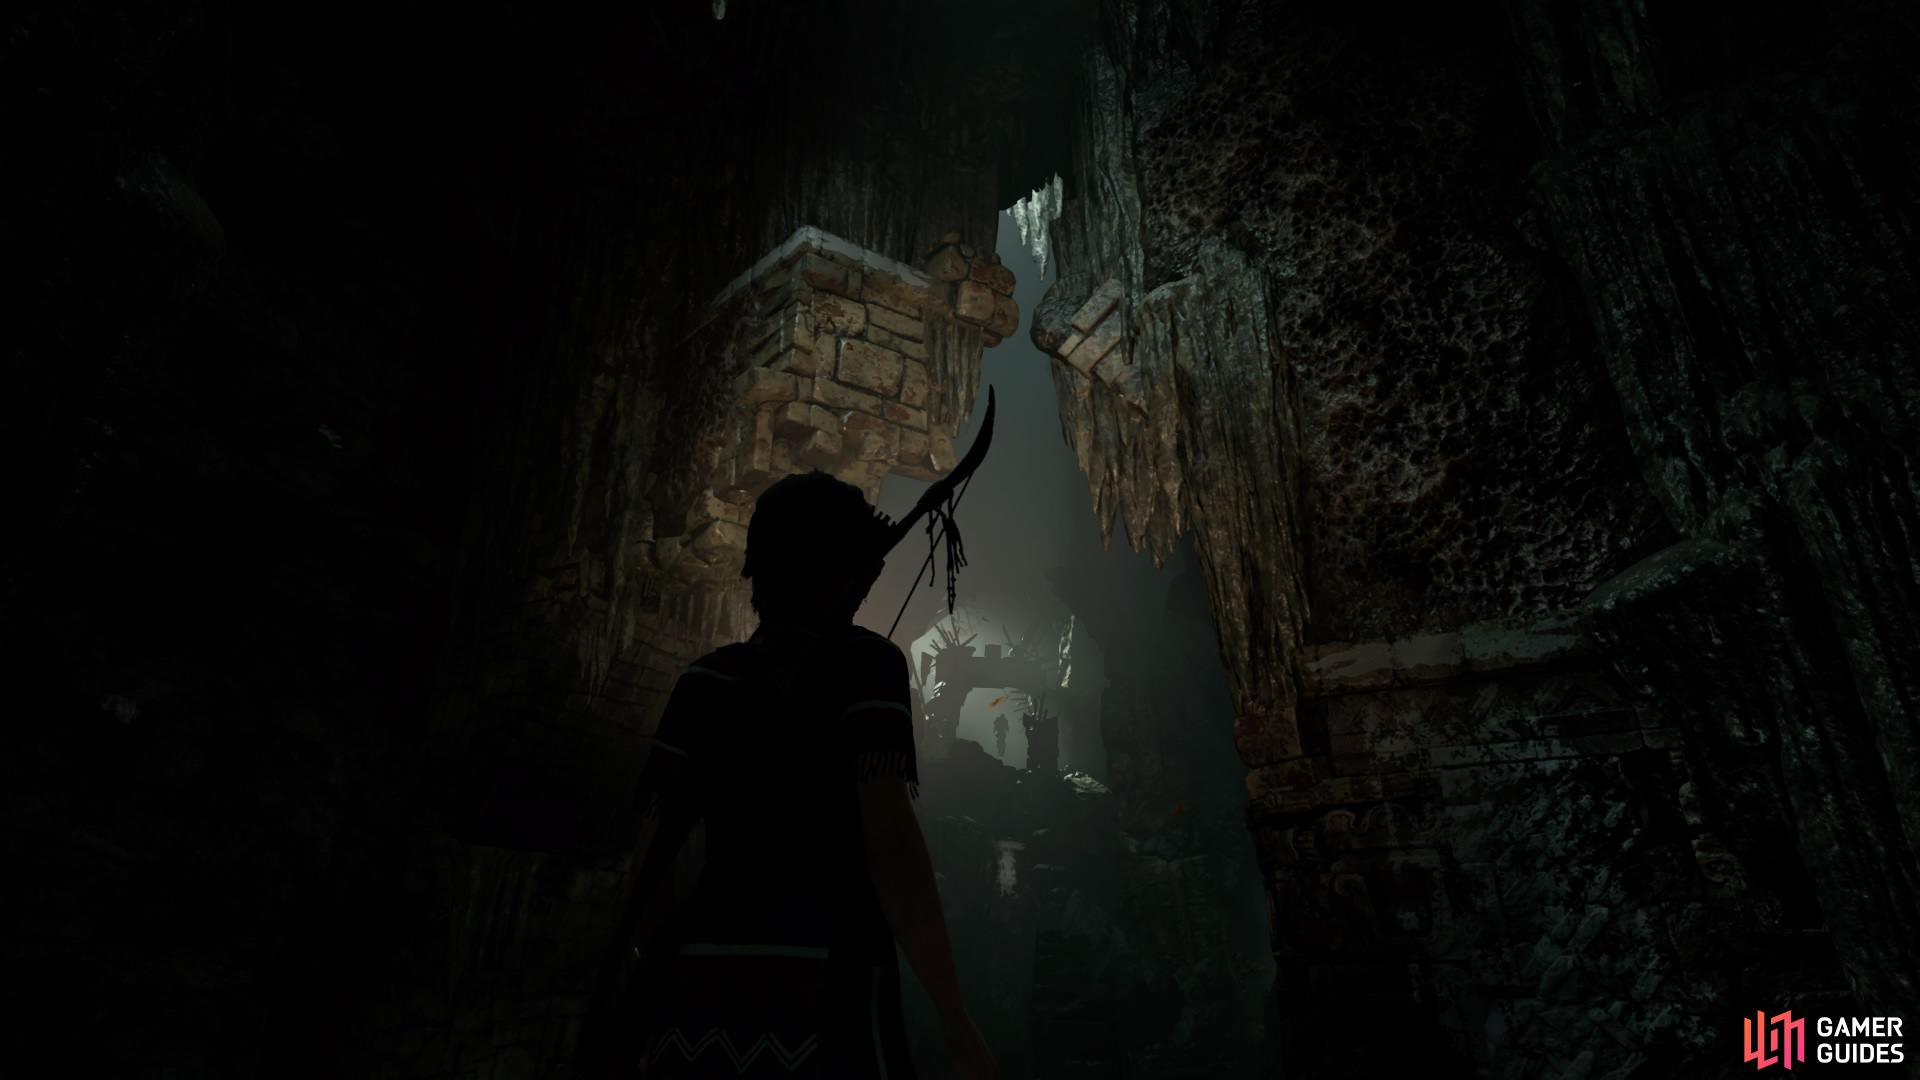
(1 of 4) Enter the temple
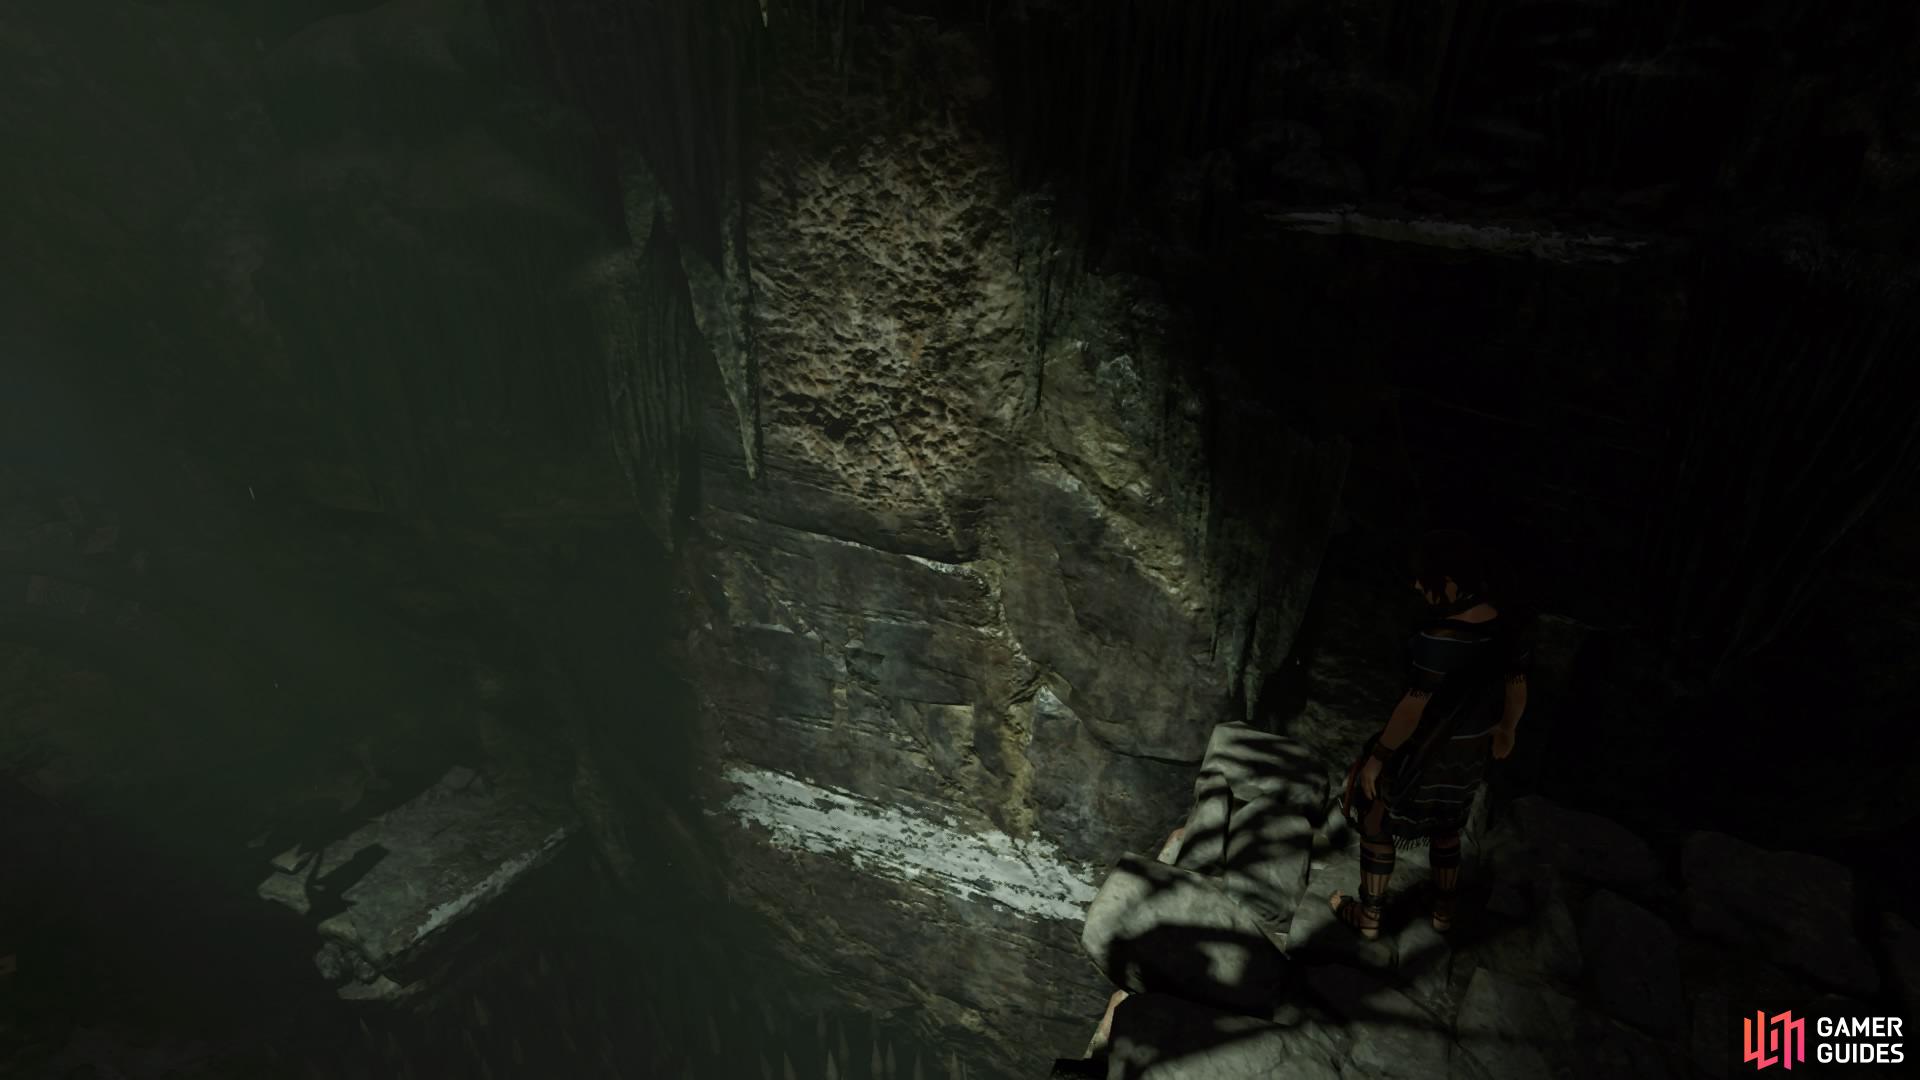
Once you’re done exploring, follow the main path and exit the water. Move forward and make sure to disarm the trap ahead before you continue to a cliff edge.
Jump to the stone wall and scramble up to the ledge, then scale up and left along the craggy wall. Jump to the next ledge and shimmy around the left corner. Climb and rappel down, and swing to the platform ahead.

(1 of 3) Disarm the trap
Go up the steps on the right and squeeze through the narrow opening. The path splits here – you can either continue the main path to the left or explore the Challenge Tomb on the right.
You can return later, so follow the story objective for now.
Head left at the split and pick up Document – Journal of T. Serrano 5 before jumping to the handhold. Then shimmy left and climb on to a narrow ledge. Sidestep along to the far end and jump to the craggy wall, then rappel down and wall-run to the wall on the left.
Scale left and up and scramble up to the handhold before shimmying along the left and climbing up. Head forward, climb to the next handhold and shimmy around until you reach the top.

(1 of 2) Document - Journal of T. Serrano 5
Document - Journal of T. Serrano 5 (left), Make your way around the cavern (right)
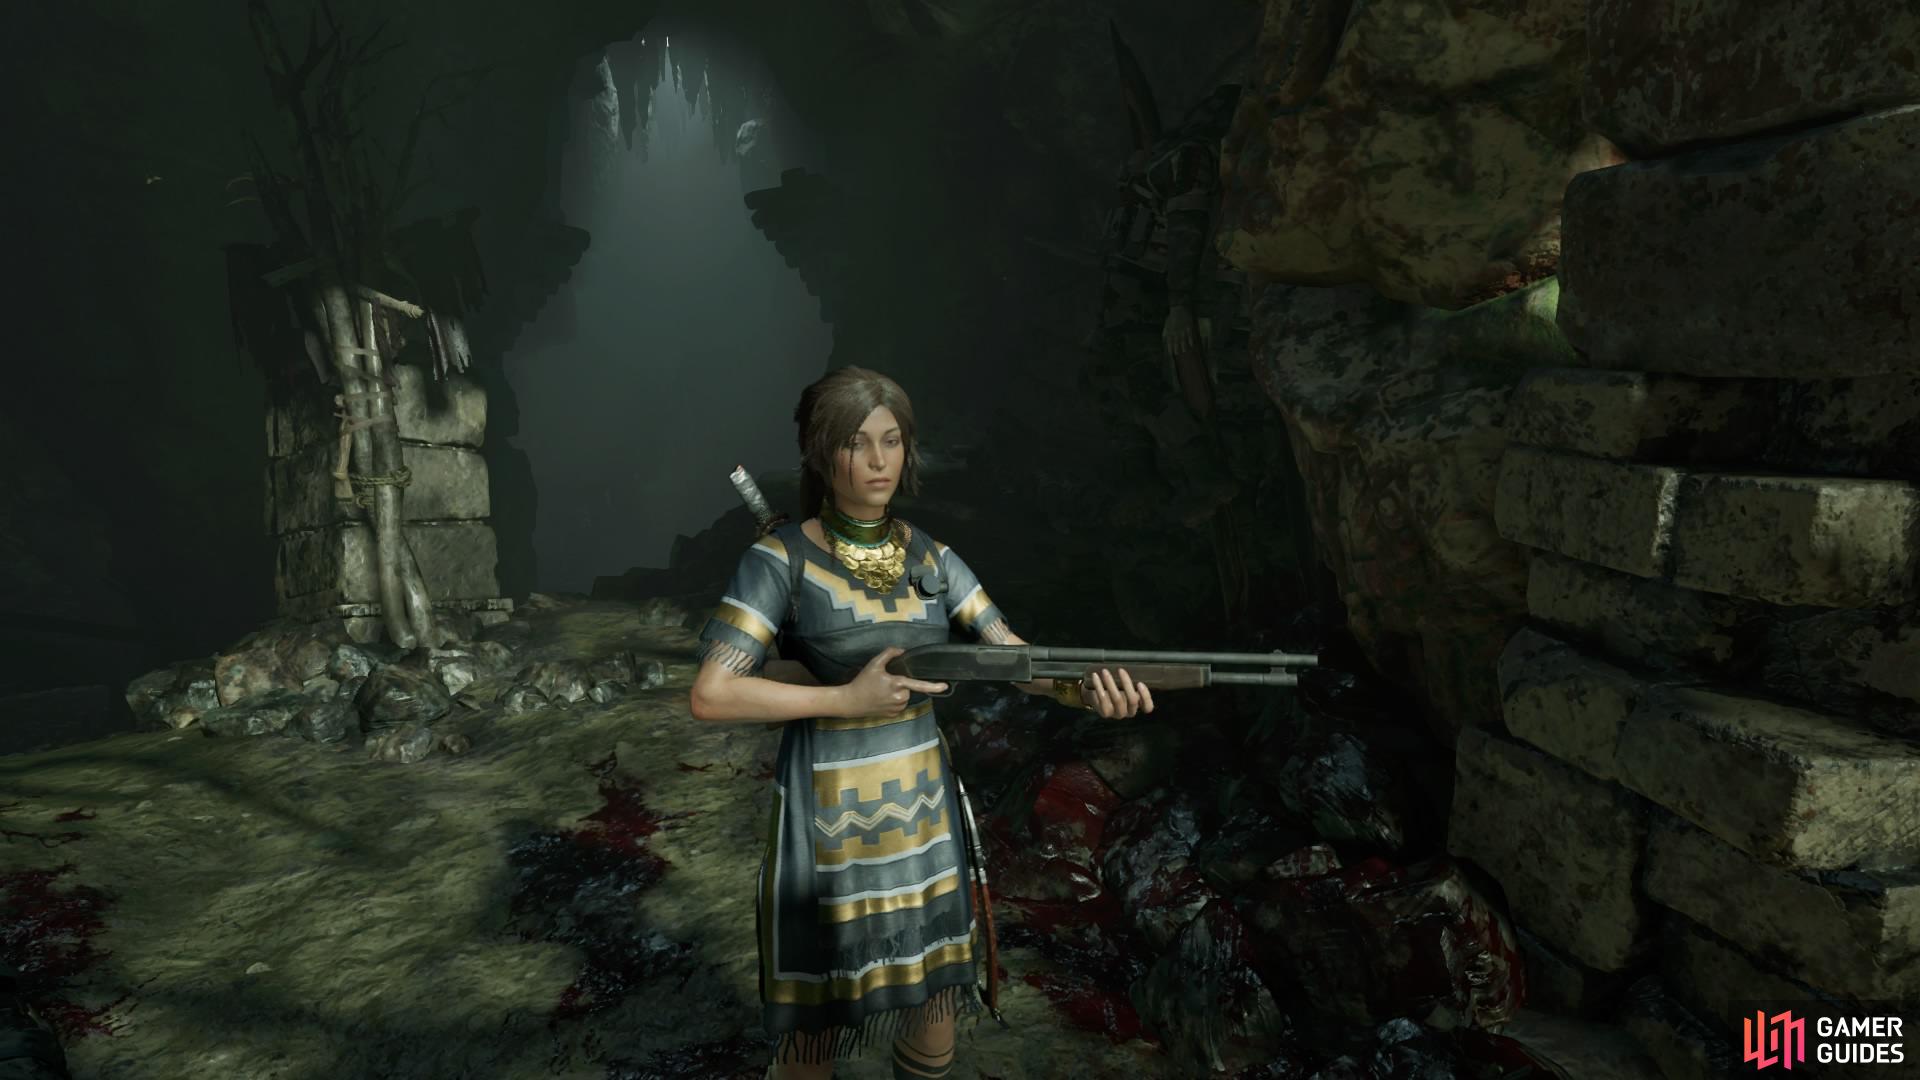
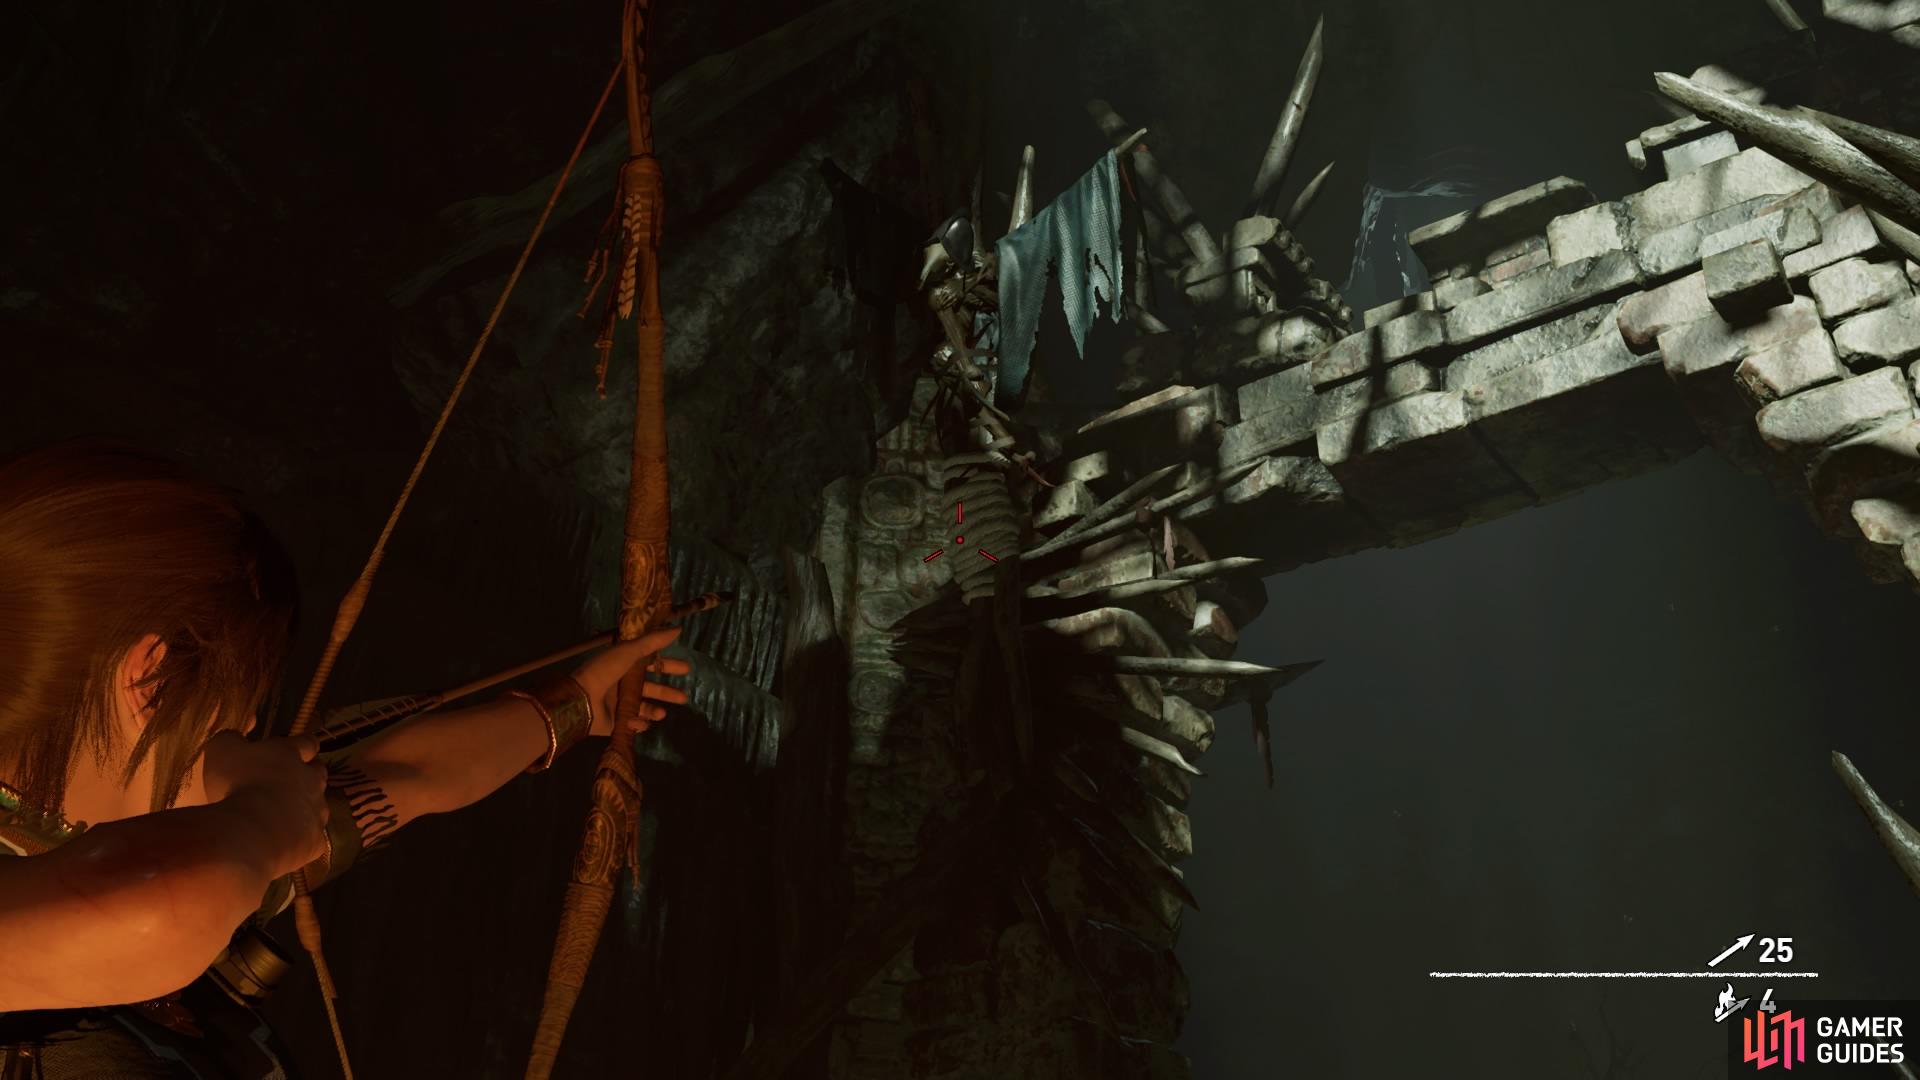
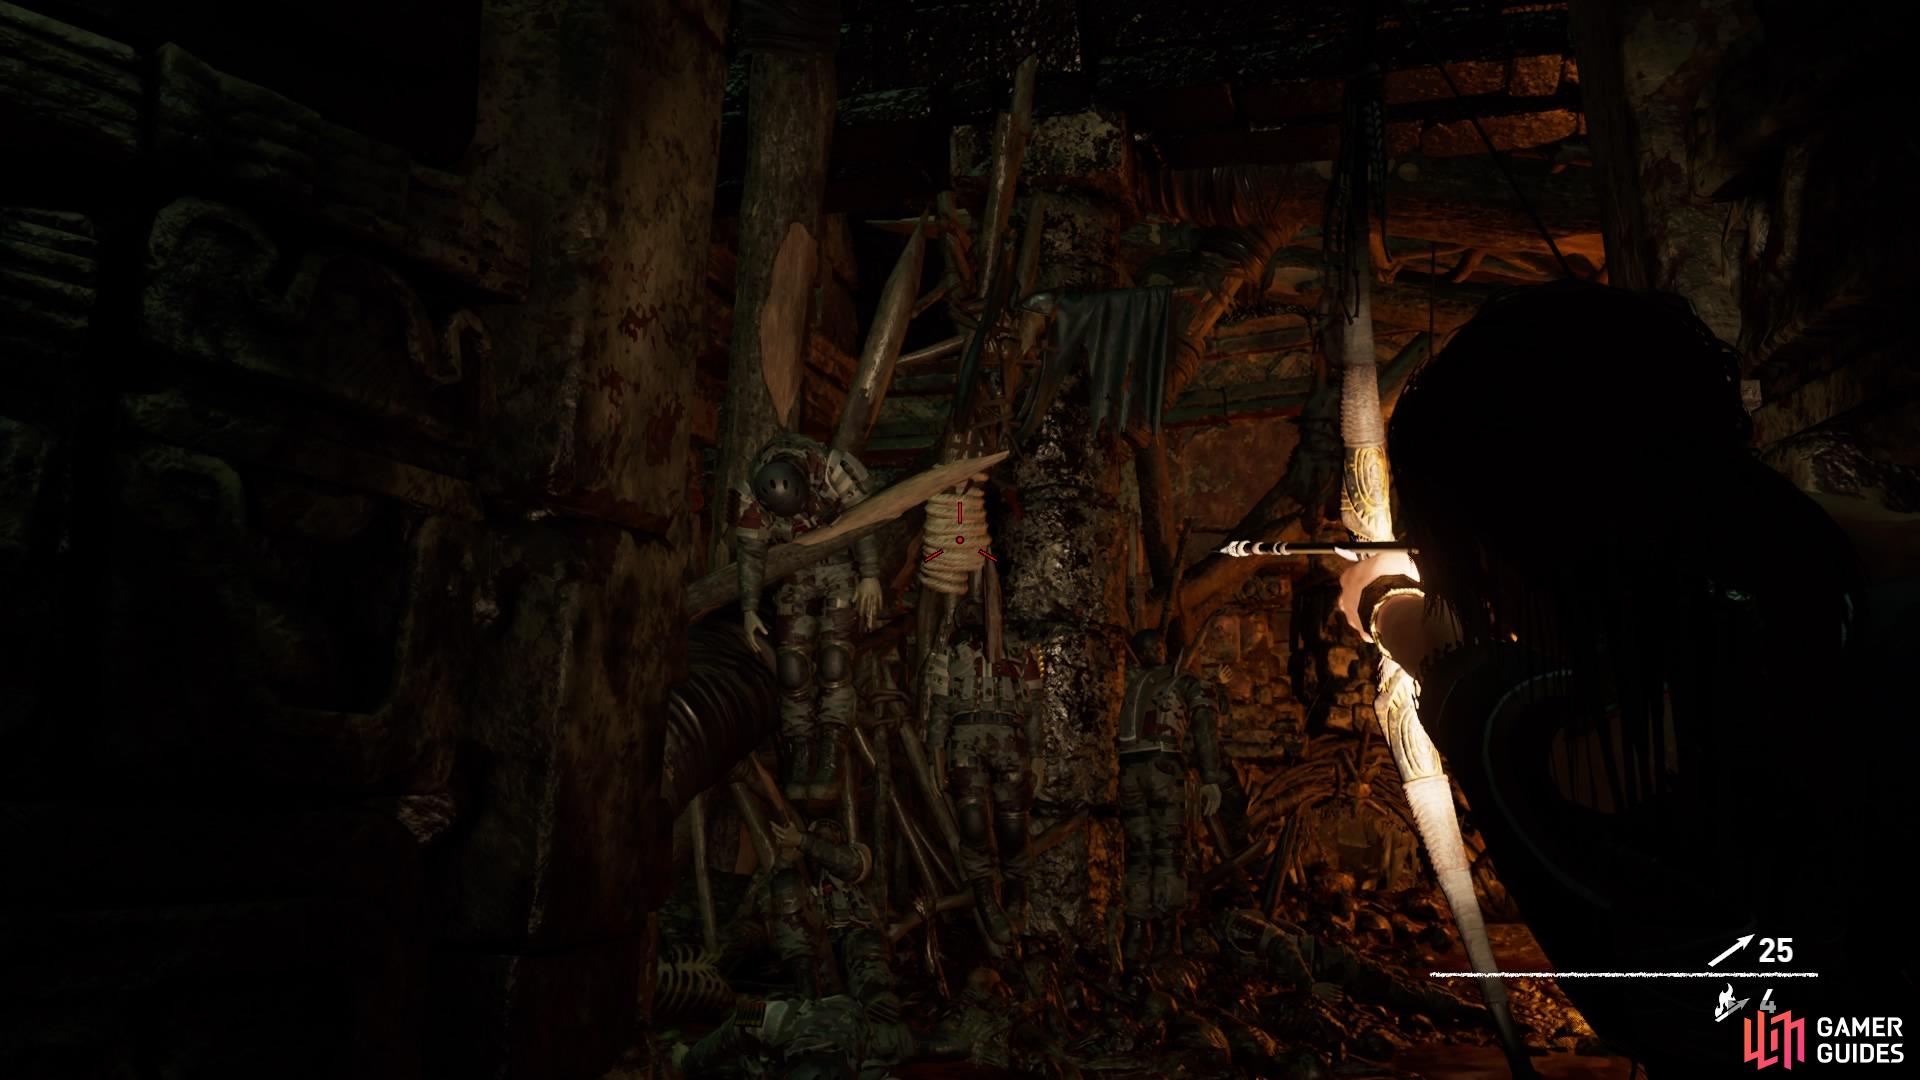
There’s a body hanging here, but you can cut the rope to get him down and pick up the Bishop 600 Shotgun to add to your inventory.
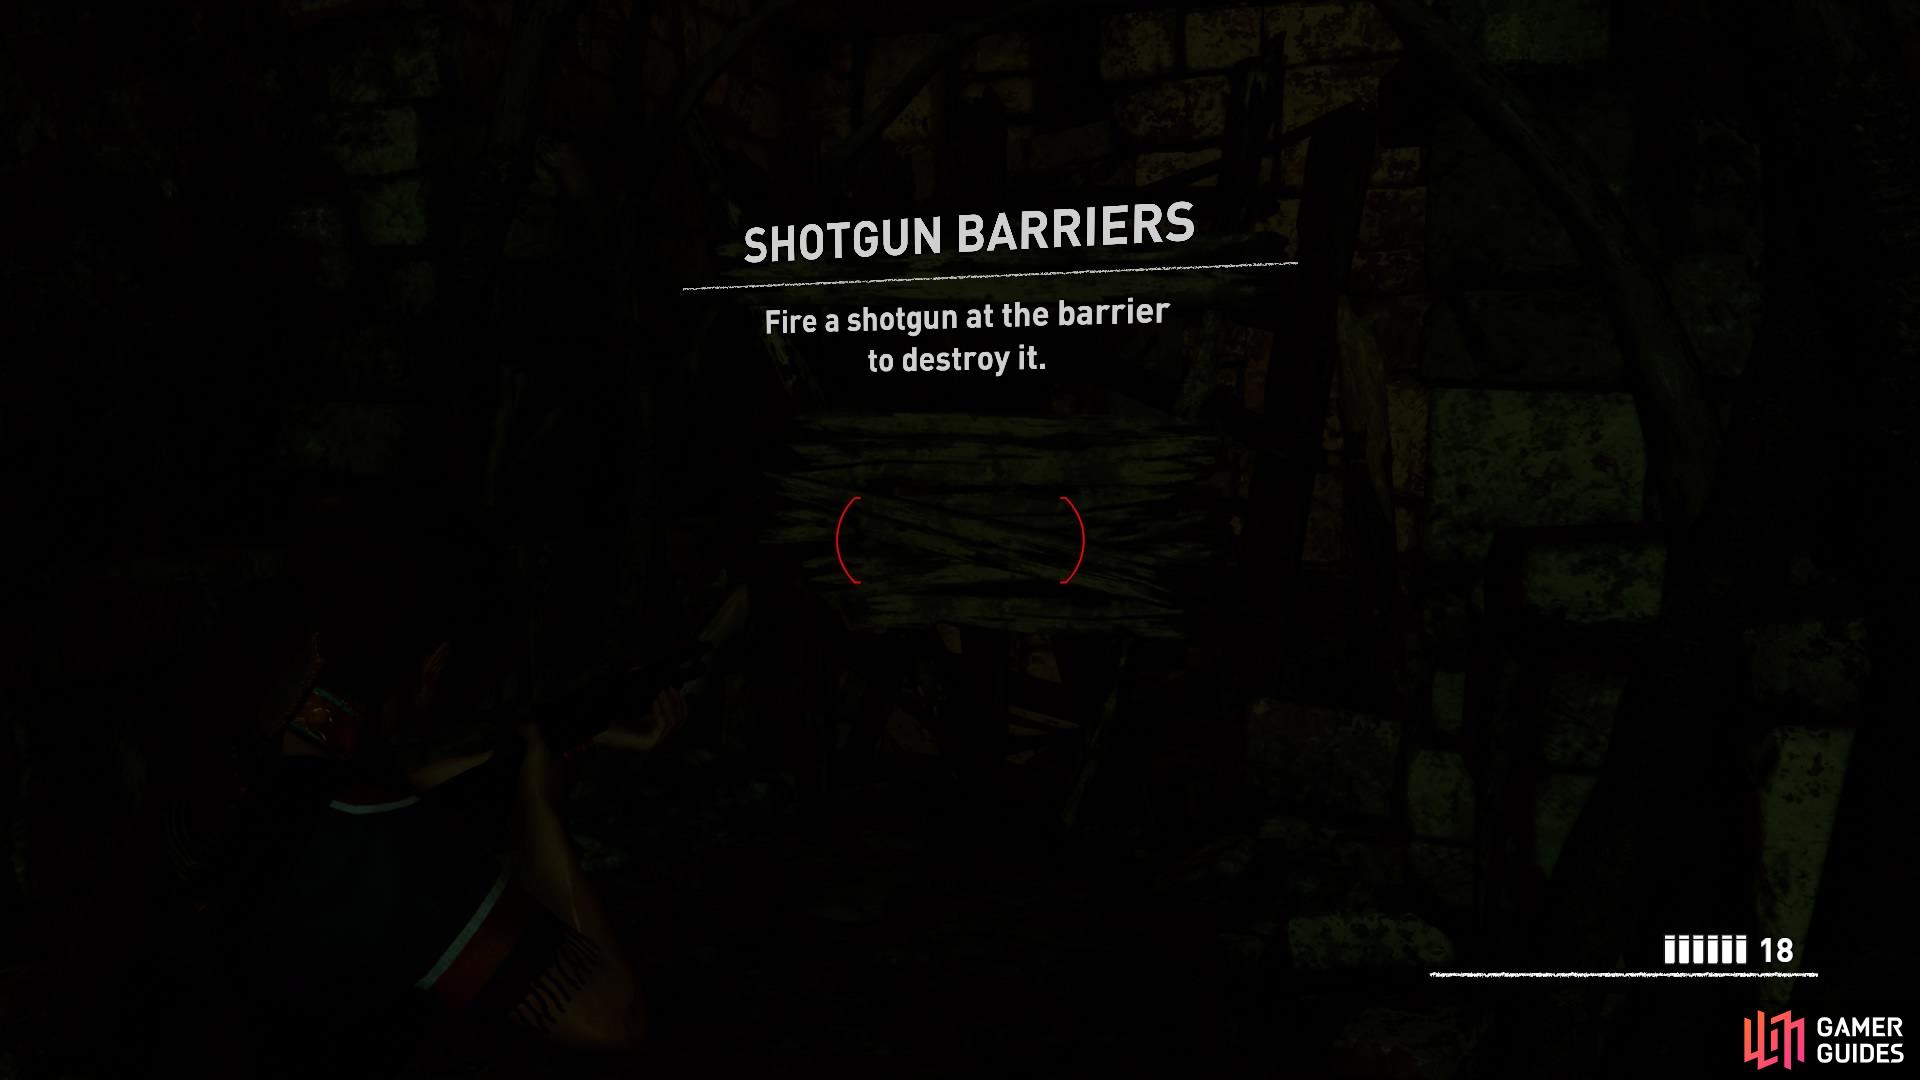
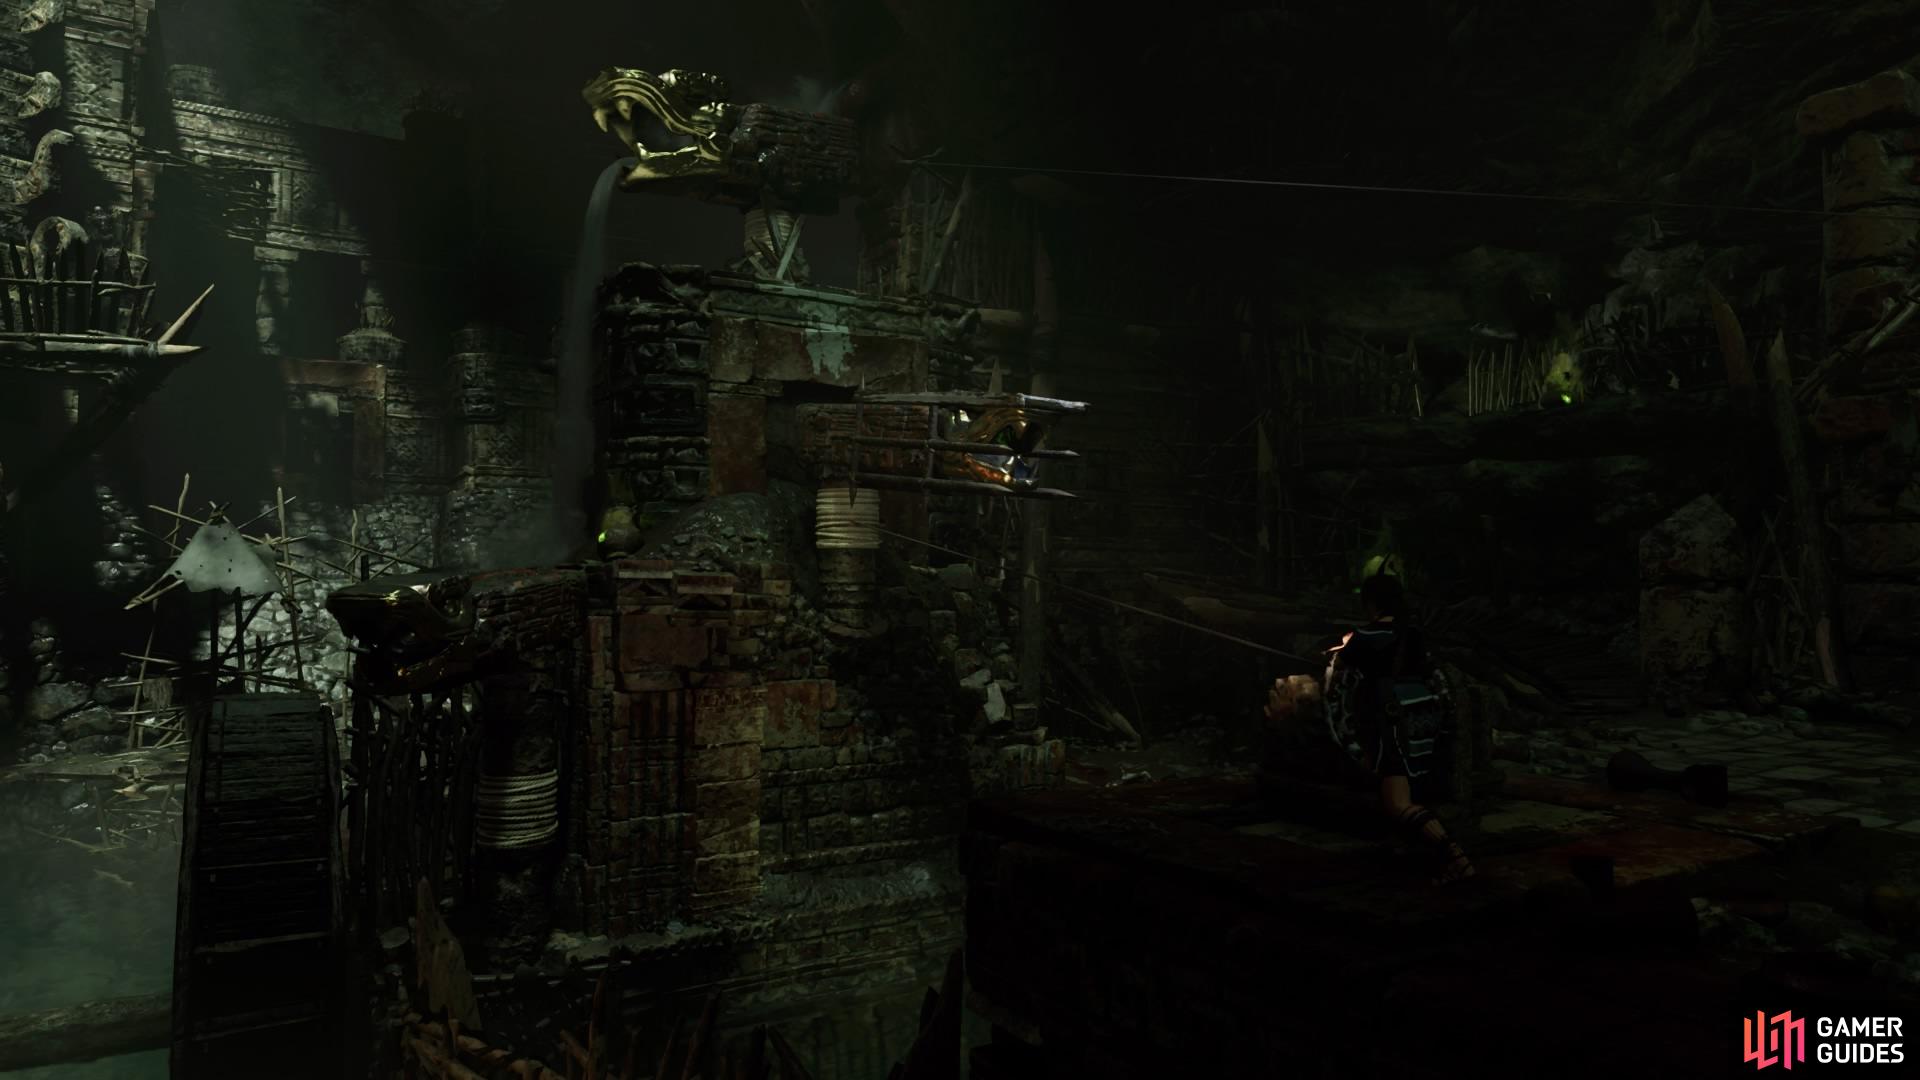
Head forward to discover the Cenote Temple Ruins Base Camp and pick up some salvage. If you turn around, you can pull down an effigy that adds to the Respected region challenge.
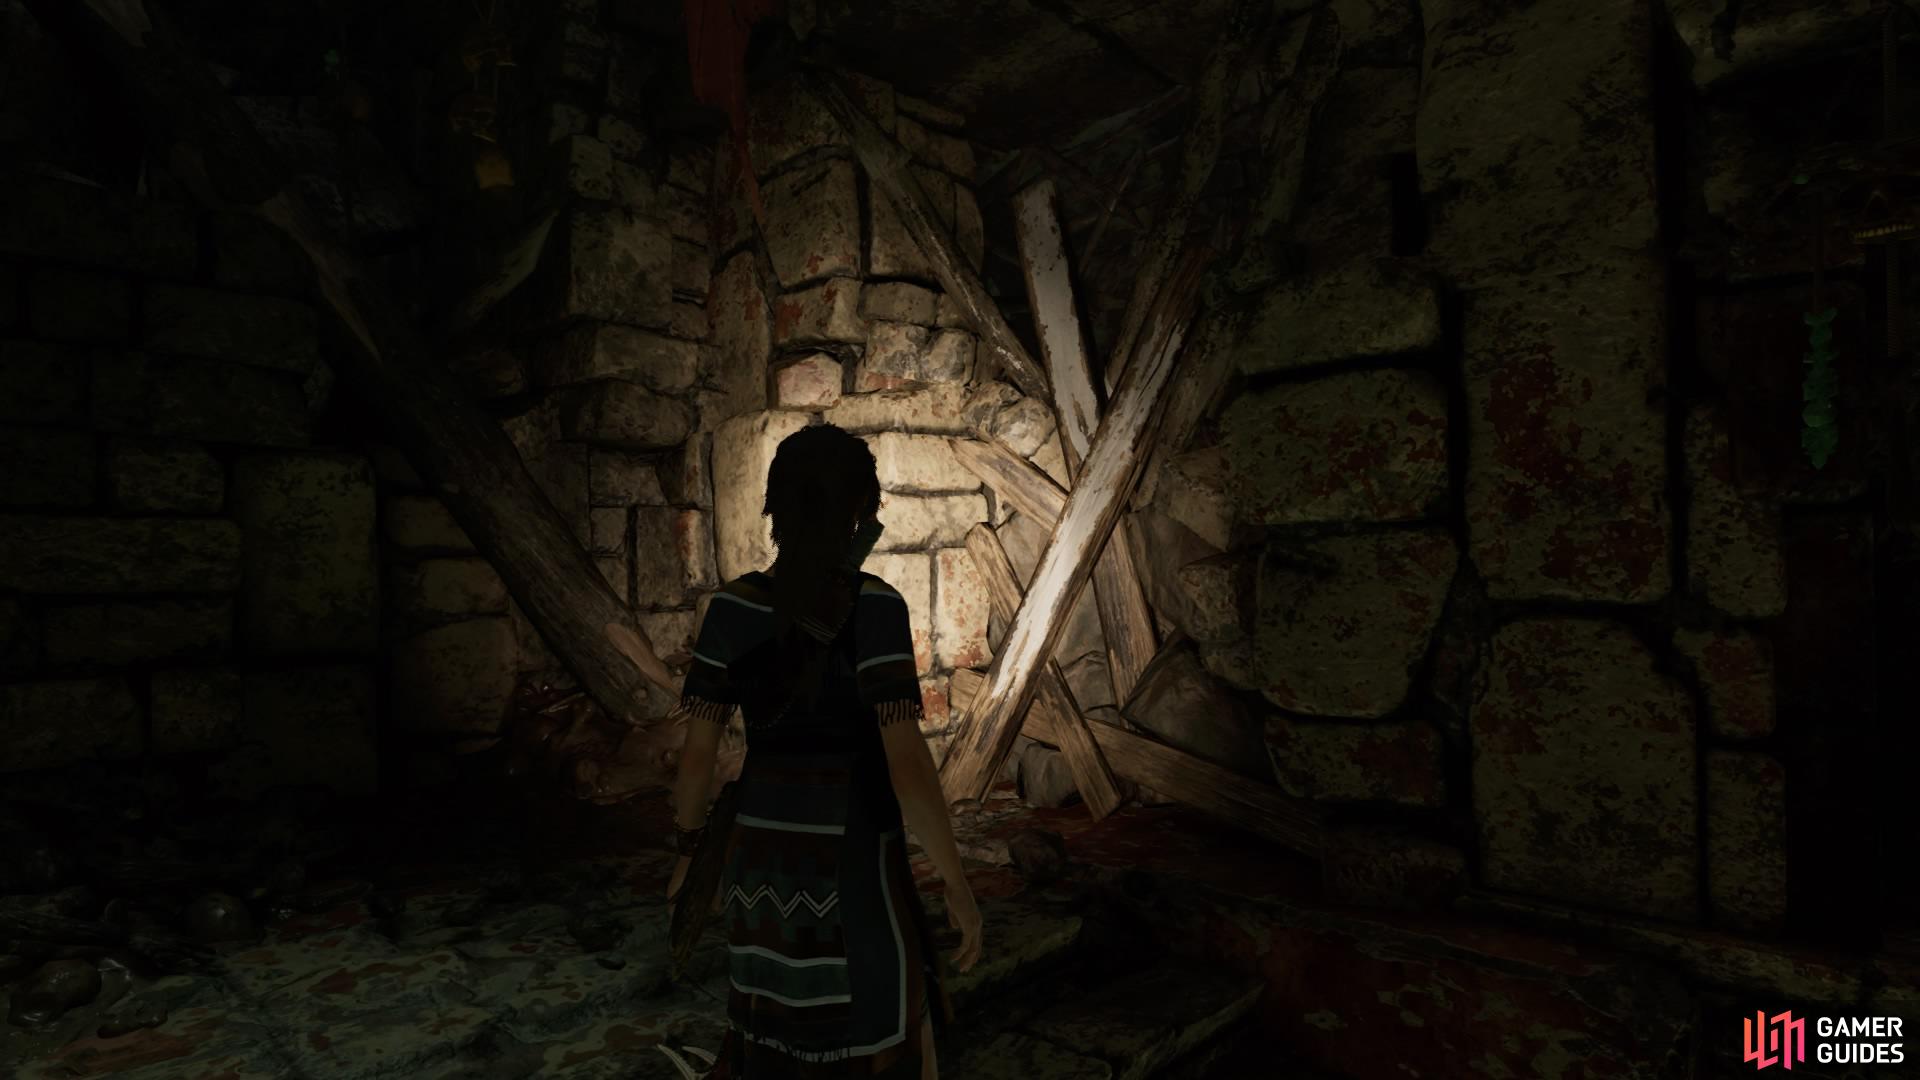
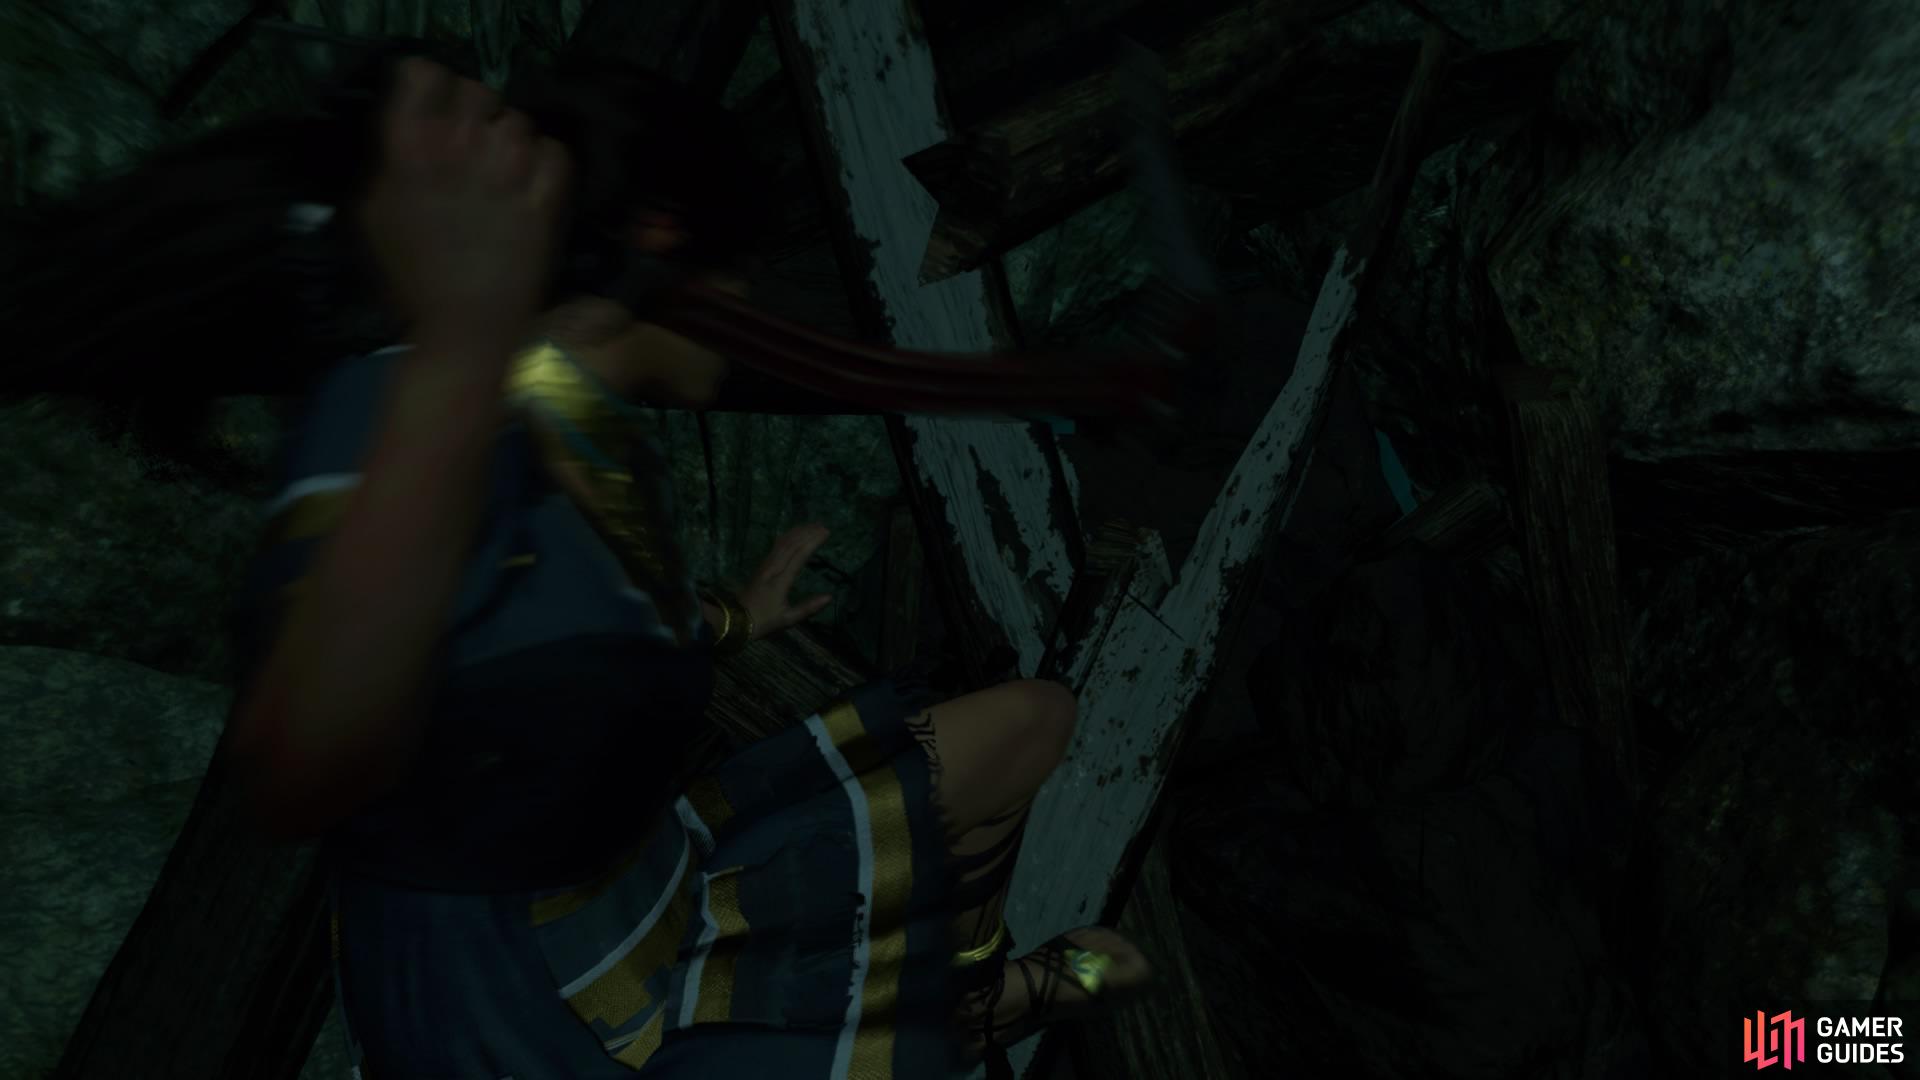
From the Base Camp, run forward and use the shotgun to destroy the barrier. Squeeze through the opening and keep following the tunnel until Lara is tackled into a pit below.
It’s time to face the creepy enemies that have been stalking you this whole time – the Yaaxil.

SURVIVE THE AMBUSH
These creatures are strong – their close-combat attacks can severely damage you, so don’t let them get too close. If they do, immediately scramble and roll away from them to avoid their deadly swipe. They will charge at you, but this is where the shotgun comes in handy. As they come at you, you should be able to take them out in one or two shots easily. Try not to run through the ammo too quickly, and make sure to pick up extra ammo lying around the pit.
For any Yaaxil too far away, switch to a long-range weapon. You can also use the cauldrons sitting at several of the entry points – they emit green poisonous gas and explode when shot with any weapon, dealing high damage.


(1 of 2) Defeat the Yaaxil
Defeat the Yaaxil (left), Escape the pit (right)
A short cinematic will pause the action for a moment as a group of Yaaxil break through a barrier above. To get rid of them quickly, wait for the barrier to break, and shoot the cauldron next to them. This is now your escape route.
With the Yaaxil dealt with, scramble up the wall and head down the corridor. You can pull down another effigy here to add to the Respected region challenge.
FIND THE SILVER BOX OF IX CHEL
Wade through the water tunnel and into a chamber. You need to turn the wheel to get through to the next room, but first, climb out and head to the back-left to break down a pry barrier with your axe. Behind it is Relic – Brigittine Rosary.
(1 of 2) Remove the pry barrier
Remove the pry barrier (left), Relic - Brigittine Rosary (right)
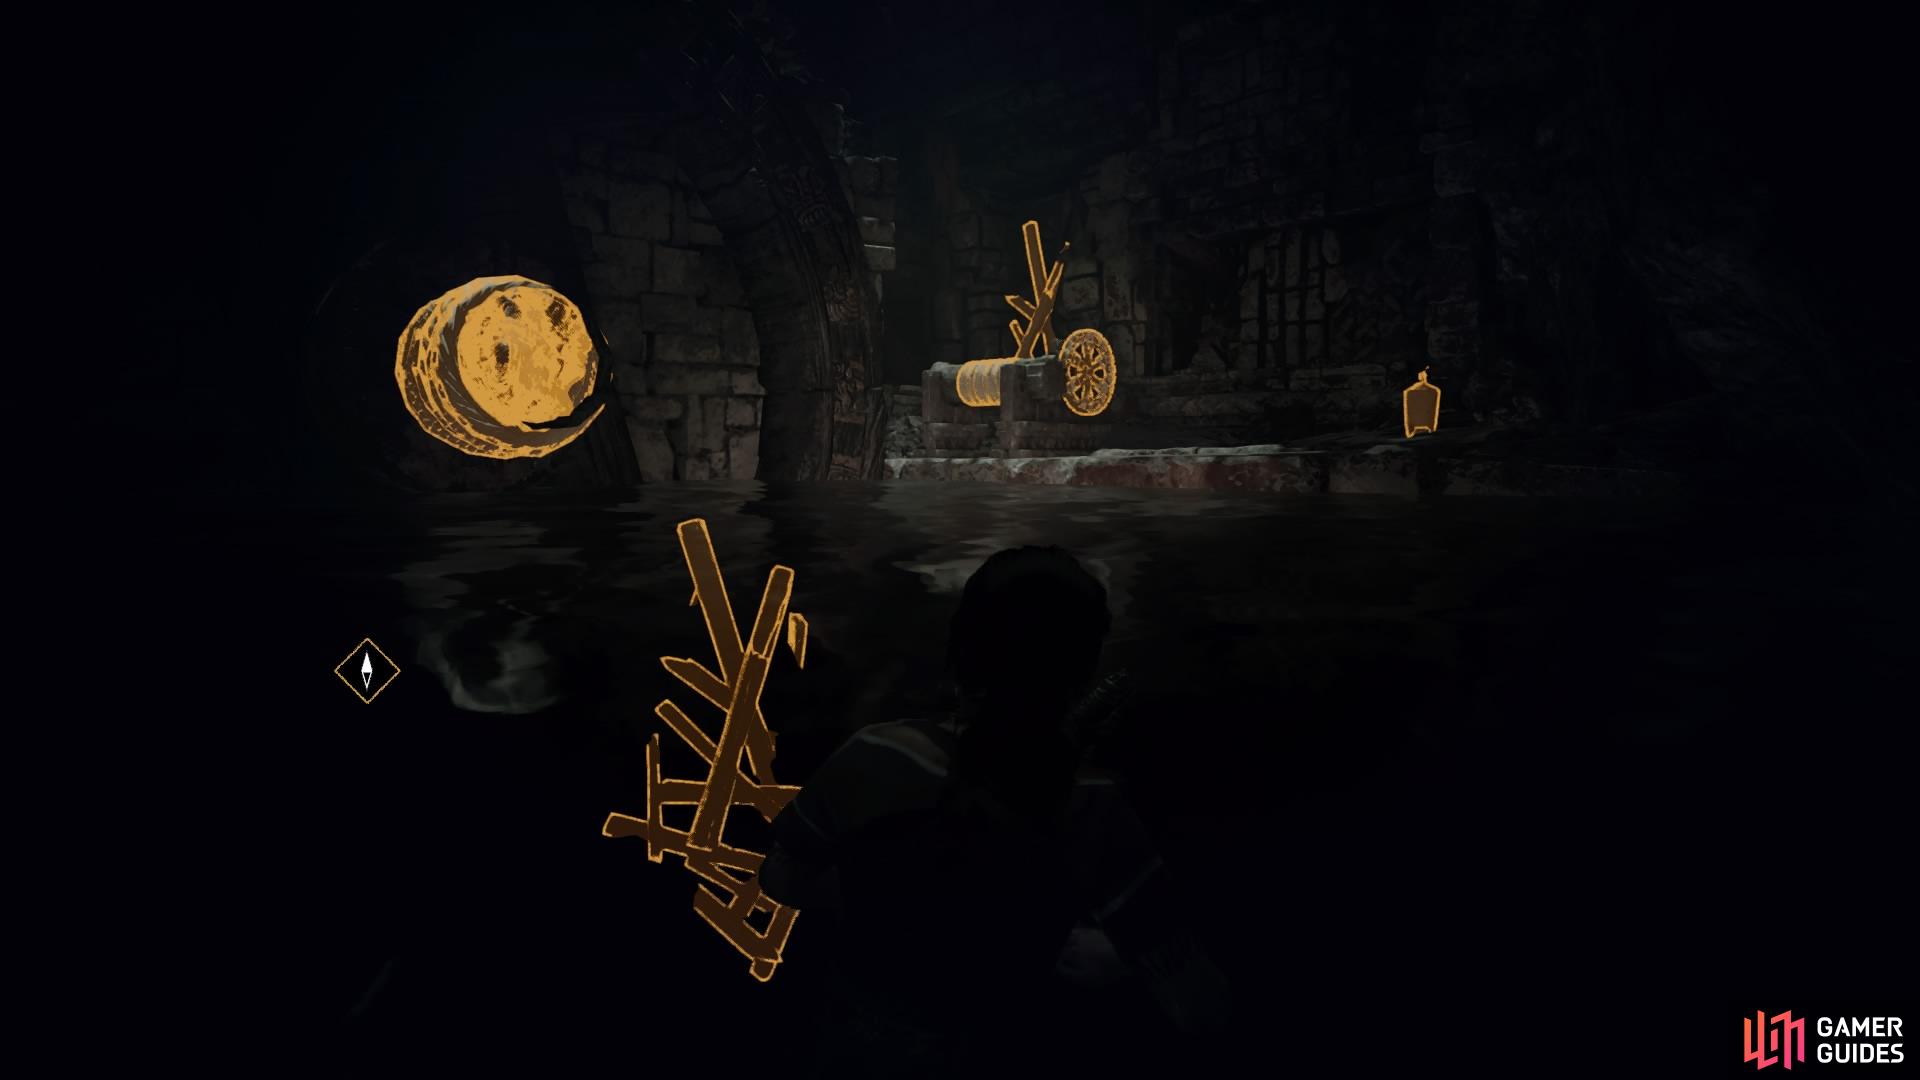
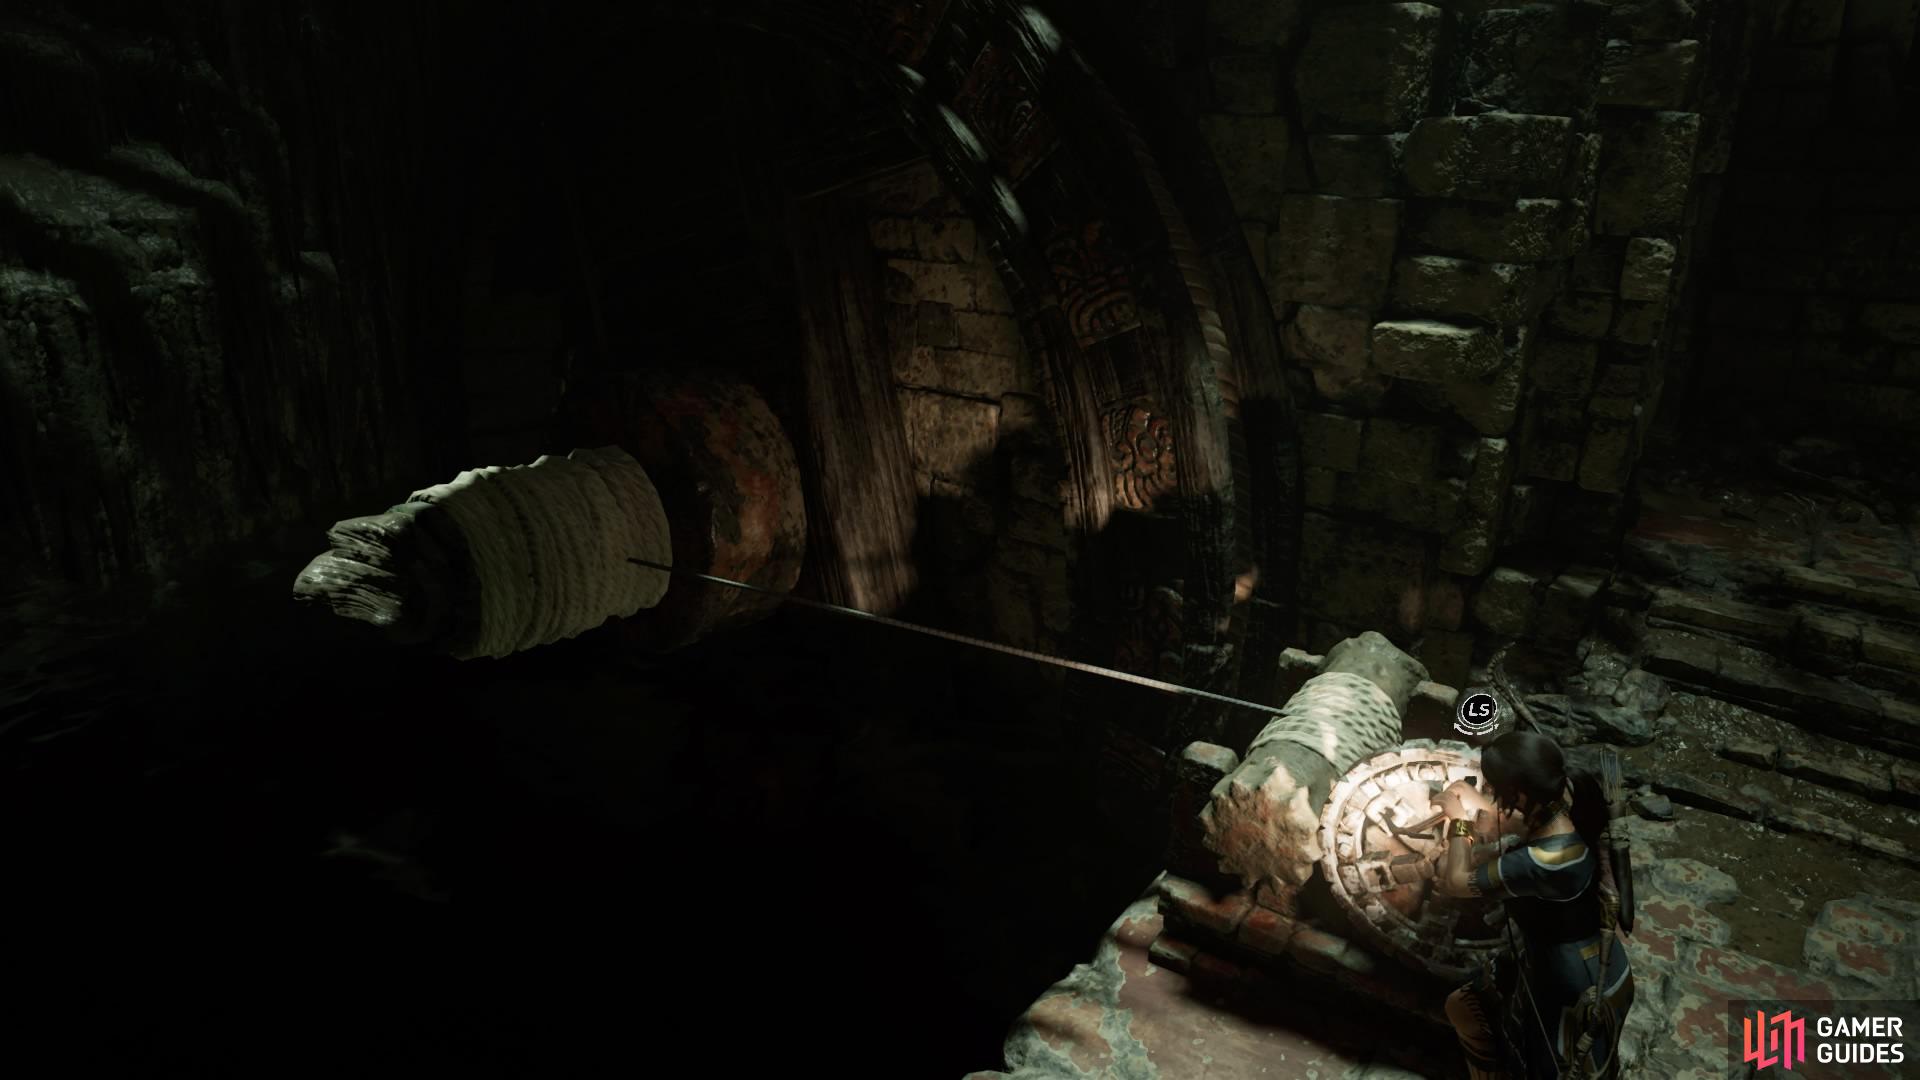
Now jump back into the water and dive under to pull down the pry barrier. Then get back out and stand next to the crank to tether a rope between the two white coils. Rotate the crank to move the wheel until Lara speaks, then jump back into the water to swim through the opening.
Follow the tunnel until you can climb out the other side and follow the corridor to disarm the spear trap. As you turn the corner, a Yaaxil will drop down in front of you – take it out, then pick up Document – Journal of T. Serrano 7 against the left wall.
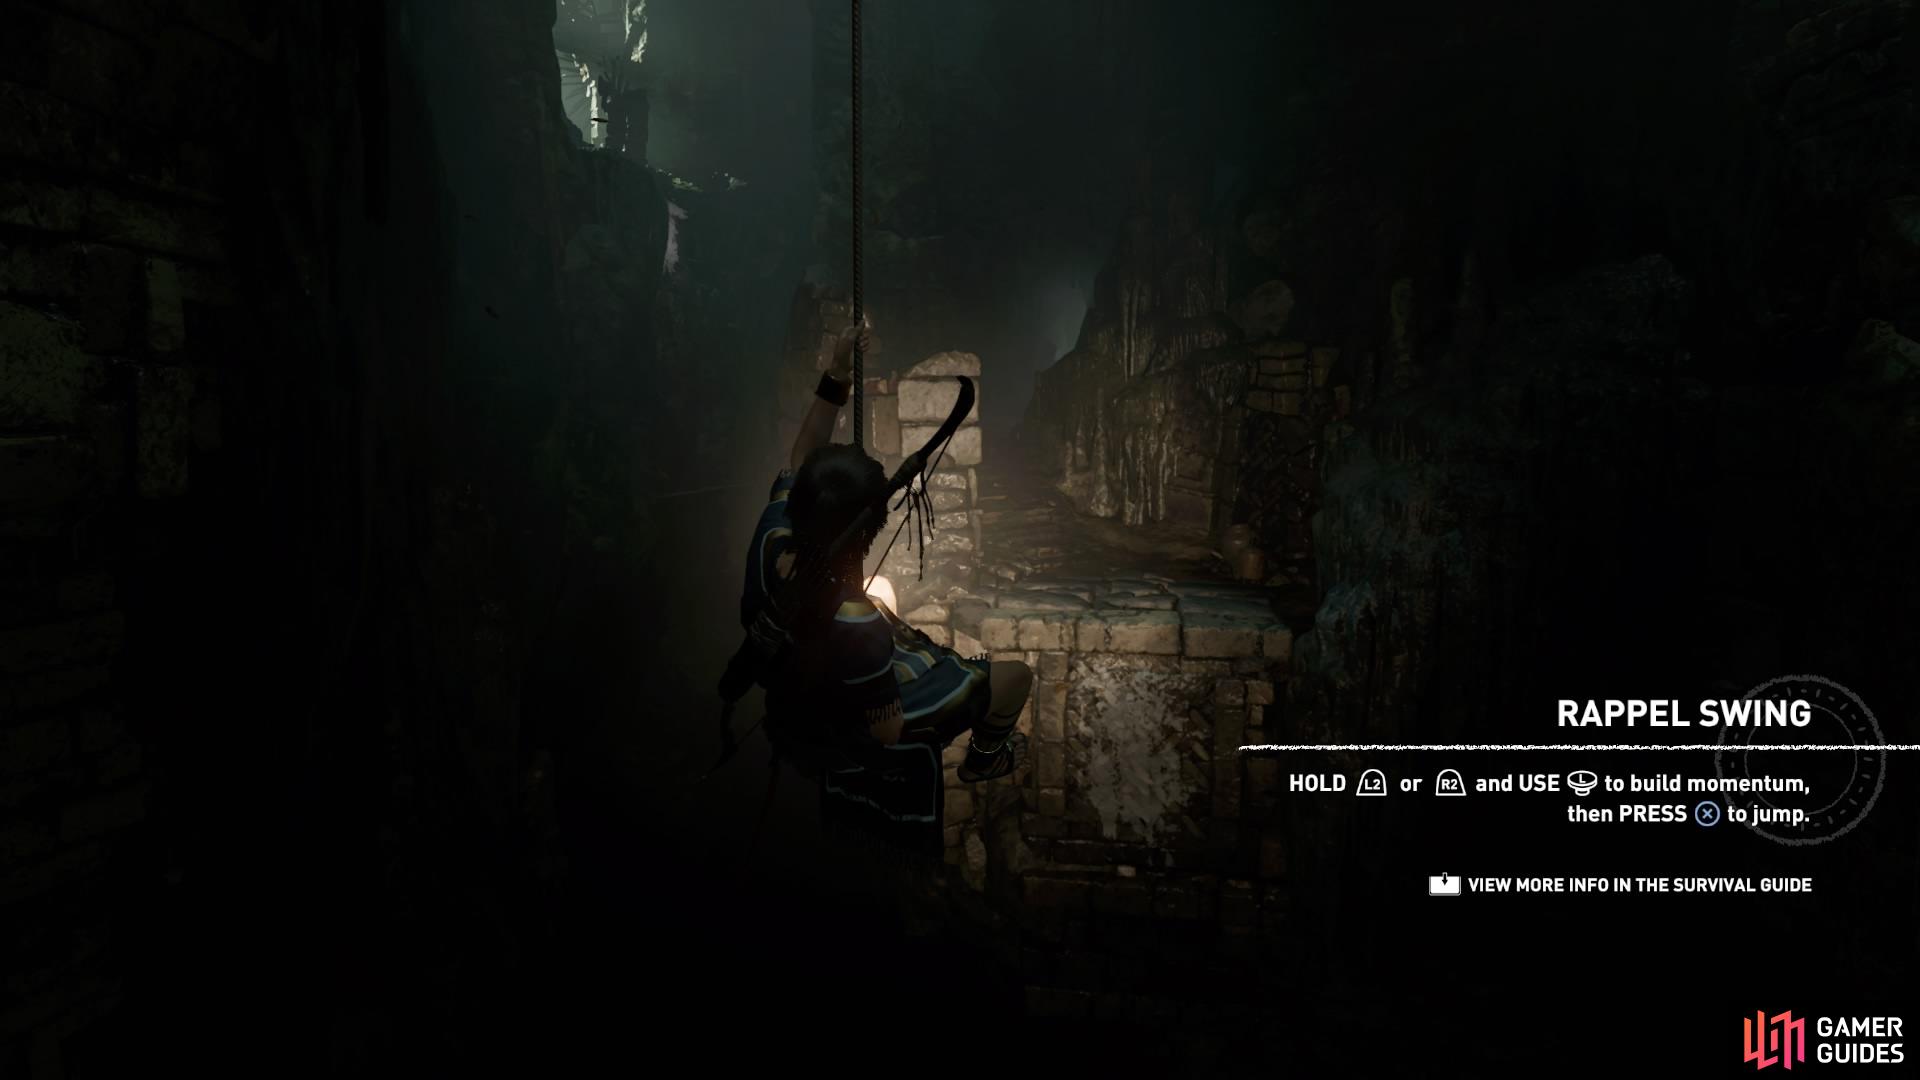
Now jump to the ledge on the right and shimmy across to attach to the craggy wall, then rappel down to wall-run to the ledge on the left.
Head down the short corridor and attach to the craggy wall. Rappel down and Lara will automatically drop into the water below.
(1 of 2) Traverse the wall
Traverse the wall (left), Drop into the cavern (right)
OPEN THE GATE
The large cavern is split into two with a large round door at the back. To open it, you must activate a waterwheel on each side of the room by solving the puzzles.
Swim straight ahead and under the shaft to climb out of the water on the right. Take out the Yaaxil and pull down another effigy for the Respected region challenge as you enter the room. Head through the next door on the right and take out the Yaaxil when they appear.
(1 of 2) Find the room on the back right
Find the room on the back right (left), Effigy (4) (right)
To activate the first waterwheel, do the following:
-
Go up the steps and to the crank on the right. Opposite the crank are three troughs with white rope wrapped around them, which means they can be rotated. Tether a rope between the crank and the middle trough, then turn the crank until the trough is facing right.
-
Run up the steps on the right (and take out the lone Yaaxil) and climb up on to the trough. Then climb up to the next trough and pull down the barrier at its base. Kill the Yaaxil that appears and then return to the crank. Now turn the middle trough to the left.
-
This time tether a rope between the crank and the top trough and turn it until the water flows into the middle trough.
-
Finally, tether a rope between the crank and the bottom trough and turn it until the water hits the wheel. The wheel will turn, and the first door will open.
The Yaaxil will appear again, a mixture of archers and close-combat enemies, so make sure to dispose of them all. When you’ve done this, drop down into the water below and swim under the shaft to find an opening in the turning wheel.
Exit the water to the left where you can pull down the final effigy for the Respected region challenge.
OPEN THE SECOND GATE
Scramble up the wall on the right and head to the second crank. There are two archers standing on the troughs – take them out with a long-ranged weapon.
This time you only need to turn two troughs. To open the gate, do the following:
-
Tether a rope between the crank and the left trough, and turn it until the water pours into the pool below you, raising the water level. You can now dive into the pool and remove the barrier from the bottom of the right trough.
-
As you get out of the water using the raft, two Yaaxil will appear from the room on the right. Take them out and then return to the crank on the left.
-
More Yaaxil turn up – dispose of them before you continue.
-
At the crank, turn the left trough until the water flows into the right trough.
-
Now tether a rope between the crank and the right trough and turn it until the water flows into the wheel and opens the second gate.

This activates a cutscene as Lara automatically makes her way through the door.
EMPTY-HANDED – ESCAPE THE CENOTE
As soon as you regain control the Yaaxil are chasing you through the temple. Simply sprint, climb, and swing your way along the linear path. Avoid any obstacles and keep out of the enemy’s reach until you finally reach the end and slide down into a water tunnel.
RETURN TO PAITITI
Fast-swim through the tunnel until you reach an air pocket, take a breath and continue until you finally resurface. Exit the water and follow the trail.
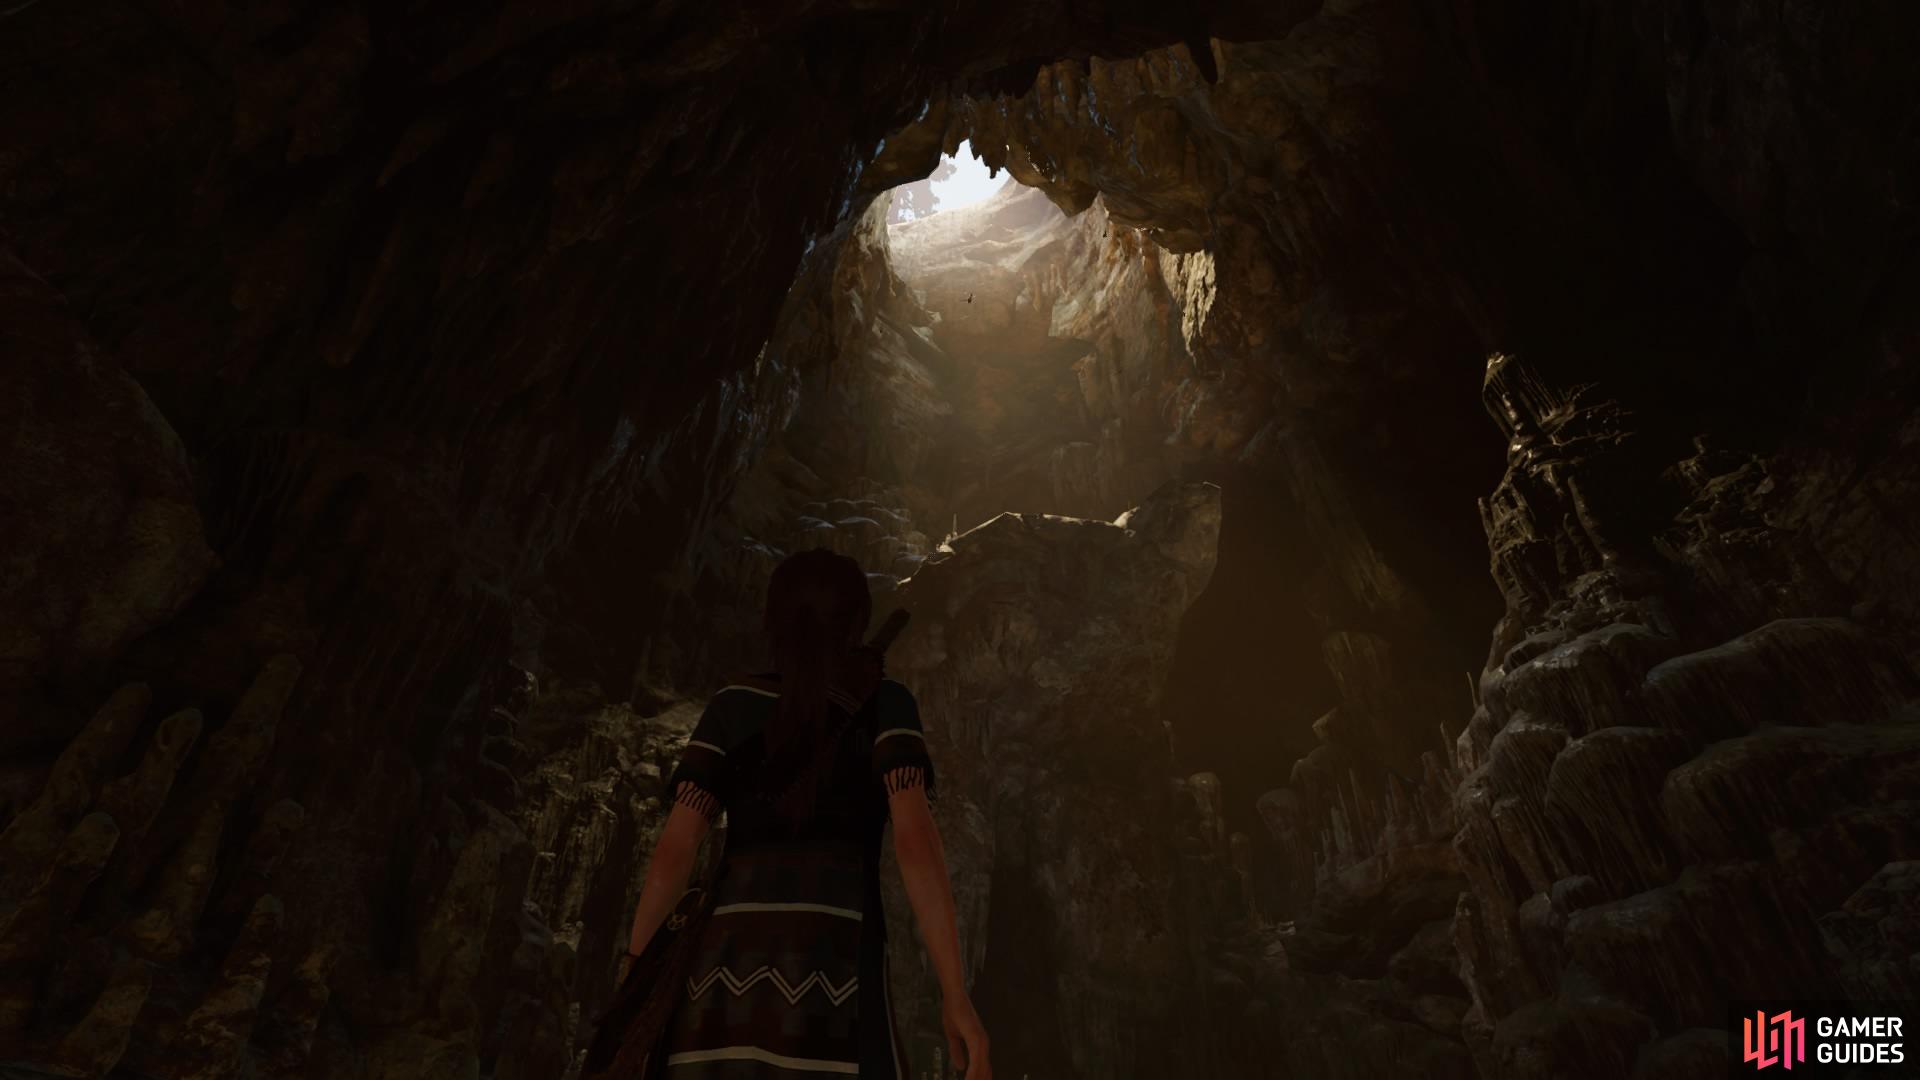
Jump the gap and climb the wall ahead. Scale up and then right until you can jump to the ledge on the other side. Then head right to squeeze through the gap. Lara will automatically pick up some new gear – Climbing Boots – before you continue.
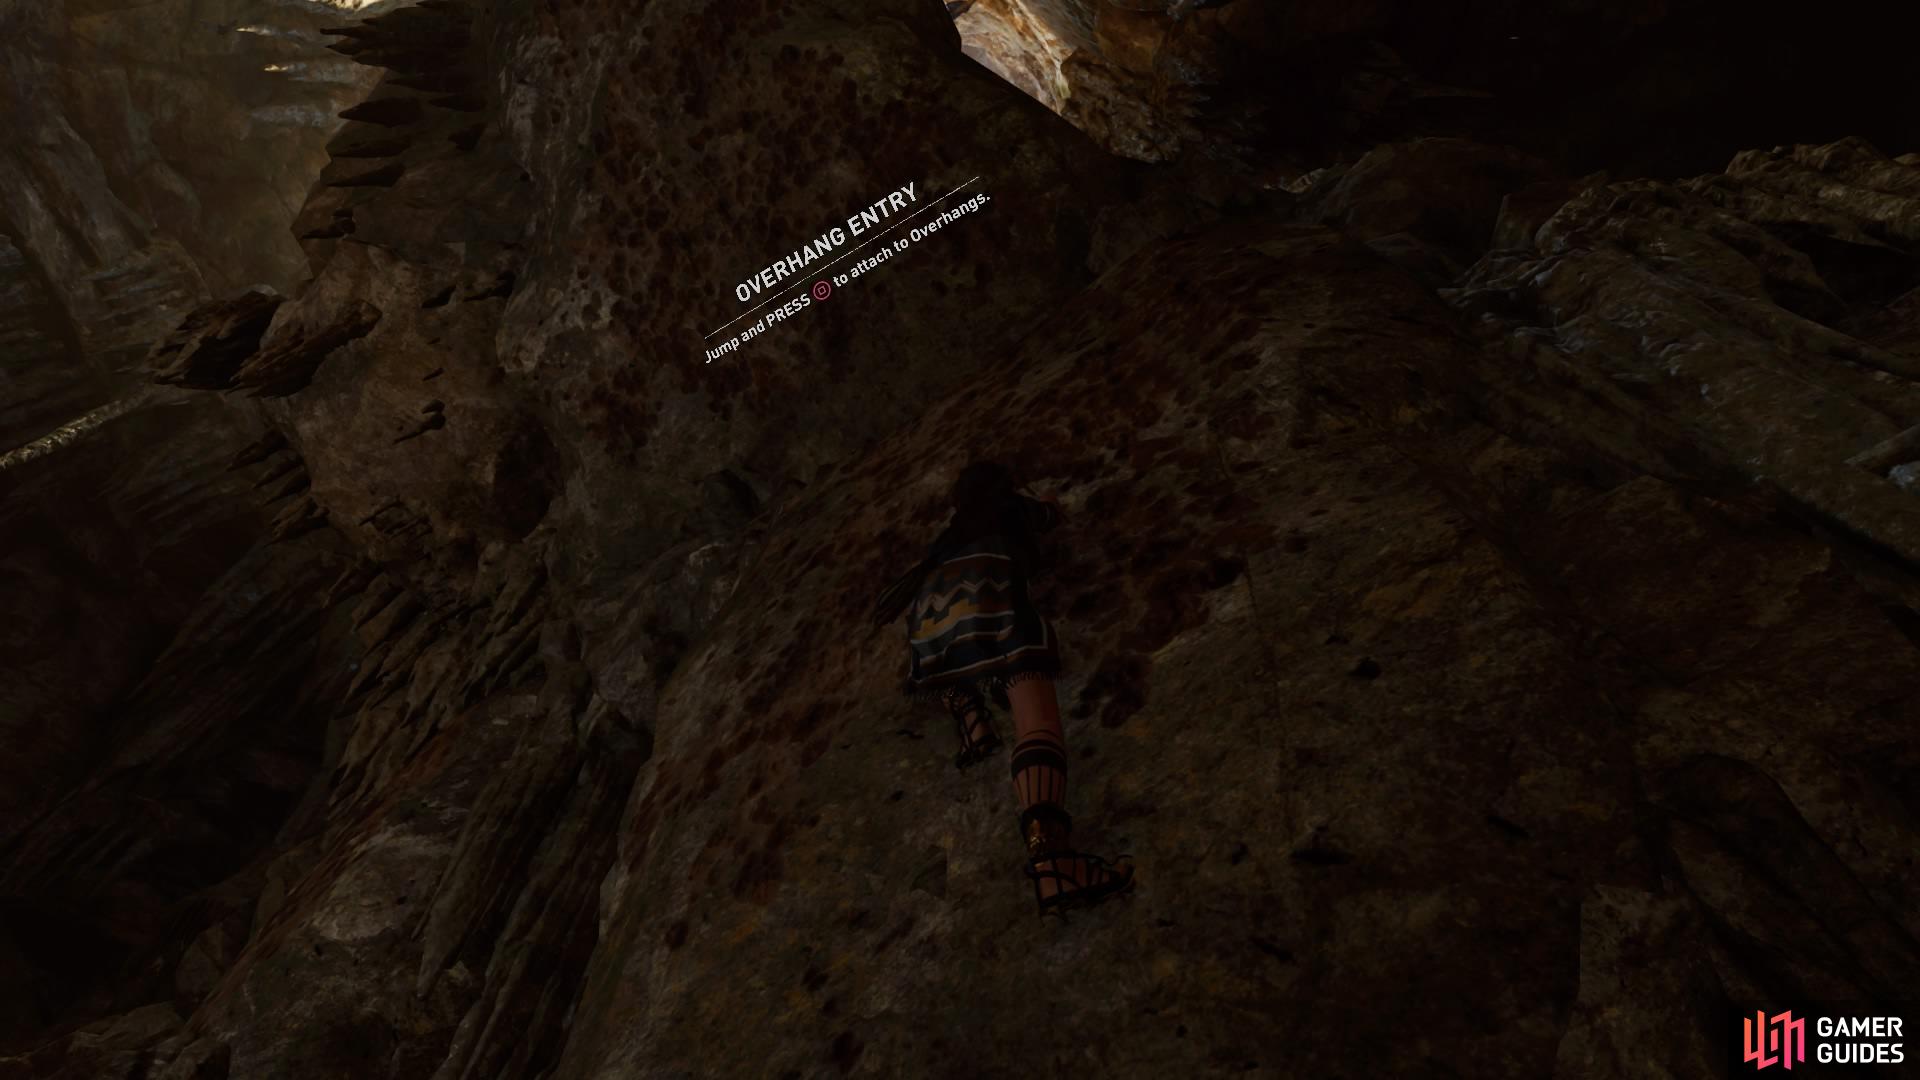
Jump to the craggy wall on the right and climb up. When prompted, attach the overhang, and continue up until you can pull yourself up on to the ledge.
Follow the path forward and scramble up the wall before ducking into a tunnel. On the other side, jump to the craggy wall and climb up to the overhang, just as before.
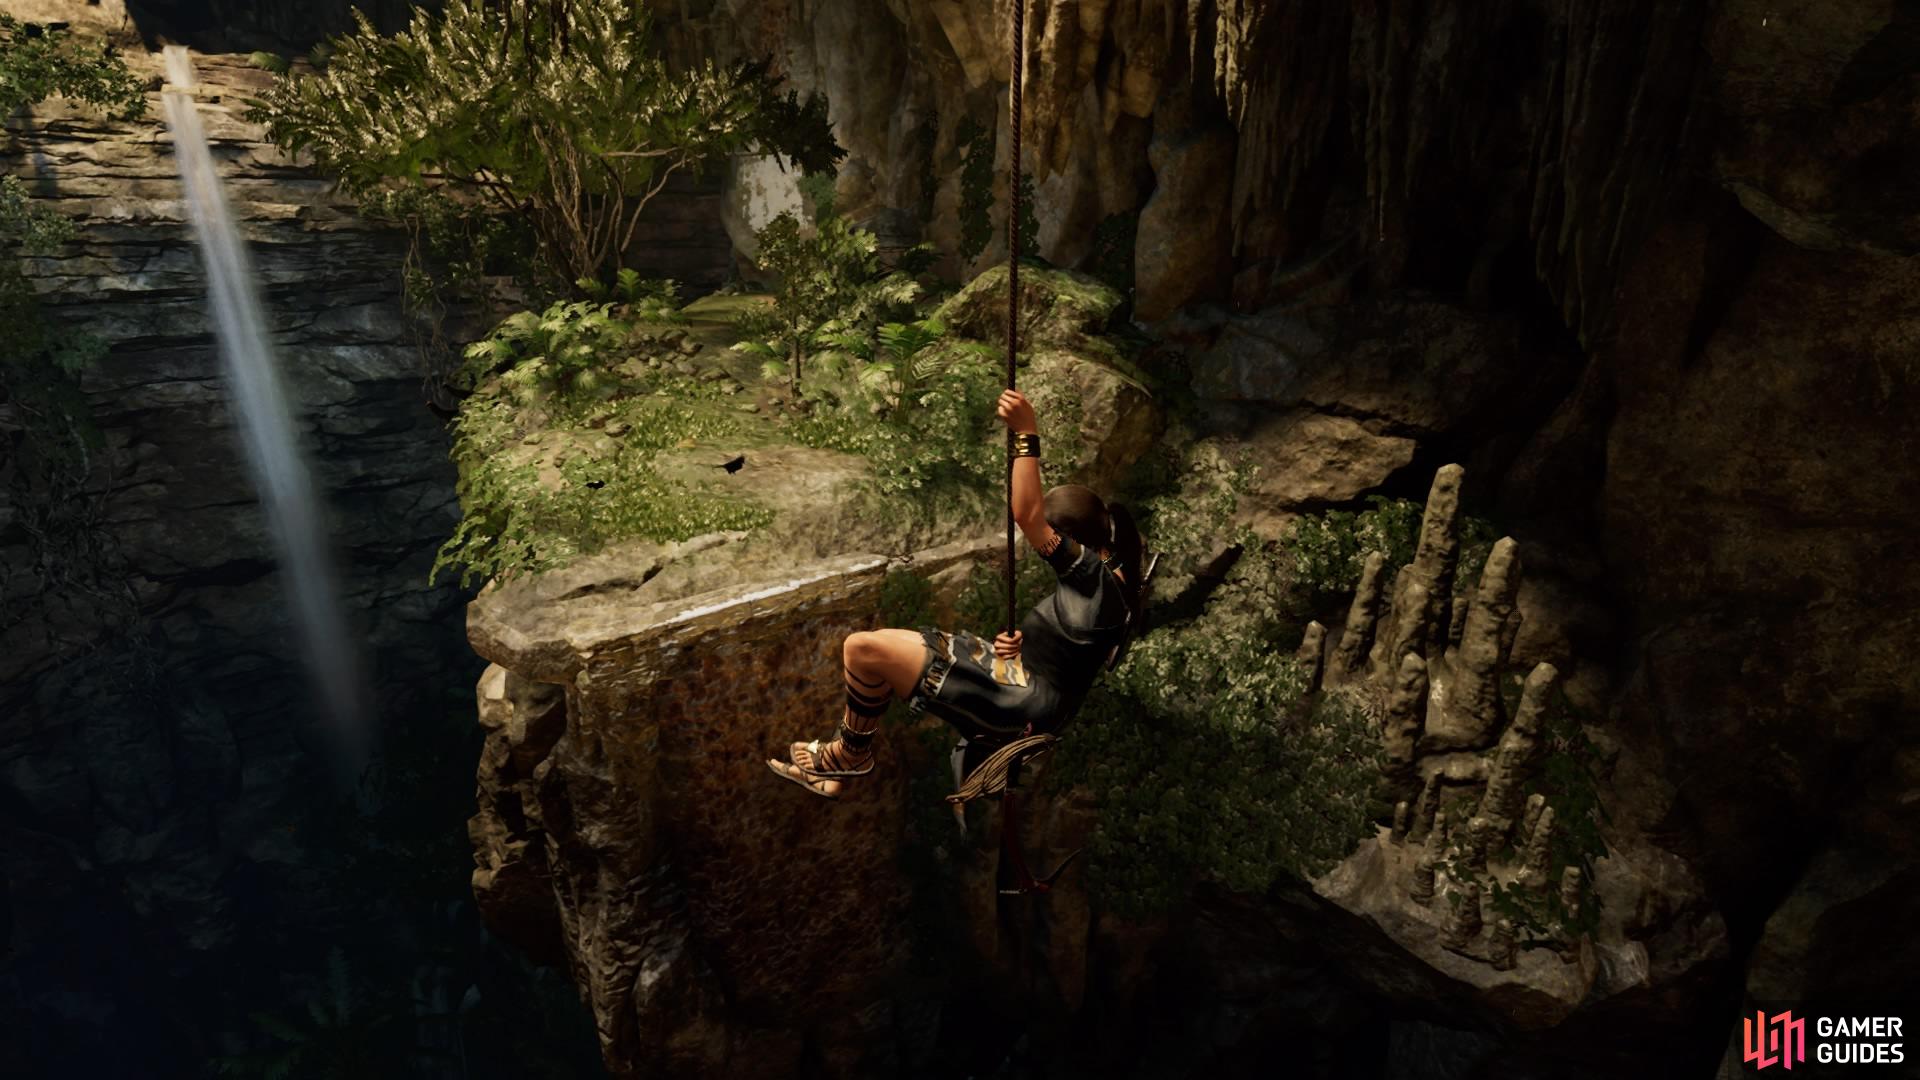
Keep traversing right, performing two lateral jumps, until you reach the end. Then rappel down from the overhang and swing across to the platform ahead.
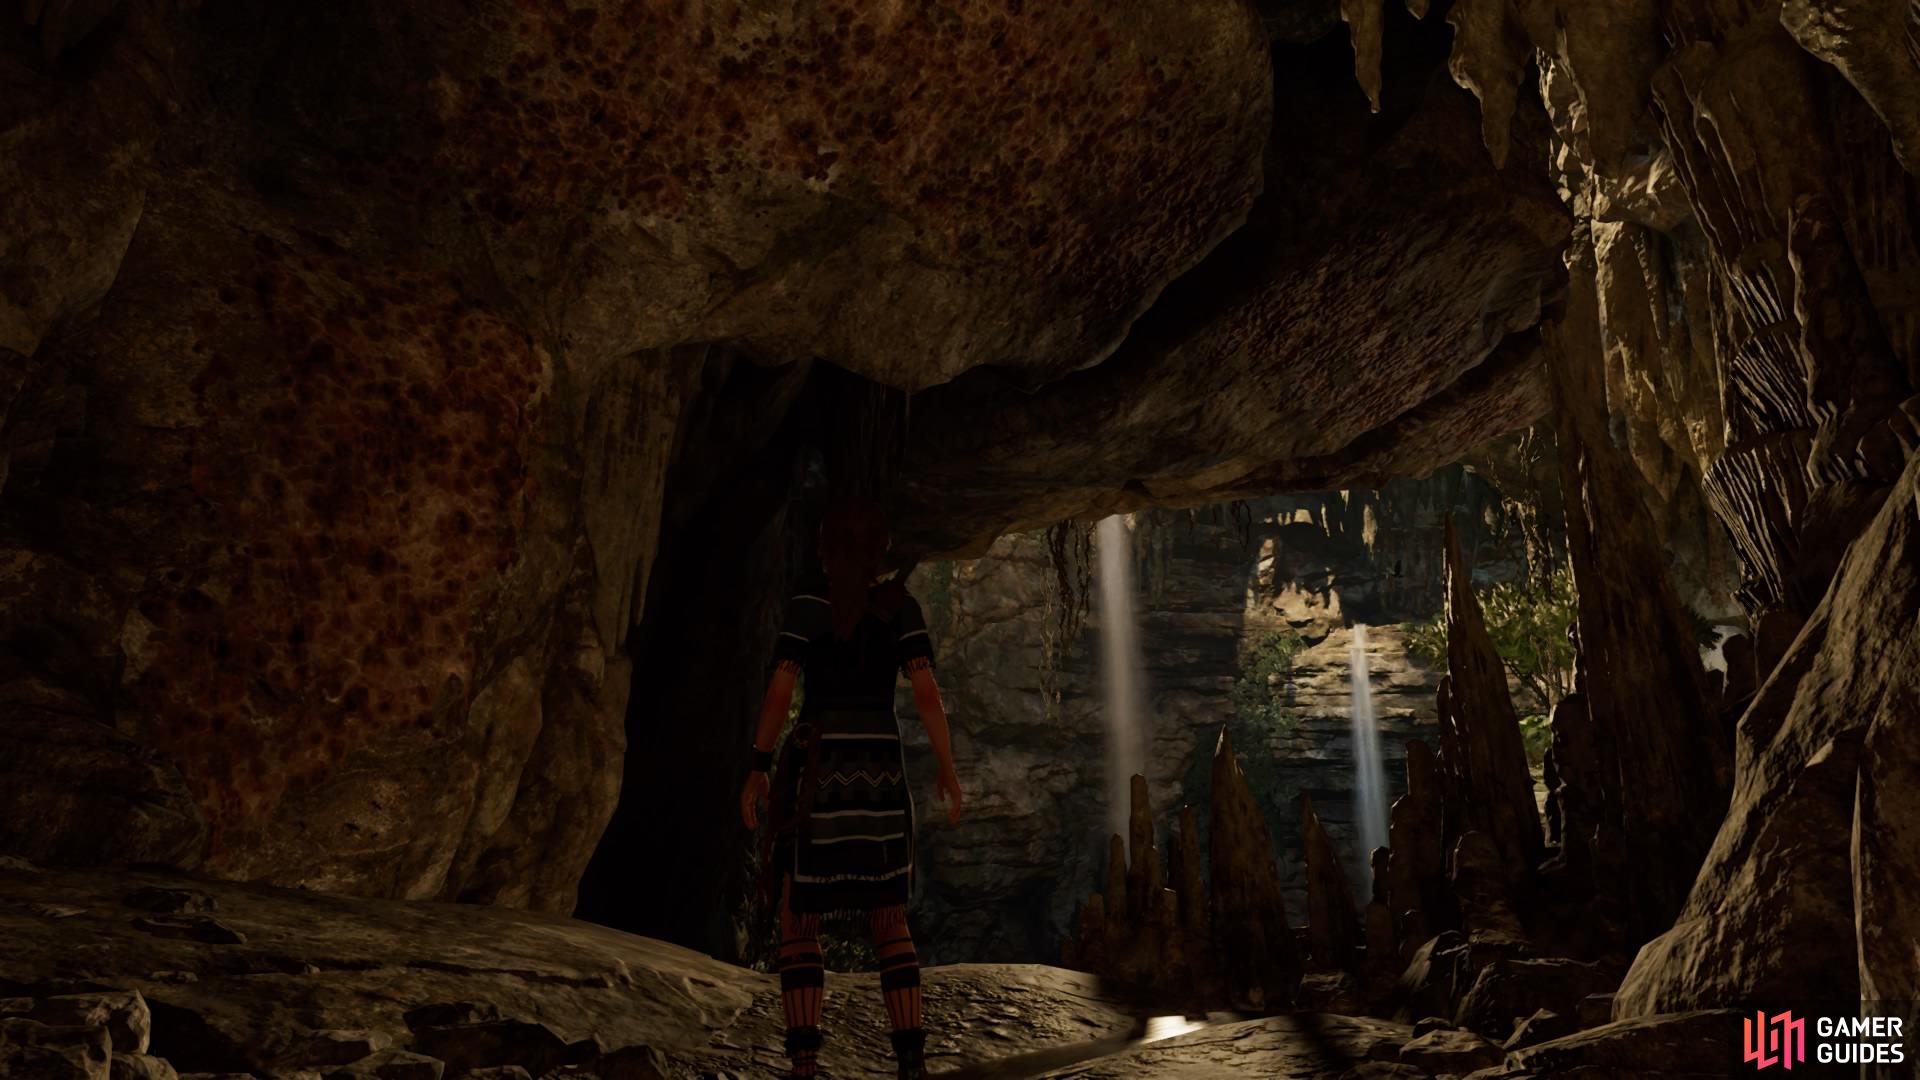
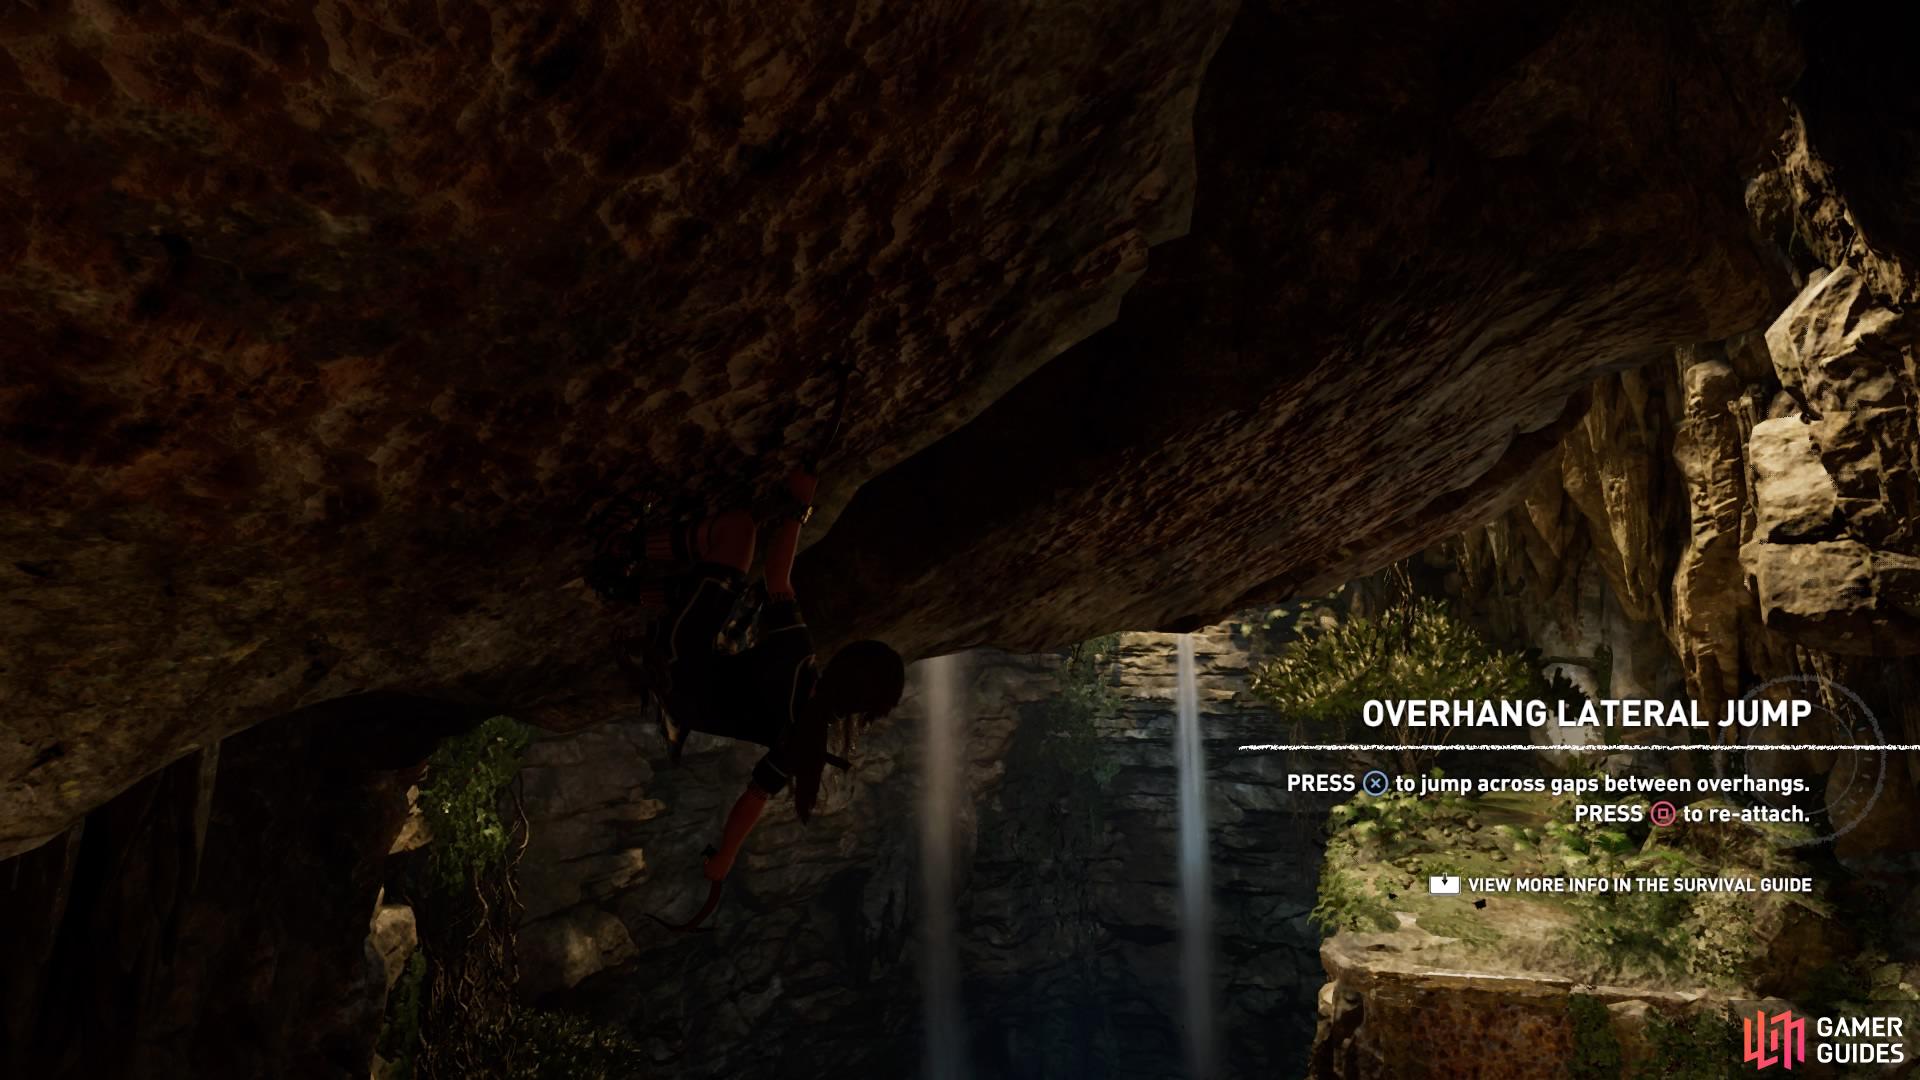
(1 of 4) Climb the overhangs
Run forward to scramble up the wall, then continue up to attach to another overhang and scale left, then up. Keep going up until you reach the top, then go left to jump from the wall and throw your Grapple Axe into the surface opposite. Climb up, head forward, and hop through the small gap.
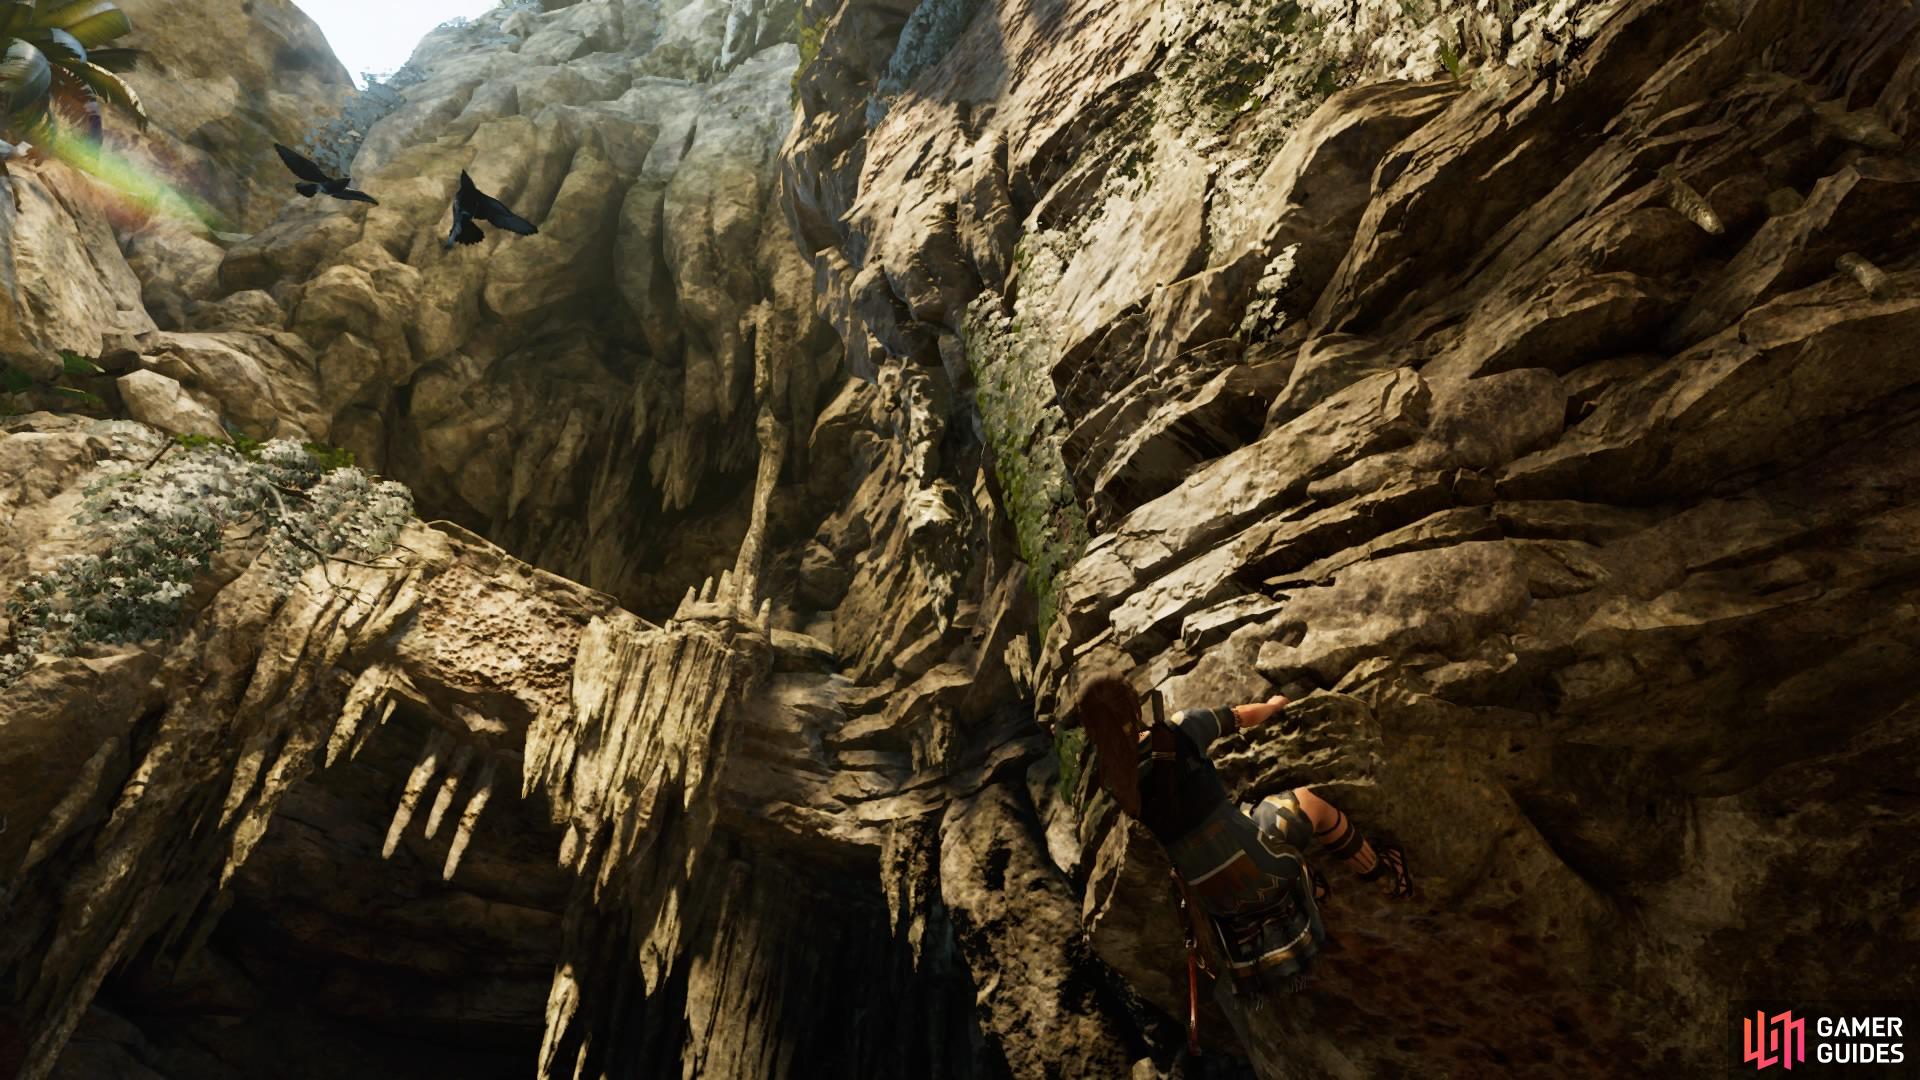
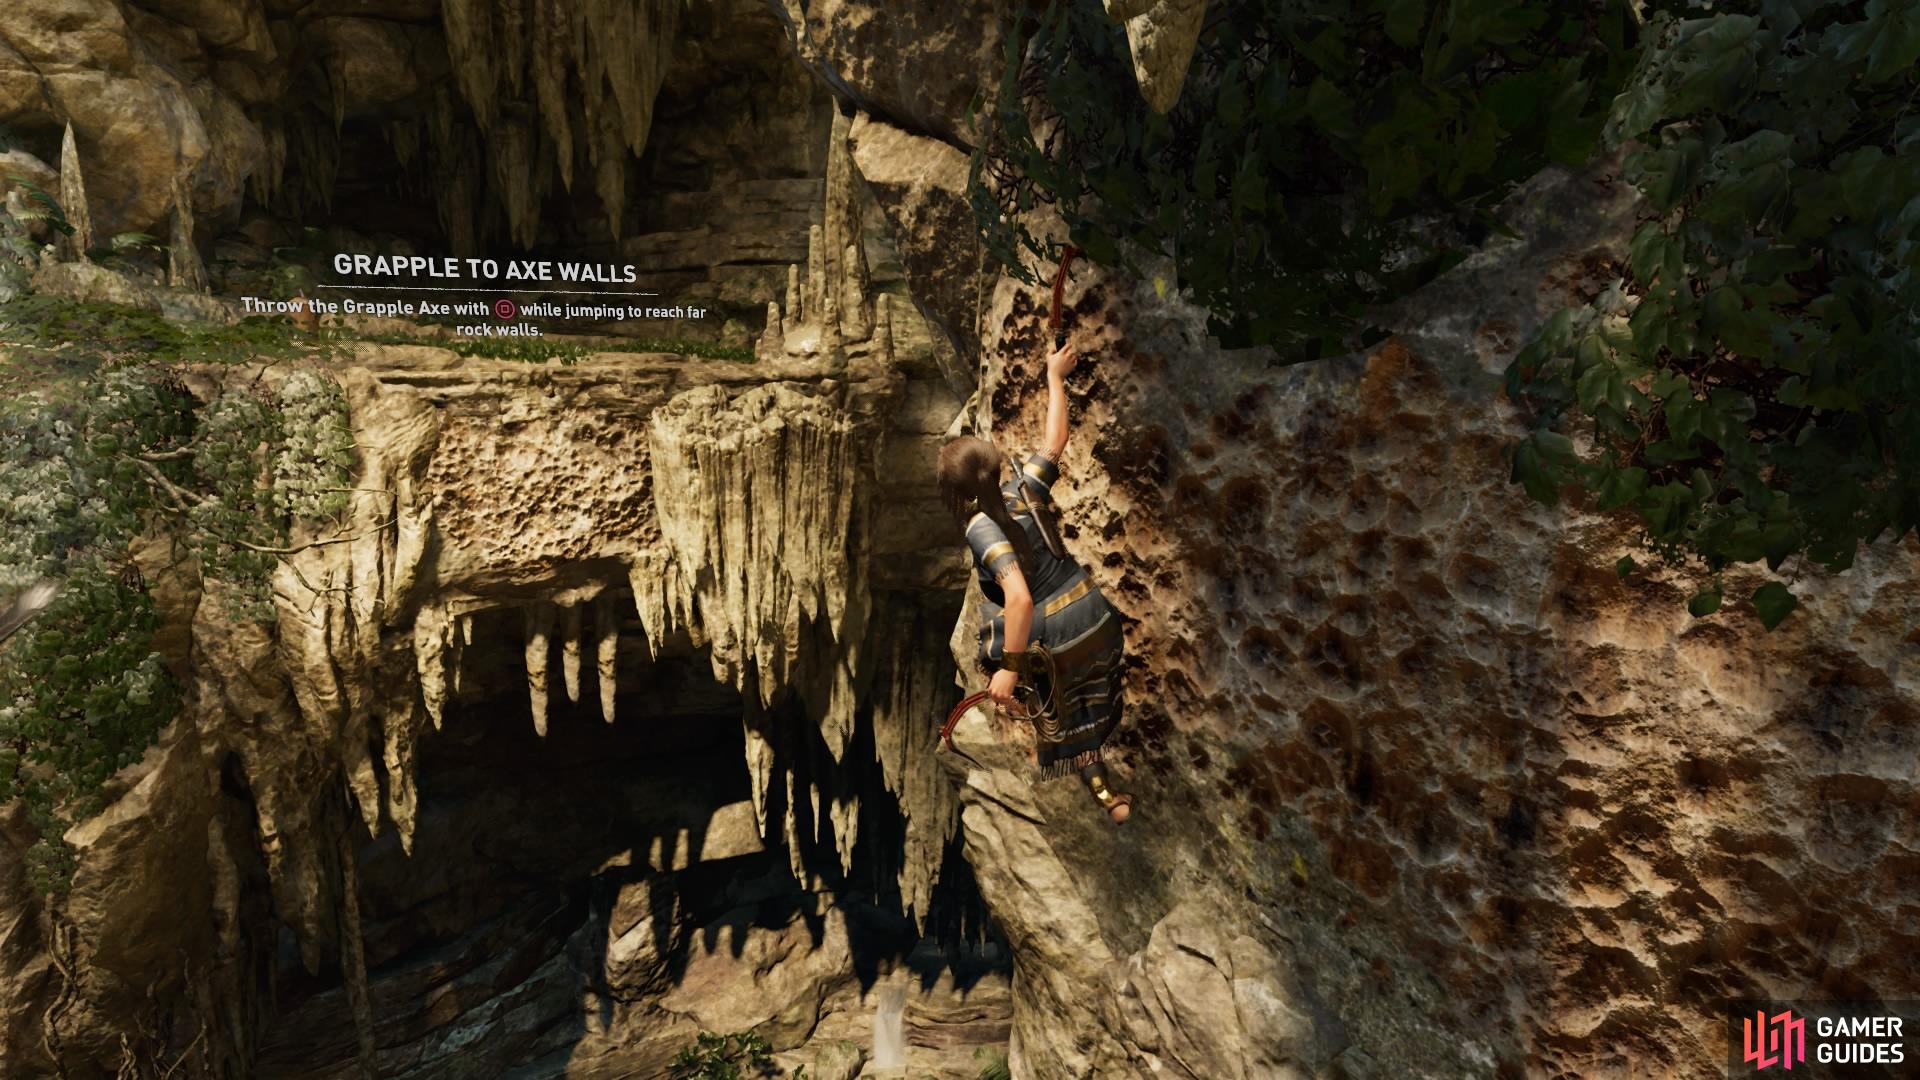
(1 of 2) Climb to the top
Climb to the top (left), Use the Grapple Axe (right)
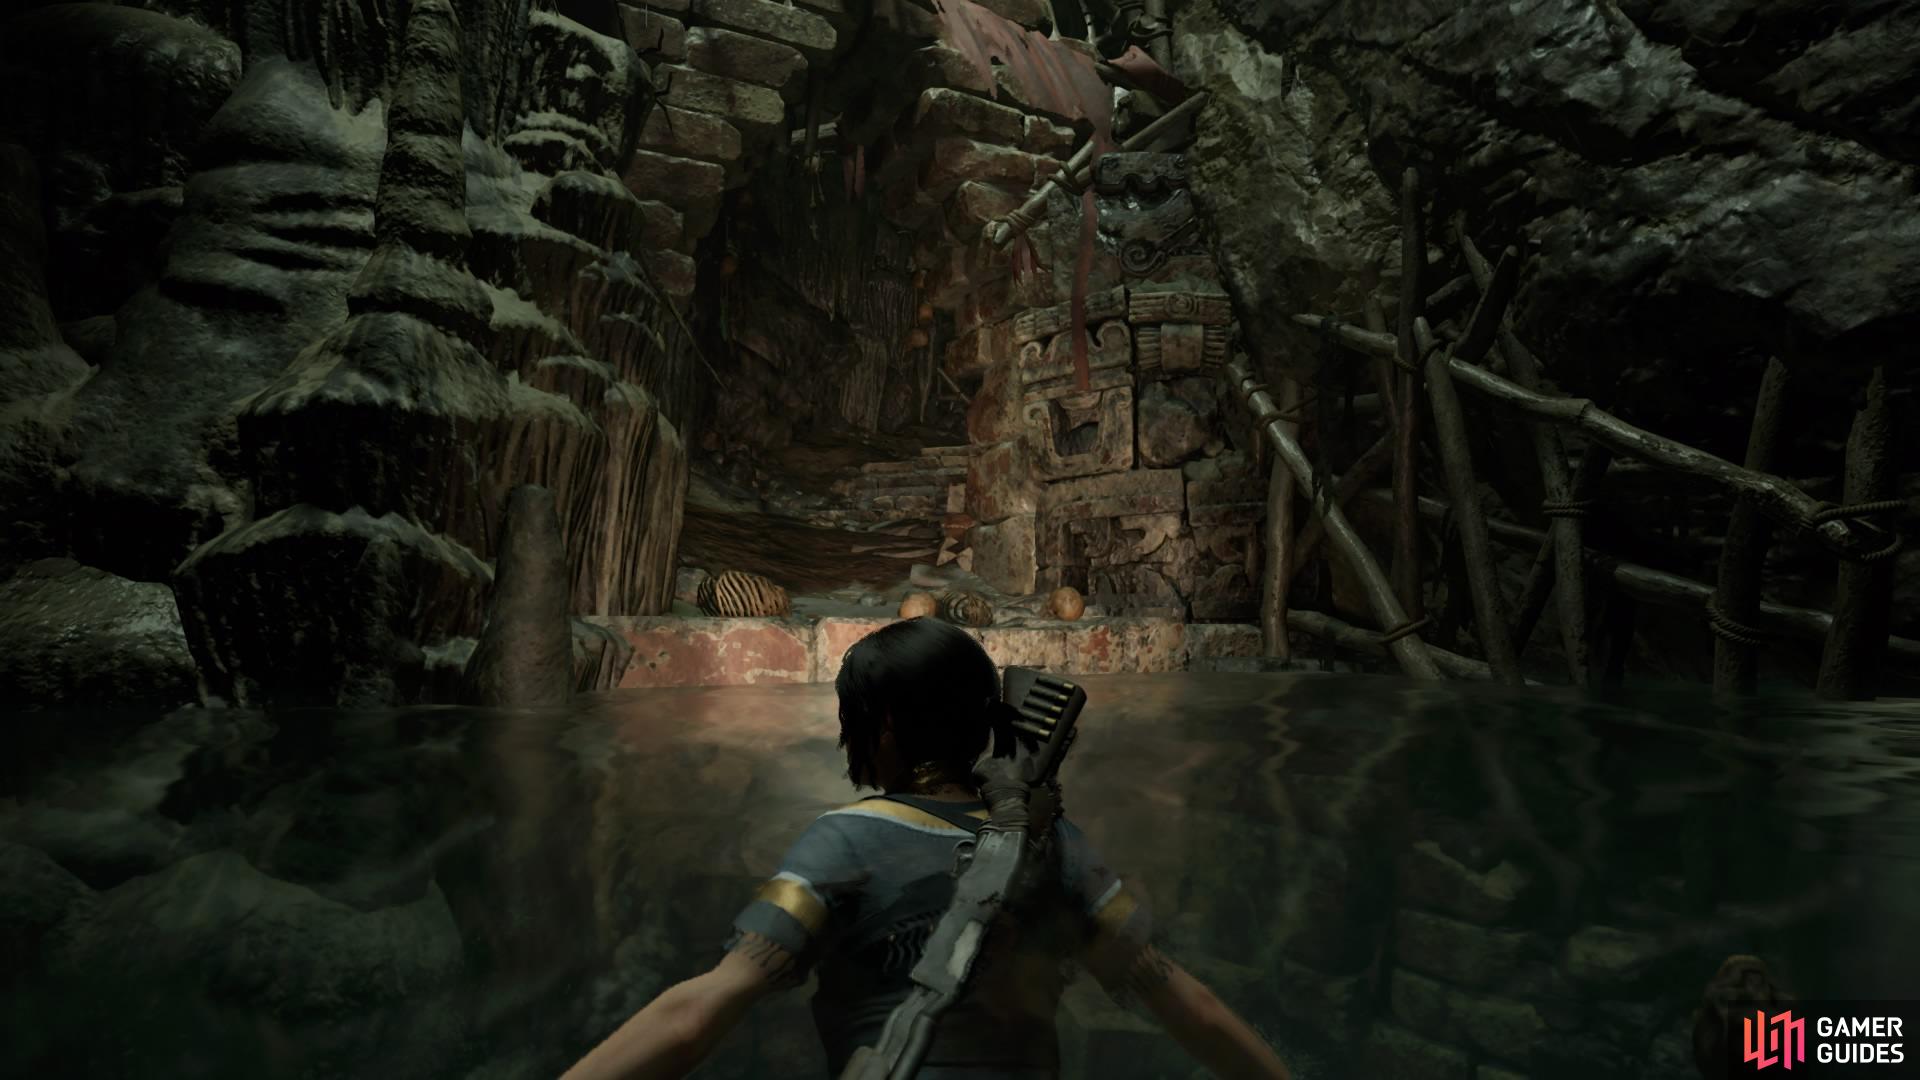
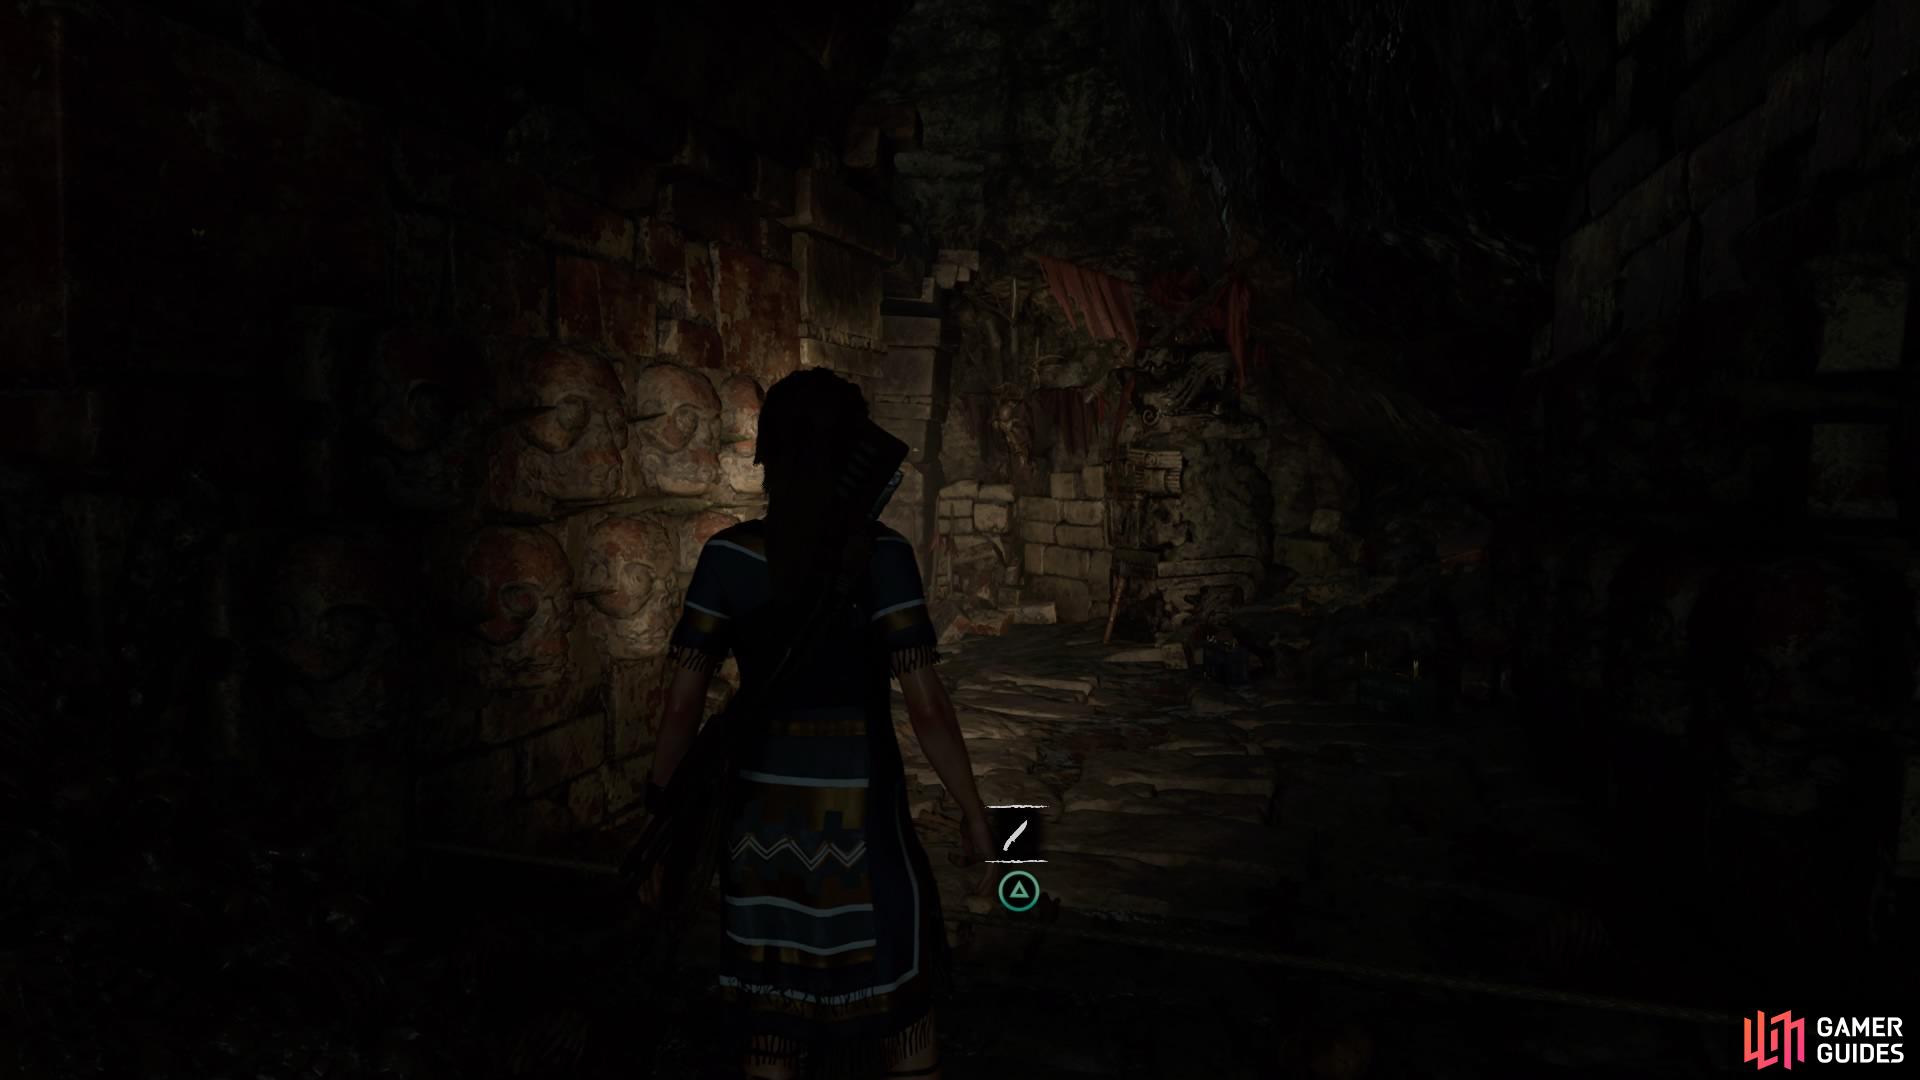
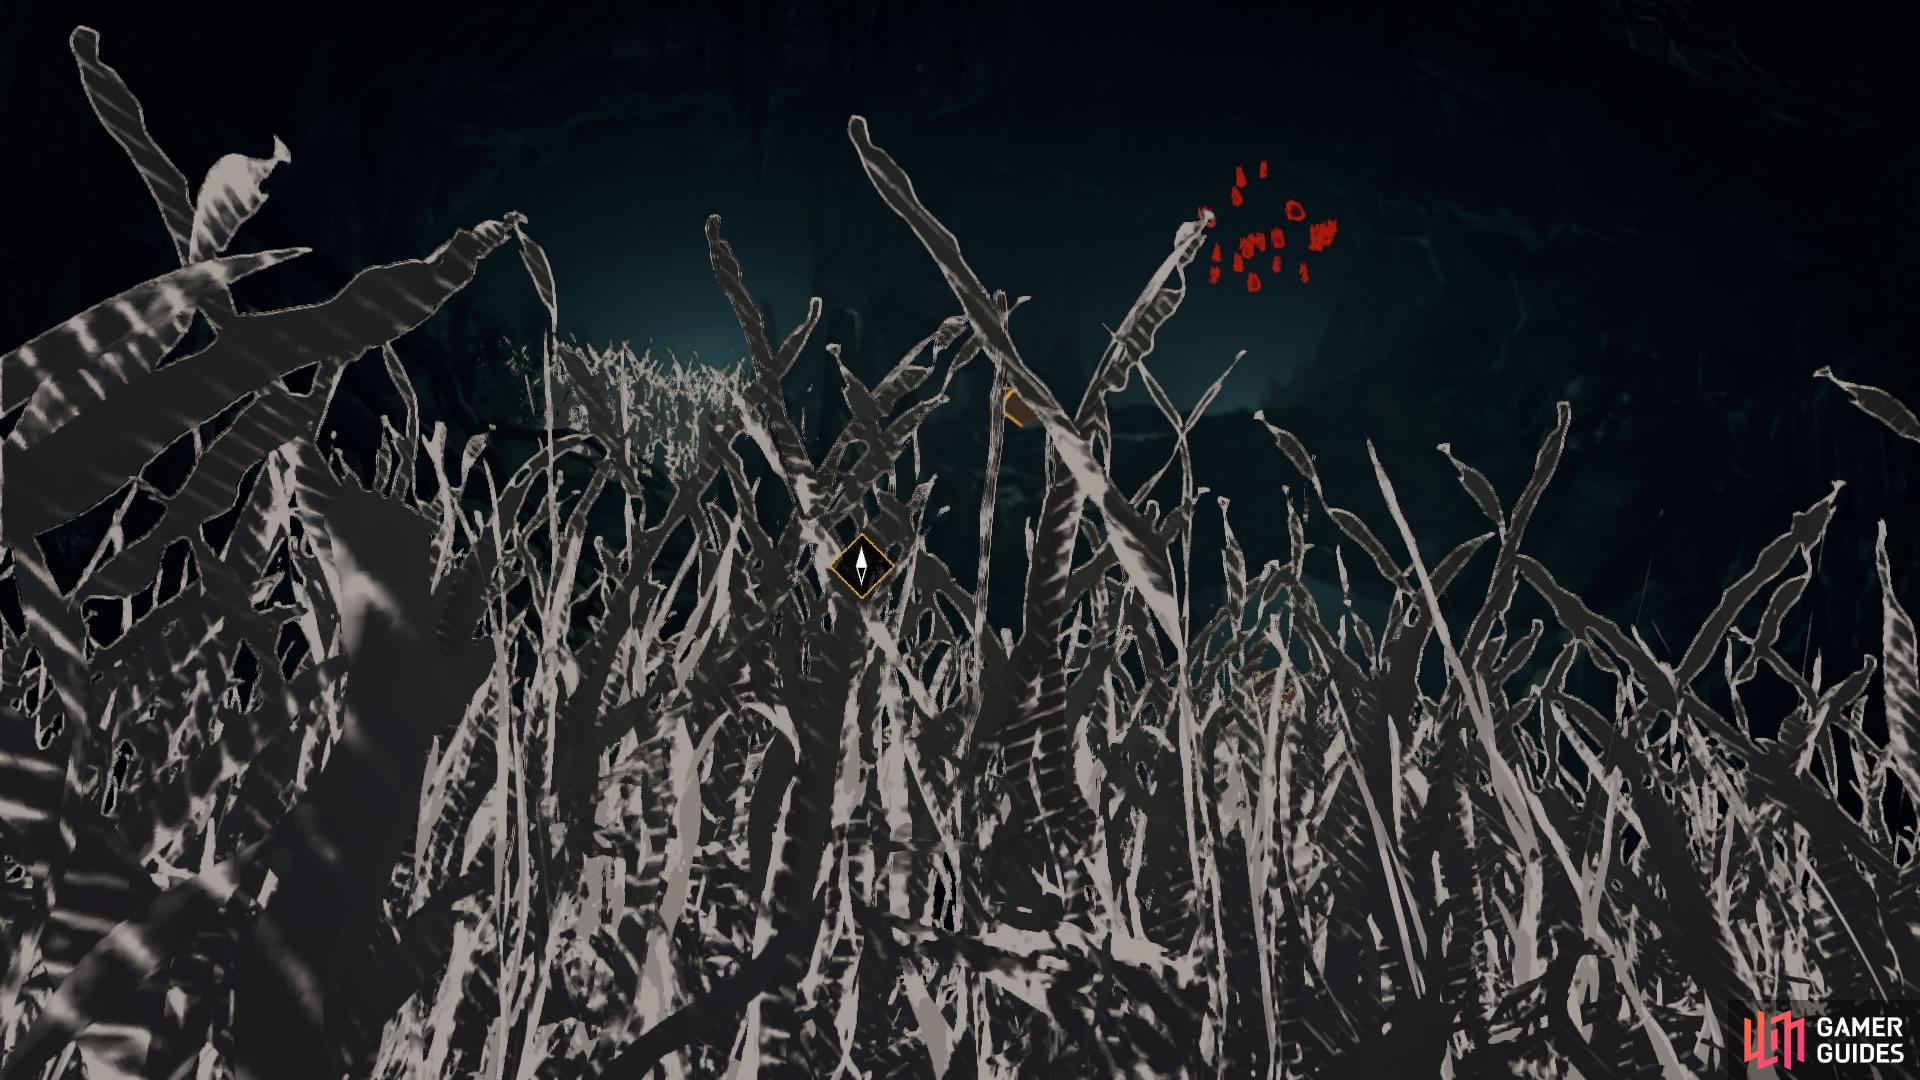
Head forward and dive off into the water below. Fast-swim forward until you reach a pry barrier and use your axe to remove it. There are piranhas here, so hide in the underwater concealment patches to avoid them.
Keep moving forward and use the trapped air pocket if you have to, then continue until you can finally resurface at the end. When you exit the cave you’ll be back in Paititi – head right to find the Fishing District Base Camp.
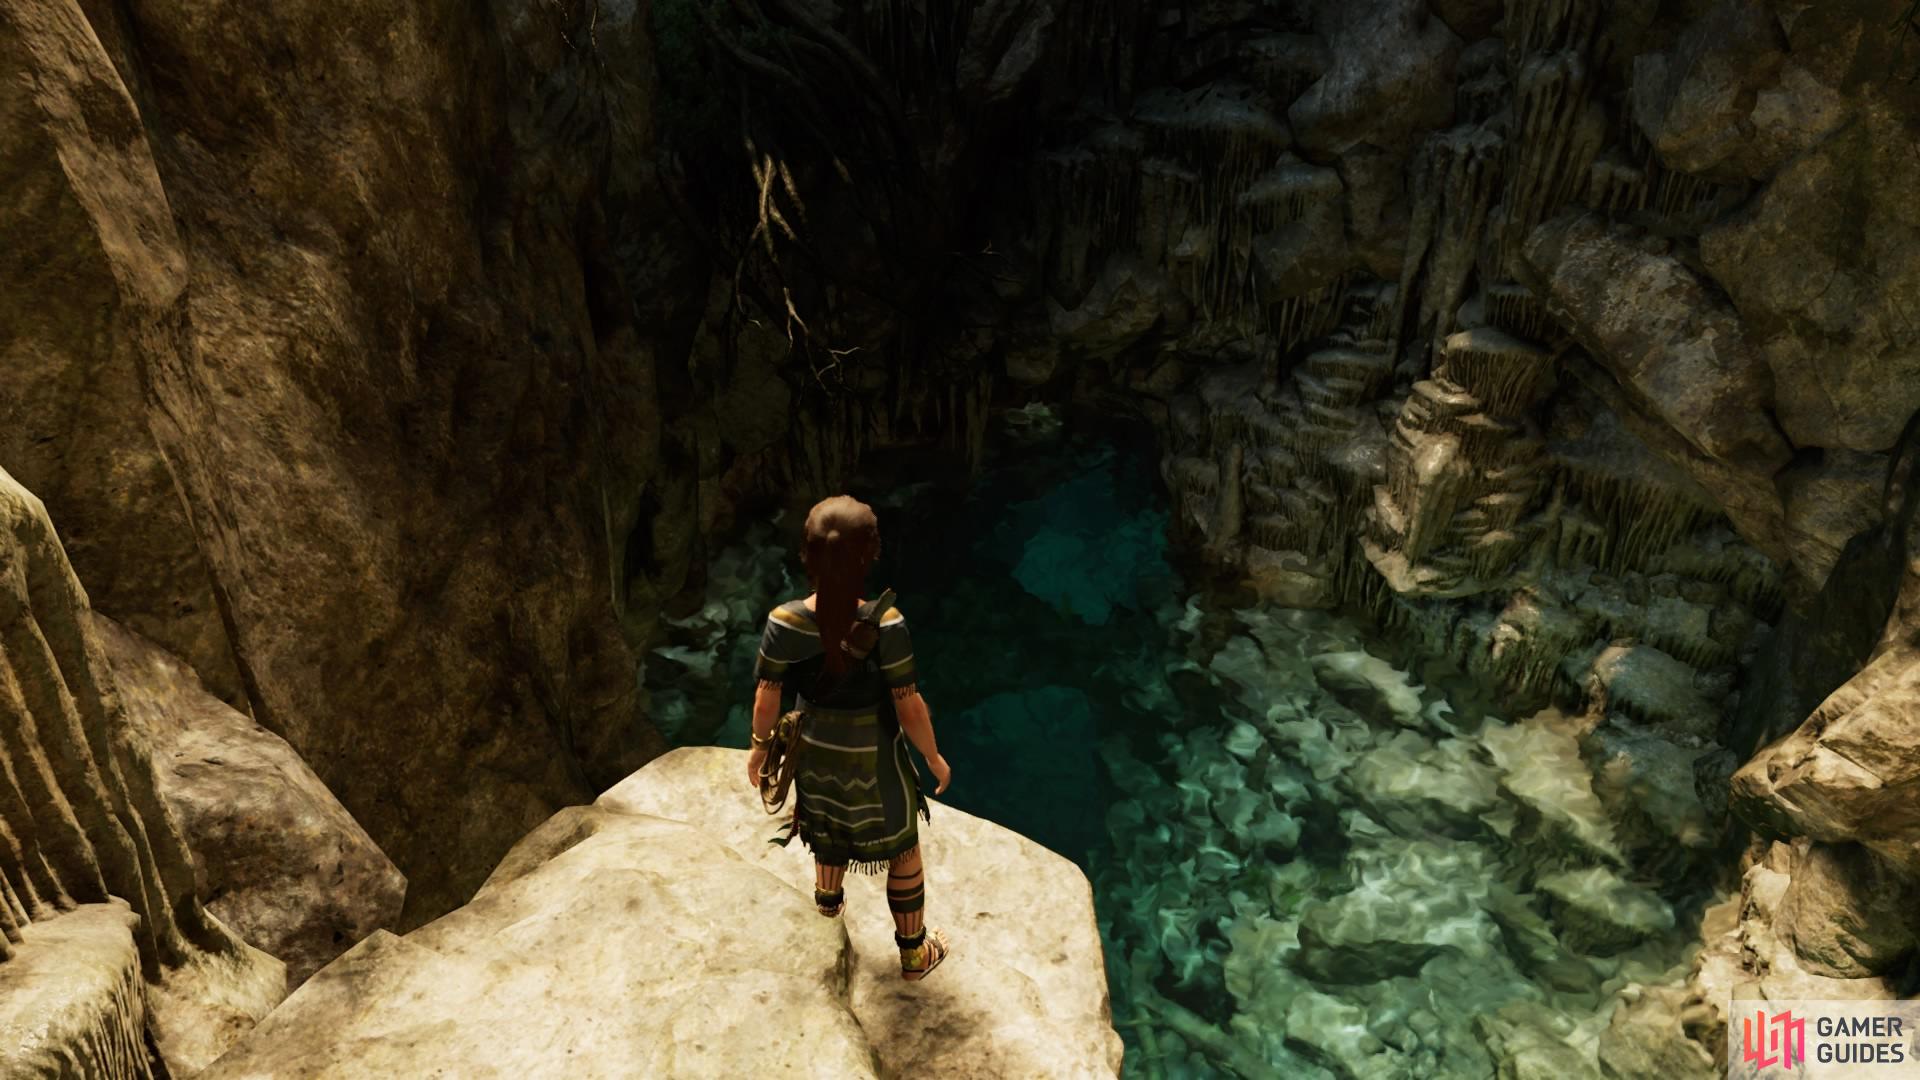
(1 of 4) Dive into the water

 Sign up
No Comments