| Region Summary | . |
|---|---|
| Base Camp | 4 |
| Challenge Tomb | 2 |
| Mission Giver | 1 |
| Region Challenge | 1 |
| Treasure Chest | 1 |
| Crypt | 1 |
| Relic | 9 |
| Document | 27 |
| Mural | 4 |
| Survival Cache | 8 |
| Monolith | 1 |
VIA VERITAS – TALK TO ABBY’S FRIEND

(1 of 2) Mission Gate Base Camp/Raise the Flags region challenge
Mission Gate Base Camp/Raise the Flags region challenge (left), Document - Disaster Upon Disaster (right)
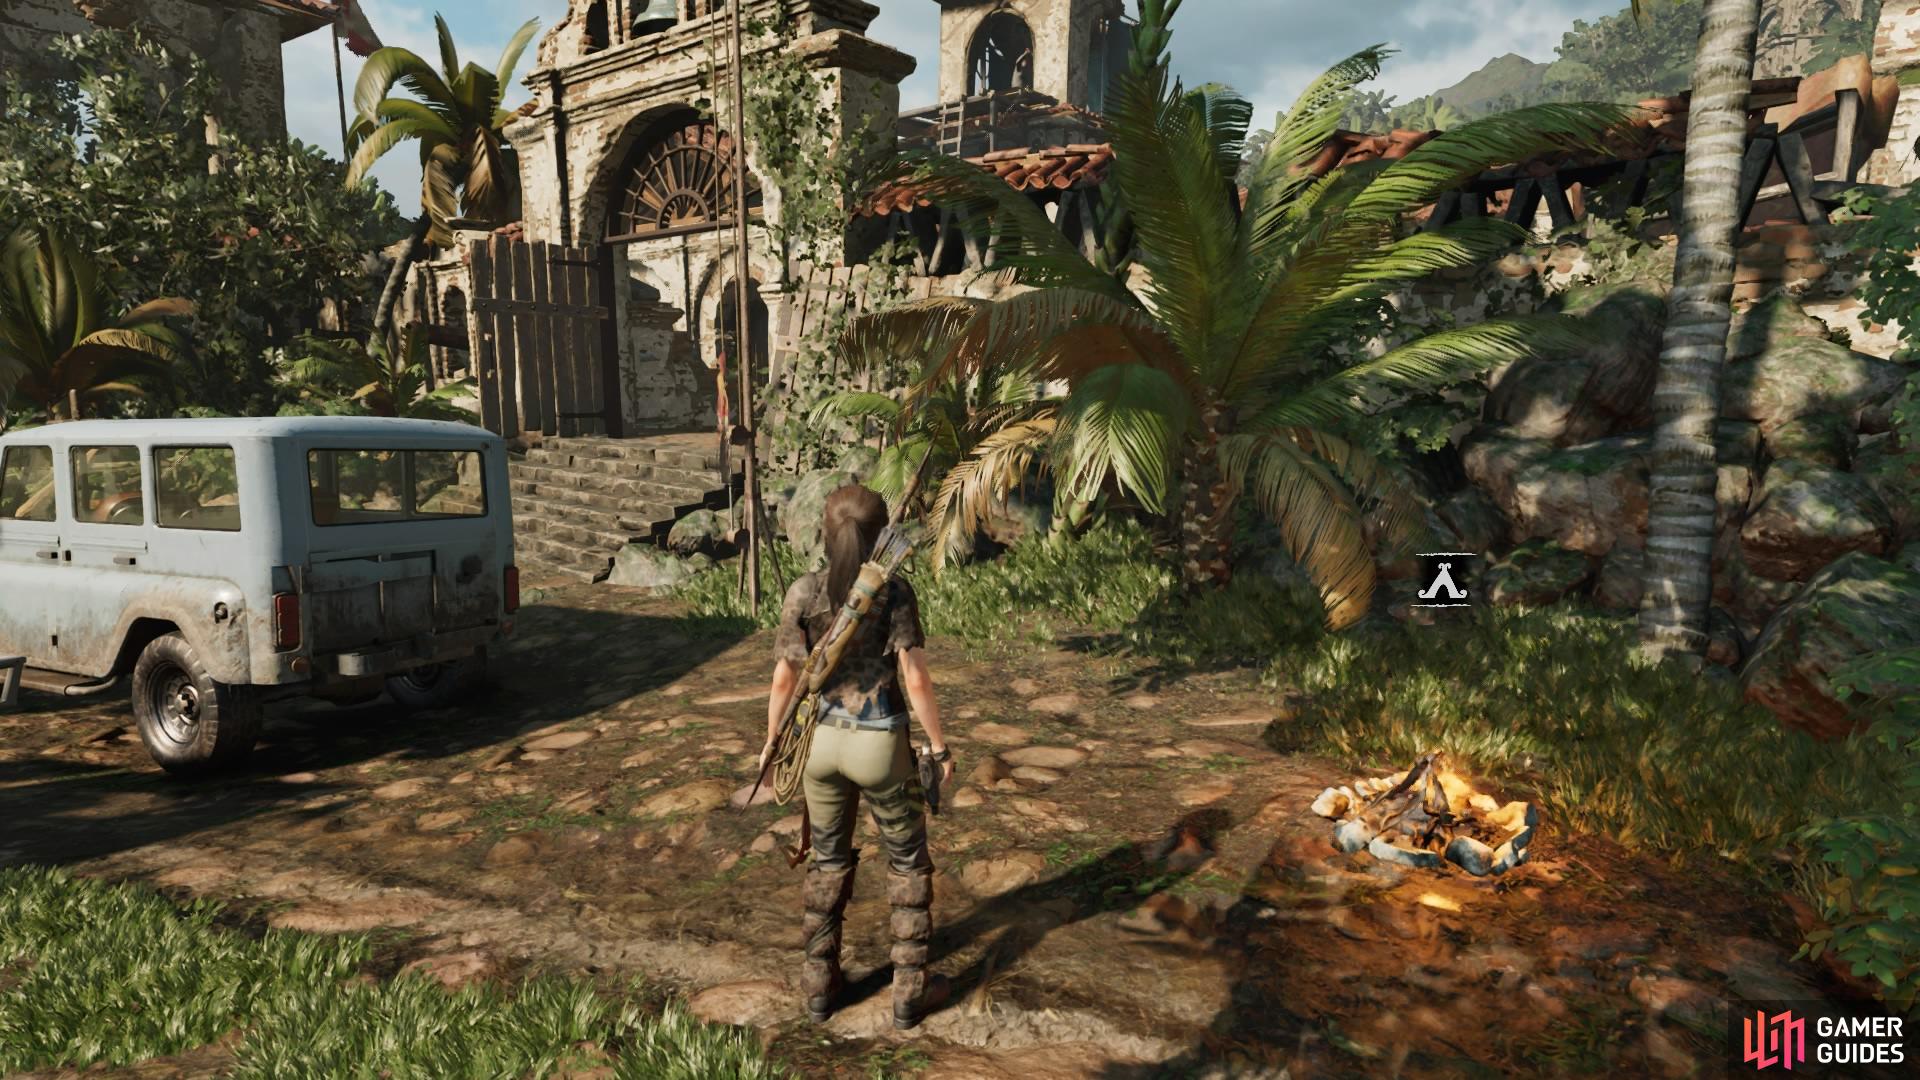
When you arrive outside the village, you can look to the right of the gate for the Mission Gate Base Camp and take a moment to upgrade or purchase Skills.
As you enter the village, feel free to explore a little for resources and documents. As you enter through the front gate, you can find Document - Disaster Upon Disaster sitting on the base of the fountain.
There are also two Merchants in this region, one of which can only be unlocked if you have completed the side mission Skill of the Player back in Paititi.
MERCHANT 1
| ITEM | COST (GOLD) |
|---|---|
| WHWS (Shotgun) | 5800 |
| TAEV 16 (Shotgun) | 5700 |
| WASP 11 (Rifle) | 5900 |
| Rifle Suppressor (WASP 11) | 3400 |
| Shotgun Spreader Choke (All Shotguns) | 3300 |
| Large Pistol Ammo Pouch (requires Crow’s Hoard skill) | 3800 |
| Large Rifle Ammo Pouch (requires Crow’s Hoard skill) | 3100 |
| Shell Holder | 2900 |
| Large Shell Holder (requires Crow’s Hoard skill) | 3600 |
| Arrows | 60 |
| Handgun Bullets | 60 |
| Machine Gun Rounds | 15 |
| Shotgun Shells | 100 |
| Concussive Shell (Special Handgun Ammo) | 540 |
| Lure Arrow | 1200 |
| Salvage | 120 |
| Black Powder | 150 |
MERCHANT 2 (MUST COMPLETE SIDE MISSION: SKILL OF THE PLAYER)
| ITEM | COST (GOLD) |
|---|---|
| NEP-14 (Handgun) | 6100 |
| Laser Sight | 2800 |
| Crimson Huntress (Full Body Outfit) | 7200 |
| Ascender (Equipment) | 3300 |
| Lockpick | 2800 |
| Flare Round (Special Handgun Ammo) | 540 |
| Fear Arrow | 3000 |
| Poison Grenade (Special Rifle Ammo) | 2500 |
| Venom | 300 |
| Dart Poison | 480 |
Pick up whatever you want if you have the Gold to do so, because you won’t get another chance until much later.
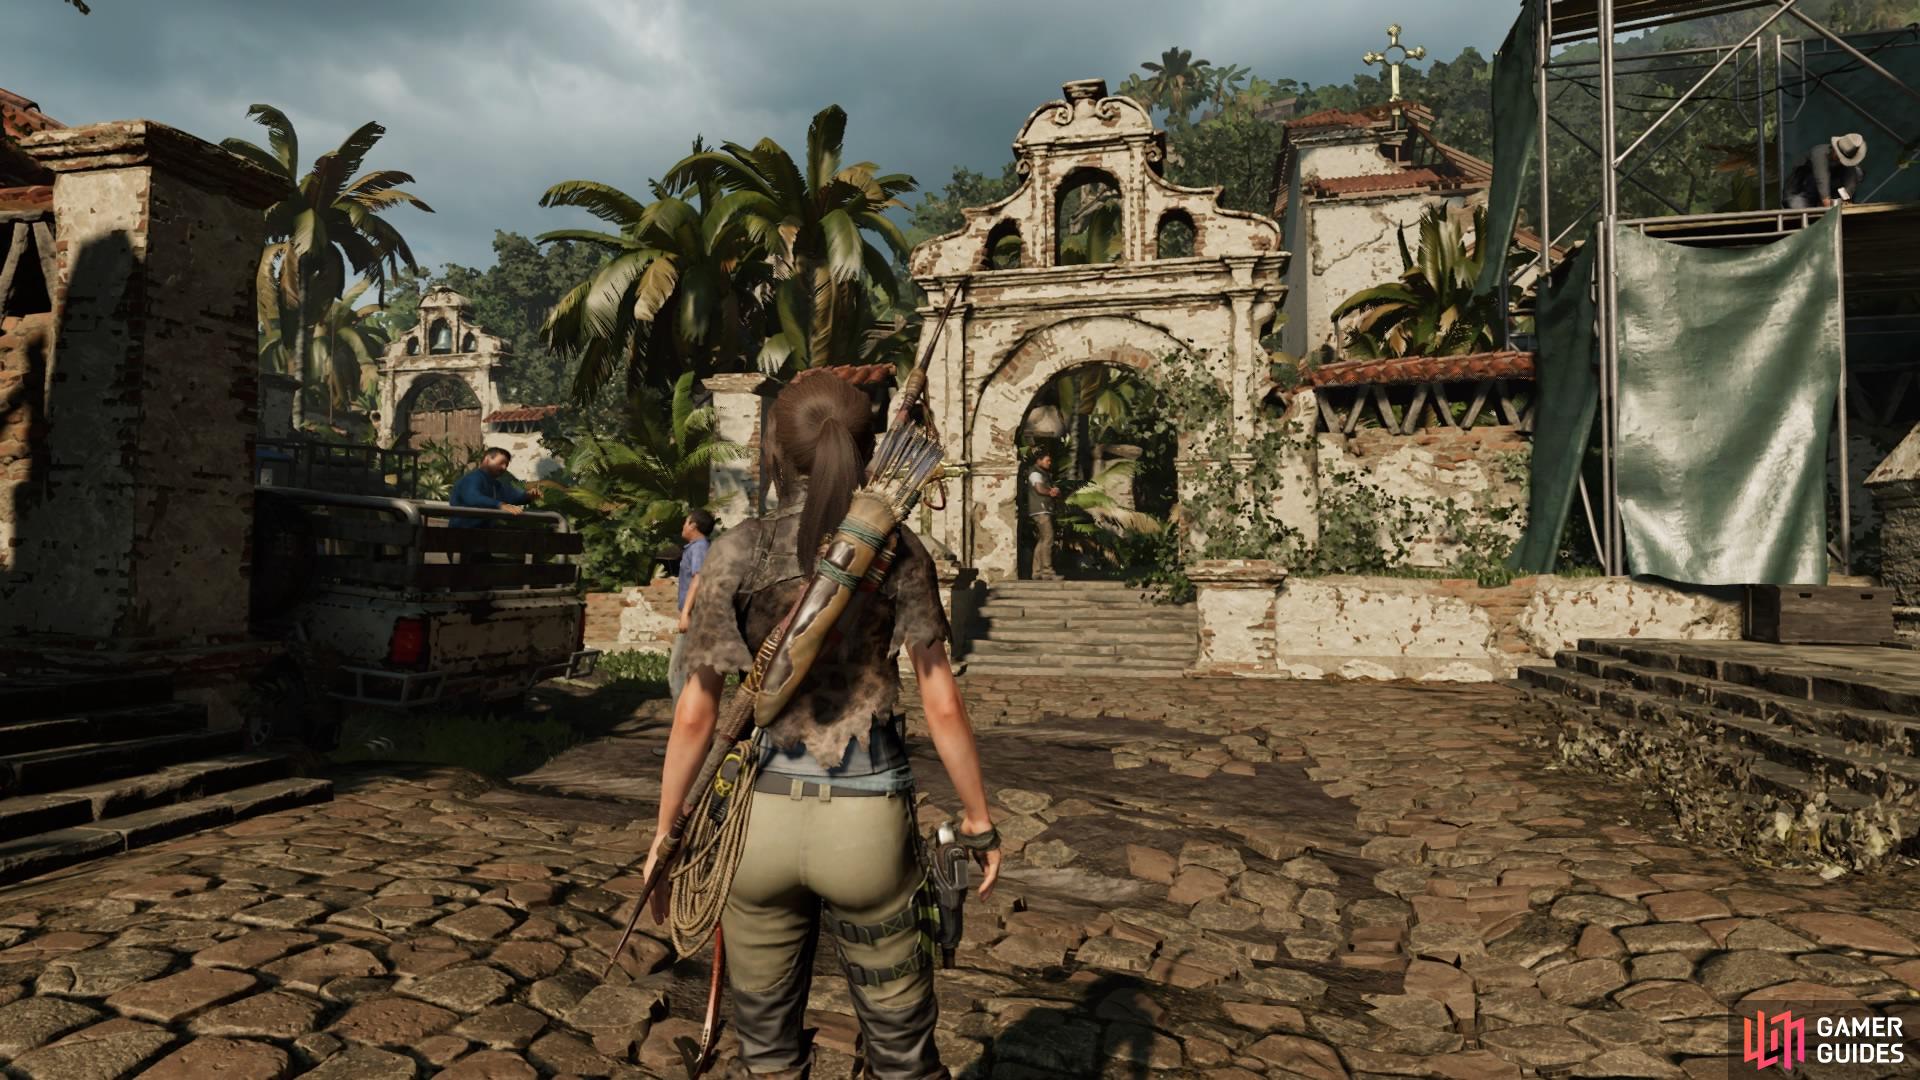
To continue the story, head through the gate and follow Abby down the steps to speak to her friend, Sara. She directs you toward the library on the other side of the village. Return to the fountain, turn right, and meet Jonah straight ahead beneath an archway. Follow him through the cemetery to the library.
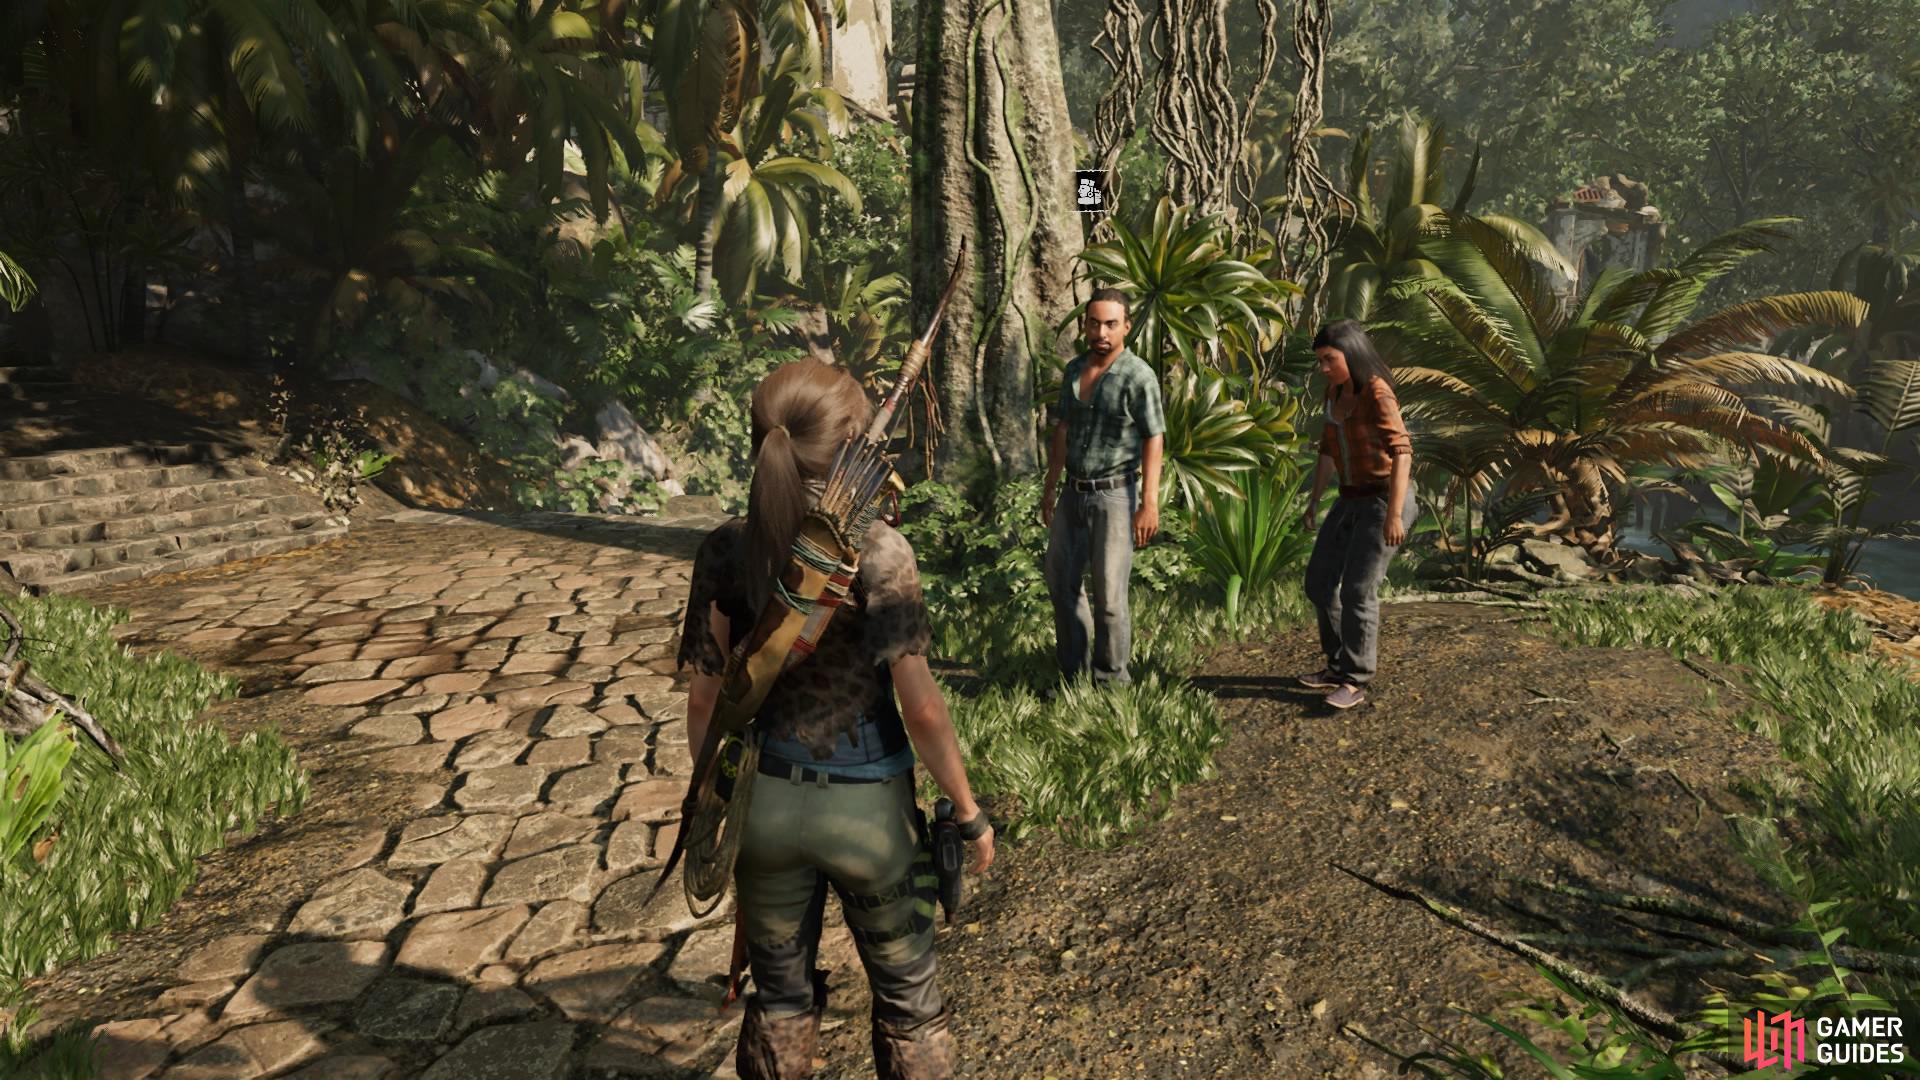
(1 of 2) Sara and Guillermo
Sara and Guillermo (left), Find Jonah under the archway (right)
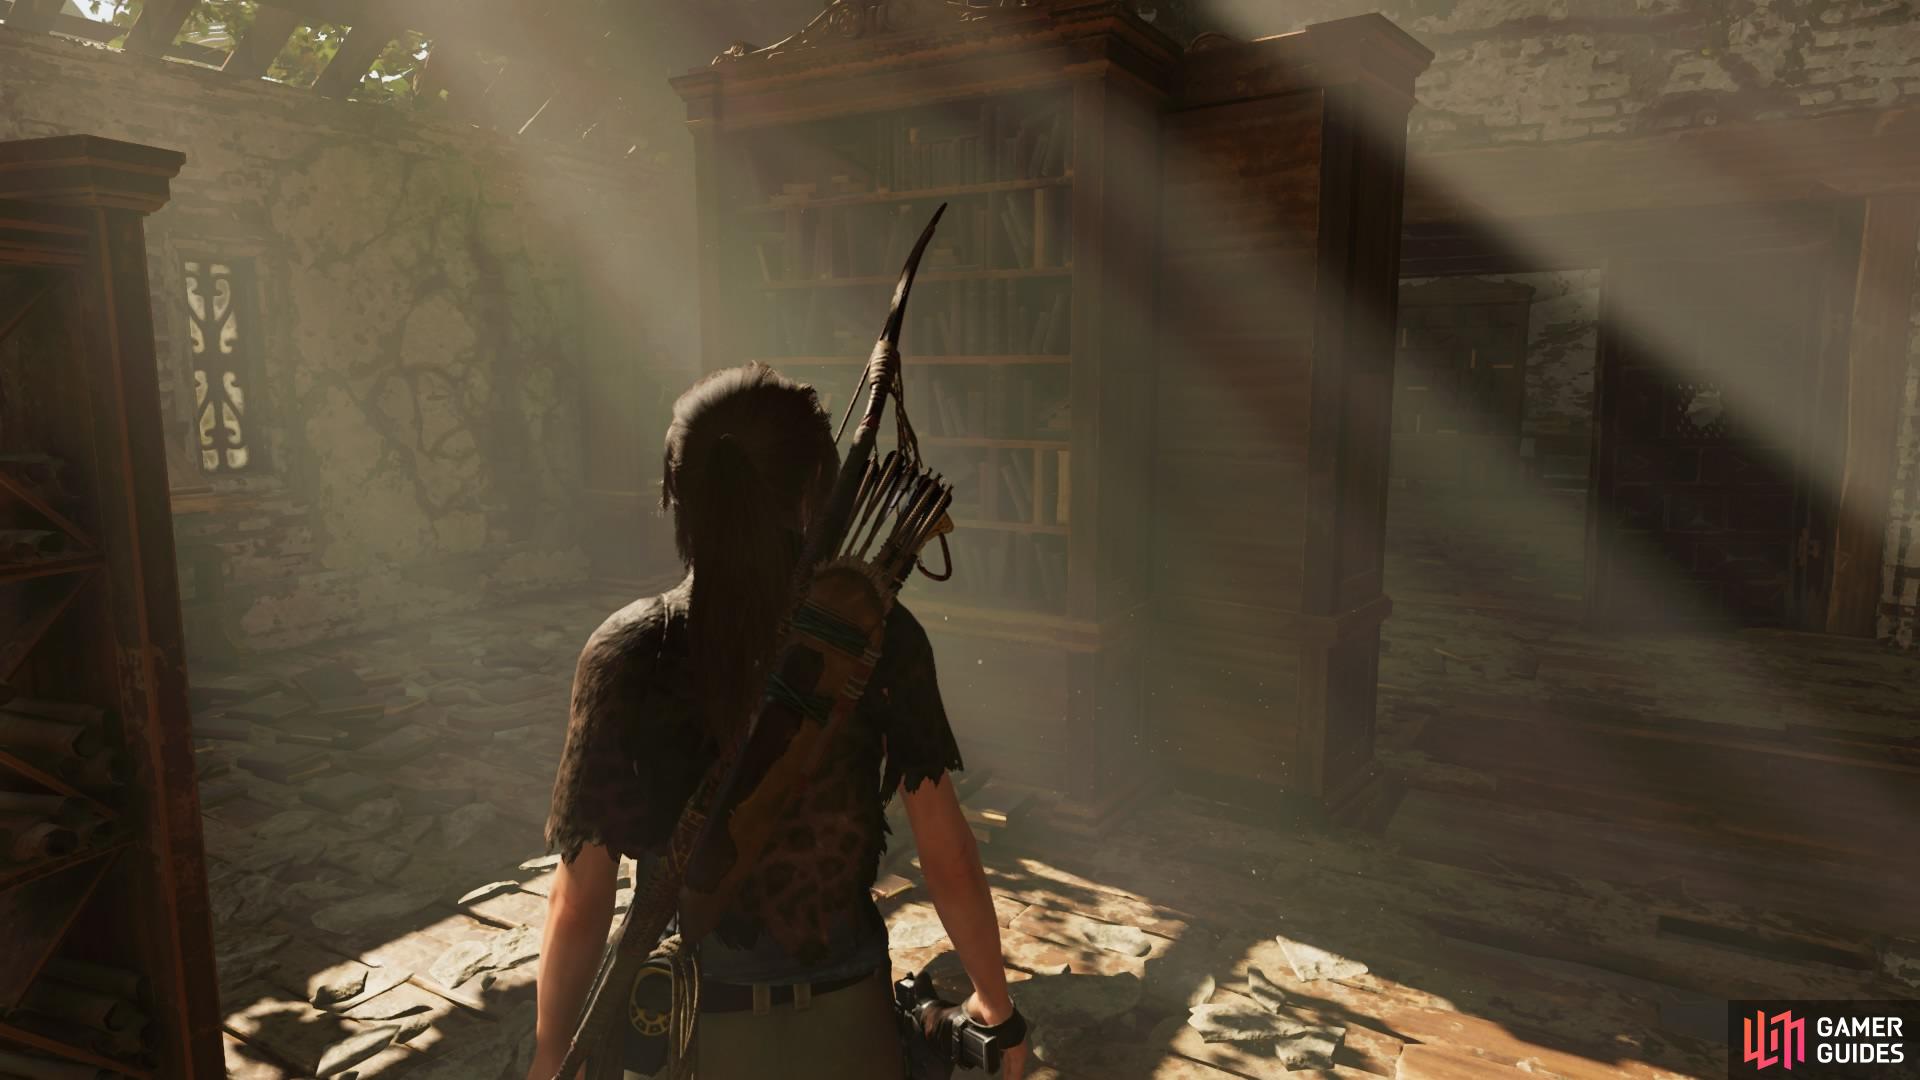
FIND THE SECRET CRYPT
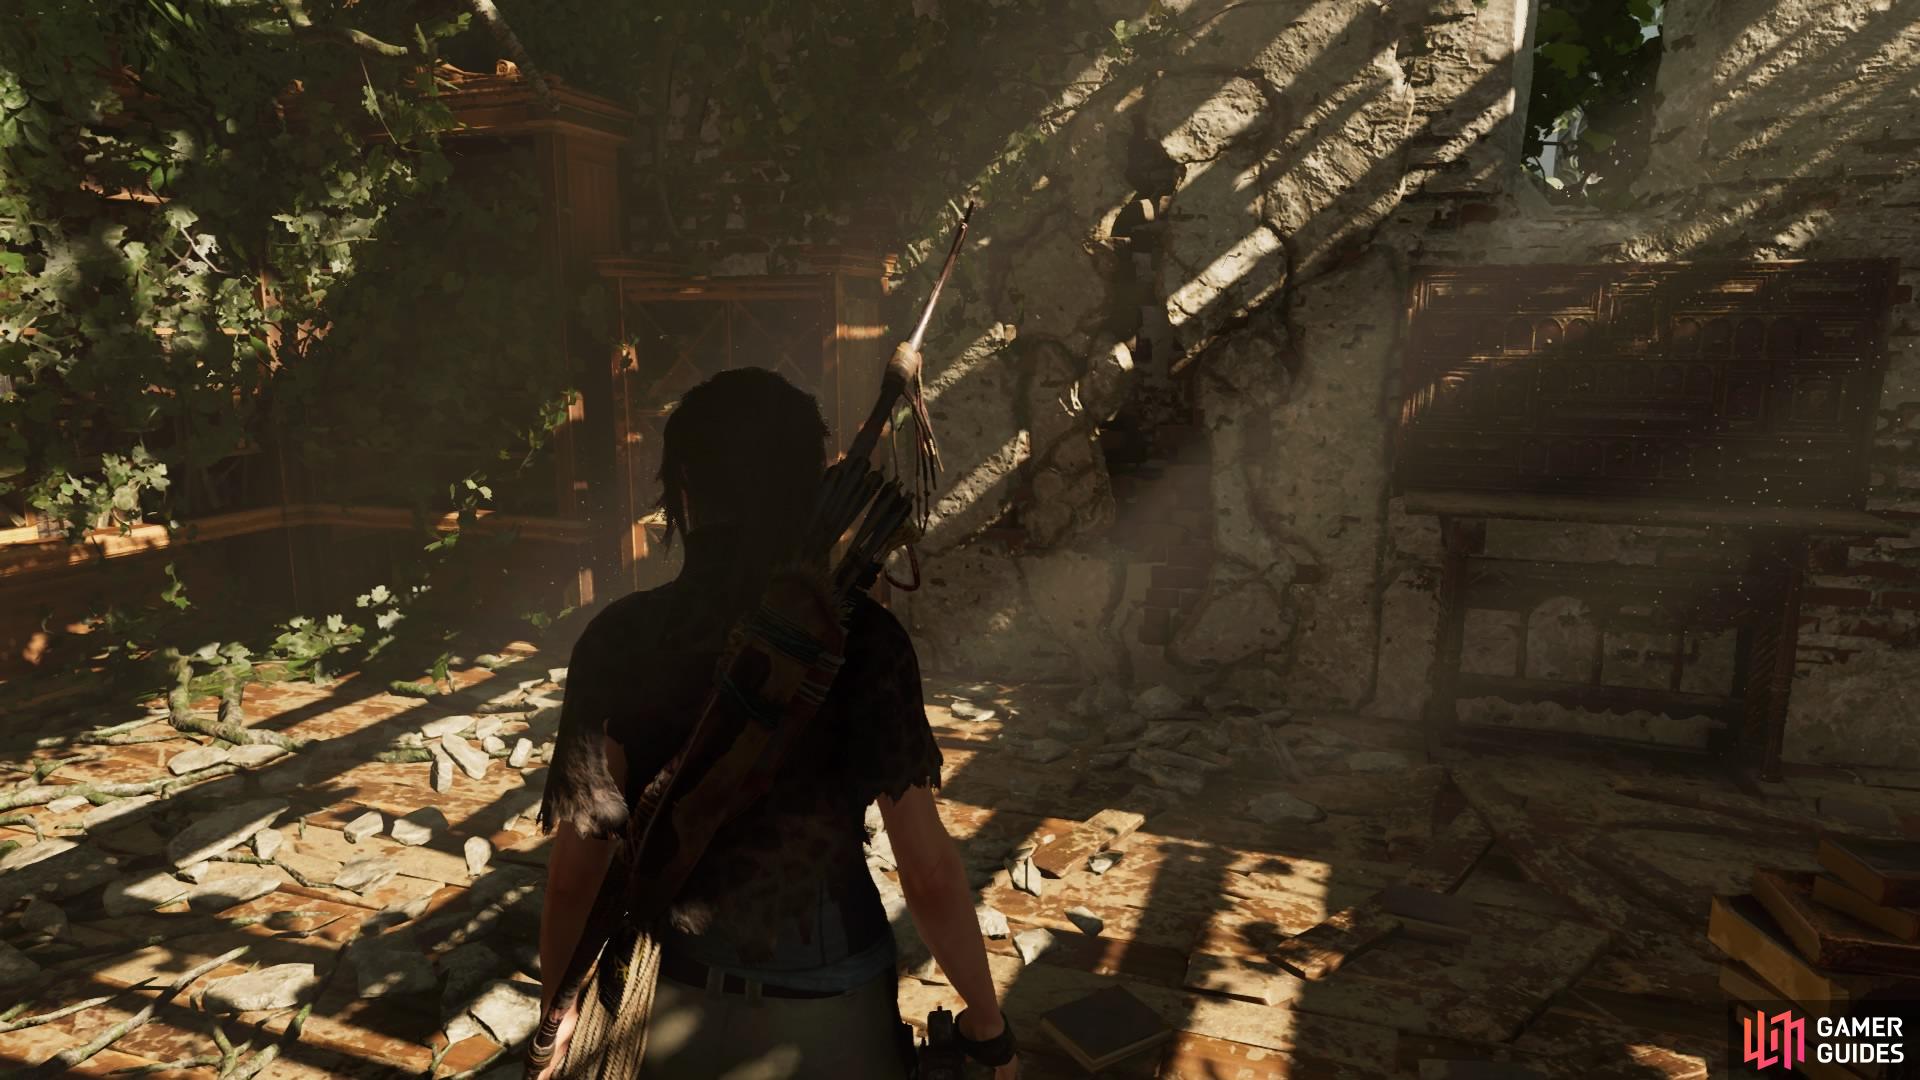
Inside the library are hidden murals for you to uncover by breaking down the weak walls. As soon as you enter, stick to the right wall until you find the axe prompt and uncover the first mural.
The second mural is upstairs, so find the stairs on the left side of the room and turn around to face the double doors at the back. The mural is on the left just before the double doors.

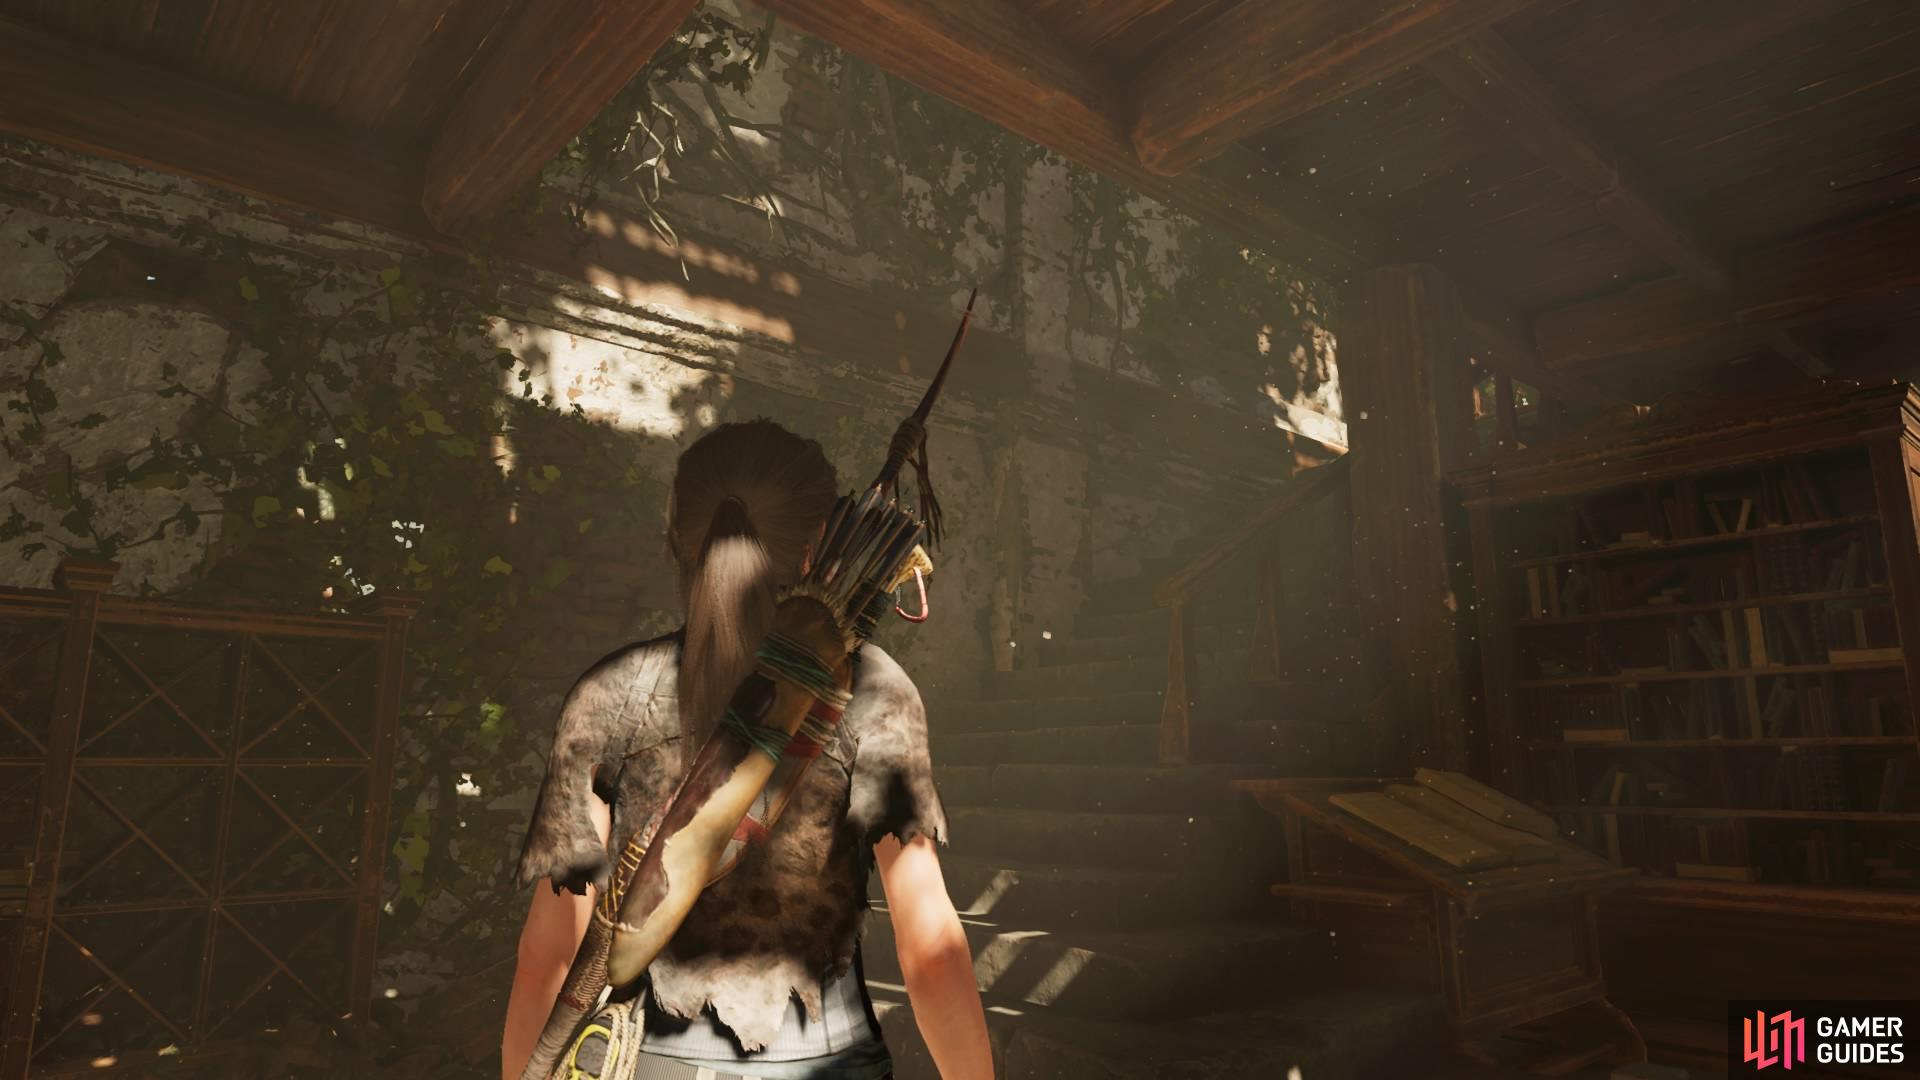
(1 of 3) First mural on the right wall
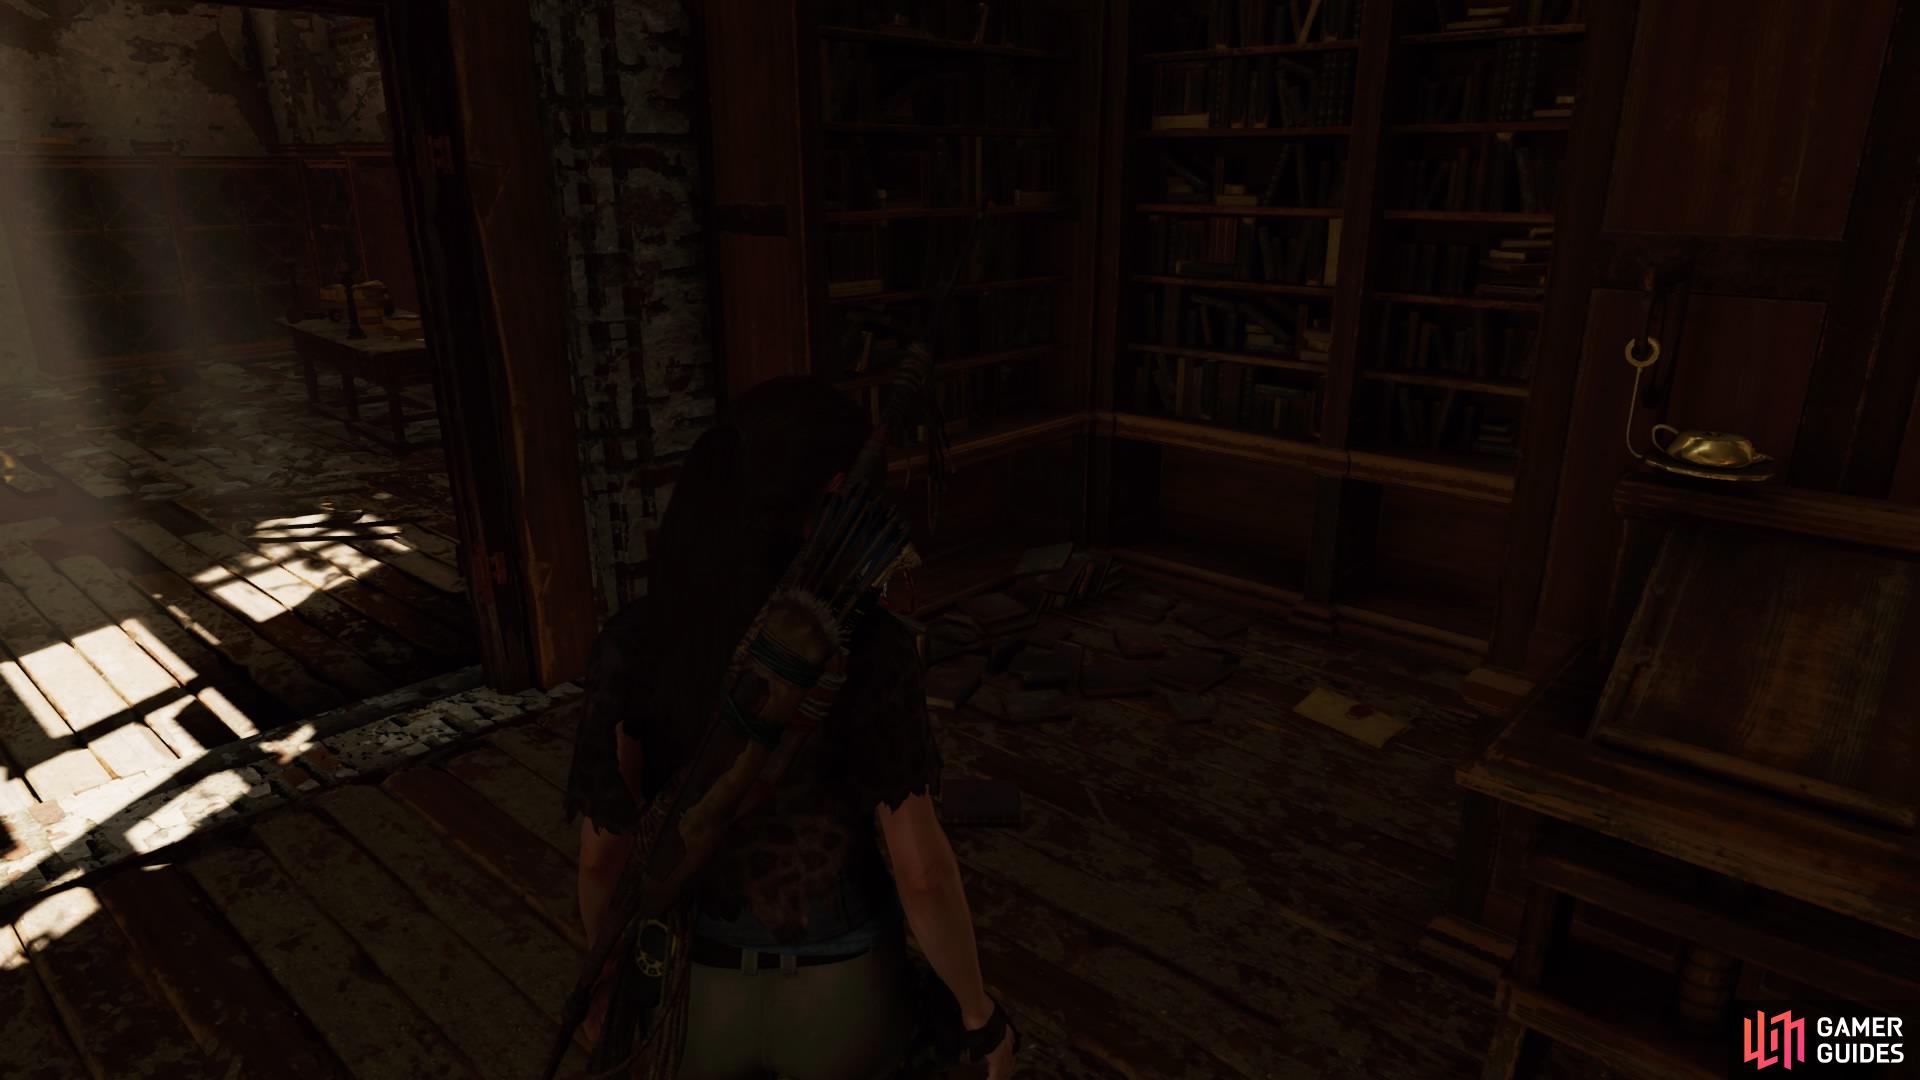
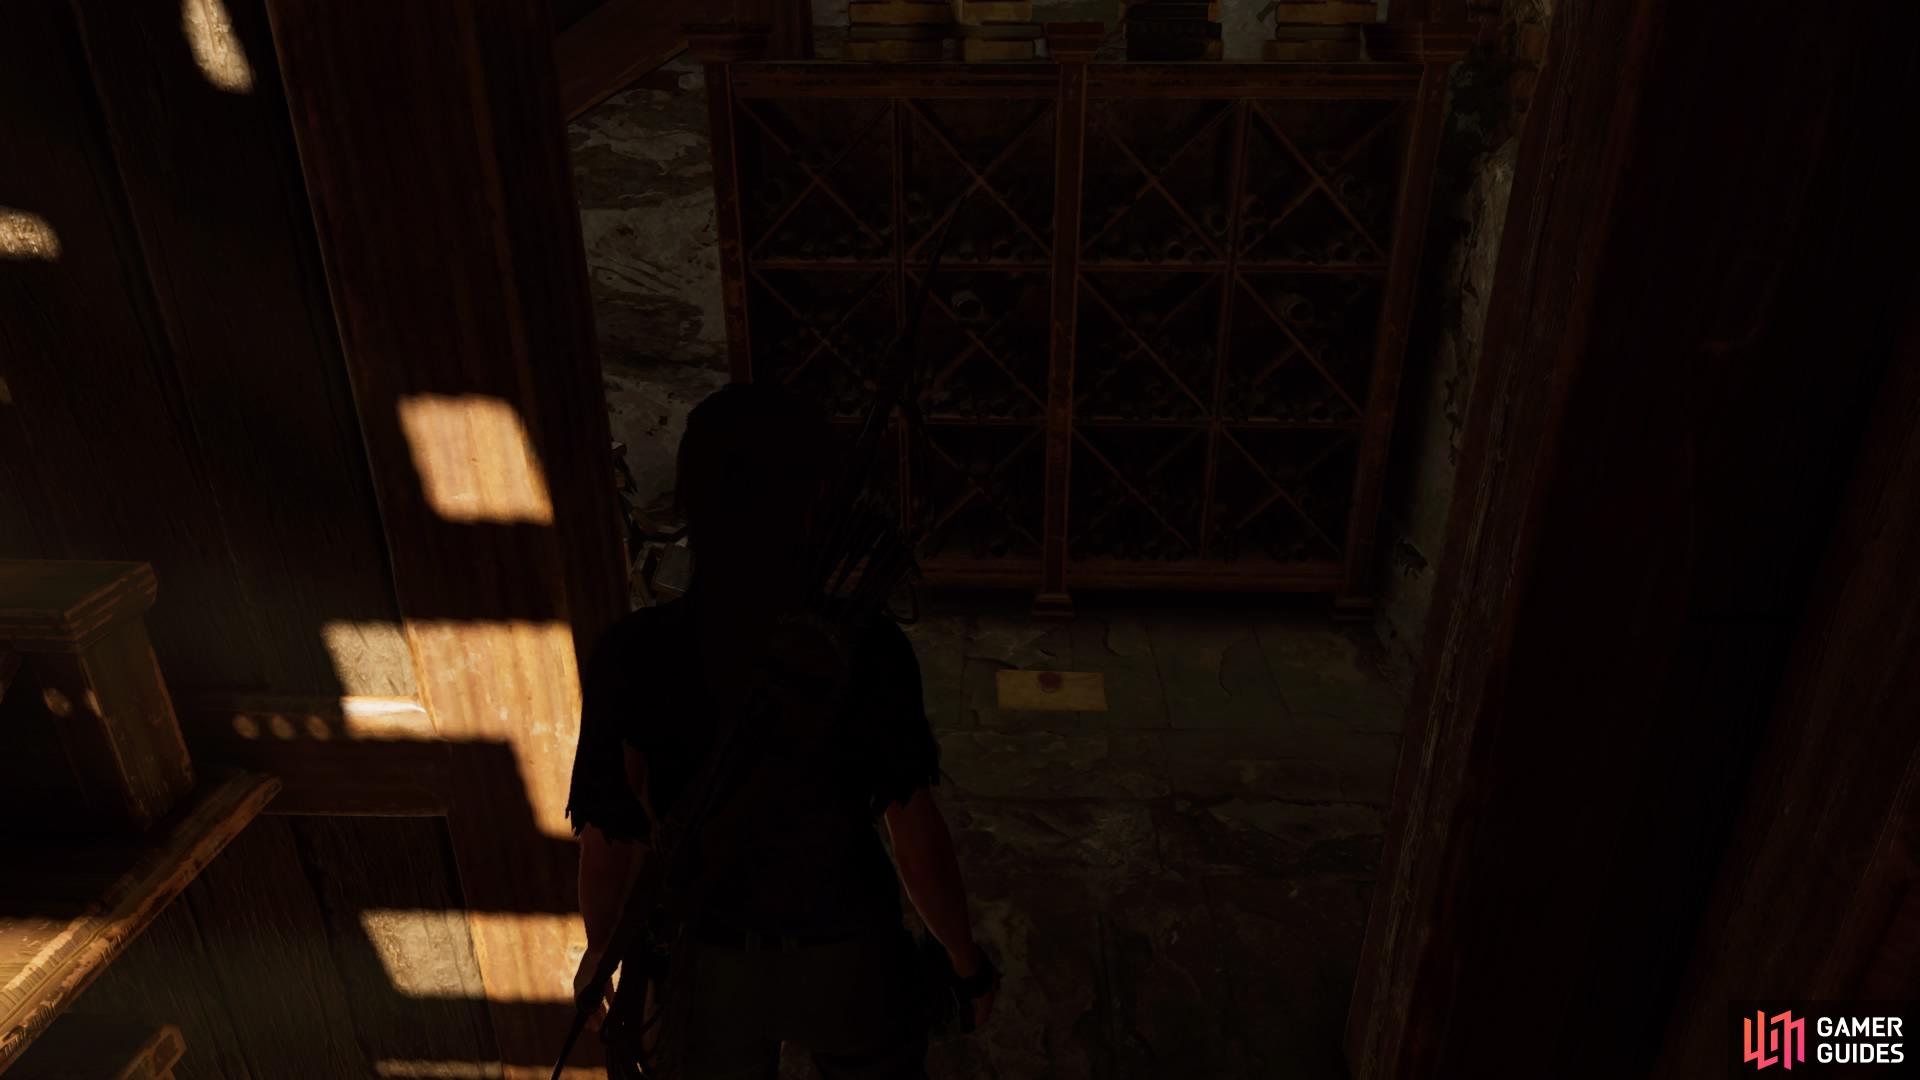
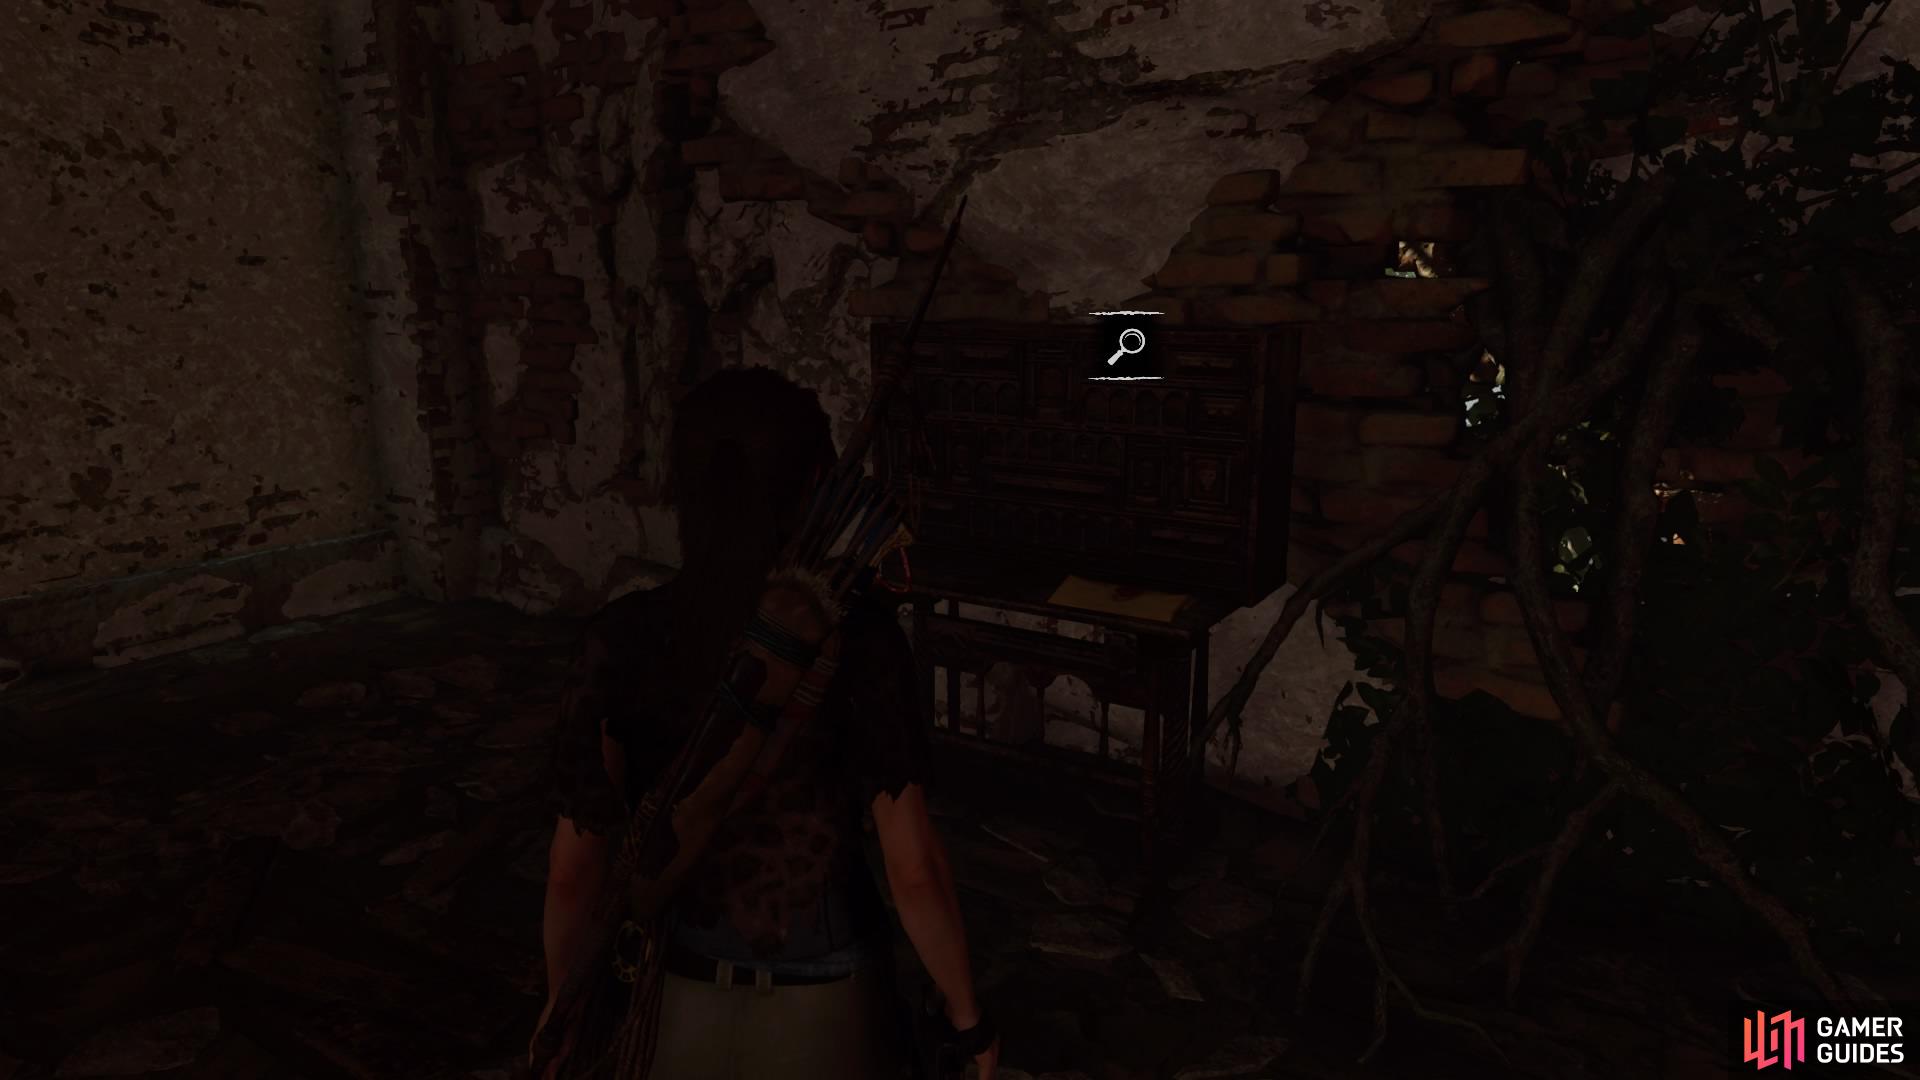
While you’re up here, there are a few Documents you can collect. Move through the double doors at the back to find Document – De La Cruz Arrives between the bookshelves on the right. Then move into the next room on the left to pick up Document – Ranting on the table.
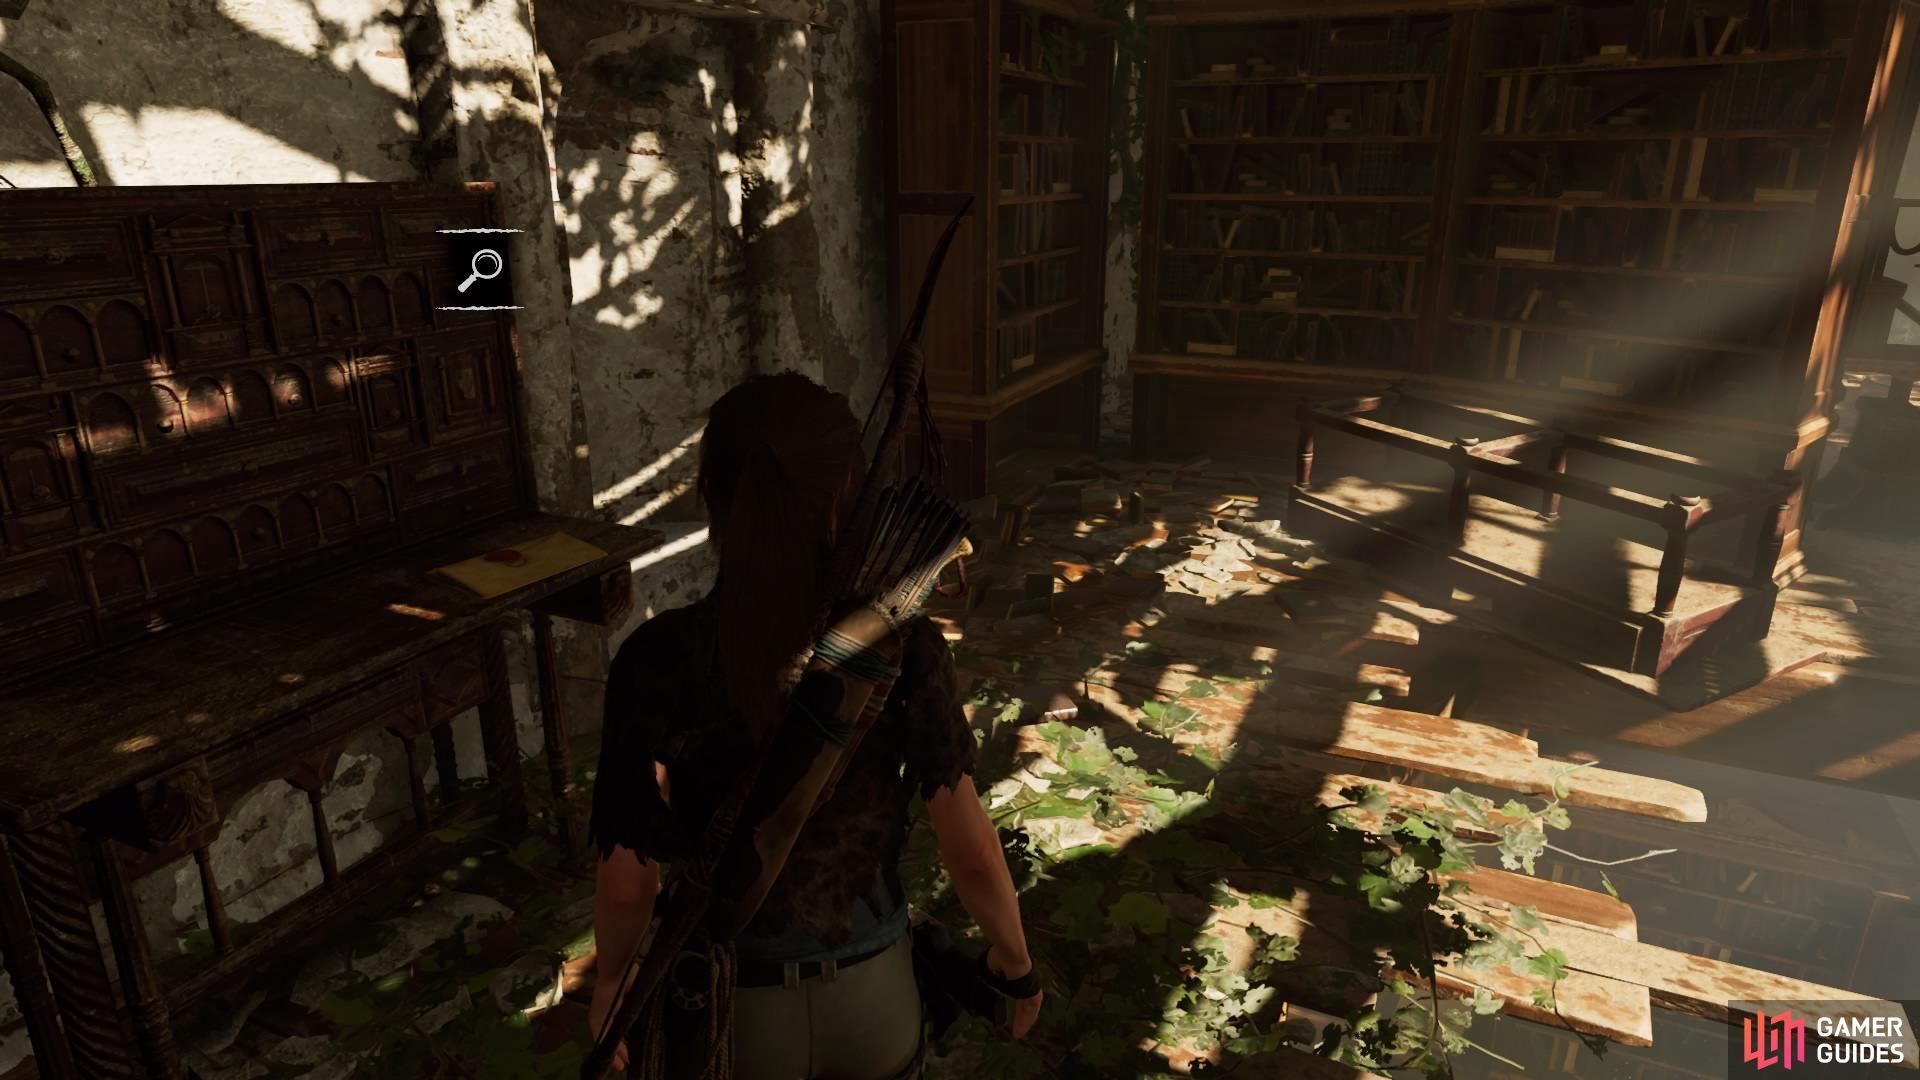
Leave the room to find Document – Repelling the Demons on a desk on the left side. Now move towards the front of the room to pick up Document – John the Apostle between some bookshelves on the right-hand side. Head to the very front of the room to break down the wall to reveal Document – Journal of T. Serrano 11.

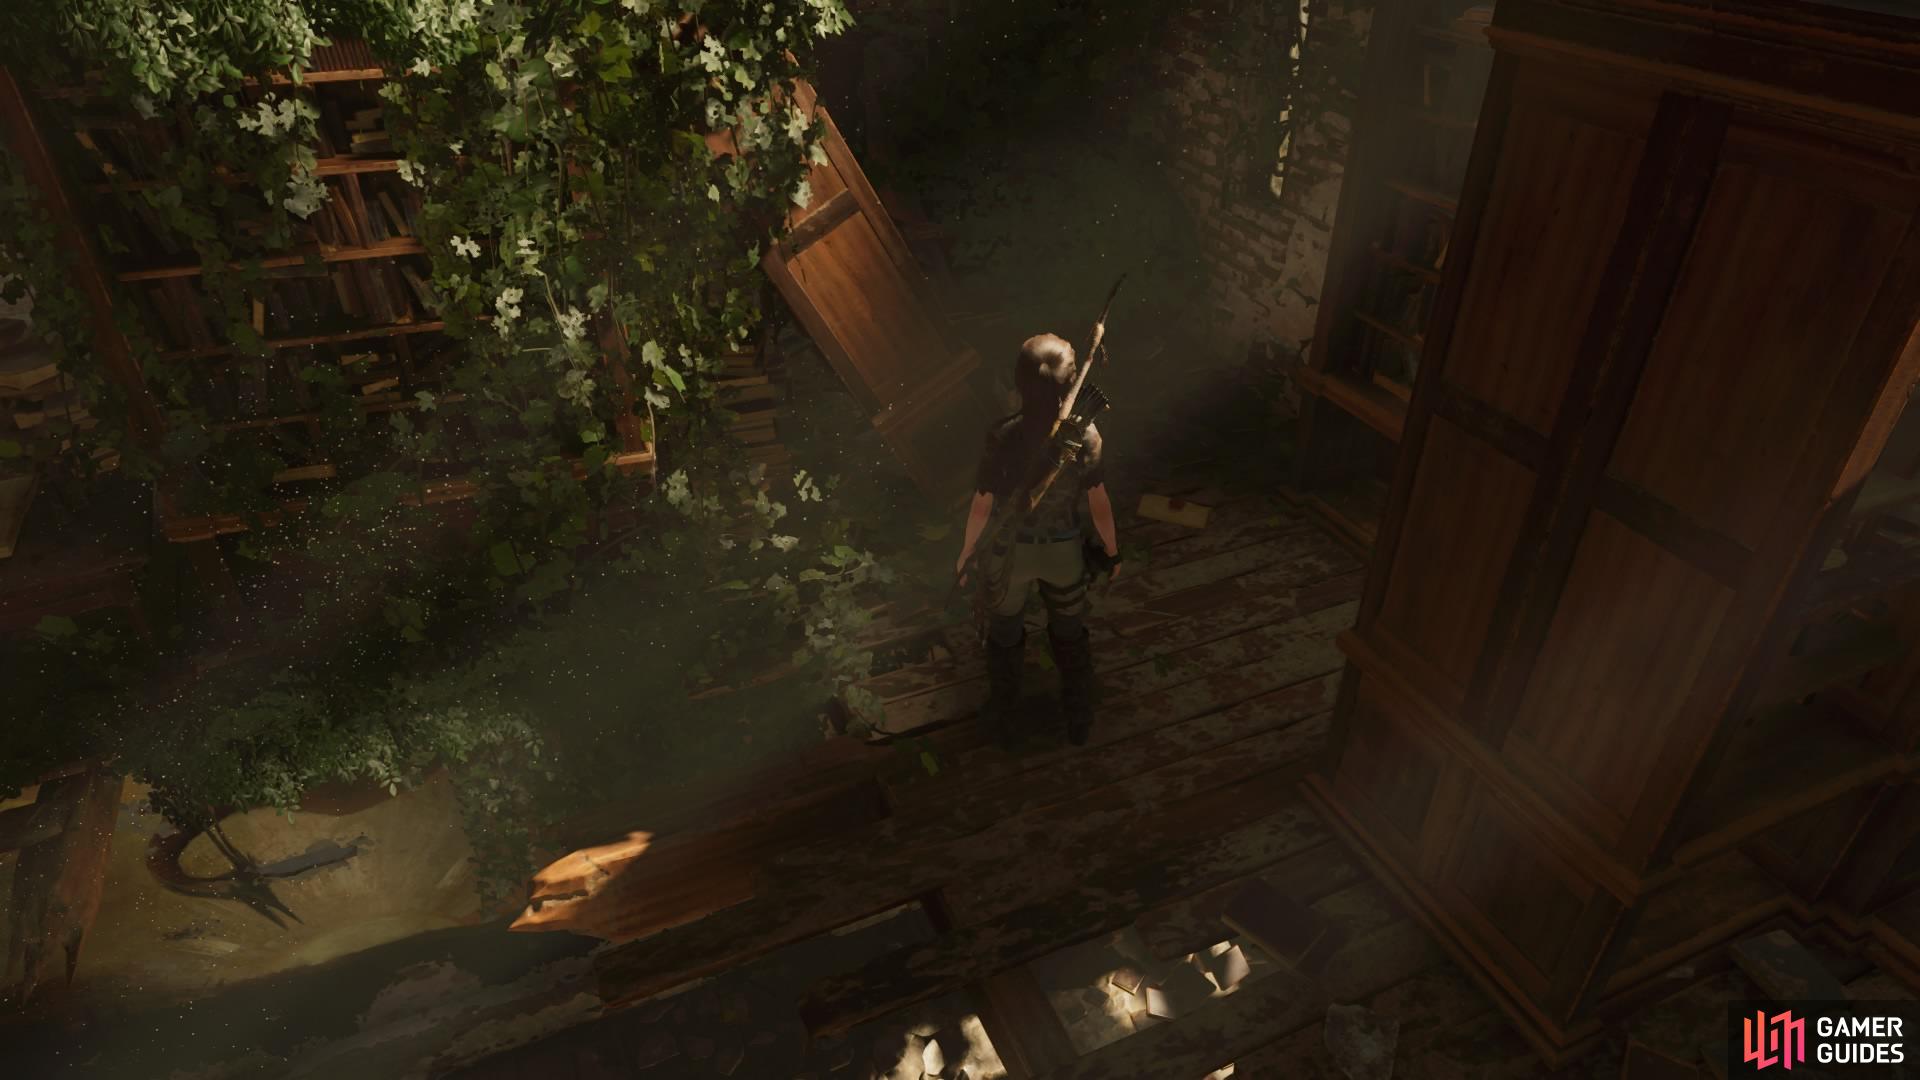
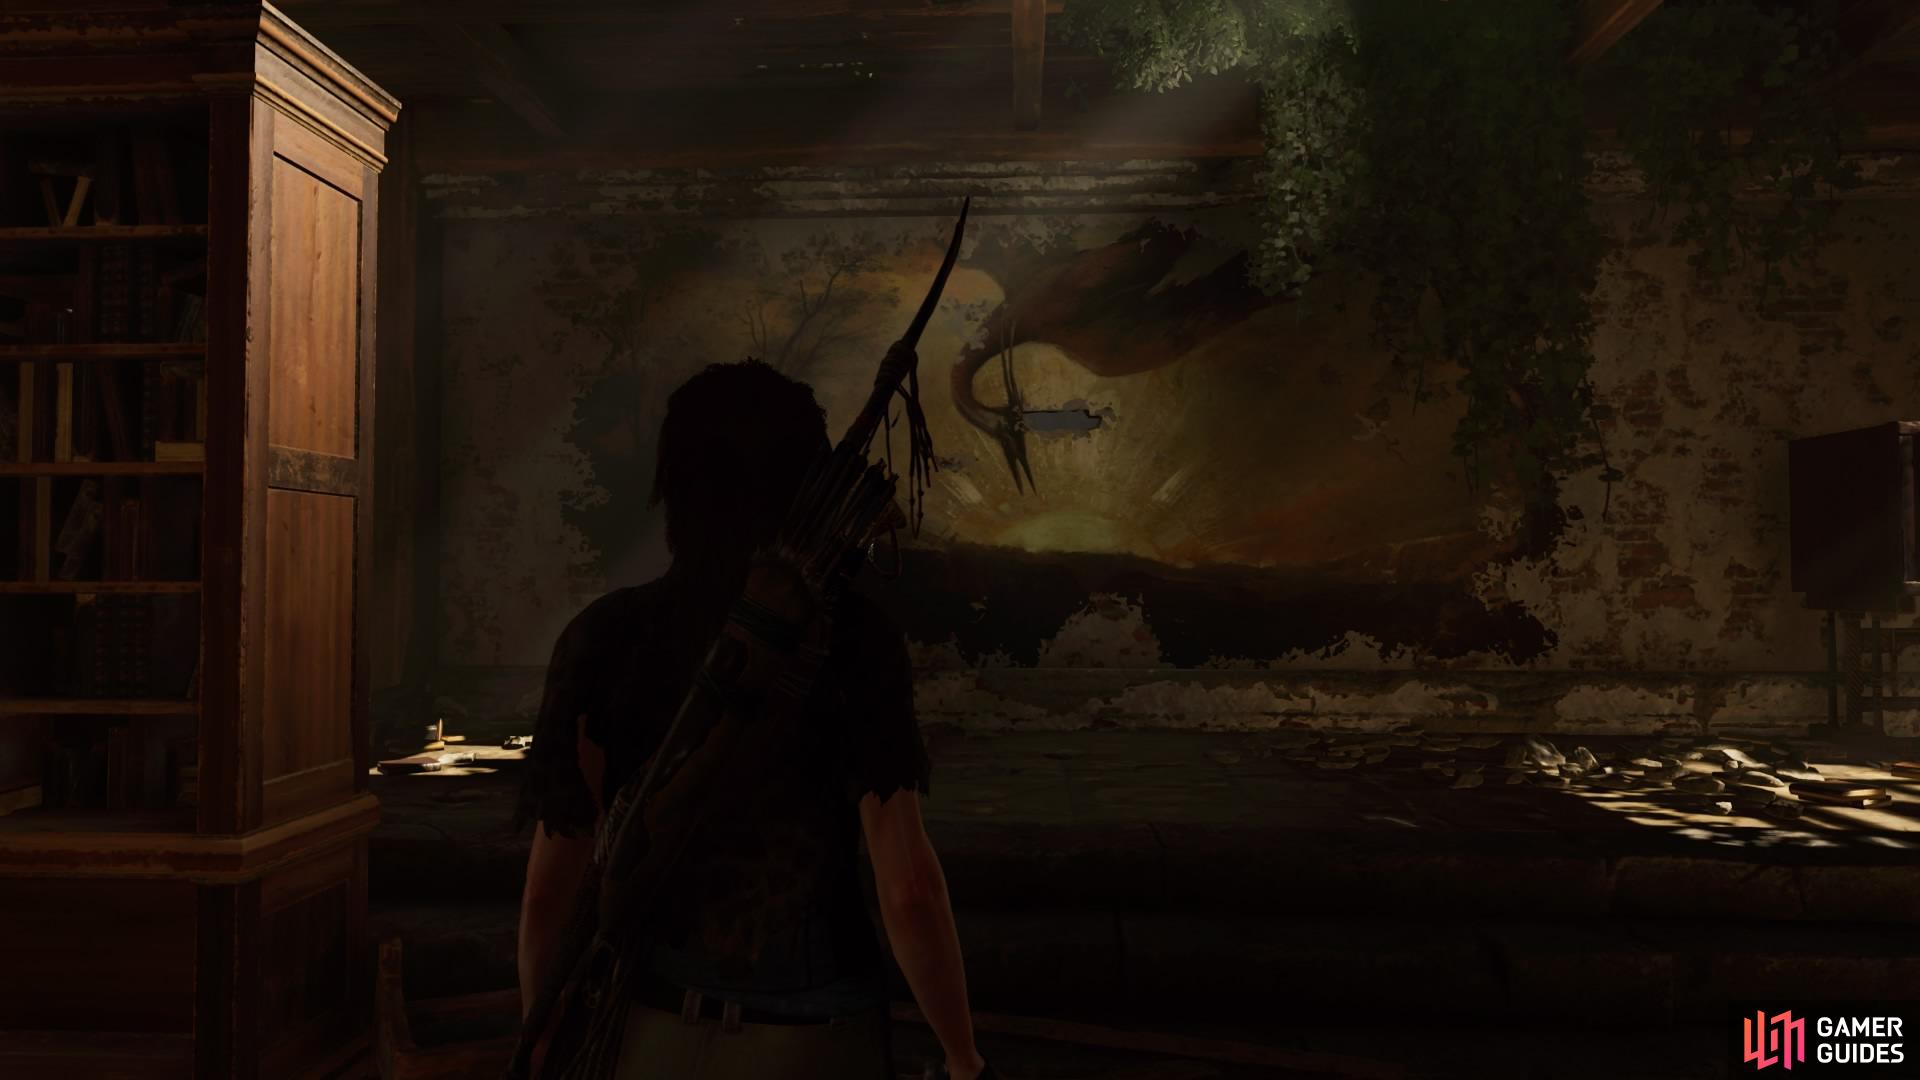
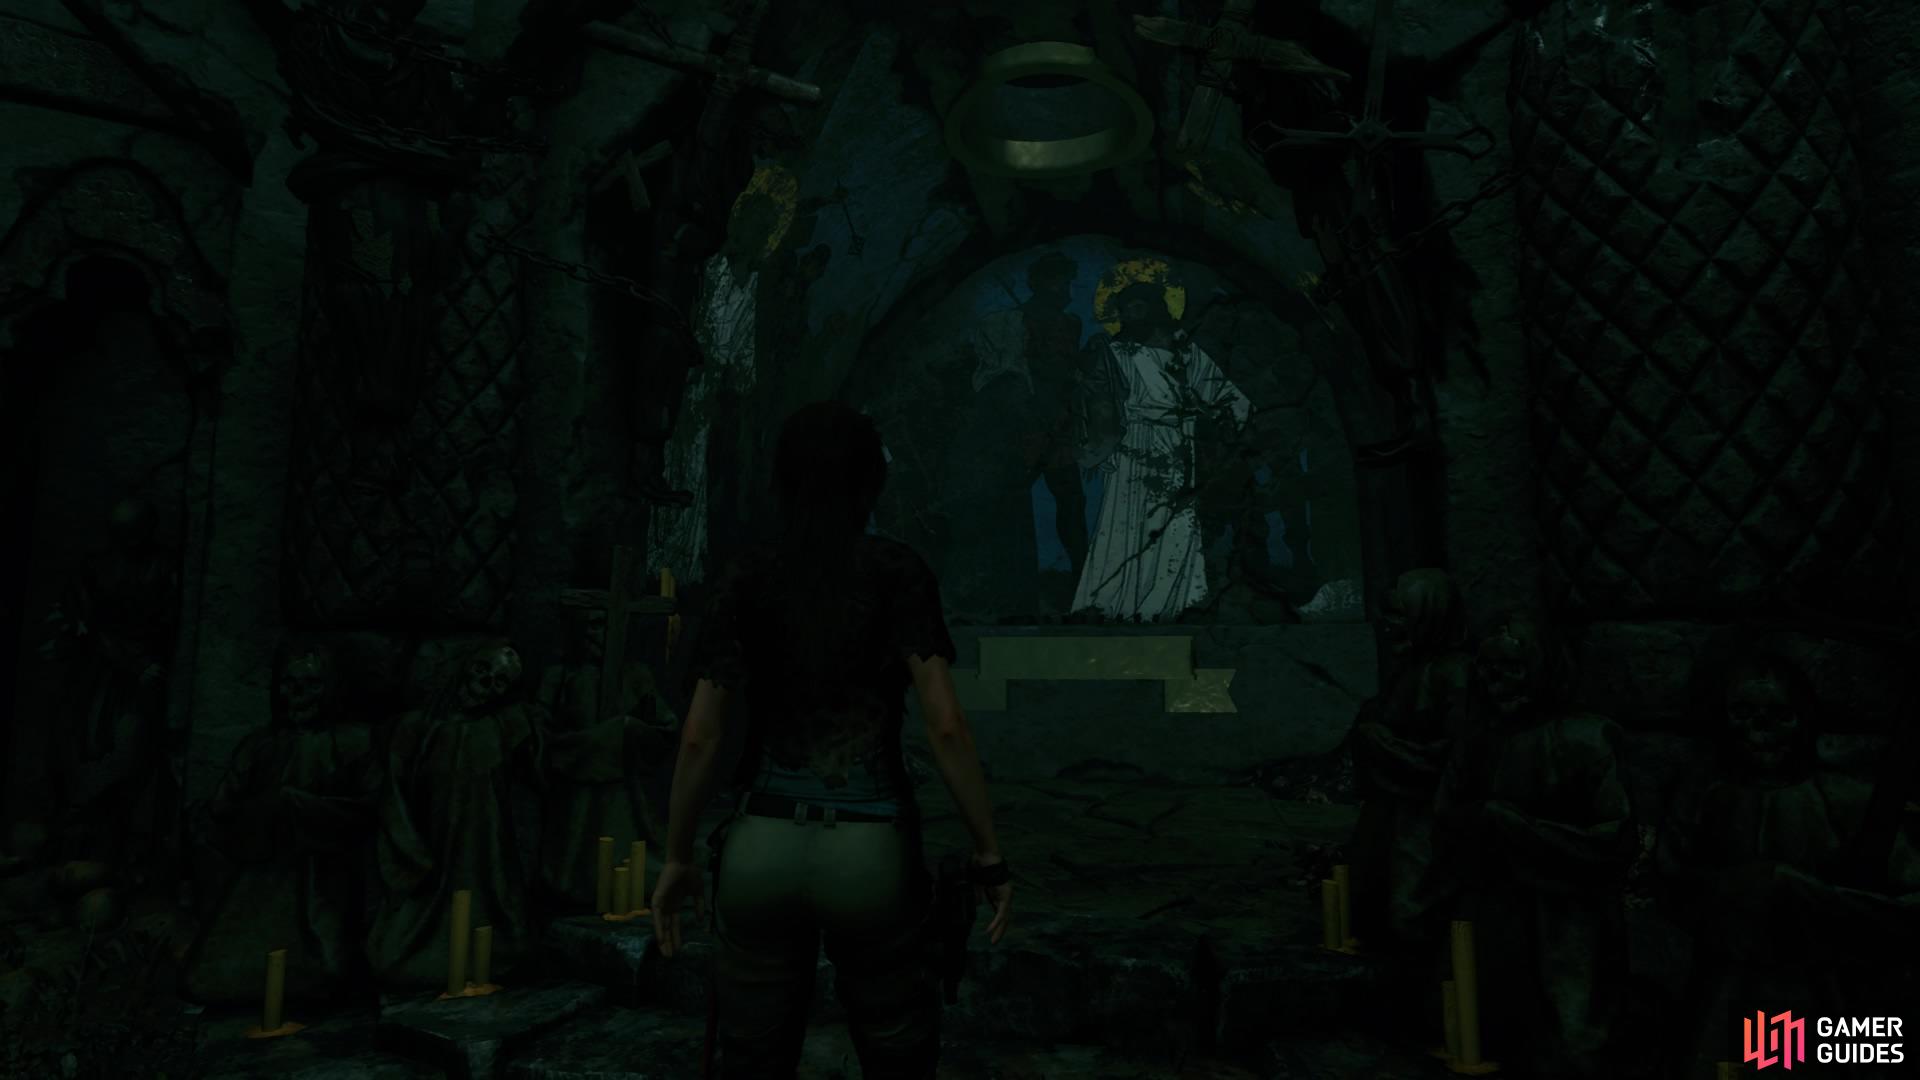
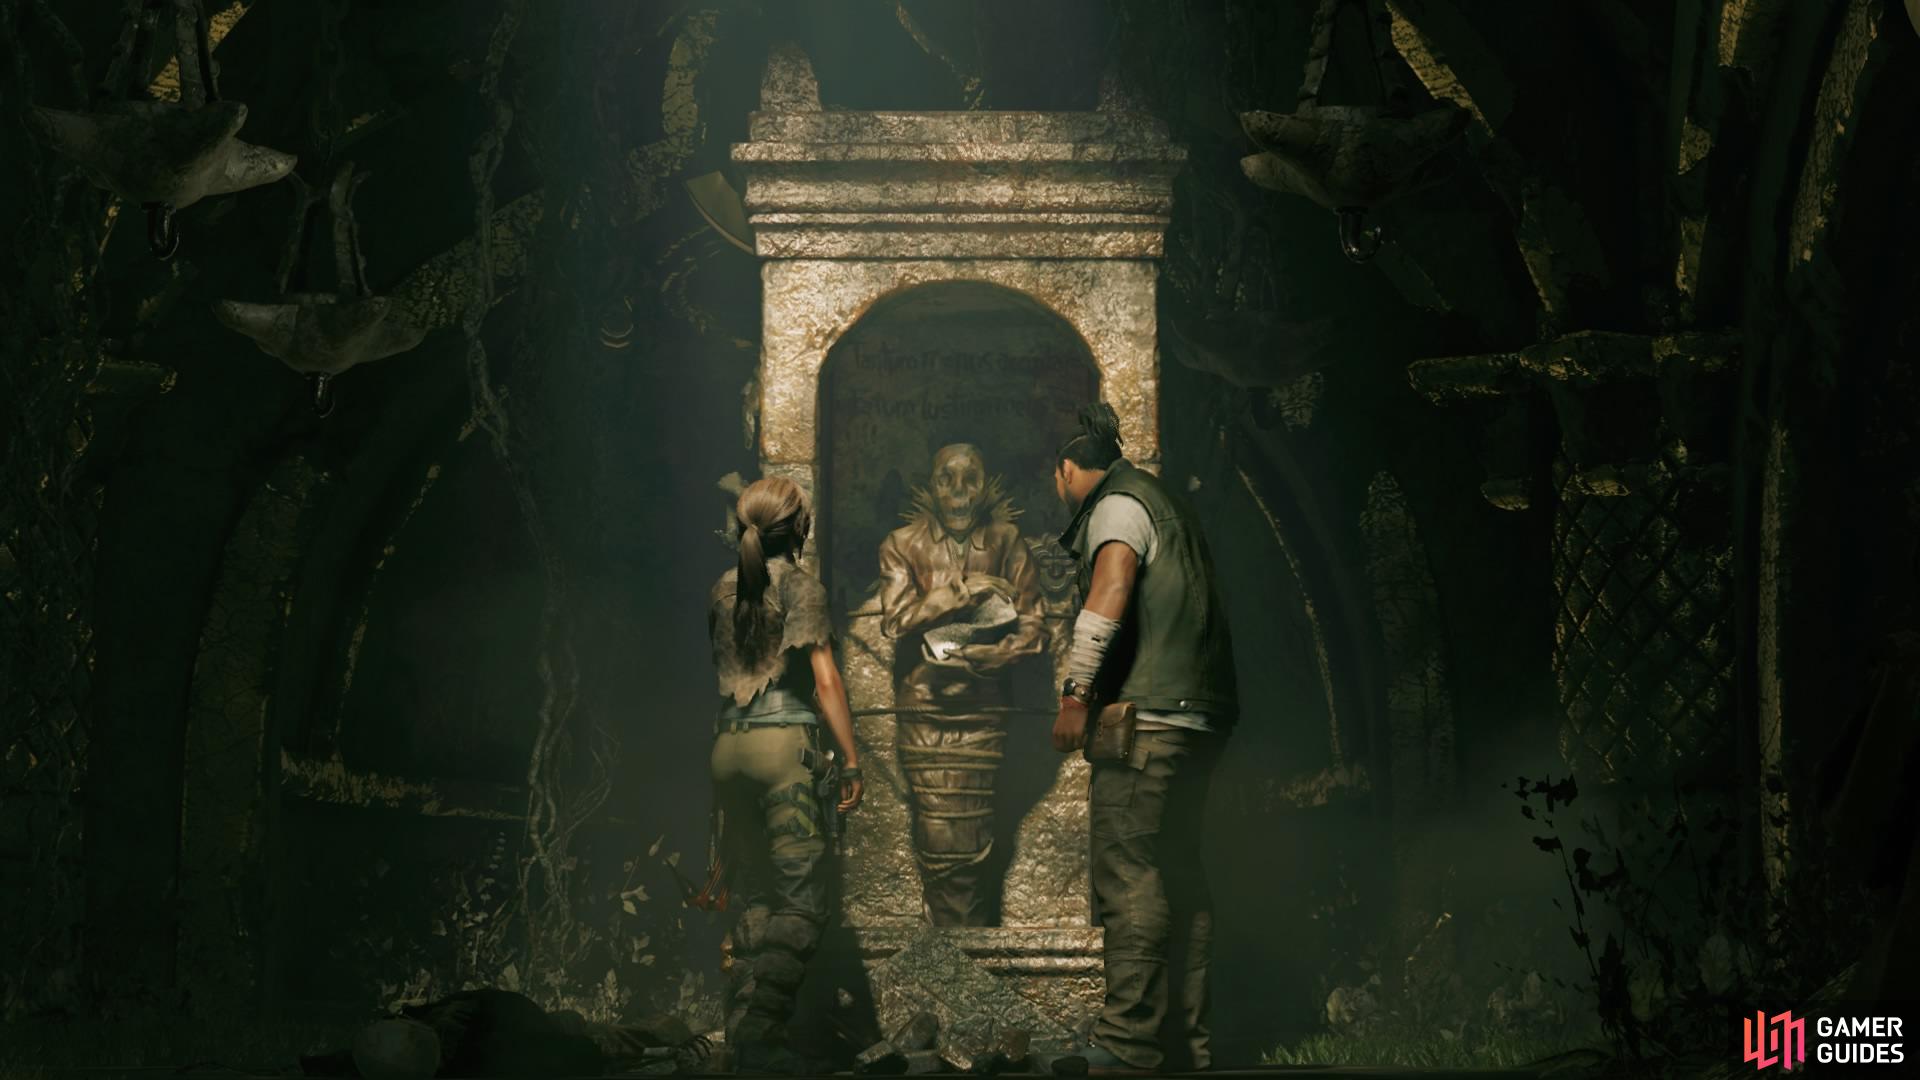
Now you can return to the bottom floor to activate a cutscene with the large mural on the back wall.
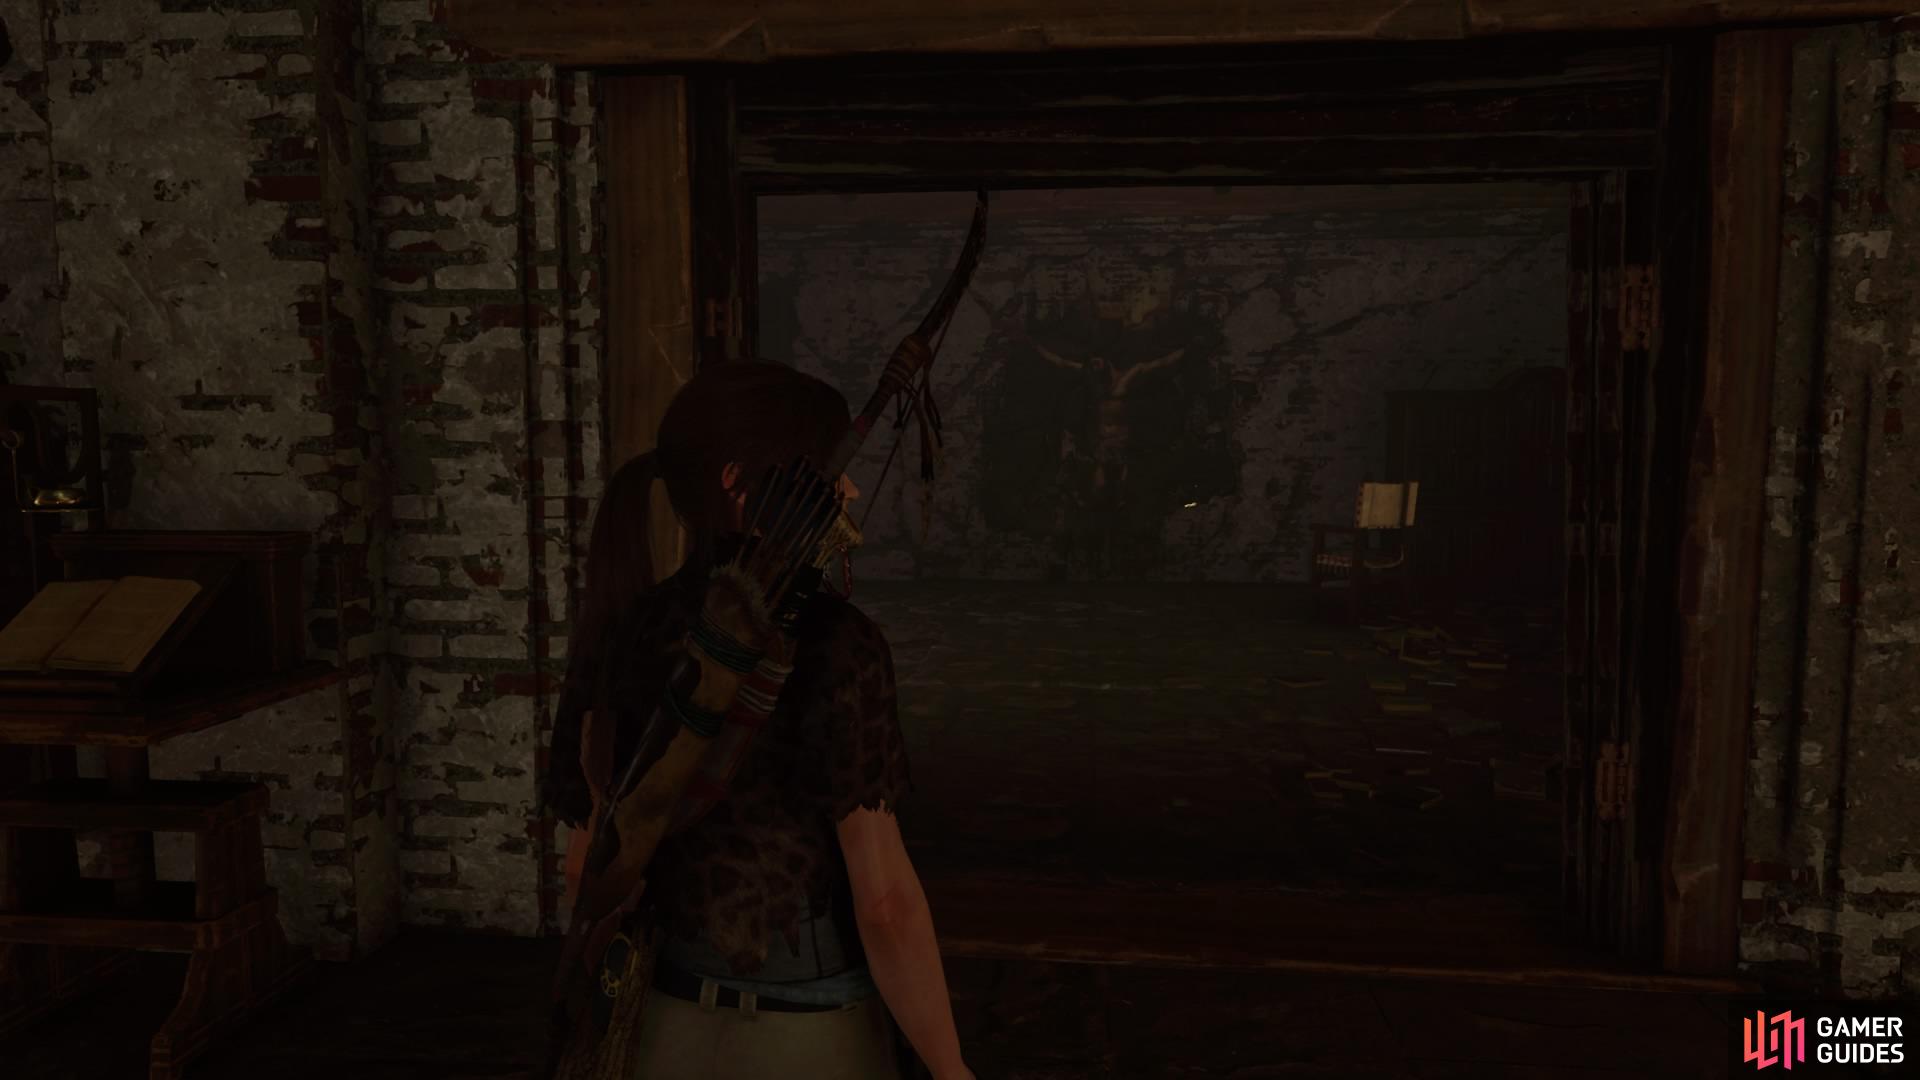
When you have control again, turn around to look in the alcove left of the mural for Document – Journal of T. Serrano 10. Head to the back of the room to find the mural of the crucifixion – before you interact with it, head into the small room on the left to pick up Document – Journal of T. Serrano 8 on the desk. Return to the mural to activate another cutscene.
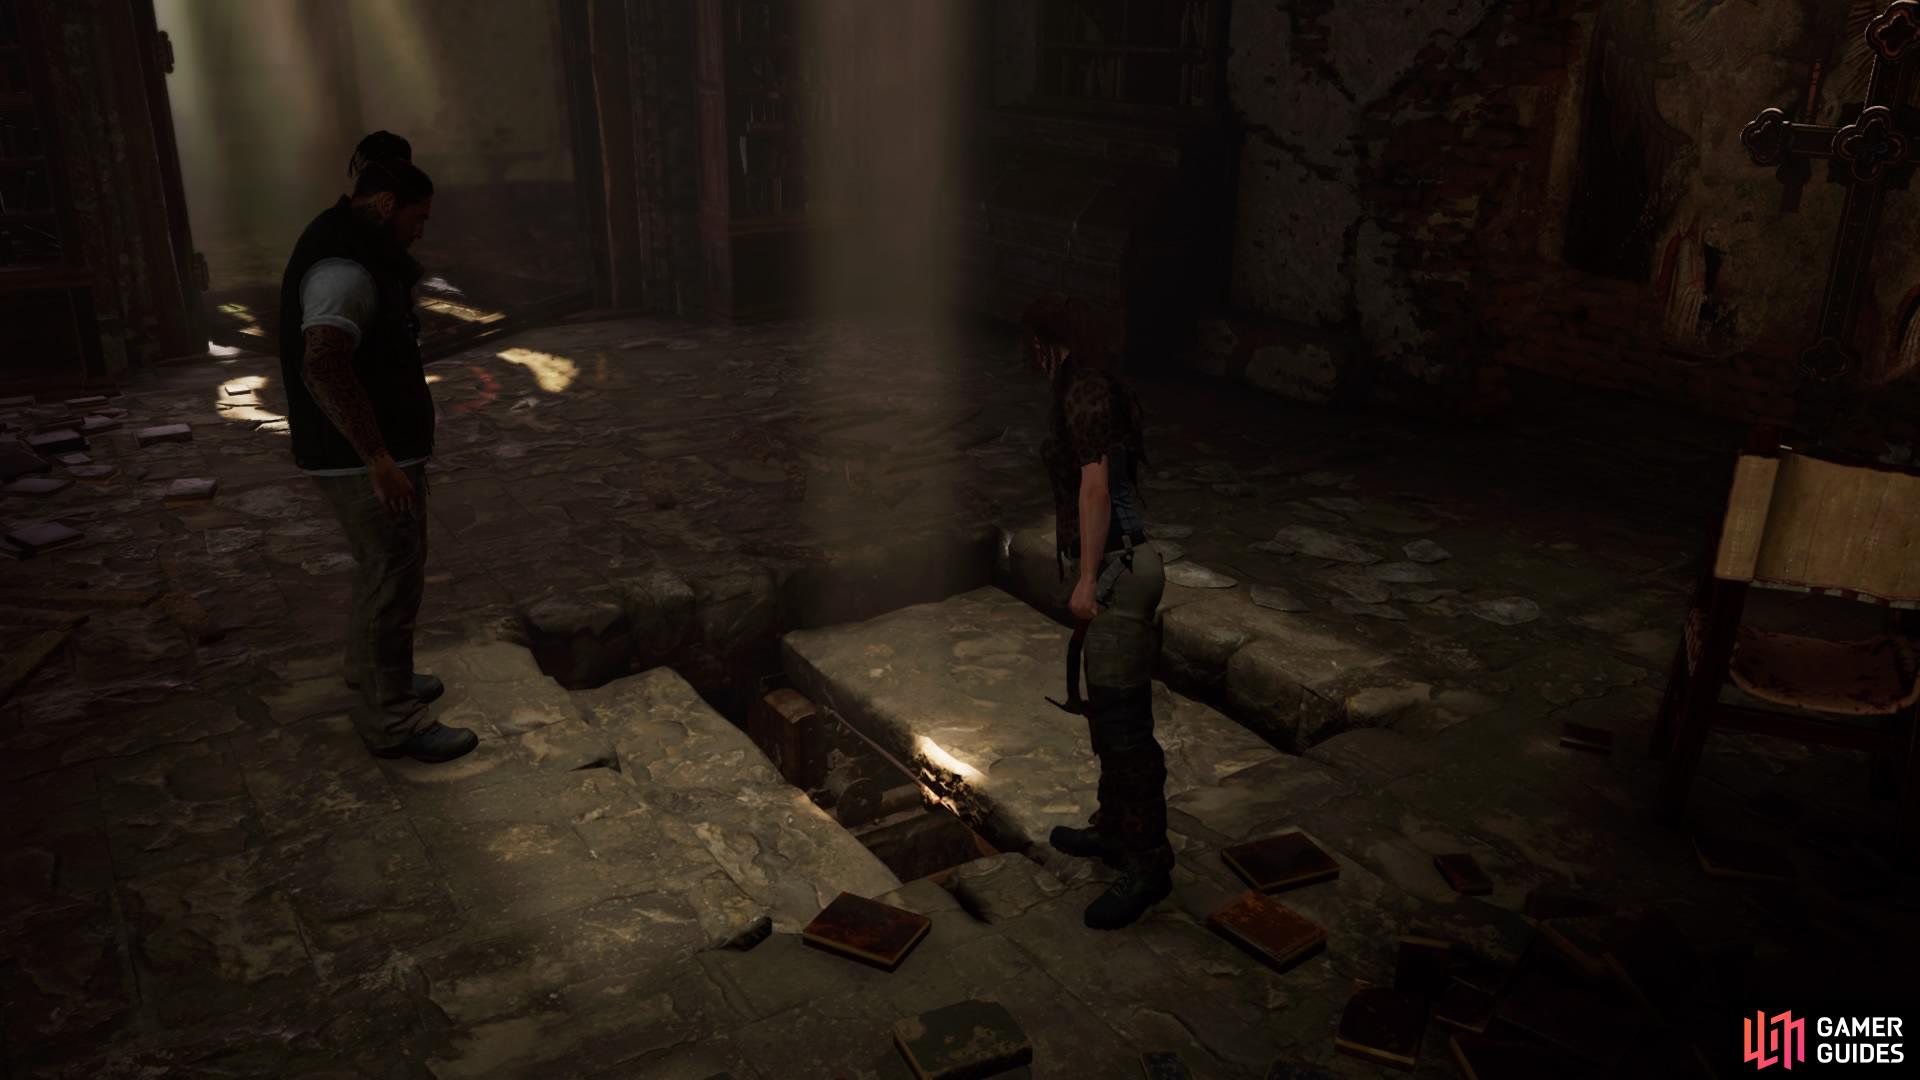
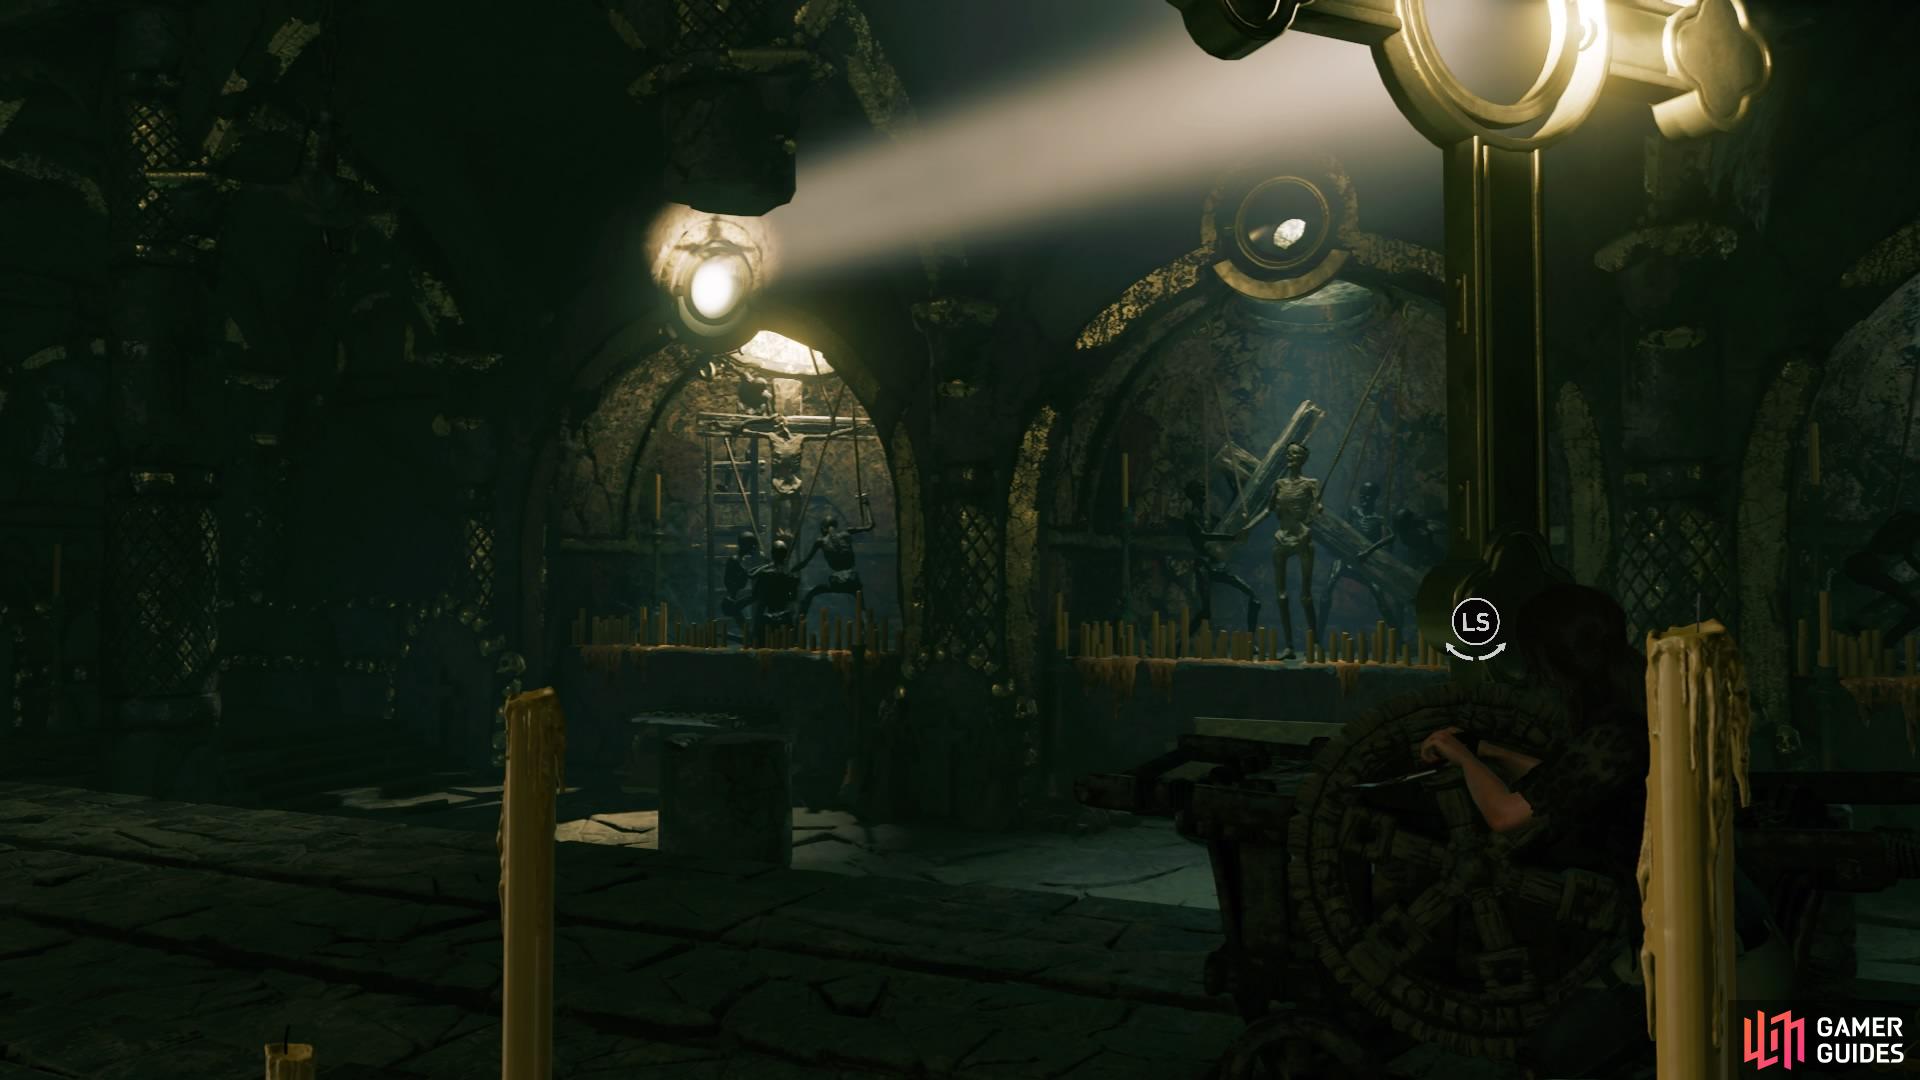
VIA CRUCIS – FOLLOW THE STATIONS OF THE CROSS
Lara and Jonah will drop down into the catacombs below where you’ll now have to follow the puzzles that refer to the seven stages of the cross. These stages are illustrated in the Seven Steps Closer to God pamphlet that Jonah picked up on the way to the library, and can be found in the Artifacts menu at any time.
-
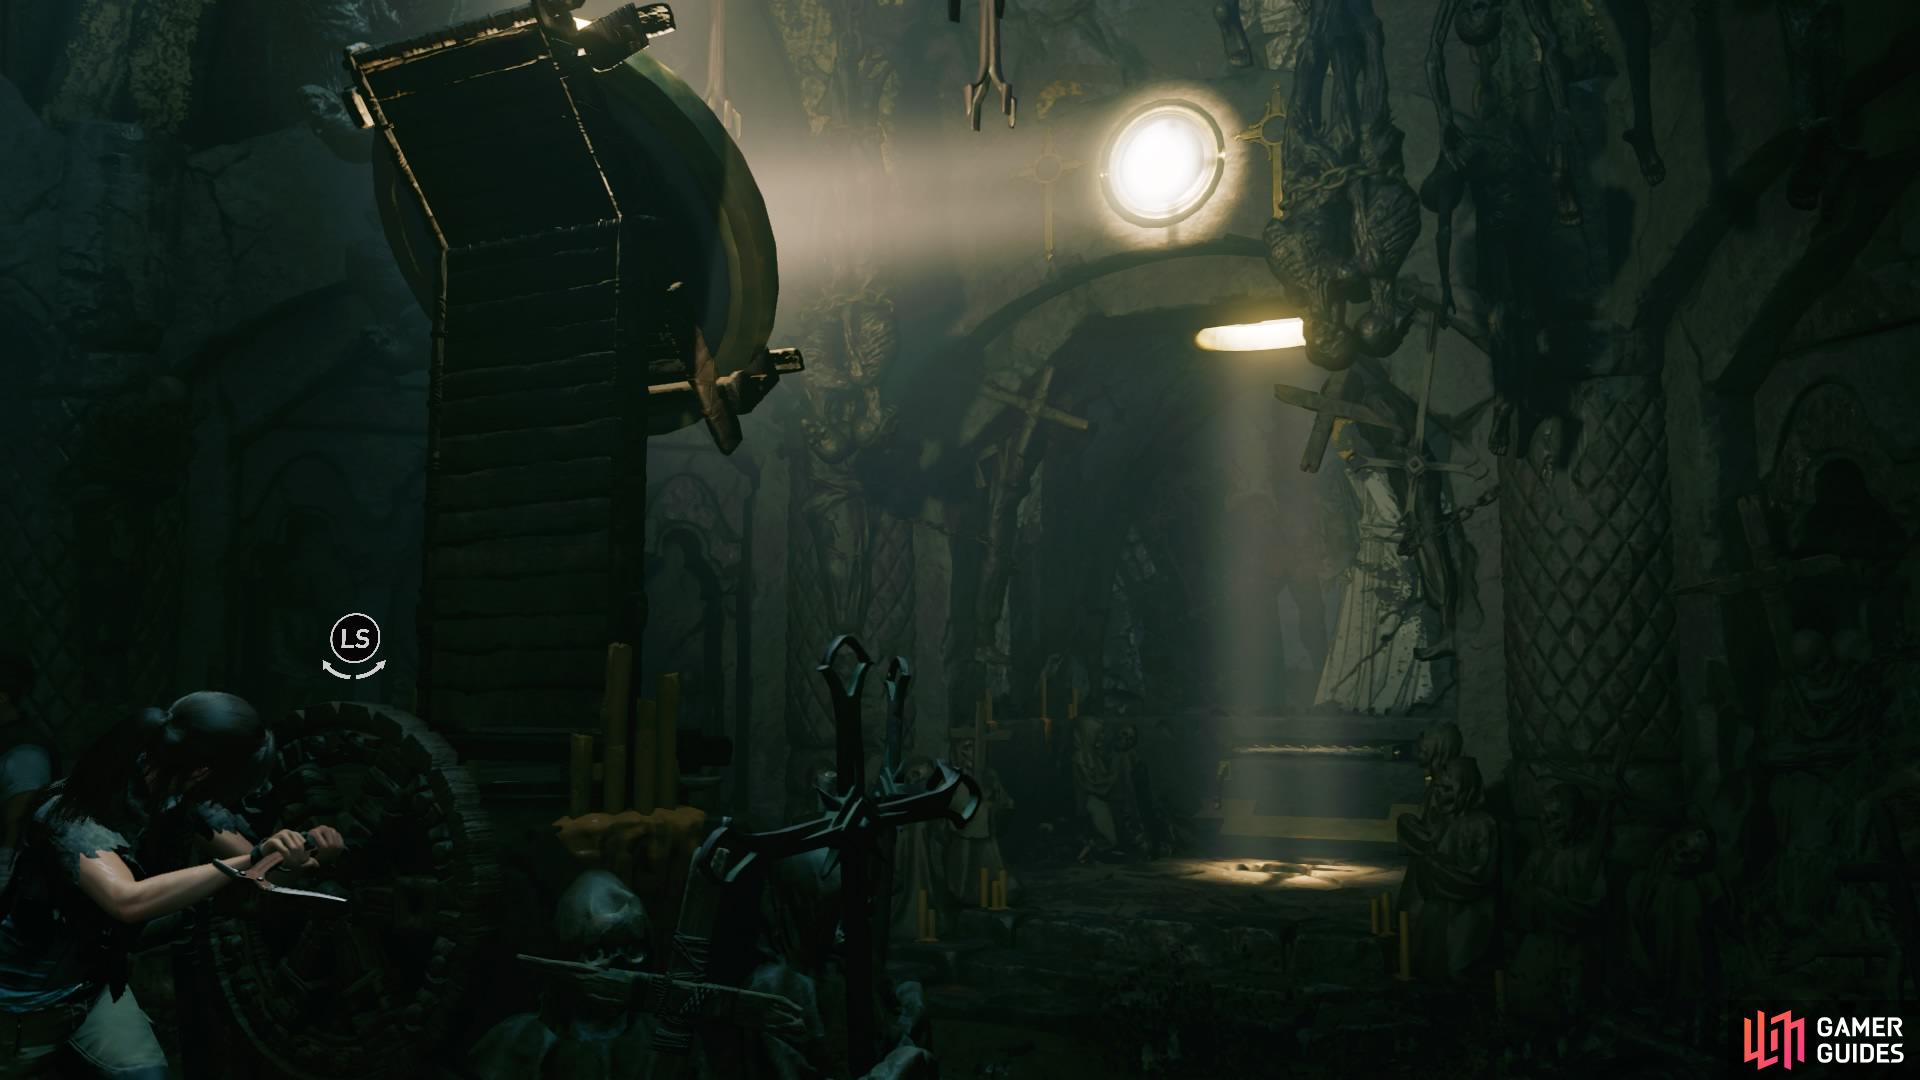
Station Two: Pull the cart backward until the light reflects off it and opens the door. Follow Jonah into the next room.
-
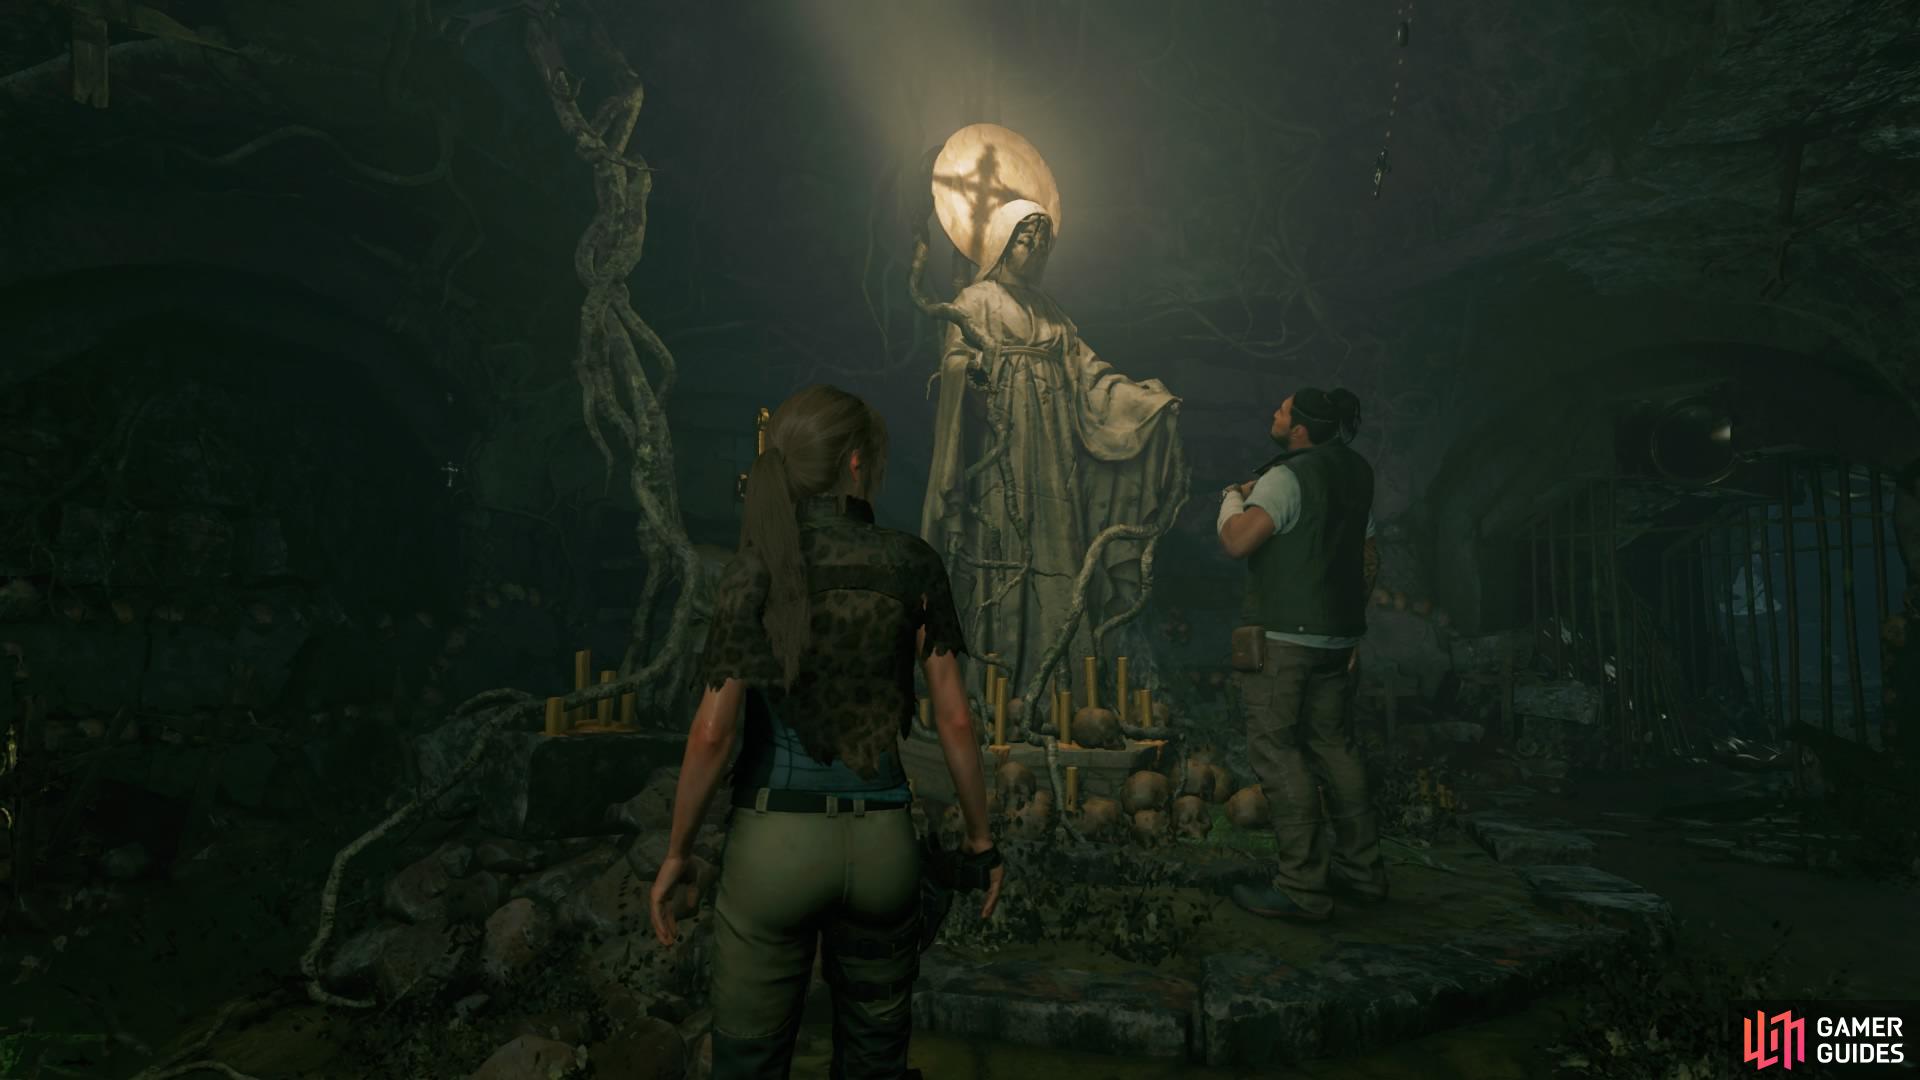
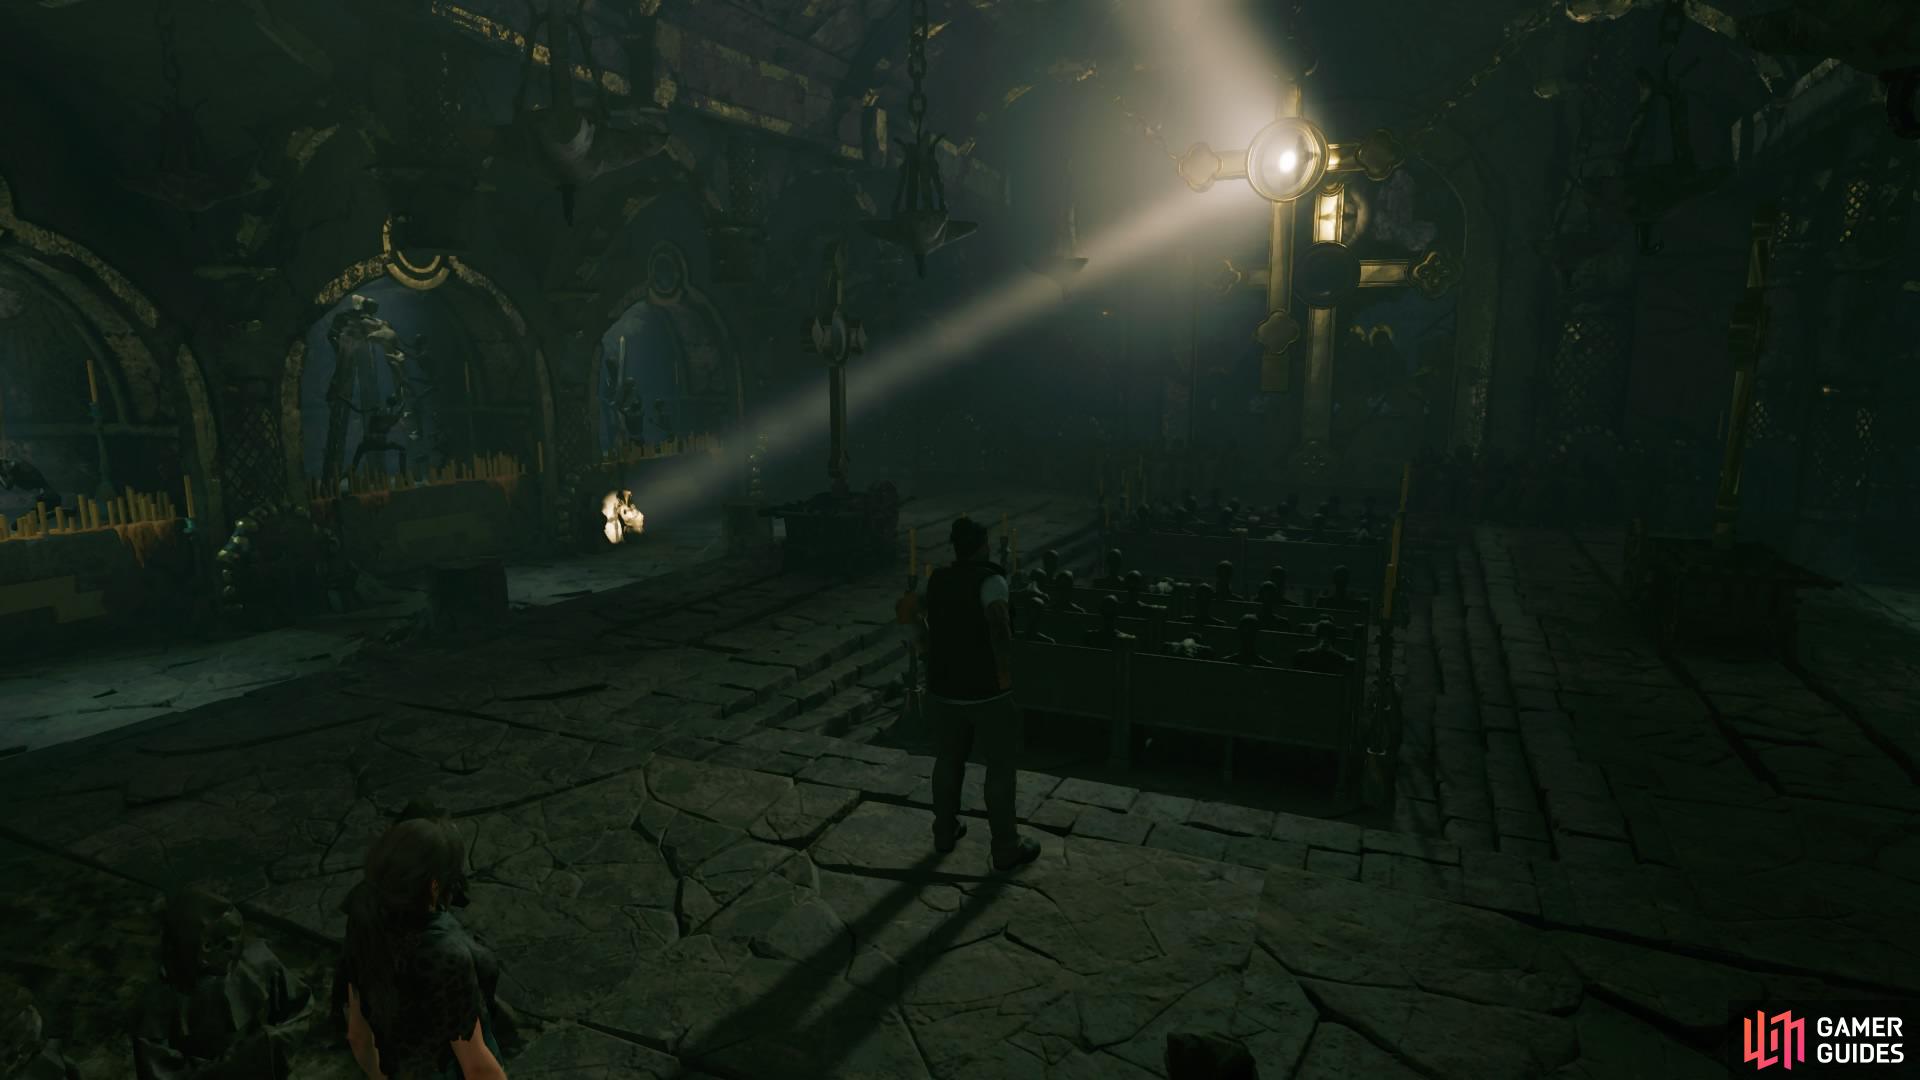
Station Three: Talk to Jonah standing in front of the statue to have Lara turn the disc at the top. The light reflects off it and leads through the gate into the corridor. Follow the light.
-
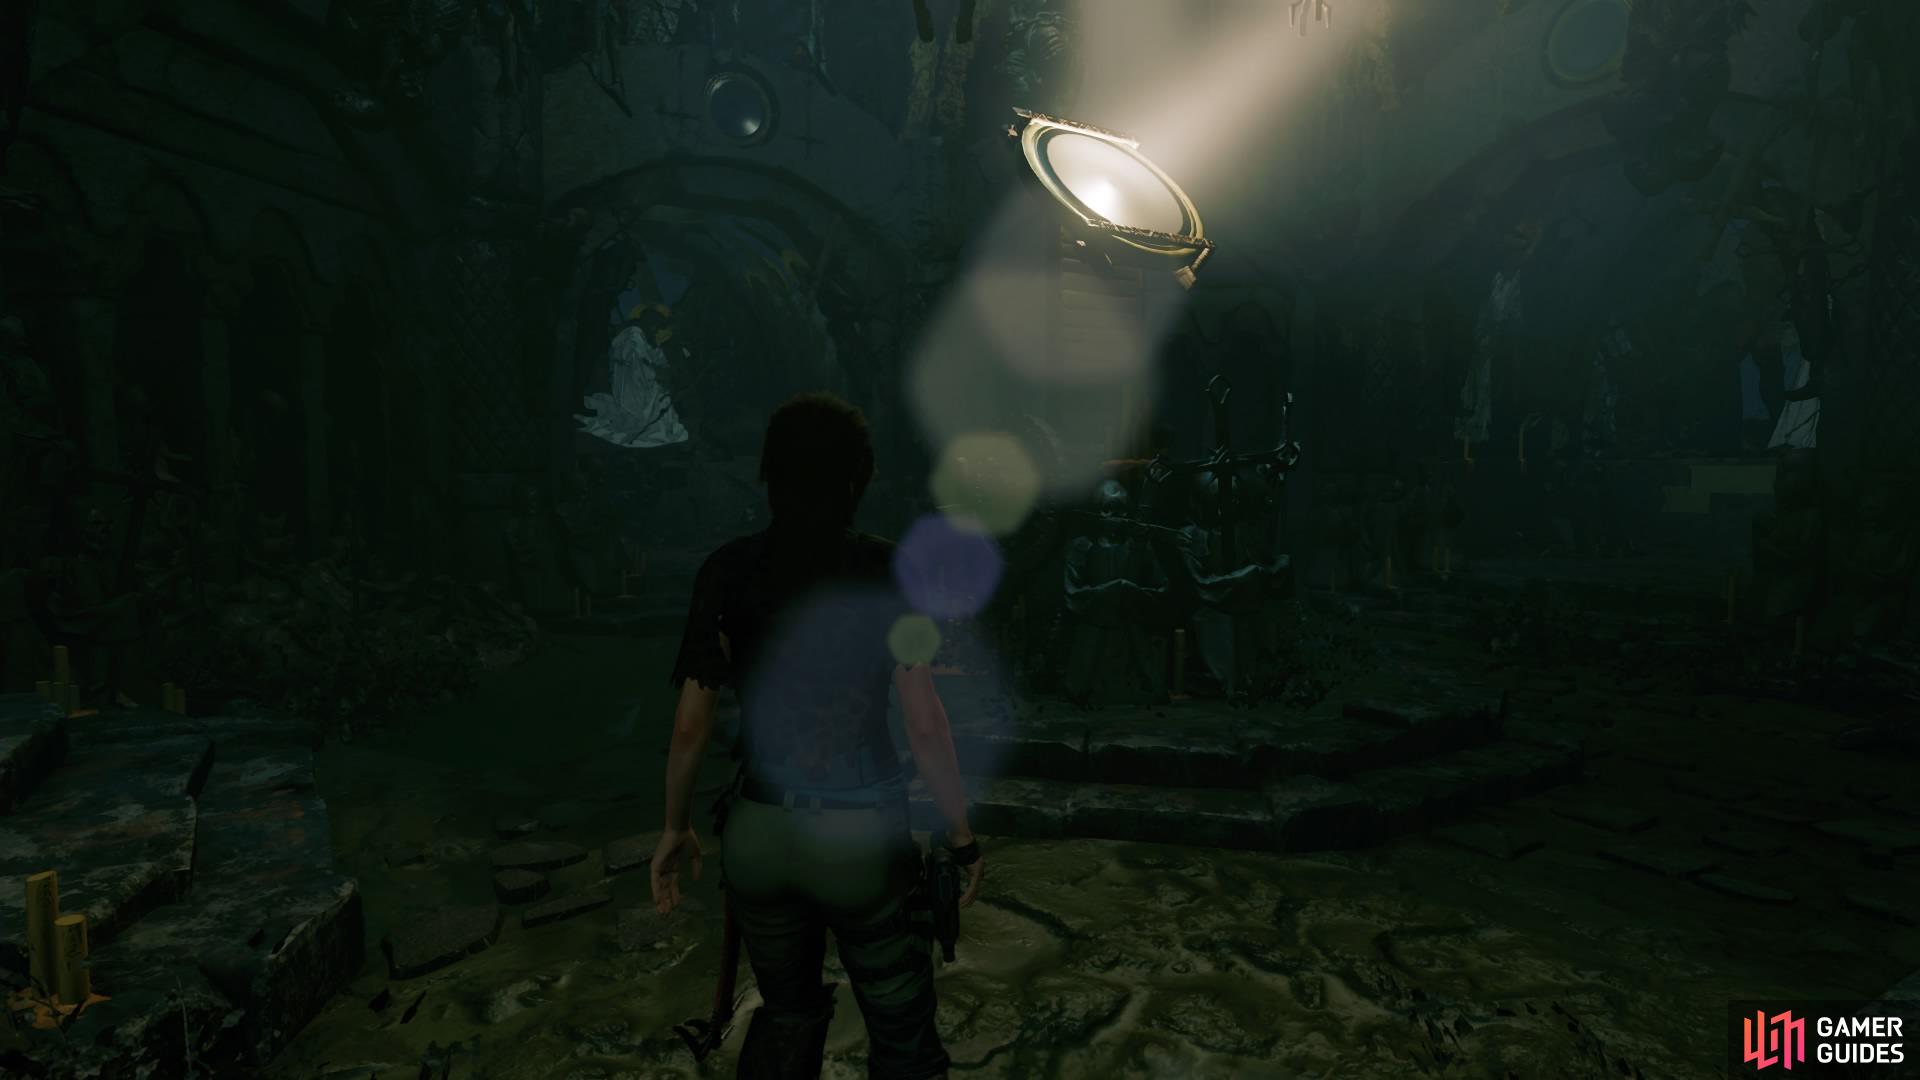
Station Four: A mirror situated in the middle of the room can be turned by interacting with the crank at its base. Find the mural that includes a female figure and turn the light so that it reflects into that alcove (one left turn). A bar will jut out from the wall beneath the mural – push it to fall into the lower part of the catacombs.
-
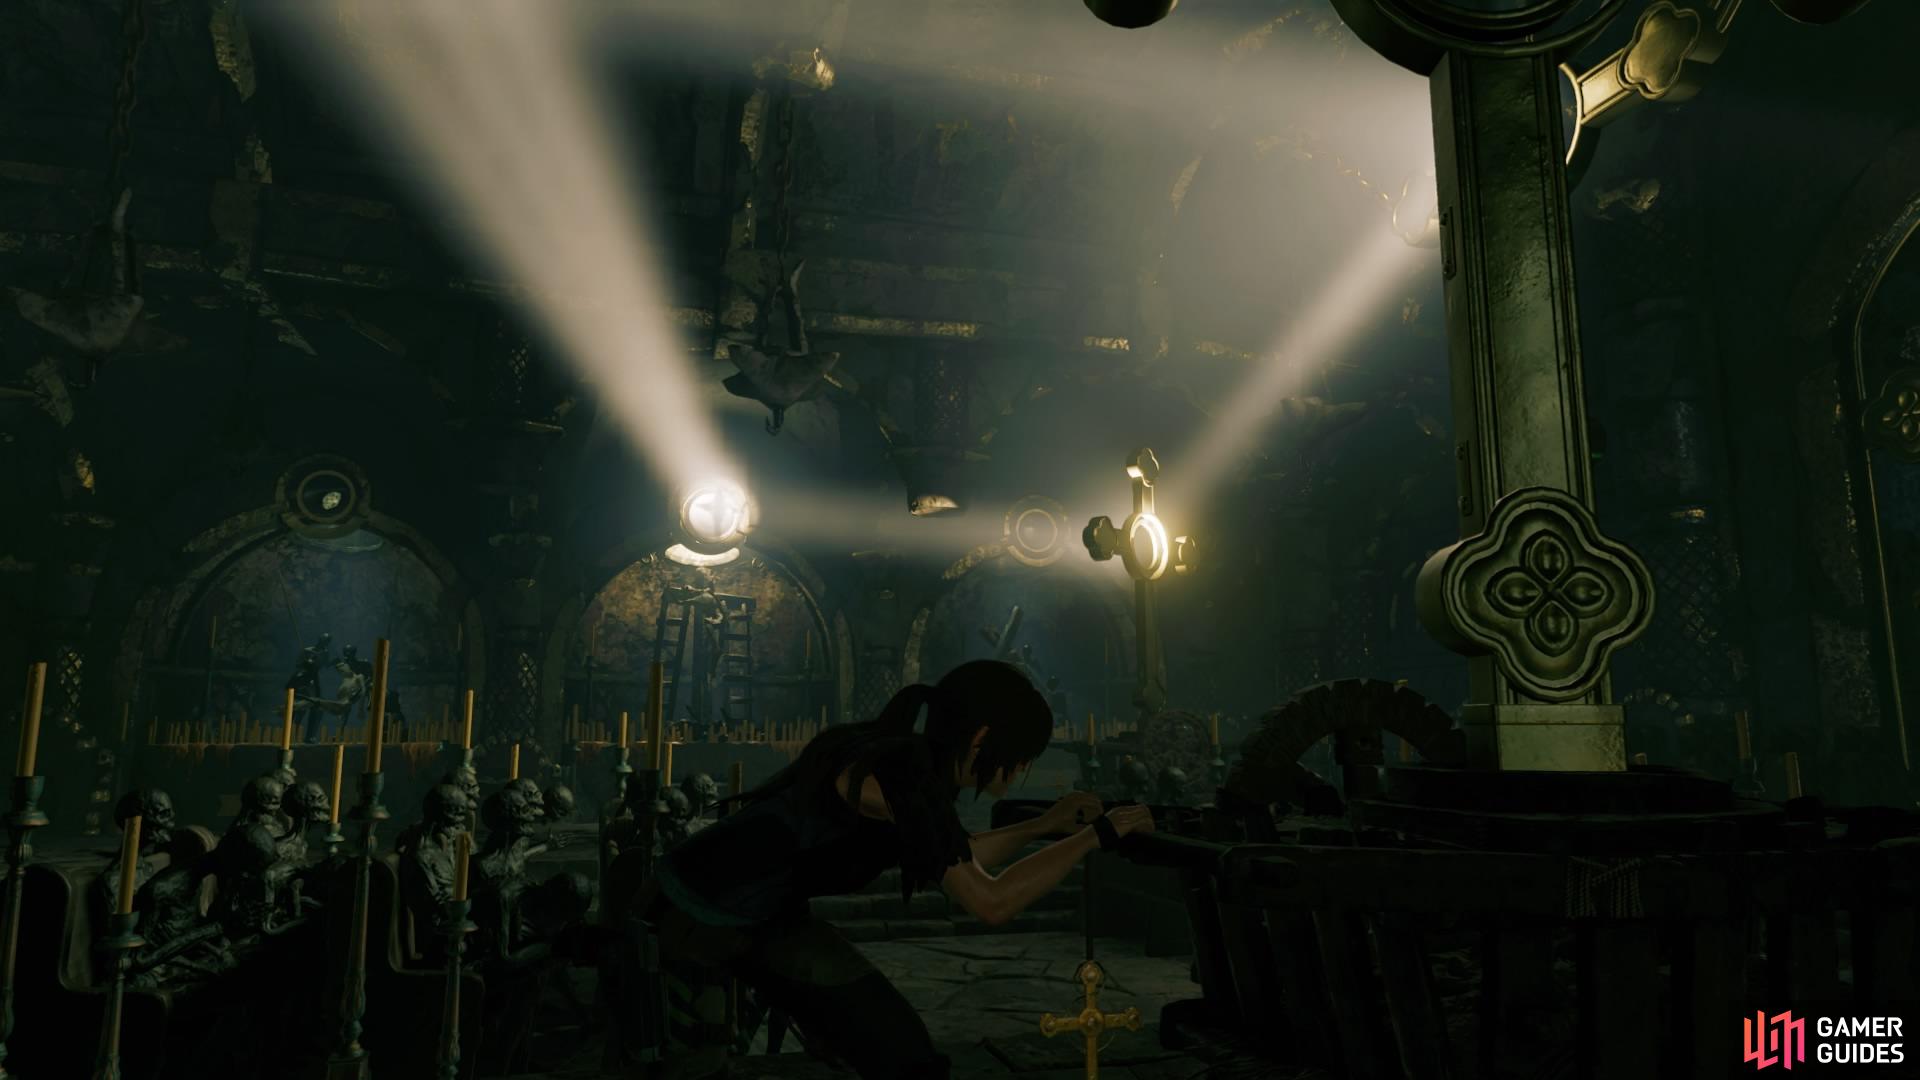
Station Six: Follow the corridor into the next room. There are three murals on either side of the room as well as a cart stationed on tracks in front of them. Push the left cart into the light and turn the crank until it lights up the middle mural, then push the bar.
-
On the other side, pull the cart into the light and turn the crank until it shines on the left mural, then push the bar again.
Now sit back and watch the cutscene.


SWIM TO SAFETY
Lara will be plummeted into the water below, so fast-swim through the tunnel until you reach the very end for another cutscene with Dominguez.
VENI VIDI PERDIDI – DEFEAT THE TRINITY SOLDIERS
Many of the soldiers during these encounters are heavily armoured and patrol in large groups, so the recommended choice of attack is to go stealth. However, if you’re prepared enough (and since you have access to all your weapons) you can probably barrel your way through quite easily.
FIRST ENCOUNTER
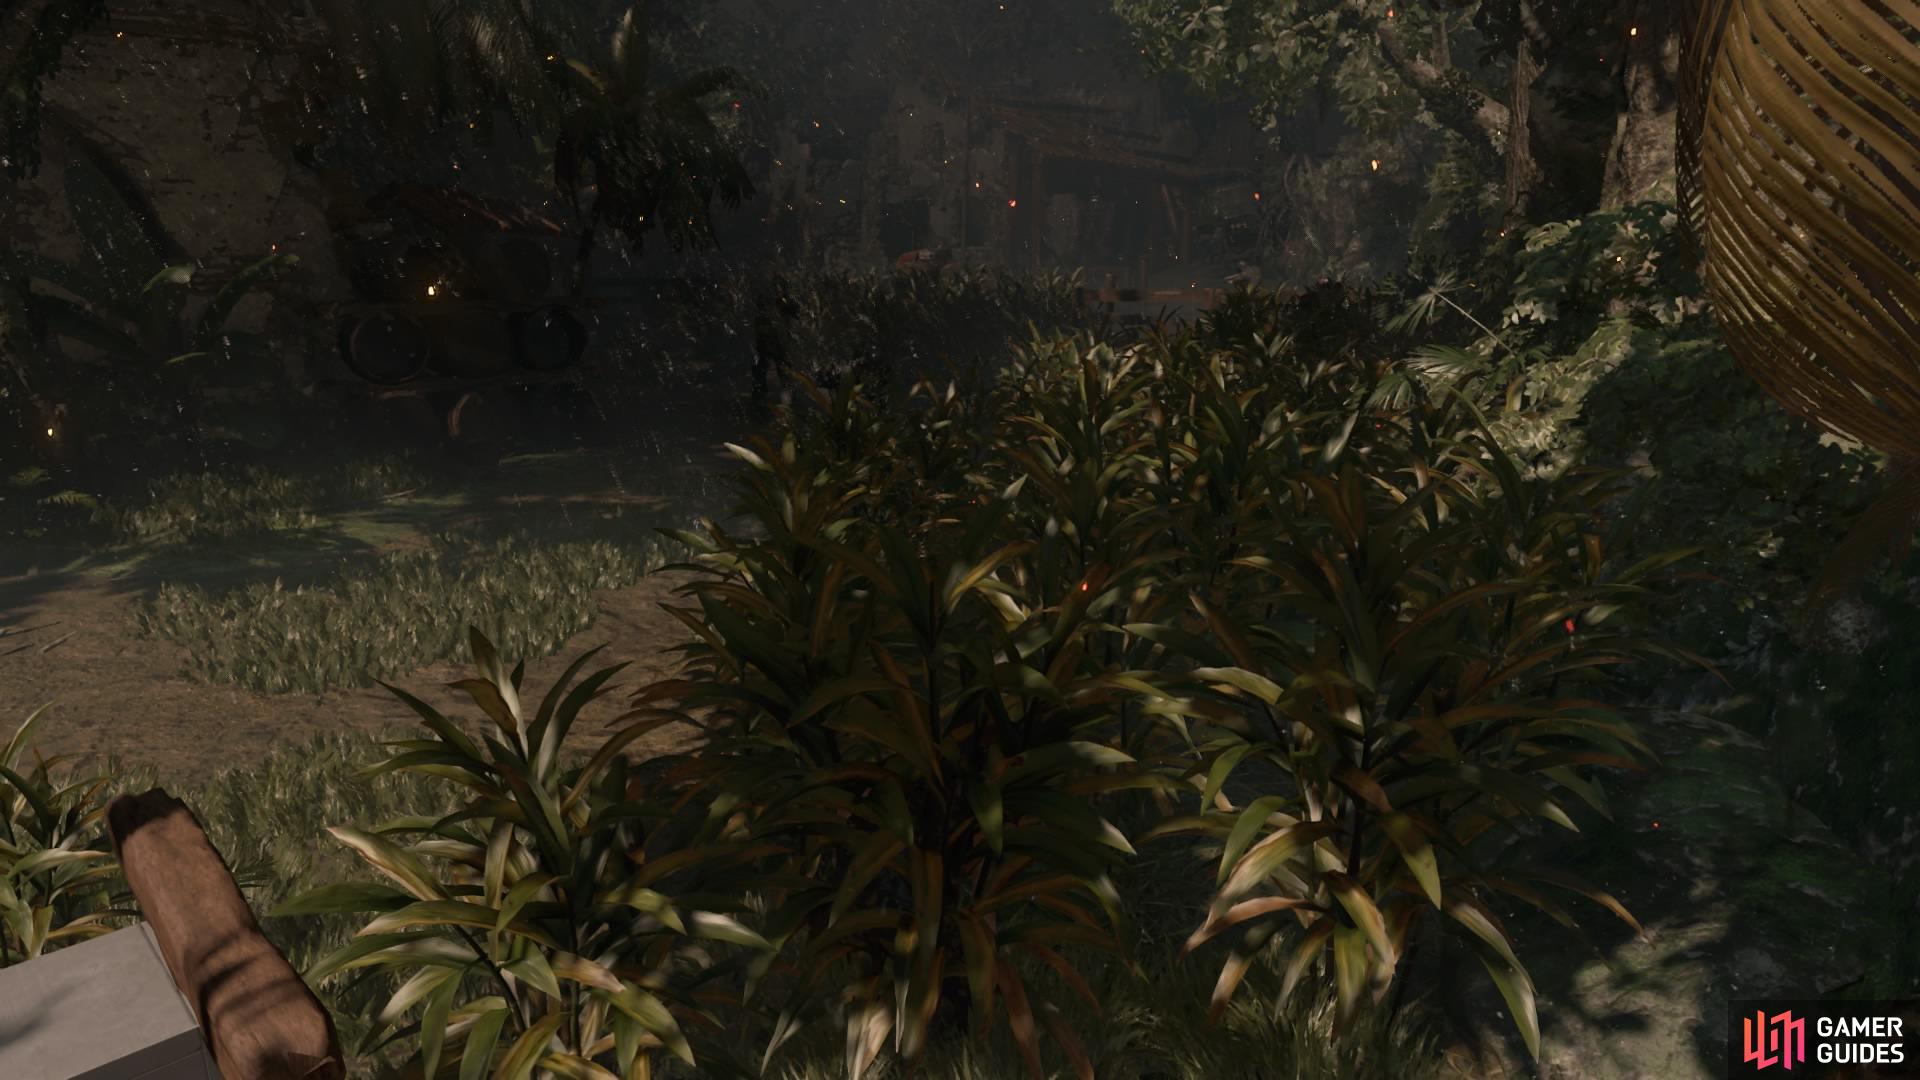
You start off in a concealment bush, and with the right tactics you can take out each of the soldiers using stealth kills. Stay in cover and use your surroundings to your advantage. There’s a mud patch ahead of you by the right wall, and a can perched atop the low wall just to your left for crafting purposes.
Remember, you can also use your arrows as distractions as well as plant explosives on dead bodies if you have that skill unlocked.
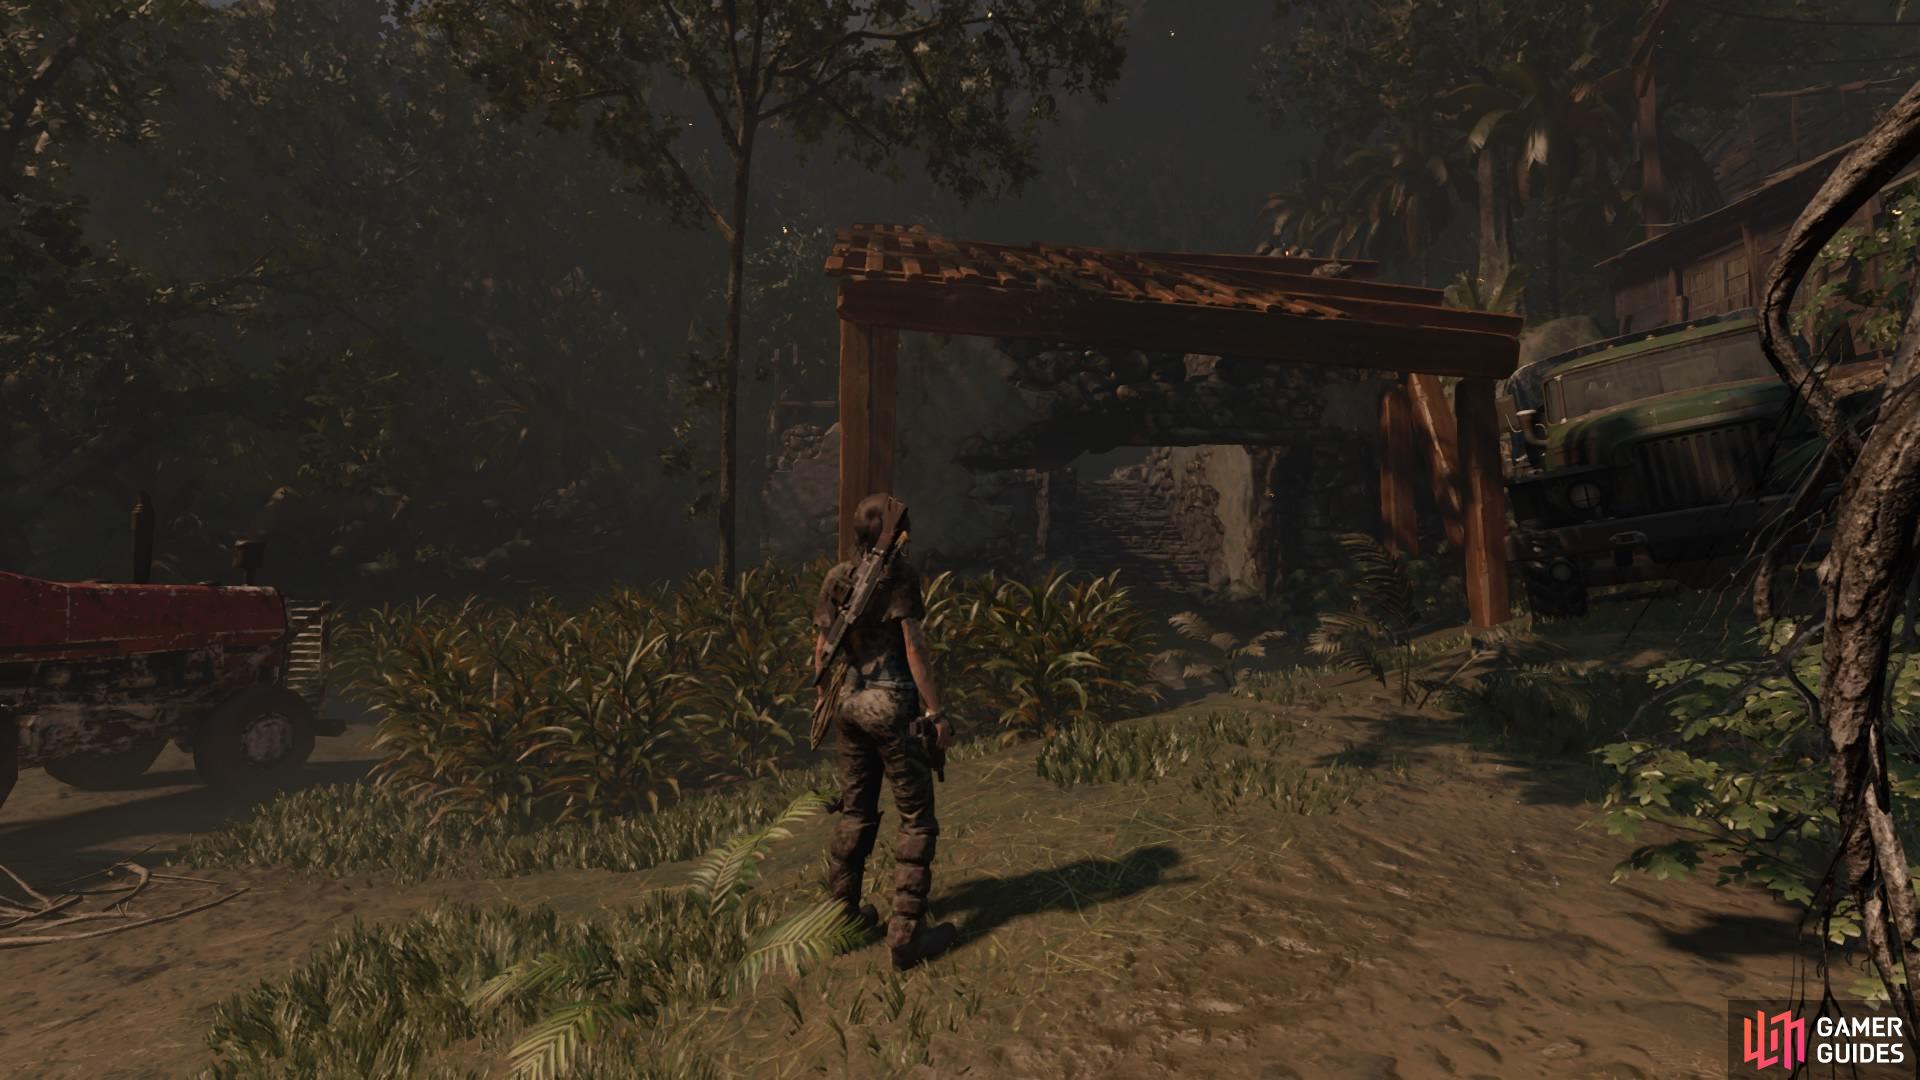
Once all the enemies are down, move into the next area via the hole in the wall in the back far left corner.
SECOND ENCOUNTER
As soon as you squeeze through, there’s another mud patch just in front of you as well as a vegetation wall. Wait for the two guards on your left to move away before you begin your plan of attack.
There are plenty of places to hide in this area and you can even choose to climb up a level to attack from above. Honestly, this is the most likely route to success here. If you move forward a bit from the mud patch, you can scramble up the wall to the upper level and stand atop the wooden platform without being seen.
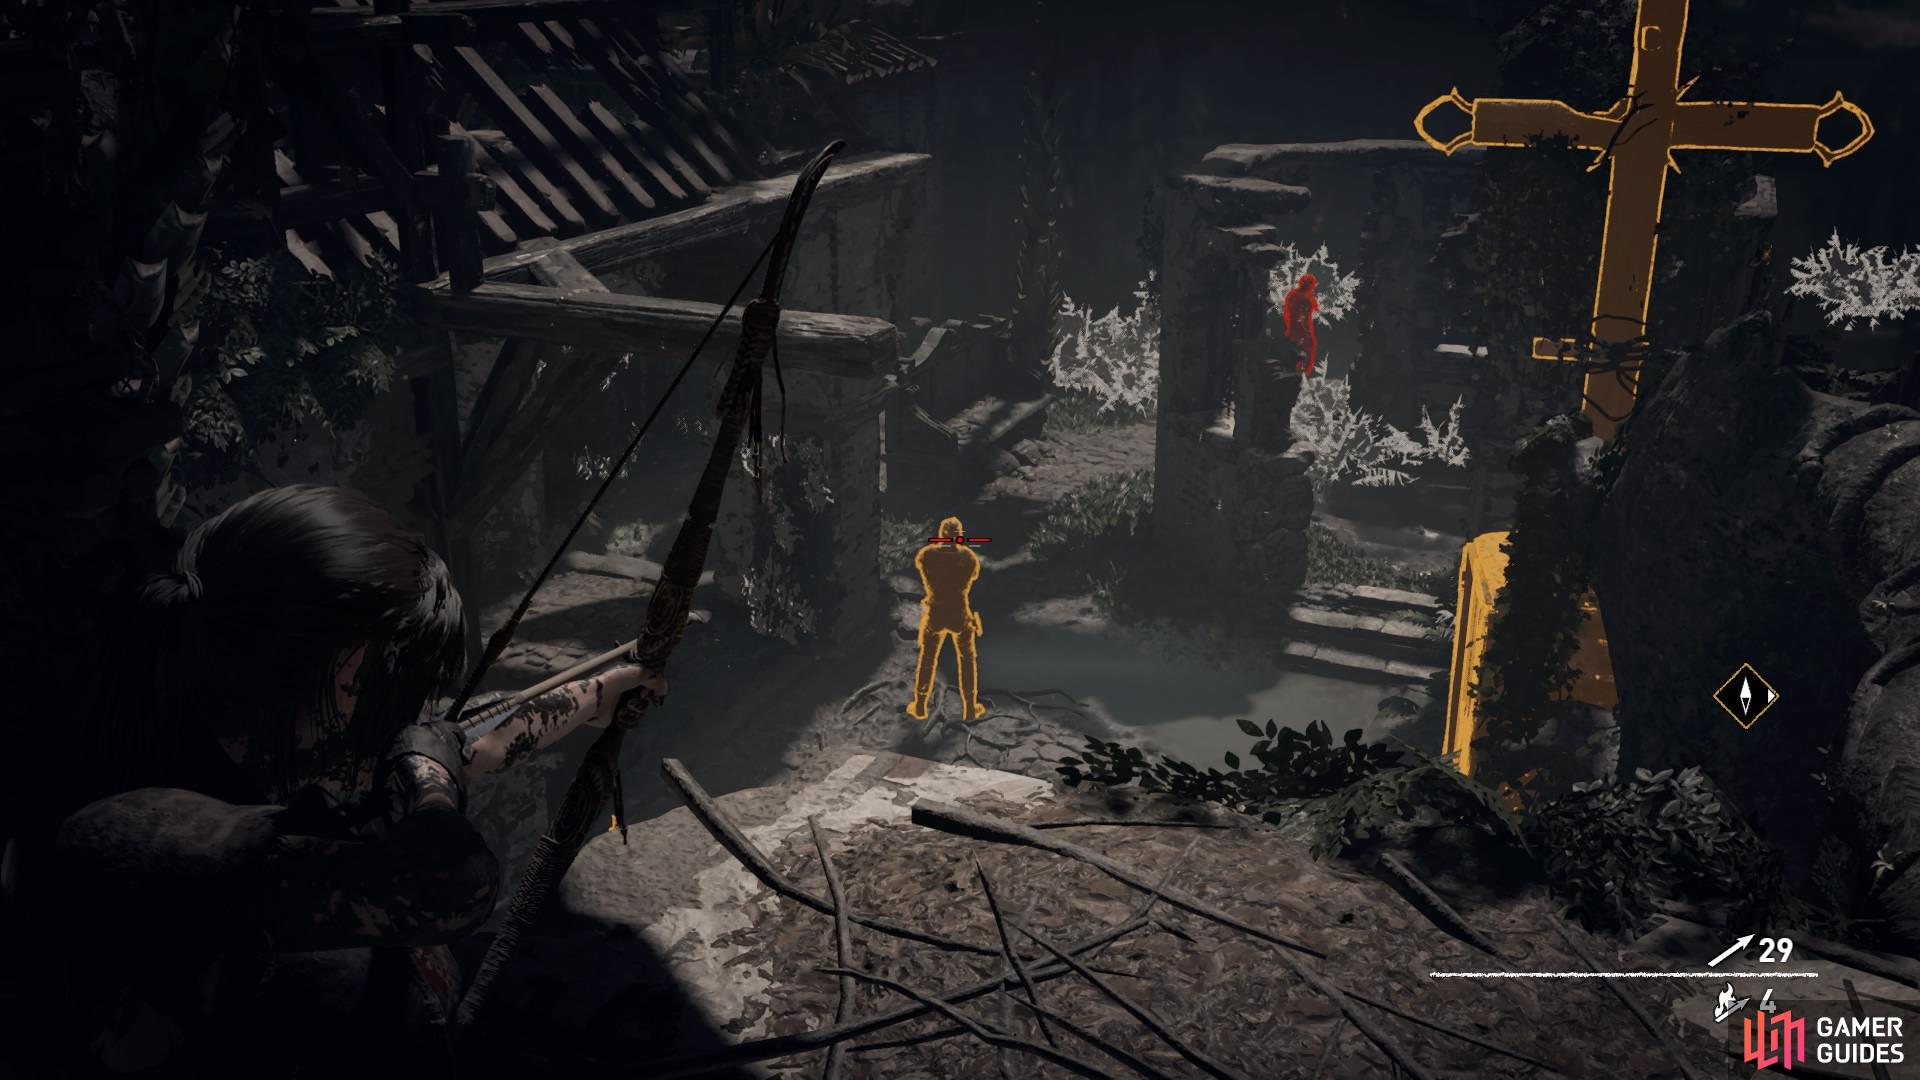
From here, use your Survival Instincts to highlight yellow enemies as they move around the area, and slowly begin to pick them off one at a time with your bow. Once most of them are out of the way, you can probably move back to the ground and finish off whoever is left.
Climb the tall gate to drop into the next area when you’re done.
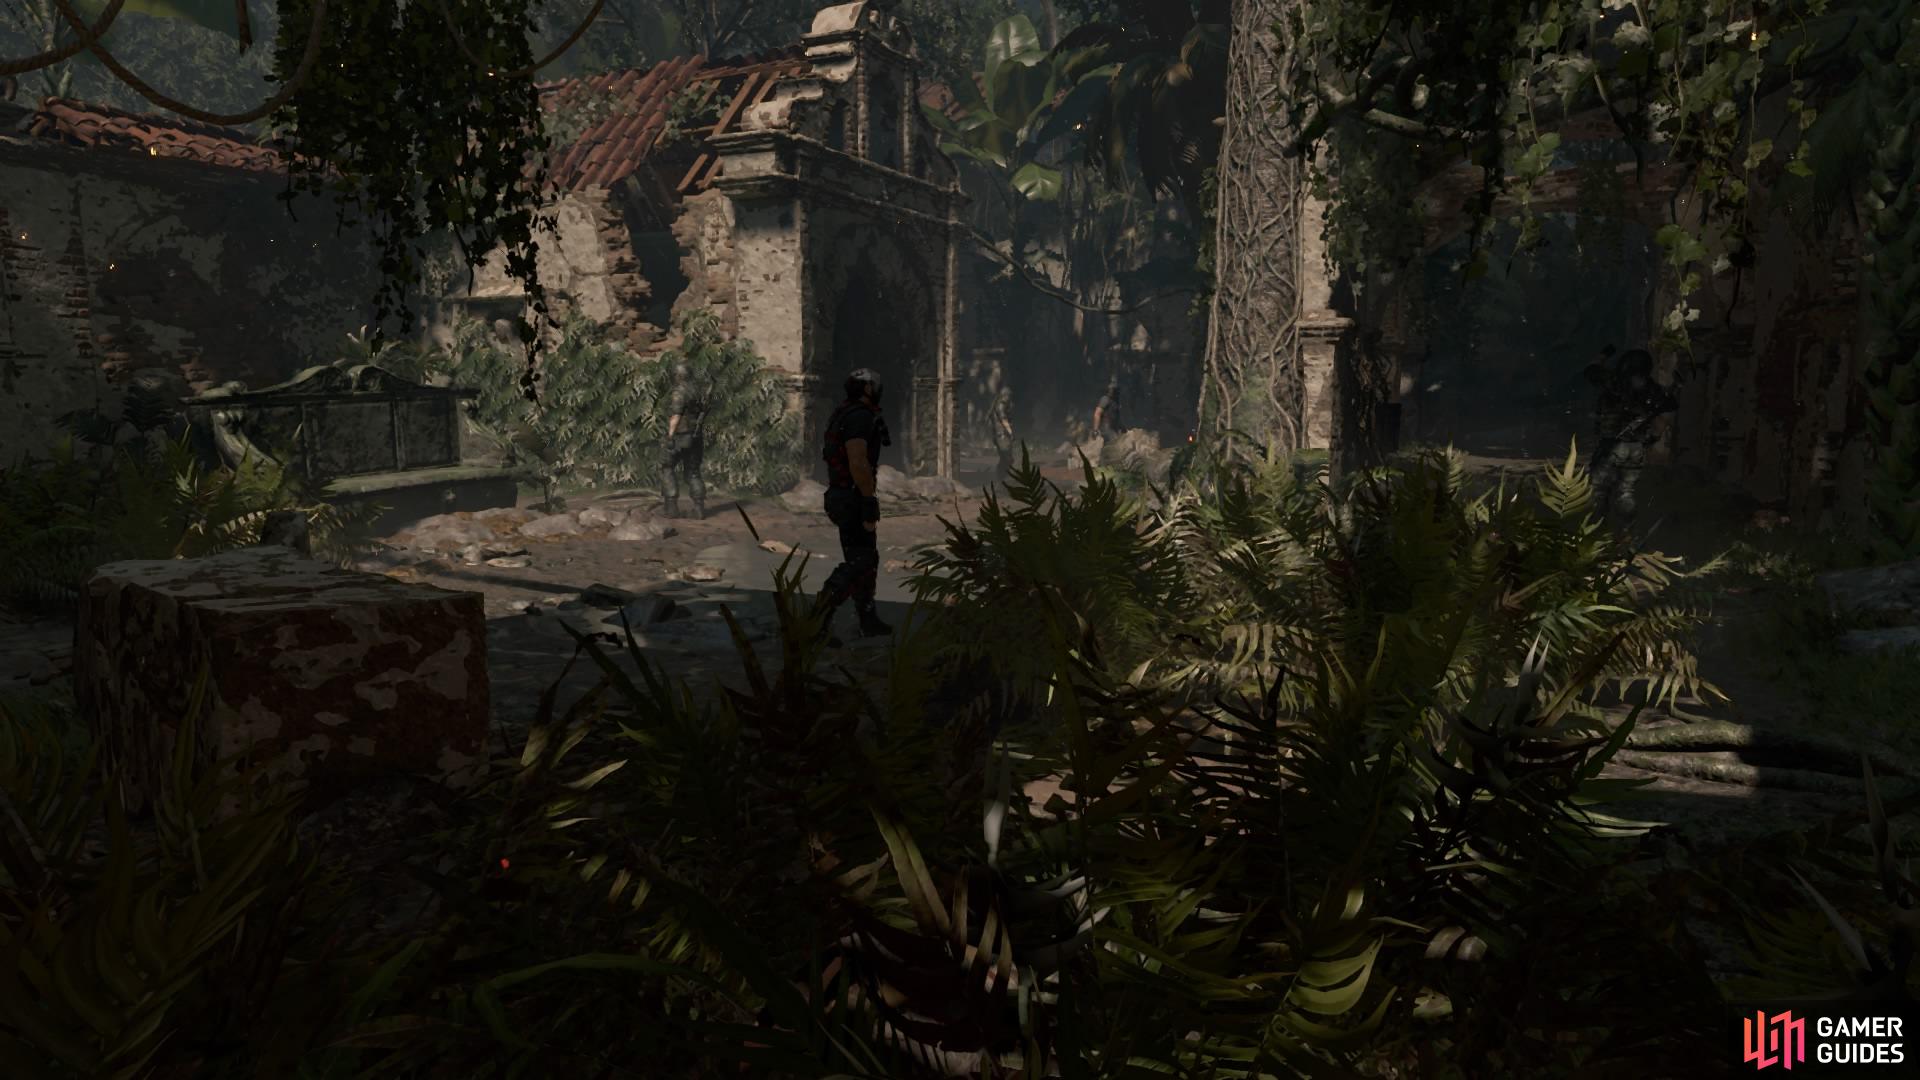
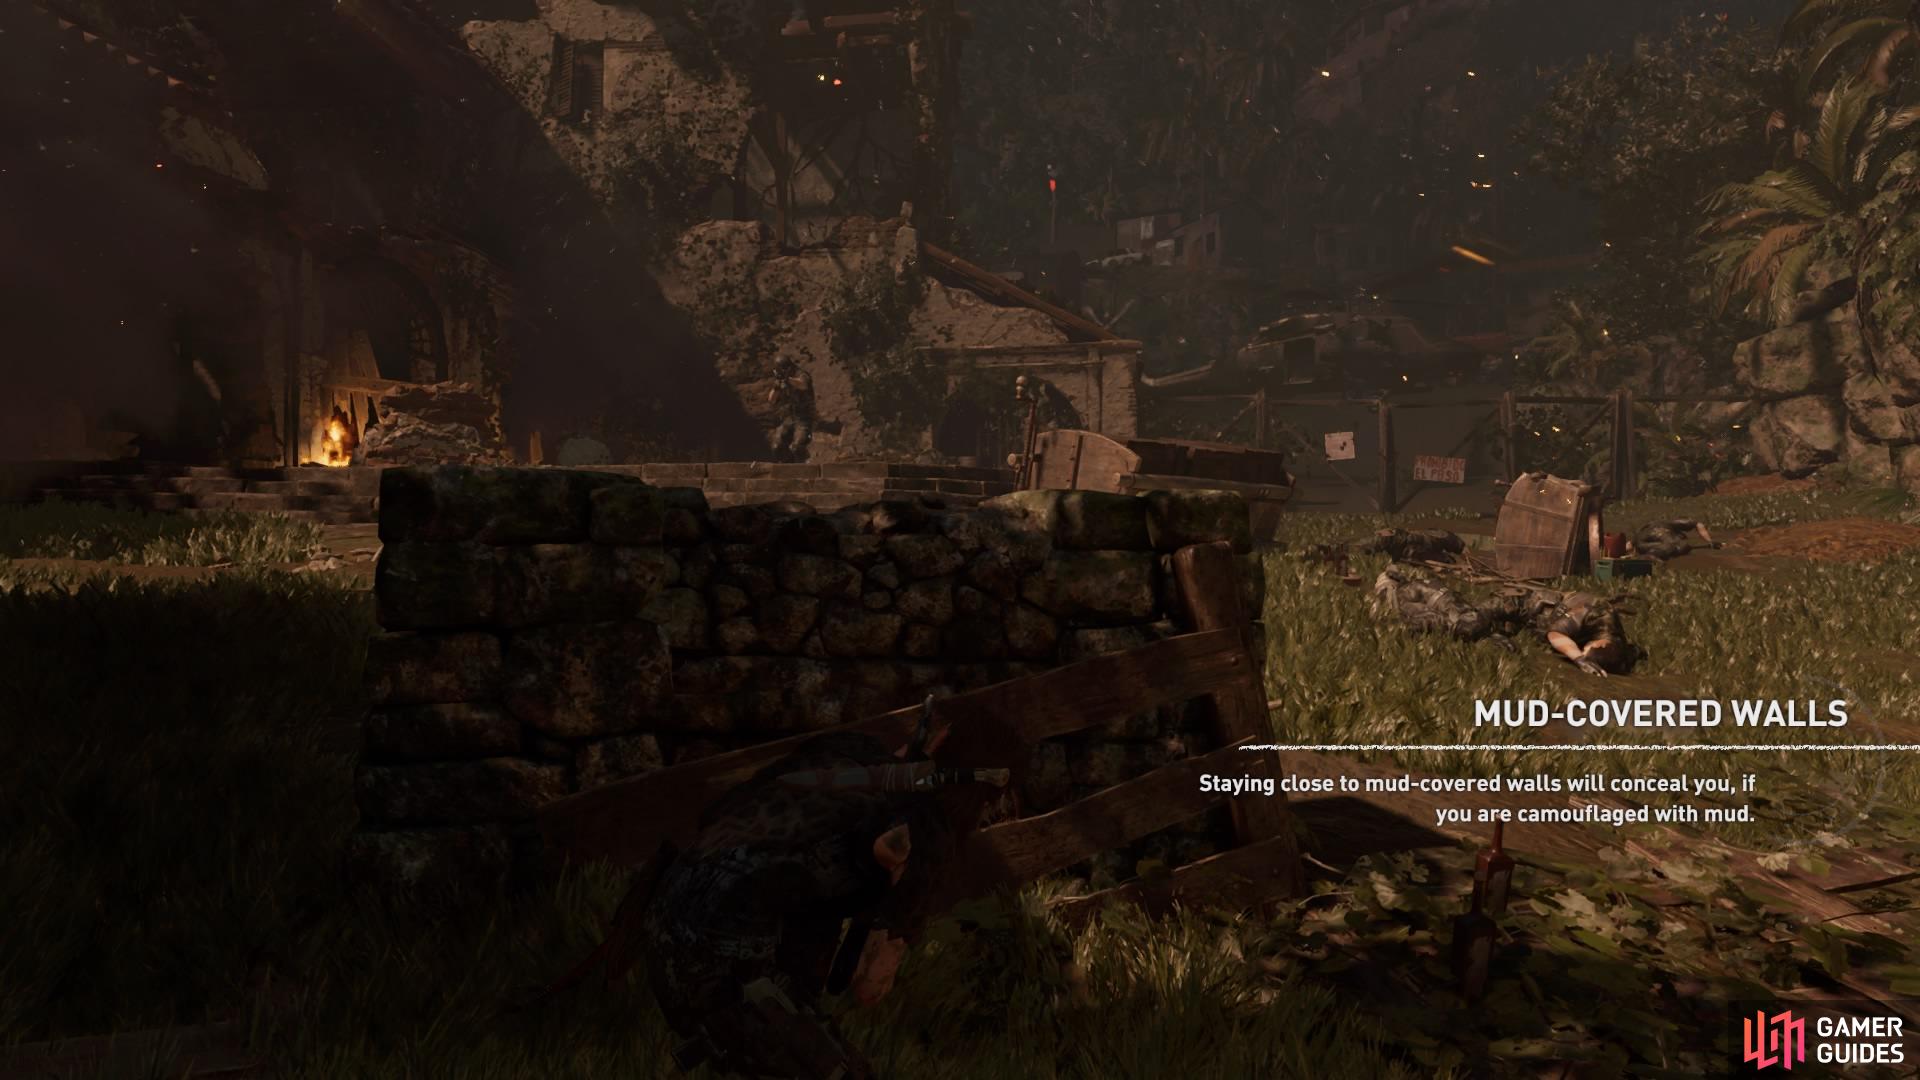
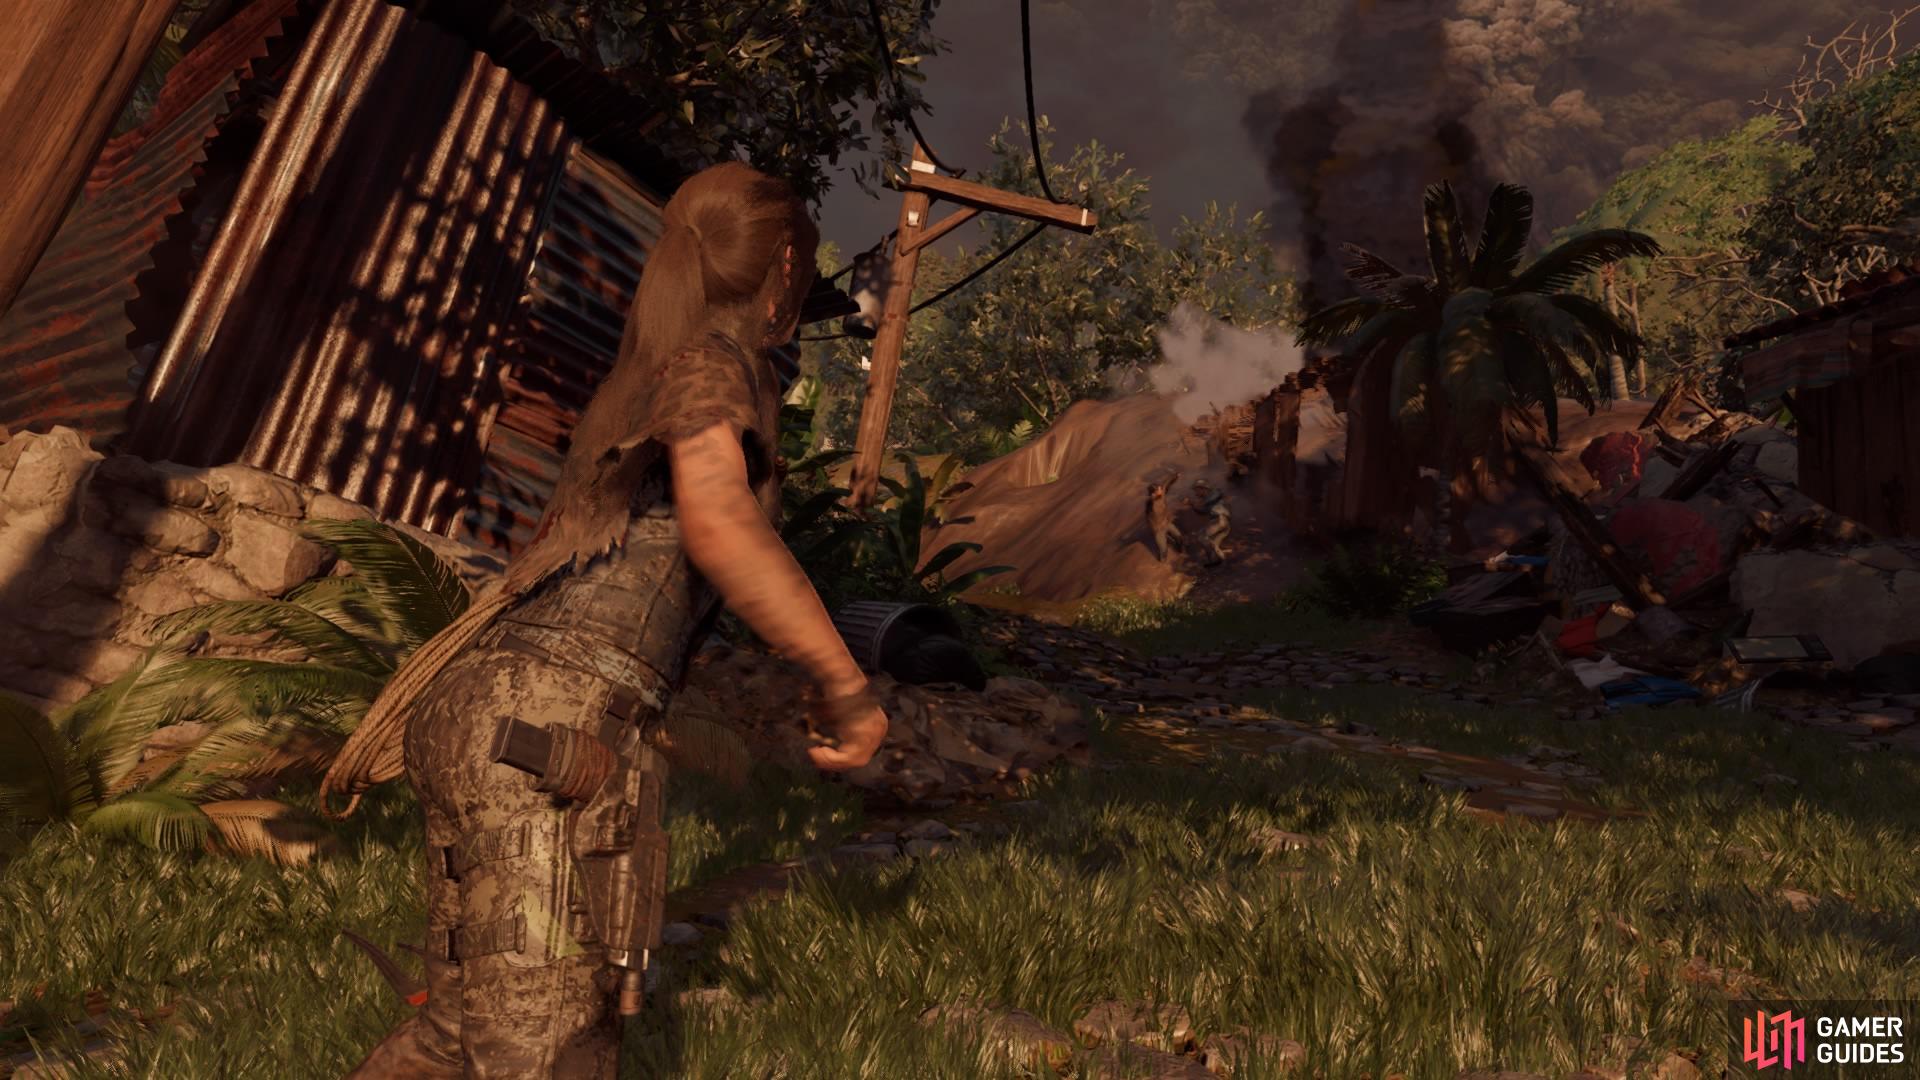
THIRD ENCOUNTER
There are eight armoured soldiers patrolling the fields and are already actively searching for you. You can remain hidden in the tall bushes for the majority of this encounter, and can even take out the first two soldiers easily with a stealth kill.
You can use your arrows here again as distractions to move the enemies around or, more easily, make good use of your fear arrows and have them all kill each other off.
When they’re all gone, head for the stone structure on the left and run up the steps to the final encounter.
(1 of 2) Stay in the tall crops
Stay in the tall crops (left), Exit through the stone structure (right)
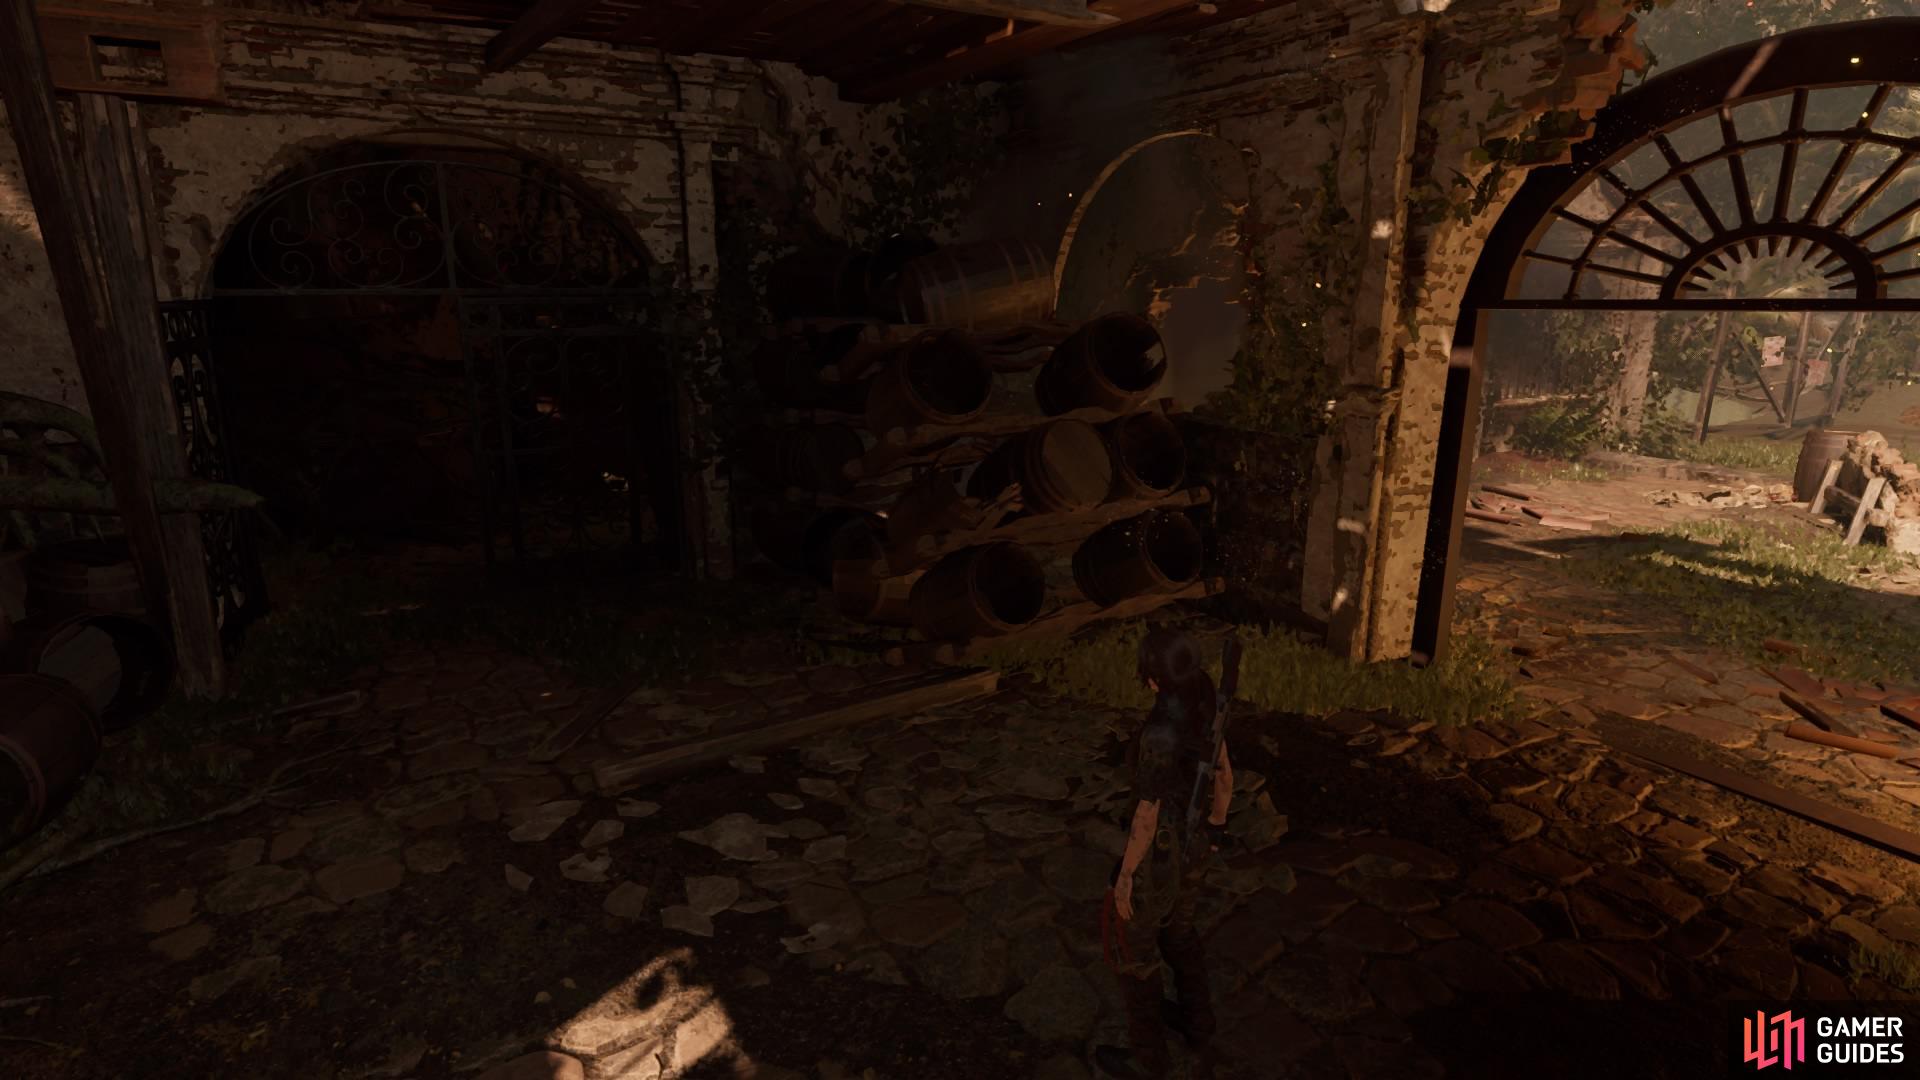
FOURTH ENCOUNTER
For the last encounter you don’t need to worry about stealth – just go all-out if you can. Feel free to use your rifle or shotgun to take out enemies, and seek out the red explosive barrels to get rid of the groups.
When all the enemies are gone, head into the building on the left and break through the gate.
(1 of 2) The last encounter
The last encounter (left), Exit through the gate on the left (right)
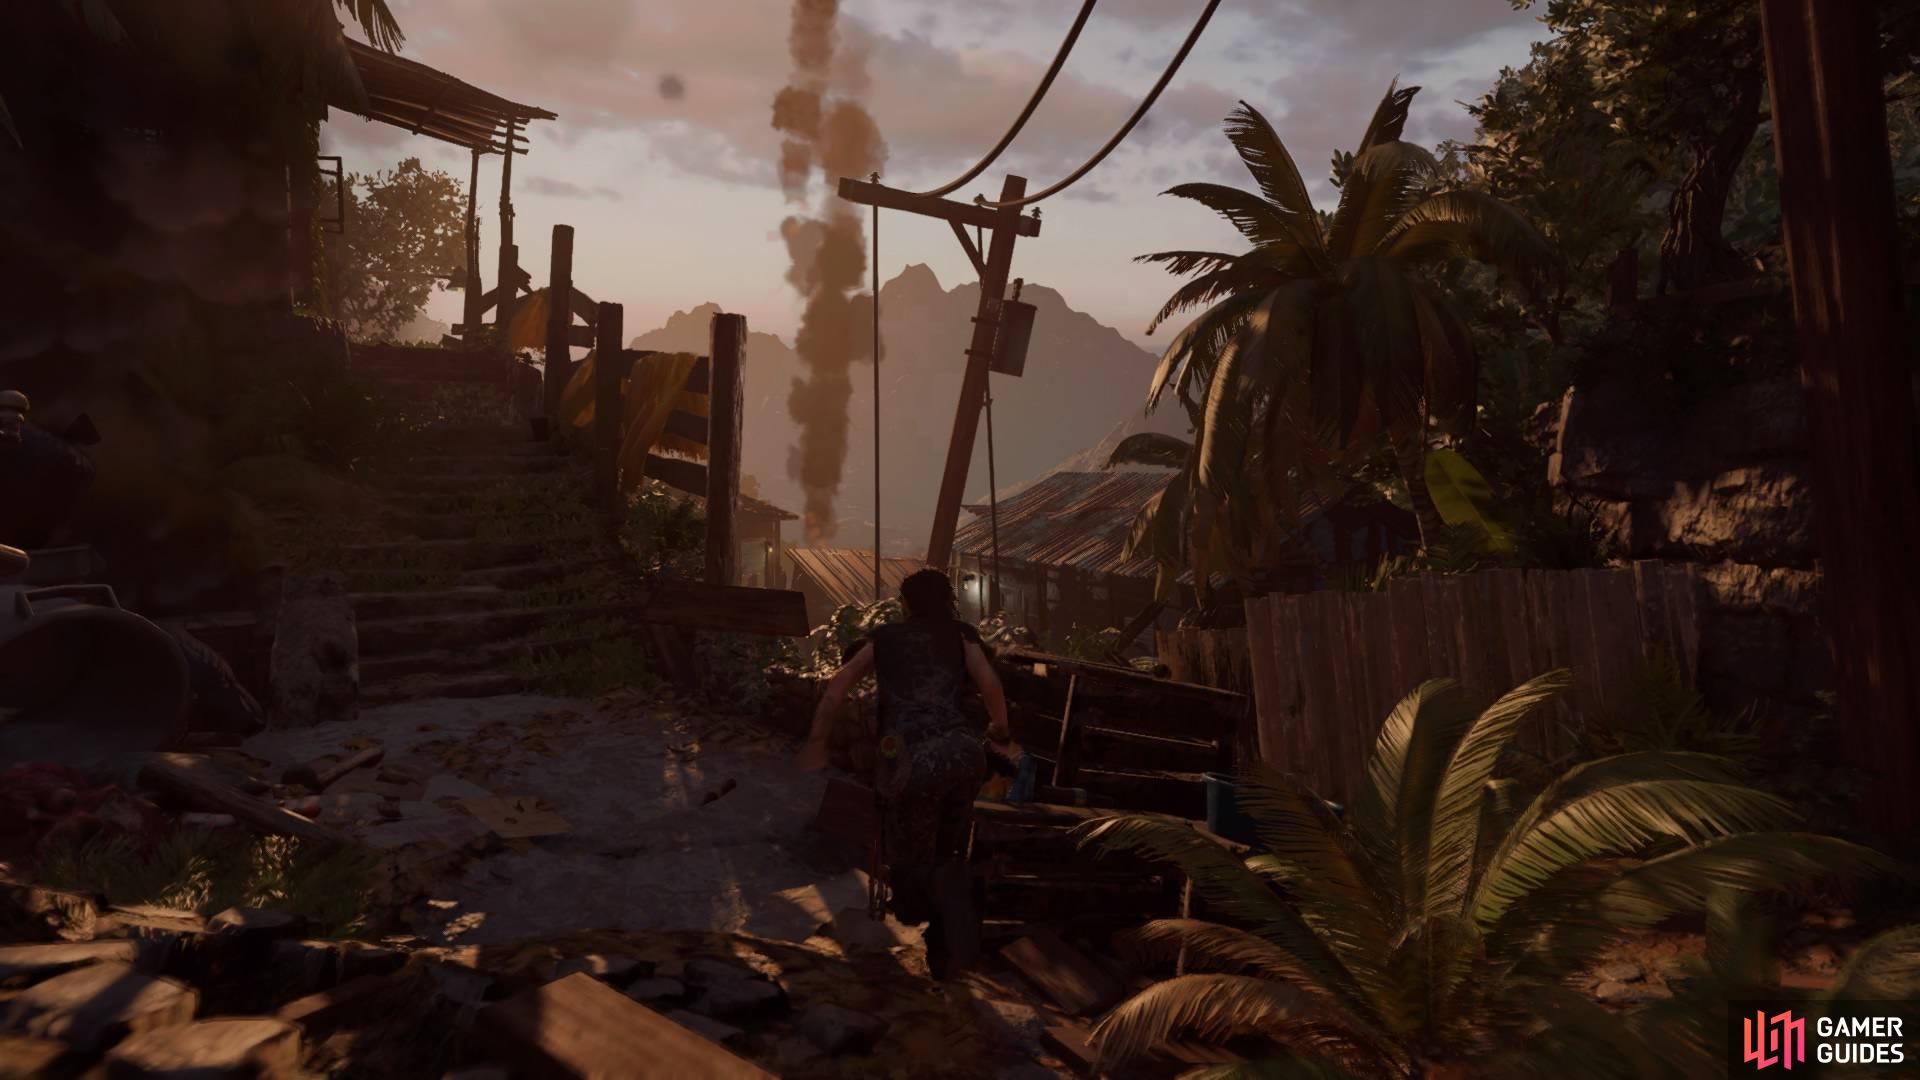
FALLING APART - OUTRUN THE LANDSLIDE
After the cutscene you’ll have one last objective – outrun the landslide. Just like in Cozumel, keep your eyes ahead and never stop. As soon as you hop over the sink hole, take the left or right path.
-
Left: Sprint up the steps and swing from the streetlamp to the roof. Tightrope to the end, swing from the next lamp, and immediately throw the Grapple Axe to swing to the road.
-
Right: Sprint down the hill and hop over another hole in the ground. Then jump off the truck, grab the ledge, and pull yourself up.
The two paths will meet up just before cutting through the yellow house, so either way, leap up to the upright pole and pull up to jump to the road ahead.
After tumbling down a hill, jump off the wooden boards to a small plateau where the path splits again.
-
Left: Swing across the streetlamp and stumble down the slope, followed by balancing along the tree. Jump to the roof.
-
Right: Ride down the zipline on the right to slide down a rooftop and across the floor. Jump toward another pole and use the Grapple Axe to swing to the next roof.
Another slide sends you down more destruction, so jump and swing to the crumbling floor before the streetlamp. Then dodge to the left and jump to the overturned barn. At the edge, jump and throw the Grapple Axe to return to ground.
Now jump over the gaps as the ground gives way and dive into the water at the end to end the chapter.
 Sign up
No Comments