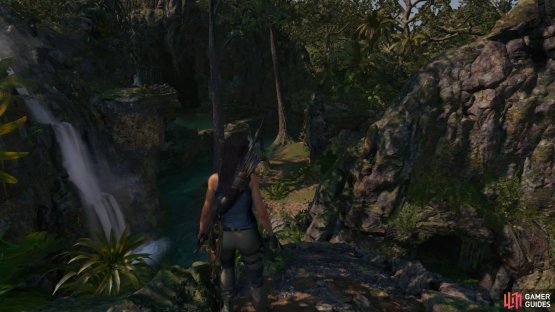
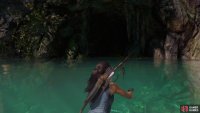
From the Plane Fuselage Base Camp, go left of the plane to perform a high dive off the cliff and into the river below. As soon as you come up for air, swim to the cave opposite to pick up an Explorer Backpack and salvage hide from a dead boar.
(1 of 2) Dive from the crash site
Dive from the crash site (left), Explore the small cave below (right)
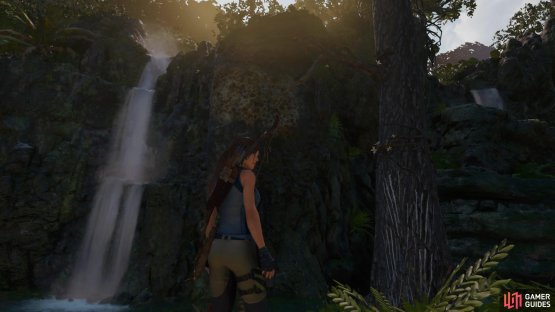
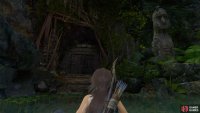
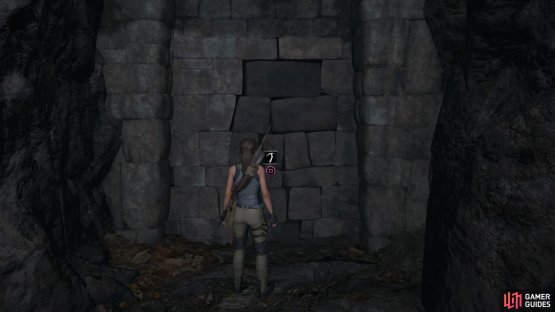
Now swim to the tree closest to you and climb it to jump to the craggy wall opposite. Traverse left, climb up, and use the branch ahead to swing to a slope that will land Lara at the entrance to the crypt. Break through the wall with an axe and head inside.
(1 of 2) Climb the cliff
Climb the cliff (left), Break open the crypt entrance (right)
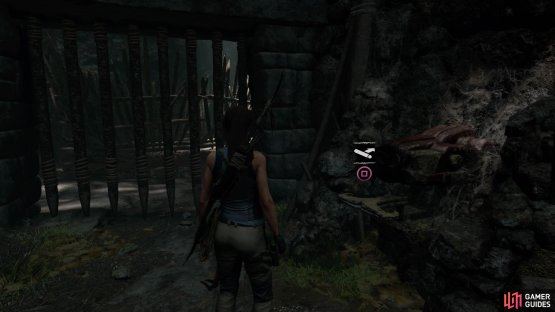
Take a few steps and you’ll find Relic - Grave Marker lying on the floor next to a statue, then continue to the first room. Examine the mural on the right wall, and then proceed to rope-pull the barricade down. Head left, avoid the trap, and head into the next room.
At the back is Relic - Elongated Skull, so grab that before turning around to crawl through a tunnel on your left.
You’ll come to a switch - push it to open the gate on your right, making Lara mention that it’s the way out.
(1 of 2) Push the switch to open the gate
Push the switch to open the gate (left), Climb the pillars (right)
Instead, head left to push a second switch, which will open the gate and cause the pillar holding the sarcophagus to raise. In order to get access to it, you’ll have to climb.
-
Head behind the pillar to find the white marked wall on the right and scramble up twice.
-
Jump right, scramble up, and jump right again to hoist yourself up onto the platform. You still don’t have access to the sarcophagus here.
-
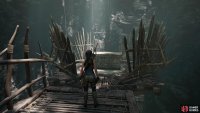
Move through the passage to your right and avoid the false floor. Then hop over the tripwire before reaching a switch. When you open the gate and step onto the platform, the sarcophagus will rise out of reach again.
-
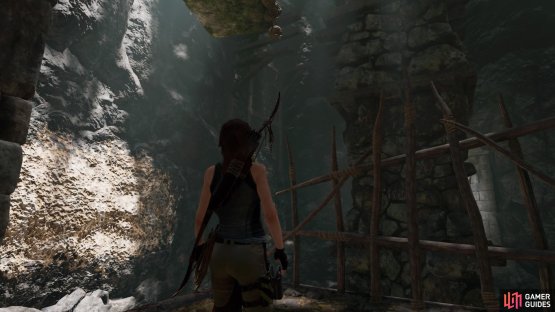
Jump to the craggy wall on the left and keep climbing right until you have to scramble up the wall.
(1 of 2) Climb the craggy walls
Climb the craggy walls (left), Take the treasure from the sarcophagus (right)
- Shimmy left, jump across, and repeat, then scramble up to the final platform. Now you’ll have access to the sarcophagus.
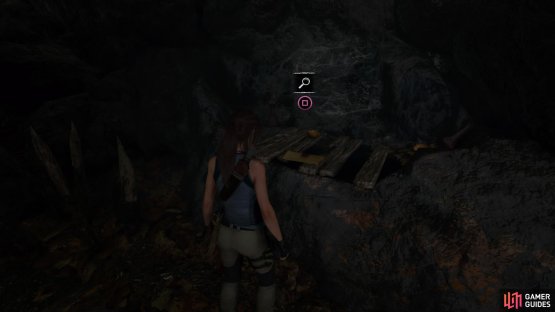
Grab the treasure from inside, but before you leave, turn around to break through the wall behind you and pick up Document - A King’s Ransom.
(1 of 2) Break through the wall
Break through the wall (left), Pick up the Document (right)
Now return to the sarcophagus to ride the counterweight back down to the ground and exit the crypt.










No Comments