
ACCESS THE CRYPT
During Chapter 6 – Return to Hidden City, there are two crypts available. This one, however, is not available until after you have freed Unuratu and made it back across the bridge. Instead of continuing the chapter, you can head left to scale down the cliff. If you’re returning to this crypt at a later time, simply fast travel to the Temple of Kukulkan Base Camp.
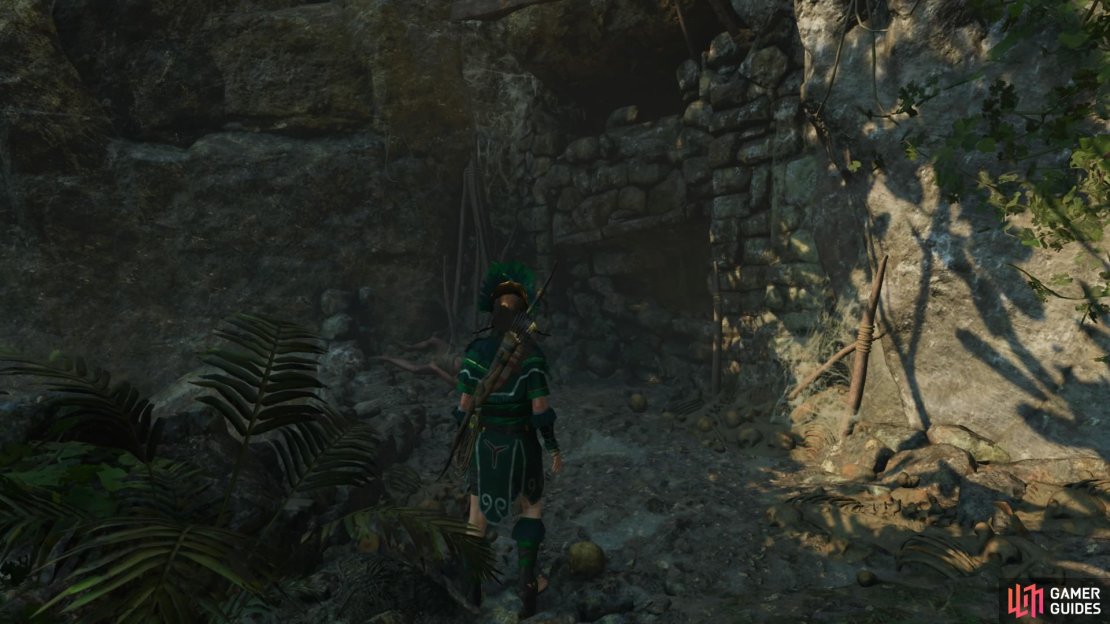
Hang off the cliff edge and shimmy left until you can scale down the craggy overhang, then rappel down and lower yourself enough to swing over to the ledge. You can dig up a survival cache here before moving to the opening in the wall on the right and slipping through.
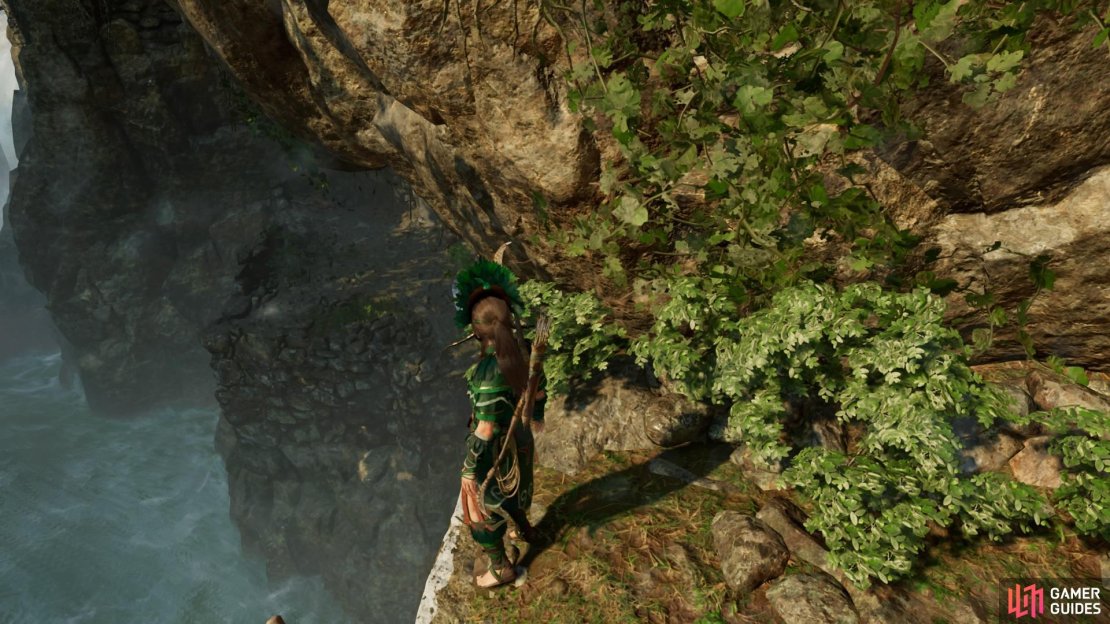

(1 of 3) Hang off the cliff edge
FIND THE SARCOPHAGUS
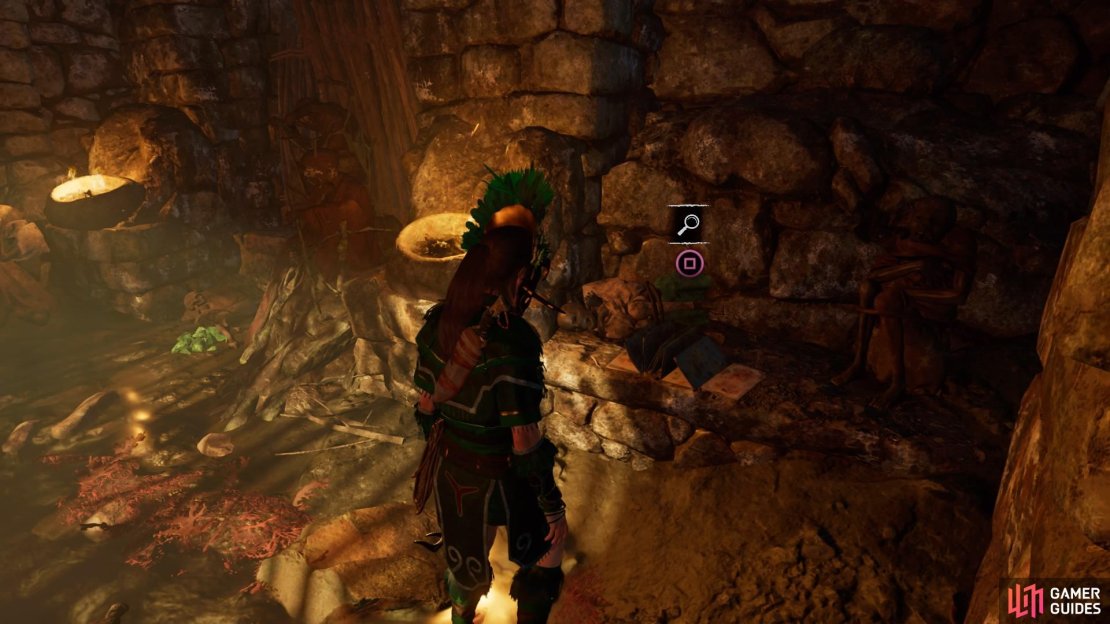
Follow the tunnel and duck under the wall at the end, then drop down to slide into the room below. There are a few resources in here as well as Document – Reconnaissance on a shelf on the right.
On the other side of the room is a counterweight – jump on to it to slowly descend into the chamber below. You’ll drop right next to the sarcophagus, so loot it to receive the VESTIGE: YAWAY’S WOODEN GREAVES outfit piece, then head through the corridor on the right.
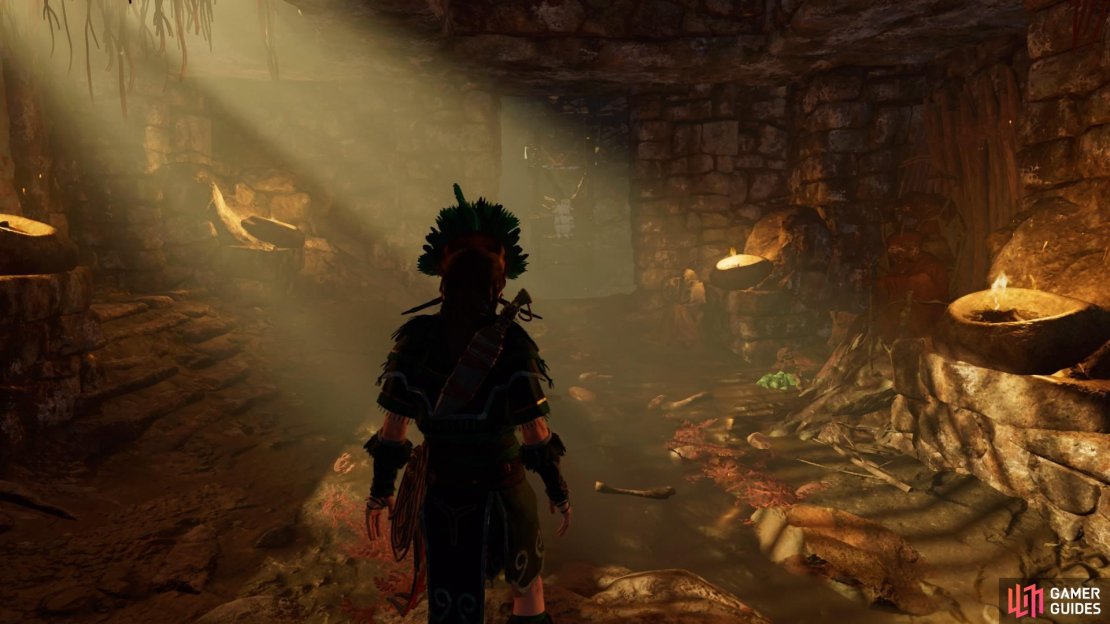
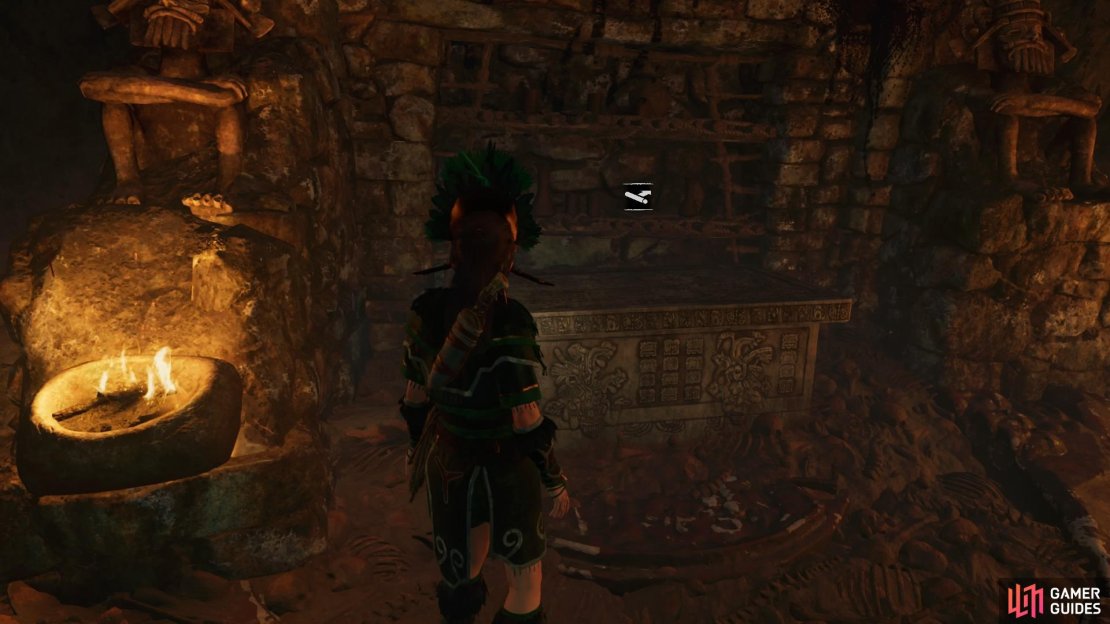
(1 of 3) Slide into the chamber below
EXIT THE CRYPT
The corridor is full of traps, but they can all be disarmed and avoided. However, an alternate route proves easier, so squeeze through the crevice on the right and follow the tunnel along to the left until you reach another small chamber.
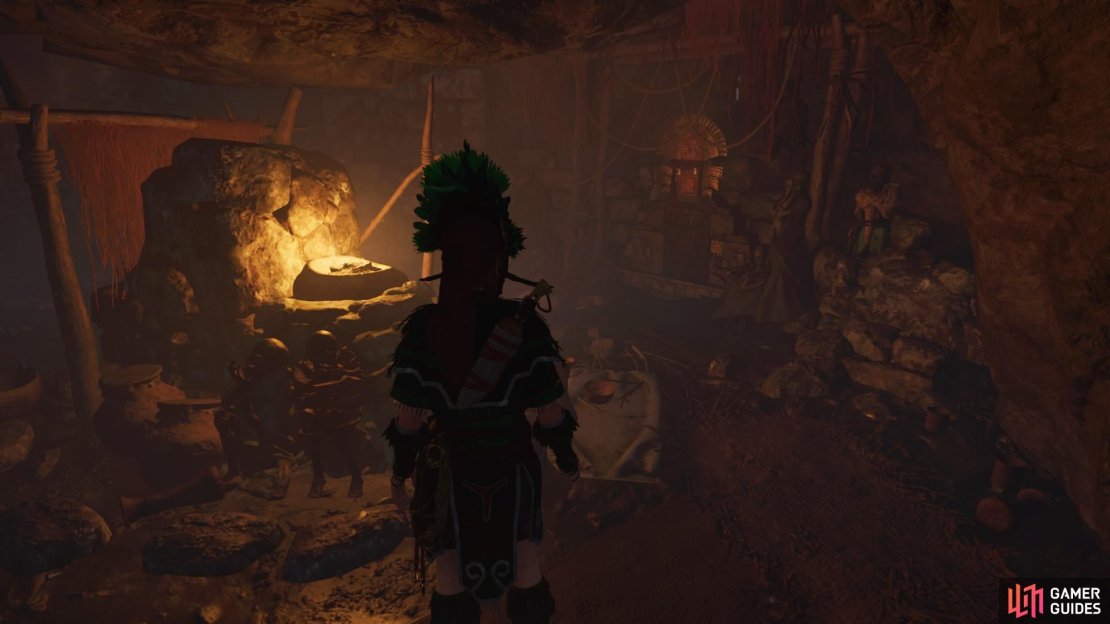
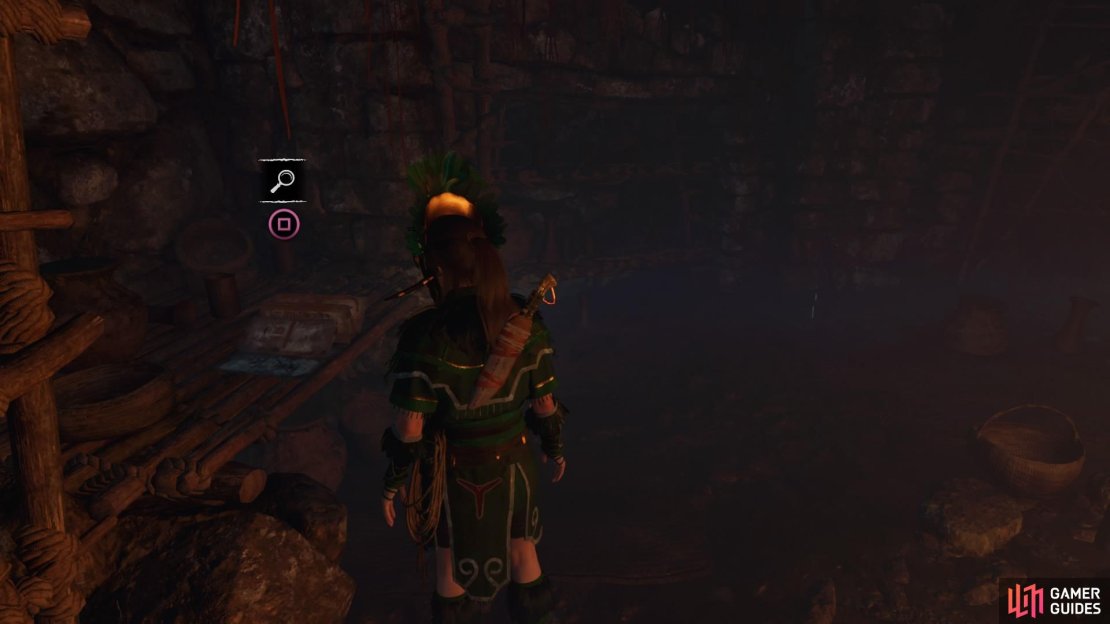
Inspect the mural on the right and pick up Document – Crime and Punishment off the shelf on the left. Then head to the back of the room to find the weak wall and break through into the next passageway.
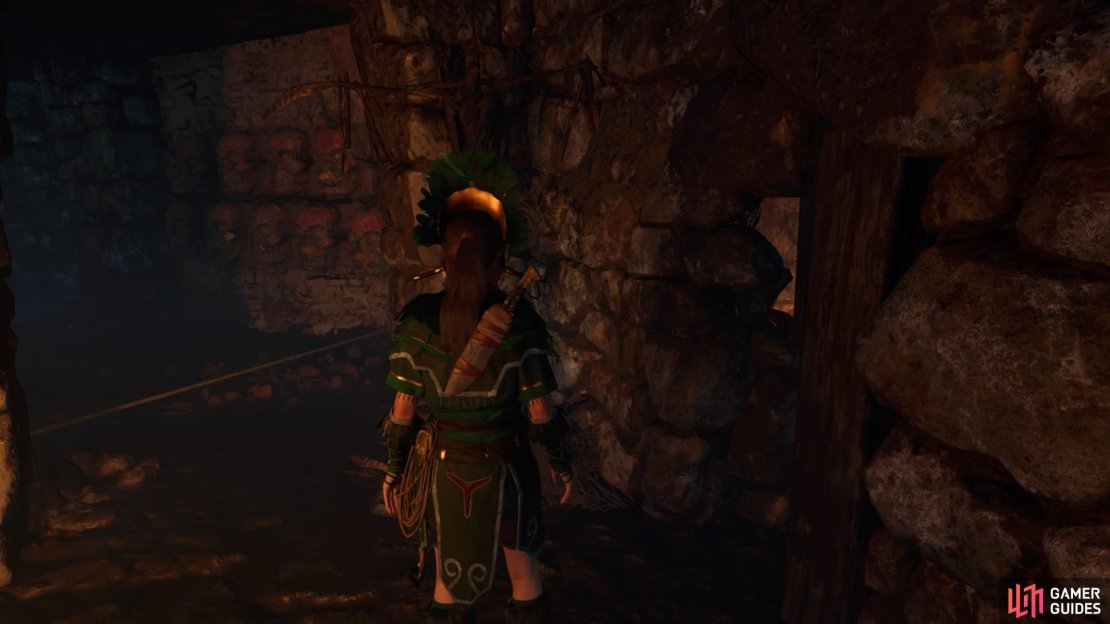
(1 of 4) Squeeze through the crevice
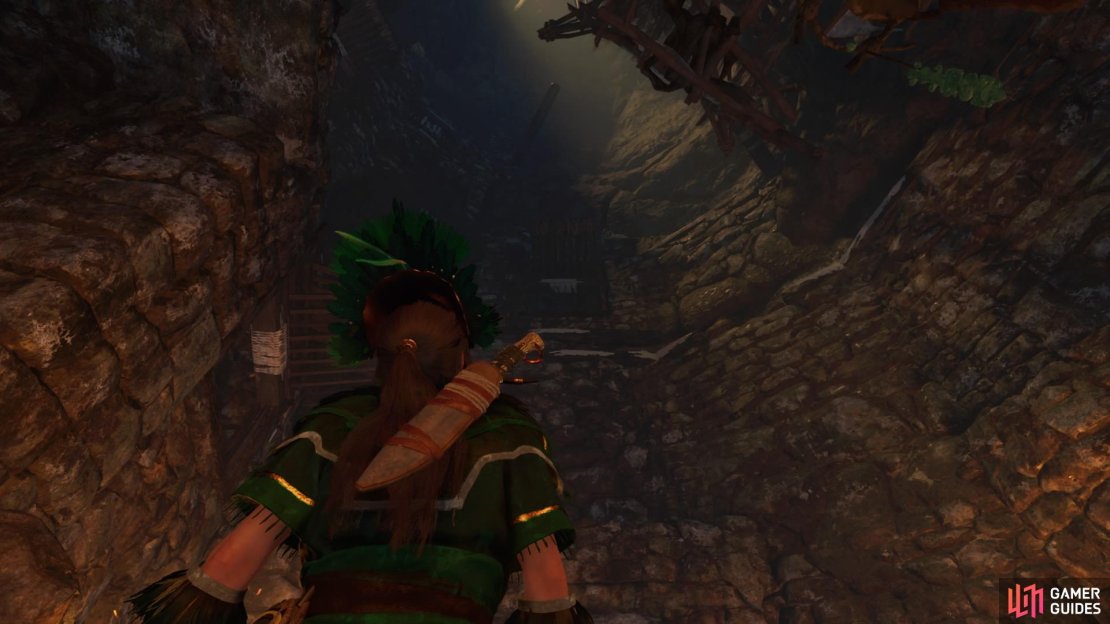
Jump over the hole, disarm the spear trap, and jump over the next hole. At the end, duck through a hole in the wall to reach the final chamber. To get out, climb the walls to the top.
-
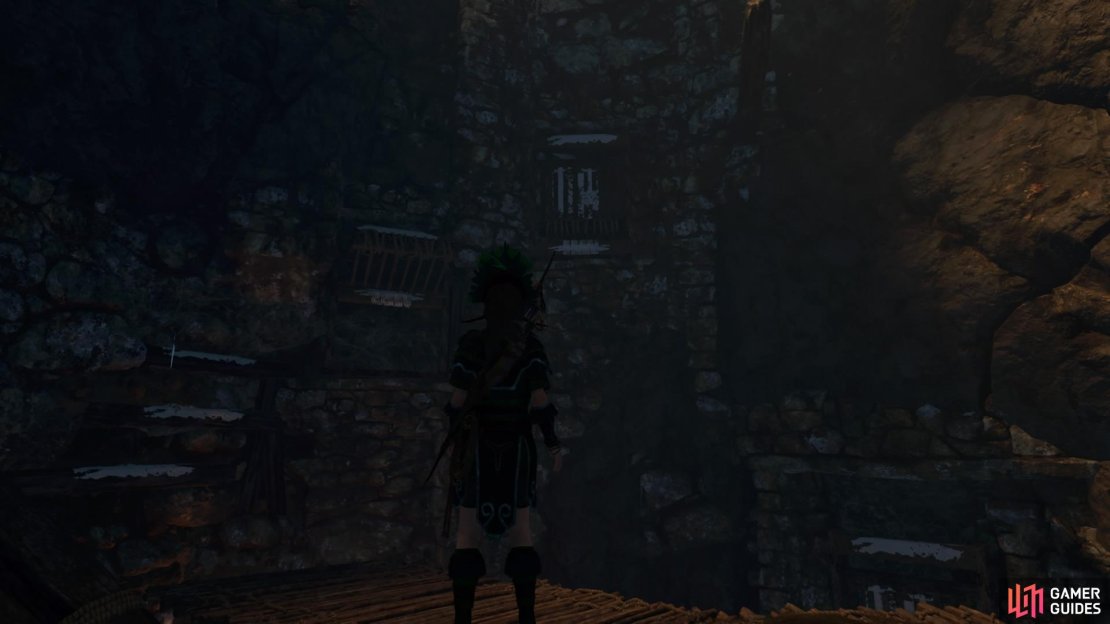
Turn to the left or right and look up to find the open shutters on the wall. Use a rope arrow to pull it closed, then scramble up to the ledge above.
-
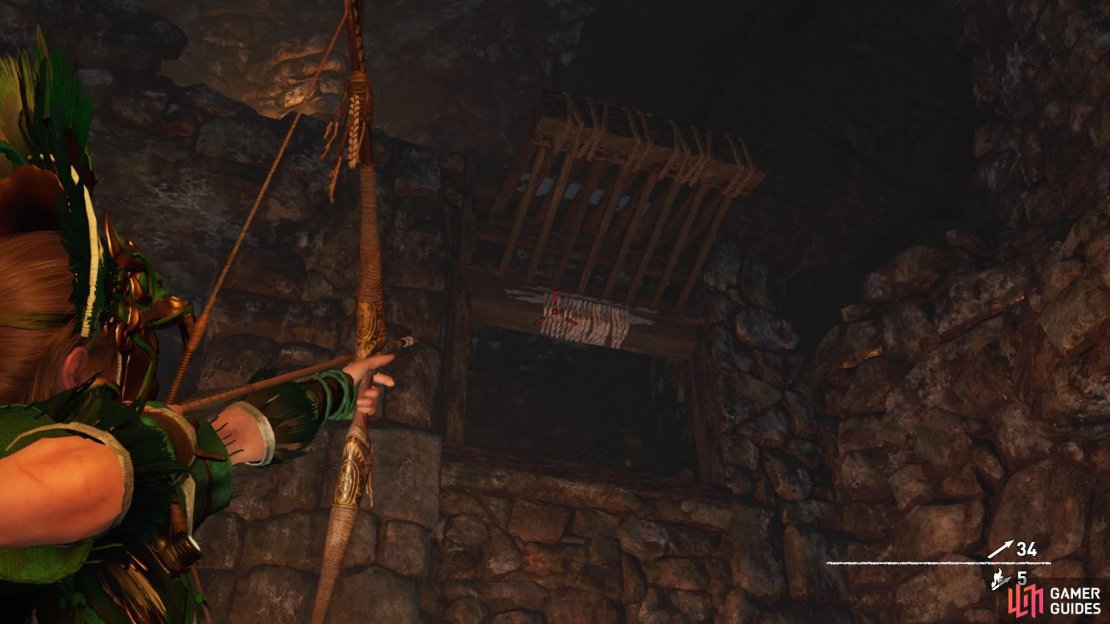
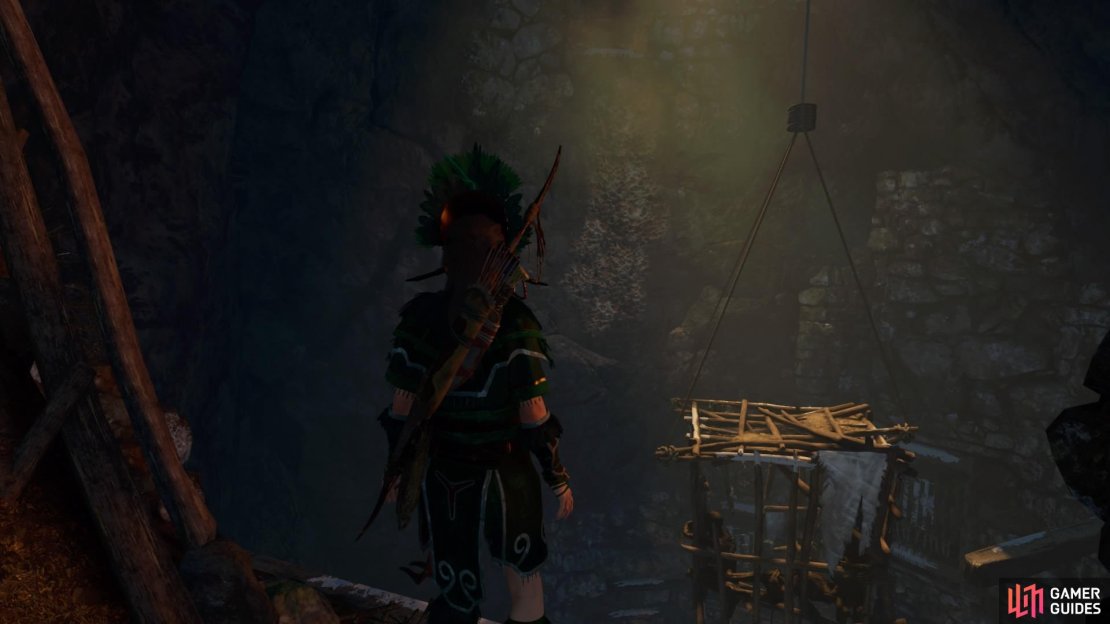
Turn around and jump to the hanging cage. Look up to the left to close another shutter, jump to the cage, then jump forward to the handhold and shimmy left. Scramble up and shimmy right to reach the wooden walkway.
-
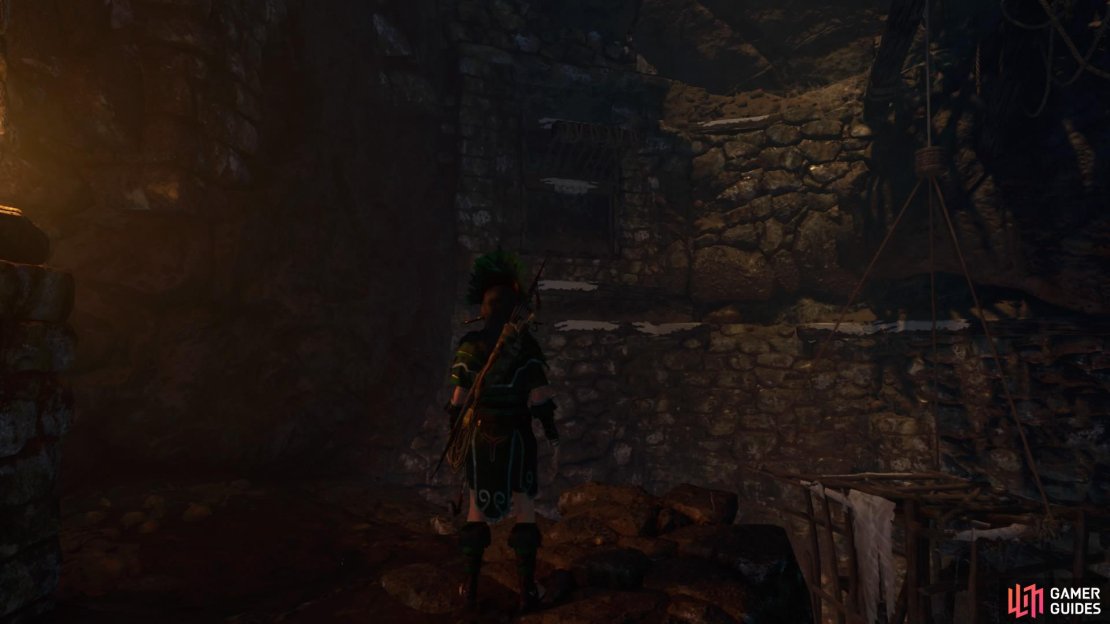
Straight ahead is an open shutter and a closed shutter next to it. Close the open shutter, then jump forward to the handhold and continue to make your way up until you reach a wooden beam on the right.
-
Hoist yourself on to the beam and jump to the hanging cage, then jump left to the ledge. If you have room, pull the Gold from the wall before you continue.
-
Jump back to the hanging cage and then leap forward to the craggy wall ahead – use the Grapple Axe. Then climb up into the tunnel above and follow it until you drop down into the first chamber.
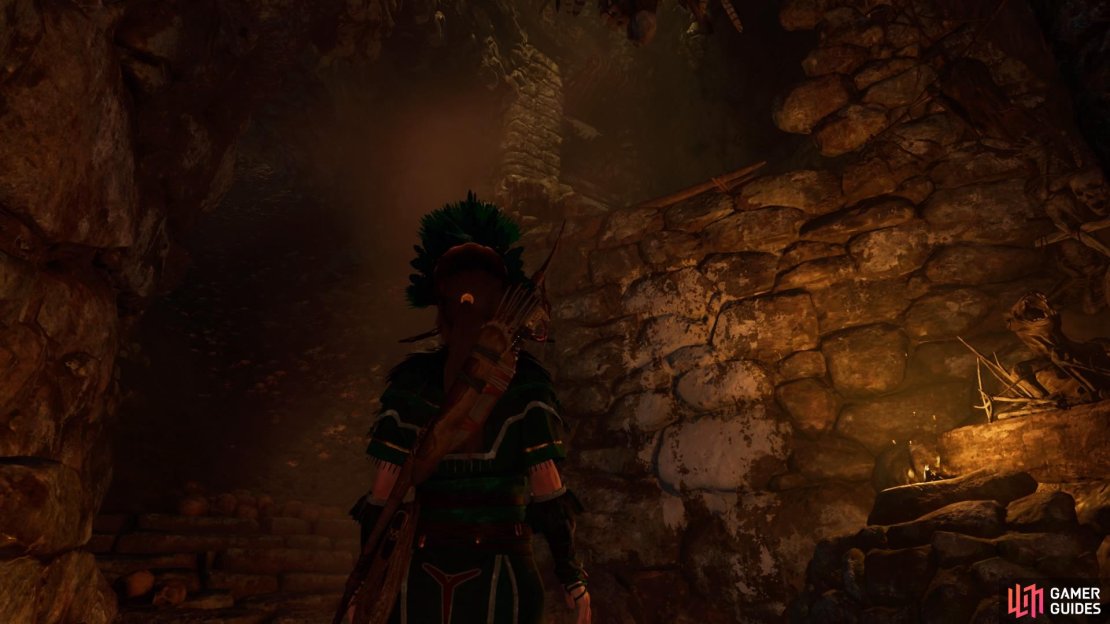
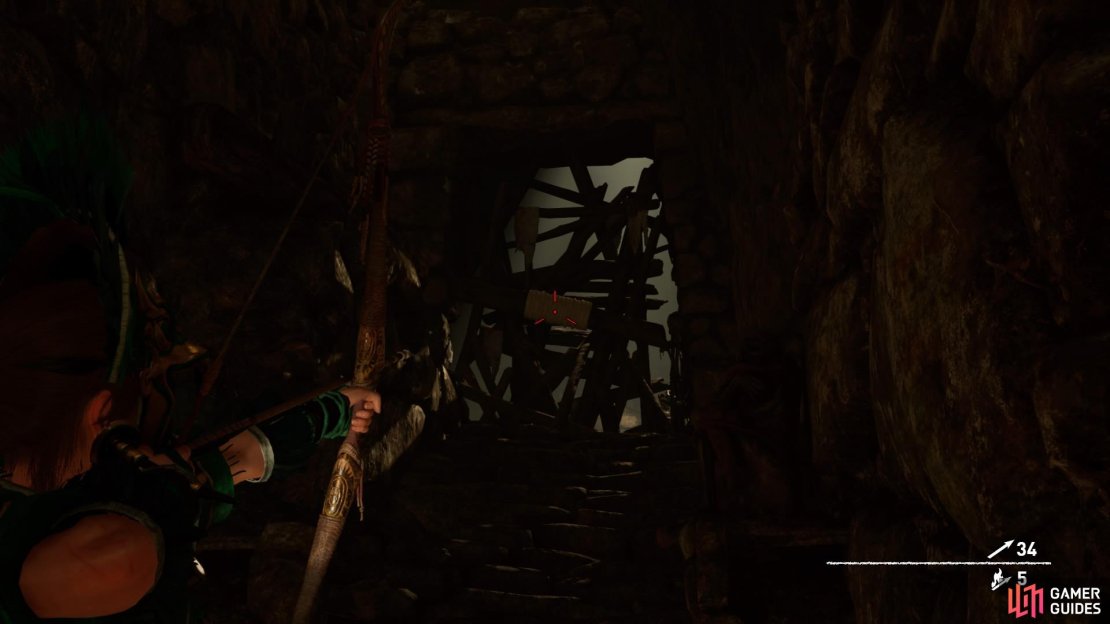
From here, head left to see the steps (that you can’t go up) and scramble up the wall next to them. Use a rope arrow to close the shutter above and then climb up. Head left at the top and follow the short tunnel to a barrier that you can pull down with a rope arrow.
Head on through, jump the gap, and follow the tunnel until you’re back outside.
No Comments