The leaders of the major nations have been gathered in Evermore, which can only mean that the time to bring the battle to Doloran. Make any final preparations, as when you speak to Roland and say you’re ready, you won’t be allowed to go back for a little bit. Speak with Roland to start and watch the scenes that follow, which lays out the plans for the battle ahead, although things aren’t exactly looking as if they will go smoothly. However, a rousing speech from Evan seems to smooth things over for now, and the battle will commence shortly.
Approaching the Ultimate
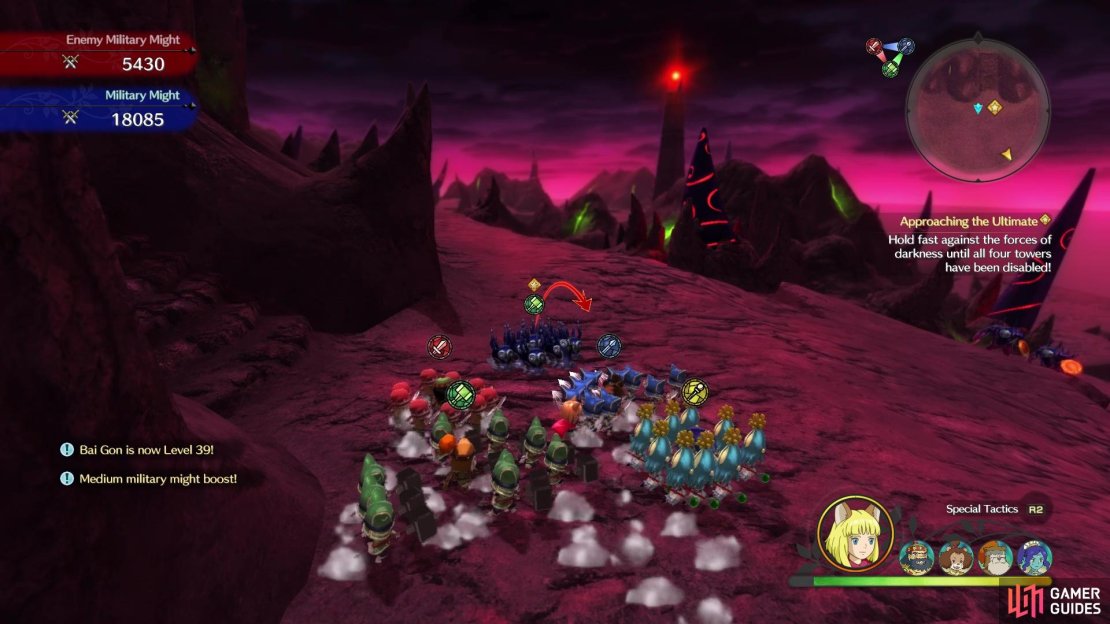
The first two parts of the plan will take place in the form of skirmishes, with the first one being level 21. Bolster your forces up with some Kingsguilders and have a look at the surroundings. If you’ve been doing all of the sidequests and skirmishes up to this point, the pitiful levels of the enemies ahead will make youe breath a sigh of relief. There are three hammer units, a spear one and a sorceress. After defeating them all, there will be a short scene before you’ll regain control.
Pass through the gate and some more enemy units will appear, consisting of a lancer unit, another sorceress, and two more hammers. They shouldn’t last too long, all things considered, and you’ll be treated to another quick scene afterwards. Continue past the second gate to more enemies, to no surprise, which has three sword units, a spear unit and one more sorceress. Note that the three sword units are similar in nature to Porcs, so be careful around these. Approach the barrier and there will be another quick scene, followed by some enemies coming from three different directions.
You will have to contend with enemy units coming from various directions while you wait for your allies
You have a sorceress coming from the west, a hammer from the east and a sword from the south. Some more will spawn upon defeating them, usually varying in different types, so be on the lookout and adjust accordingly. This will carry on for a bit, with the enemy units coming from the three directions. When you see one of the towers coming down, then you will face one final set and after they are gone, then the skirmish will finally be over.
Once you regain control, you will be on the world map and your next objective is to approach the Horned One. Before you do, though, explore the overworld a tiny bit to find some goodies. At the end of the path to your east will be a chest, which contains a Sovereign Soreaway. To your south will be enemies, so navigate the path until you spot a blue chest not that far down (Confusing Blackwing Bow). At the southern end will be a Trip Door (Nazcaan Coast) and your airship, which you can actually use to leave if you want. Return to the northern end and look west to spot a Tainted Monster, level 53 Dahlia, a sylph-type monster. You’ll receive a purple Spiteful Staff for your troubles, plus you’re finished exploring. Approach the Horned One to continue the story.
The Final Fight
As previously mentioned, this fight will take place as another skirmish, at level 23. The biggest difference is that you’re going up against an actual boss monster, so the battle will play out differently. You will have to attack the chest area of the Horned One, but he won’t take the attacks lightly. His two main attacks involve his fists, with the left one (when looking at the beast) just smashing into the ground. The other arm, though, will do a sweep across the ground, so quickly move away from it. The biggest thing with these two attacks is that they are slow and it’s very easy to move out of the way.
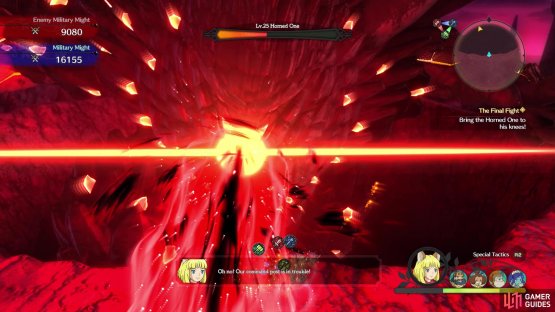
There are other things going on in this skirmish besides the above, such as allies coming out of the two command posts to the east and west. However, some throwaway units of the enemy will also appear to destroy these, but you should really just concentrate on the Horned One. As the battle goes on, the boss will add more attacks, including a large laser attack that sweeps across the ground, and another laser attack that involves the Horned One floating in the air. The lasers from this will be thinner and head straight ahead, leaving behind little “mines” that explode in a second or two.
(1 of 2) You want to attack the big glowy spot on its chest/stomach
You want to attack the big glowy spot on its chest/stomach (left), Needless to say, the big laser beam attack hurts a lot (right)
One of the more annoying moves that the Horned One can do is shoot out large meteor-like objects that will hit the ground. These can be easy to avoid, though, since the targets are shown (they are similar to the cannon shots), but they do hurt quite a bit. As previously mentioned, you have command posts to either side and other armies will contribute with siege towers and cannons later on in the fight. Keep a constant eye on your might gauge in the lower right and always save some for sprinting away from the boss’ attacks.
Eventually, the Horned One will be defeated and with Lofty’s help, you will enter the beast, bringing you to the final dungeon, the Belly of the Beast.


No Comments