
Board your ship once again and exit Hydropolis, where you’ll see that the giant whirlpool near it has now disappeared, revealing a cave. This is the Abyss, so enter it for your next dungeon.
The Abyss
| Sparkles List |
|---|
| Awwberries, Briar Coral, Bright Button, Candy-Owl Feather, Churned Butter, Coarse-Grained Lumber, Comely Coral, Heavy-Duty Cloth, Lemon-Yellow Thread, Milky Crystal, Oasis Wonderwater, Pincushion Coral, Pretty Ribbon, Sapphire Huebloom, Shooting Star Salt, Silver Nugget, Uptown Egg, Waveskater Shell |
Follow the path when you regain control, as it spirals downwards, and you will come to a Trip Door (50 Fathoms Deep) and a waystone. A little bit north of that will be another quick scene, then you’re free to explore. Don’t continue down yet, but look to the north of where the previous marker was to find a dead end with a chest (5 Silver Nuggets). Start your descent and you should overhear Leander mention that you can easily break the red coral, so smack them a few times to get an item from them.
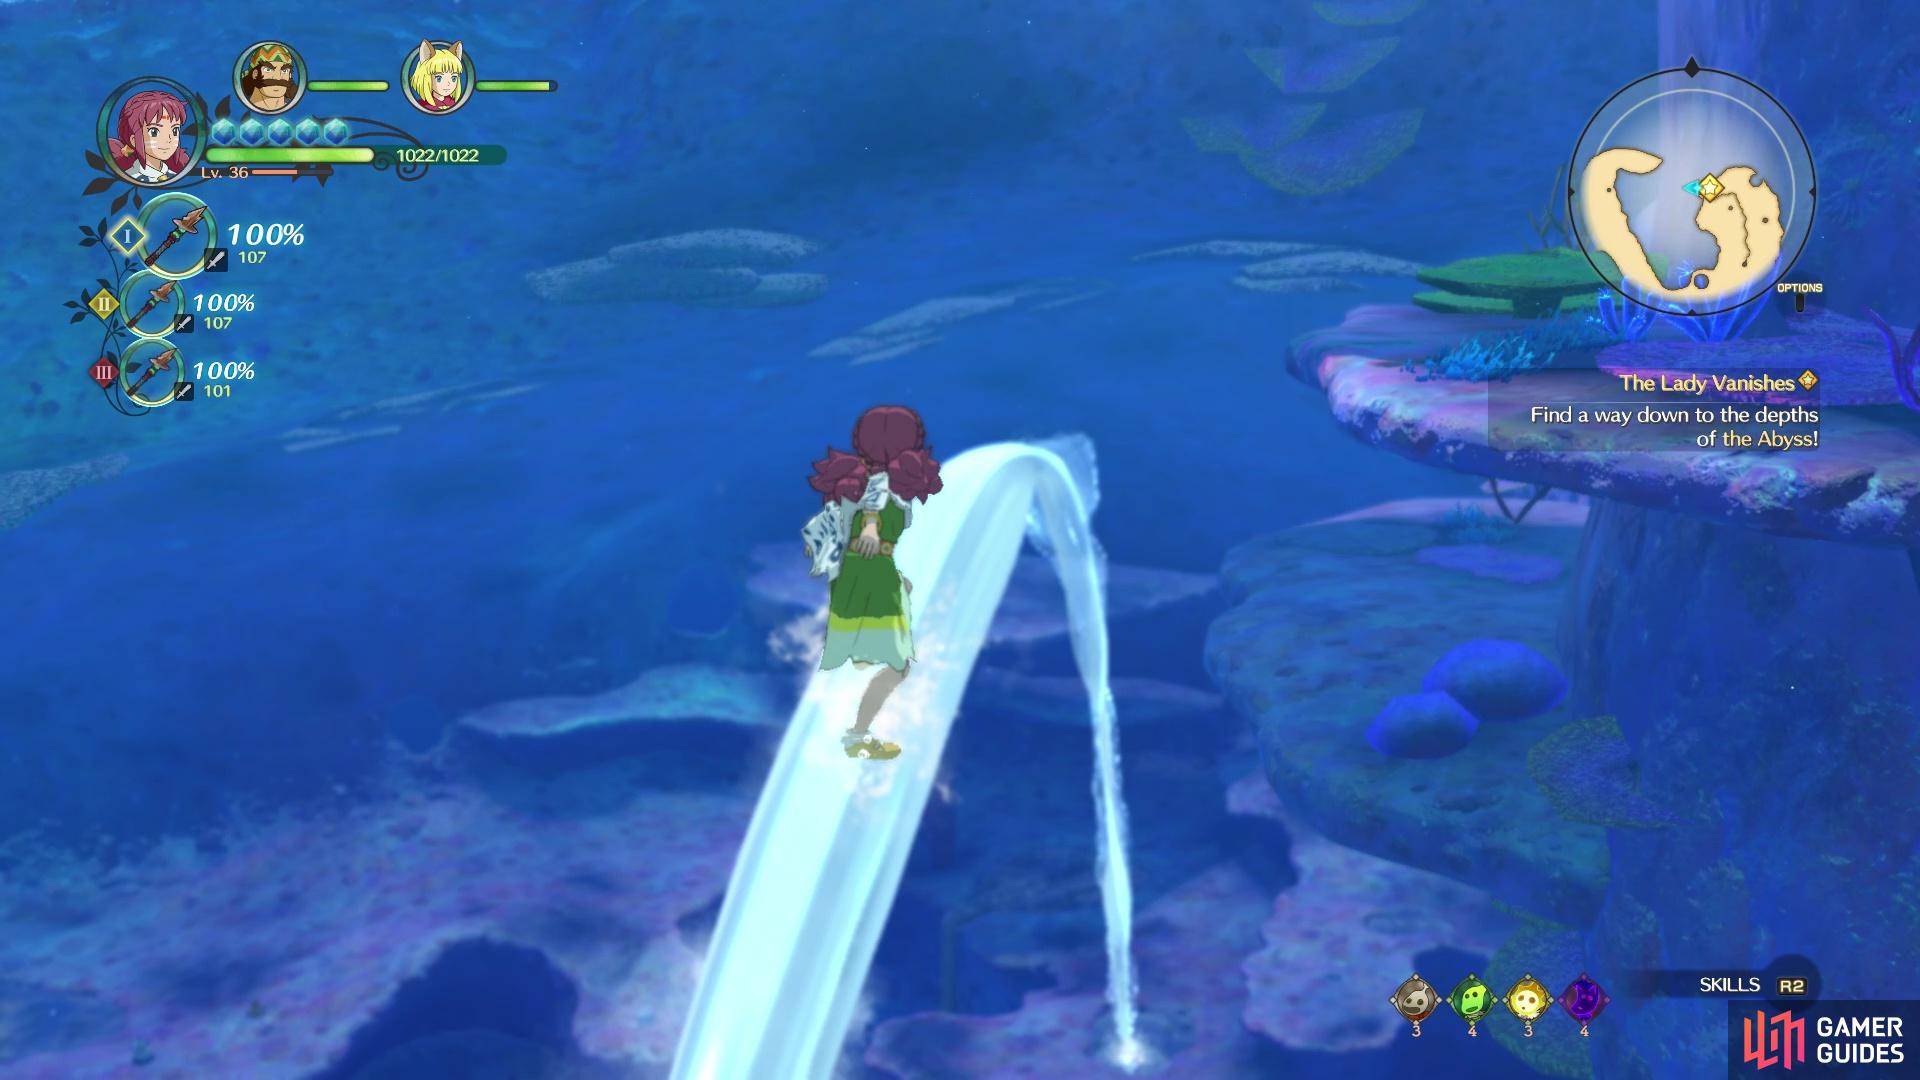
There will be some enemies waiting for you, then the path will split into a lower and upper section. The lower has nothing of importance, while the higher path has a shell that spits water, which you need to advance deeper. Approach it for a scene, where Leander will teach you the Water Slide spell, allowing you to use these puffer whelks, as they are called. Ride the water jet it spews out down to a new area, then continue south to fight some more enemies. When the path veers off to a little ledge, you will find another puffer whelk that will bring you back up next to the previous one.
Return to 500 Fathoms Deep and continue your descent to the end to another whelk, which will shoot you off to another piece of land to the east. There are many different ways to go here, but climb up the westernmost hill first for another whelk. This one will launch you to the unreachable area you saw in the previous section, where you’ll find a chest at the top (Damp Butterfly Baton). Return to the previous section and fight your way south, then up the eastern path. At the end will be a chest with an All-Be-Gone, so grab it and double back to the southern end of the area to shoot yourself to a new area with the whelk.
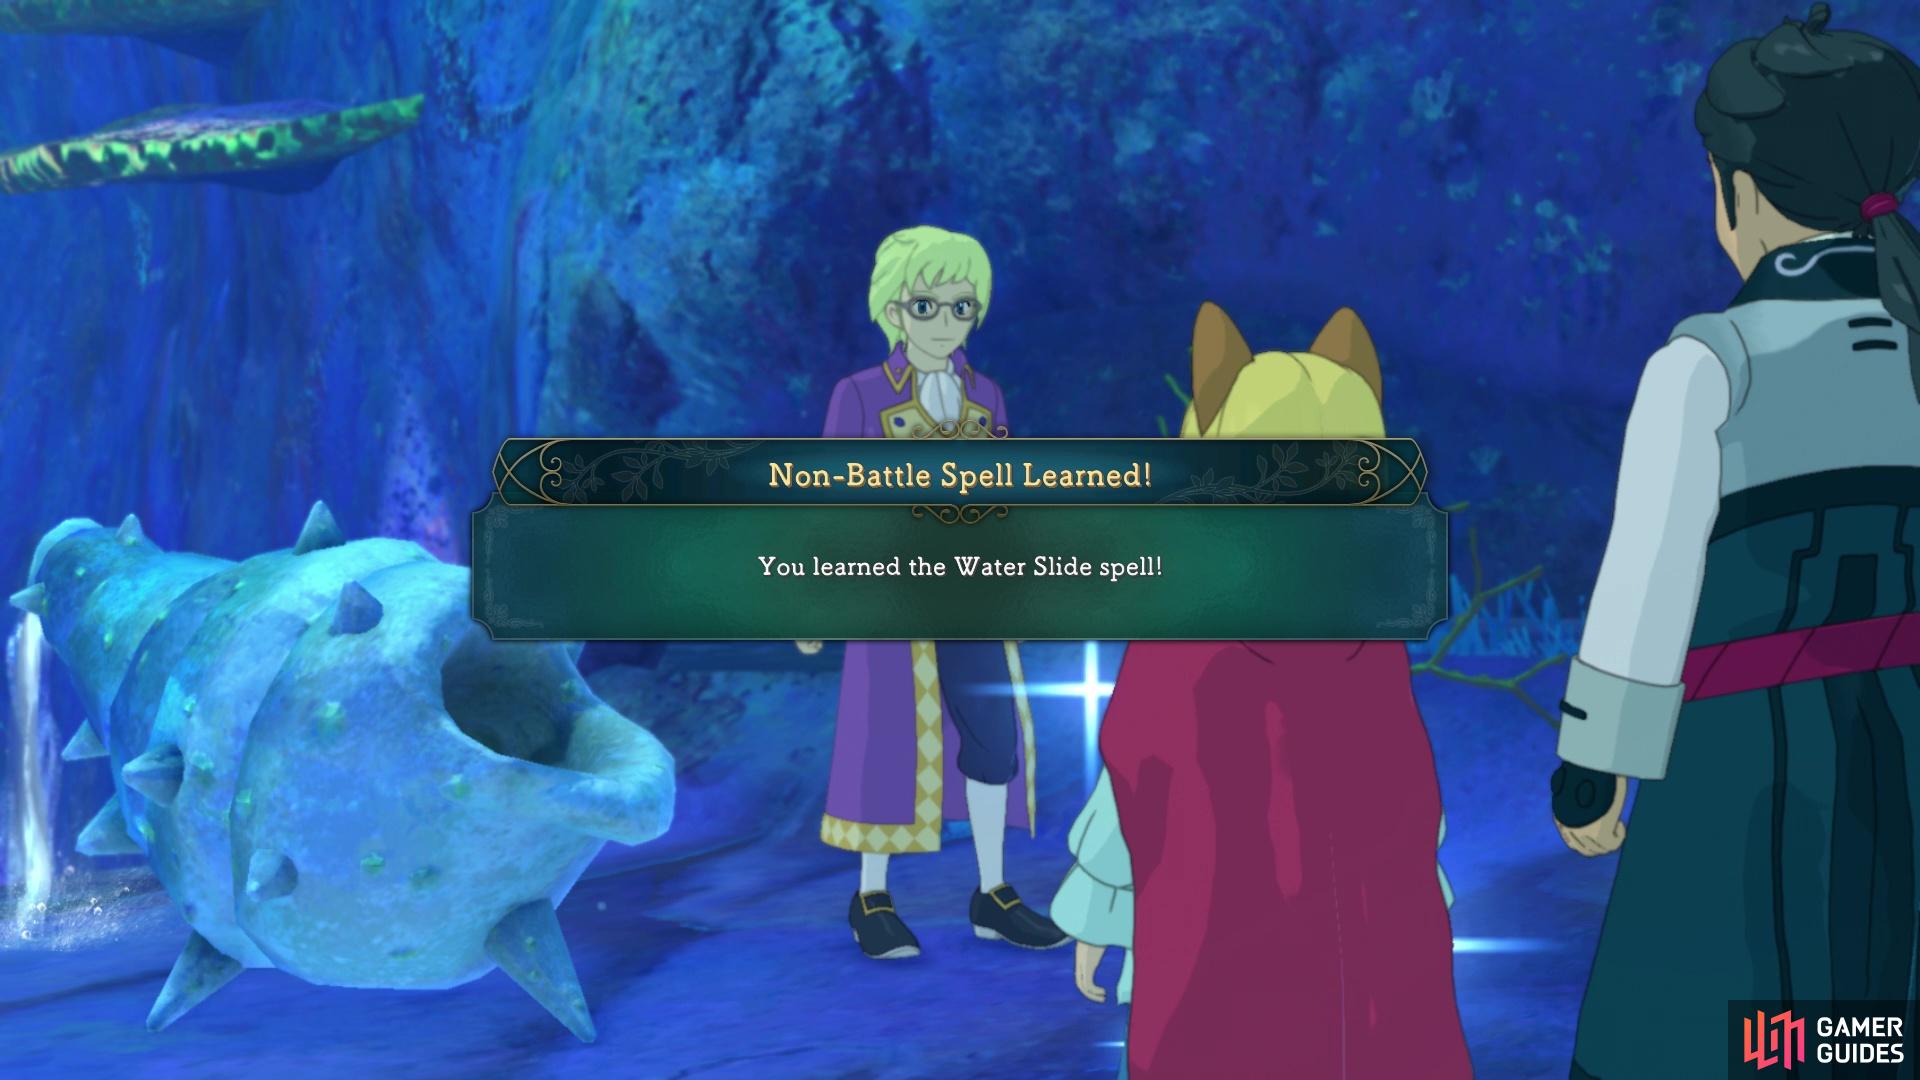
Leander will teach you a new non-battle spell
which allows you to utilize the puffer whelks
There is an upper path here, as well as a lower one, and even a section above where you landed that you can’t reach yet. The whelk at the end of the lower area will shoot you to the unreachable area just mentioned, where you’ll find not only a chest (Waterproof Sea Breeze Sandals), but a higgledy stone. This one will want a Bright Button, which will cause Haddock the Fishy to pop out and join you. Drop back down and use the whelk in the middle to launch yourself to an isolated platform. Defeat the enemies, then open the chest at the end for a Strong Sixth Censer.
Use the nearby puffer whelk to return to 500 Fathoms Deep, then 1000 Fathoms Deep, and take the one with the marker to a new area. You can drop off the ledge to the north to a lower path, although you can just go around to the east as well. Drop off and go straight north, ignoring the northeastern part and looking at the little notch on the map for a chest (Greatsword). The path that extends to the east leads to nothing, so double back and head east this time. The ramp leading to the marker is to the south, but you’ll want to go all the way north first to find a chest at the dead end (1700 guilders).
Now, head up that ramp to the south and feel free to activate the whelk, but don’t take it as it returns you to a previous area. The second whelk, though, will shoot you to the northern section of this area (west past the whelk has nothing). Go up the slope to find a waystone, two more whelks and even a Trip Door (1500 Fathoms Deep). Take the southern of the two whelks (not marked) to be brought to a raised section to the south. There’s nothing of value, in terms of treasure, but you’ll find another whelk here that will launch you to the last unexplored part of this entire area, where a lone chest will be (Punisher’s Ring). Drop and go take the marked puffer whelk to descend to 2000 Fathoms Deep.
There’s nothing of note in this section (whelk by where you land leads nowhere important), so just down the enemies and go up the slopes to the top, where you can take another puffer whelk to the east. Well, isn’t this section wonderfully confusing. Go down the slope to find a whelk at the end, but don’t ride it yet (feel free to activate it, though). Head back up the slope and look for the archway, passing underneath it and venturing to the south. Drop down below and look for a chest on a ledge, but with a gap between your ledge and it. Despite what you may think, you can actually jump this, so do that and open the chest (Anti-Nixing Bone Mail).
Drop down another level and look to your north for yet another chest (5 Jade Corals). Travel south and to the marked puffer whelk, which will bring you back to the first section to the west. Return to the eastern section and take the whelk just north of where you land now, which will take you to the northern part. This is confusing, but you’re making your way to the end soon. The marked whelk isn’t important here, so find the other one to the far north; riding it takes you back to the east. Venture south here to find a chest on a ledge, but despite the easy jump, the game won’t let you make it.

Stellar Jellies are pretty much small version of the Jelly Queen boss
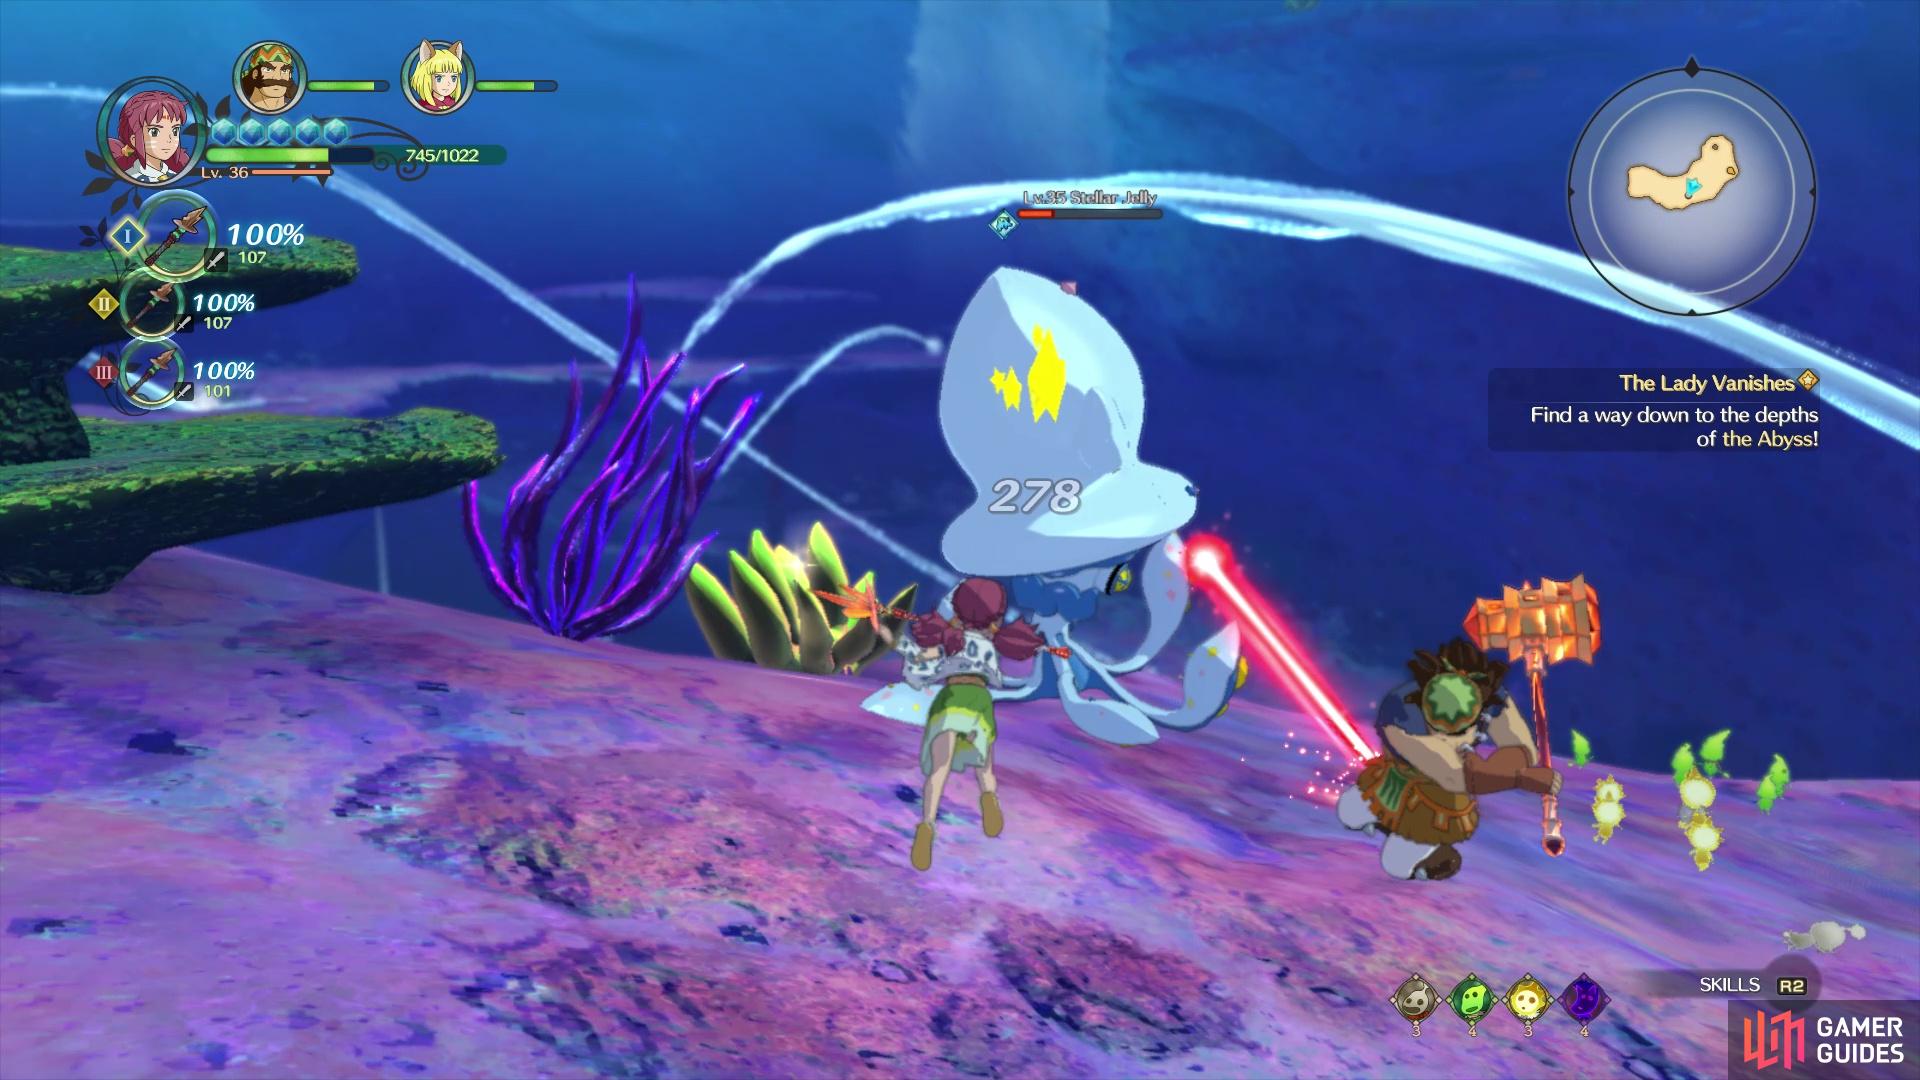
including its laser attacks
To the north is where you want to drop down, as you can then make it to the whelk that brings you to 3000 Fathoms Deep. As soon as you land, journey to the south to find a Trip Door (3000 Fathoms Deep), then look at the bend to the west a little north of that for a chest (Songbook No. 15). Ride the whelk by the trip door to reach that one chest mentioned in the previous area, which is a Four-Leafed Soreaway. There is also a higgledy stone here, but the shell it wants is something you don’t have yet.
Luckily, you can simply teleport to the 300 Fathoms Deep trip door from here, to avoid needless backtracking. Go all the way to the northwest corner to find a chest here, which contains an Angel’s Tear. Backtrack to the waystone to save and heal, then ride the puffer whelk next to it to reach the bottom, where some scenes will play out and you’ll be facing the next boss.
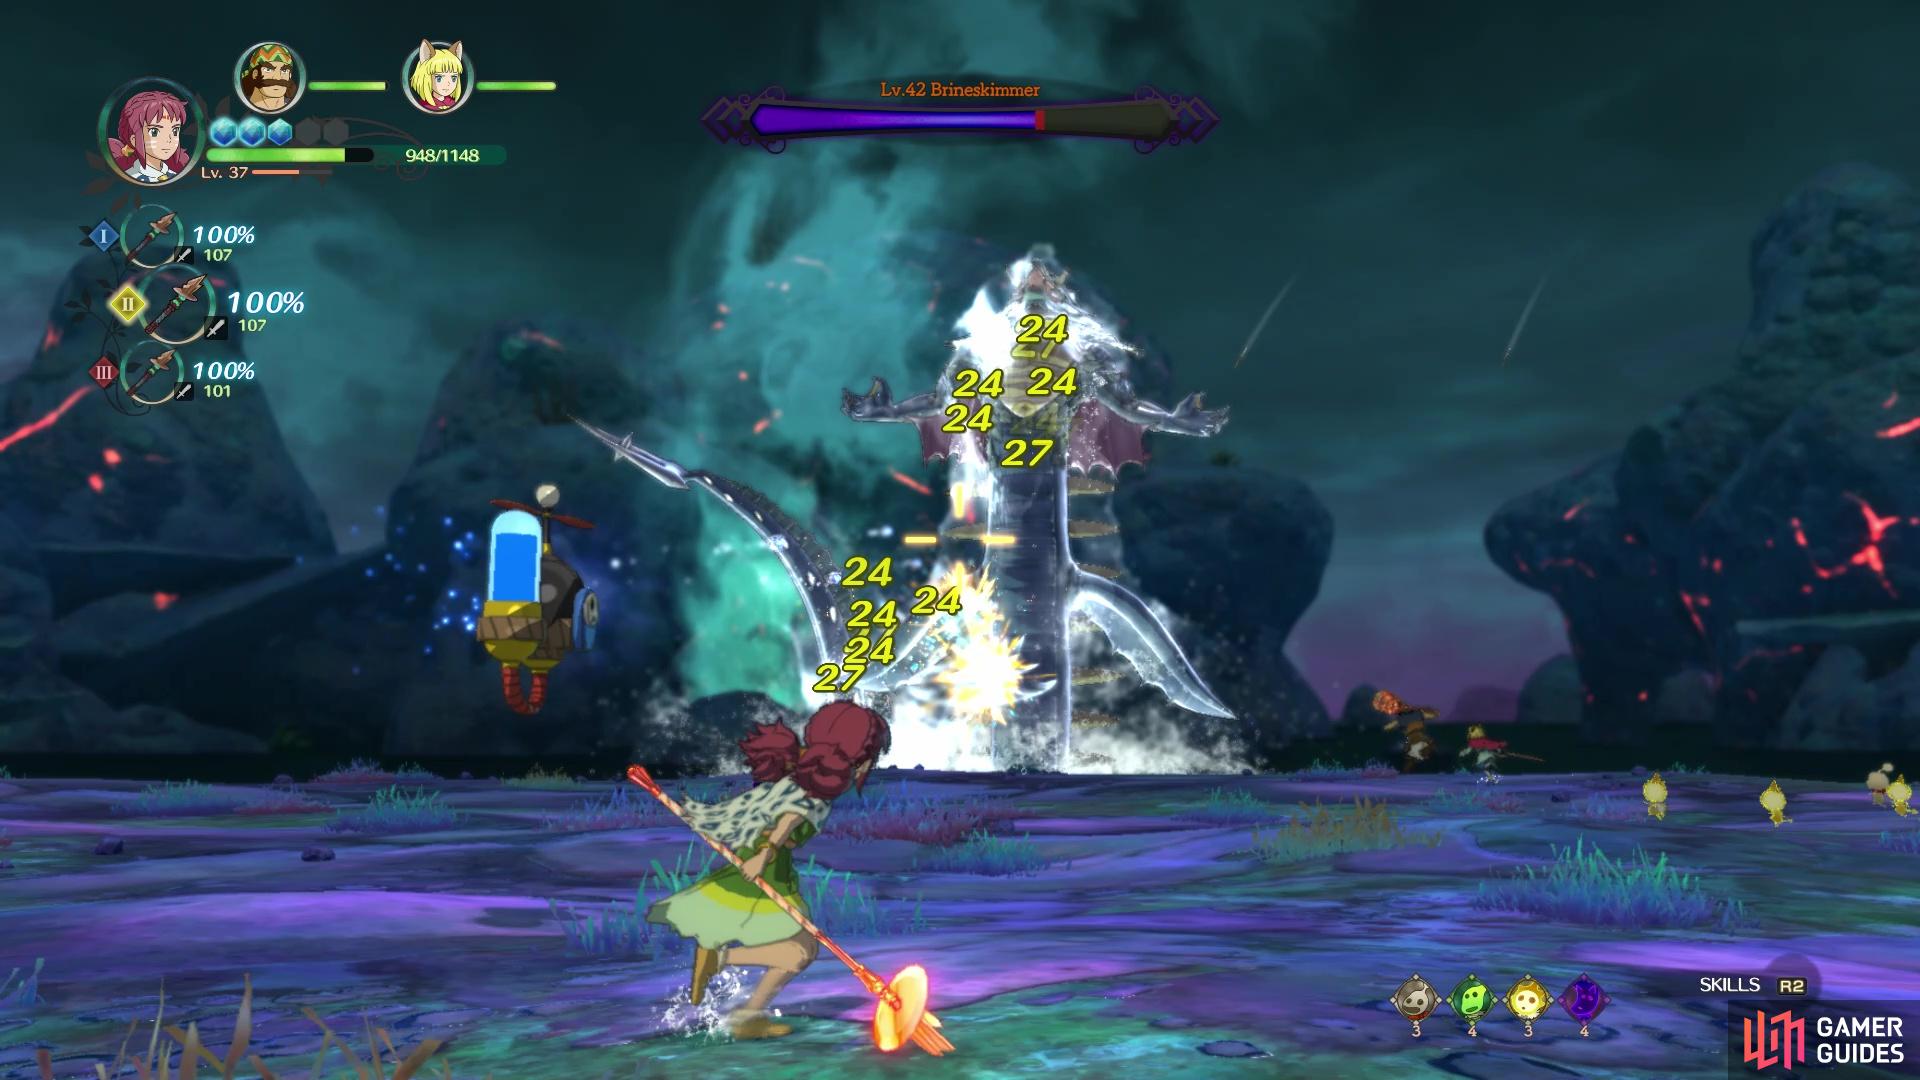
BOSS - Brineskimmer
This rogue kingmaker will begin the fight while swimming around above you, out of melee reach, so you’ll have to use ranged attacks here if you wish to damage him. Eventually, he’ll grow three weak points on his body, then lunge towards the ground, staying there for a bit of time. While on the ground, Brineskimmer will have two weak points on either side, which if you remember from Longfang, can be destroyed and cause the boss to become immobile for a short period of time, where you can cause massive damage. Note that Brineskimmer will most likely shoot an ice beam for his only attack at this point, sweeping it across the arena.
Once this period is up, though, Brineskimmer will roar and the second phase of the battle will begin. He will cover himself in ice, his health bar becomes purple and a bunch of icicles emerge from the ground. Destroying these will create higmakers, which you will actually need in this battle, unlike with Longfang. While swimming about, Brineskimmer can lunge at you and he will also create more icicles, some of which will be left behind. Keep destroying them to create enough higmakers to get the prompt to trigger their special ability.
This will create a flying drone that will shoot projectiles repeatedly. Aim this at Brineskimmer to damage him and remove his ice shield, then you’ll want to aim the shots at the weak points. Destroy all three of them (two on front arms and one on chest) to cause him to crash to the ground, where he’ll be vulnerable to melee damage, similar to when breaking the weak points at the beginning of the fight. If he manages to get back up, then the cycle of destroying icicles and shooting him down with the higmakers will continue until he’s defeated.
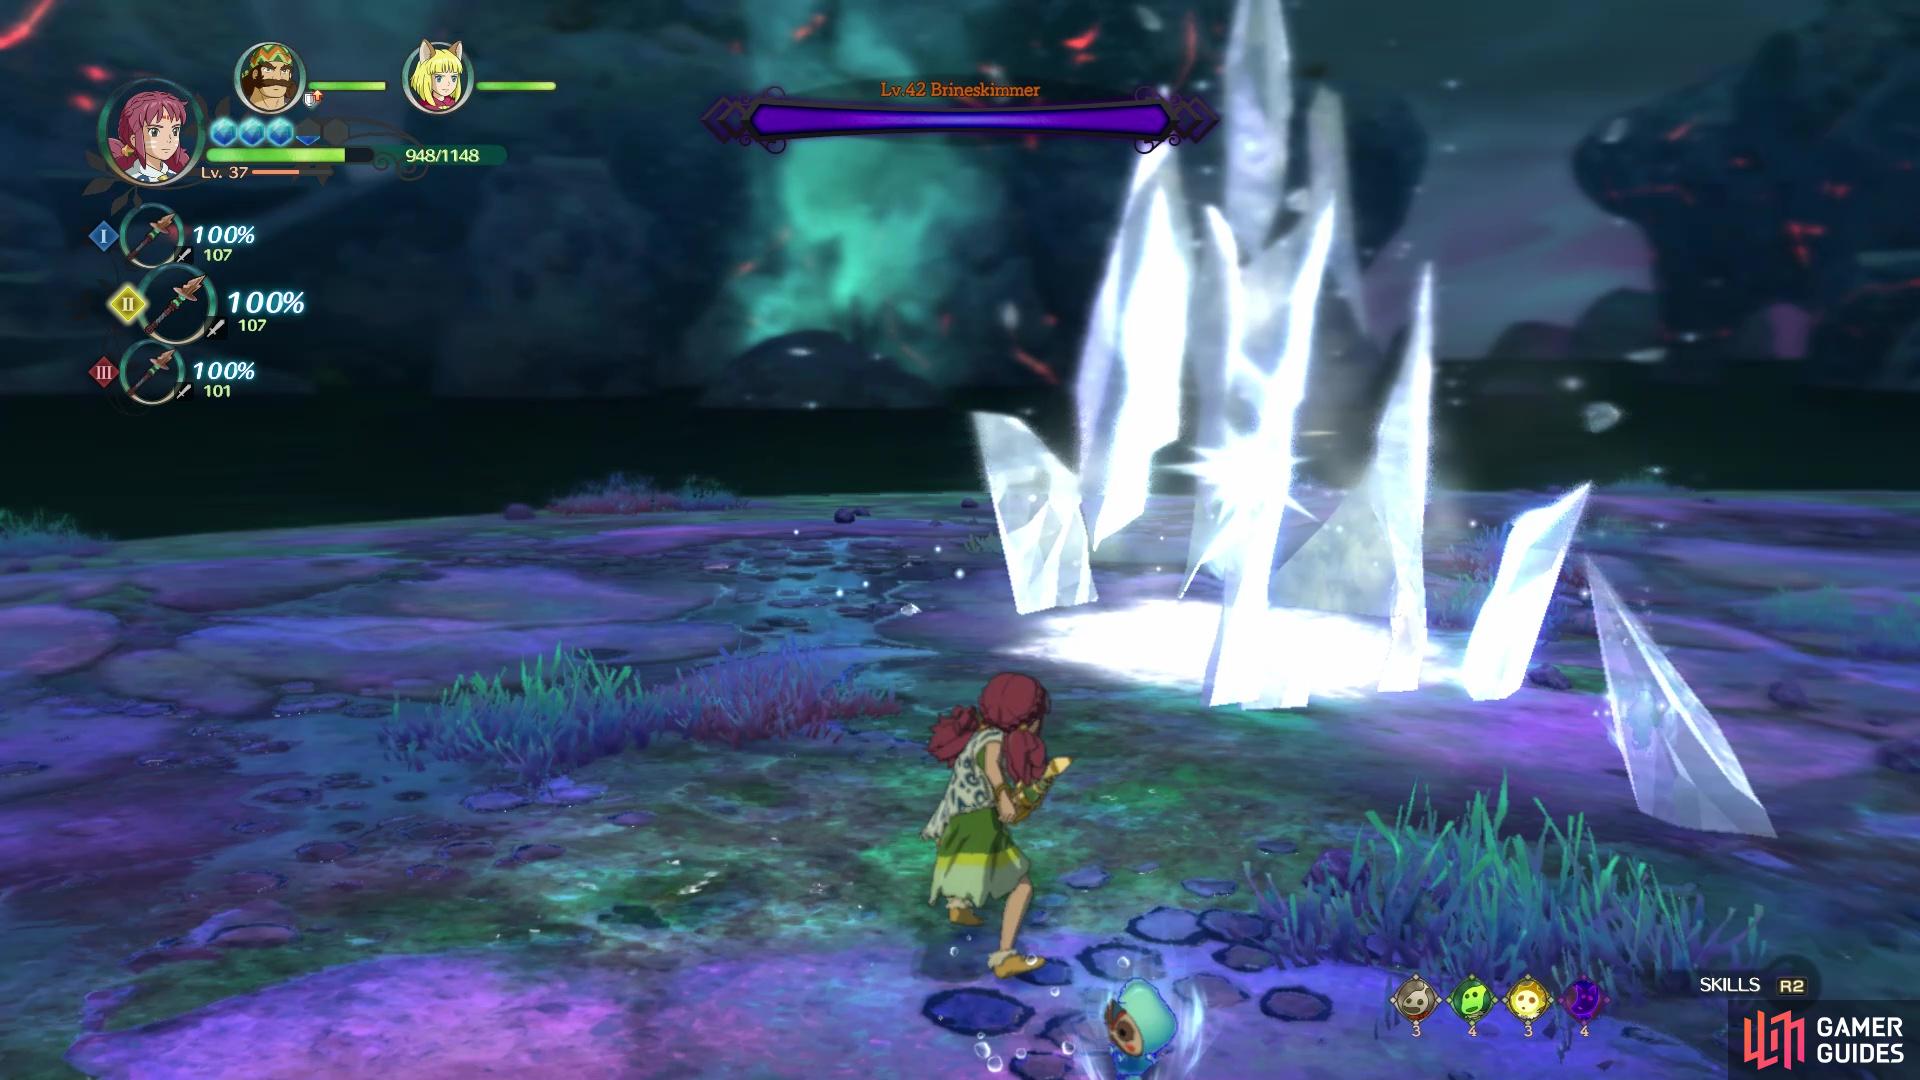
Destroy the icicles to get higmakers
which will form a small, flying turret that is necessary in defeating Brineskimmer
Hydropolis Joins the Union
Watch the scenes that occur after the battle ends, which will explain a lot about Hydropolis. In the end, Leander will permanently join your party and Queen Nerea will be ready to sign the Declaration. Simply speak to Nerea to begin the signing, which will bring this chapter to a close.


No Comments