
So, in order to start a new kingdom, you will need to find a kingmaker and Evan suggests going through Cloudcoil Canyon. Note that Evan becomes a true party member at this point. He can equip swords, just like Roland, but he has access to a few more skills. Head towards the nearby exit and you will see a blue glowy spot near it. This is a Trip Door, which basically function as teleporters, making travelling a lot easier. Simply activate them by walking up to them and pressing the X button. In order to access the map with the Trip Door locations, simply press the Options button twice or hold it down.
Take the nearby exit and you will be on the world map, where the first thing you’ll probably notice is your character models. Putting that aside, the other big difference between dungeons and the overworld is that you don’t fight enemies right then and there. Instead, you will be brought to a different screen and do battle with enemies normally there. Should an enemy hit you from behind while on the field, a surprise attack will happen, meaning all of your weapons will begin with 0% on their Zing gauges.

Blue lights signify trip doors
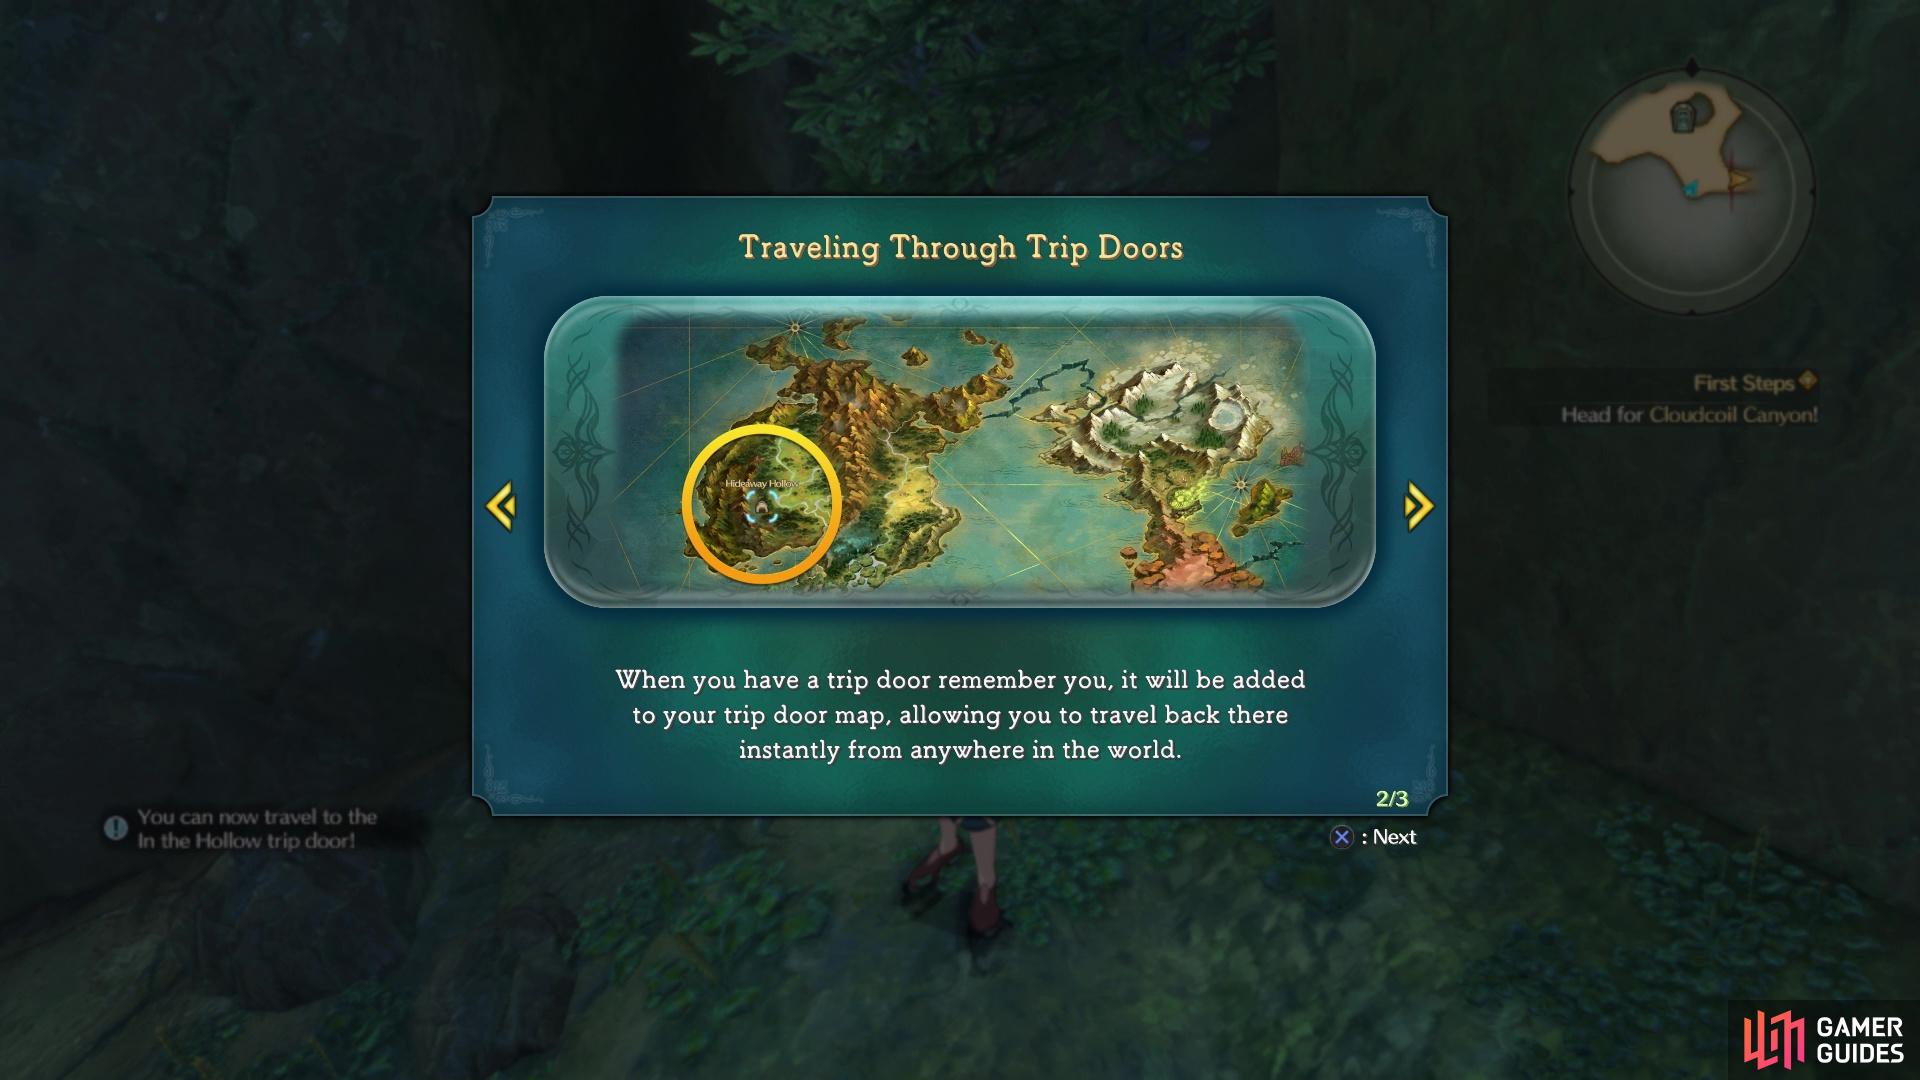
which can be used to teleport around the map
Upheer Plain
The first thing you should do is open your map, where you’ll see your objective marker is to the northeast. However, there are a number of treasures to be found on the world map, including both chests and sparkles. The latter won’t really be pointed out as much, but all chests will be included in the guide. You will start out in the Upheer Plain area, so begin by going north and a little west to find your first chest, which contains 100 guilders. Continue west from there to find another chest right below a ledge (Choppy Old Cloak). Double back to the east, making sure you collect the sparkles and fighting enemies to gain experience.
Approach the house you see not far off to witness an older lady being hassled by a flying creature, which will lead to a battle. This will be your first fight with an airborne creature, prompting a tutorial. Basically, flying foes will be hard to hit with normal attacks, so you’ll need to smack them down with aerial ones. You can jump into the air with the Circle button and perform your attacks in mid-air. You could also try ranged attacks and magic, but those don’t seem to bring said enemies to the ground, as only melee attacks can.
Fight the wyvern as normal, until a cutscene occurs and you’re treated to yet another tutorial, this one being on the strange magical creatures called Higgledies. These things will automatically back you up by attacking, defending, healing and performing other actions based on their type. You will sometimes see them band together and have a circle underneath them. Step inside the circle and press X to issue orders to them, where they will perform a skill.
There is one more special function to Higgledies, as certain ones will allow you to absorb them by holding down the button for your characters’ spells and abilities. This can change their effects and you will be able to tell if this can happen by looking at the skill in your menu, where there will be a picture of a Higgledy and the number needed. Whenever you see a circle, move over to the Higgledies, hold R2 and the button your skill is assigned to (provided it’s the right kind of Higgledy) to absorb them.
Higgledy Tutorial
Using this knowledge, finish off the Wyvern and the lady will introduce herself as Auntie Martha, inviting you to her house. For helping her out, she’ll let you take some Higgledies along with you on your journey. Runcile the Righteous will join you, who is a higgledy hero. Those with names will act on their own accord during battles, with each one having their own personality, as well as a unique set of tricks up their sleeves. You can assign your heroes via the Party menu, so open it up to get a more in-depth tutorial on higgledies.

(1 of 4) Higgledies will have a circle on the ground when you can trigger their ability
Similar to our heroes, higgledies have their own stats assigned to them, feistiness (attack) and hardiness (defense). As they level up, these stats will increase, but they don’t level up from battles. Instead, they will be able to level up by using a certain facility in your kingdom, which comes later in the game. Also, higgledies have their specific personalities, which dictates how they’ll act during battles. For example, Runcile is shy, meaning he won’t take the initiative too often in battles.
In addition to personalities, each higgledy hero has access to skills. Some skills are performed automatically, while others require you to trigger them in battle via the circle. Some skills (ex. Sonic Tonic! from Runcible) require a mechanic you don’t have access to yet, called awakening. One more thing to talk about with higgledies is that each one has a cost associated with it. You can only equip higgledies whose cost doesn’t exceed a total of 10, so you will need to be careful once you get more. Lastly, by speaking with Auntie Martha, you can learn a few things about the creatures, but the one thing to take away from her is that you can get more higgledies by finding higgledy stones or by creating them (the latter will come later).
To Cloudcoil Canyon
That’s all you need from Auntie Martha, so step outside and look right next to her little house to find another Trip Door (Auntie Martha’s Cottage). There is a hill behind Martha’s cottage, leading to an area south with more treasure. South and a little east is a chest on a small hill (Freshly Baked Bread), and to the northeast is another chest at the cliff’s edge (Detox Simply Slippers). Now, you likely see a large dragon on the large hill nearby, which is level 50 and will annihilate you should a battle occur. There is a treasure chest up here, on the eastern end, so if you’re feeling brave, save your game (main menu, then options) and wait for the Windwyrm to venture south before sneaking on by; the chest holds a Burning Ring.
Return to the previous area and venture to the western end to find another chest, this one containing a Soreaway. Start making your way back to Martha’s cottage, hugging the northern cliffside, where you’ll find another chest in the open (Sixth Censer). Back at Martha’s cottage, look to the east to spot a passage that leads to a bridge, but don’t cross it just yet. Instead, go to the end of this little area to find a chest by the water (300 guilders). Cross the first bridge but not the second, instead venturing east once again to find another chest (Soreaway) and an entrance to a cave.
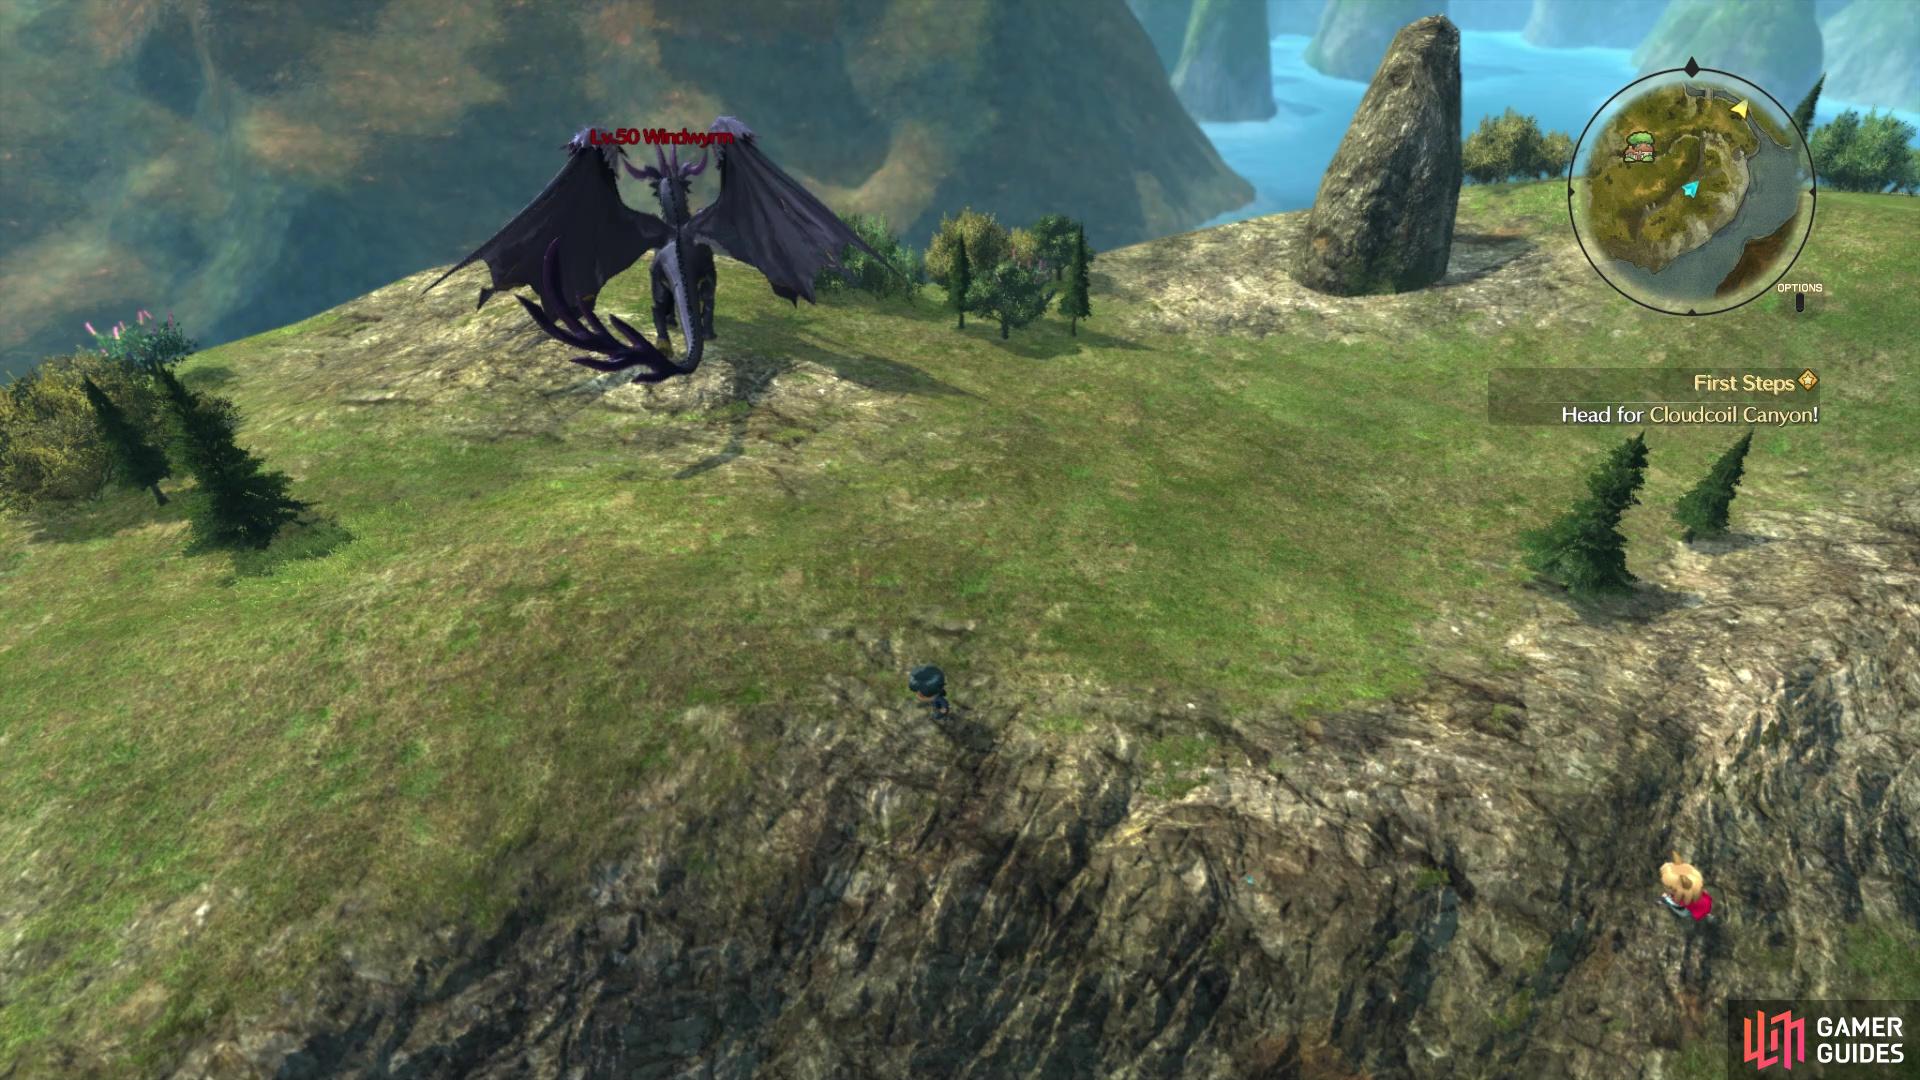
Be extremely careful of the level 50 dragon up on this hill

but you can sneak past it to get a Burning Ring
Grotty Grotto doesn’t have much in it right now, but you will find a bunch of sparkles, some enemies and a chest in the first room (Damp Wizard’s Wand). There’s a waystone in the next room, as well as a mysterious door, which is locked tight. Ignore this and exit the cave, then cross the second bridge to arrive in the Rolling Hills area. Travel straight west and you will eventually reach a river, where you’ll find a chest (Angel’s Tear). North and a little east of the chest you opened is a bridge, but you won’t be able to cross it, as it leads back to Ding Dong Dell and that place is off-limits.
Follow the riverbank to the east to find another Trip Door (Rolling Hills), then continue following it to the northern end of the Rolling Hills area. There will be a blue chest here, but you won’t be able to open it until later in the game. Travel southeast to find a chest amongst some trees (All-Be-Gone), and keep going in that general direction to finally arrive at Cloudcoil Canyon.
No Comments