
That was a nice, little diversion away from the main story, but it’s time to get back on track. Travel to the Calmlands trip door and cross the bridge to the south, then make your way to Sunrise Shore that’s a bit southeast from there. Once you get to the coastline, follow it north to find a chest at the tip there (Three-Leafed Soreaway). Note that the enemies around here are in their lower-to-mid 20s, so you’ll be fighting them for a bit. Venture west now, into the trees, to spot another chest at the end here (600 guilders).
Now, if you haven’t completed 030 The Seeds of Righteousness yet, then the monster you need to defeat will be right to the east/southeast of the previous chest. The Windwyrm is level 27 and you will want to be careful of it surrounding itself with electricity. Otherwise, stick to the sides to make the battle easier on you. With that out of the way, travel south, veering to the southwest to spot an elevated section. You can’t get anything here, but there is a blue chest in the southwest corner (Fiery Hurlcules Handgun). Get back on the main path and continue south to find a Trip Door (Shipshire Cape), then keep going southeast to get to a beachy area.
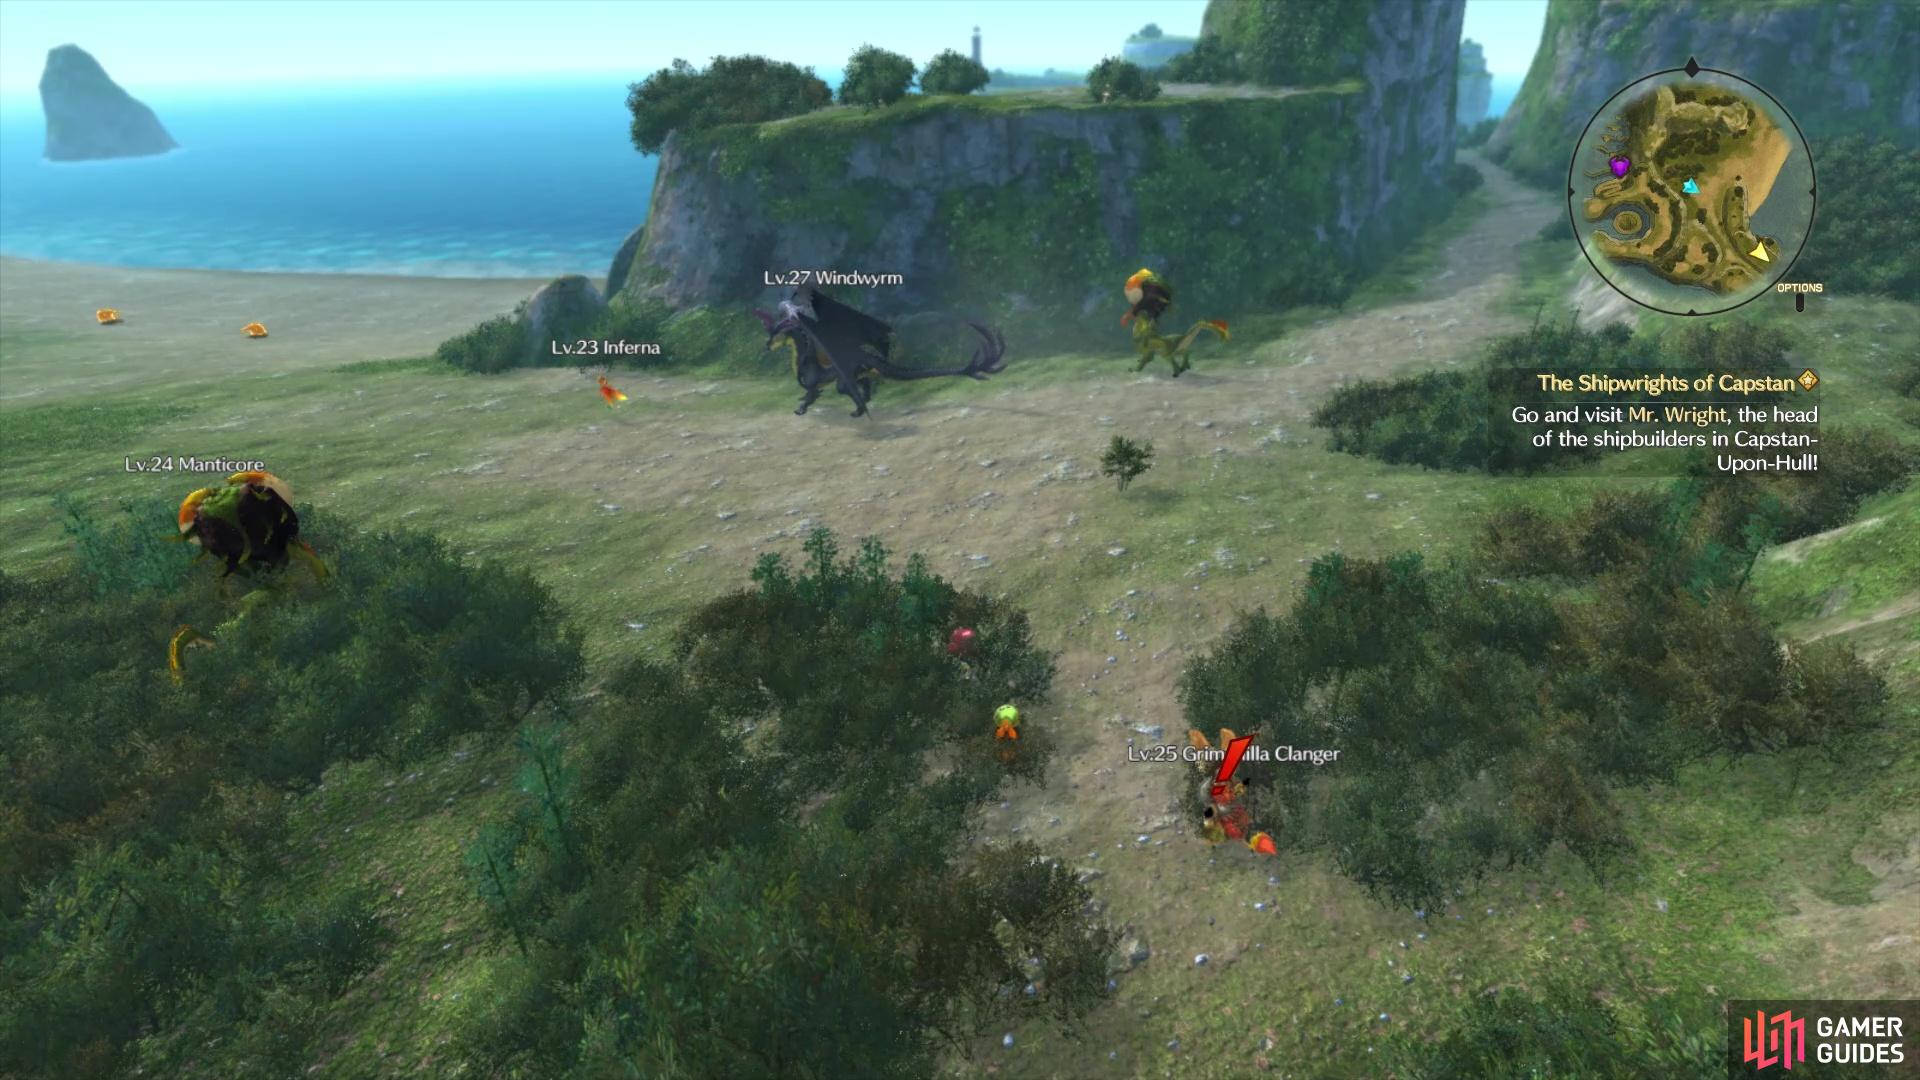
The Windwyrm is on the path to Capstan
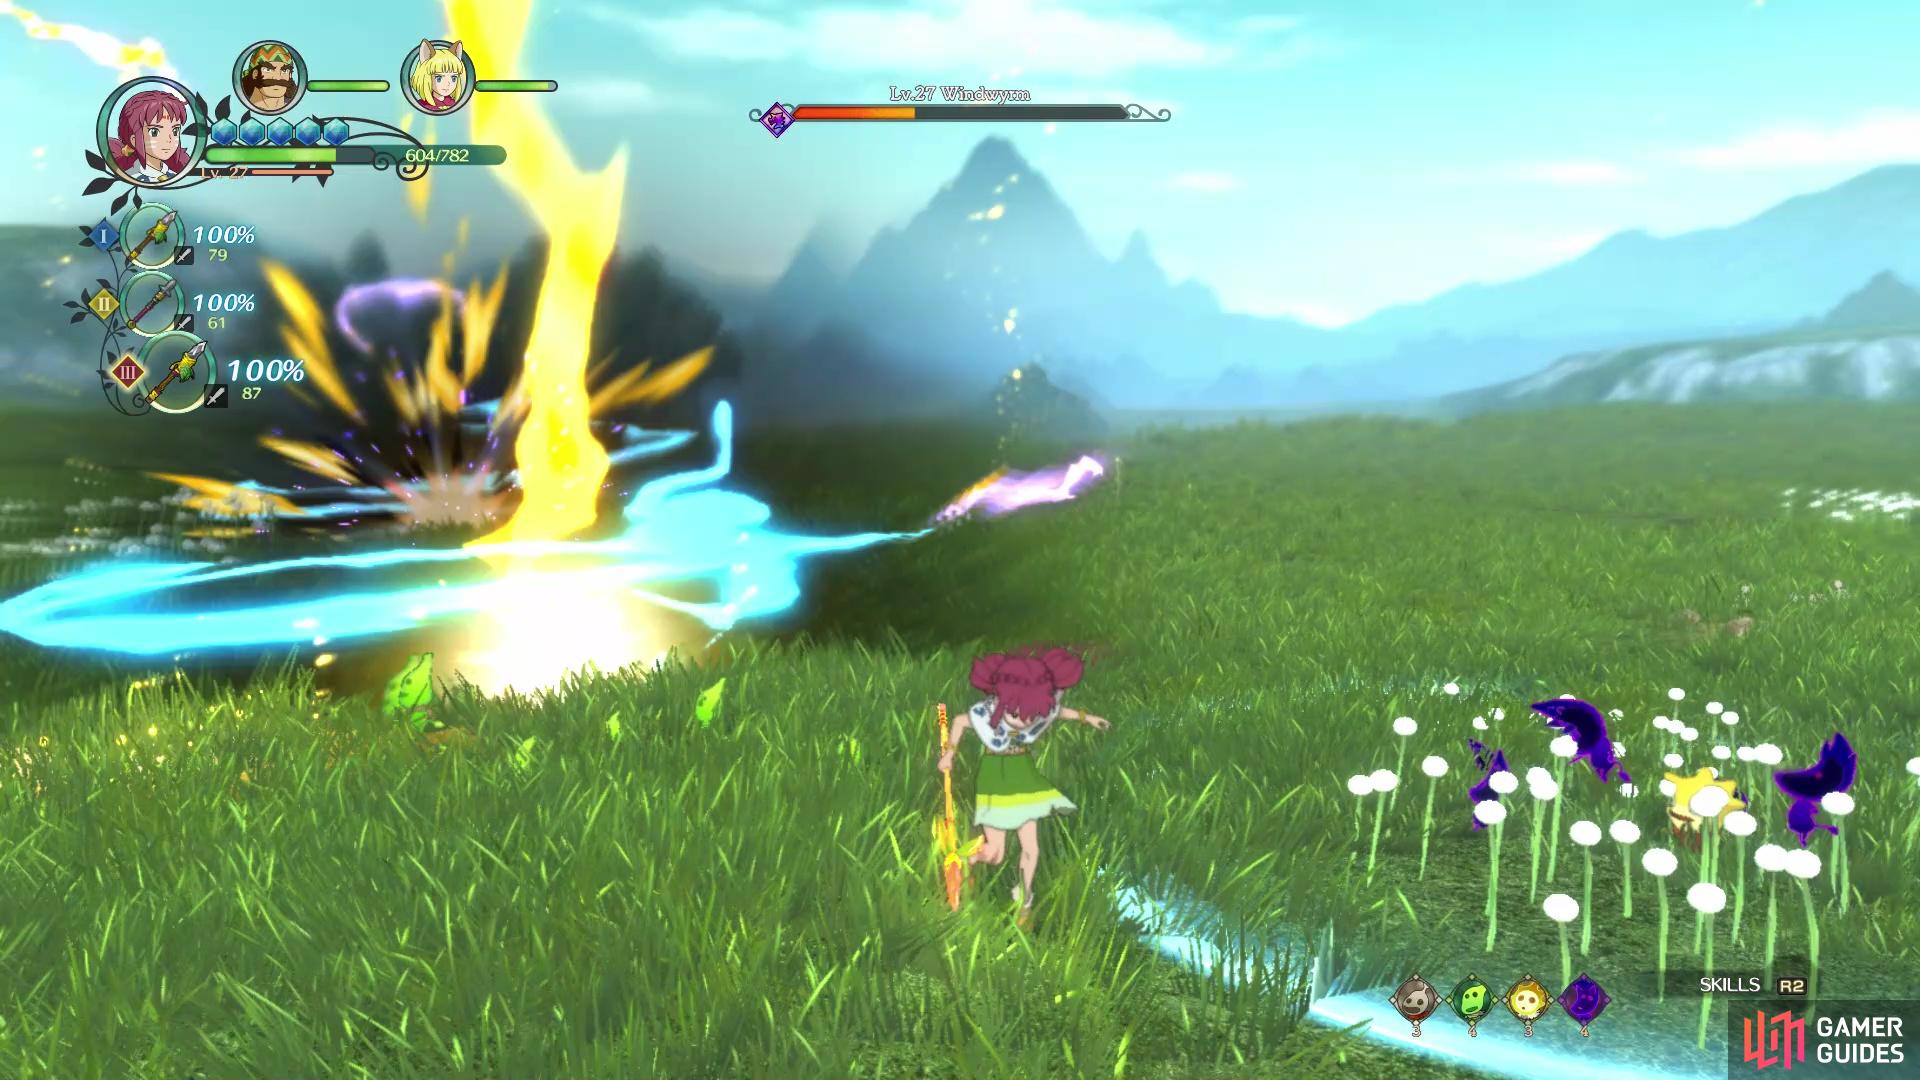
Watch out when it starts raining lightning on the battlefield
You should see a Tainted Monster off to the south here, on some ledges, which you can climb. Ignore the monster if you wish (it’s a level 31 one) and go behind it for a chest (Toxaway Pendant). Should you wish to fight the Tainted Monster, it is level 31, as already mentioned, and a Wyvern class named Yvan. Watch out for its lunging attacks, as well as when it goes into the air, since it will do diving ones. If you do manage to defeat the Tainted Monster, then you will receive an immensely powerful hammer for Batu.
North of the Tainted Monster, whether you defeated it or not, are two points of interest. There is a bridge here that leads to a single chest (Three-Leafed Soreaway), as well as another that leads to a lighthouse. The lighthouse isn’t anything special, but behind it will be another chest (Dripguard Pendant). Take the hill going towards the beach and straight ahead will be yet another treasure, which is a Soreaway Sweet. You will have two ways to go here, one to the northwest and the other way towards Capstan-upon-Hull. Take the latter way first, bypassing some ships, to find another set of ships, but this one has a chest next to it (800 guilders).
Return to the previous chest and cross under the archway with the lighthouse, immediately stopping to open the chest right there (Confusion-Be-Gone). Continue in that direction, opting to step onto the northern strip of land. Keep going west and you will eventually run into another chest, which contains a Strong Sixth Censer. Note the high level Wavewyrm on the opposite shore and if you glance closely, you can see a blue chest by the wrecked ship, so you can avoid heading into that trouble now (you’ll come back later to snag the chest). Not that far past the chest you just opened is an entrance to some cave, called the Hidey-Hole. It’s but a one-room cave, but it does house a higgledy stone. Give it a Sackcloth to make Mimber the Meanderer join you.
Capstan-upon-Hull
Back on the world map, look at your map to see a big unexplored area to the southwest, called Shallow Shoals. You’ll be heading there in a little bit, so find your way over to Capstan-upon-Hull and enter the town. Go ahead and enter the proper area of the town, only stopping to activate the Trip Door (Town Entrance). There isn’t really much to see here, besides a merchant that sells much of nothing and an inn. Speak with the old man with the objective marker, who says that some villagers and sailors are missing, so as per the course, Evan agrees to find them.
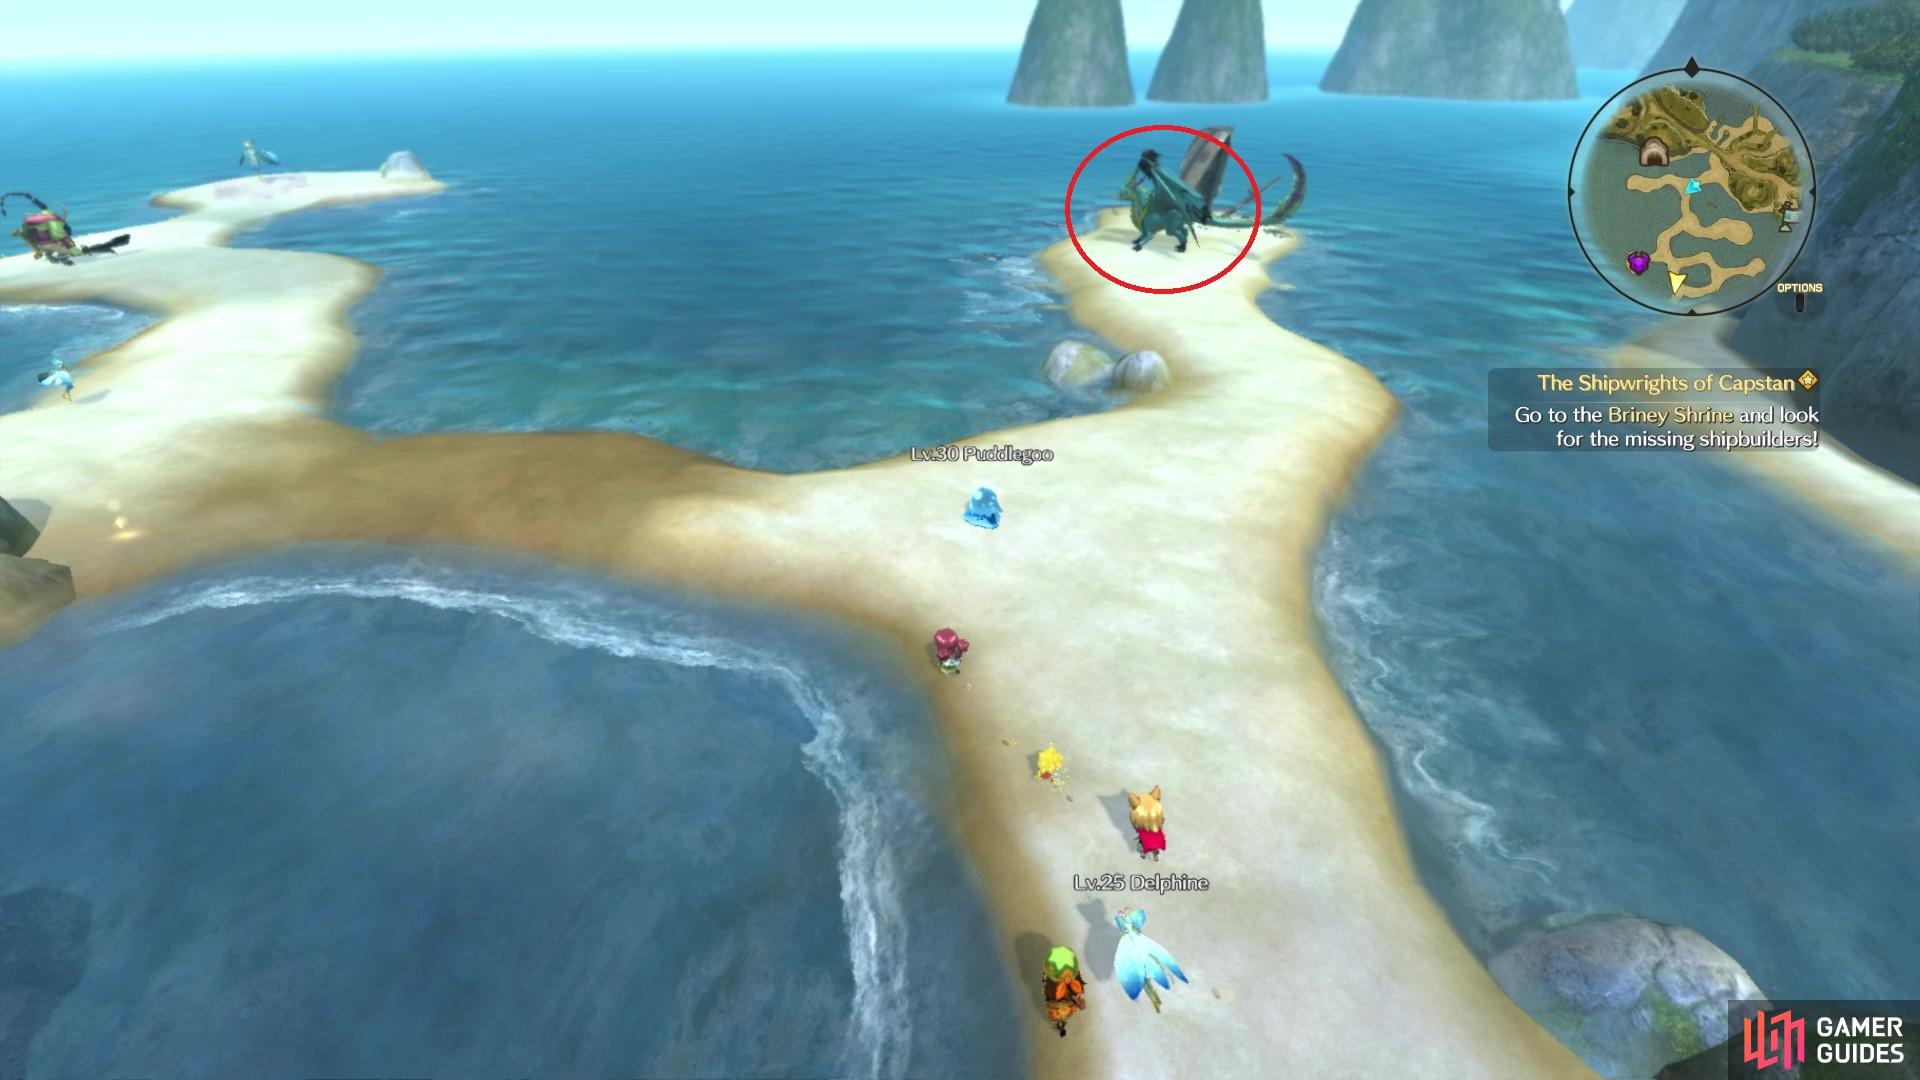
The Wavewyrm is guarding a blue chest, but it’s very powerful at the moment
Your destination is Briney Shrine, which is in the Shallow Shoals area that’s southwest of Capstan. The first dead end to the west has that Wavewyrm, so you know to avoid that. The first dead end to the east, though, has normal leveled enemies and a chest (Dripping Ring). The second dead end on the western side has a Tainted Monster, level 30 Lily, who is like Conflagra and Mystral, but water elemental. One last chest can be found in the southeastern corner, which is an Angel’s Tear. When you’re finished exploring, go ahead and enter Briney Shrine. How convenient that there’s a big, open area ahead of a waystone, so that only means that a boss is upcoming.
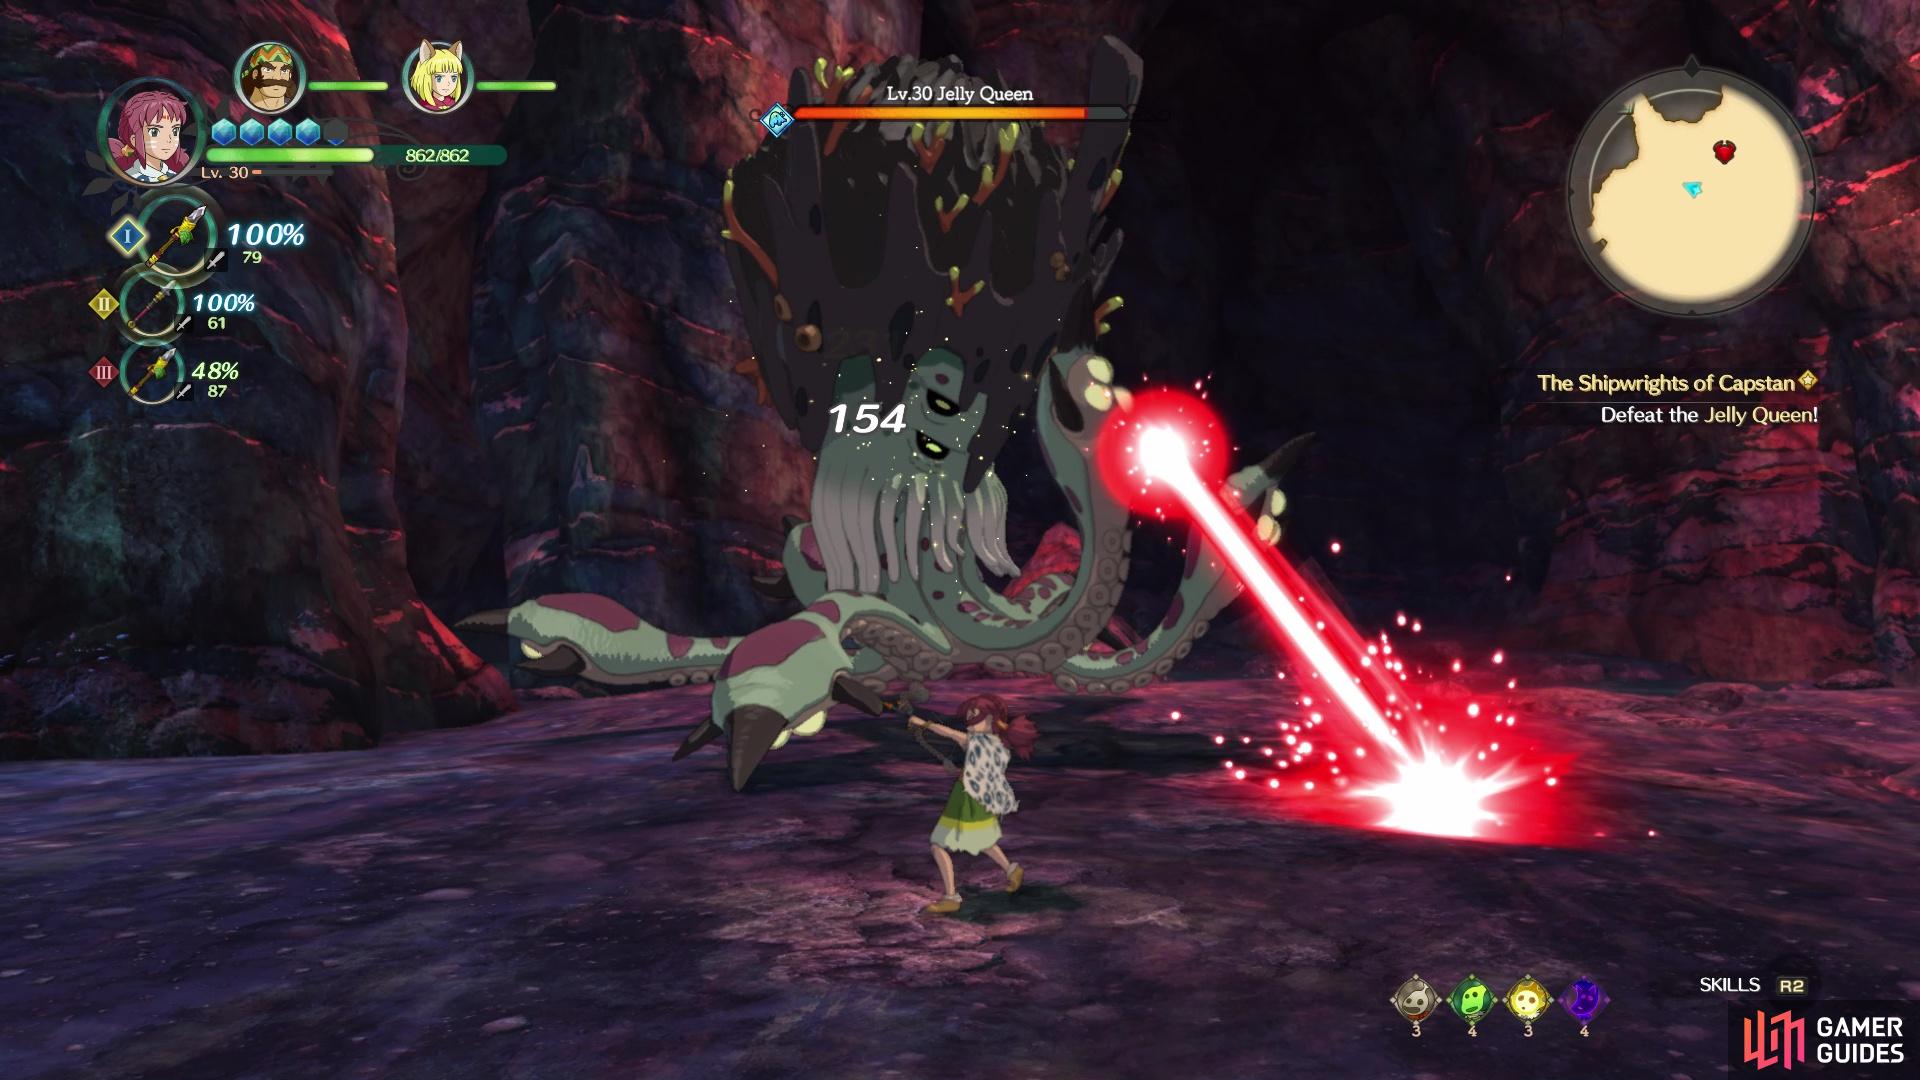
BOSS - Jelly Queen
The Jelly Queen can move quickly, when she wants, but some of her attacks do leave her wide open for retaliation. She can slam all of her tentacles on the ground, splashing water up from them, but she can also do this with just a single one, which seems to happen quite often when in melee range. You will see the boss shoot a laser beam from a tentacle, which can leave behind little mines that explode after a second or so. When she dips under half health, you will hear the Jelly Queen roar and she will gain a few new attacks.
She will slam the ground with all of her tentacles like before, but then she either moves away or charges a character. You will also see the Jelly Queen charge up and release a shockwave of sorts. Lastly, she can shoot lasers from all of her tentacles at once, leaving mines like the single laser maneuver. Depending on your armor and levels, the Jelly Queen might not hit too hard, so you might be able to go face and just attack her until she’s defeated. However, if you’re taking substantial damage, then a hit and run tactic works well, concentrating on the openings from the single laser attack.
The single laser attack is easy to avoid
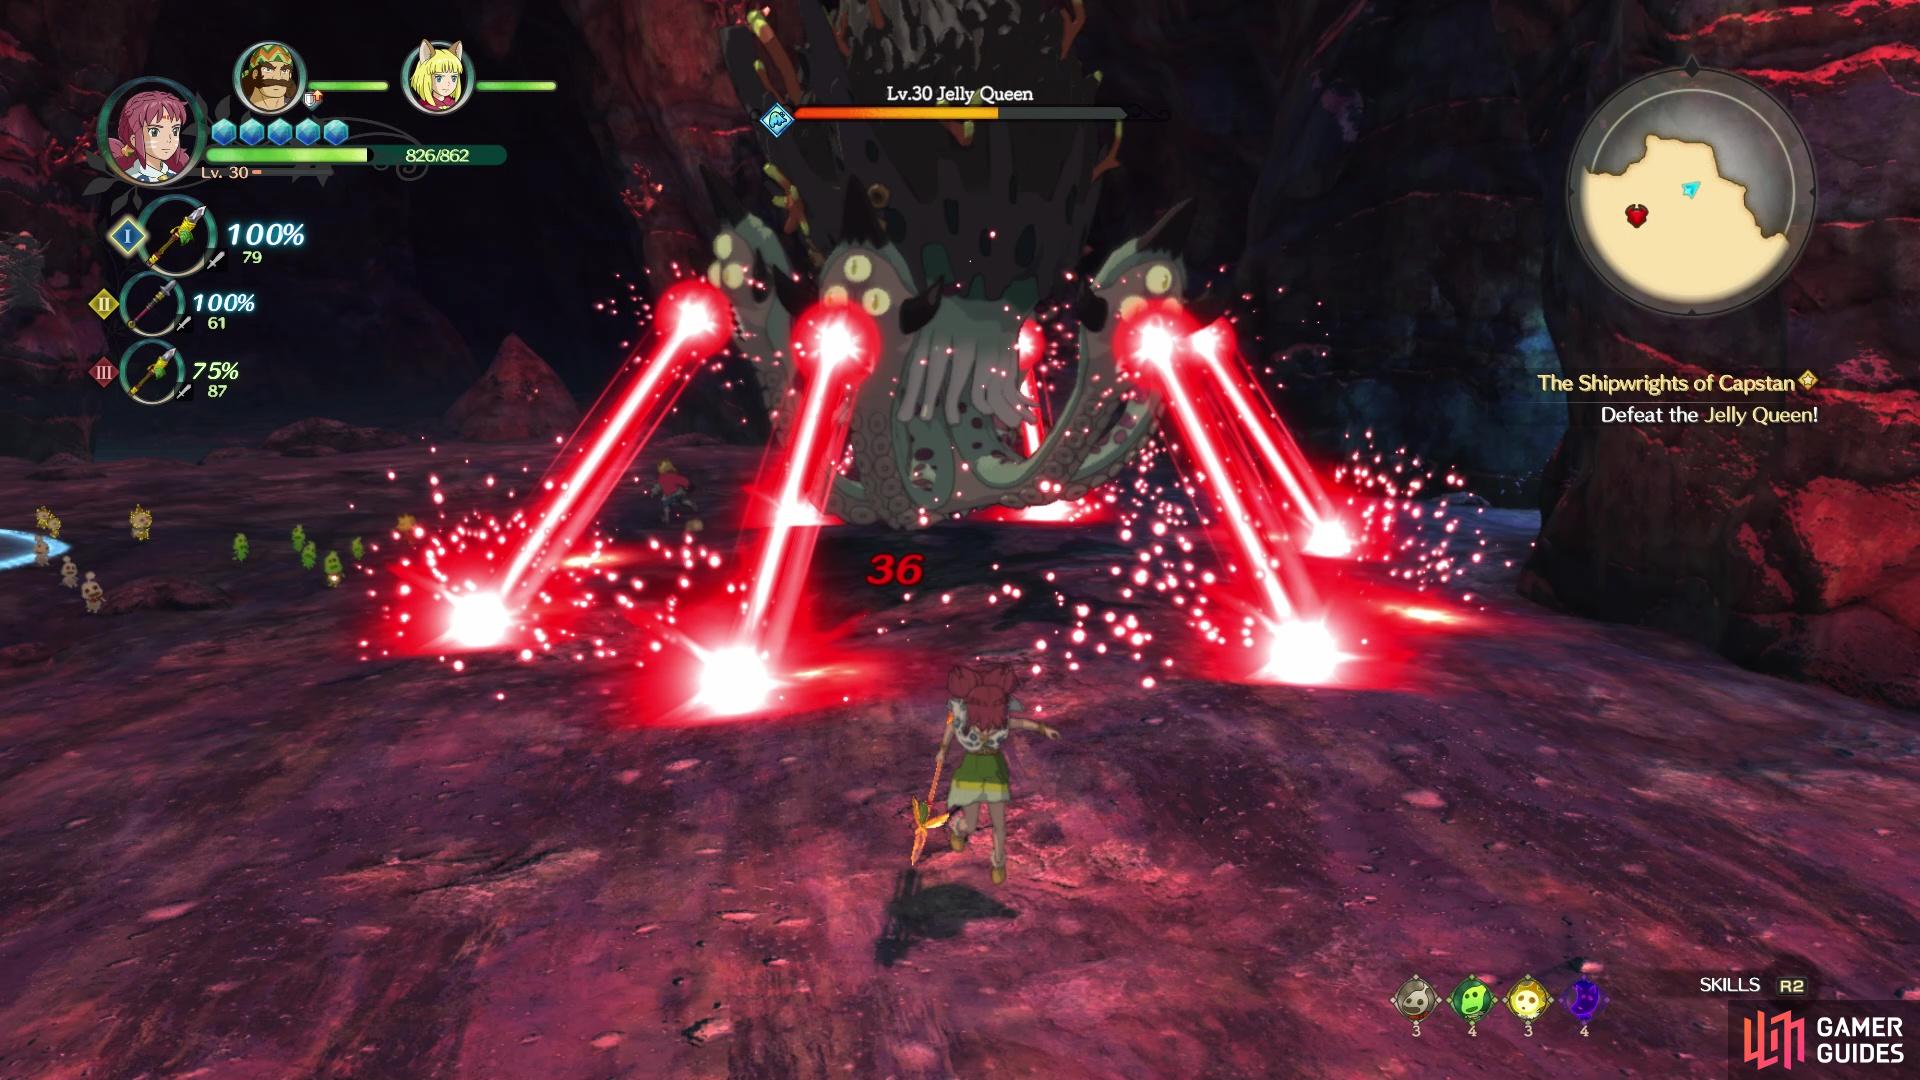
but the multi-laser one might require you to retreat temporarily
Travel back to Capstan after the battle is over and speak with Wright, who seems to have another problem on his hands. The wood in the village isn’t sturdy enough to construct an ocean-faring boat, so you’re going to need to find some better lumber. Who else would know about proper wood than Niall, so visit him in the throne room at Evermore. He says he knows a good lumber to use, but it’s in an area of the Forest of Niall that is inhabited by a vicious beast. Before you set off, he’ll hand over a bottle of thornaway spray, then it’s time to revisit the Forest of Niall.
Forest of Niall
Thankfully, you won’t be needing to do a lot of exploration here. You should have travelled to the entrance of the forest, as your objective is just south of it. Climb the large trunk that will lead you straight to the puffburrs that Niall was talking about in Evermore. Of course, the spray makes them disappear quickly, allowing you to continue on your way. Just past the first open area, the southern path just leads to dead ends with nothing there. Heading straight west, you’ll find some enemies waiting for you, who are in their high 20s. Once the coast is clear, look to the southwest to find some mushrooms to use Quicken Growth on, but venture north to find a chest at the dead end first (Three-Leafed Soreaway).
Past the mushrooms are a myriad of winding paths, with the objective pointing you towards the north. There will be two chests at the ends of two of the southern paths, which will yield a Deadly Tower Toppler and a Strong Sixth Censer. There is another chest towards the northeast portion of the Hard Woods, a little bit north of where you first encounter the plethora of paths; it contains Songbook No. 14. In the northwest portion, there is a branch that overlaps a lower one and you will find a chest at the end containing a Wizardly Twinkly Tunic. Lastly, there is a higgledy stone in the northern tip, but you don’t have the item for it yet. Make your way back to the center, by the name of the area, and quickly grow the mushrooms to allow access to an area with a Trip Door (Hard Woods) and a waystone. Continue west to face the beast hogging the trees!
BOSS - Zagg
This boss has some similarities to Thogg, the giant ape-like creature you fought during the [Kingmaker’s Trial], but it has some unique moves of its own. The beginning of the fight is similar to Thogg, as Zagg will try to punch you or lunge at you. However, not too far into the battle, Zagg will jump up into the trees, hopping from one to another, before he jumps back into the arena, crashing down on someone (or you). Note that this move will incapacitate him for a few seconds, so use that opportunity to lay on some free damage.
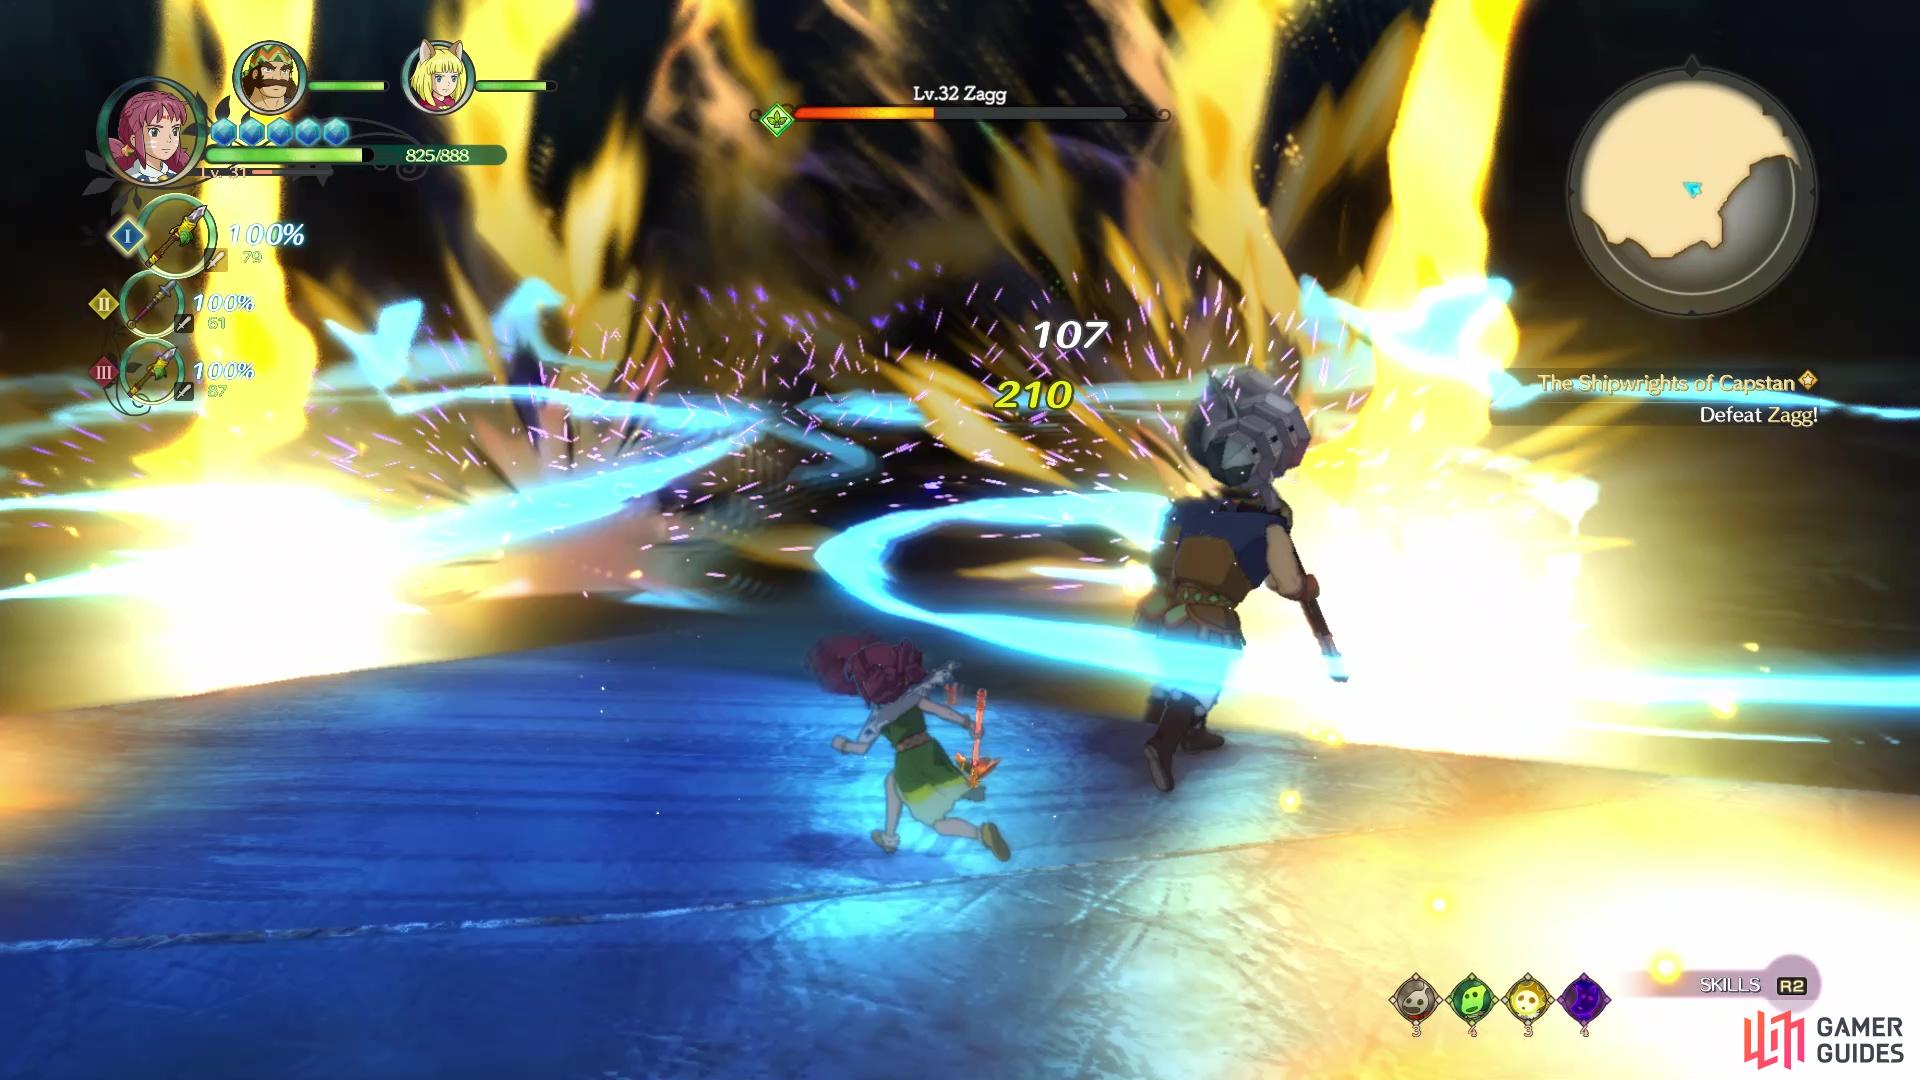
You will also see Zagg swing his arm around, charging up, then release a punch that sends out a projectile; this move hurts. Not long after this, he’ll surround his body with some electricity and begin jumping along the edges of the arena. As soon as he lands, he’ll send out three lanes of electricity, so you will want to either dodge or stay in the middle of the lanes. Zagg will do this a few times before rejoining the battle. At this point, he can pound his chest, then slam the ground, sending out a short shockwave, but also raining down electricity on the arena.
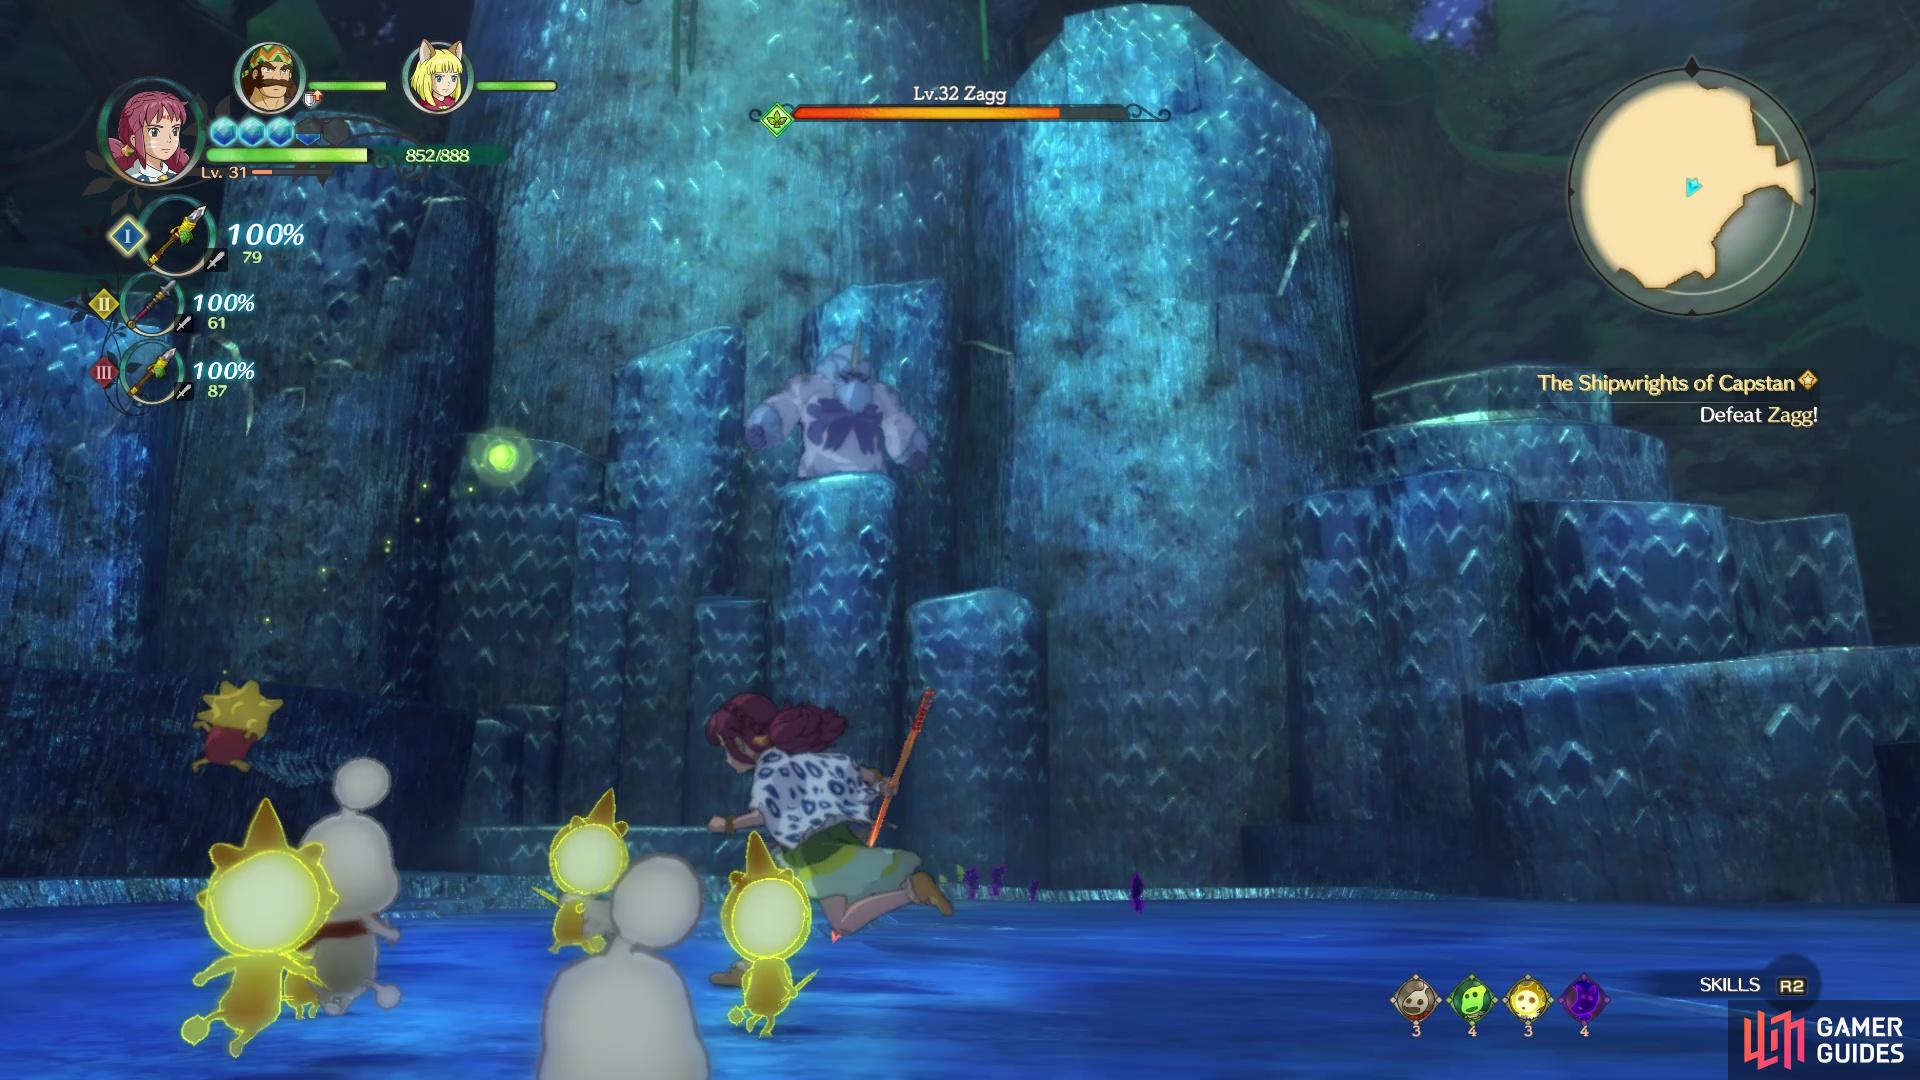
Zagg is invulnerable to damage when jumping around on the trees
Watch out for its electricity when it gets lower on health
This move seems to discharge him of all electricity, so he’ll resort back to normal attacks. The battle against Zagg basically boils down to piling on the damage when he’s vulnerable, which is after the swan dive from jumping around the trees. You’ll want to be extra careful to avoid all of the lightning tossed around once he’s charged up. Unfortunately, it doesn’t look like he actually takes damage when he jumps around the trees, so that only serves to make the fight last longer than needed.
After the battle is over, you will need to report back to Ketch in Capstan, but there is one final thing to do here in the Forest of Niall. Take a gander at your Leafbook to see that there’s a post about treasure. It’s located in the Greenling Grove area, on the right side of the hole on the map that’s just right above “Grove”. If you see a blue sparkle on the ground, then that will be the treasure, which is a Pendant of Pluck. Travel back to Capstan and speak with Ketch to finally get your ship, as well as Ketch as a citizen for Evermore. After a brief trip back to Evermore, you will finally be able to sail the seas!
No Comments