Upon finally regaining control, move south and you will come upon a scene, where the party talks about why there’s a trip door inside of the Horned One. Whatever the case, go ahead and approach it to see a chest off to the side (3 Hellish Wonderwaters), then activate the Trip Door (Bowels of the Beast). Feel free to use this chance to go do other stuff, if you wish, but the guide will be moving on. Head backwards a bit and go down the other path, where you’ll need to perform some platforming at the end to get to the top.
Lost City
Things open up a little bit here, and they aren’t as dark and dreary as before. Once you reach the top, open the chest to the north for a Great Sage’s Secret, then go south for a short scene. Descend the long flight of stairs for another scene, then you’re free to explore. There are a lot of little alleyways here, as well as a central structure with a large crystal. On the southern side of this central structure is a chest that contains an One-and-All-Be-Gone. To the west of that chest is a waystone and to the east is another Trip Door (Lost City). To your south is a large gate that is shut tight, with four ominous barriers on it.
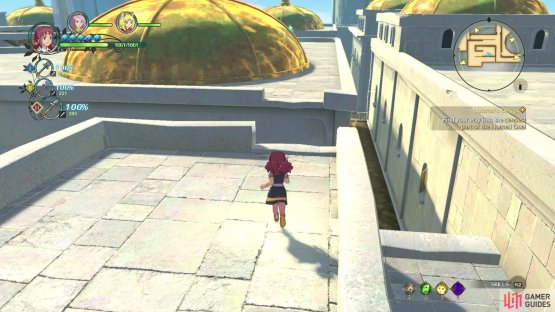
Go ahead and inspect the gate, which will put four objective markers on your map. Heading to each one will pit you against a boss (well, more like a mini-boss) and defeating them will dispell one of the crystals on the gate mentioned previously. However, there are a lot of chests in this little area, so let’s get started. Starting from the central structure, head west past the waystone and look south to see some stairs. Go up these stairs and the next set to find a chest next to a short wall at the top (Superior Sixth Censer). Note that you can jump across the gap where the wall is broken, to the roof with the golden dome, where another chest awaits (Charm-Charger).
(1 of 2) You can actually jump across the gap pictured
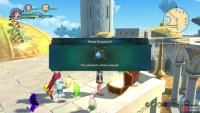
You can actually jump across the gap pictured (left), which will lead to a singular treasure chest (right)
Return to the waystone and look to the north of the stairs you went up before to spot an alleyway. Instead of following it, get on the ledge going west and there will be another chest around the corner (Savior’s Tear). Back at the central structure, head east this time and look for the alleyways to the north and south on this end. The northern one leads to a dead end with a chest (Dark Maelstrominator) and the southern one has another chest when the path turns east (3 Woebegone Cottons).
Drop down from the previous chest and head north, keeping an eye on to your east for a blue chest (Gloomy Spiteful Staff). Journey up the stairs to your west, then look north for a hidden chest in the little alcove past the archways (3 Spritefire Silks). Alright, that’s all of the treasures, so you can finally go and tackle those mini-bosses. You can do them in any order, plus after each one, you can use the waystone in the middle of the area to heal your party for the next fight. First up is the northwestern one.
BOSS - Rotwobbler
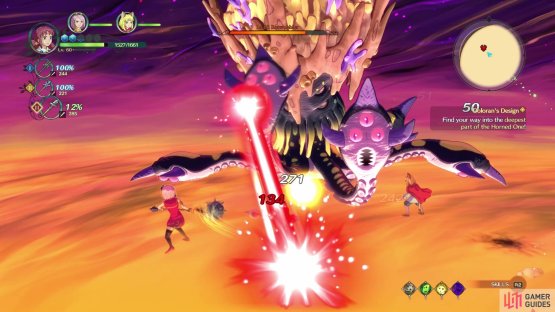
This mini-boss is one of the huge octopus creatures. It will throw a tantrum of sorts and smack the ground all around it with its tentacles, then follow that up with a charging attack. It can also use a single tentacle to smack you, should you be in melee range. There are lasers it can shoot out, a single one that’s easy to dodge, as well as ones from all of its tentacles. Note that the lasers leave behind “mines” that explode shortly after they’re placed. It can also spawn little creatures that charge you, then explode. Lastly, it can charge up and then release a big shockwave, damaging anyone caught in it.
You will receive a pair of Gaudy Galoshes after winning the battle. The next mini-boss will be on the southwestern corner.
BOSS - Necryptolis
You will be facing the golem-type monster here, which follows the Crystal Crypt model. It can swing its arms at you twice, then follow those up by releasing orbs that track your position; the orbs can also be shot individually. The creature can shoot one of its arms at you and also spin its entire upper body around while moving about the arena. As its health dips, it can charge up and release a huge shockwave, so be careful when you do see it doing this.
(1 of 2) The bosses you have to fight in the Lost City are pretty much the same as previous ones
The bosses you have to fight in the Lost City are pretty much the same as previous ones (left), straight down to their attacks (right)
Upon defeating the mini-boss, you will receive a Flutterby Staff and can move onto the next one, which will be in the southeast.
BOSS - Inkywriggle
This boss is nothing but a variation of the Fangfish enemy you’ve come across in your adventures. It will repeatedly pop in and out of the ground, use its tail to attack periodically, plus it can spit projectiles at you if you’re far away. In addition to that, the creature can smack its head against the ground. Luckily, you can see the dirt kicking up on the ground when it’s resurfacing or bringing its tail out to play, so you know when to dodge or get out of the way. Similar to the other bosses, it can summon minions that explode after a few seconds.
You will receive a Saint’s Mantle upon defeating the creature, and you will only have one mini-boss left, the one in the northeast.
BOSS - Slickslither
Slickslither is one of the giant wyrms you’ve seen around and undoubtedly fought, with it being identical to the Windwyrm. This means that when its health gets low enough, it will surround its body with lightning and start summoning bolts. While getting hit with a bolt doesn’t seem to cause that much damage, it could lead to potential if the boss is doing another attack. It can swing its tail to the side, rear back on its hind legs and cause a small shockwave with its front legs, plus the boss can charge across the battlefield. It can also fly in the air at lower health, where it can either charge or summona lot of lightning, coupled with a tornado.
You’ll receive some Crystal Robes for winning the battle and if this is your final mini-boss, the gate will open and some scenes will play. After everything is over, you will regain control and see a Trip Door right in front of you (Allegoria Castle). Note that at this point, you might want to go back to Evermore to restock any items or do some last-minute things before confronting Doloran. Travel back to Allegoria Castle, save your game and head inside. After some scenes, a battle will ensue.
BOSS - Doloran the Arcane
The first thing you want to do is lock-on to Doloran, as he likes to teleport a lot during the battle. Doloran’s weapon in a staff, but he can transform it into a shadow whip of sorts. He can use this to perform a quick attack with the whip, but he can also do a two-hit combo of the same attack and then follow it up with a lunge. Doloran can also lunge forward and perform an overhead attack, which hits pretty far. You might also see Doloran charge up the whip, then perform a large horizontal sweep with it.
(1 of 2) Doloran’s magic attacks are quite large in volume
Doloran’s magic attacks are quite large in volume (left), and cover a pretty wide area (right)
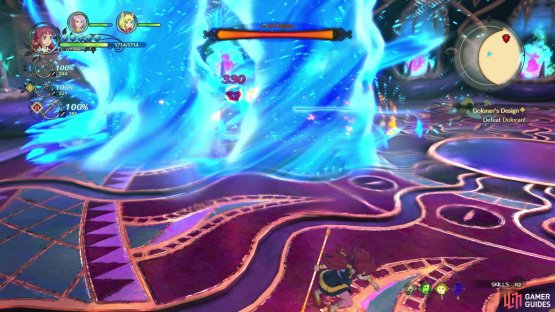
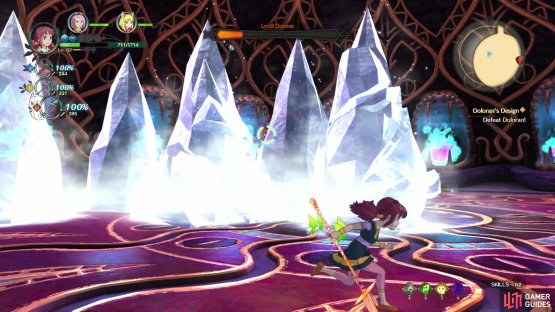
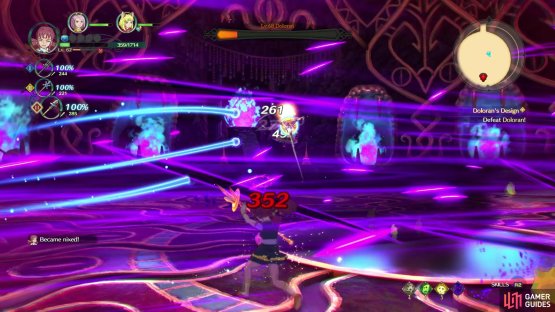
In addition to the whip attacks, Doloran is also an expert on magic. He can summon creatures into the battle, which are the same ones during the mini-bosses, as they will charge after you and self-destruct. Doloran also has three main spells he can use, with the first one being two large water columns that shoot in a straight line. The second has him conjuring large icicles out of the ground, but there is a brief second or so where you can see a blue circle show before they appear. The third spell that Doloran can use is a darkness one, where you’ll see some horizontal dark stuff passing on the screen, then a large magical attack quickly passes through.
The battle with Doloran isn’t too bad, but he can definitely lay on the hurt real quick, if you aren’t careful, especially with his spells. However, constantly moving and being aware of your surroundings is the key to winning this battle without taking much damage. Doloran’s whip attacks are probably the hardest ones to dodge, especially the horizontal strikes, since they cover a pretty wide area. You might see Doloran floating a little higher into the air, but he doesn’t have any new skills while doing this.
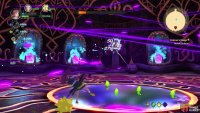
(1 of 2) Whenever you see dark bits swirling about
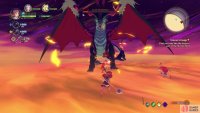
Whenever you see dark bits swirling about (left), Doloran will be unleashing this spell that packs a punch (right)
Watch the scenes that follow upon defeating Doloran, where you will regain control, as things aren’t over quite yet.






No Comments