So, the wyverns are holding Tani in the aptly named Wyverns’ Den, which is to the west of the Sky Pirates’ Base. Before you leave, though, you can explore the base to find a lot of sparkles, as well as a shop and an inn. The latter seems kind of useless, though, considering waystones restore HP to its fullest and MP is easily restored by just attacking enemies normally. The shop has some new equipment, but some of the weapons can’t be equipped by your current party members. Once you’re stocked up on whatever you need, you can leave the base to find yourself back on the world map, making sure to activate the Trip Door (Main Gate) by the entrance before you actually leave.
To Wyverns’ Den
Cross the bridge and the game will point out the general direction of the Wyverns’ Den, which is to the west, but of course there’s treasure to be had. You’re presented with two paths here and you will want to take the eastern of the two (according to your actual map). You’ll collect four sparkles and it will lead to a treasure chest, which has an Angel’s Tear in it. Venture west from there to find a blue chest, but you’ll have to ignore it since you can’t open them yet. Drop off the ledge and continue on this path, where you’ll convene with the other path you could have taken.
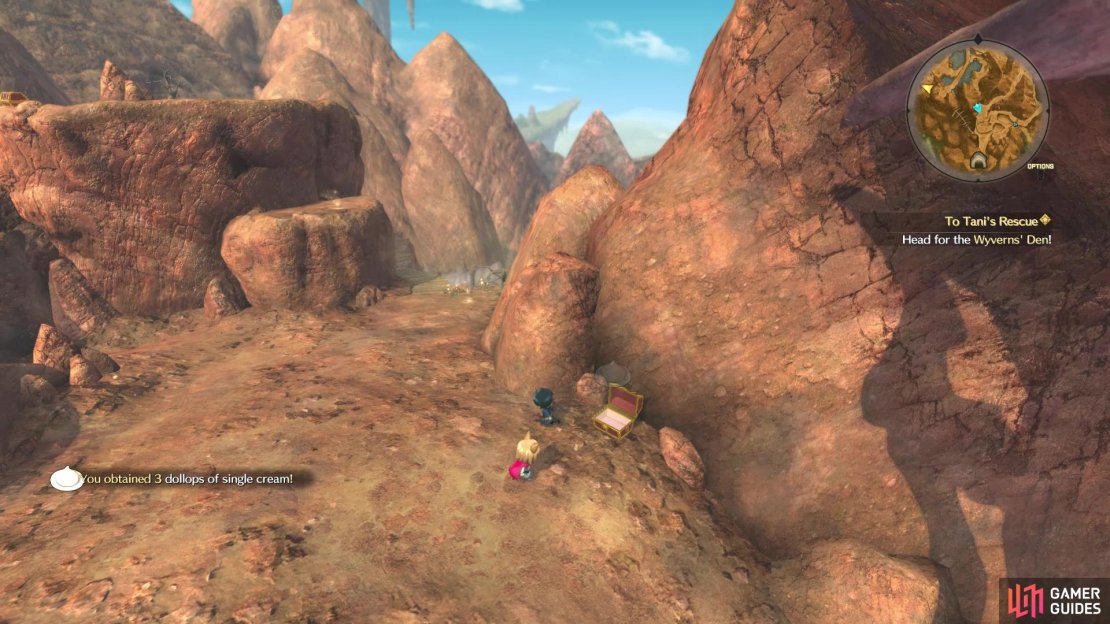
There will be a Trip Door here (Snaketooth Ridge), as well as a chest, which contains 3 dollops of Single Cream. Travel south from here to find the northern entrance to Cloudcoil Canyon, which you didn’t get a chance to explore earlier, due to the story removing you from the dungeon. There will be a waystone right inside, as well as a side path near it, which will take you to a chest at the end (Angel’s Tear). Return to the world map and back to where the Trip Door was, taking the other path leading down.
Make sure you open the chest with the Single Cream, as you’ll be needing it shortly
Follow the trail around the water, keeping an eye out for the chest on the higher ledge you can’t reach from here. Eventually, you will have a choice to either keep going west, which will bring you to the Wyverns’ Den, or in another direction. Of course, do the latter to find a chest (Gustproof Basic Wizardwear), then head up the narrow trail to find Crookneck Cavern. There’s nothing much in this cave, except for a single sparkle and one chest (600 guilders). Exit and return to the split, checking the nearby dead end for a chest with a Sixth Censer.
Remember that ledge with the chest you happened to run by earlier? It’s right by the narrow bridge that leads to Crookneck Cavern, but you’ll need to drop off the ledge to it; the chest contains a Three-Leafed Soreaway. That’s all you’re able to get in this region of the world map, so you can start making your way west to the Wyverns’ Den. Ignore the diversion, as you can’t do anything, and go straight into the cave.
Wyverns’ Den
Thankfully, their den isn’t a full-blown dungeon, so you won’t really need to do much. Follow the trail inside and in the very first room will be a waystone, a chest (Soreaway) and another Higgledy Stone. It will ask for that “simple white, smooth cream” and you will have two choices here, fresh milk and single cream. If you guess it incorrectly, then you will have to initiate the conversation again and submit another item. Either way, pick the single cream and Tove the Tenebrous will join you on your adventure. Save your game and continue down the hallway for a scene and a boss fight.
Wyvern Warlord
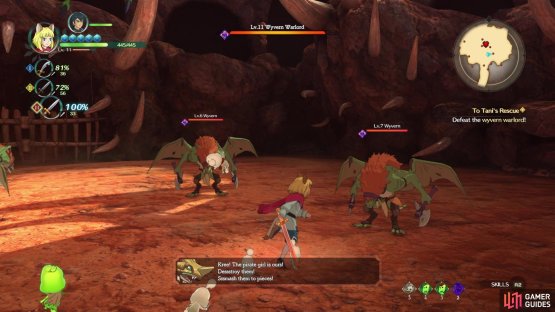
This boss is fairly simple and only complicated by the fact that he will be inaccessible for a tiny bit. At the beginning of the fight, the boss will fly off and summon regular Wyverns into the arena. Defeat them all and the Wyvern Warlord will officially join the battle. The key to this battle is to keep moving, as the majority of his attacks will likely miss you if you do. He has a three-hit combo with his axes, with his body staggering a bit after the third hit, which is your moment to get a few hits in.
The boss can also perform a forward lunge with his axes, as well as a swooping attack. That’s about all he can do, although he may summon more wyverns later on in the fight. The Wyvern Warlord is level 11 and if you’ve been fighting a lot, then you’ll likely be at his level or even a tiny bit higher. Depending on your equipment, this might be a really easy fight, but it could prove a tiny bit challenge if you decide to get a little greedy with your own attacks. Should you have Tove (the higgledy) from this same place, then wait for it to show its circle on the ground. Interact with them and they’ll perform an attack that can deal some major damage to the boss.
(1 of 2) The boss will summon normal Wyverns at the beginning of the fight
The boss will summon normal Wyverns at the beginning of the fight (left), You can charge up your ranged attacks to get some good damage against the Warlord (right)
Well, the Wyvern Warlord is down, so head through the gate and at the end, you will find Tani hanging around. You’ll automatically return to the Sky Pirates’ Base after a scene, where more scenes will play out. In the end, Tani will join your party and she will be able to fly us to the king’s cradle. Double score!
To the Cradle of Light
With a new party member, she’s going to need a little extra care. Tani comes with two weapons, so visit the shop in the lowest area to get another one for her (costs 200G), as well as an upgrade to her bow (160G). Luckily, she doesn’t need any armor, so you can ignore that and also restock on any curatives you might need. When you’re ready to continue, speak with Tani in the bottom area and tell her you’re ready. After a few scenes, you’ll on a small island with a large staircase. Climb to the top and interact with the slab to start the kingmaker’s trial.


No Comments