
The Photo Rally minigame has returned in Like a Dragon: Pirate Yakuza in Hawaii, with it unlocking automatically in Chapter 2 of the main story. It plays out the same way as it did in Infinite Wealth, as you need to go to specific locations to photograph certain landmarks/objects. You’ll know you’re in the correct spot, as the item in question will have a camera symbol above it. You can use the camera by pressing up on the directional pad, then get the object in frame and snap the picture when the camera icon turns green.
All Waikiki Photo Rally Locations
This set for Photo Rally includes a much larger area than the others, since it covers all of the Waikiki sections, as well as East Aloha Beach. Similar to the other Photo Rallies, there are a total of 15 photographs to take here. Note that you will require the Chain Hook to get one of the photos, so it’s a good idea to continue with the main story until that unlocks.
Waikiki Photo Rally Location #1
The first photo is the one you take when you first unlock the Photo Rally. This is right outside of the Alo-Happy main location and you need to take it in order to progress with the main story.
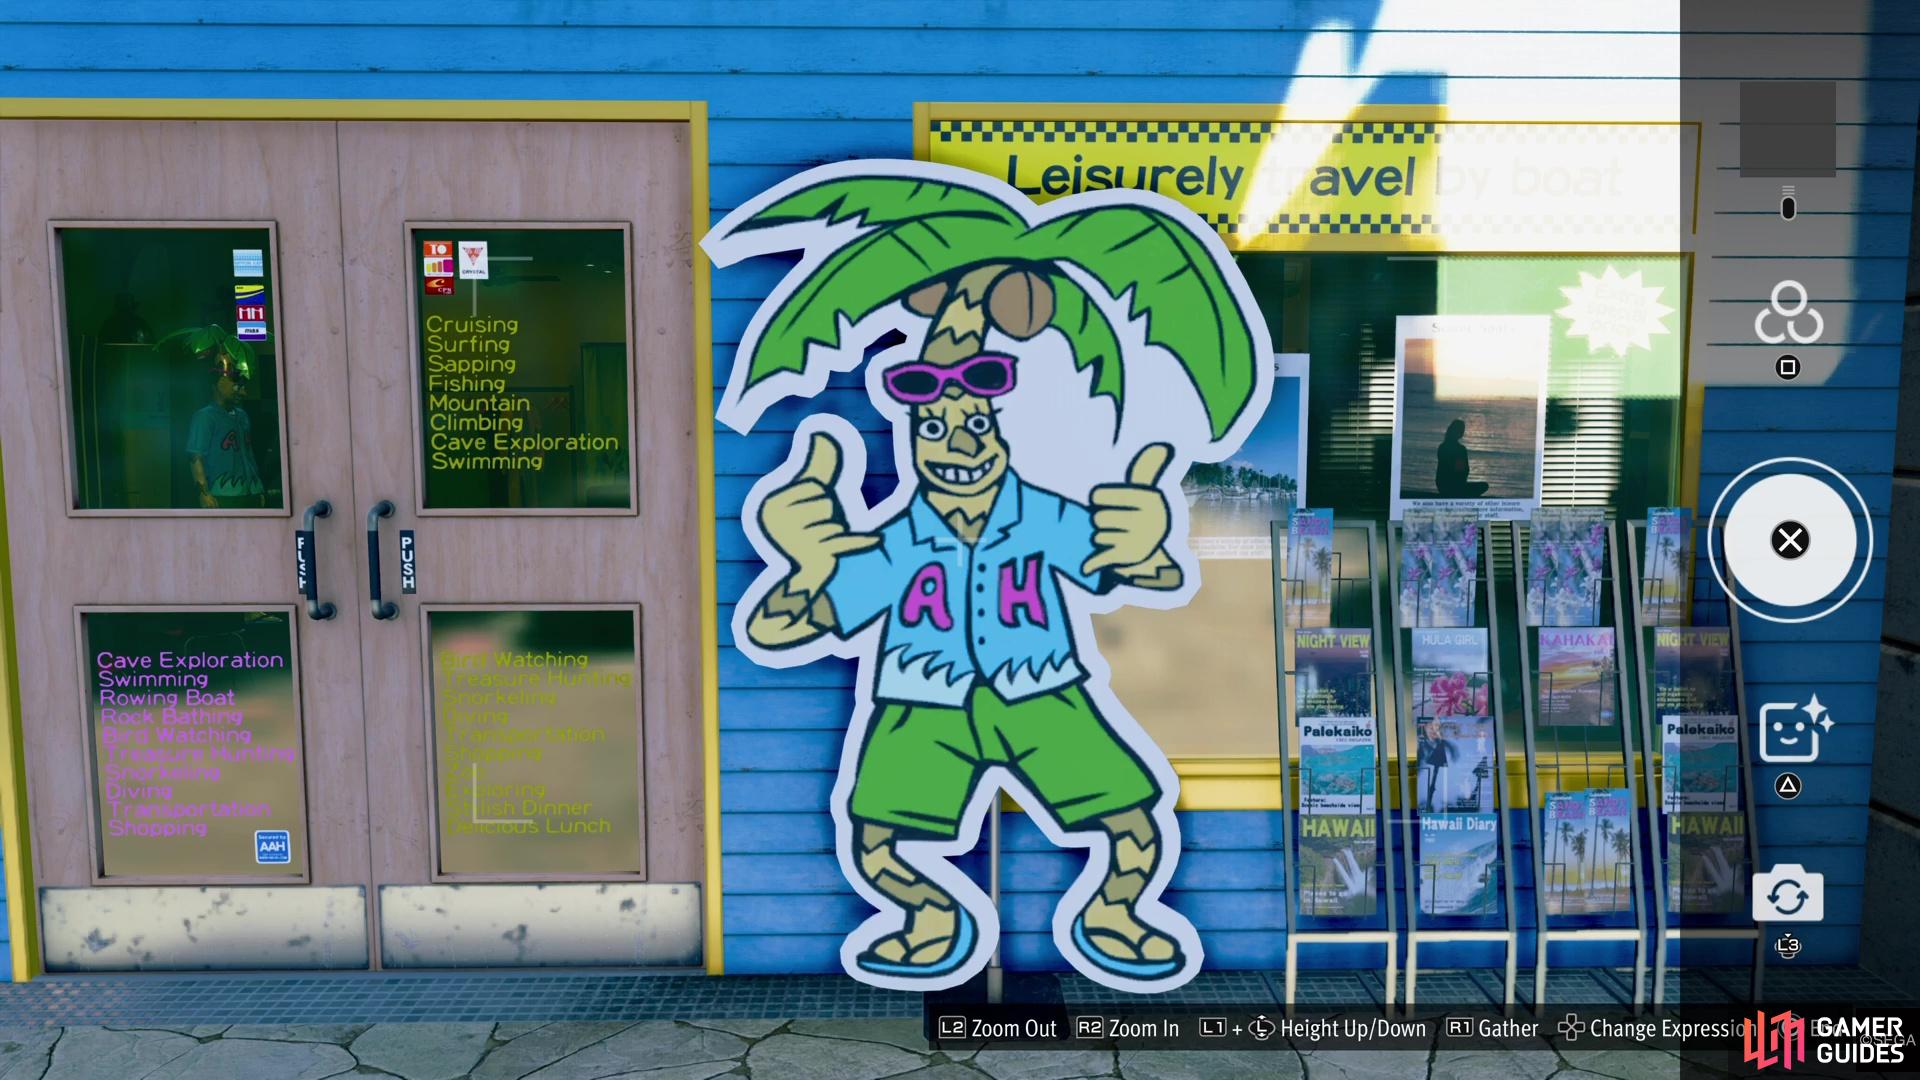
You have to take the picture of this as an introduction to the Photo Rally.
Waikiki Photo Rally Location #2
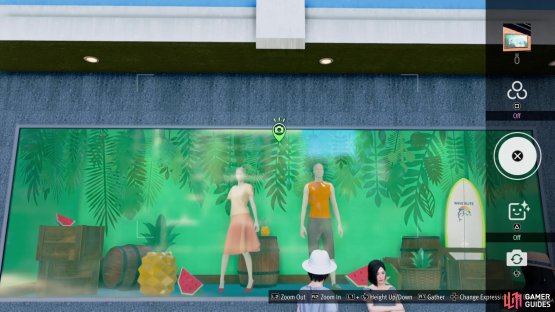
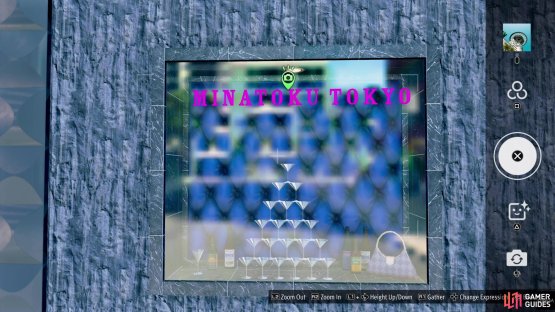
For the second photo, head on over to the Seaside Ave taxi spot, then travel north to Waikiki St and west from there. When you reach the Seaworthy Treasures shop, stop and look in the window of the building right next to its icon.
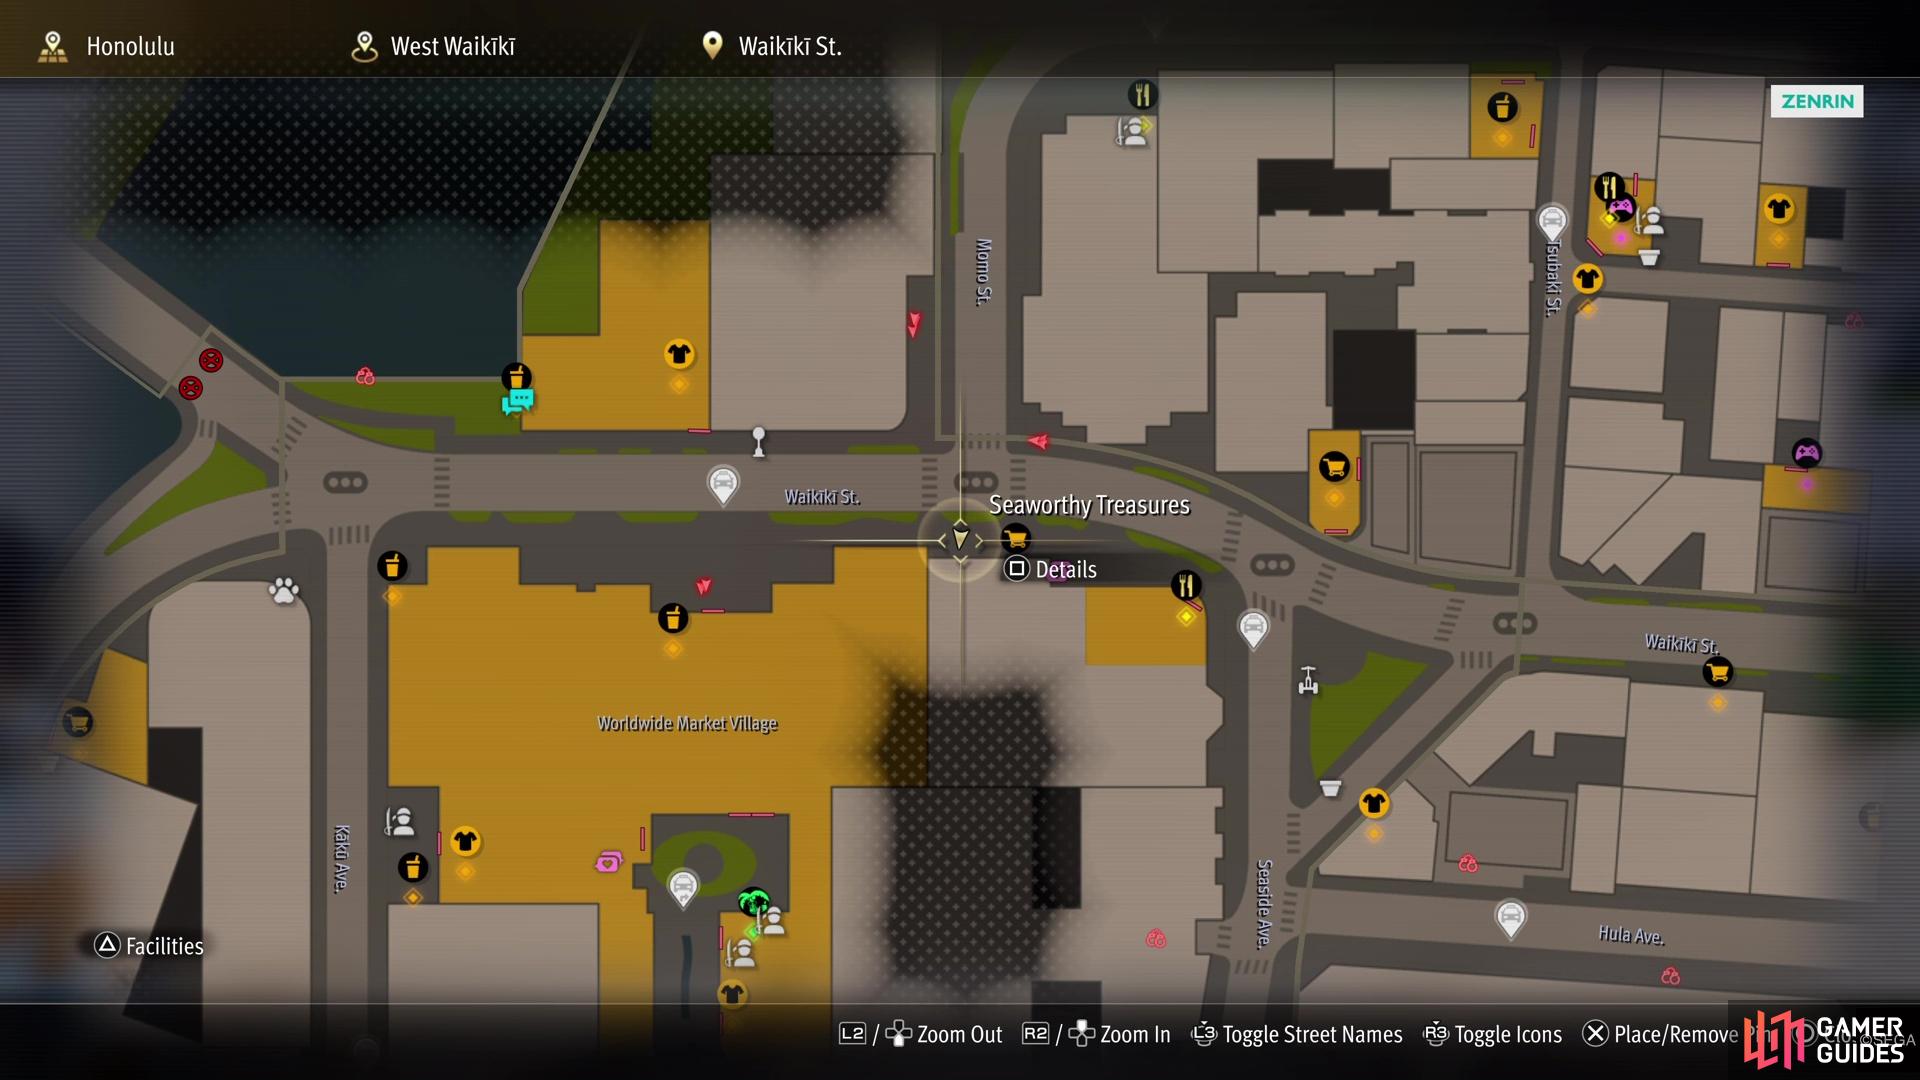

(1 of 2) For this one, head on over to the Seaworthy Treasures shop.

For this one, head on over to the Seaworthy Treasures shop. (left), The display right next to the vendor is what you’ll need for the photo. (right)
Waikiki Photo Rally Location #3
The third photo is a bit away and kind of hard to pinpoint, since it’s not really next to anything. Start off by fast traveling to the Kaku Ave taxi spot, then go south from there, to the two stores. Follow the road to the west now, until you get to a blue building. Look for the window on this blue building, with the tower of champagne glasses on display. You’ll want to take a photo of that display. Note that if you haven’t recruited him yet, this is right next to Arque Dangerous.

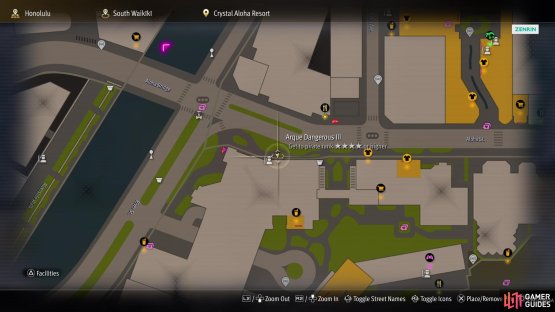
(1 of 2) Not far from the Aloha Bridge is where you’ll find this one.

Not far from the Aloha Bridge is where you’ll find this one. (left), The champagne glasses display at the blue building is your target. (right)
Waikiki Photo Rally Location #4
If you look at your map, you should see a triangular spot of grass at the corner of Seaside Ave and Waikiki St. This little park is where you’ll be going for this photo. Once you arrive there, snap a photo of the dolphin statue.
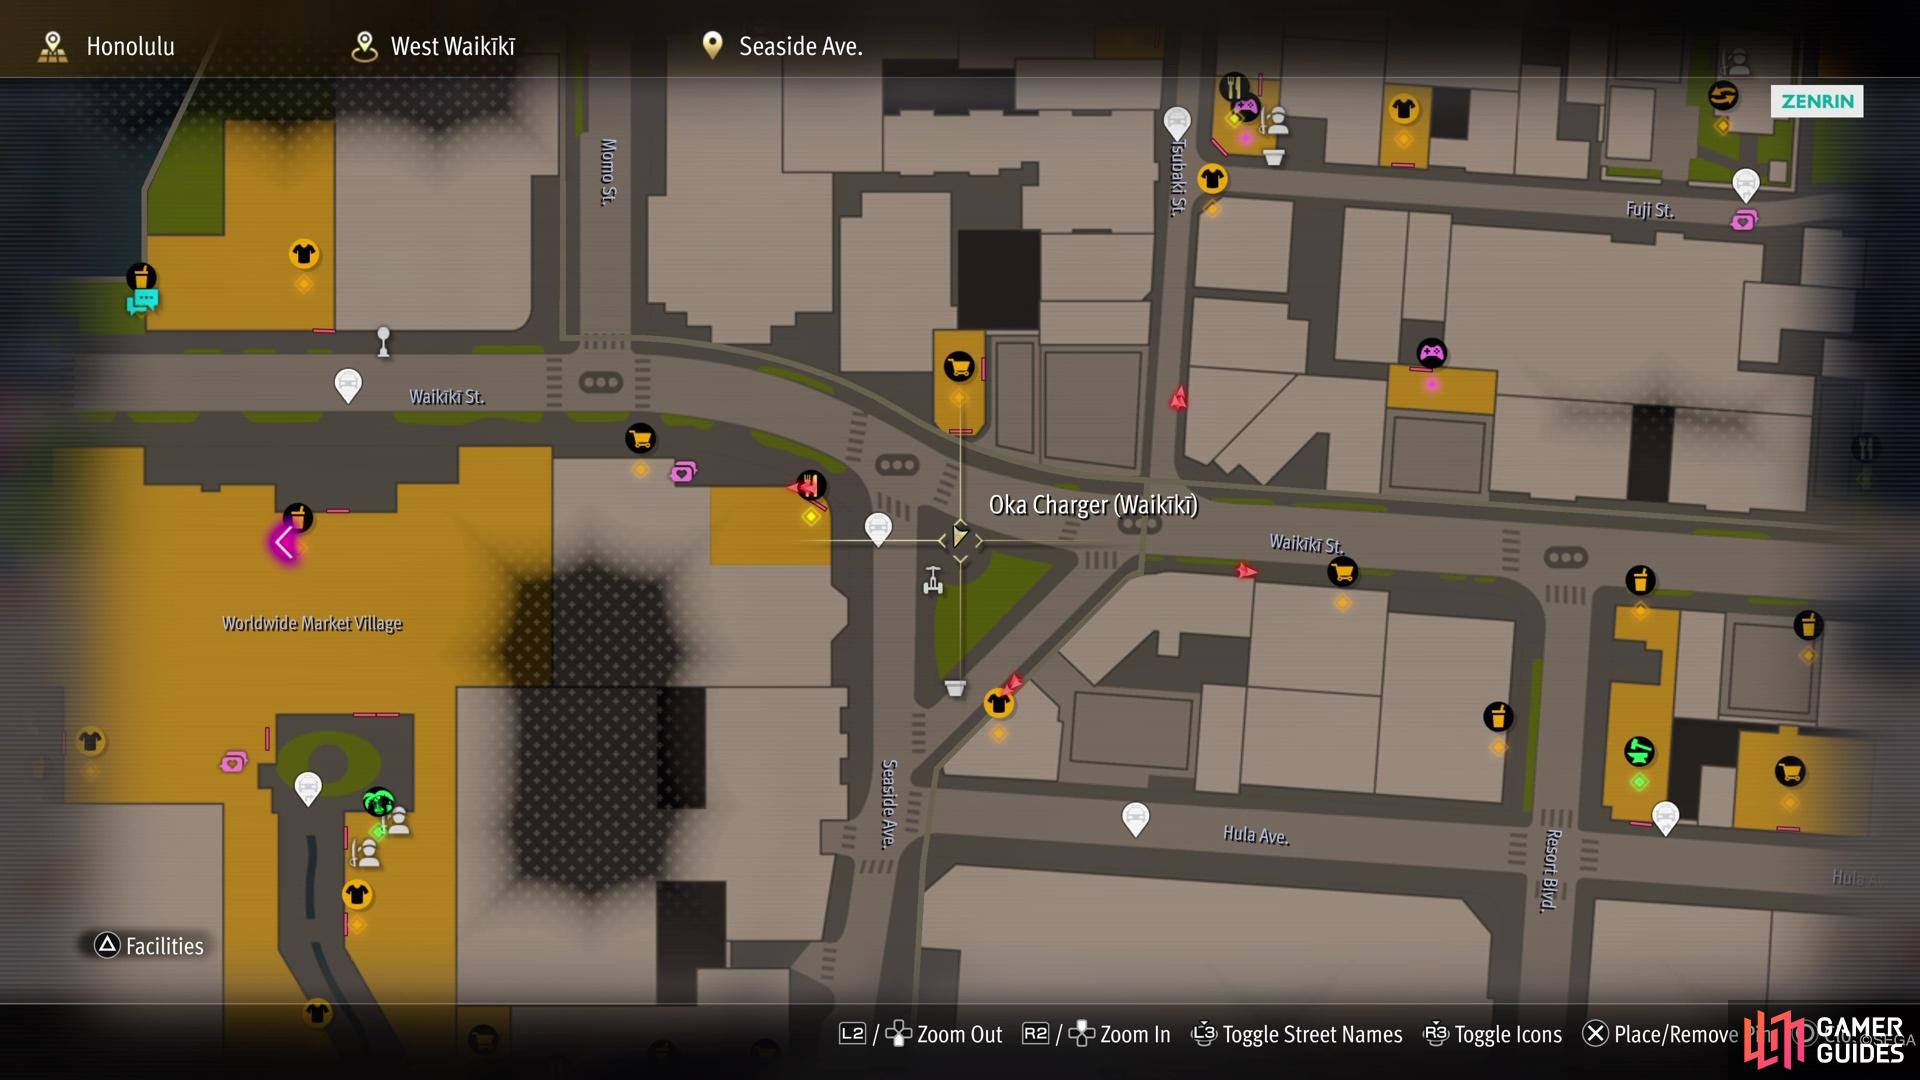
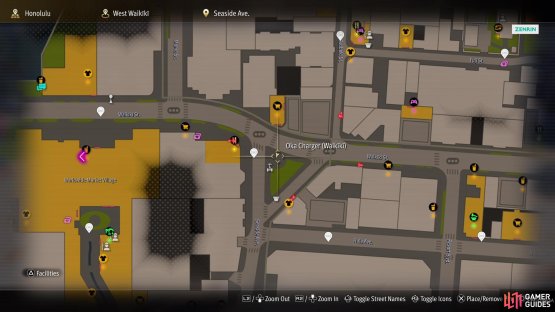

(1 of 2) This little park is the home to the fourth photo of this set.
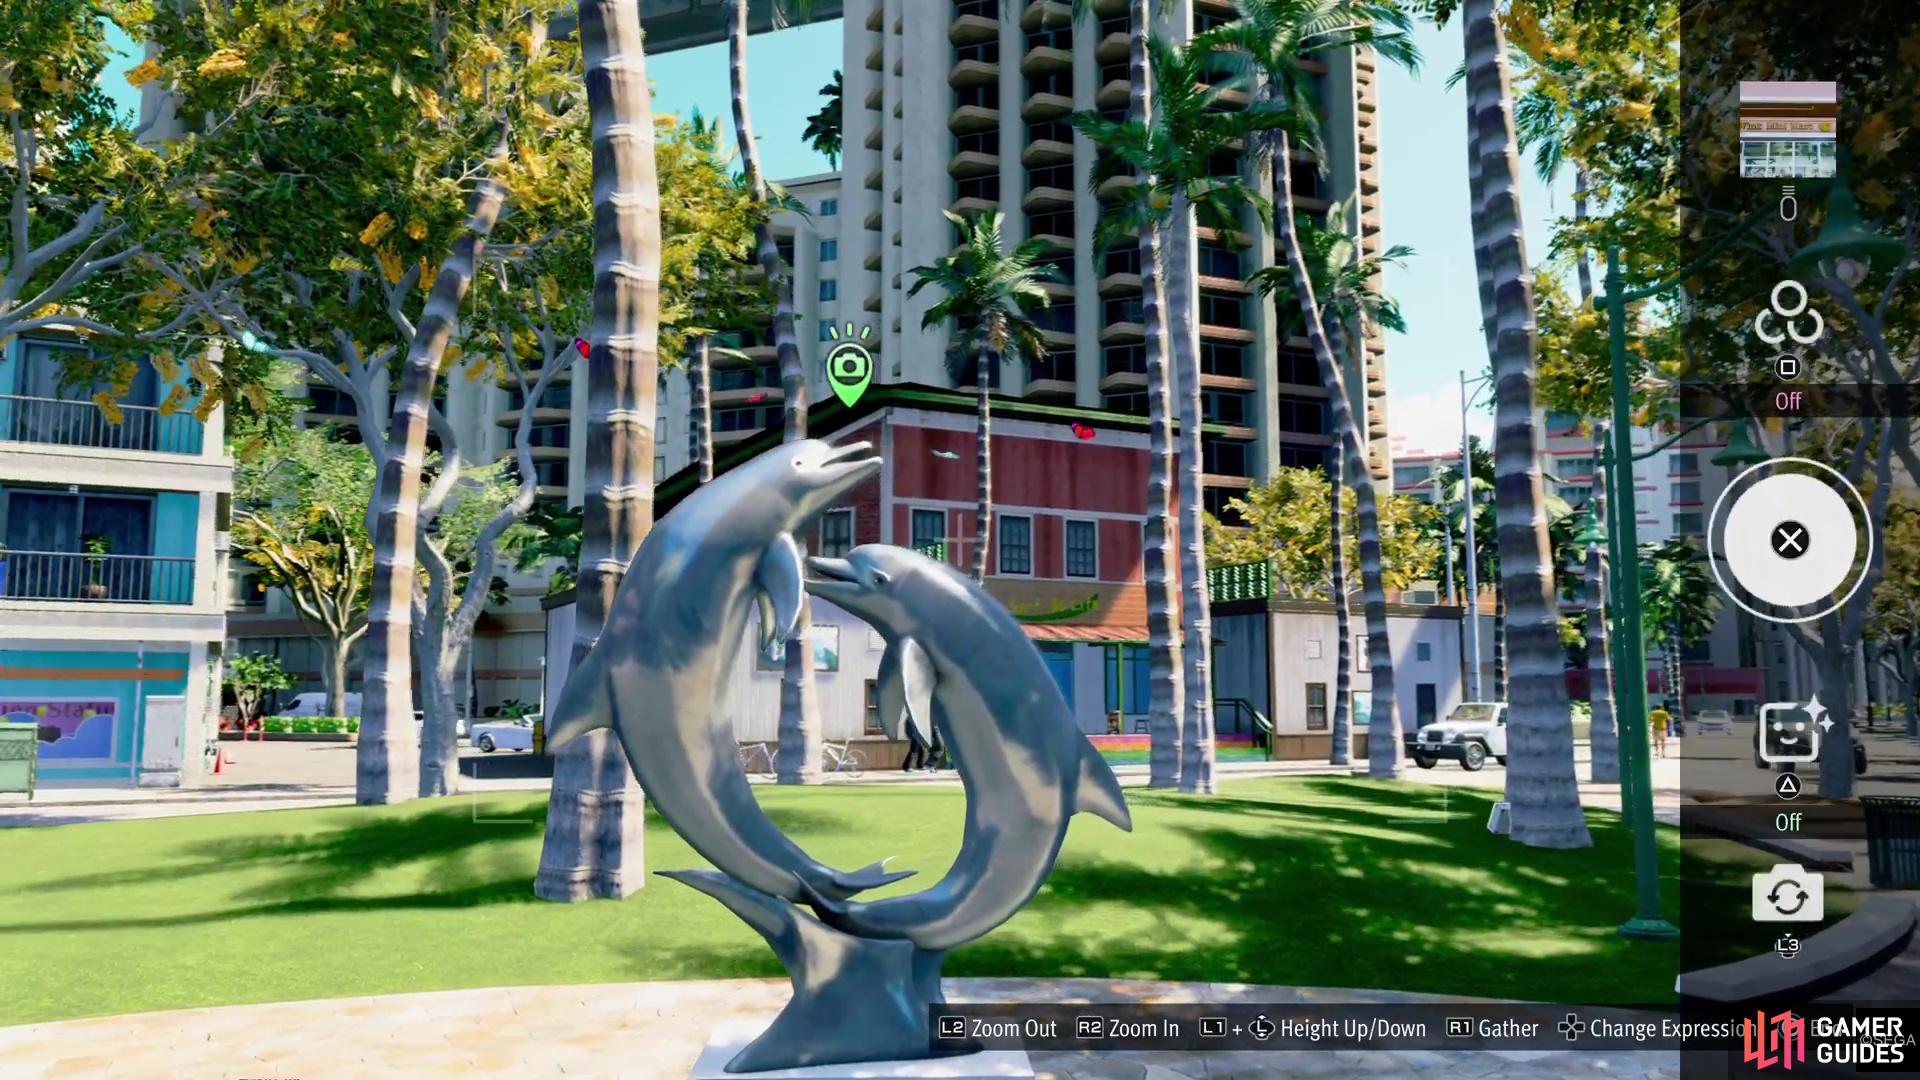
This little park is the home to the fourth photo of this set. (left), Snap a photo of the two dolphins statue for it to count. (right)
Waikiki Photo Rally Location #5
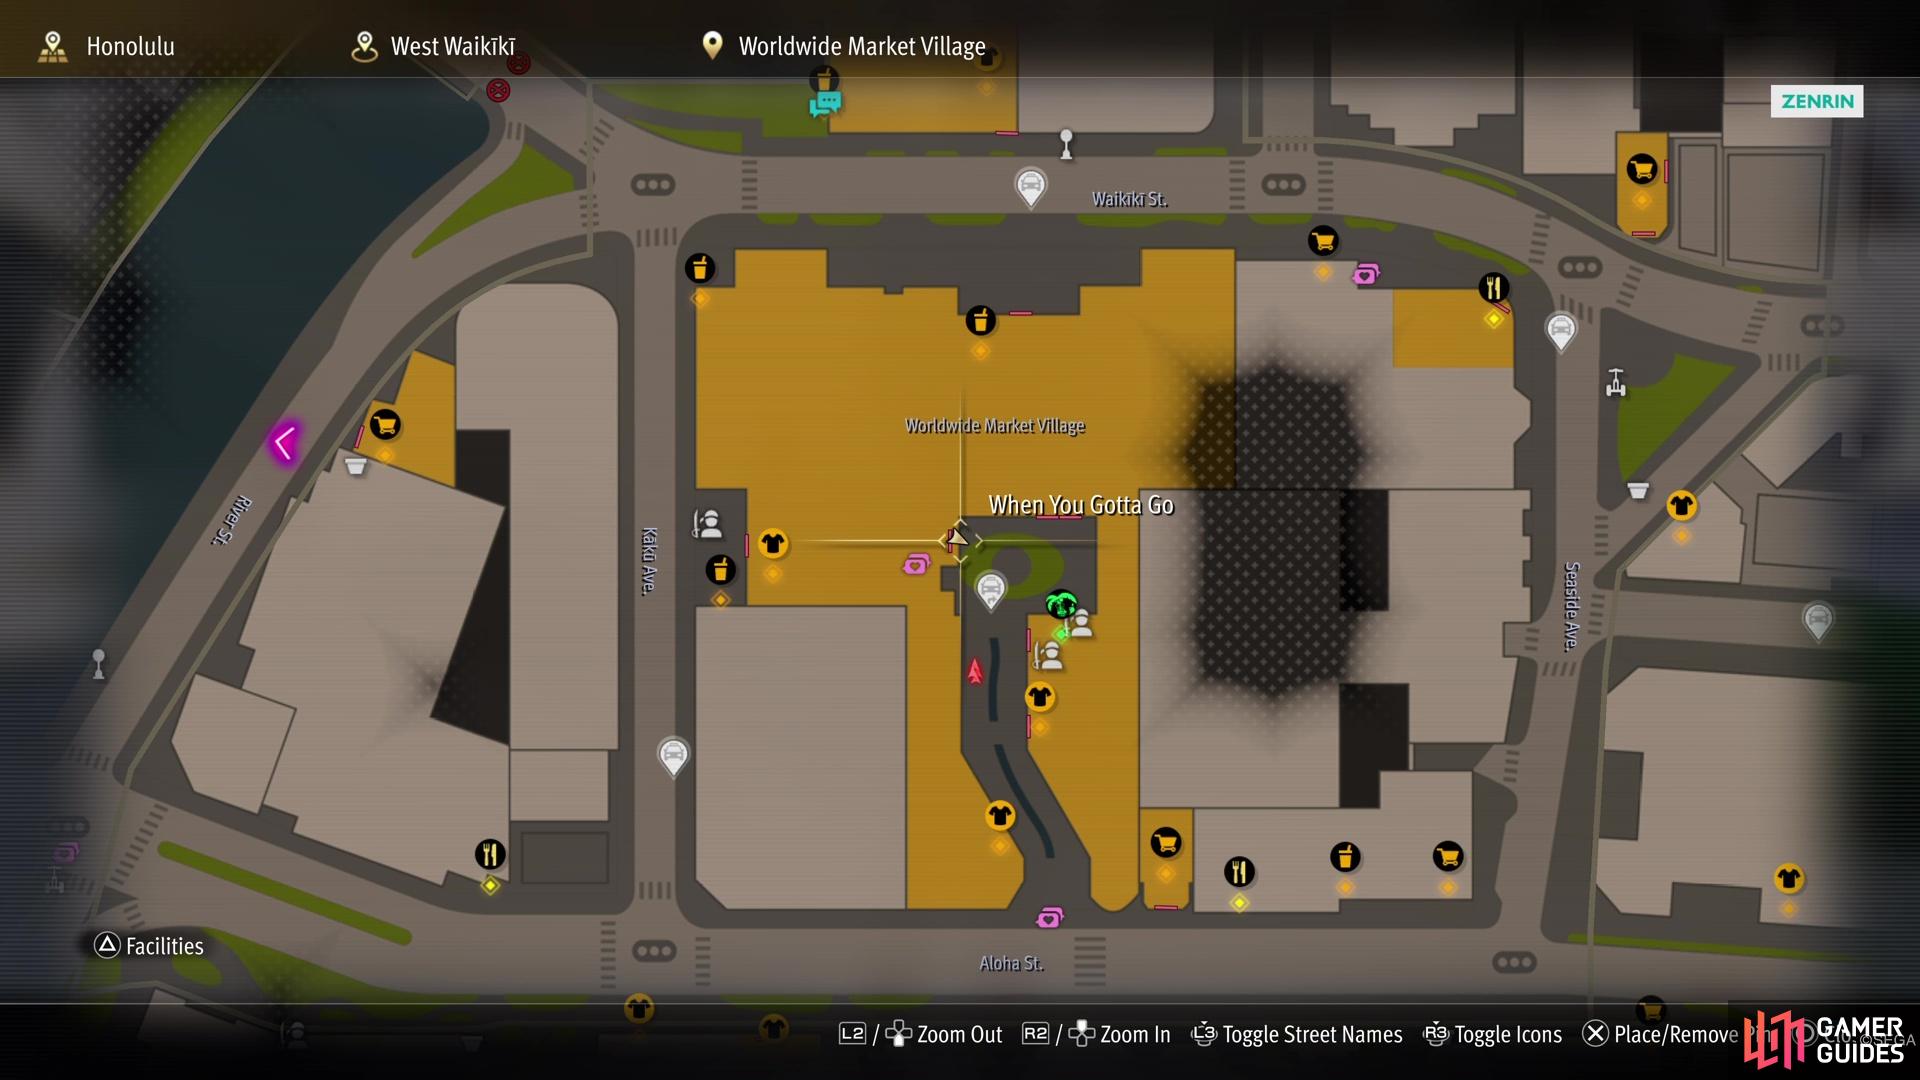
Your next stop is the corner of Kaku Ave and Aloha St, which will be very close to the Worldwide Market Village, where the Alo-Happy place is found. Go across the street from that corner, to Julie’s Brilliant Design and look up, to the north. You should notice a large, circular building there and that’s what you need a picture of for this entry. It can be tricky getting the right angle here, so keep adjusting your position until you see the green camera icon.
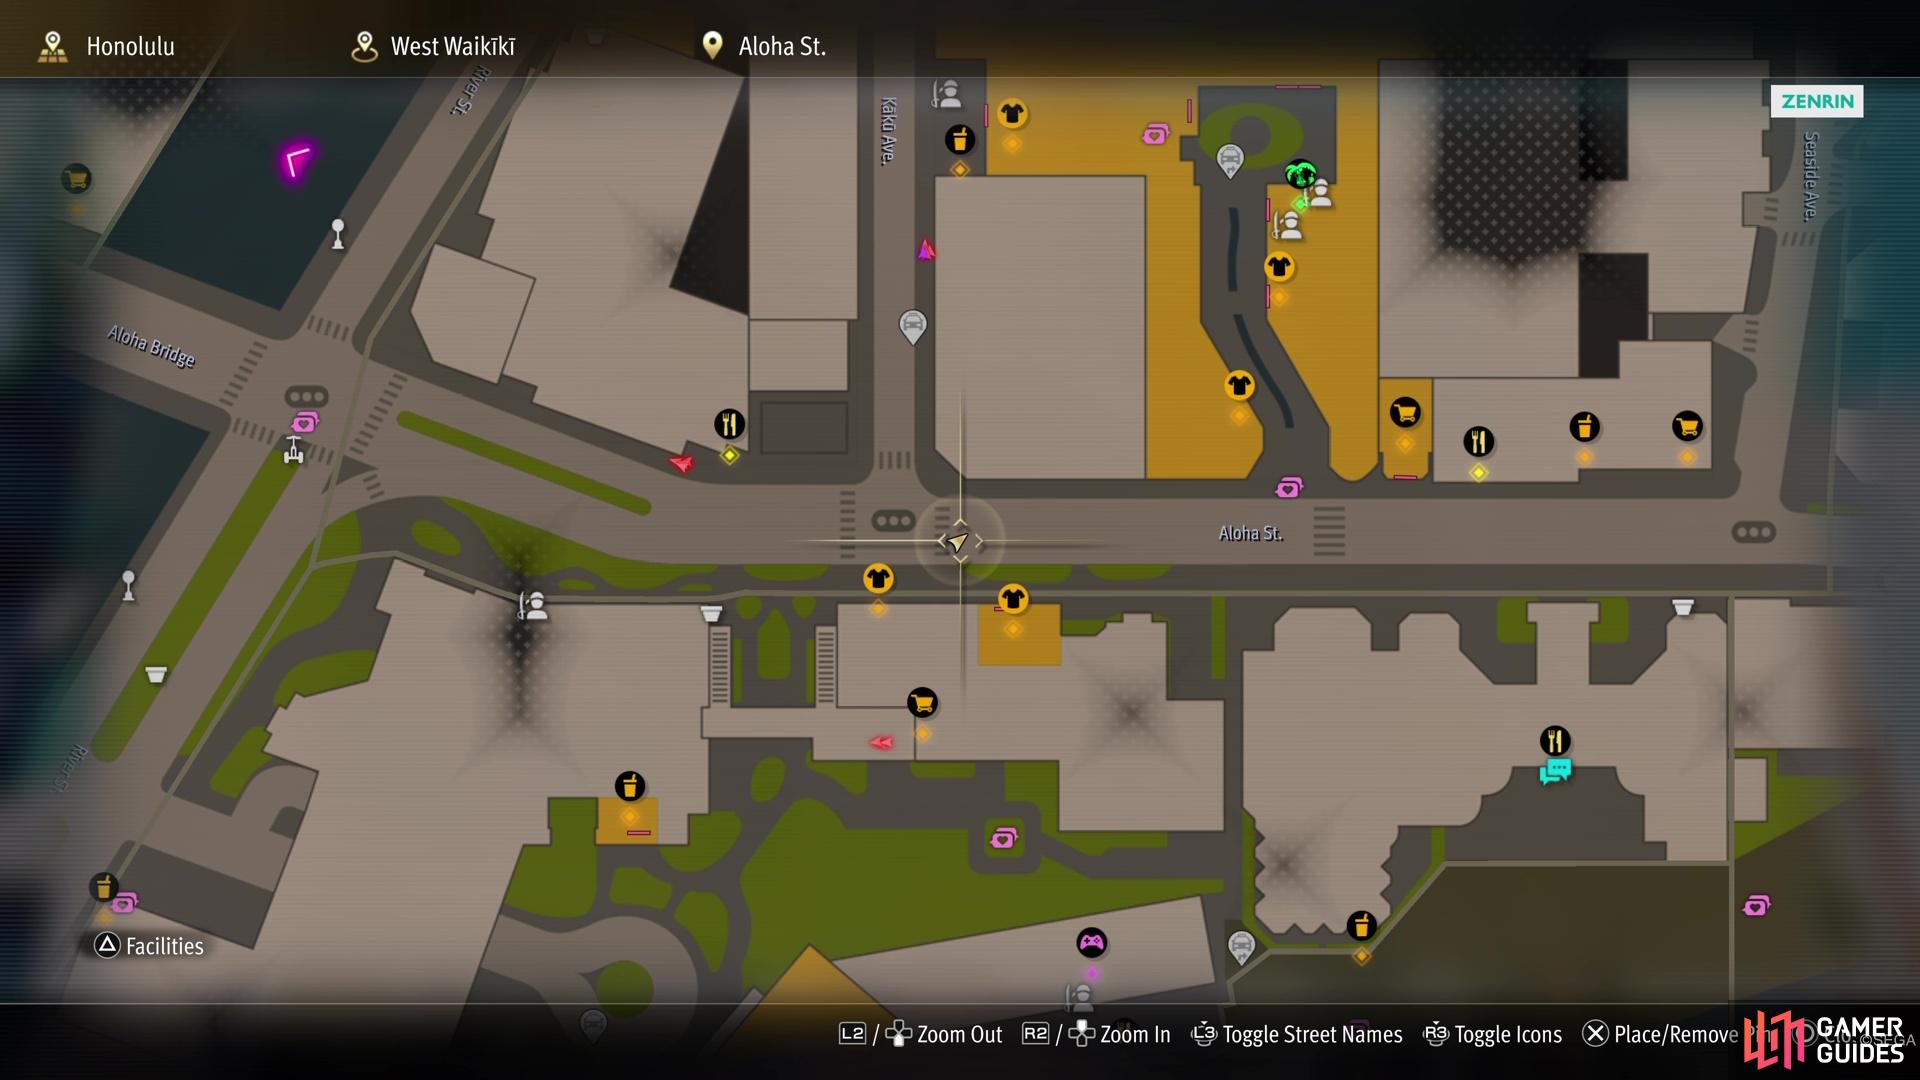


(1 of 2) This is in the same area as the sixth entry, so you can grab both at the same time.
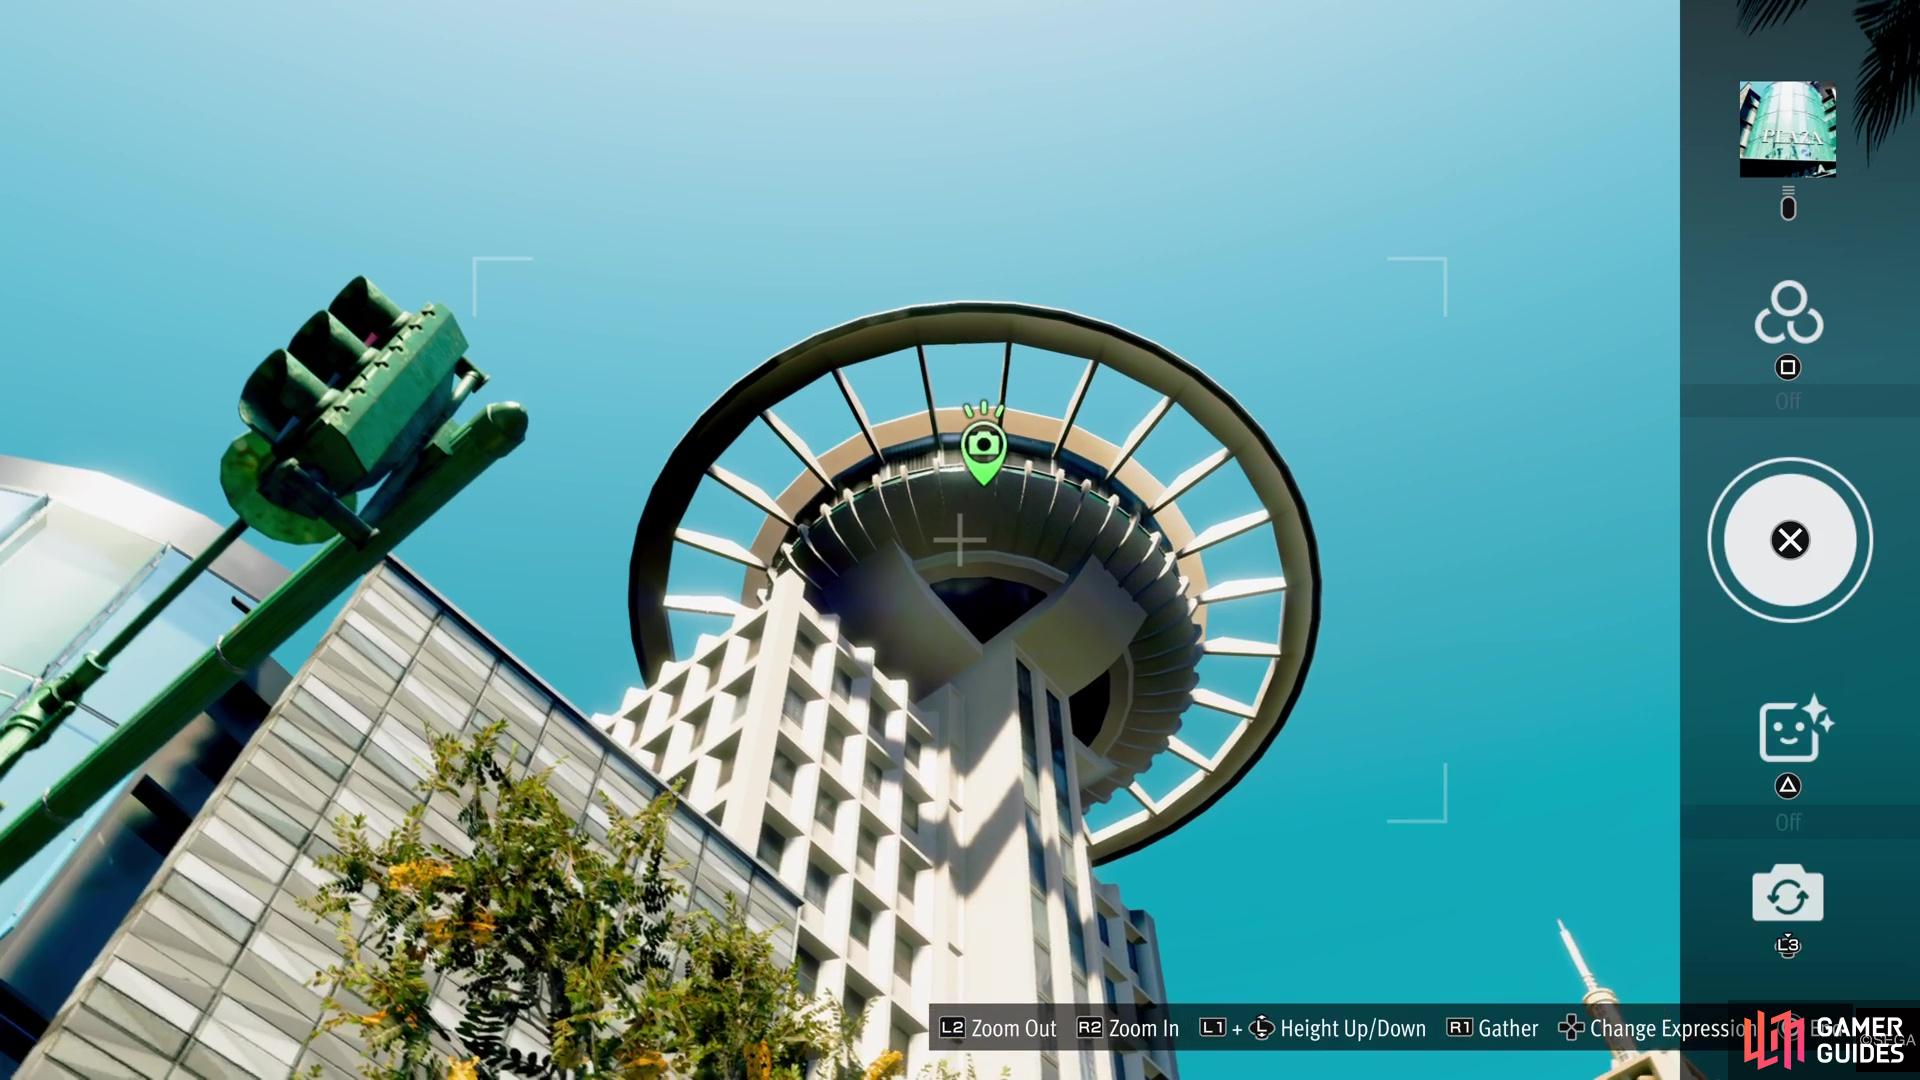
This is in the same area as the sixth entry, so you can grab both at the same time. (left), This one requires you to snap a picture of the circular building, though. (right)
Waikiki Photo Rally Location #6
Stay on the corner of Kaku Ave and Aloha St, but instead of looking all the way up, check out a little lower. Specifically, you want the “Plaza” sign that is right above the Hawaii Plaza sign on the corner of the building there.
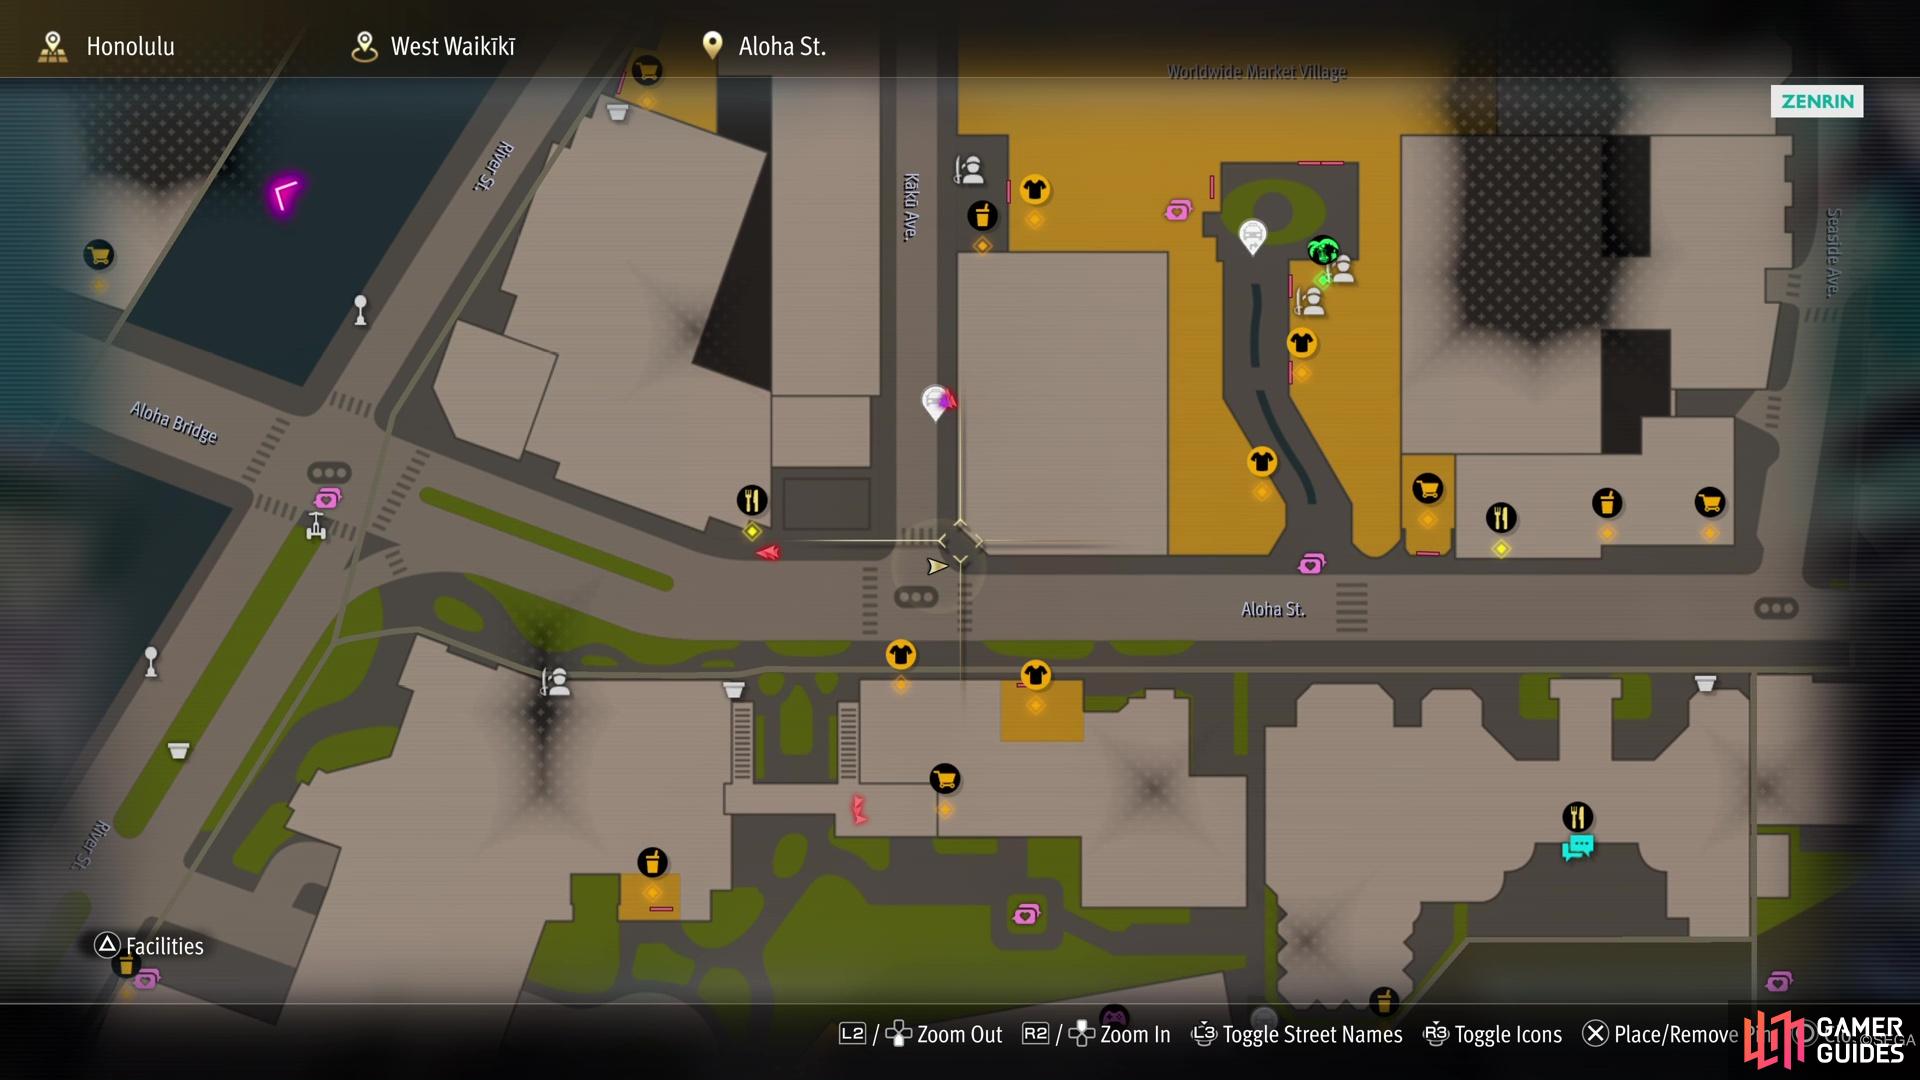
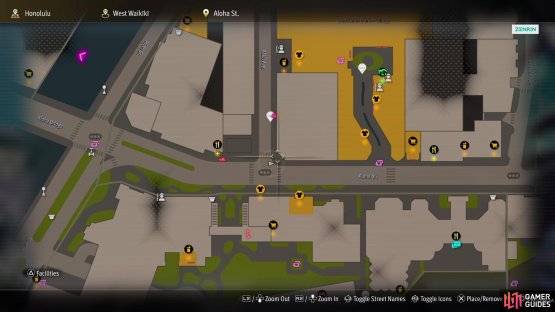
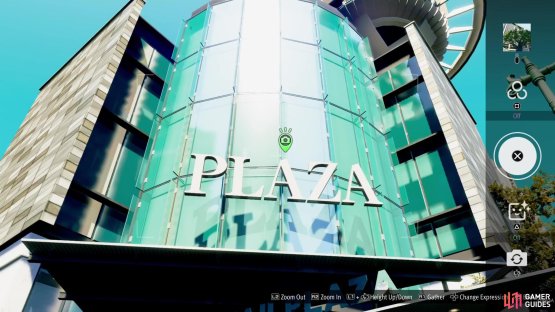
(1 of 2) Go to this corner to find the sixth entry.

Go to this corner to find the sixth entry. (left), Look up to spot this big PLAZA sign, which is what you need for the photo. (right)
Waikiki Photo Rally Location #7
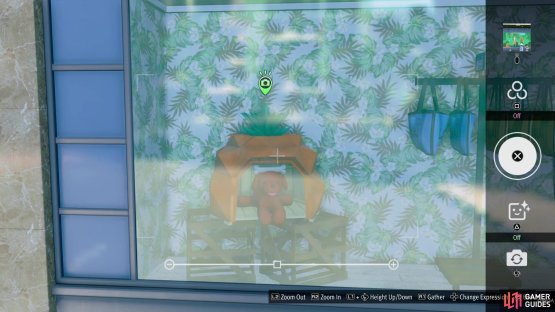
Go to the corner of Kaku Ave and Waikiki St, which should be the northwestern corner of the Worldwide Market Village. That is where you’ll find the Crepes for Me shop, and the photo is close to it. Starting at the store, walk north and east, right around the corner, where you should see a window display of a dog in a pineapple. That’s the picture for this entry.

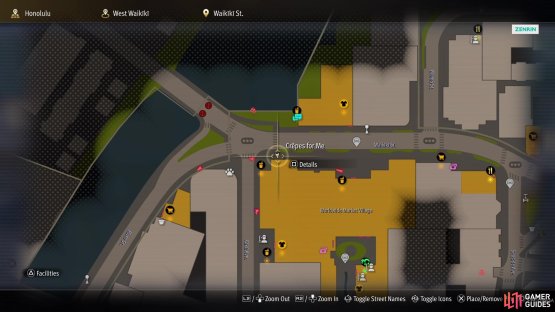
(1 of 2) You’ll find this one near the Crepes for Me shop.
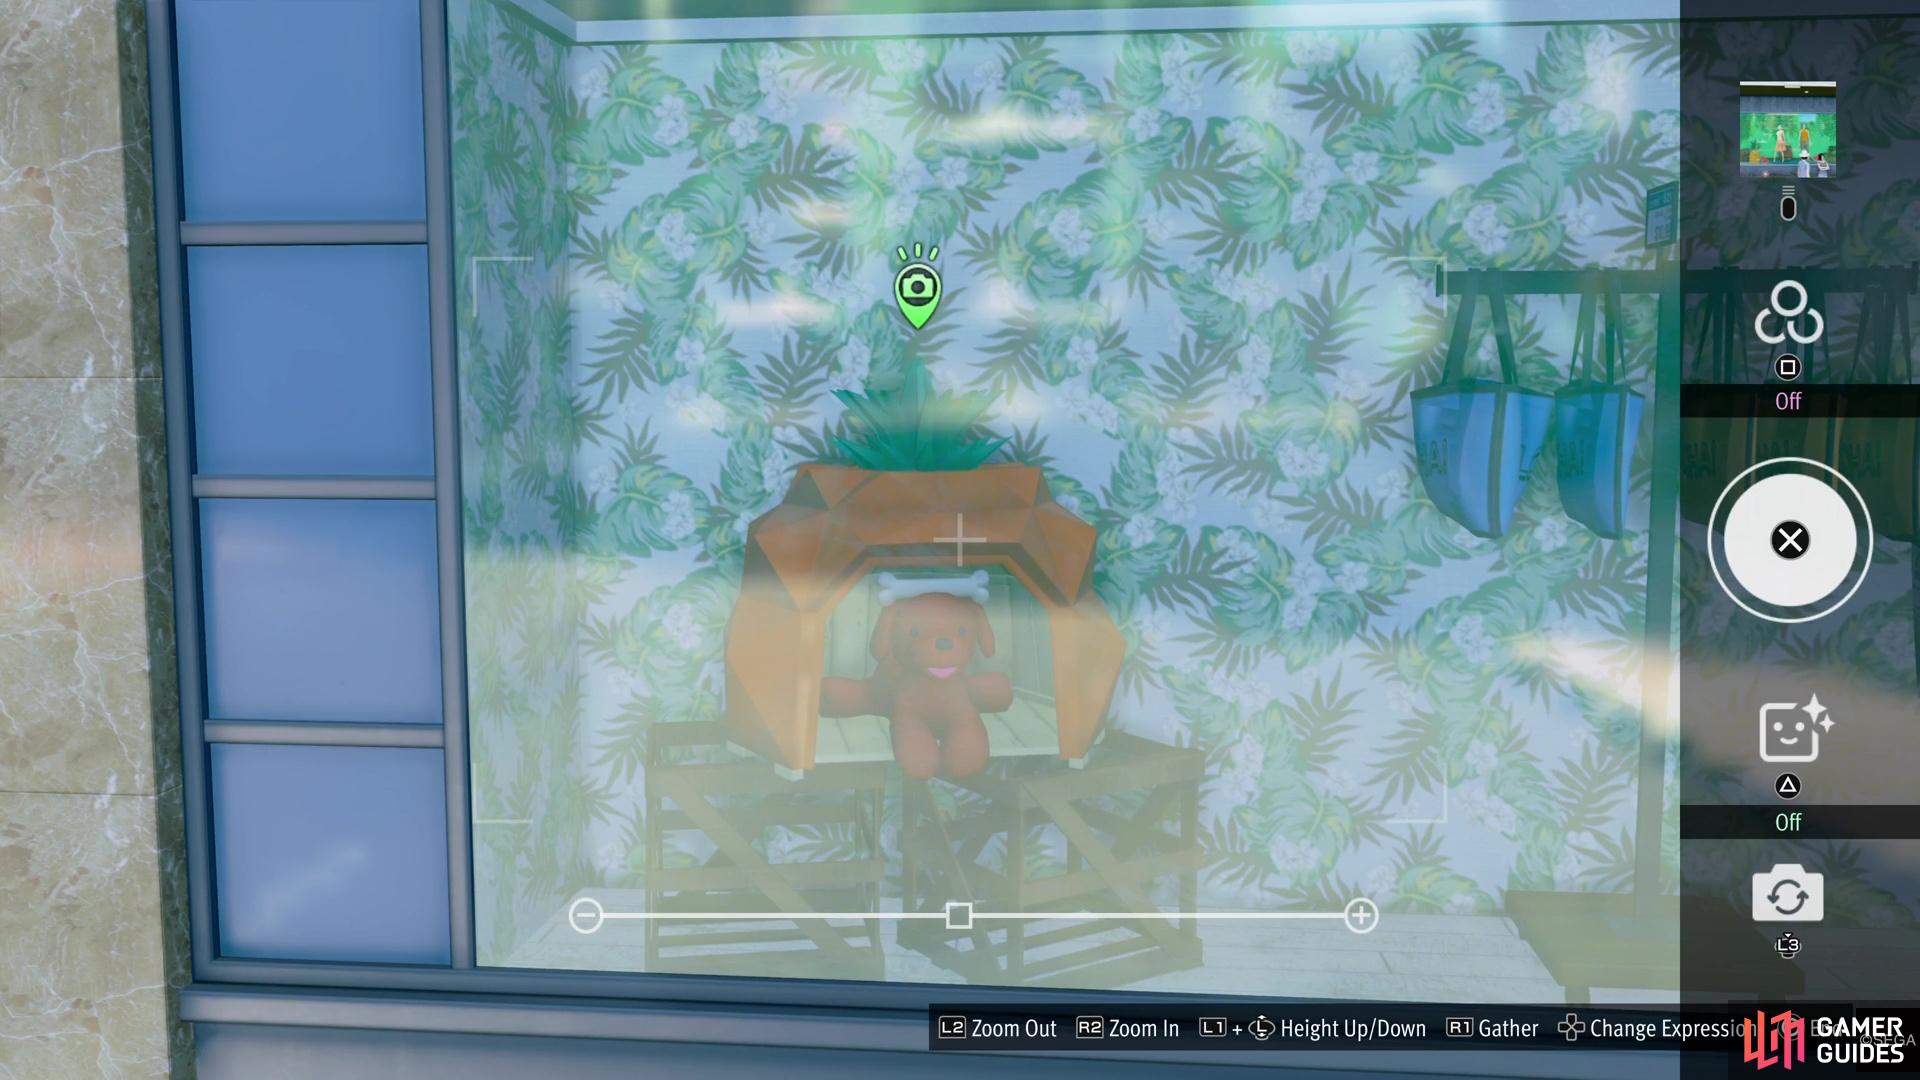
You’ll find this one near the Crepes for Me shop. (left), Look in this one window to spot a dog in a pineapple hut. (right)
Waikiki Photo Rally Location #8
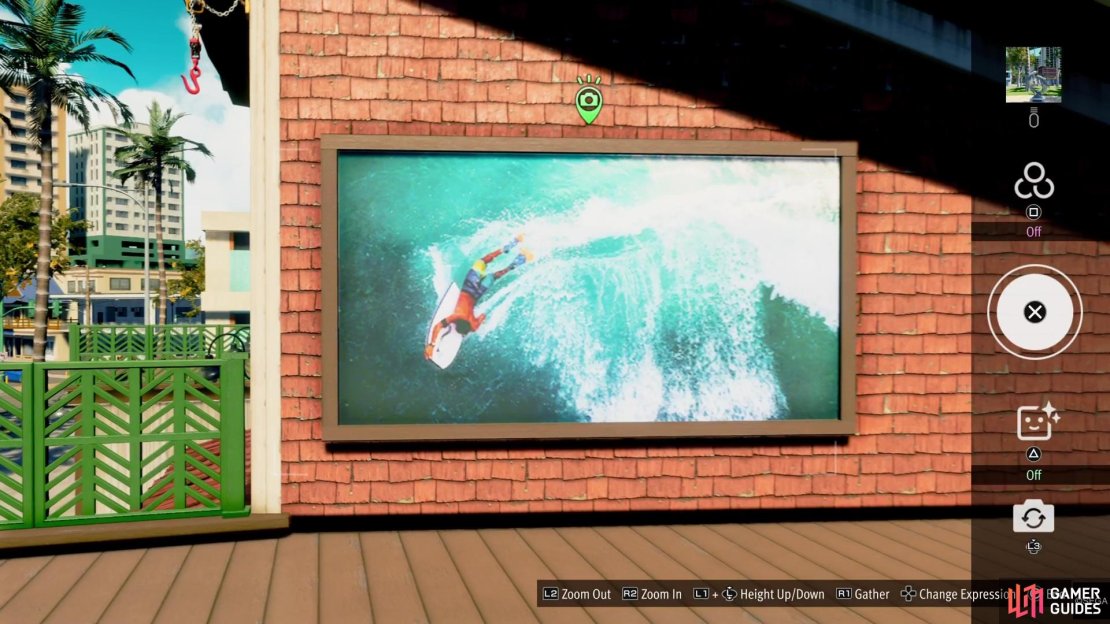
In order to get this one, you’ll need the Chain Hook, which is gotten as part of the main story in Chapter 2. You’ll receive it pretty much right after unlocking Bounties, as it’s the next story beat. Once you have it, head over to the No Surf No Life store, just south of the dolphin statue for #4. The item you need for the photo is on the roof, which is why you need the Chain Hook, so go right next to the vendor and look up to see the anchor for you to latch with the hook. After getting on the roof, snap a photo of the large painting of a surfer. Note that you can find a silver container up here, which contains a customization item for your Street Surfer.
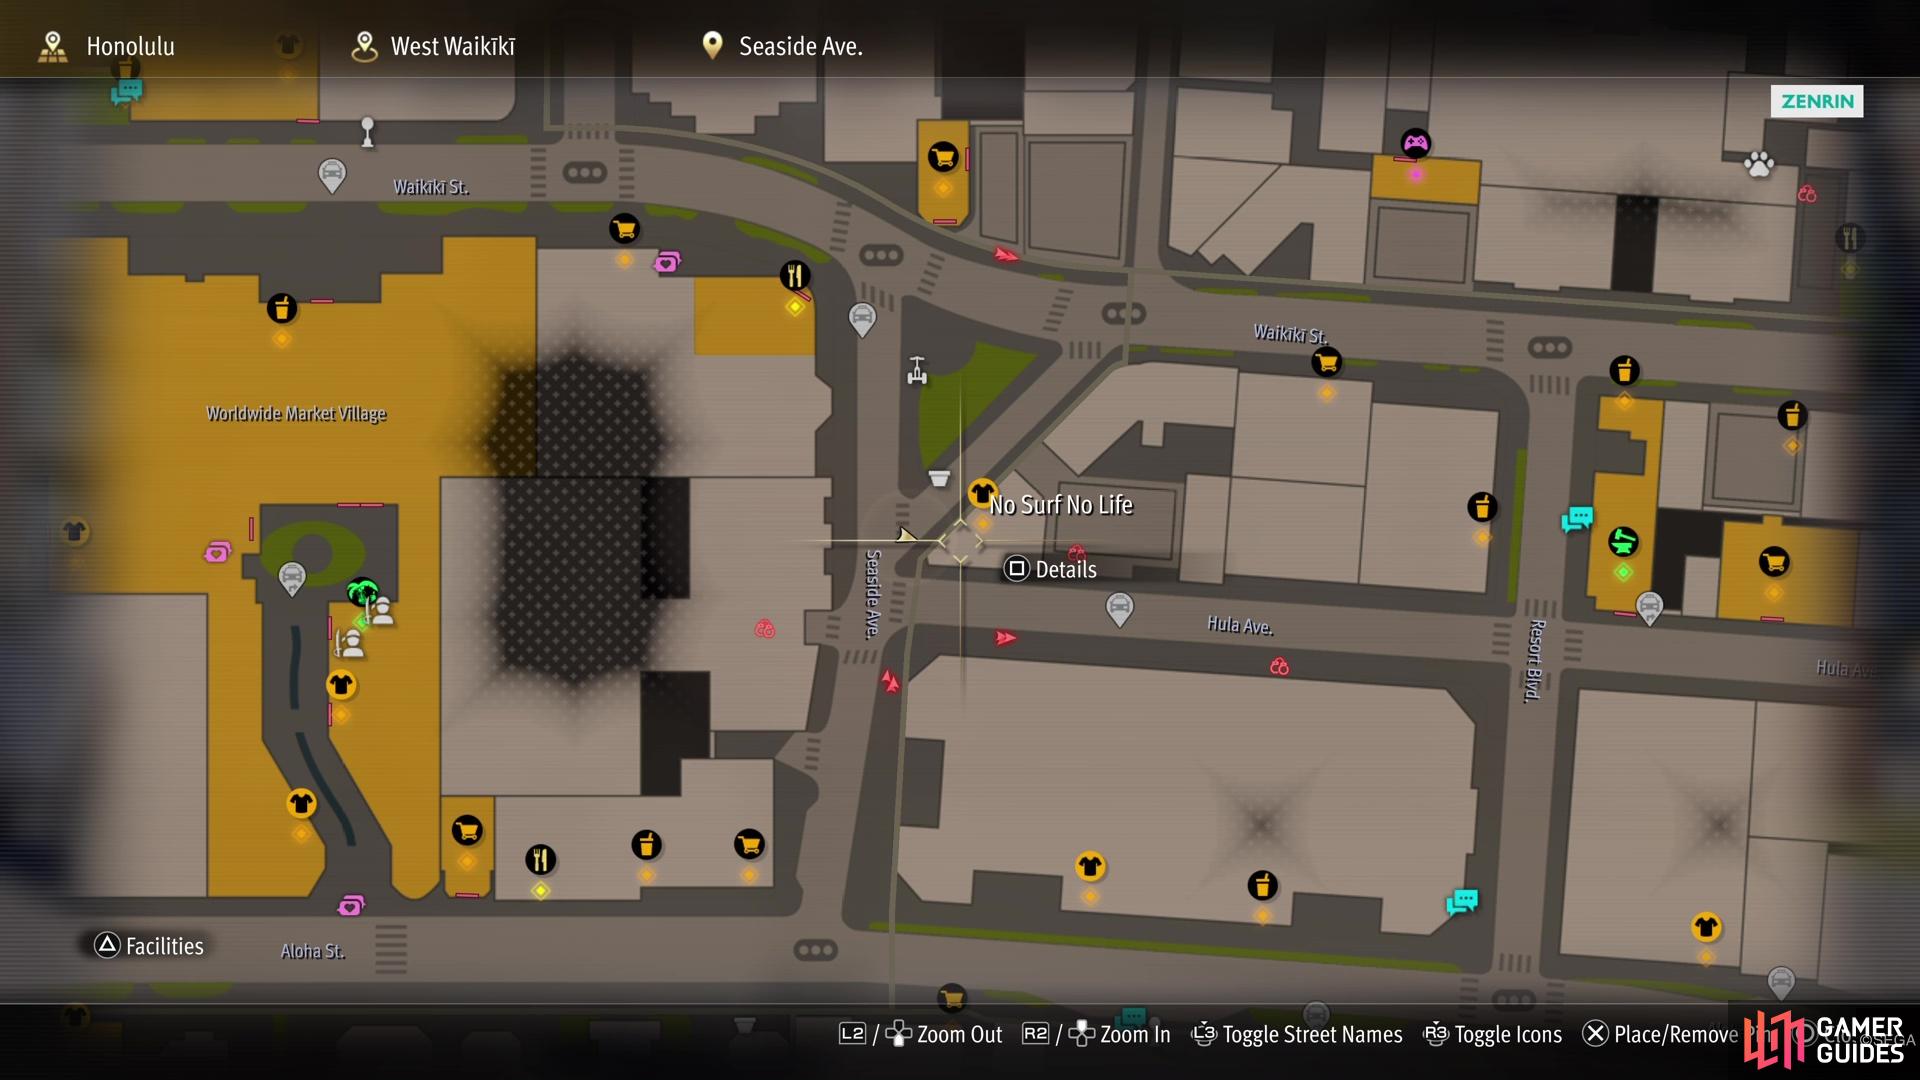
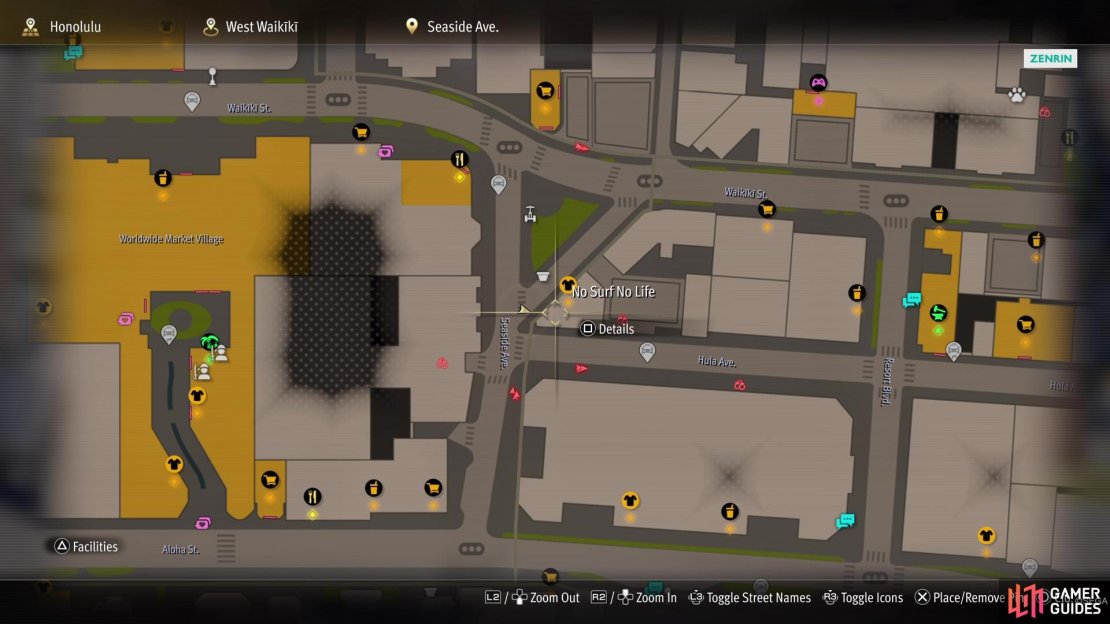

(1 of 3) No Surf No Life is where you’ll find this Photo Rally location.
Waikiki Photo Rally Location #9
You’ve already photographed one dolphin statue, so it’s time to get another one, although this one will be in the East Aloha Beach area. Head to the eastern side of the beach and look for a pier there (this was where you traveled to Dondoko Island, if you’ve played Infinite Wealth). Right at the beginning of that pier is statue of a dolphin, sitting atop a pole, so take the picture.

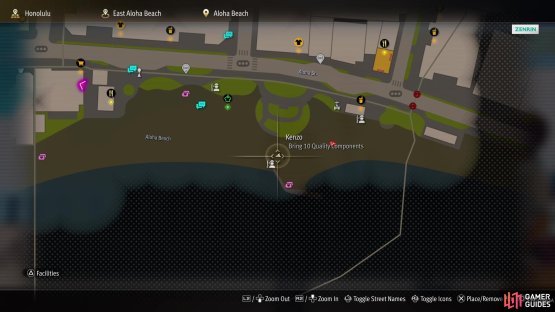

(1 of 2) Go to this spot on Aloha Beach, which is the beginning of a pier.
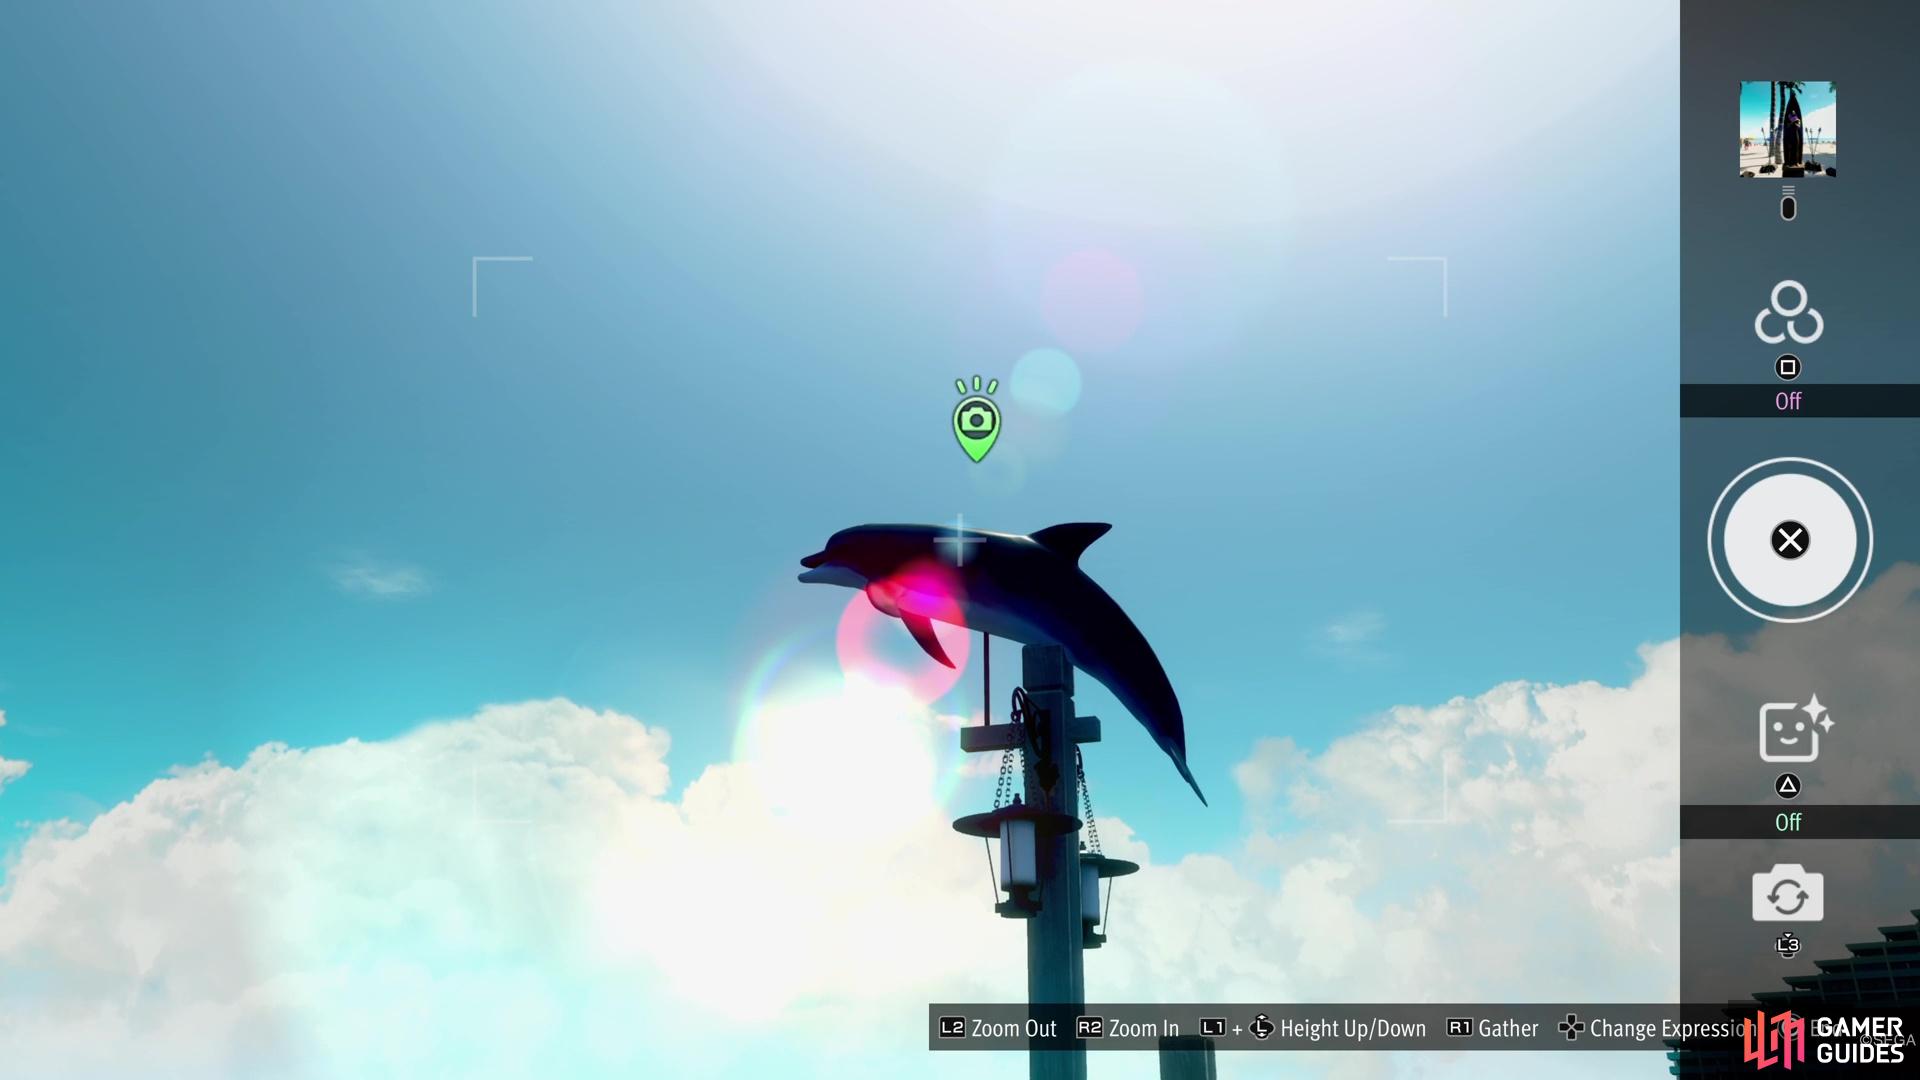
Go to this spot on Aloha Beach, which is the beginning of a pier. (left), You should see another dolphin statue on a pole. (right)
Waikiki Photo Rally Location #10
Travel to the Seaside Ave taxi spot, then run northeast to Waikiki St. Go a little east to find the Wink Mini Mart, which is where you want to visit. Upon reaching the story, take a picture of the sign above the entrance.
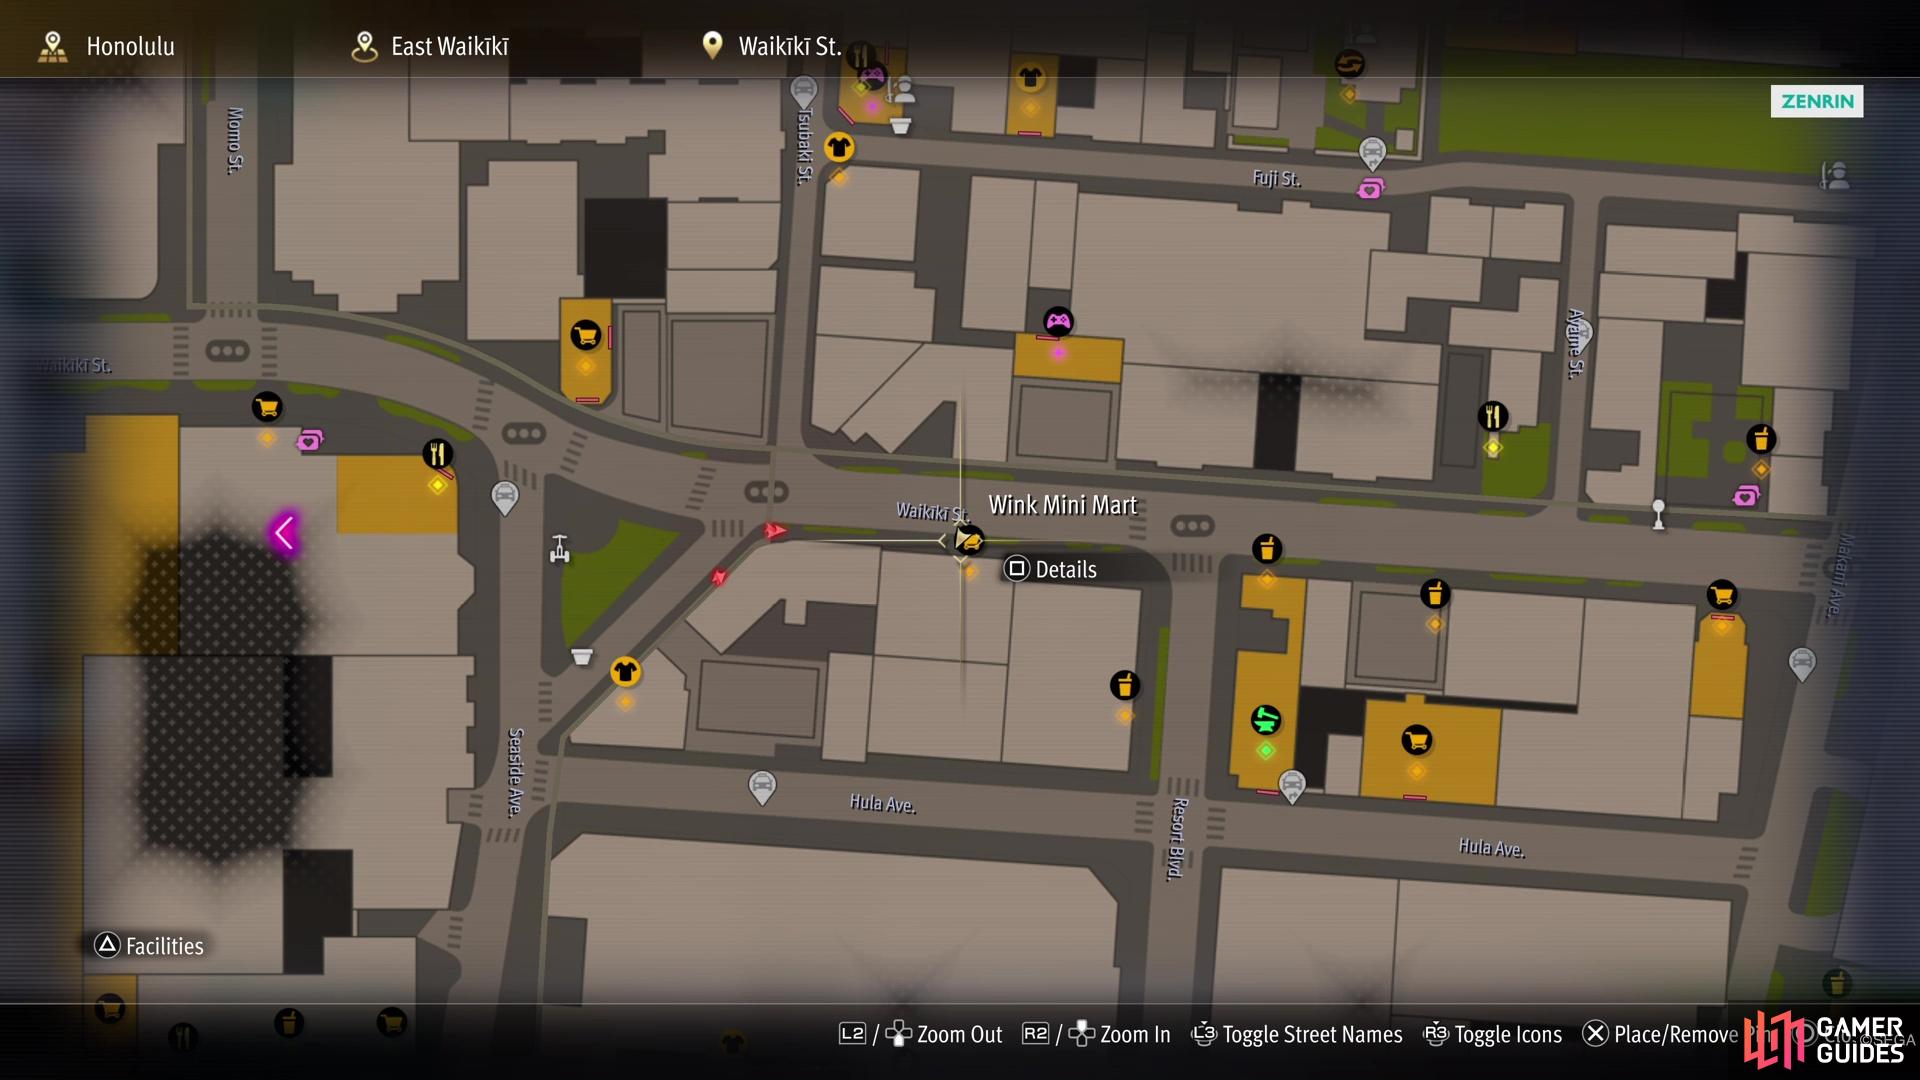
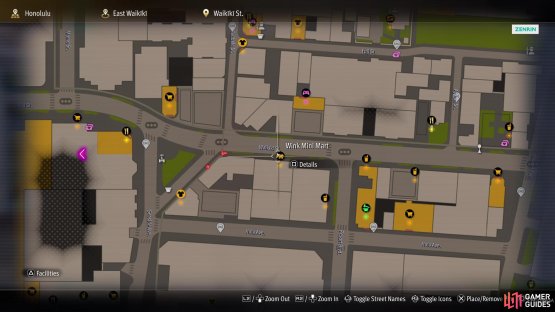
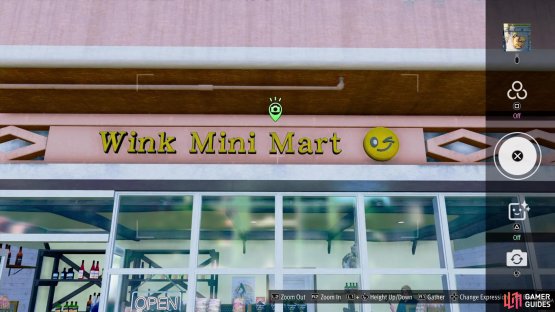
(1 of 2) The Wink Mini Mart is your destination for this entry.

The Wink Mini Mart is your destination for this entry. (left), You just need a photo of the sign above the entrance. (right)
Waikiki Photo Rally Location #11
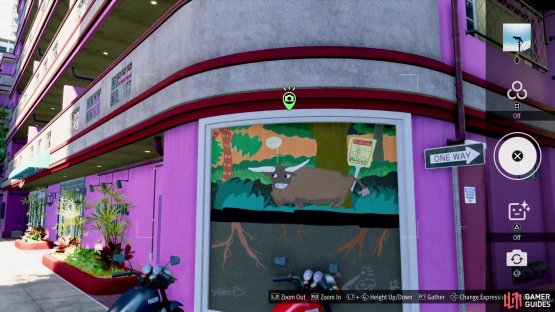
You won’t have to travel too far to get this photo, as it’s right next to Julie’s Gearworks. Fast travel to that spot, then exit the garage and go to the corner just west of the place. If you look at the wall there, you should notice a painting of a water buffalo, so snap a picture of it.
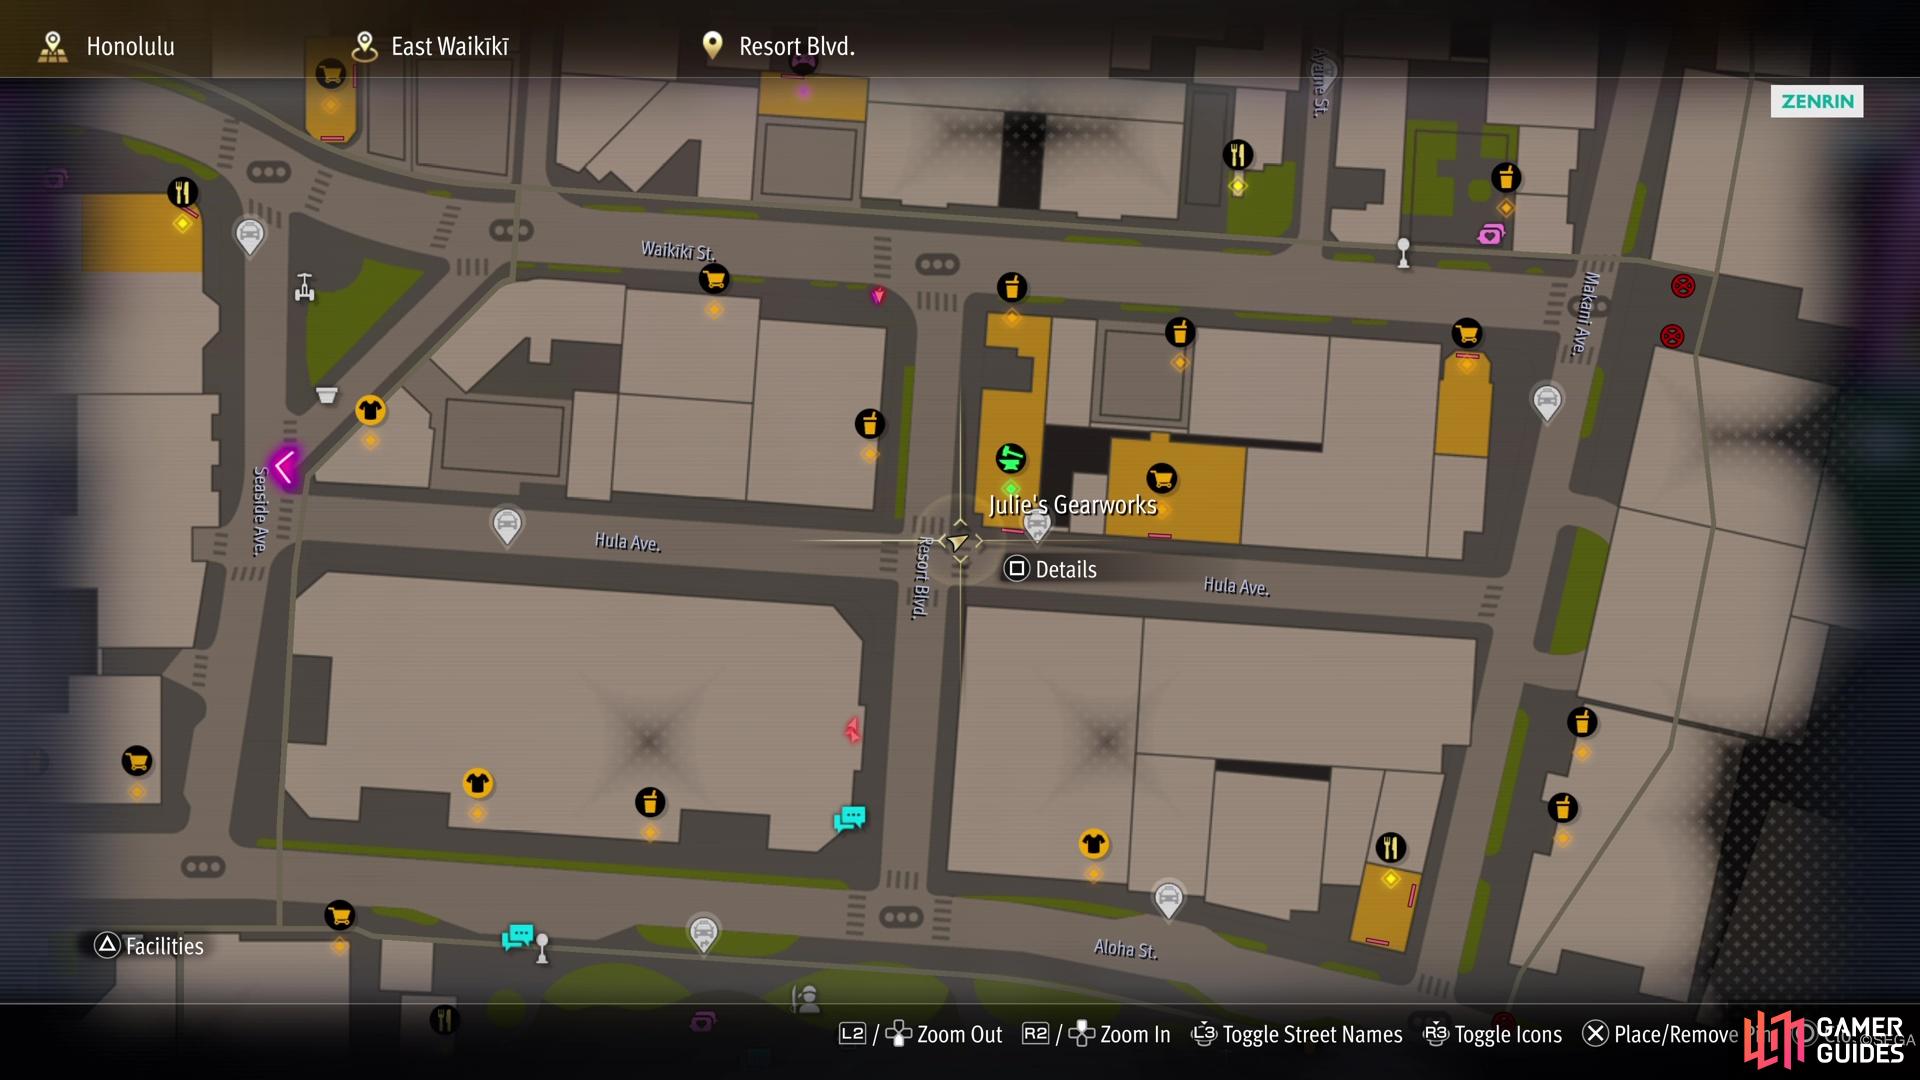
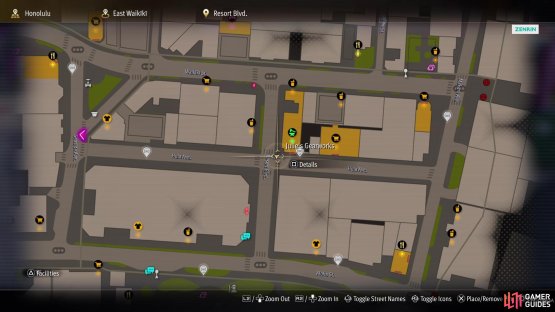
(1 of 2) You won’t need to go far for this photo, as it’s right next to Julie’s Gearworks.

You won’t need to go far for this photo, as it’s right next to Julie’s Gearworks. (left), Look at the corner just west of Julie’s place for the painting. (right)
Waikiki Photo Rally Location #12
This one is close to the main Alo-Happy store, so fast travel to that location. In that little square, you will notice a large tree. You will need to take a photo of that large tree. It might be a little difficult to get the right angle, but keep moving around until you see the camera icon show up as green.

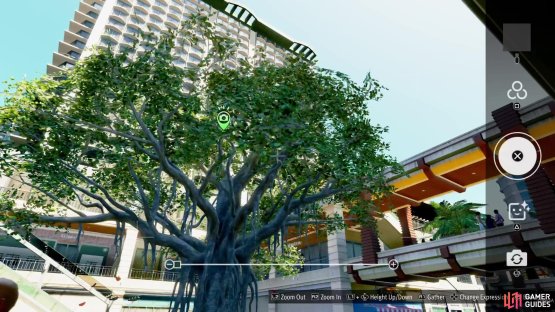
(1 of 2) Head to the mall area right by the Alo-Happy location for this photo.
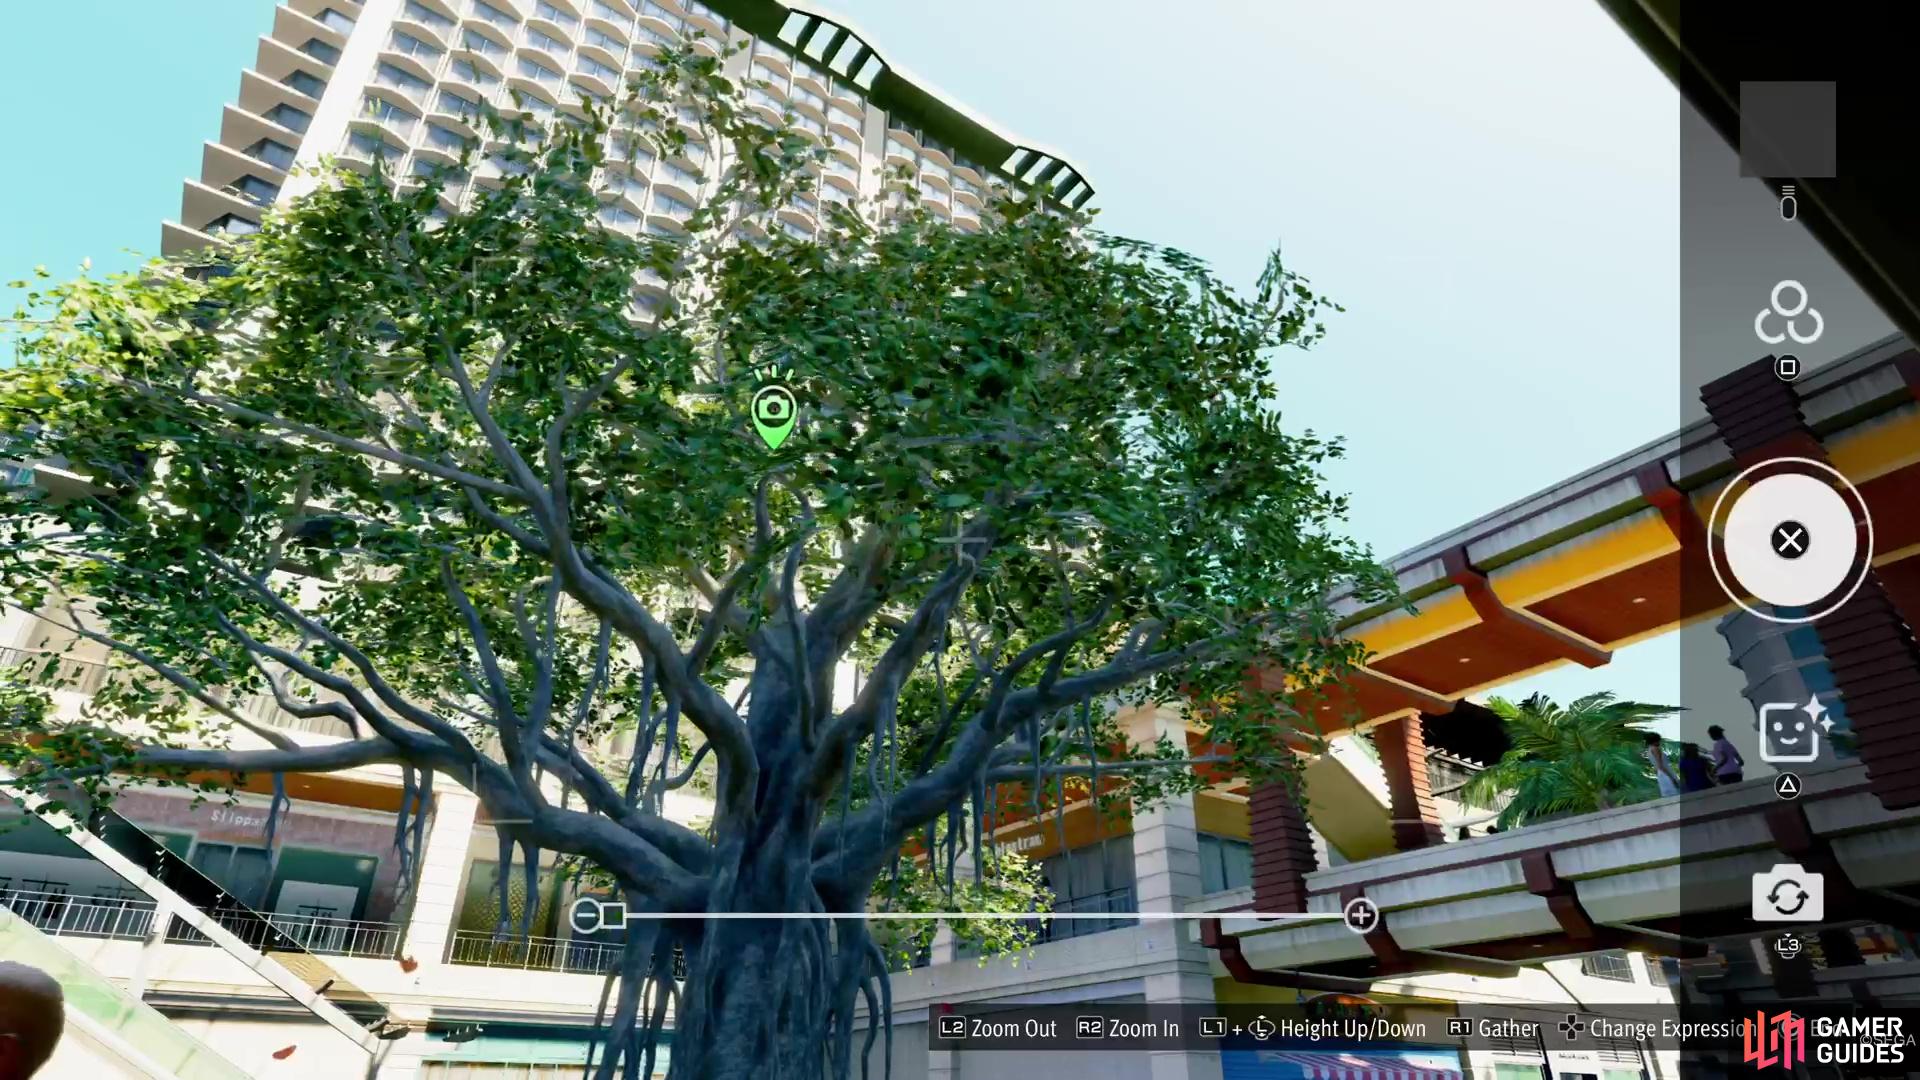
Head to the mall area right by the Alo-Happy location for this photo. (left), It might take a little bit to get the best angle to capture the tree. (right)
Waikiki Photo Rally Location #13
Fast travel to the Aloha Beachfront taxi spot, then look immediately south of where you take control to see a wooden statue. This wooden statue is what you need to snap a photo of for this entry.

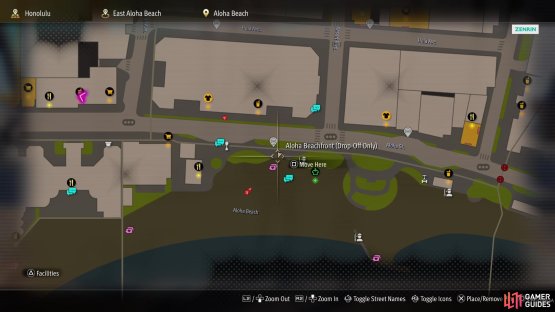
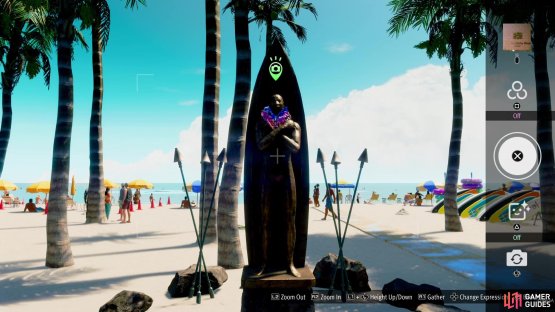
(1 of 2) Travel to the Aloha Beachfront taxi spot for this entry.

Travel to the Aloha Beachfront taxi spot for this entry. (left), Just south of the taxi stop is the statue you need to photograph. (right)
Waikiki Photo Rally Location #14
Look for Tony’s Lemonade Stand on the map, which is just north of the Makani Ave taxi spot. If you head there, travel to the west a little bit from the lemonade stand, and you should see a pizza restaurant (non-functional). Look on the front of that pizza place’s building to notice a pizza sign with some eyes that open/close. That pizza is your target.
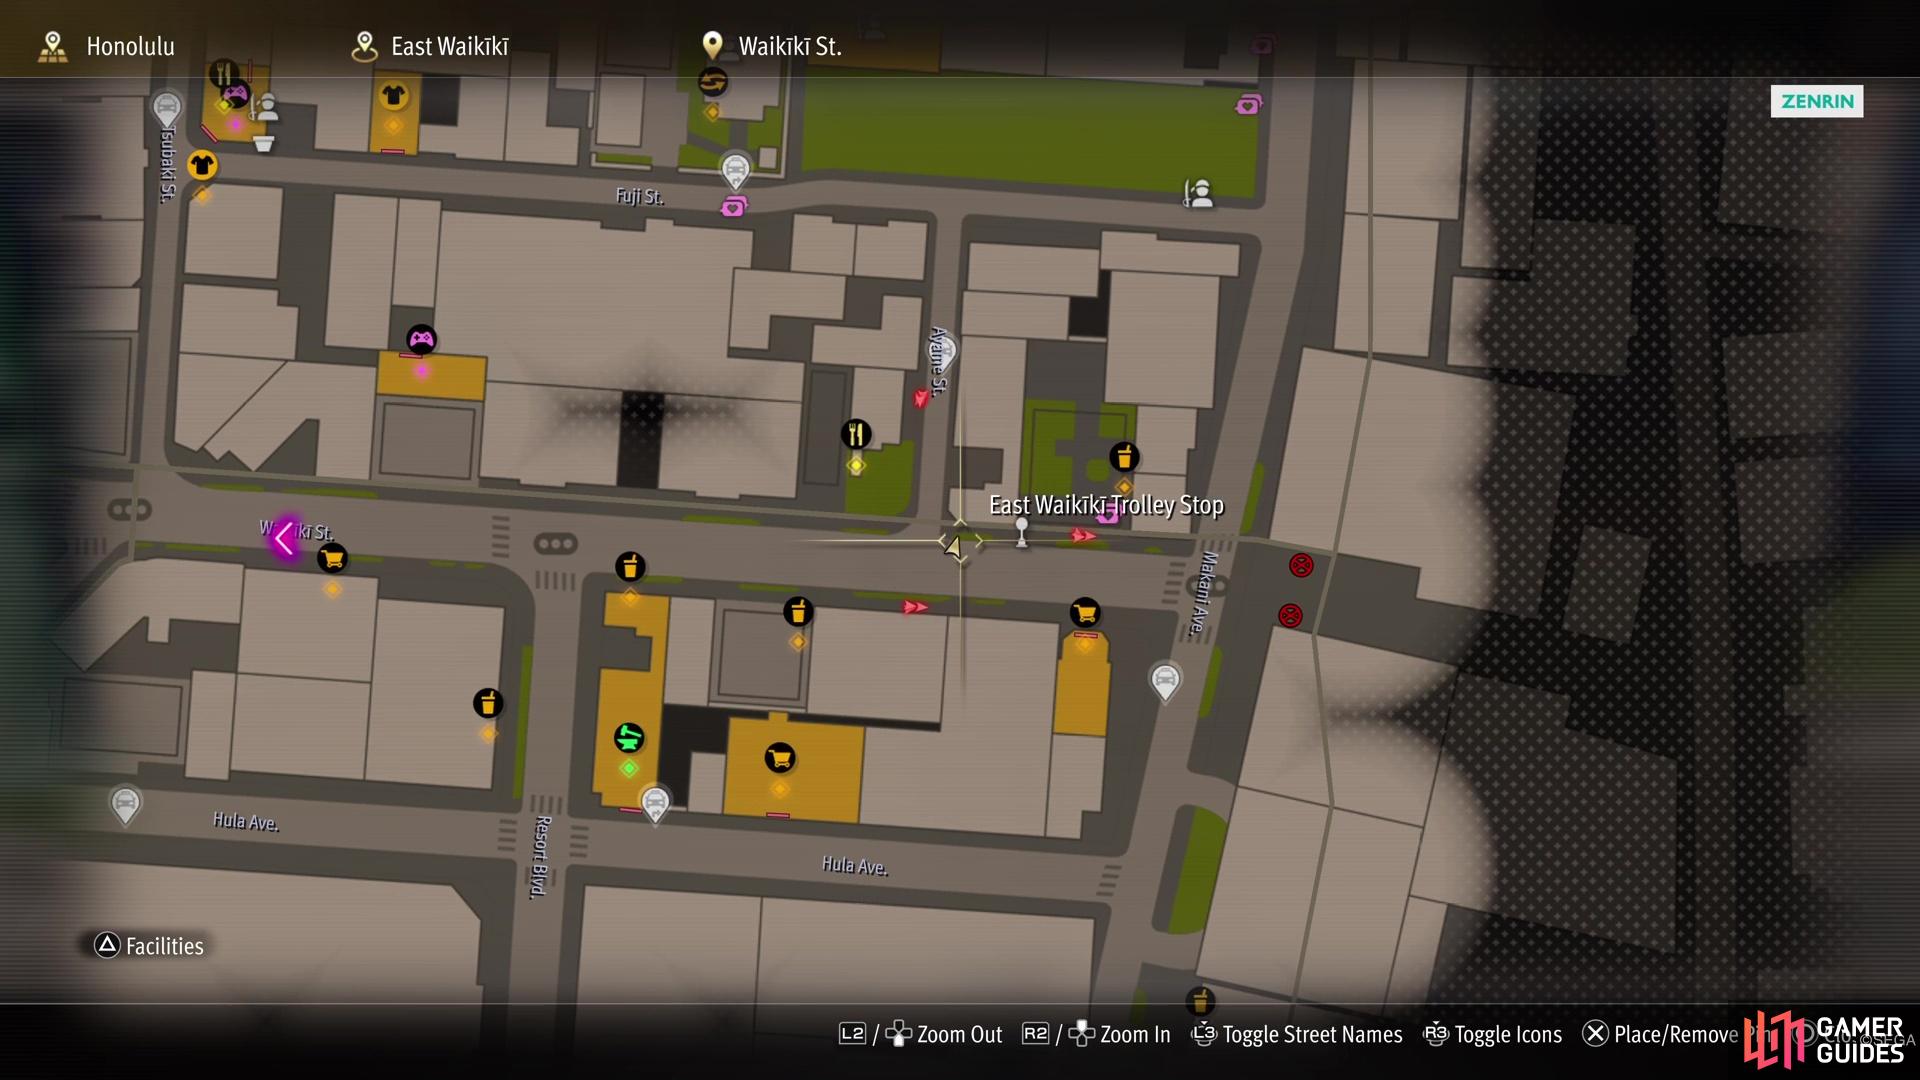


(1 of 2) Check this spot on the map, just west of Tony’s Lemonade Stand.
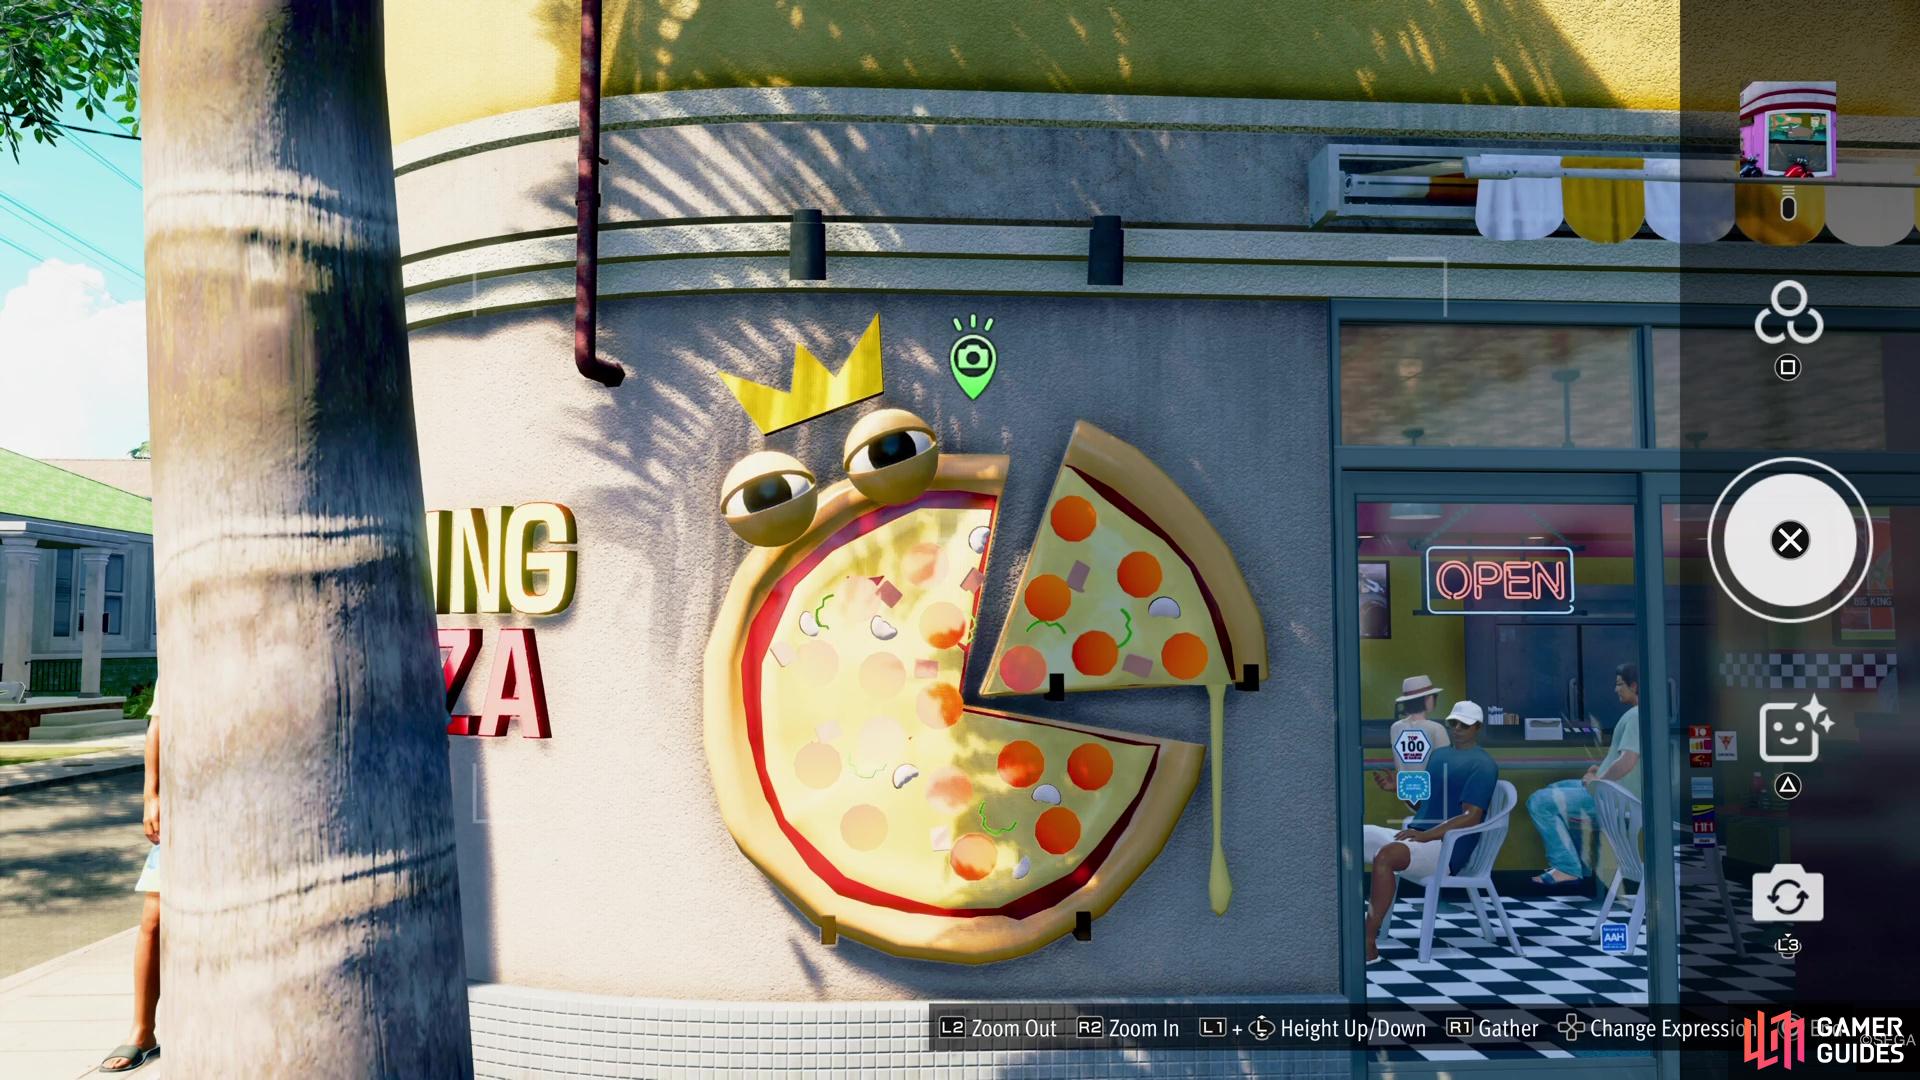
Check this spot on the map, just west of Tony’s Lemonade Stand. (left), You need a picture of the pizza statue on the wall. (right)
Waikiki Photo Rally Location #15
The final spot in this set is located at the Crystal Aloha Resort, the giant hotel you see marked on the map on the western end of the beach. The item you need to photograph is a bit tricky to find, but enter the resort and go out the northern end. If you have the Crystal Aloha Resort taxi spot, then you can just fast travel to that and then head a little east. On the outside portion of the northern end of the hotel, you should a sign that says “Crystal Aloha Resort,” with a little insignia. Take a picture of that sign.
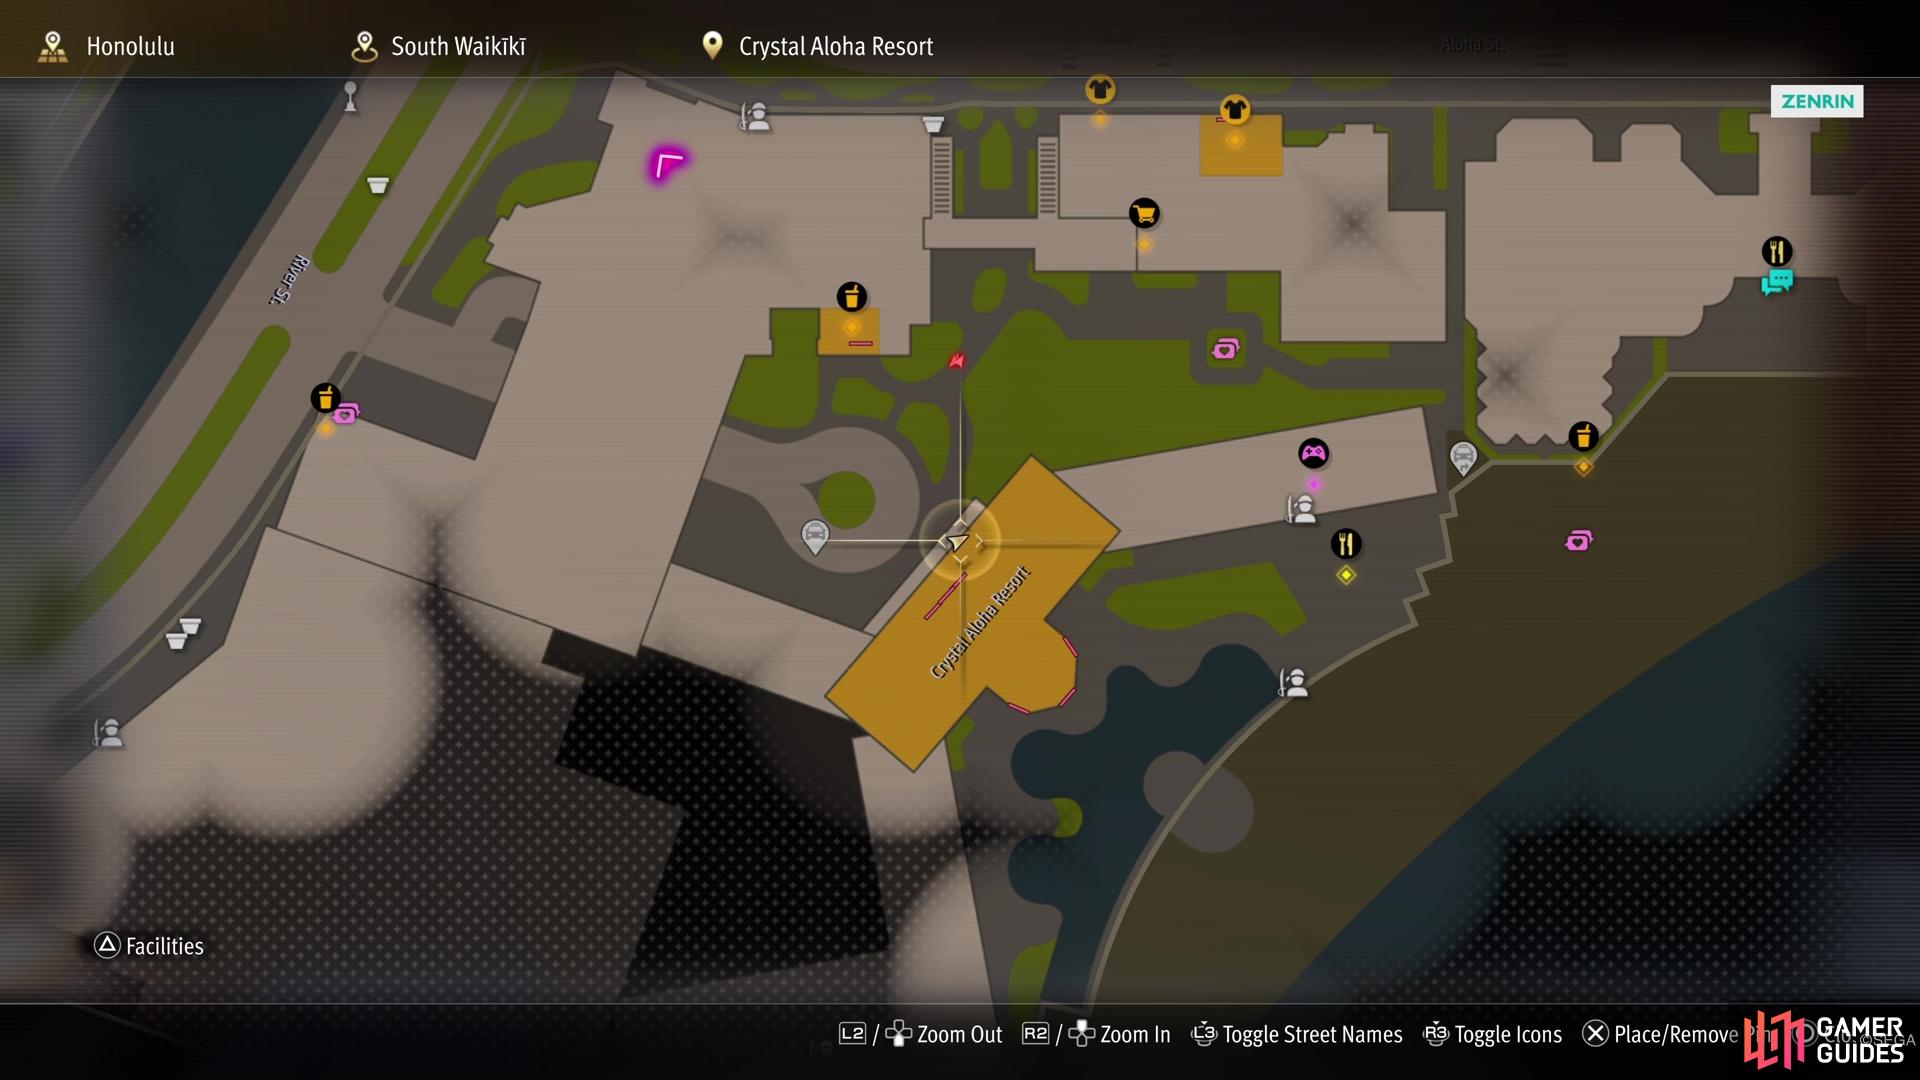
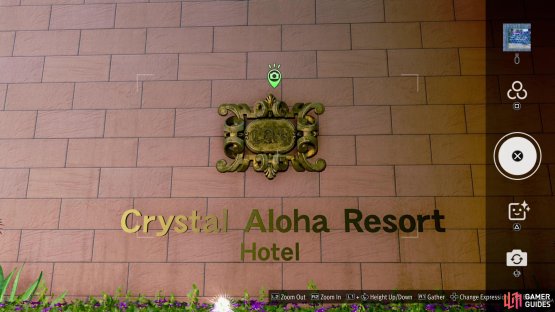
(1 of 2) You’ll find this one on the northern side of the Crystal Aloha Resort.

You’ll find this one on the northern side of the Crystal Aloha Resort. (left), As soon as you exit, look to the side for this sign. (right)
Your reward for completing this Photo Rally set is the Street Surfer Flag (Alo-Happy Tours) customization item for your Street Surfer. Remember that you can go to any Oka Charger to customize your Street Surfer.
No Comments