


You should be at the Straw Hat camp at the end of the last mission and while you will be moving on to the next story mission soon, there’s some things to collect in the vicinity. From the camp, if you head due east, you should eventually discover the Quiet Basin Hot Spring. Take a dip to increase your maximum health, then start heading south next. When you come to the river, follow it as it bends to the west and you will come upon an unmarked little camp of bandits. Clear out the place, then look for a dock by the river, where you should find a Hidden Altar tucked away behind some barrels. Exit to the east, following the riverbank, and not far from the little fort will be the Tsutsu Bamboo Strike.
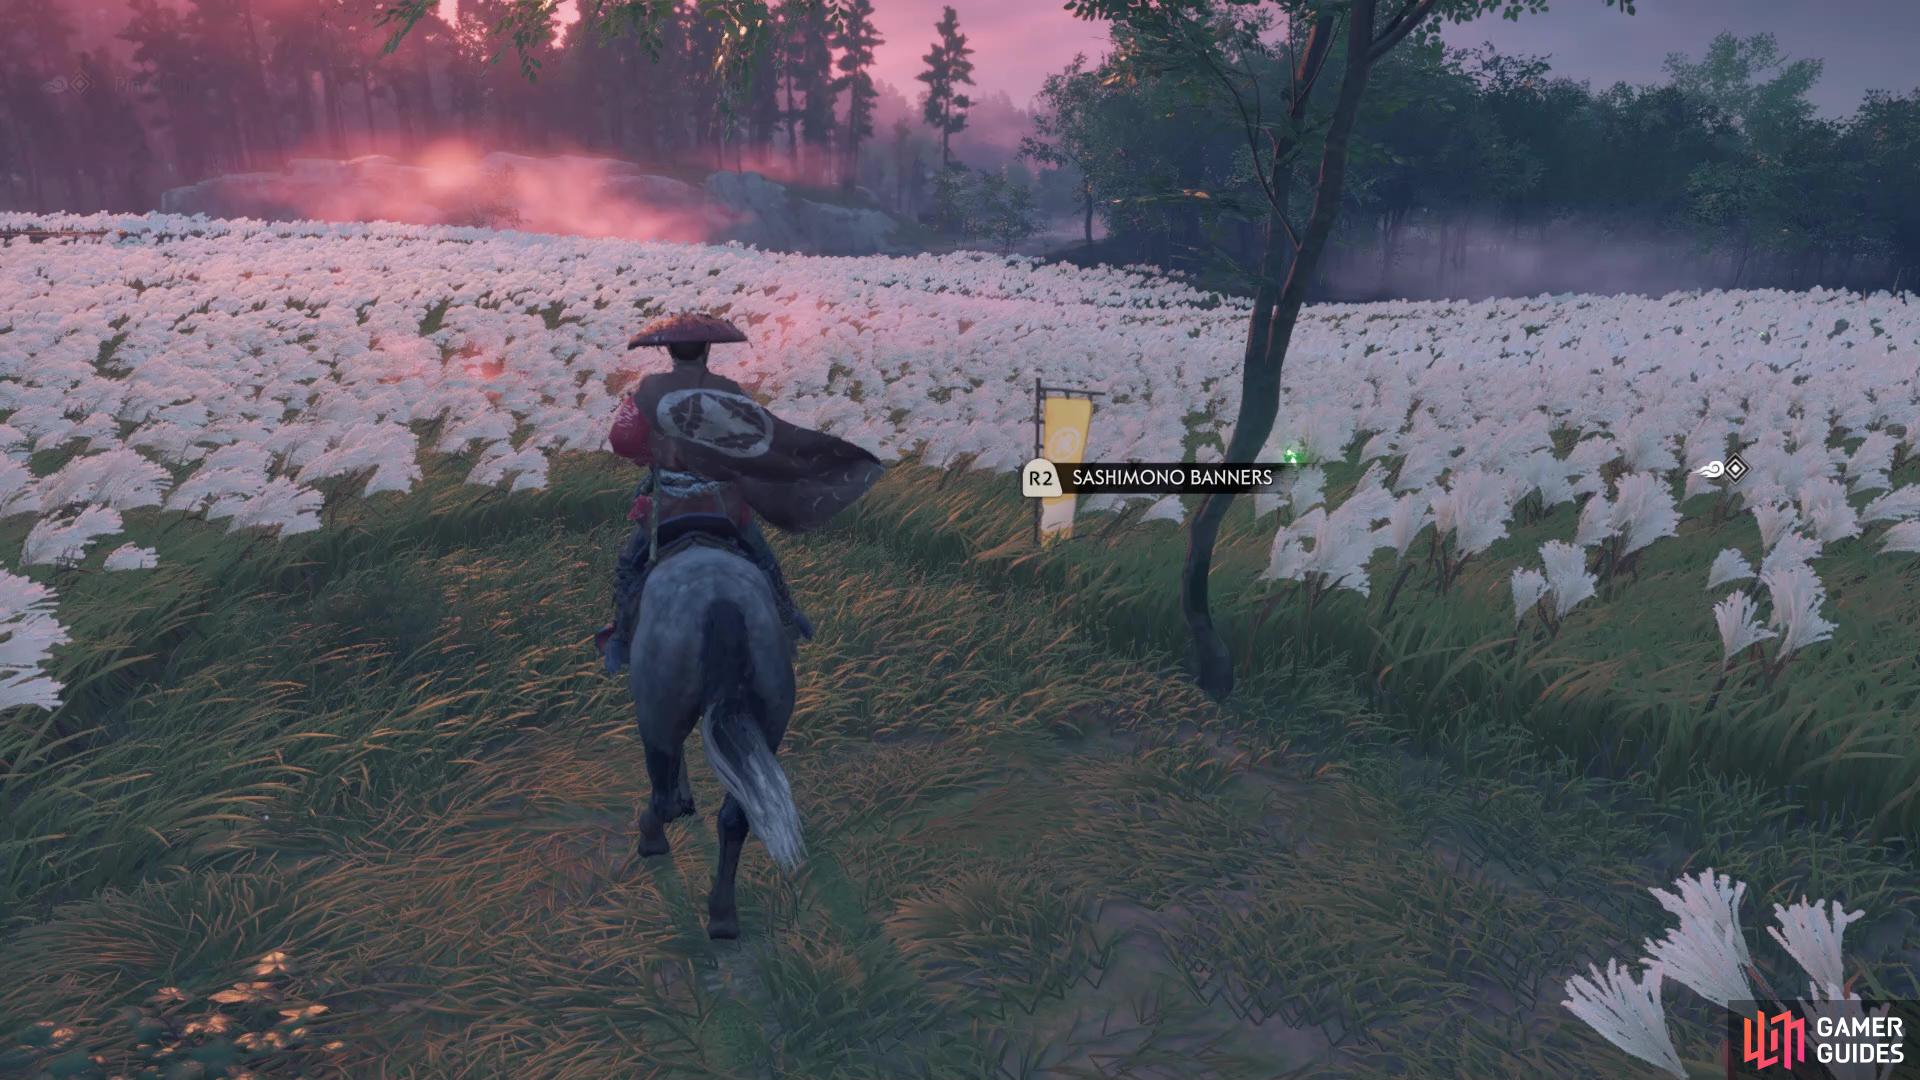
This banner is really easy to find, since the area is open
Journey southwest of the Bamboo Strike and you should see a field of pampas grass, with a tree in the middle of it. Right next to this tree will be a Sashimono Banner. Northwest of that banner will be a Survivor Camp, so take care of anything while you’re there, then continue northeast a little bit to find a lone house. There will be a woman crying here, so speak to her to begin the Empty Baskets Side Tale. This is a fairly short side tale, so go ahead and do it now.
Once it’s finished, travel northwest of the lady’s house to discover the Ohama Fishing Village. On the cliffs just north of the fishing village will be the Tsutsu Haiku. Looking at your map, fast travel to the Rushing Water Crossing camp you liberated earlier and begin venturing west. Eventually, you should run across a Fox’s Den, which is kind of nestled next to the large rocks. West of there will be another Shinto Shrine, but you lack a necessary piece of equipment in order to do it, so that will be saved for a little bit later.
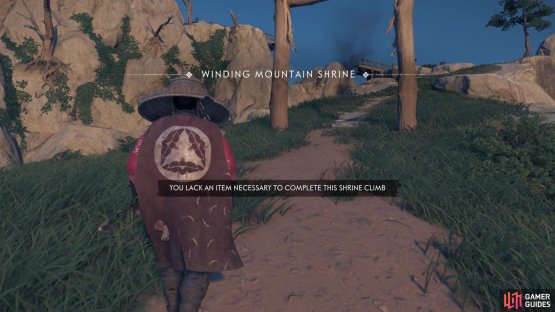

(1 of 2) You won’t be able to do this shrine until a little later
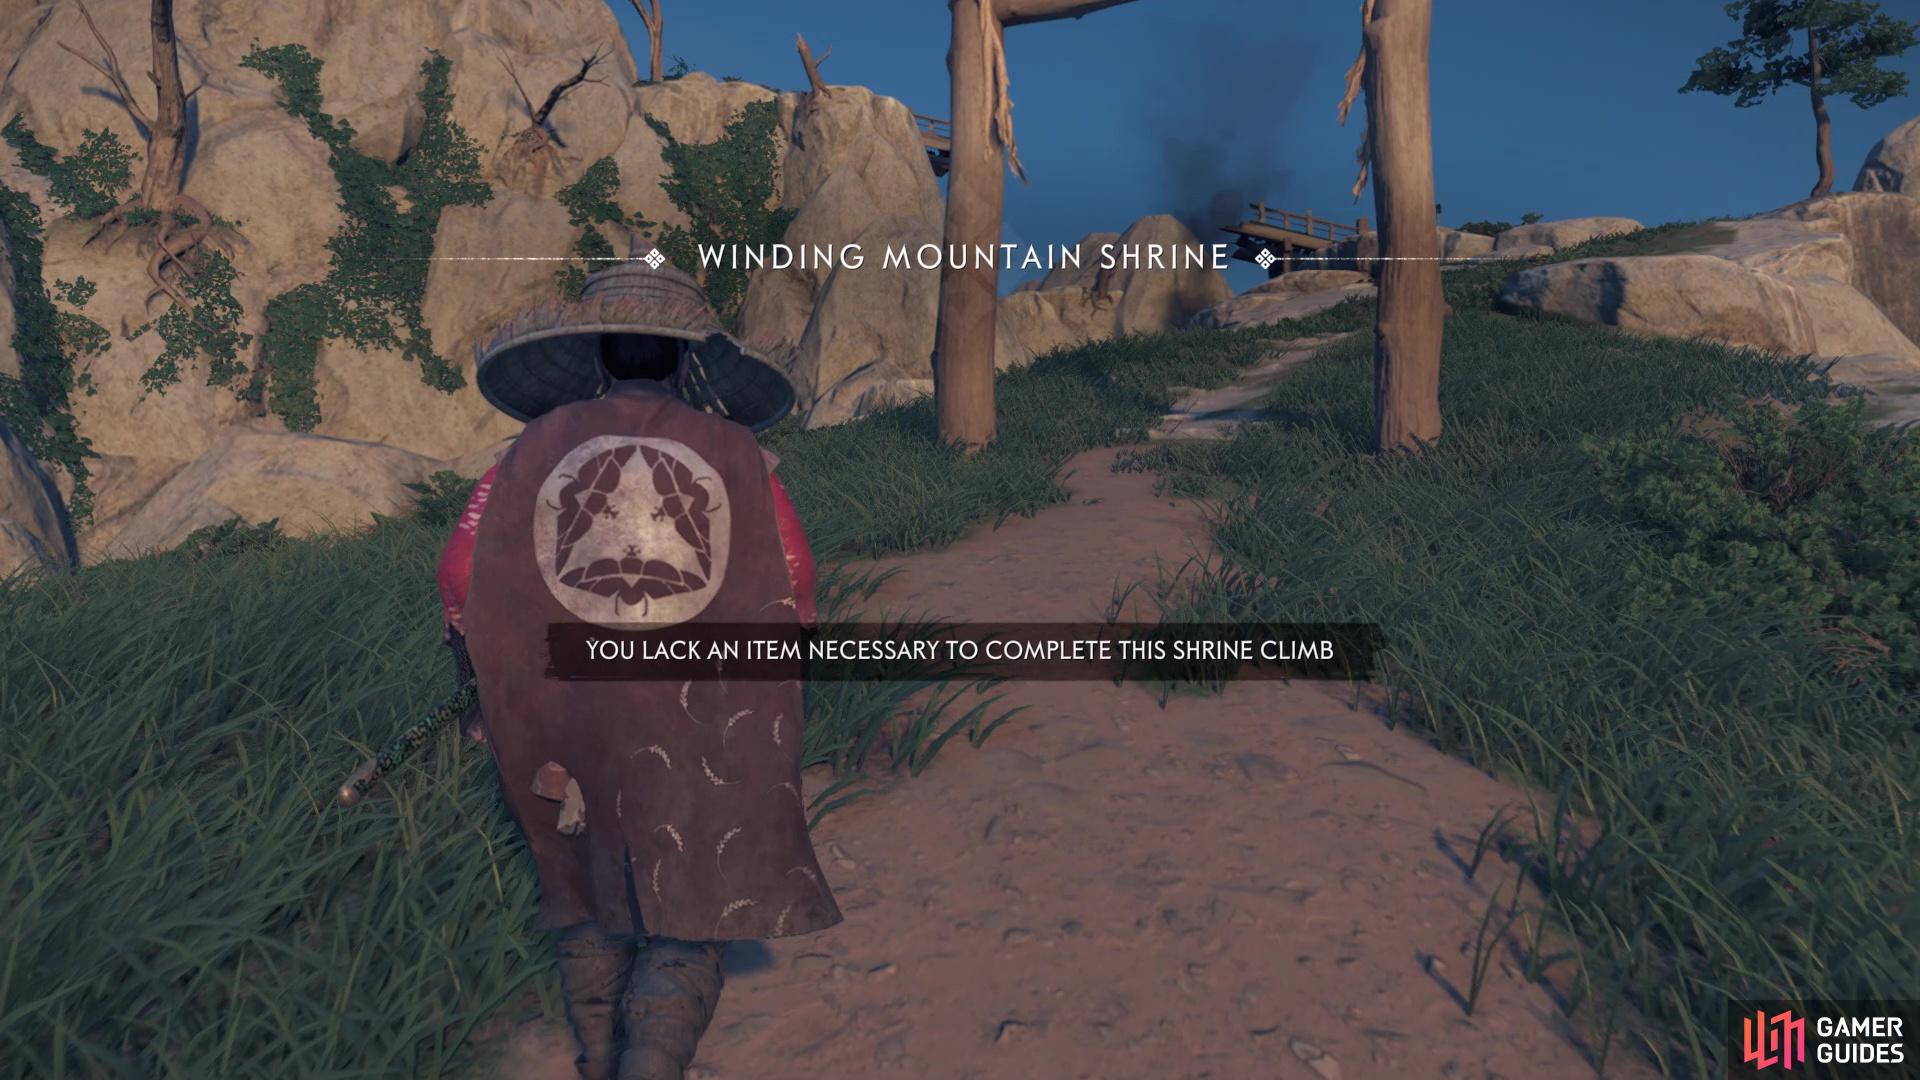

You won’t be able to do this shrine until a little later (left), This vanity item is found on a stick right on the road (right)
It is best to get close enough to the shrine to have it marked on your map, though, which makes travelling back a lot easier. South and a little east of the shrine’s icon on the map, you will be able to find the Wanderer’s Straw Hat on a pole in the ground along the road. Loot it, then locate the cemetery not too far to the west of it, where you will find a Singing Cricket. North of the Singing Cricket will be another enemy outpost, this one called Fallen Outpost.
Fallen Outpost
The Fallen Outpost is situated in a precarious spot, as it looks like the only way into it is via a single bridge, which is patrolled by some Mongols and has an archer watching it. If you’re coming at it from the south, then you should have a pretty good read on the archer, so use the Longbow to take him out without being seen. There will be some footholds you can use to gain entry to the outpost, and you should wait and see some bandits attacking the place. This presents a great opportunity to have some of the Mongols’ numbers decreased, as it’s definitely not in the bandits’ favor. Clean up whatever enemies are left to liberate the base.
Secret Tale - Plague Monk
Southwest of the Fallen Outpost, right above the first “L” of Exile’s Bluff, you will find another Fox’s Den. Once you pray at the Inari Shrine, return to the same Fox’s Den and go to the large tower just north of it. There will be a monk out front, so speak to him to learn that the bodies on the ground have died from some kind of illness. Apparently, some dead bodies were dumped into the well and the people drank from it, so they caught some illness. The monk suggests burning the bodies to keep the plague from spreading, but there is one person missing. Follow the footprints on the trail and you will eventually find a body on the side of the road. Approach the body to get a prompt to burn it, then return to the monk at the tower to receive some Legend.
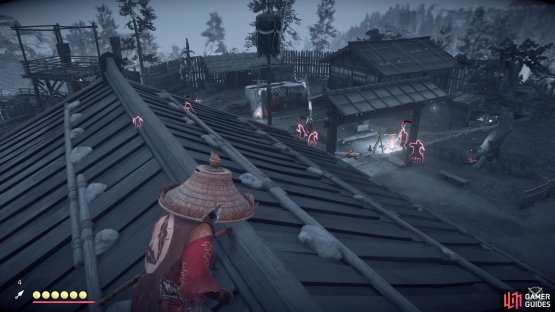
(1 of 2) Bandits will invade this outpost, so you won’t have to fight all of the Mongols

Bandits will invade this outpost, so you won’t have to fight all of the Mongols (left), Pick off any enemies that are left alive (right)
The Tale of Ryuzo
It’s finally time to continue with the main mission, so head on over to the marker to find Ryuzo waiting for you. Before speaking with him to begin, look nearby to find a Singing Cricket. Speak with Ryuzo and follow him to the scout, learning that Fort Ohira has a bunch of men inside, as well as a signal that can alert the ships. So, being the hero, Jin decides to infiltrate the fort himself and disable the signal. Keep moving until you get to the fort, then use the fallen tree to get inside, preferably sticking to the rooftop. A lot of the enemies here are spread out enough that they’re not really clumped together, but close enough that they will see you if you go after one. As always, try to pick off the archers that are in their towers/lookouts first, then you can go after the others that are isolated.
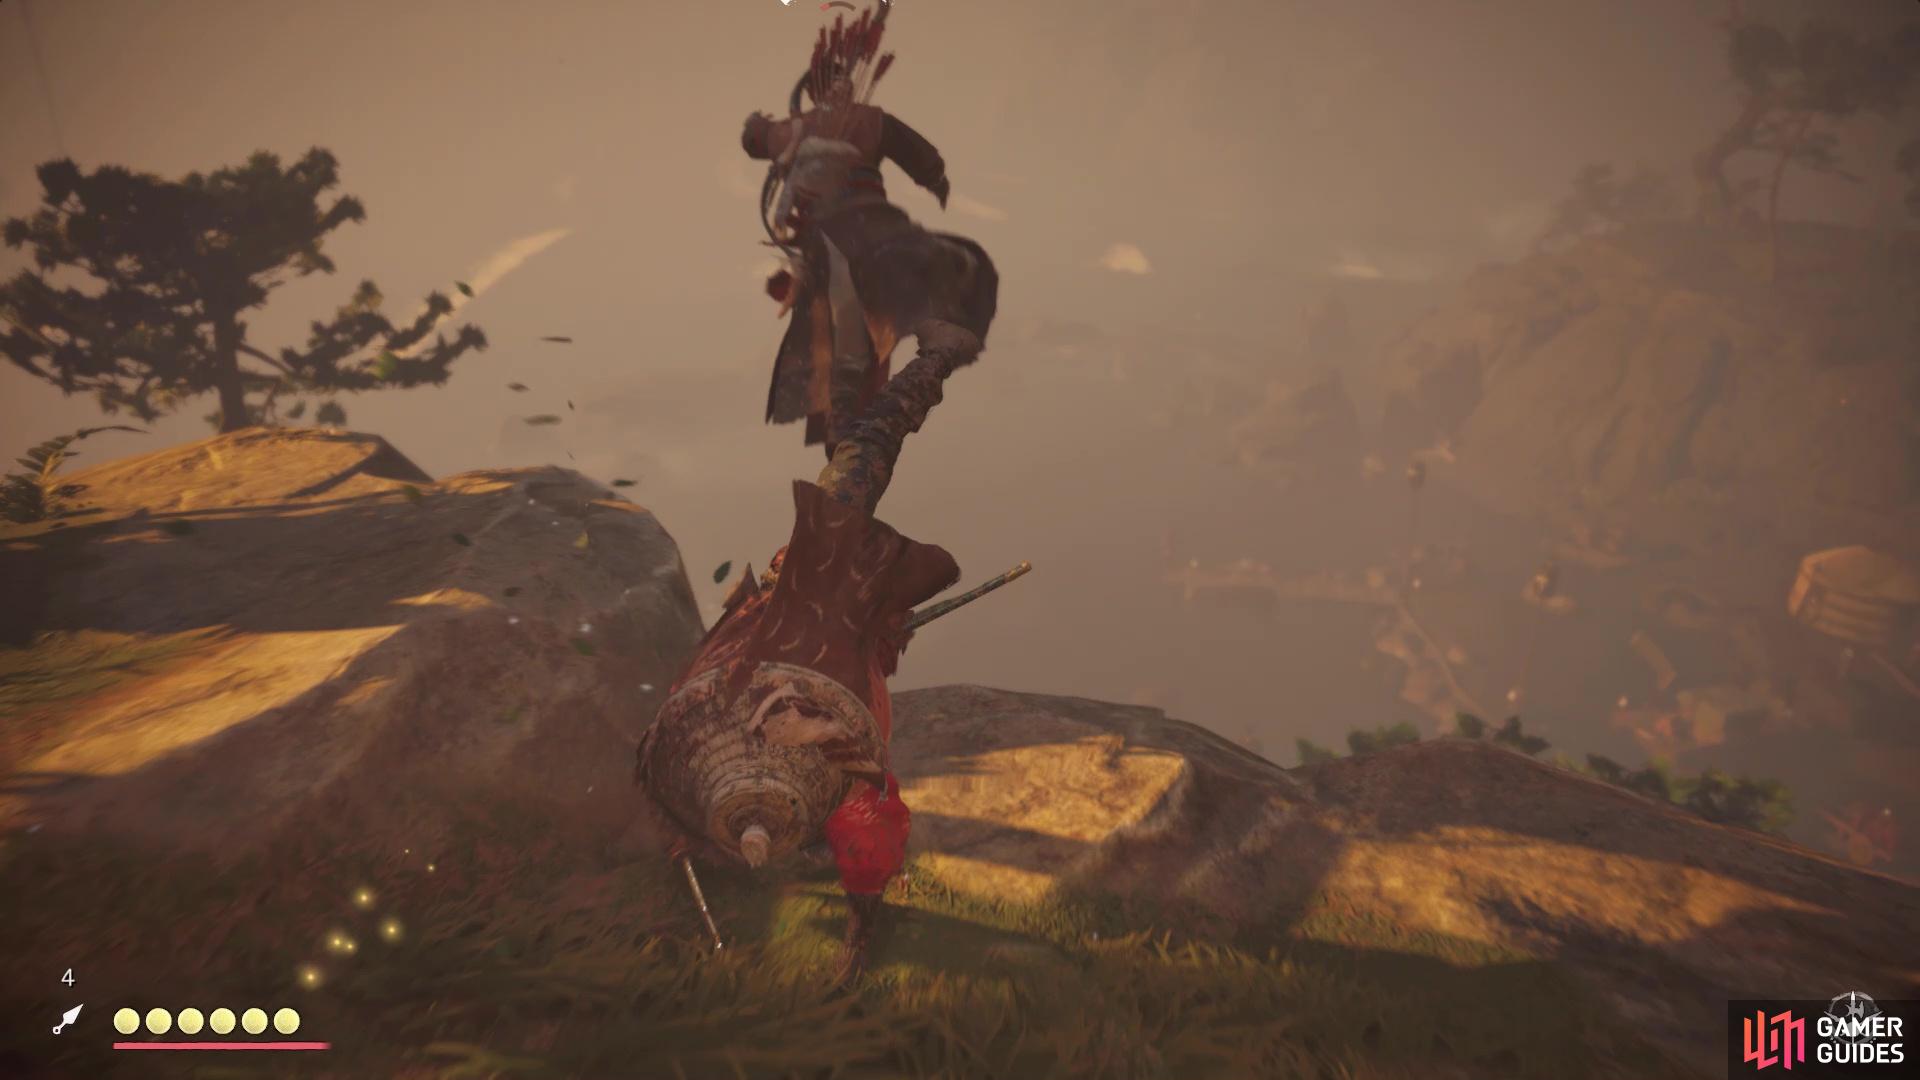
Kick an enemy off the cliff to earn an easy trophy
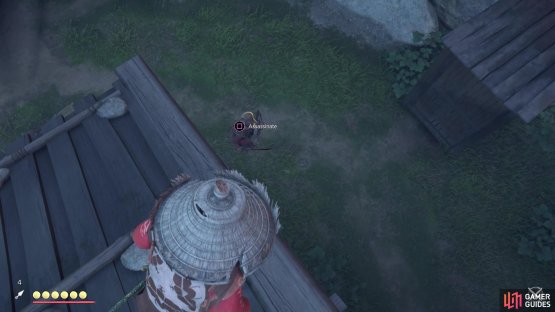
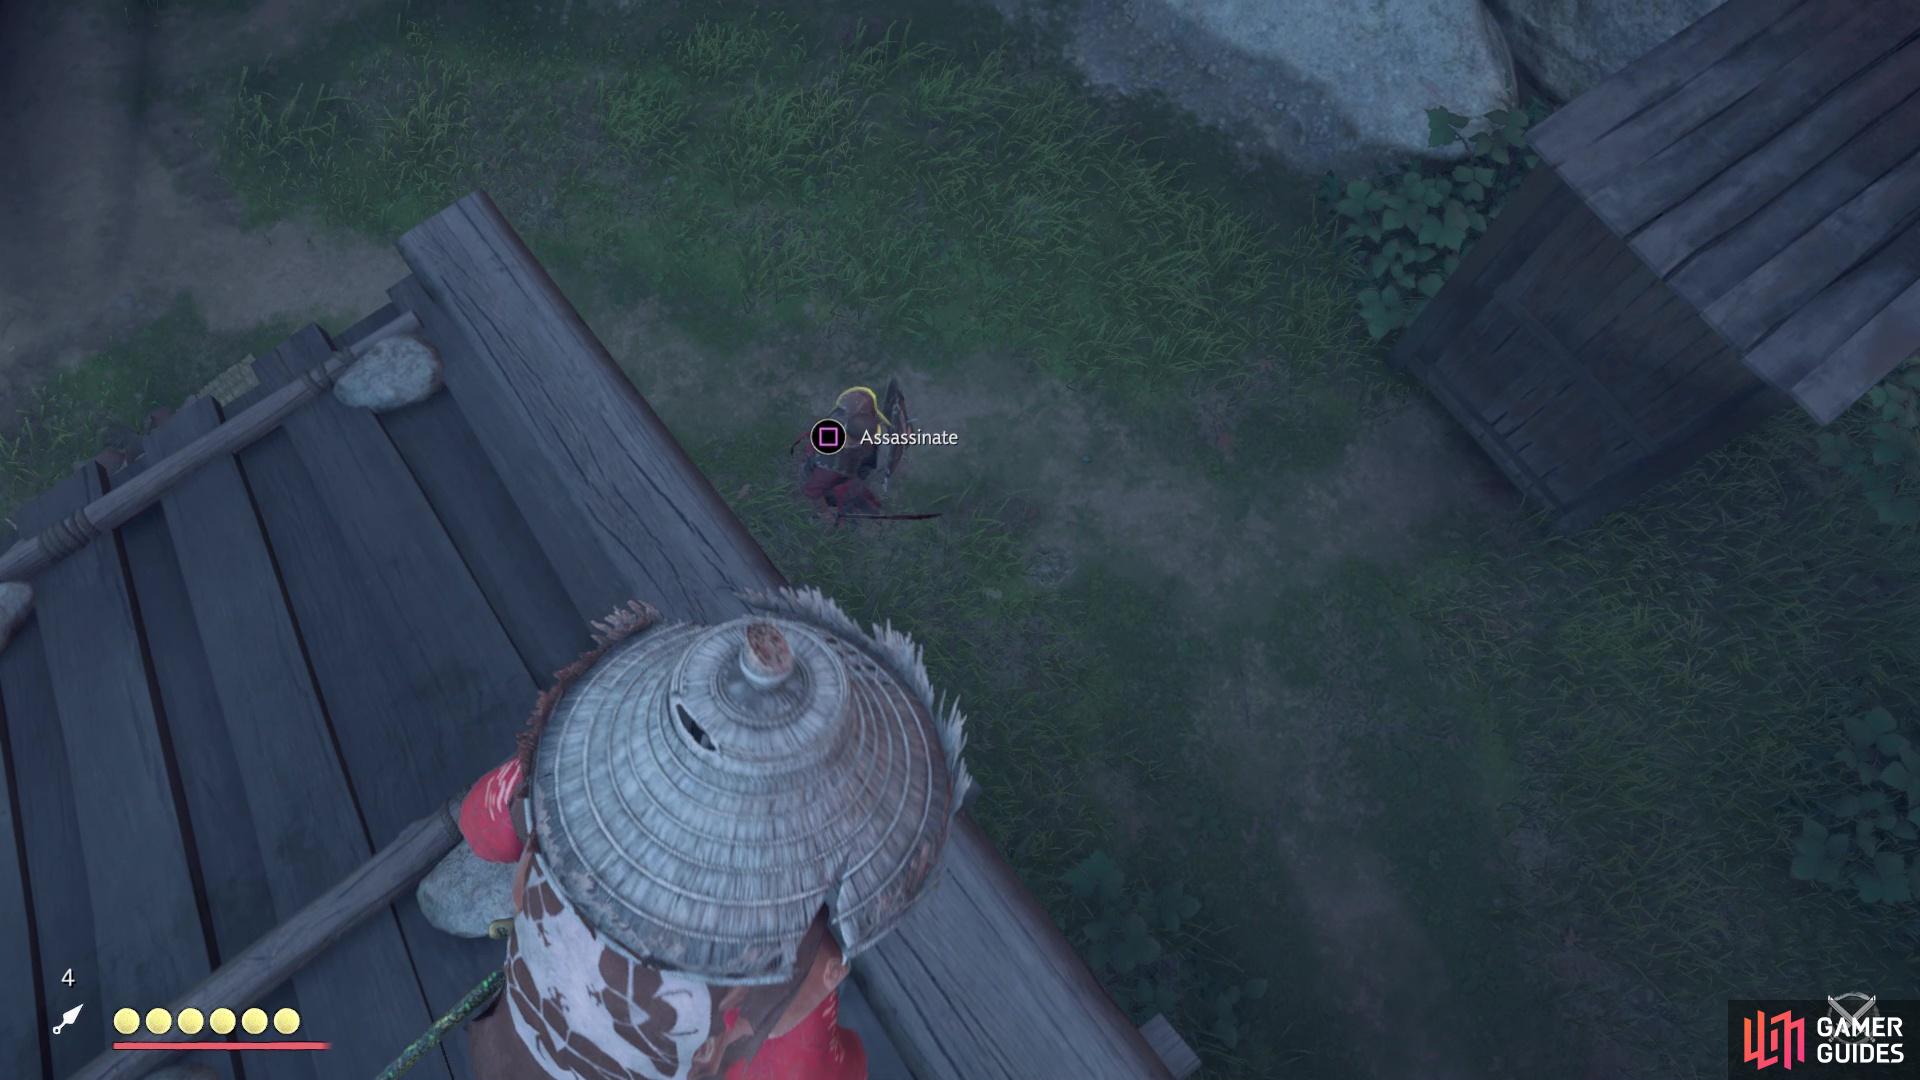
Don’t forget that there will be a single enemy on the second floor of the lighthouse, but you should have an easy opportunity for a stealth kill. Upon killing all of the enemies, climb to the top of the Tsutsu Lighthouse and light it, then disable the signals on the one ledge. Regroup with Ryuzo and you’ll learn that the food supply is being brought offshore, but the boats are still in the harbor. Head to the cliff to survey the harbor, then Jin and Ryuzo will devise a plan in getting to the boats. Look next to the survey point to find a path leading down to the beach, where the plan will be put into motion.
Thanks to a distraction by some of Ryuzo’s men, the Mongols should be concentrating on them, while you go and try to steal a smaller boat. Despite the above sentence, there are still some Mongols in the way, so you can’t go straight for the boat. In fact, you don’t need to kill any Mongols while on the way to the boat, since one of the easiest ways to get to it is via swimming. Close to where you likely dropped onto the beach, there is a larger boat with some Mongols still on it. Sneak your way to the side of the boat and get into the water, then swim to the rowboat. There might be a Mongol glancing in your direction, so either take him out or just hit the button prompt to take the rowboat out to sea.
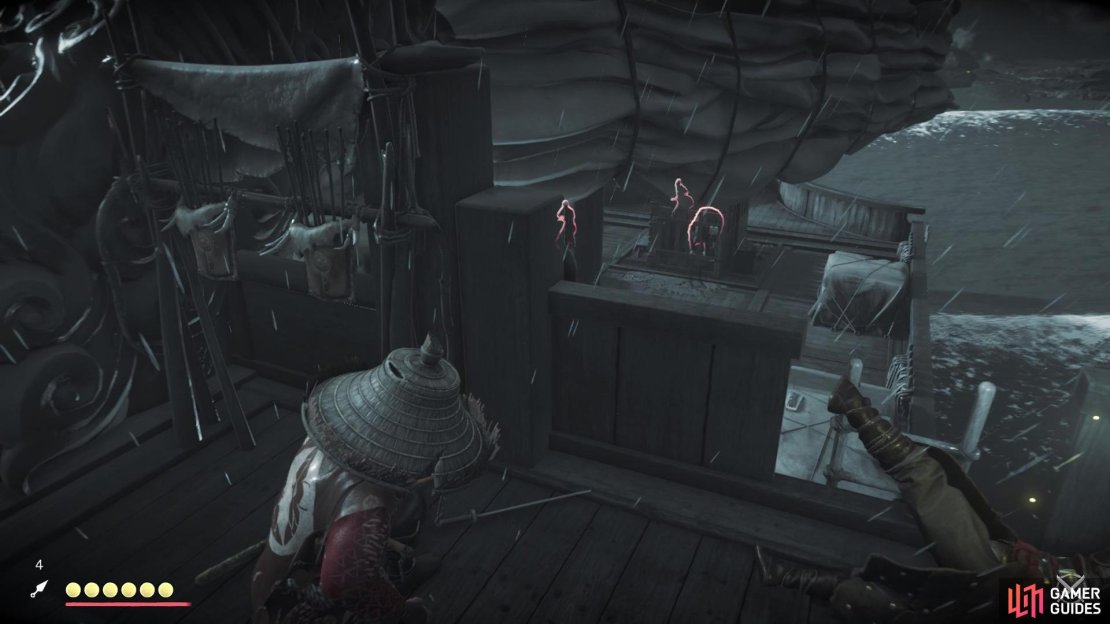
On the large ship, climb the ladder to board it, then check the barrels inside to see if you can find any food. You find nothing, so the next ship is recommended. Ryuzo will fling the doors open and call out to the Mongols, so a fight will ensue. Defeat the Mongols on the ship, being aware there are some archers on the next boat firing at you. After dispatching the melee Mongols, you will need to take out the the archers. There will be four of them and the Half Bow is preferable here, due to its quickness. If you need cover, use the boxes and peek out when it’s safe.
Head to the next ship, where some more Mongols will come to do battle. There’s no archers here, so you don’t have to worry about getting pegged with a stray arrow. There will be a slightly stronger polearm user, though, so be on the lookout for its attacks. Unfortunately, you can’t find food here, either, so you decide to go onto the next ship by yourself, while Ryuzo continues searching this one. There a few enemies inside of the ship, as well as some on the deck. Unfortunately, you can’t open the door to the inside, so you’ll have to head up top, where one Mongol will be stationed.
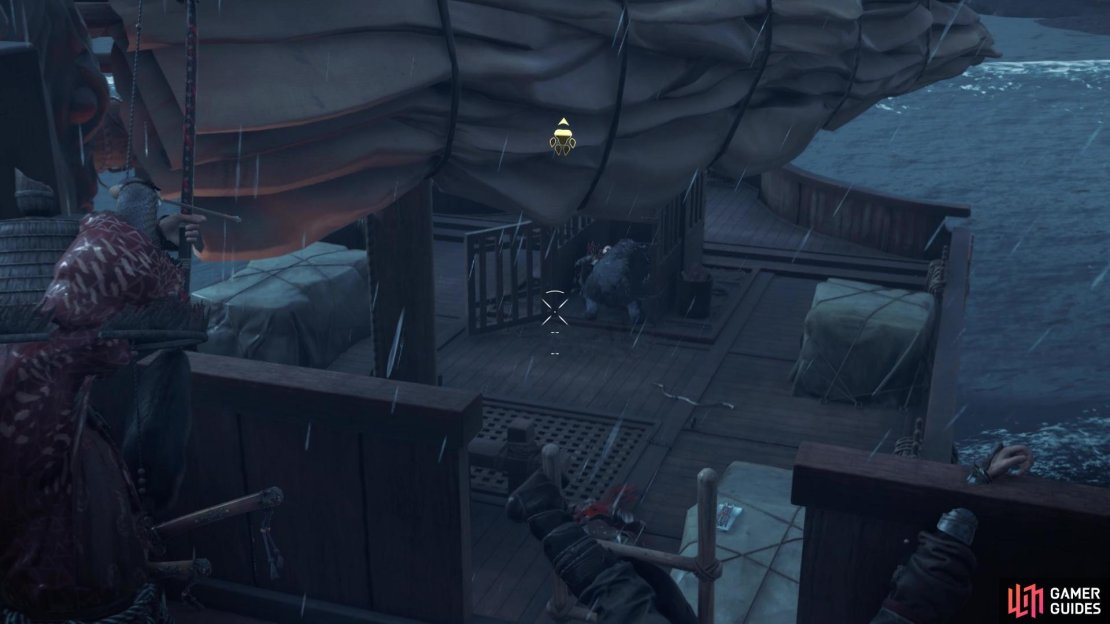
(1 of 3) There is a bear being held in a cage
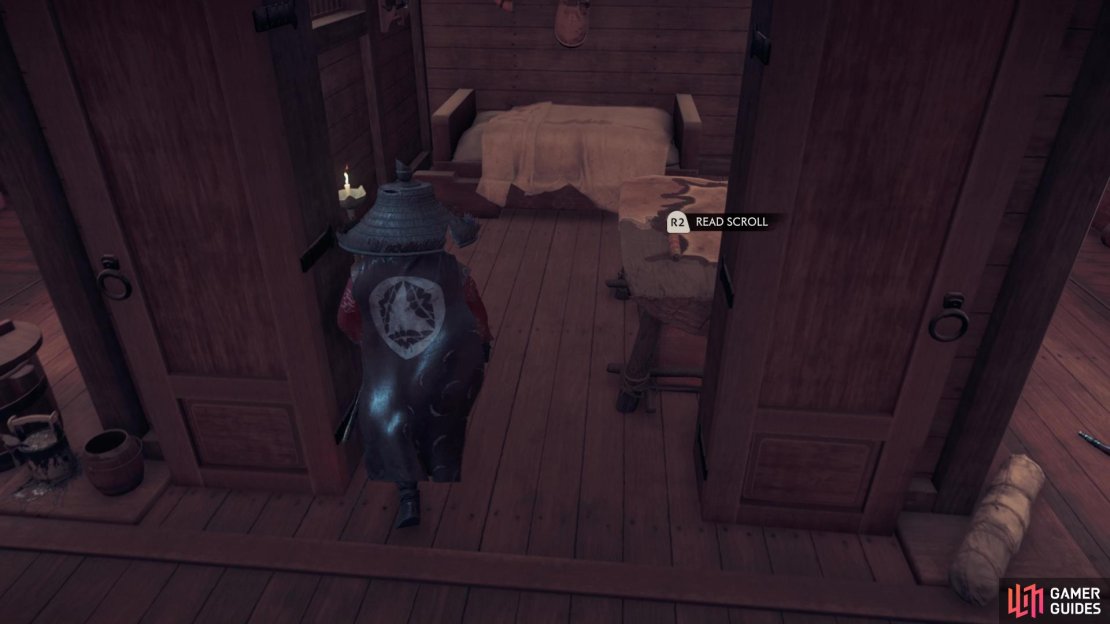
Note that there is a bear trapped in a cage on the far end (the front of the ship), which you can shoot open with your bow. The bear might be able to down one or two Mongols before it gets taken out, which means free Predator Hides. Upon clearing the ship, go to the front of the ship and enter it, then look on the table at the innermost portion to find a scroll. These seem to be battle plans, so take them back to Ryuzo. Exit via the doors that were locked before, only to find a Mongol waiting. Take him out, then return to the second ship in search of Ryuzo. Go through the cabin and out the other side to find Ryuzo has been downed by a brute with an axe.
He will be down on the ground and you either need to kill the enemy before the timer above him expires, or try to revive him. Since the Mongol won’t really give you any breathing room to revive, it’s best to go on the offensive. You’ll be facing more of these axe-wielding foes later, so let’s go over their two attack strings, both of which will be unblockable. The first will have them swing the axe around three times, so back off until he is finished. The second will have them do two sweeping motions, then the first strike will be an overhead one. This string is a lot easier to avoid, as you can sidestep the last one and get some attacks in yourself. Unfortunately, after felling the big brute, the ship you’re on will be set on fire, with your only choice being to jump. Do that and the mission will finally be complete.
The mission will be over and while you will be going to the next one soon, there is one matter to be resolved at the camp you didn’t have time to explore. While you won’t find much in the way of materials, you will find a Mongol Artifact near the middle of the now destroyed camp, tied to a wooden post.
No Comments