


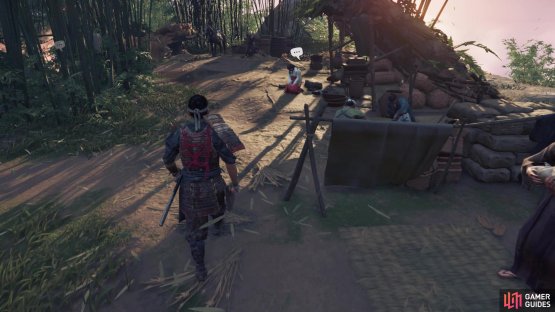
The next bit you’re going to do is Sensei Ishikawa’s tale, which should be southeast from the Fox Den. However, you’re going to make a few stops on the way there, which are pretty much straight southeast. You might see a question mark in between the Fox Den from the end of the previous mission and the icon for Sensei Ishikawa’s tale, which will be your first stop. This ends up being a Survivor Camp, a place that some people gathered at to escape from the Mongols. You might see some NPCs here with speech bubbles above their heads.
(1 of 2) Always keep a lookout for NPCs with speech bubbles

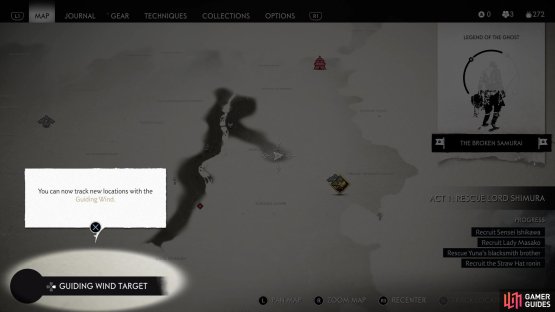
Always keep a lookout for NPCs with speech bubbles (left), The Traveler’s Attire can be used to hunt down collectibles (right)
These NPCs will usually tell you something about a nearby location, which will put an icon on your map for the rumored location. This is a great way to find out spots, so it’s in your best interests to always speak to the NPCs with speech bubbles. This Survivor Camp has two shops, a Trapper and a Merchant. The Trapper, for right now, allows you to purchase a few materials (costs Supplies), but you shouldn’t spend anything at the moment. The Merchant is the reason you came here, though, so speak to him to get a little bit of extra dialog. The Merchant will give you the Traveler’s Attire, a piece of gear you can equip.
There are three types of equippable gear in this game: helmets, masks and armors. The helmets and masks are purely cosmetic and do nothing, but the armors do have passive skills on them. The Traveler’s Attire, for example, allows you to track Artifacts with the Guiding Wind. While on the map screen, press the right button on the directional pad to open up some options for setting the wind, such as having it track Flowers, as an example. Traveler’s Attire also makes it so as you’re travelling, more of the map will be revealed. The last passive on the Traveler’s Attire is that your controller will vibrate whenever you are close to a [Mongol Artifact] or [Record].
Hiyoshi Springs
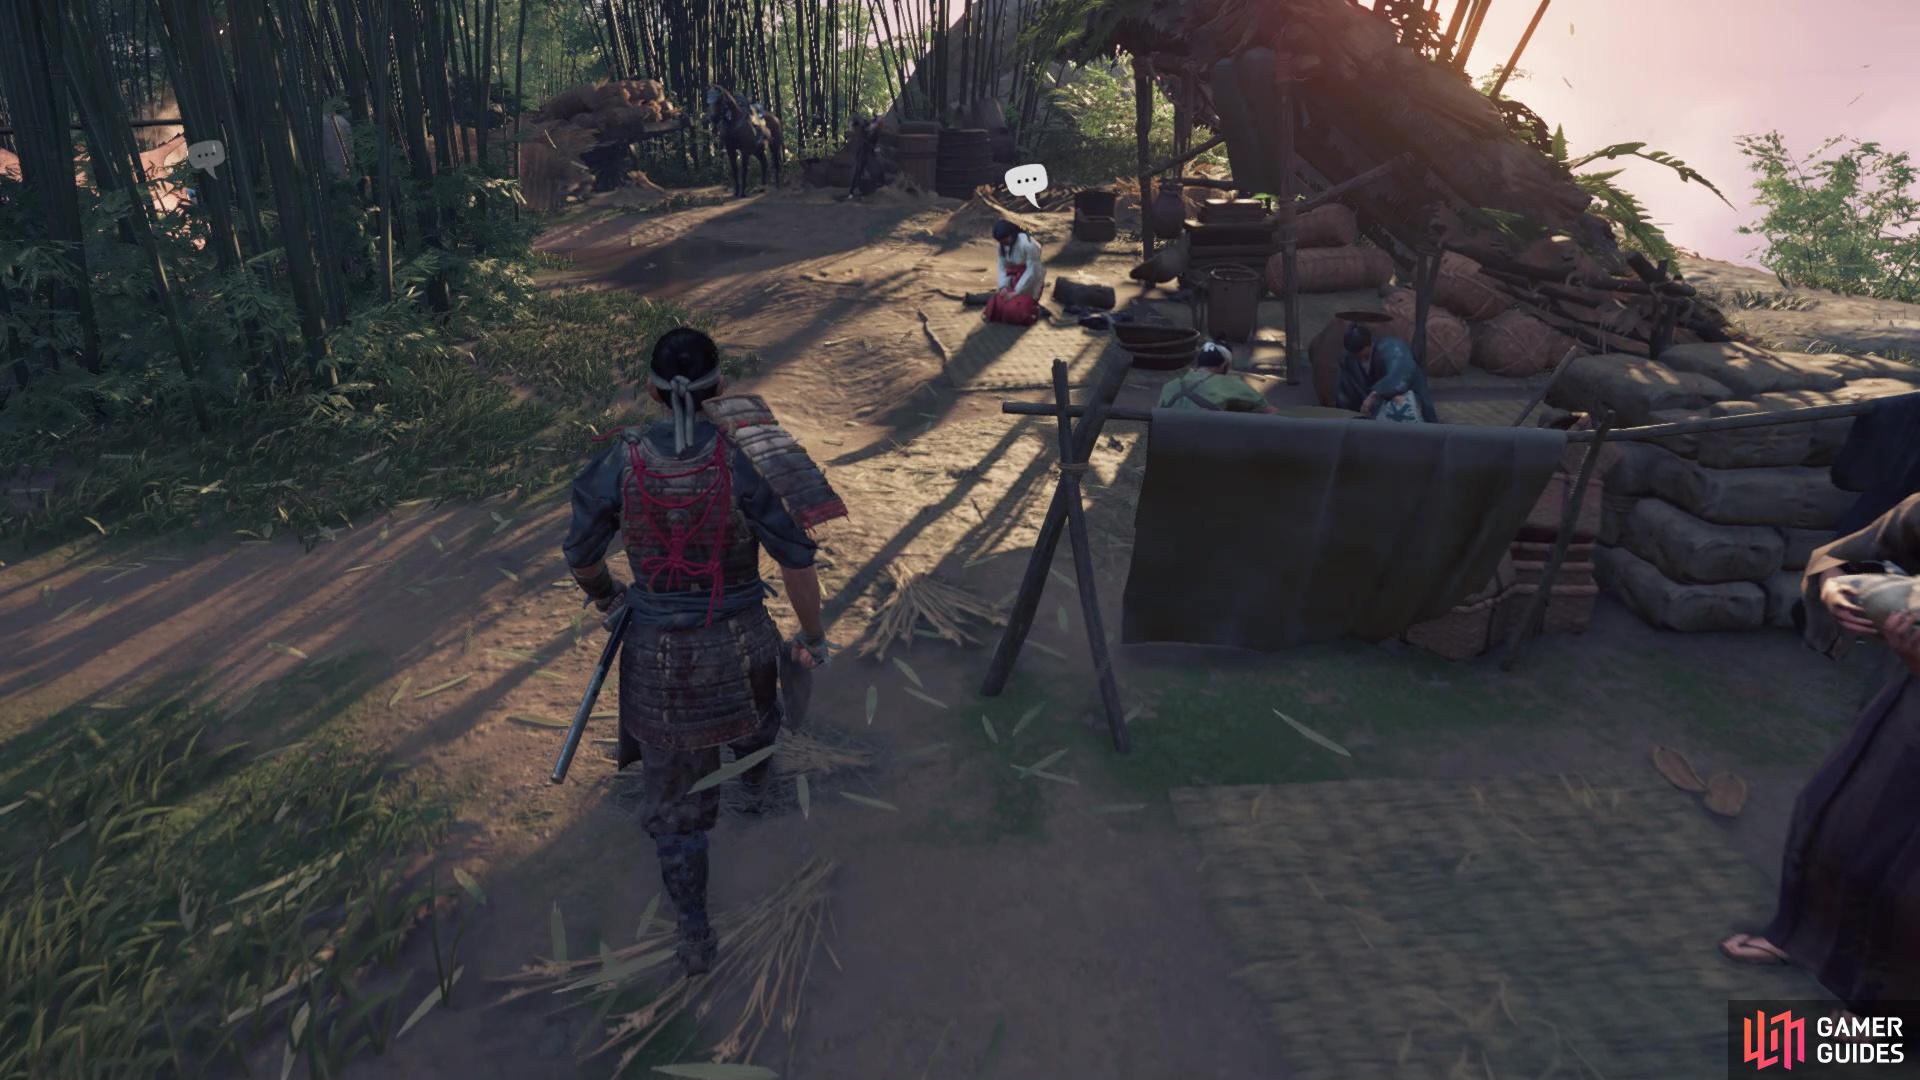
That’s about all you can do at the Survivor Camp, so mark Hiyoshi Springs as your next waypoint on the map; this is the place right next to the Tale of Sensei Ishikawa icon. Once you finally arrive, there are a few things you want to seek out before starting the actual mission. As usual, you can always scour the various nooks and crannies for materials, but the Hiyoshi Springs (if you’ve been following this guide) will debut two more of the game’s collectibles, Hot Springs and Bamboo Strikes. The first bit you will likely find is the Bamboo Strike.


(1 of 2) This man will introduce you to Bamboo Strikes

This man will introduce you to Bamboo Strikes (left), Quickly press the button sequence to cut through all of the bamboo (right)
Bamboo Strikes are timed button presses that you can do on bamboo stands. At first, you only have to cut through three pieces of bamboo, which is done by inputting the button combination on the screen. As soon as you press the first button, a hidden timer will begin. Hit all three buttons, in the order shown, and you will cut through the bamboo. After the first round, you will have to do a second, where you cut through five pieces of bamboo. The same three button presses from the first round will be present, but there will be two more added onto the end. A third round is added, which requires a series of seven buttons. Complete all three rounds and you will be rewarded with progress towards another Resolve.
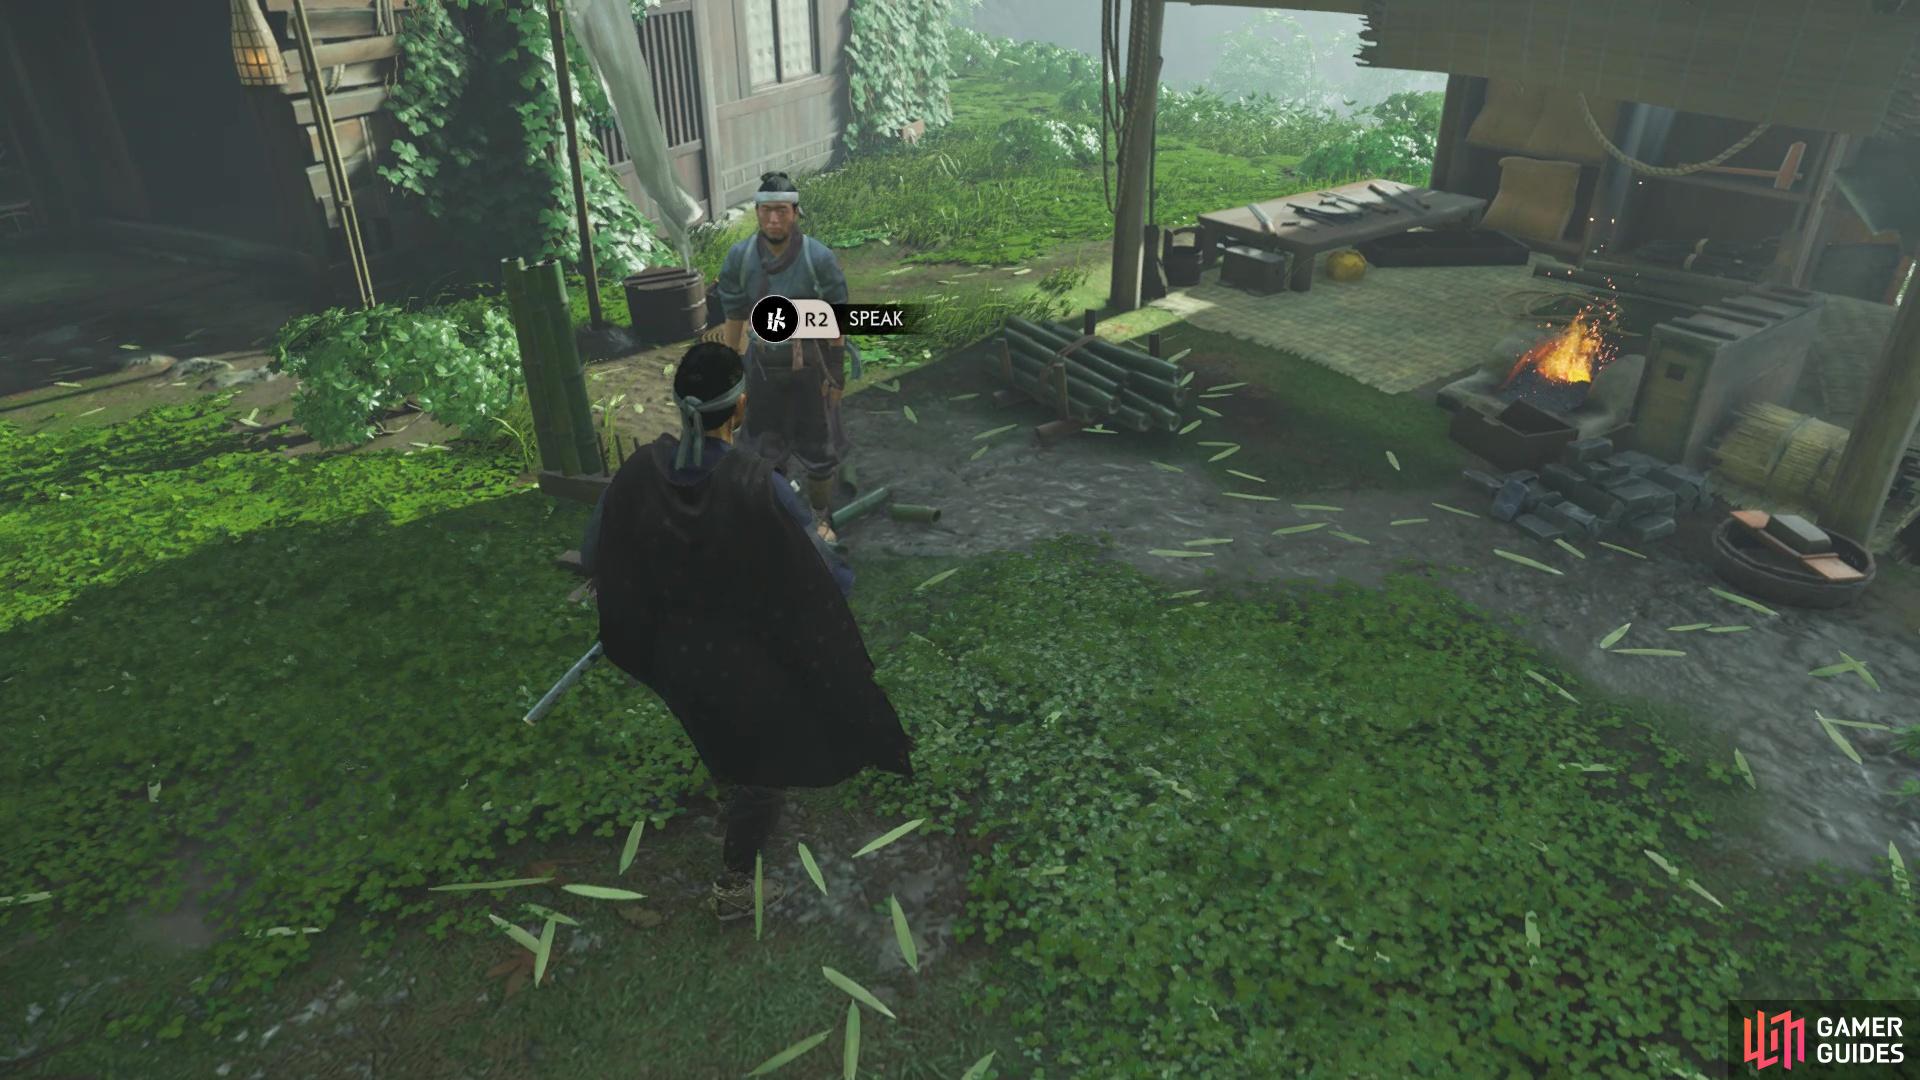
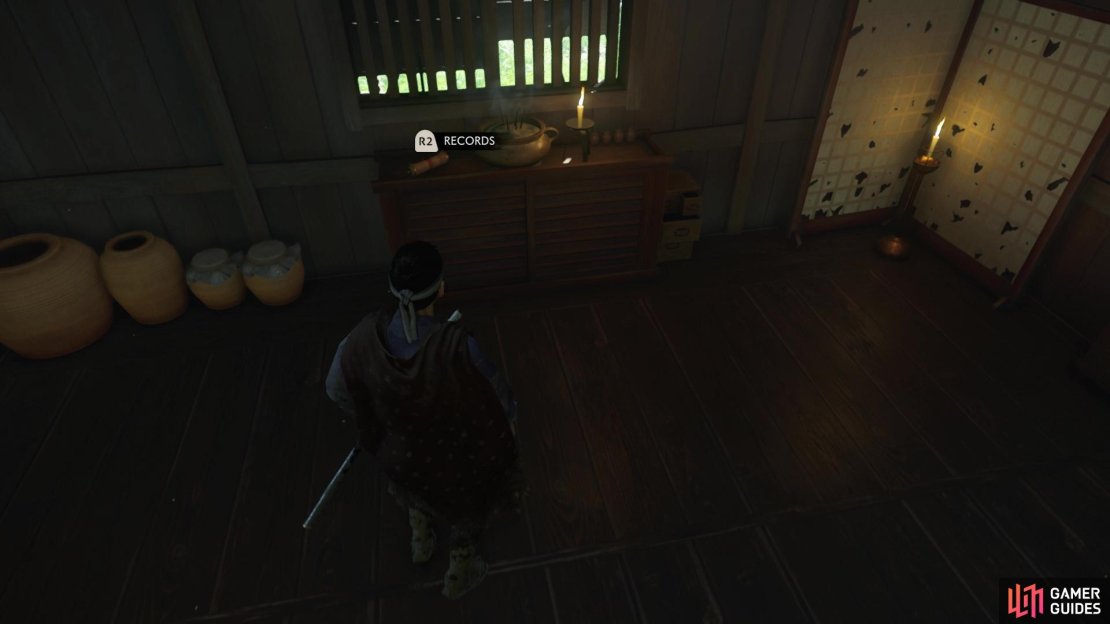
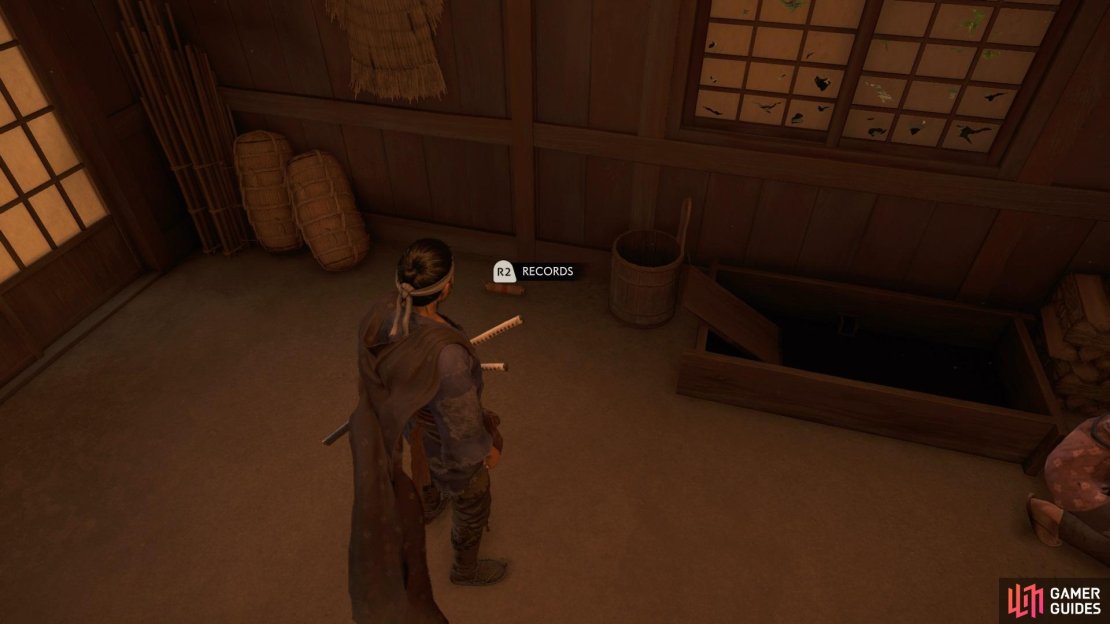
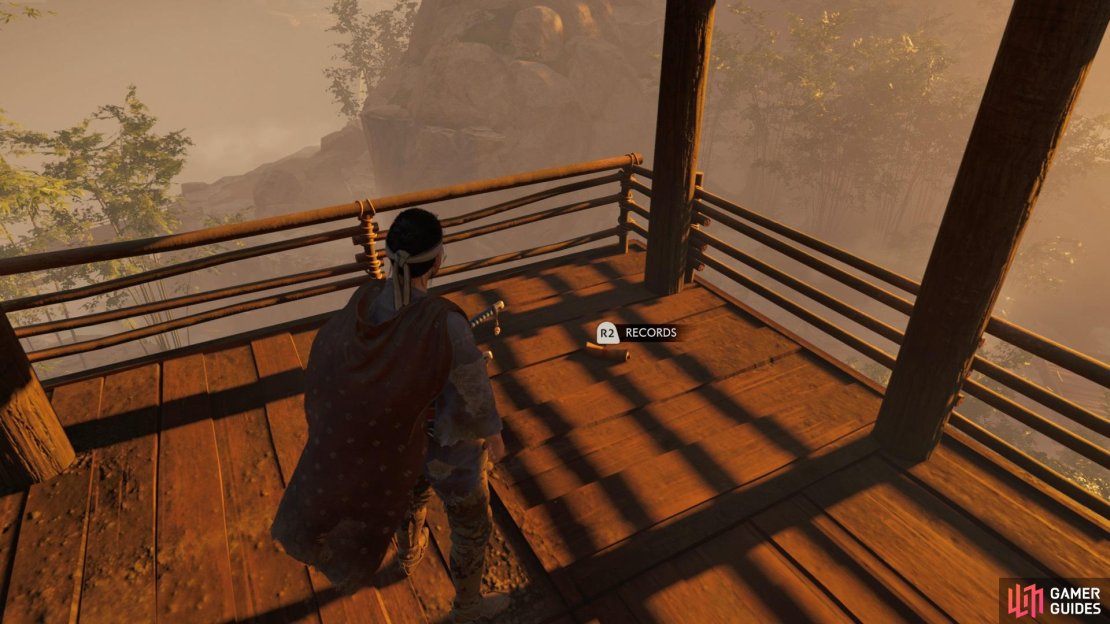
If you have the Traveler’s Attire equipped, then you probably fill the rumble kicking in, meaning there’s something nearby. Head into the building next to the Bamboo Strike and look on the piece of furniture in the back to find a Record. If you spot a person with a golden marker above his head, do not speak to him just yet. Find the Bowyer in the area and look for a building not too far from it, where your controller will start rumbling again. Inside, on the floor, will be another Record. There is one more located at the Hiyoshi Springs, so let’s hunt that down right now. Near the Merchant is a watchtower on a cliff. Hug the side of that cliff and follow it around until you spot some footholds, so climb them to the tower. The Record will be at the top of the watchtower.
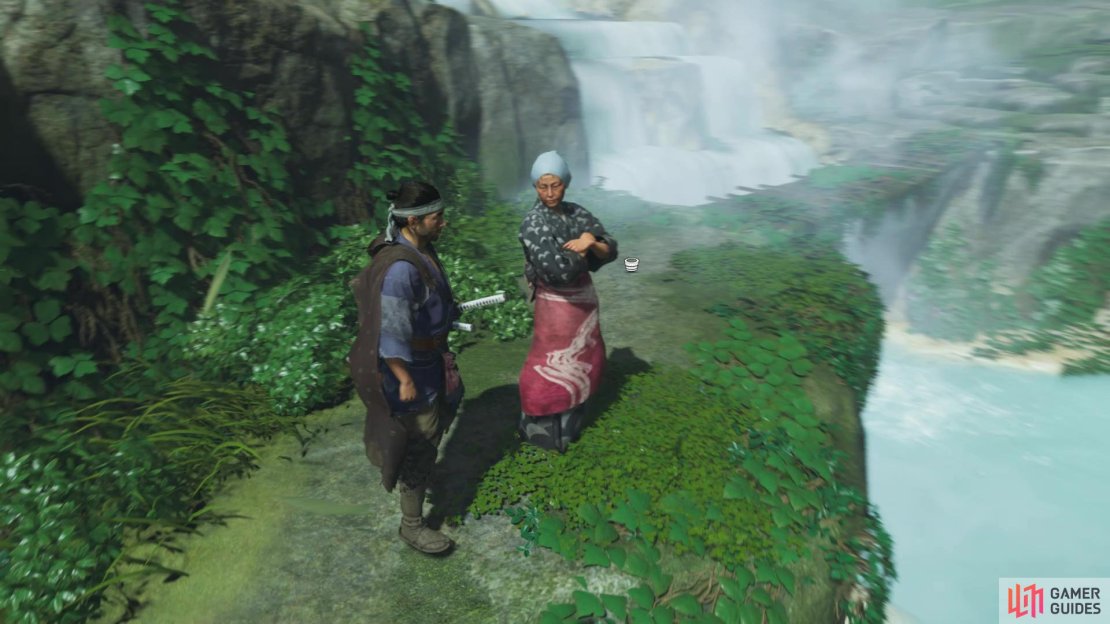
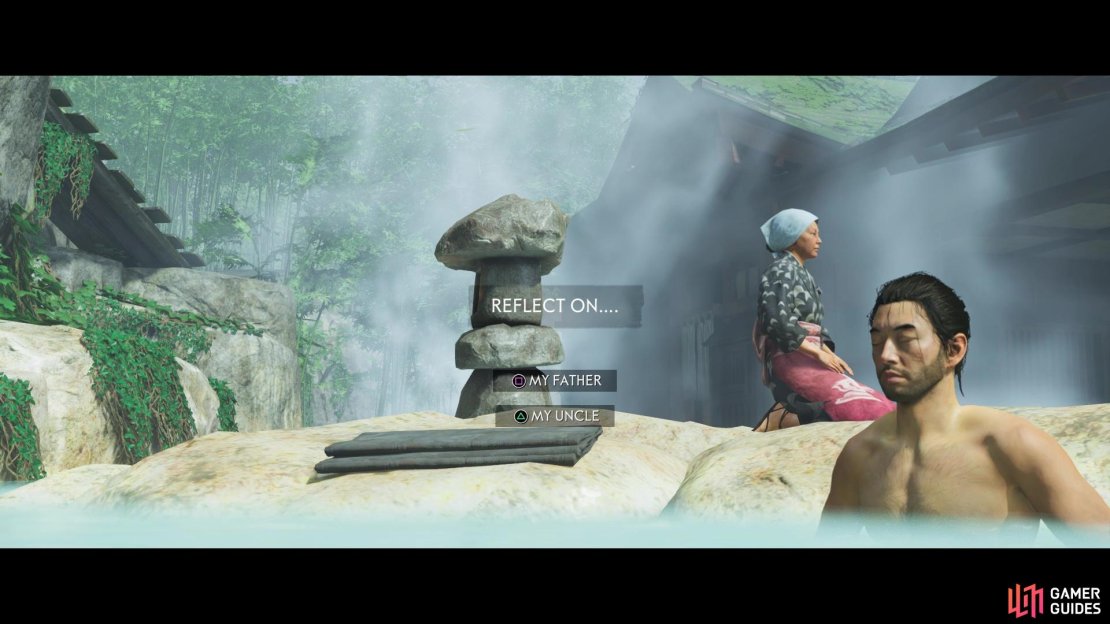
The next thing you want to find is a NPC with a wooden bucket symbol above her head. Speak to her and she’ll allow you to bathe in the hot springs, so follow her and choose to bathe in the springs. You will be asked to reflect on something, but it doesn’t really matter. For bathing in the Hot Spring, though, your maximum health will increase. On the northern outskirts of the area should be a man sitting on some rocks. Speak to him to learn about Haiku, then check down the hill to spot a place where you can compose a haiku. This comes in three stages, with each one offering three different choices in lines. There’s nothing major to come from haiku, although you do get a piece of vanity gear (Headband of Serenity for this one). Feel free to look around in the various buildings for any materials, but it’s time to move on with the mission here.
The Tale of Sensei Ishikawa
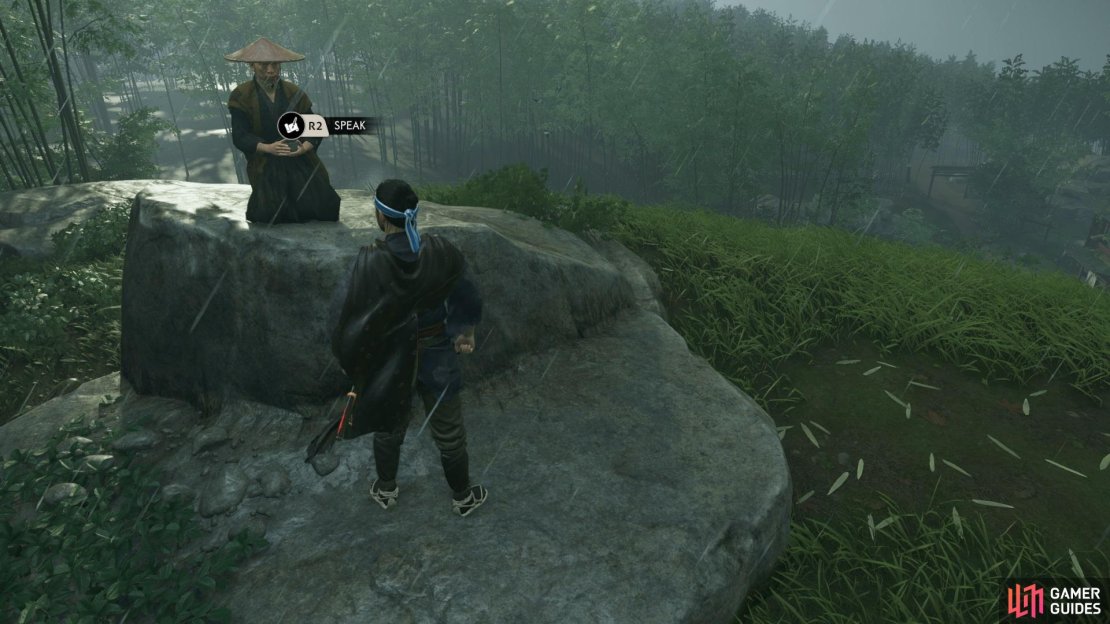
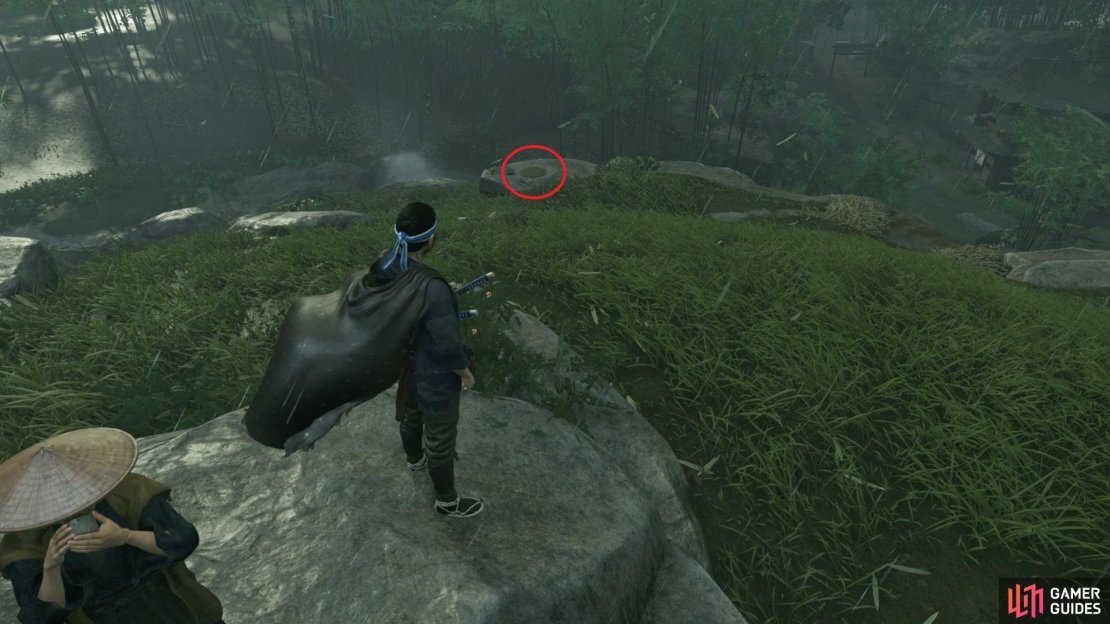
Remember that one NPC with the golden icon over his head? Find him again and speak to him, then follow as he leads you to Sensei Ishikawa’s dojo. Rather, he will only bring you so far, near the base of the cliff of which Ishikawa’s dojo sits on top. If you head straight to the wall, then you should find some footholds you can use to reach the top. Near some stone stairs, you can find a blue ribbon-like object that is glowing and tied to an arrow; this is the Aozora Headband, so loot it. Upon finally reaching it, head to the main building and Jin points out that something is awry. Examine the three markers, then follow the bloody footprints to Ishikawa’s house. Enter the building for a cutscene.
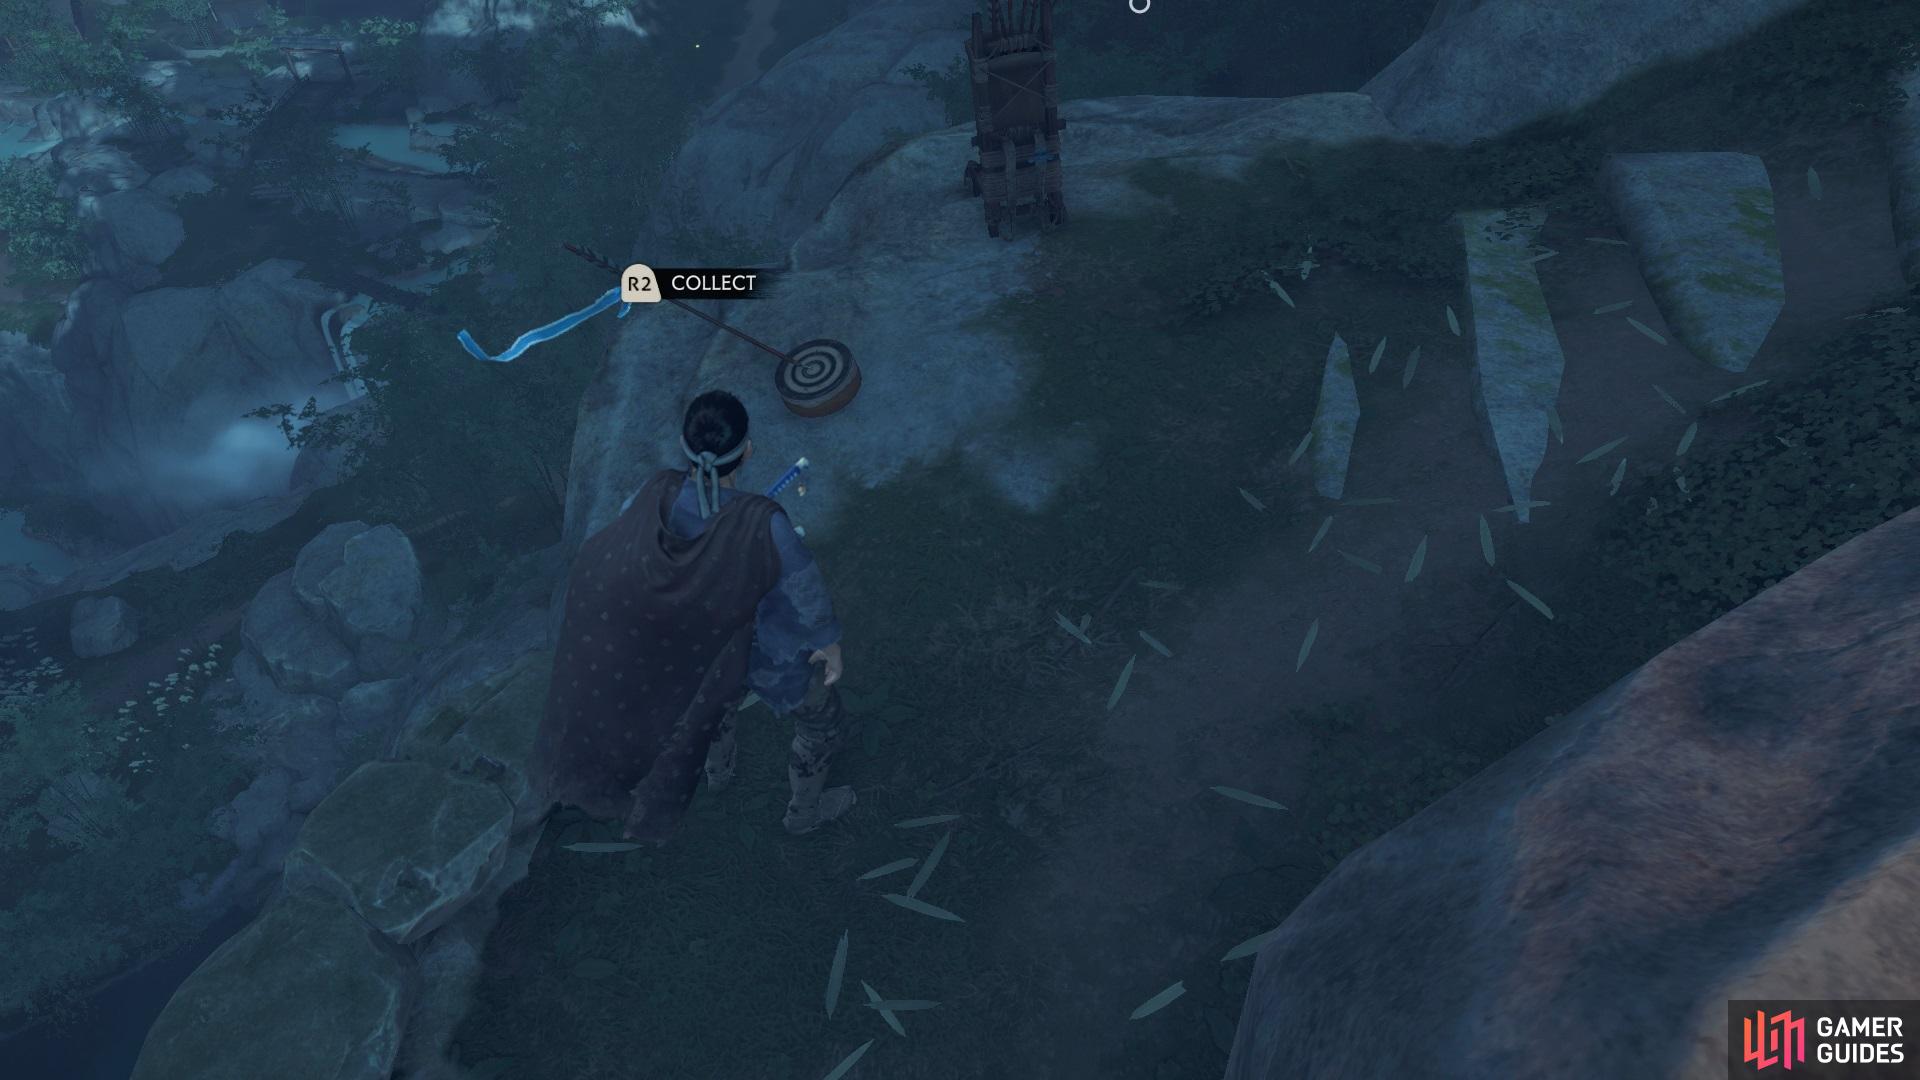
Look for piece of cloth flapping in the wind and tied to an arrow
When the scene is over, you will be following Sensei Ichikawa and having a conversation with him. Eventually, you will run into some Mongols on a trail, so you will have to do battle with them. Since there is no sneaking up on them, the best thing to do is initiate a Standoff to get one or two (depending on your placement of points) out of the way. There will be two archers among them, so if the Standoff didn’t take any out, you want to get them out of the way first; the rest are swordsmen, so they will be nothing special. Of course, Ishikawa will help out with his bow, so you aren’t fighting entirely alone.
Continue following Ishikawa after the battle, which will bring you to a small campsite. You will have to examine a few objects here before you’re able to move on to the next segment. Once again, follow Ishikawa, who will be heading to Fort Nakayama, but he stops on the way. He hands over the Half Bow and asks you to do a little bit of target practice. To ready the bow, hold down the L2 button, then hold down the R2 button to draw the bow back. Release the latter button to fire the bow. Ishikawa will ask you to shoot three candles in the vicinity and while there is a tiny bit of drop to the last one, it isn’t so bad that you have to aim super high, but do aim a hair or two higher than the candle.
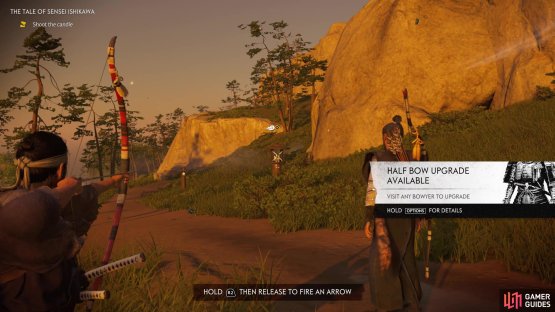

(1 of 2) You’ll learn how to control the bow with the candle training

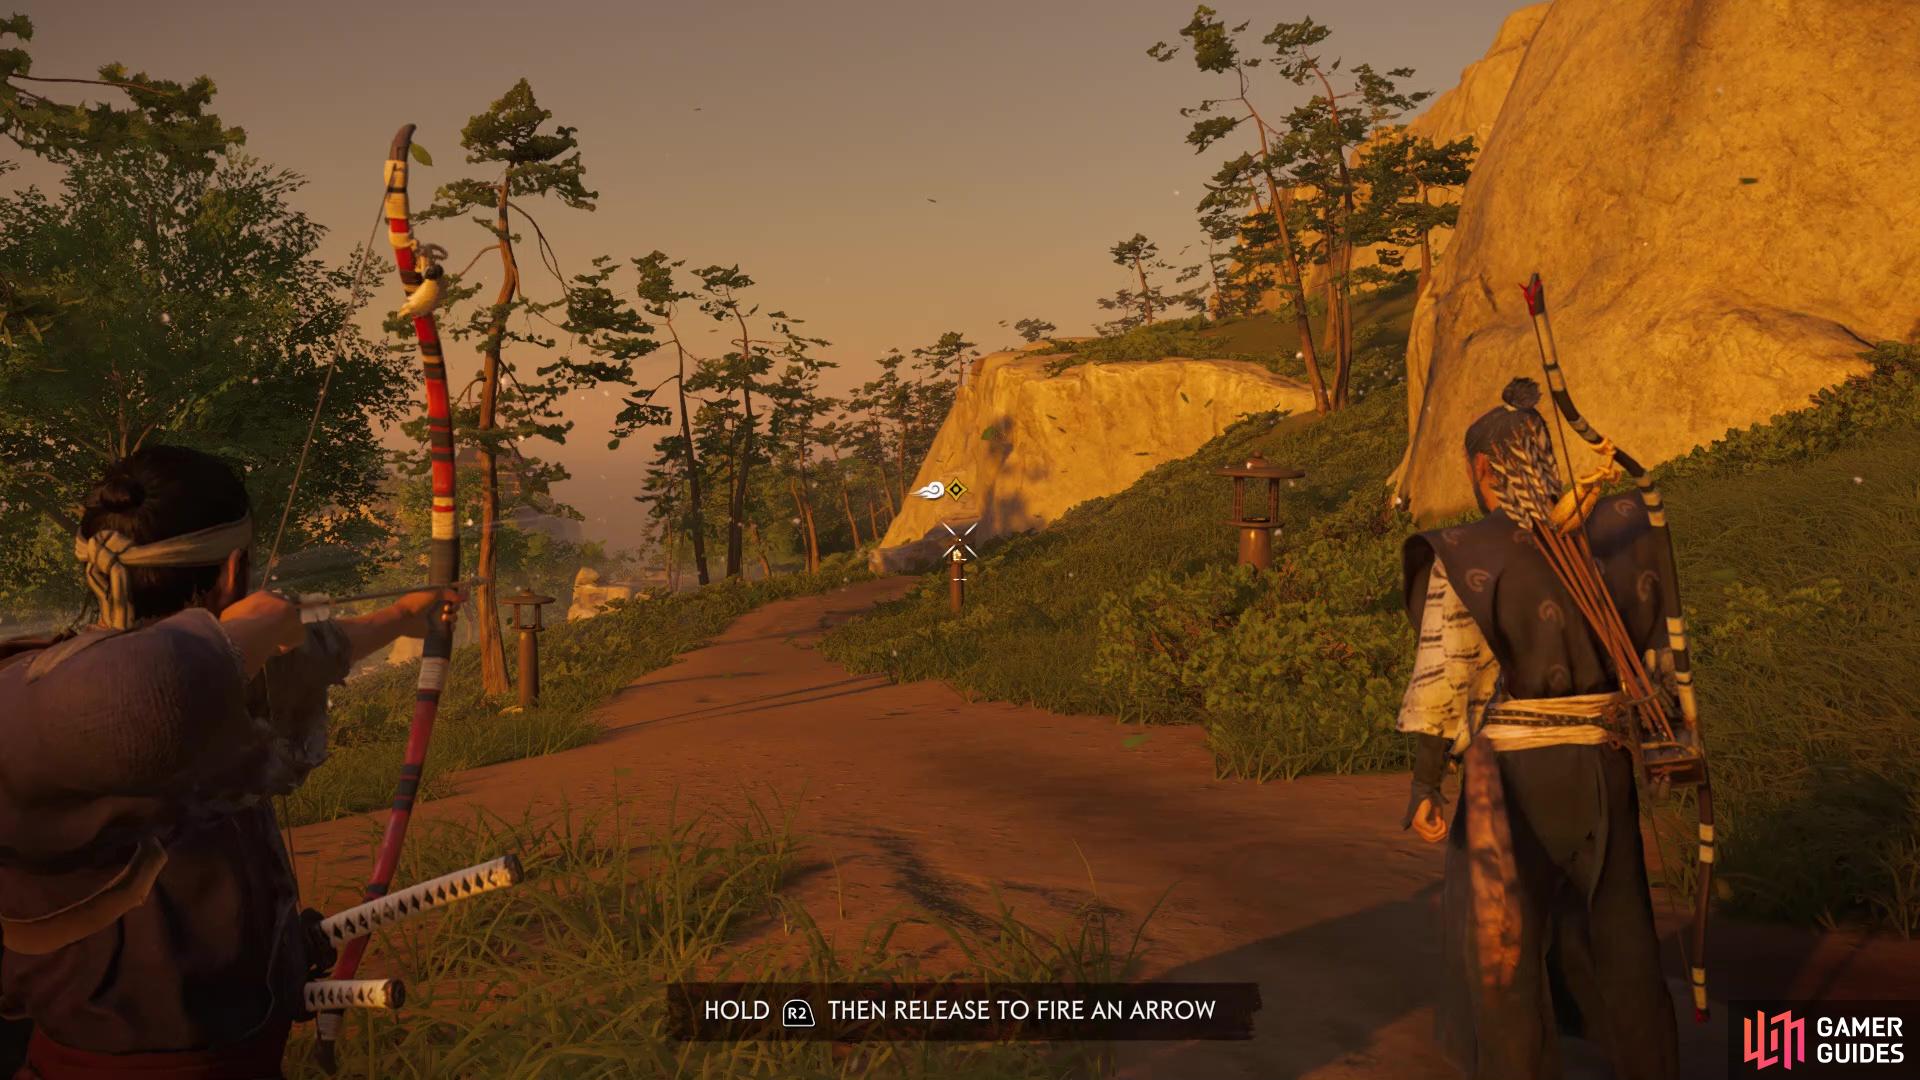
You’ll learn how to control the bow with the candle training (left), Farther targets should require aiming a little higher to compensate for a tiny drop (right)
A short distance down the road will be Fort Nakayama, but you aren’t charging straight inside the place. Instead, Ishikawa brings you to a small hill overlooking the fort, then asks you to scope out a few things. There’s a variety of things to shoot, besides the Mongols themselves, such as hornets’ nests, barrels with some explosive power and lanterns that will send sparks if shot. When the time is right, Ishikawa will give the order to begin attacking, so you will want to start raining arrows down on the Mongols.
Remember to use the objects above to help make things easier, especially the explosive barrels. Remember that they have their own archers who will be firing at you, so don’t stay in a single place and keep moving around on your ledge. If you need more arrows, then there are some placed on the ground on the ledge. When you’ve cleared the area of enemies, you will have to go inside of the fort to take care of the rest. Approach either of the gates and get ready for another wave of enemies, being especially mindful of some archers on the roofs inside of the fort. There will be a leader, as well as a bigger enemy in the wave, so you have to be even more careful.
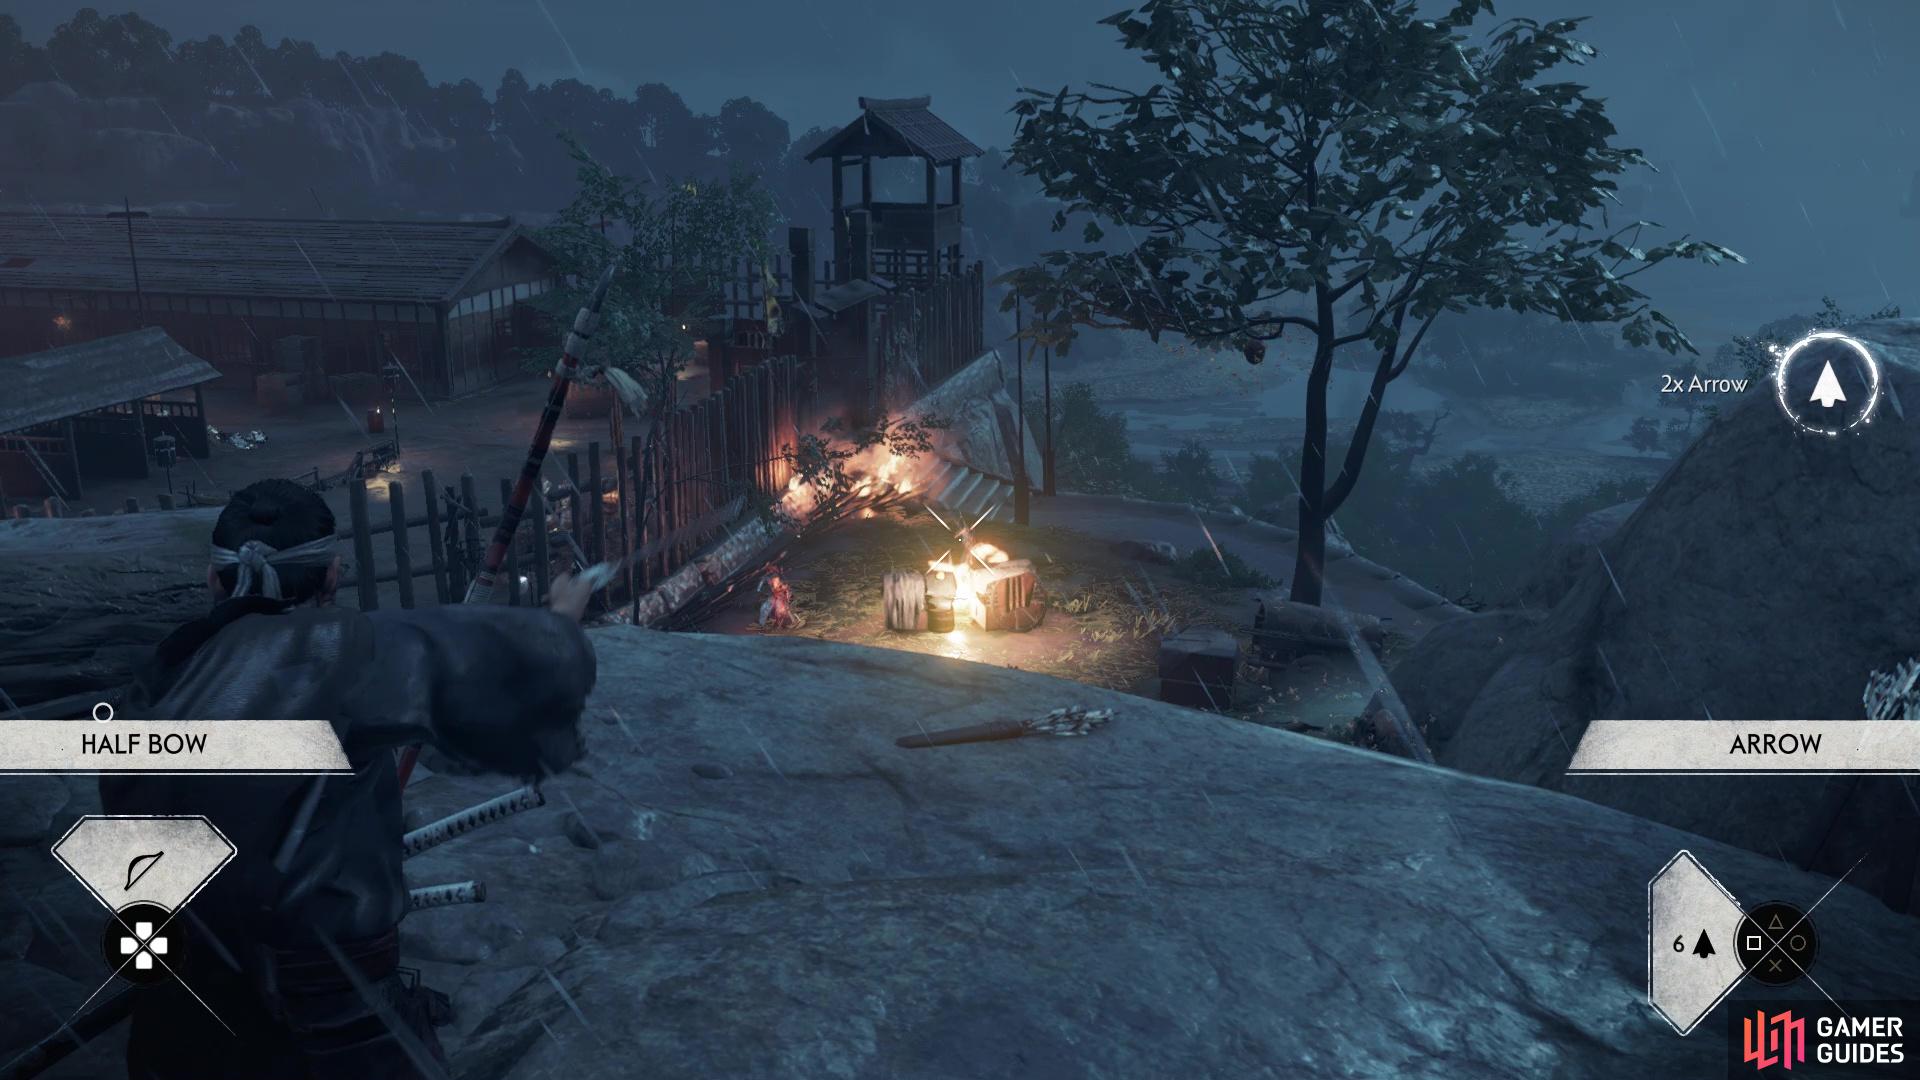
Use the various traps to clear out the enemies
When the outside is clear, head inside the fort and begin trying to pick off the archers on the roofs, as well as one more in the watchtower. Don’t worry if you run out of arrows, as Ishikawa will probably take care of the rest by himself. There will be a scene after all enemies are dead, then you’ll have to search the fort for some clues. There are three clues around the fort, all of which are marked, so they are easy to find. Upon looking at the third clue, you hear the cries of a survivor, so head to where Ishikawa is to find him and learn the truth. You are pretty much done with this mission, so just go with Ishikawa one last time and watch the final cutscene.
No Comments