


The next main mission will be the penultimate one for Act 1, and there’s still a good chunk of Izuhara left to explore, so you’re going to tackle that right now. Of course, nothing is missable in the game, so if you wish to continue with the main story, then skip straight to the Shadow of the Samurai page. Let’s start off by returning to Komatsu Forge, as there is a Mythic Tale right outside of it. The Heavenly Strike will be a little east of Komatsu Forge, so go ahead and do that now, as it’s a little more lengthy than other sidequests.
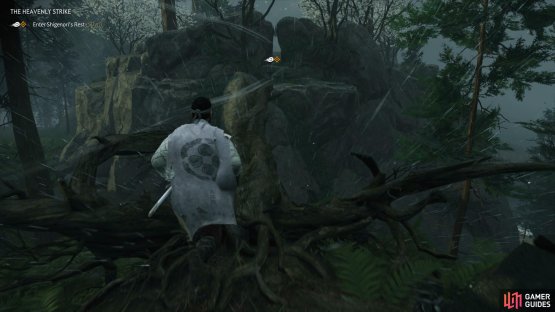
(1 of 2) Follow the path of white-leafed trees to reach Shigenori’s Rest
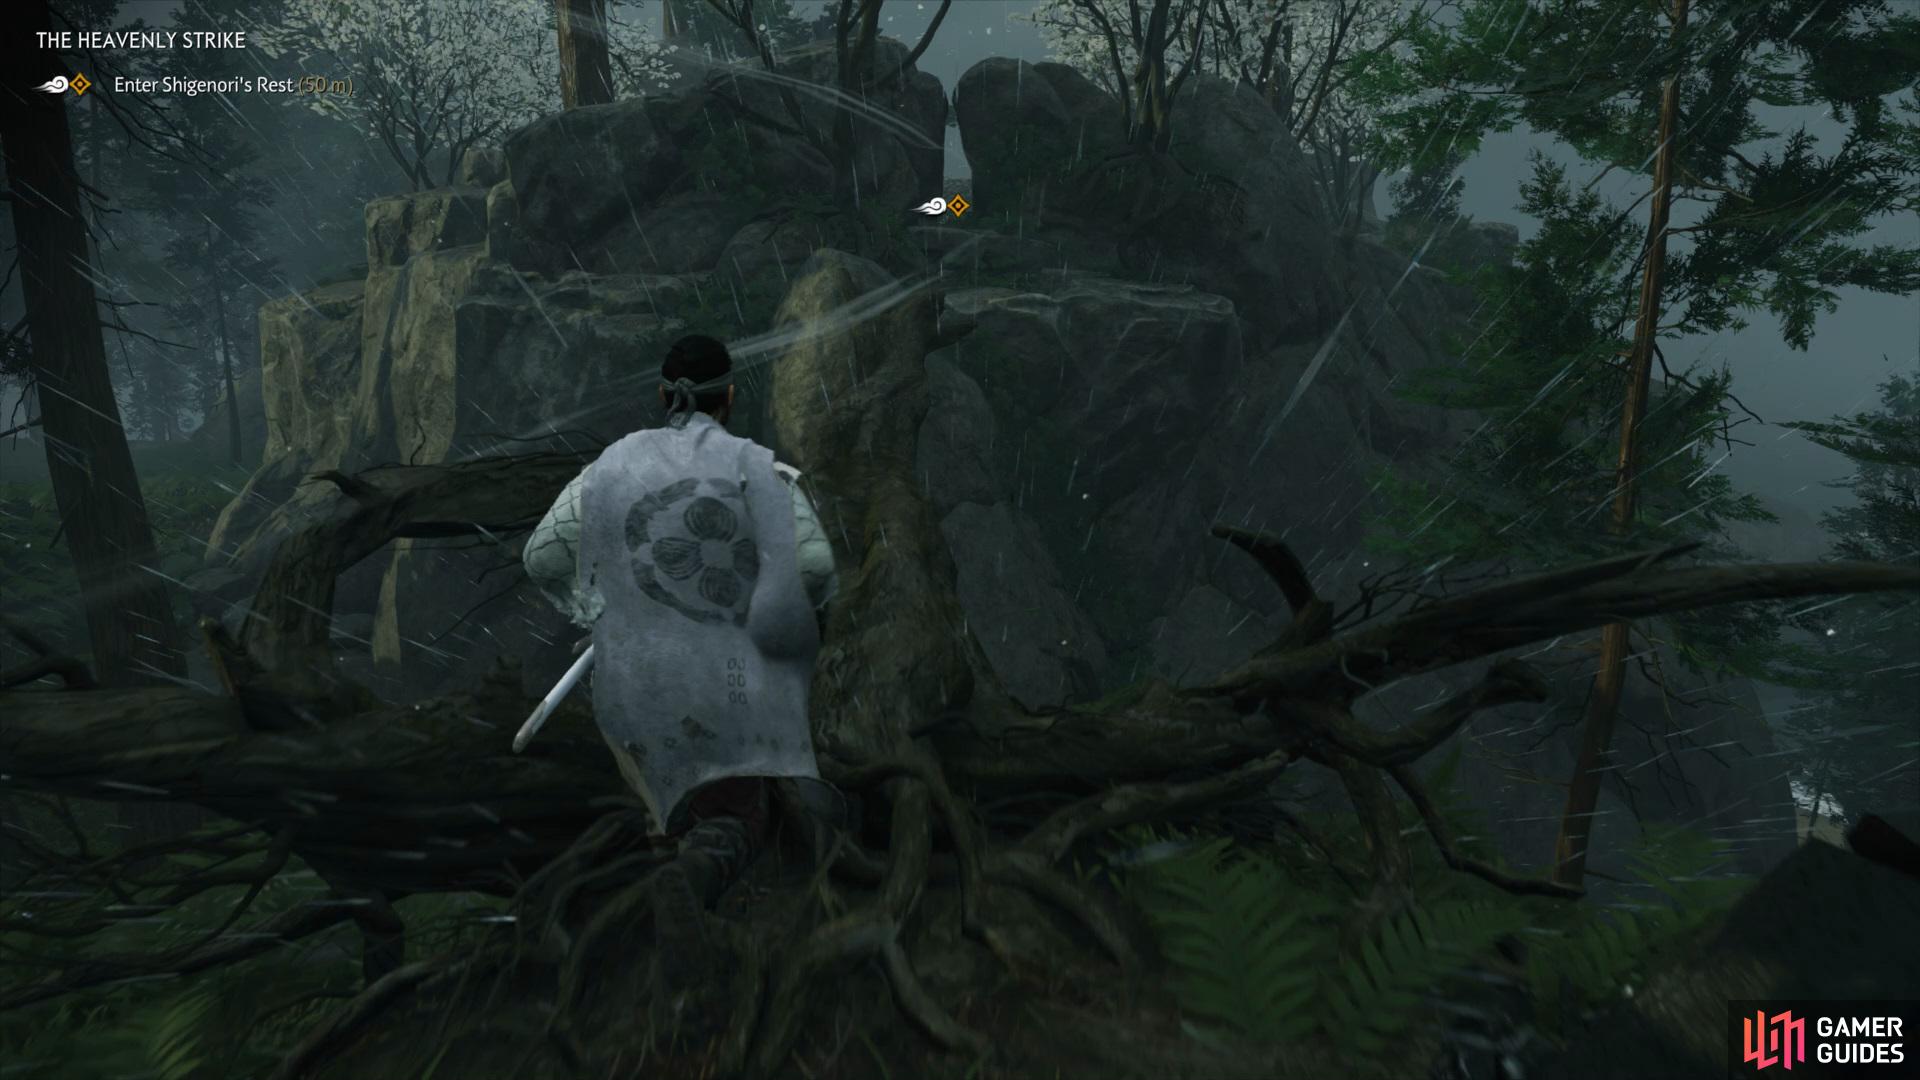

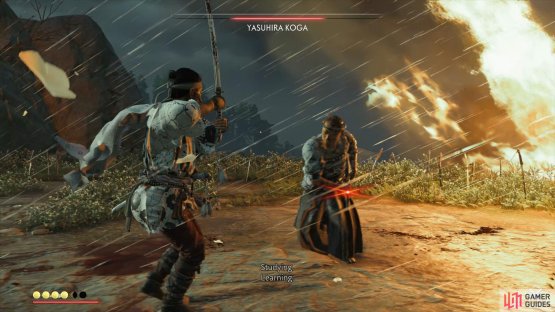
Follow the path of white-leafed trees to reach Shigenori’s Rest (left), There are a lot of unblockable attacks in the duel (right)
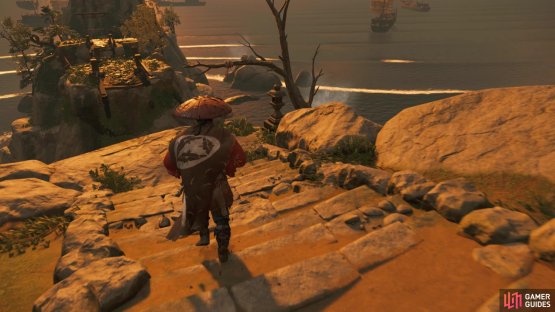
Return to where you picked up the above Mythic Tale and head southeast from it. When you get to the river, you’re looking for a bridge. Drop down to some rocks below, next to the bridge, and you will find a Sashimono Banner waiting for you. Since you have the grappling hook, you are now able to do the Winding Mountain Shrine, netting you the Charm of Izanagi. The path leading up to the shrine is located on the eastern side of the map icon, and will have you using the hook a bunch. Fast travel back to Komatsu and take the northern exit now. As soon as you cross the river, start veering to the west and follow the road there until you come to a Fox’s Den.
Upon praying at the Inari Shrine, return to the same Fox’s Den and venture to the southwest. On your map, look for the mouth of the river on the coast and you should be seeing a rock with the Komatsu Haiku on it, which will get you the Headband of Strife. Return to the previous Fox’s Den and head northwest, where you should run into another Fox’s Den. Once you’ve prayed at the Inari Shrine, return to the Fox’s Den and venture west until you find a path. Stick to the path and follow it north to run across yet another Fox’s Den, then follow your friendly creature to the Inari Shrine.
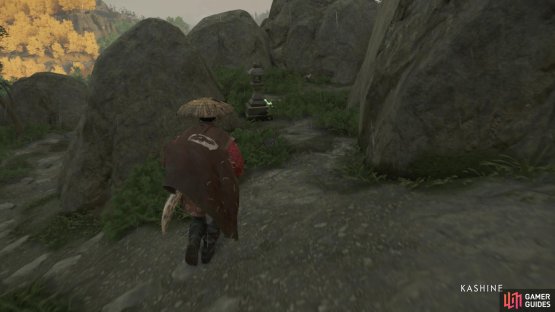
As before, return to the same Fox’s Den and head east from it, and maybe a little north of straight east. You’ll know what you’re looking for whenever you see some stones covered in greenery, signaling you found the Pillar of Honor, netting you the Spring Bamboo Sword Kit. A little south of that will be the Kashine Haiku, so do that to receive the Headband of Fear. Continue east from there and a little south to find Plum Blossom Shrine; look for the torii gate on the eastern side and on the main path up to the shrine, there will be a side path that begins the ascent.
(1 of 2) This is the path that will take you to the top of the shrine


This is the path that will take you to the top of the shrine (left), This hot spring is actually in a recessed area, so it might be hard to spot it (right)
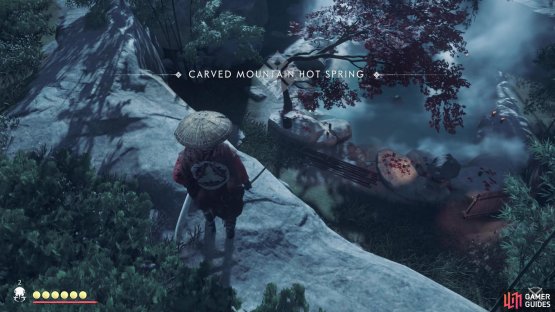
Northeast of the Shinto Shrine, if you look at your map and see the little donut-shaped mark, is the Carved Mountain Hot Spring. From the Hot Spring, travel northwest and you should come to a house, where you can find The Other Side of Honor Side Tale. Complete this now, then journey north to find another Side Tale, Whisper in the Woods. Not too far west of where you started Whisper in the Woods is another Fox’s Den, so head there and get the Inari Shrine.
Shipyard
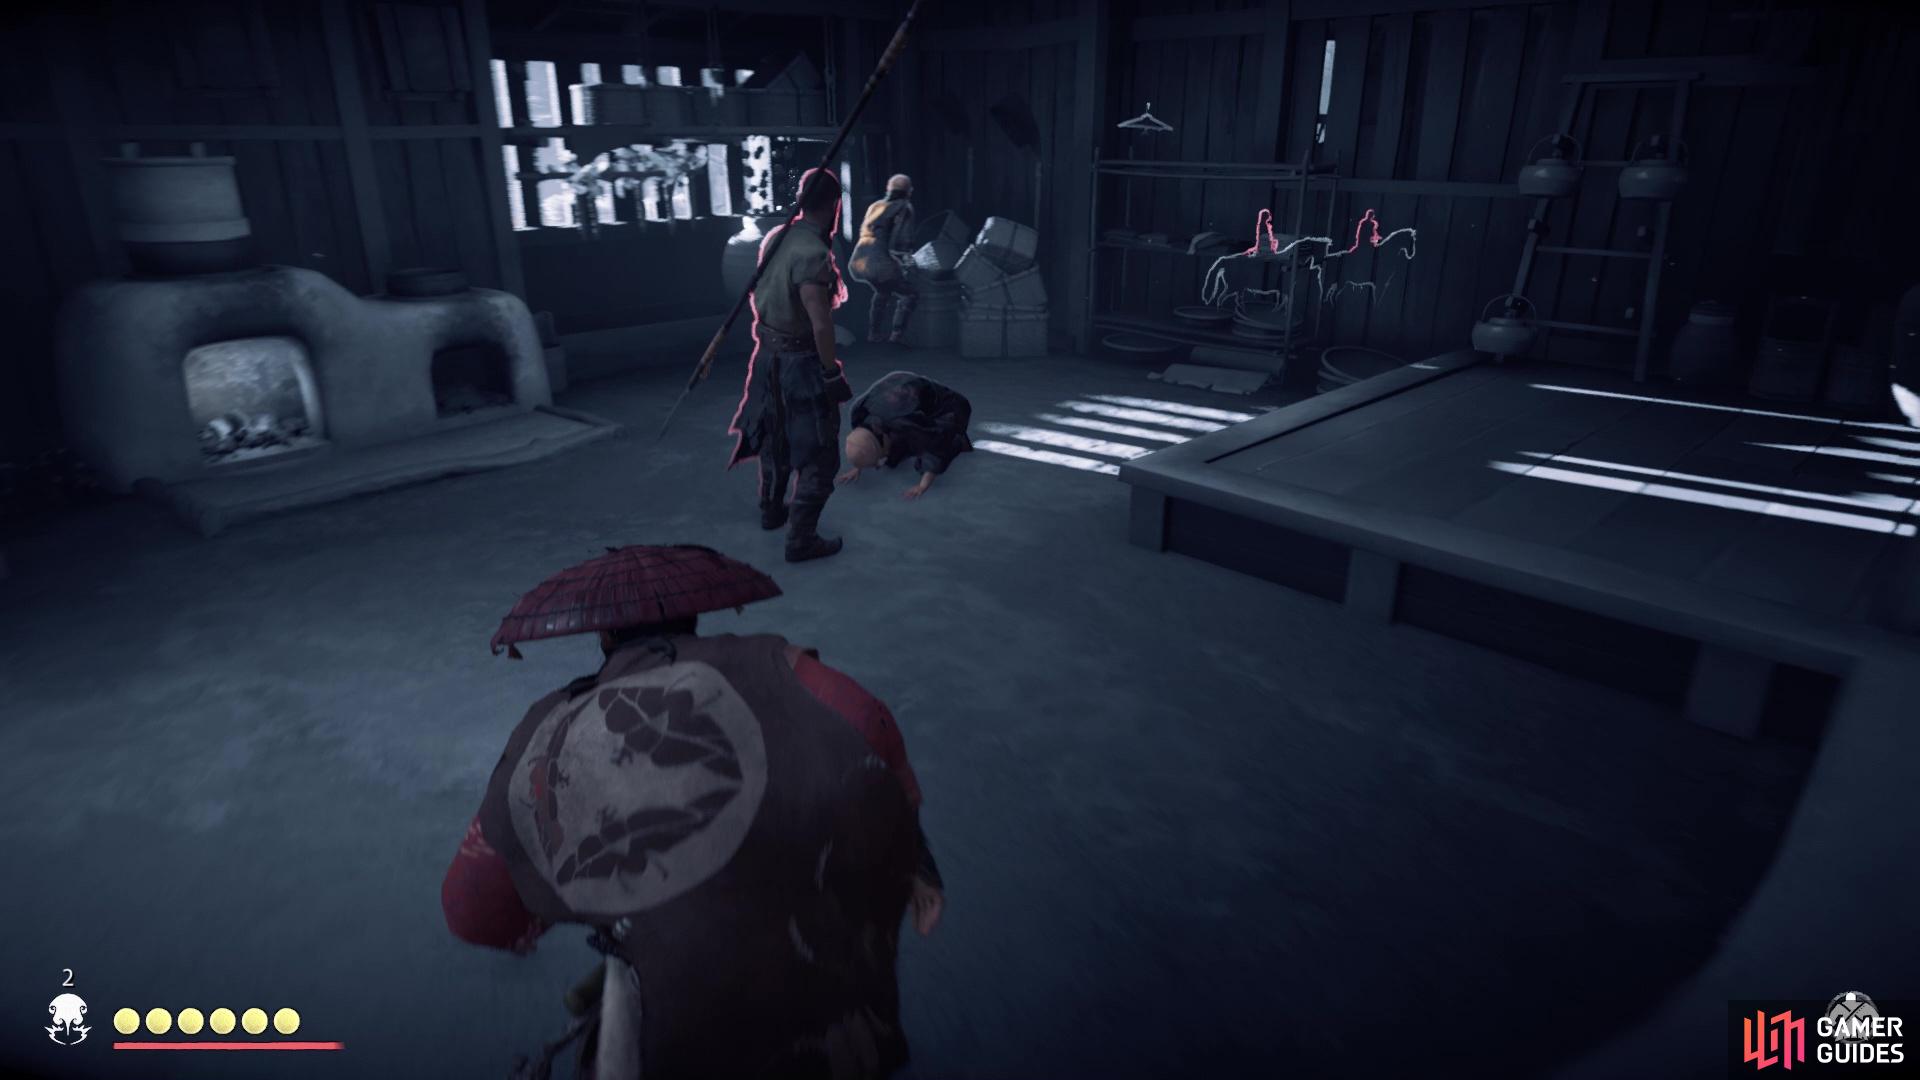
The next piece on the trip around Izuhara is an enemy outpost, which is due west from the last Fox’s Den above. The Shipyard is one of the bigger ones, despite it not looking like it from a quick glance. You still have the usual objectives of finding Sashimono Banners (you need four), but there’s a new objective of releasing falcons. They are held in cages throughout the camp, kind of similar to human prisoners, but you only need to press R2 to release them instead of holding the button down. You should worry about the enemies outside of the large ship first, around the tents and normal camp area.
Once you clean up those and possibly do all other objectives, head on over to the large ship. That is where the war general will be located, as well as the Mongol Artifact and Record. The Record will be on top of the ship, while the Mongol Artifact is located inside of it. Upon clearing all of the main objectives of the outpost, you will need to light the black powder cache. This one can be a little difficult to find, but it is also on the ship, on the front of it, in fact.
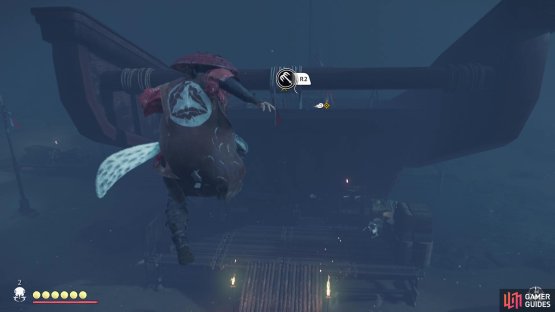
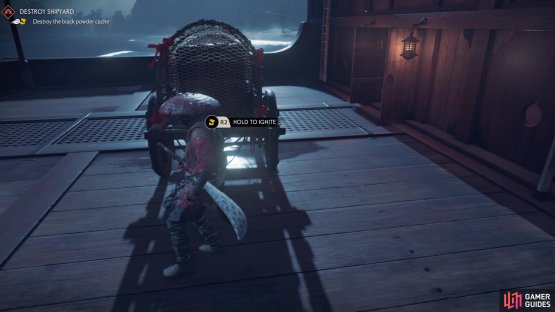
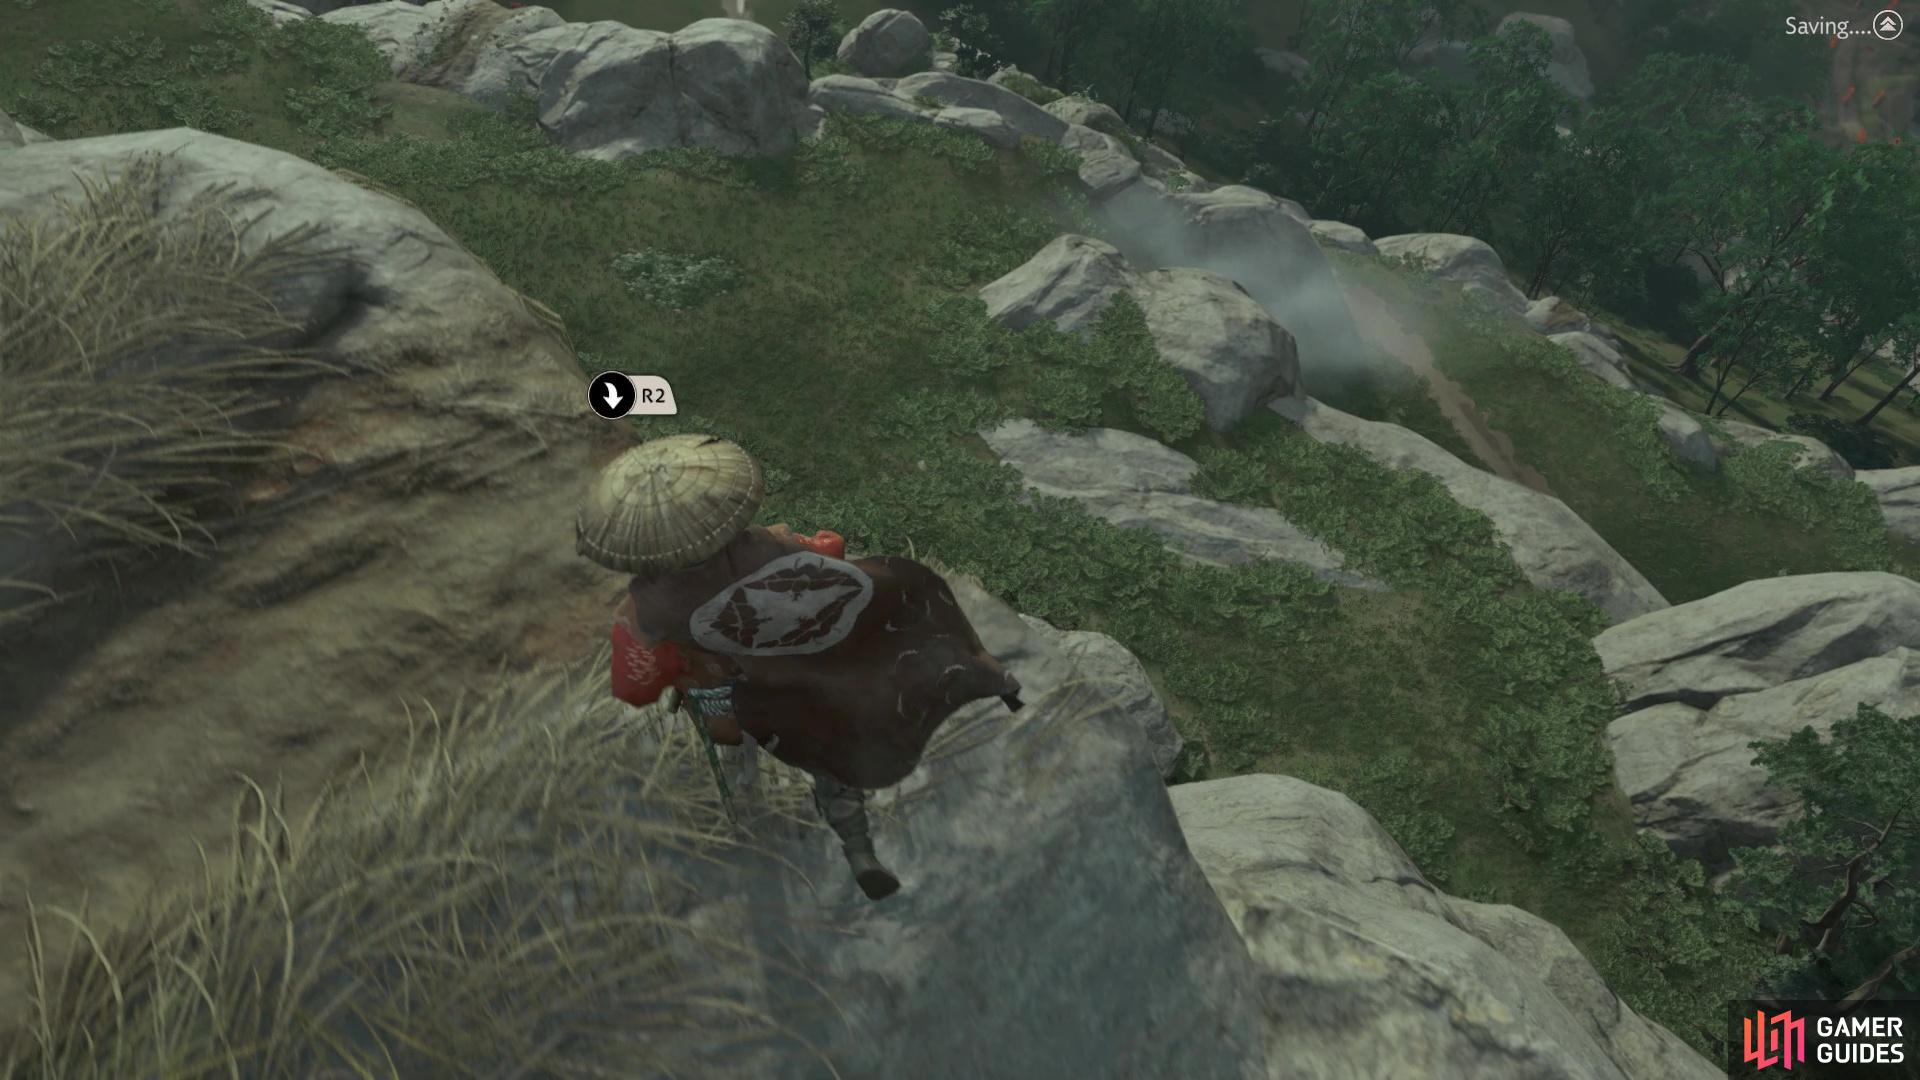
(1 of 2) You can use the grapple to get onto the deck easily
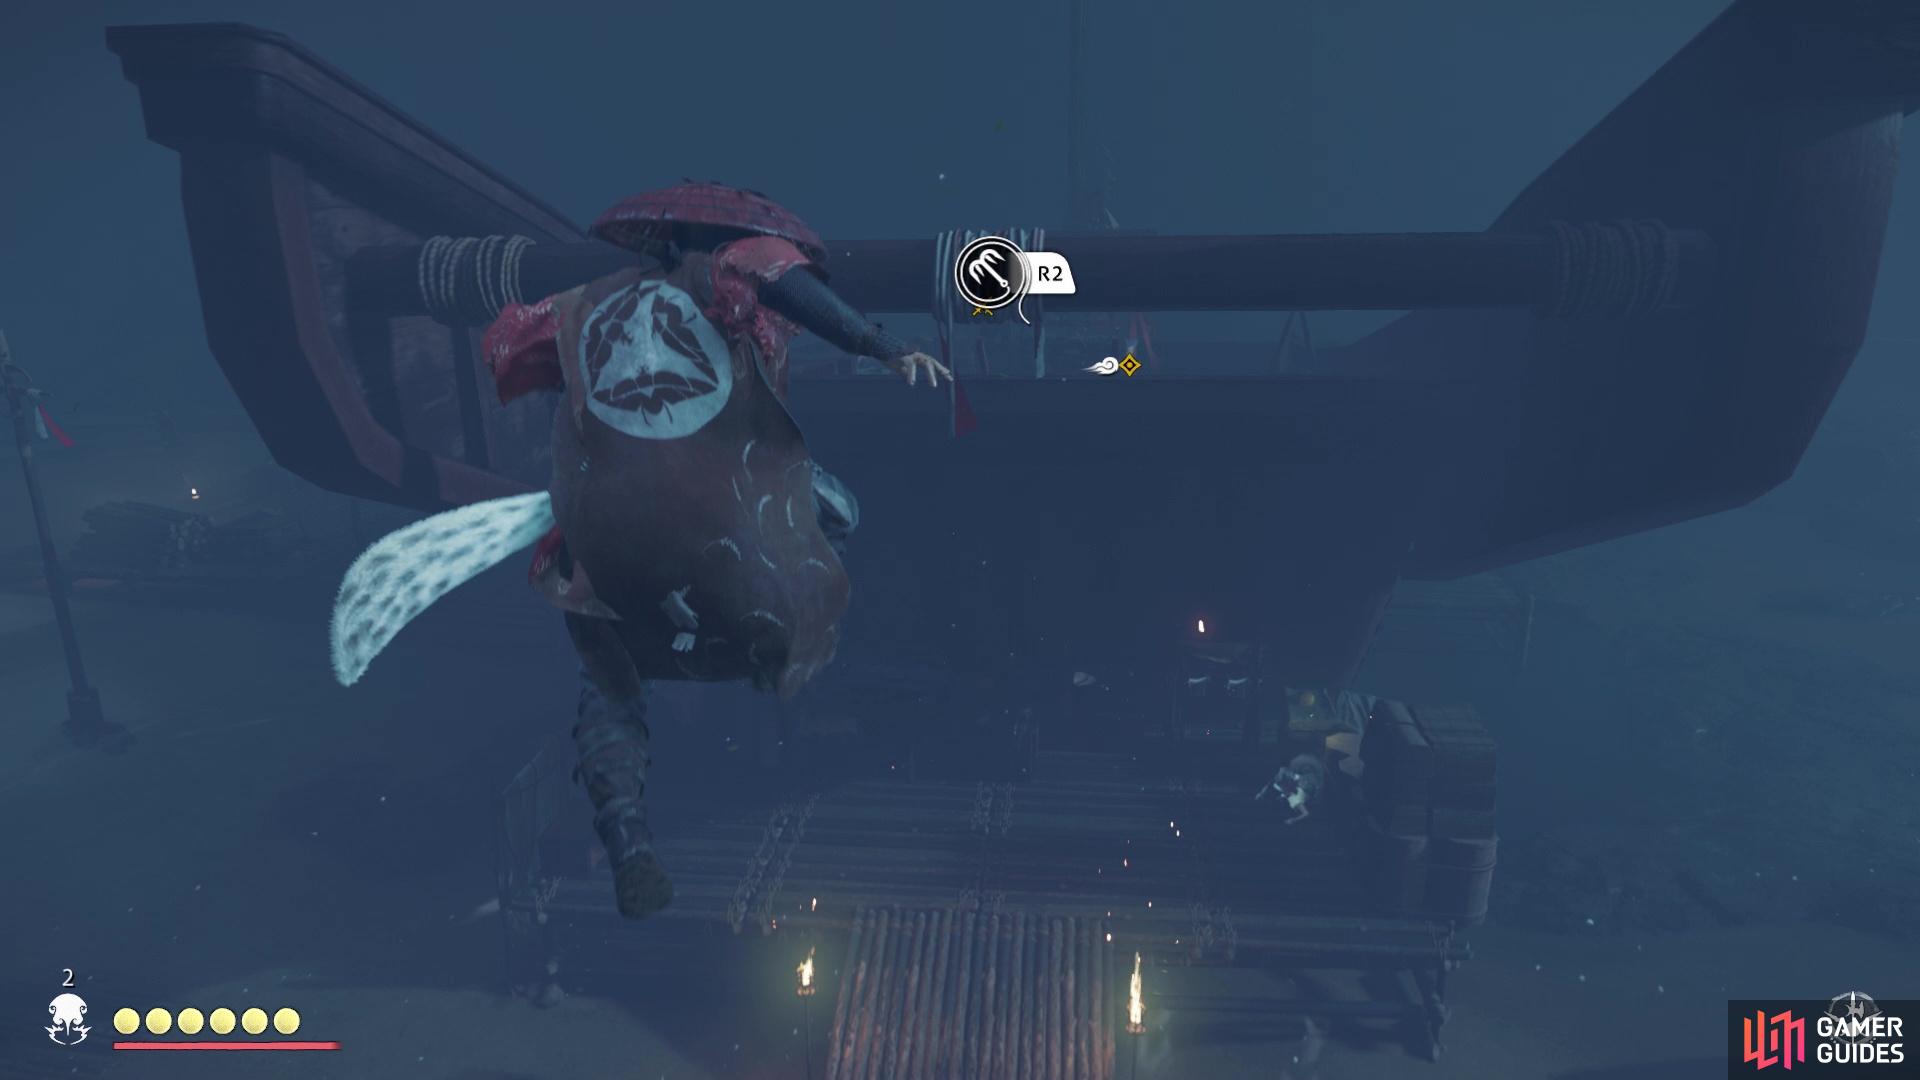
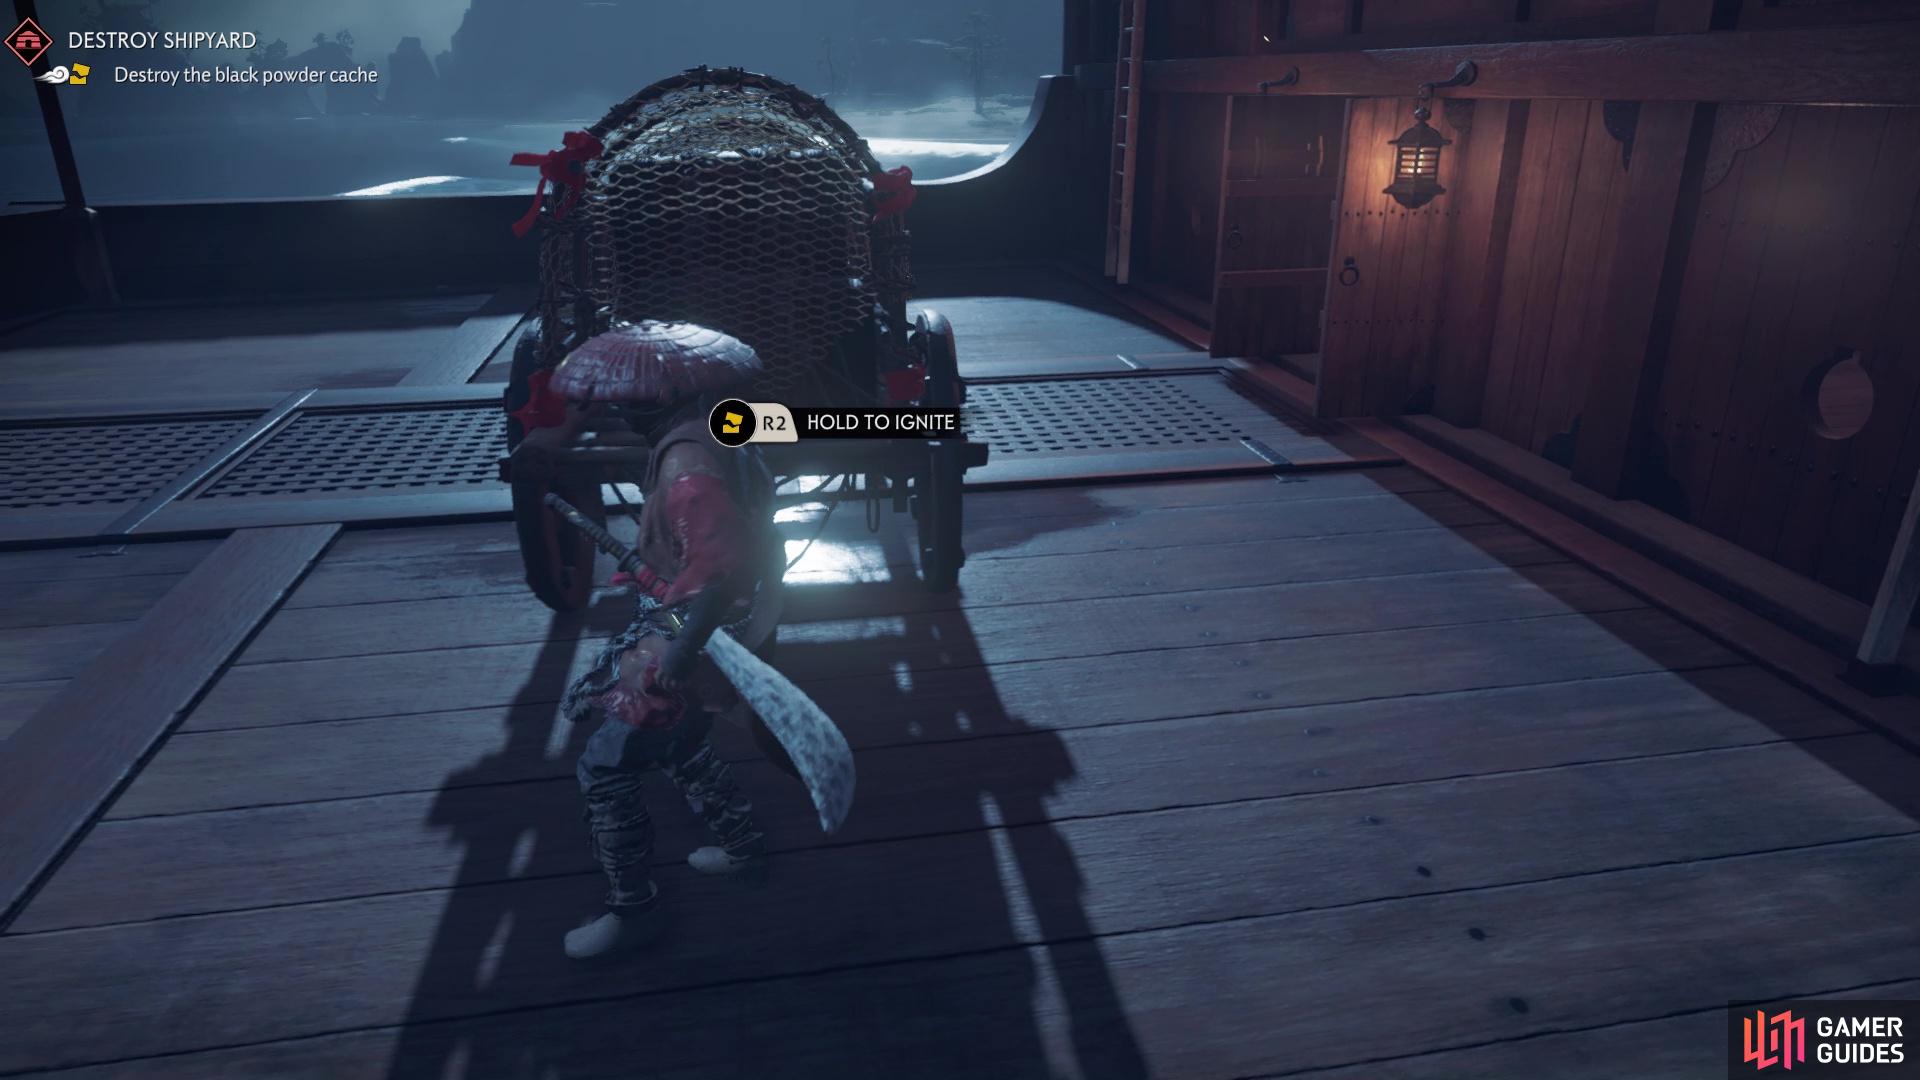
You can use the grapple to get onto the deck easily (left), The black powder cache is on the ship (right)
Double back to the last Fox’s Den you uncovered, then head northeast from it to discover the Yagata Farmstead. There’s nothing here, despite it being very large, but it’s another fast travel point on your map.
Old Trading Post
South of Yagata Farmstead, along the river, is another enemy outpost, called Old Trading Post. This is probably the smallest one in the game, as there are only a handful of enemies in it. The best way to get inside is via the gap in the outer wall, so do that. Despite the limited number of enemies, one of them is a Mongol leader, so if you still need them to unlock new Stances, this is another opportunity. Outside of it being an outpost, there’s nothing of note inside it, so liberate it and be on your way.
If you take a gander at your map, you should be just west of Lake Izuhara. There is a large island in the middle of the lake there, so take the journey to it and on that island will be the Ariake Haiku. After getting the Headband of Refuge from that Haiku, travel to the coast to your north, then follow it east and north to another outpost, Traveler’s Rest Inn.
Traveler’s Rest Inn
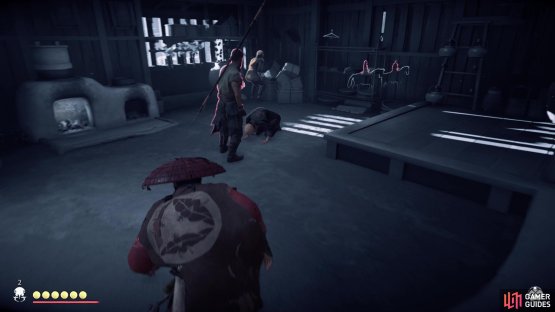
This is a relatively tame outpost, as there aren’t too many enemies. You should have more than enough experience in dealing with all of the enemy types up to this point, so there’s nothing to say here. There is a Mongol leader at this outpost, but he’s not there initially. After you kill some of the enemies, the leader will show up riding a horse, along with a few more enemies. Once you clear all of the objectives, head upstairs to the second floor and look for the Mongol Artifact.
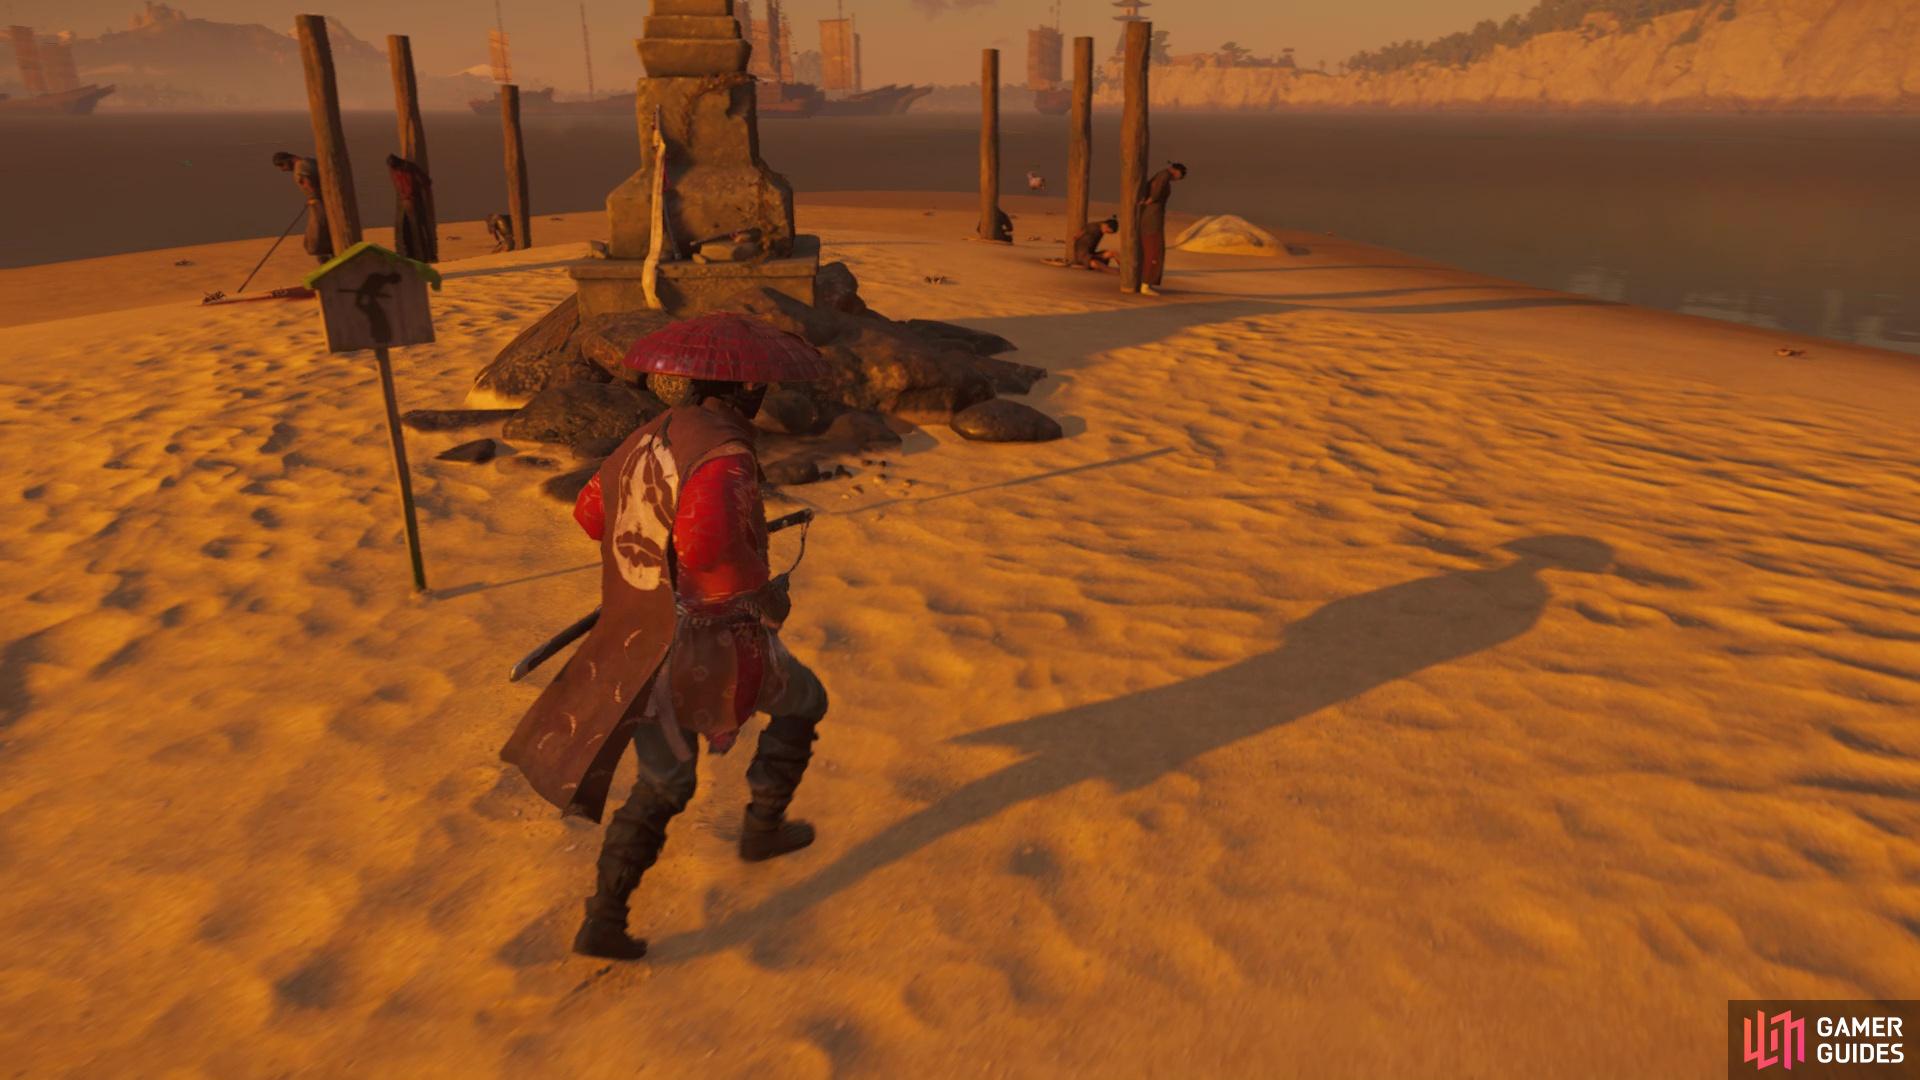
Upon clearing this outpost, head to the riverbank and look for a pier. There will be a Hidden Altar on this pier, so bow in front of it to make it count. From Rest Inn, follow the river north and where you first met Yuna for the first story mission, head west from there to happen up a Survivor Camp. Southwest of the camp is a little spot with some Mongols, with a large fire. Right next to that large fire will be a Mongol Artifact. Look at the section above that little encampment and you should spot a tree with a statue next to it; there will be a Hidden Altar right there. A little west of that spot will be yet another Fox’s Den.
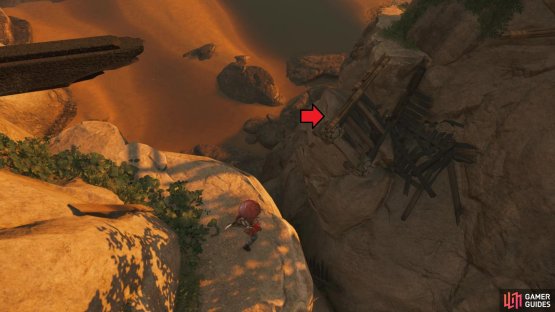
Whenever you go to the Inari Shrine with that fox, you will also find that there is a familiar sign near it. Bowing at the sign does nothing, but bowing at the actual Inari Shrine will net you another Hidden Altar. From there, head north and you should find yourself cutting through two rocky formations. As soon as you find the path on the northern side, follow it west and up the rocky terrain there. If you’re in the right area, you should see a tower and the White Dye Merchant. Not too far from him is a Bamboo Strike, so finish that to work on more Resolve. Right next to that will be a ledge you can use to climb down, so do that and on a lower ledge will be a Sashimono Banner.


(1 of 2) Look for this ledge near the Bamboo Strike
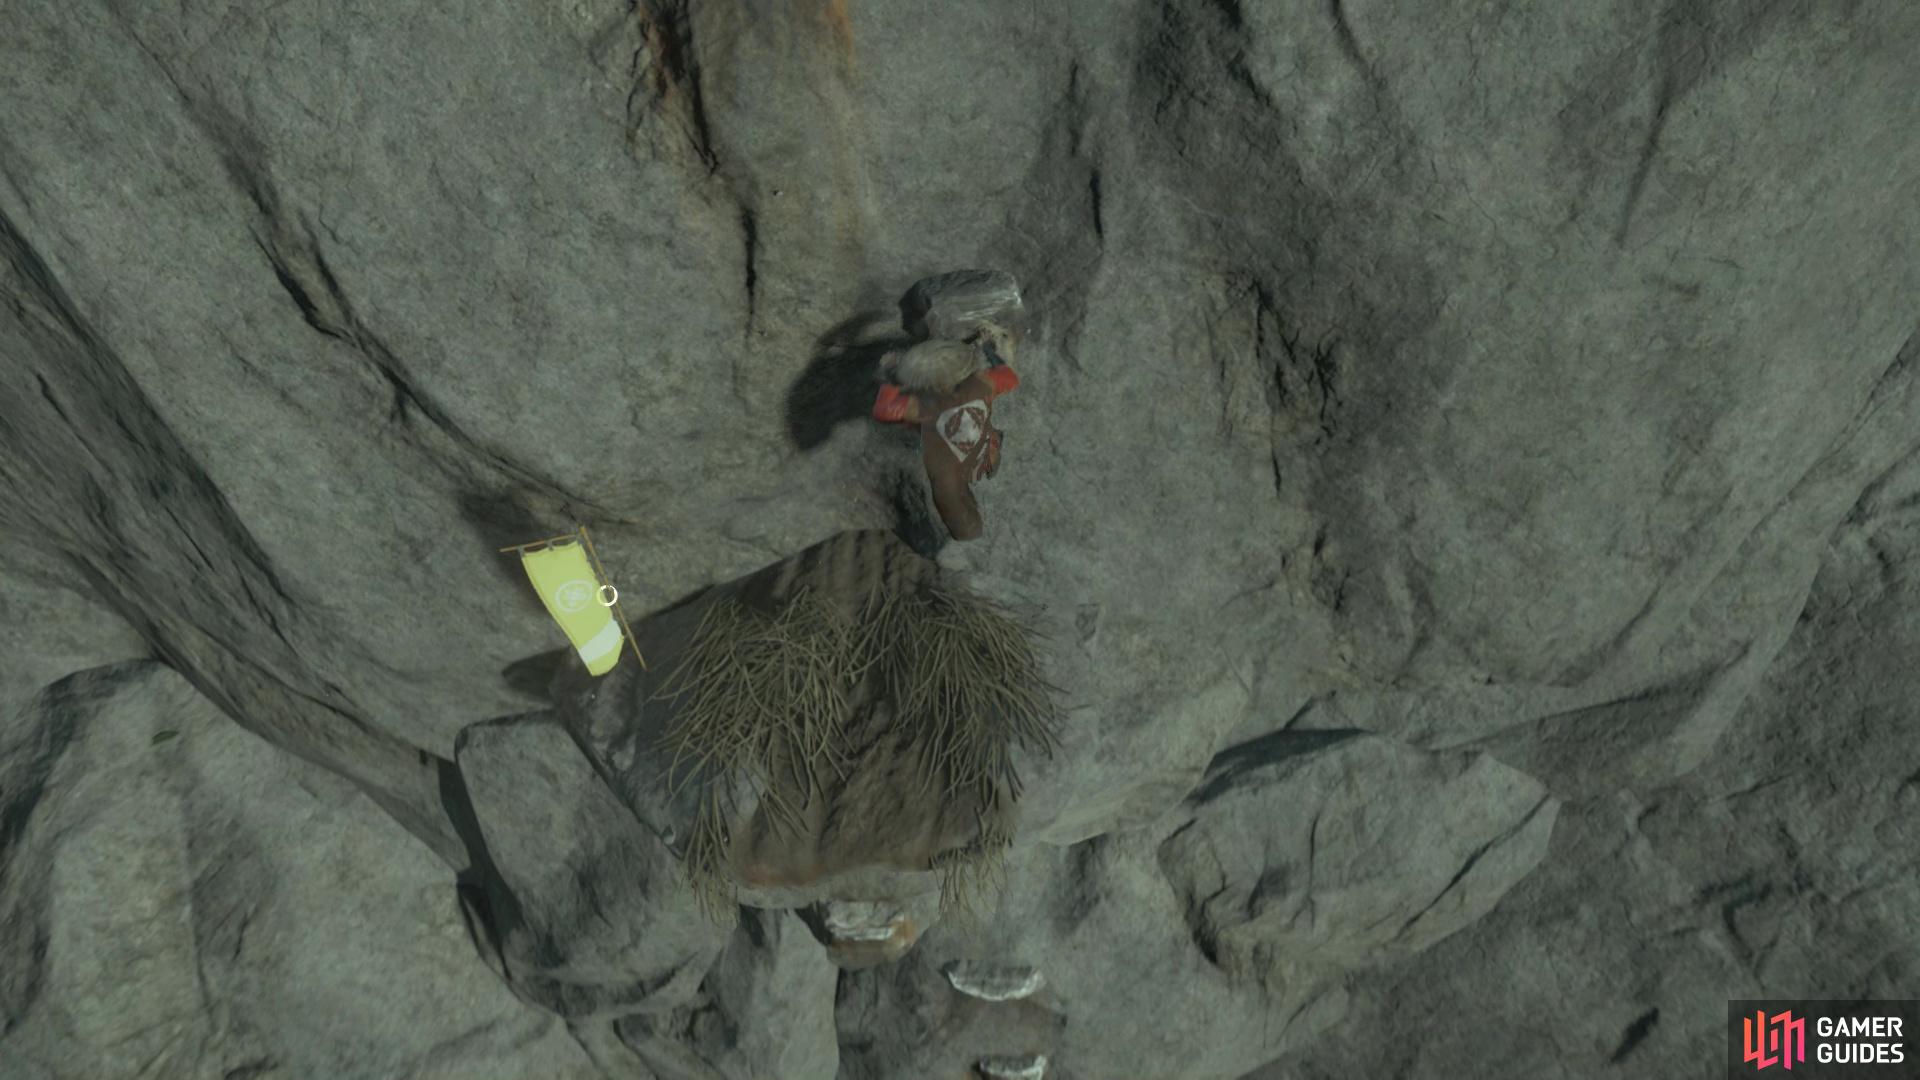
Look for this ledge near the Bamboo Strike (left), which allows you to climb down to grab the Sashimono Banner (right)
Remember where the combo of Inari Shrine and Hidden Altar was from before? Well, if you head west from there and slightly southward, you will encounter another graveyard, where a Singing Cricket will be waiting. Head northwest from there, to where Kashine Hills is marked on your map, where you should find a large house. There is a pond out front, with a rock that has a statue of a fox on it. Right in front of that rock will be another Hidden Altar. West of there, along the coastline, will be another Fox’s Den. North of the Fox’s Den will be a Survivor Camp, although you might have to navigate the rocky terrain a little bit in order to reach it.
West of the Survivor Camp will be the Stone Dragon Shrine, but you might be a bit confused on how to get on the path for it. Find the torii gate that has the sign telling you the name of the shrine. Look for the tree that has the grapple marker and swing across to the lower platform. From there, you should see some bamboo tied together, which is where you need to jump. The rest of the way to the shrine should be fairly easy to figure out, so pray at it to receive the Charm of Susanoo. Remember that large house with the Hidden Altar not too long ago?
Travel back to that place and go straight north, following the road, where you will eventually run into a Fox’s Den when you reach the fork. Return to the Fox’s Den, then travel west and a little south to discover another graveyard. Clear out any Mongols, then look for the Singing Cricket. A little north of there will be the Komoda Haiku, which rewards the Headband of Defeat. Return to the previous Fox’s Den and go north to enter Komoda Town.
(1 of 2) The grapple point on the tree is the starting point for this shrine
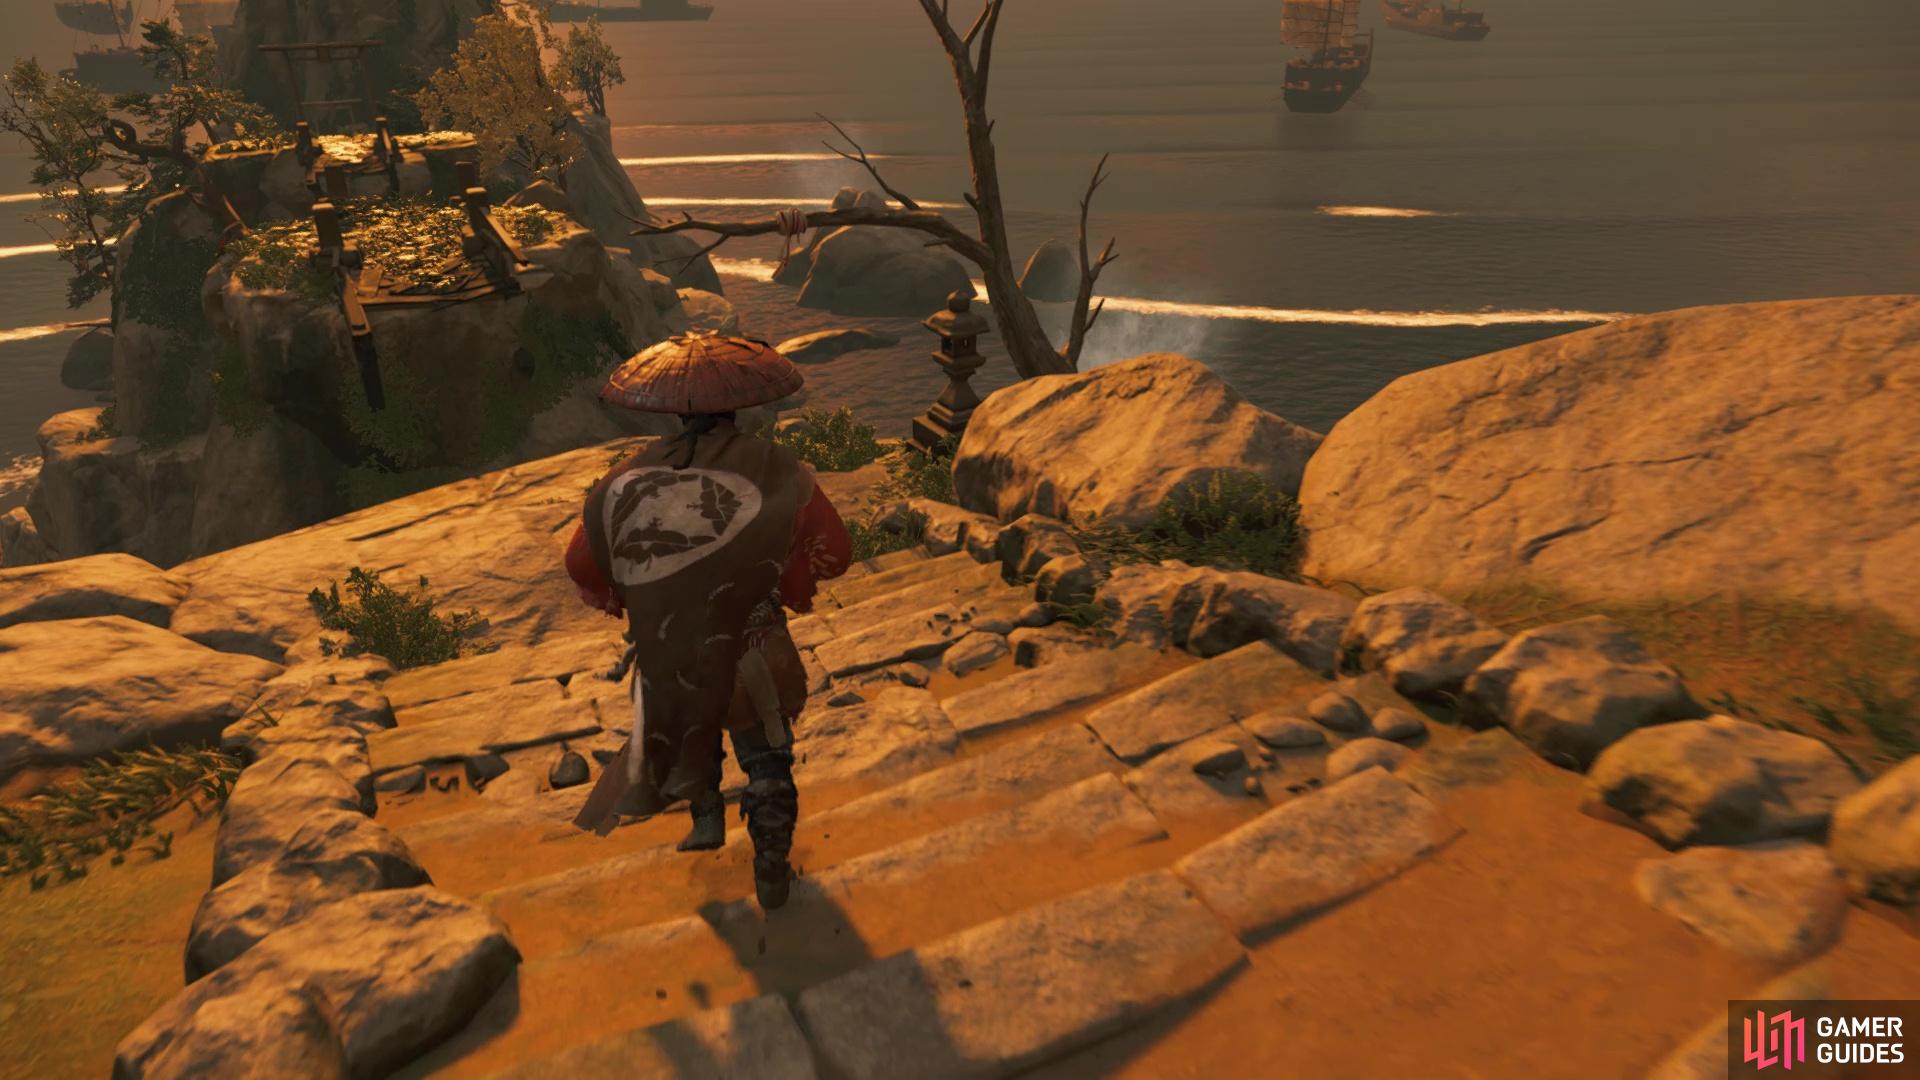

The grapple point on the tree is the starting point for this shrine (left), You will need to jump to this part to continue (right)
There’s not much here, but you will happen upon a Bamboo Strike in the town, as well as a Record; it’s in the house in the northeastern part of the town. North of Komoda Town and a little west, will be another outpost, called Furuta Village.
Furuta Village
One big problem with this outpost is the fact there are some Mongols that ride back and forth through it on horses. That gives them a wider range of noticing you whenever you’re trying to take out some of the other Mongols. The other big problem is there are a lot of peasants in the outpost, meaning the Mongols will probably try to attack them if you’re seen. So, the best course of action is to try being stealthy for as long as you can, as this prevents the above. The Longbow is really good here, as well as slowing down time when aiming the bow. Although they will see the bodies, it might be best to go after the riders first, to cut them off their patrols. There’s nothing of note in Furuta Village, so just concentrate on the objectives and liberate it.
Take the road leading north out of the village, until you happen upon a makeshift area with some cloth walls surrounding it. Head to the middle of this area and look for a Record on some debris. West of there is a large field of pampas grass and in the middle of it will be a Pillar of Honor. Venturing west of there and you should find some buildings, where you might see or hear Lady Masako a little further down near the beach. Ignore her for now and look for the big gap between some rock formations. Despite the appearance, you can jump this gap, leading you to a Sashimono Banner.

(1 of 2) You have to be mindful of the Mongols on horses patrolling the village
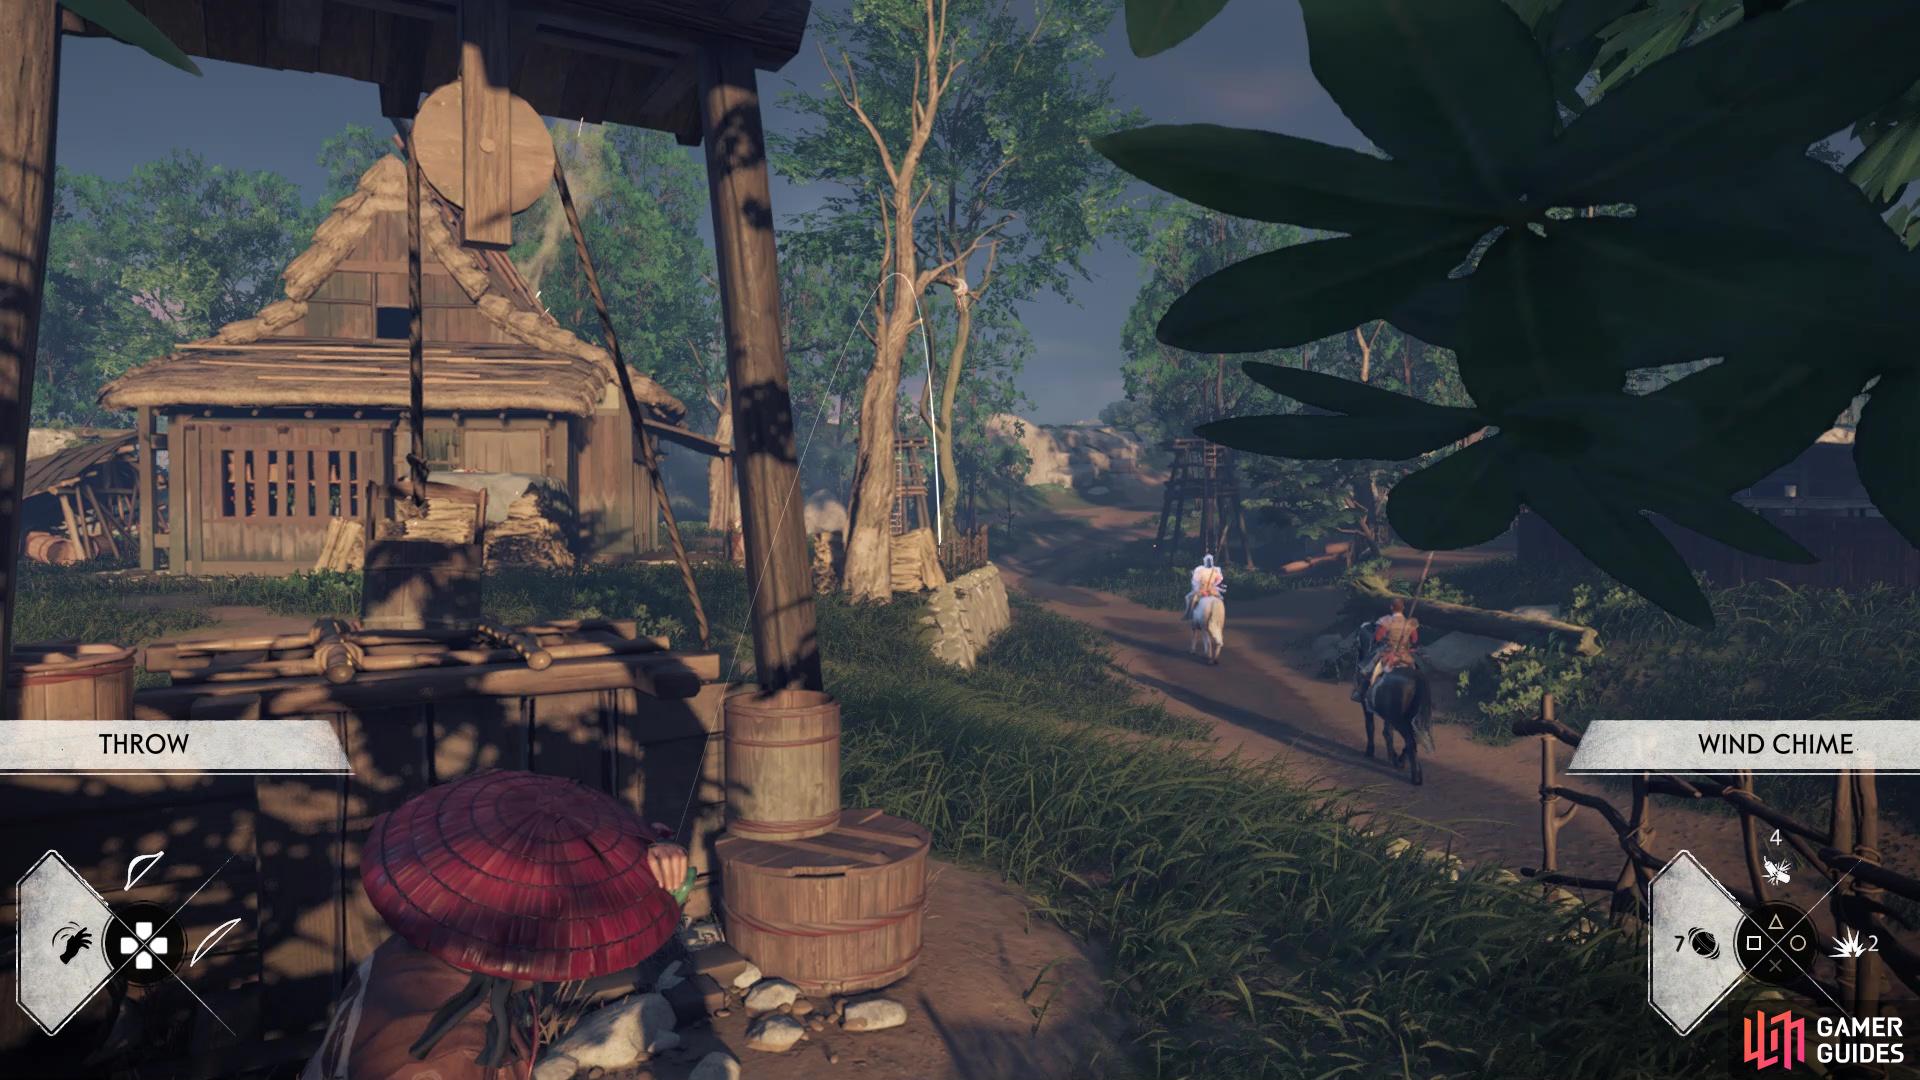
You have to be mindful of the Mongols on horses patrolling the village (left), There are a lot of civilians in the village, so be careful to avoid detection to protect them (right)
Lady Masako is near the beach, fighting off some Mongols, so help her out and then speak to her to begin the A Mother’s Peace side tale. At the end of this tale, you will journey to the Komoda Lighthouse, so go ahead and light it now. Double back to Furuta Village and begin venturing east, to the river. To the north of the river splitting, look for the waterfall and another Sashimono Banner will be on some rocks after dropping down the short waterfall.
Keep moving east now, maybe moving a tiny bit to the north, and you should uncover the Takeshiki Farmstead. This place is right next to another river, so you should follow it south, but on the eastern bank. Eventually, you will be on the northern side of Kukai’s Falls and should see some torii gates. Take the path heading up an incline and you should now be on the main trail for the Spring Falls Shinto Shrine, so pray at it to receive the Charm of Mizu-no-Kami. Descend the shrine via the button prompt, then look to the east to find some footholds you can use to reach the top of the cliff nearby.
Follow the water’s outline on the map and you should eventually see a rock separate that’s not too far from the water, which has the Hiyoshi Haiku. From the Haiku spot, head straight south and when you reach the road, continue south until you spot the Fox’s Den. Head to Kechi Fishing Village, southeast of the Fox’s Den, and look for the Hidden Altar on the pier there. The next stop on the tour of Izuhara will be north and a little east of Kukai’s Falls, called Takeshiki Grove on the map.
South of the name on the map is what looks like a series of interconnected paths, which happens to be a graveyard, so head there first to find a Singing Cricket. Journey southeast from there and you should be able to see a donut-shaped circle on your map, which indicates a Hot Spring, particularly the Firefly Hill Hot Spring. There’s a spot just to the east where you can climb down, so do that and continue east until you happen upon a road. Stay on this road as you venture north, where you should see Fox’s Den.
You will find both a Pillar of Honor and Hidden Altar right next to each other
There’s not much left now, so head straight east after returning to the above Fox’s Den. You should run into a Pillar of Honor on the beach, netting you the Fuujin’s Secret Sword Kit. There is also a Hidden Altar right next to the Pillar of Honor. Continue south and look for a lone tree in the field of pampas grass, at the Izuhara Clearing name on the map. There is a Hidden Altar at this tree. The road should be just south of you, so head to it and follow it northeast. When you get to a burnt down building, look northwest a tiny bit to spy another Fox’s Den.
That wraps up pretty much all of the collectibles, Side Tales and anything of merit in Izuhara, so it’s time to finally conclude the first act of the game with the final two story missions.
No Comments