


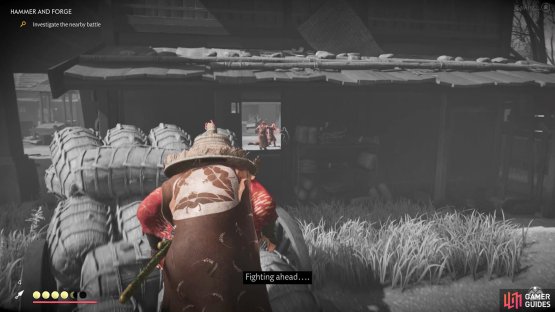
North of the Fallen Outpost is Komatsu Forge and right in front of the town is where the next mission will begin, so head to the marker. Your first job will be to find a way into Komatsu Forge, which shouldn’t be too difficult, as there are a lot of entries. If approaching from the mission marker, though, there is a cliff you can climb down not too far from it, allowing you entry. Oddly enough, upon gaining entry, you see that there really isn’t anyone here and you need to search for both Yuna and Taka. What you really need to do is look for a battle happening with some Mongols. Begin fighting the Mongols and you will see you’ll have a little help from a bow-wielding friend.

(1 of 2) You can climb down this cliff to reach the inside of Komatsu Forge
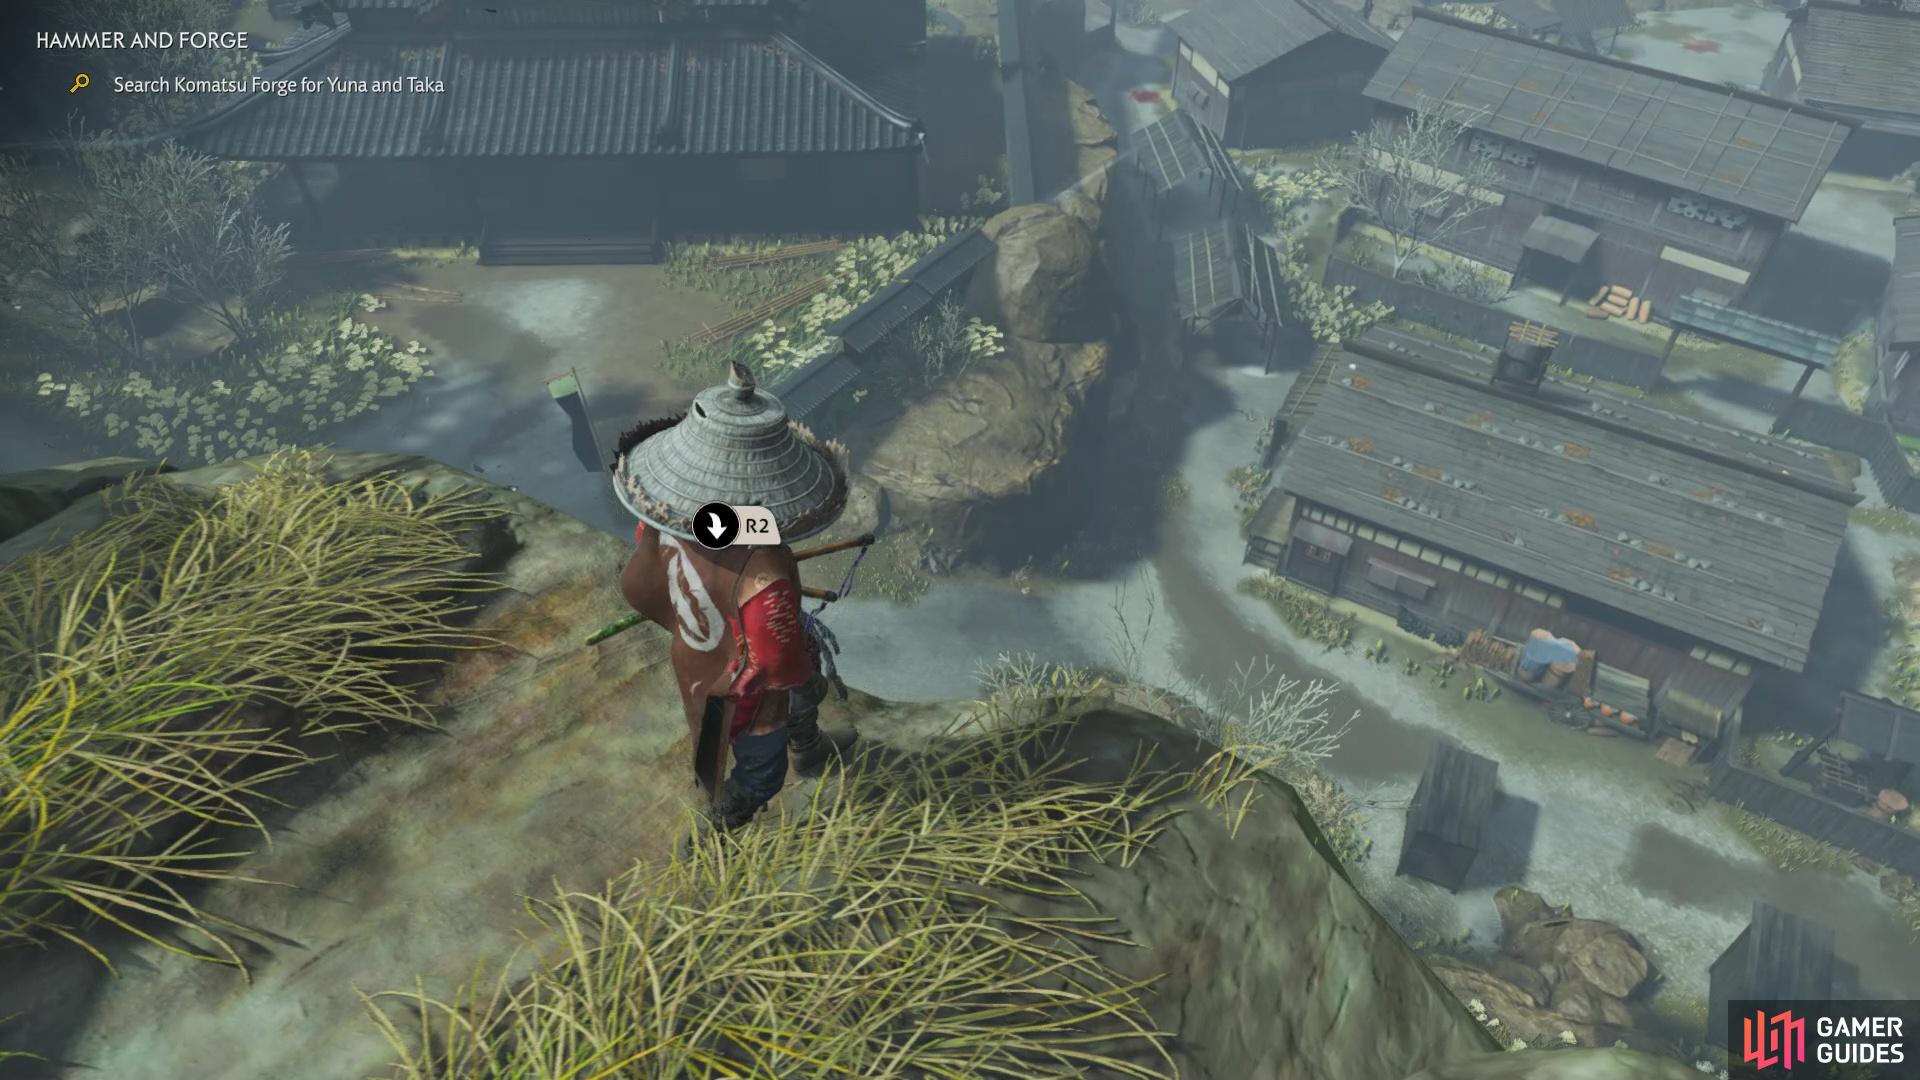

You can climb down this cliff to reach the inside of Komatsu Forge (left), Look for the Mongols harassing someone to truly begin this mission (right)
When all of the Mongols have been felled, approach Yuna to continue. Wait for her to retrieve some arrows, then follow her to the forge, where the Taka and townspeople will be hiding. In order for Taka to make the tool you need to infiltrate Castle Kaneda, he needs his assistant, Yukio, who got separated from the others. Follow the wind to another building in the town, where Yukio is hiding inside. Two Mongols will be patrolling the building, so take them out however you want, then go upstairs to rescue the people. Before Yukio can return to Taka at the forge, he needs help rescuing his wife and sister, who are by the river.
Follow them out of the building, where a Mongol will be waiting not too far from it. Kill this one, then continue following them to see some more Mongols chasing people. You will want to be act a little more quickly here, as it is possible the Mongols will kill the peasants (keep an eye out for the familiar skull and crossbones symbol). There should only be four Mongols in the vicinity, so it won’t be too much trouble. When they’re all gone, speak with the one peasant, then it’s time to return to the forge. However, there will now be some Mongols patrolling in the area above you, so you will need to be careful.
You don’t have to fight them, though, so you can take a roundabout way to get to the forge without drawing attention to yourself or your “entourage.” Considering there are a good number of Mongols, though, it would be in your best interest to thin some of those numbers down, preferably from the shadows to avoid the peasants from getting harmed. Once the coast is clear, bring the people back to the forge, then approach Taka to find out that Yuna is out trying to rescue a family across the river. Like before, follow the wind and you will be brought to Yuna, who is doing some surveillance.
Speak to her to learn that the family she’s trying to save are being held by some Mongols. You will want to be cautious here, as the family is in the building, along with a Mongol, so alerting them to your presence will only cause trouble for the family inside. When you’ve thinned the numbers down a little bit, you can devolve the situation into a straight-up fight, making sure you always go after the Mongol that tries to harm the family first. When you’ve finished them all off, rescue the family, then you need to bring them back to the forge. There seem to be some more Mongols roaming about here, but they are pretty easy to avoid, so just keep an eye out for them.
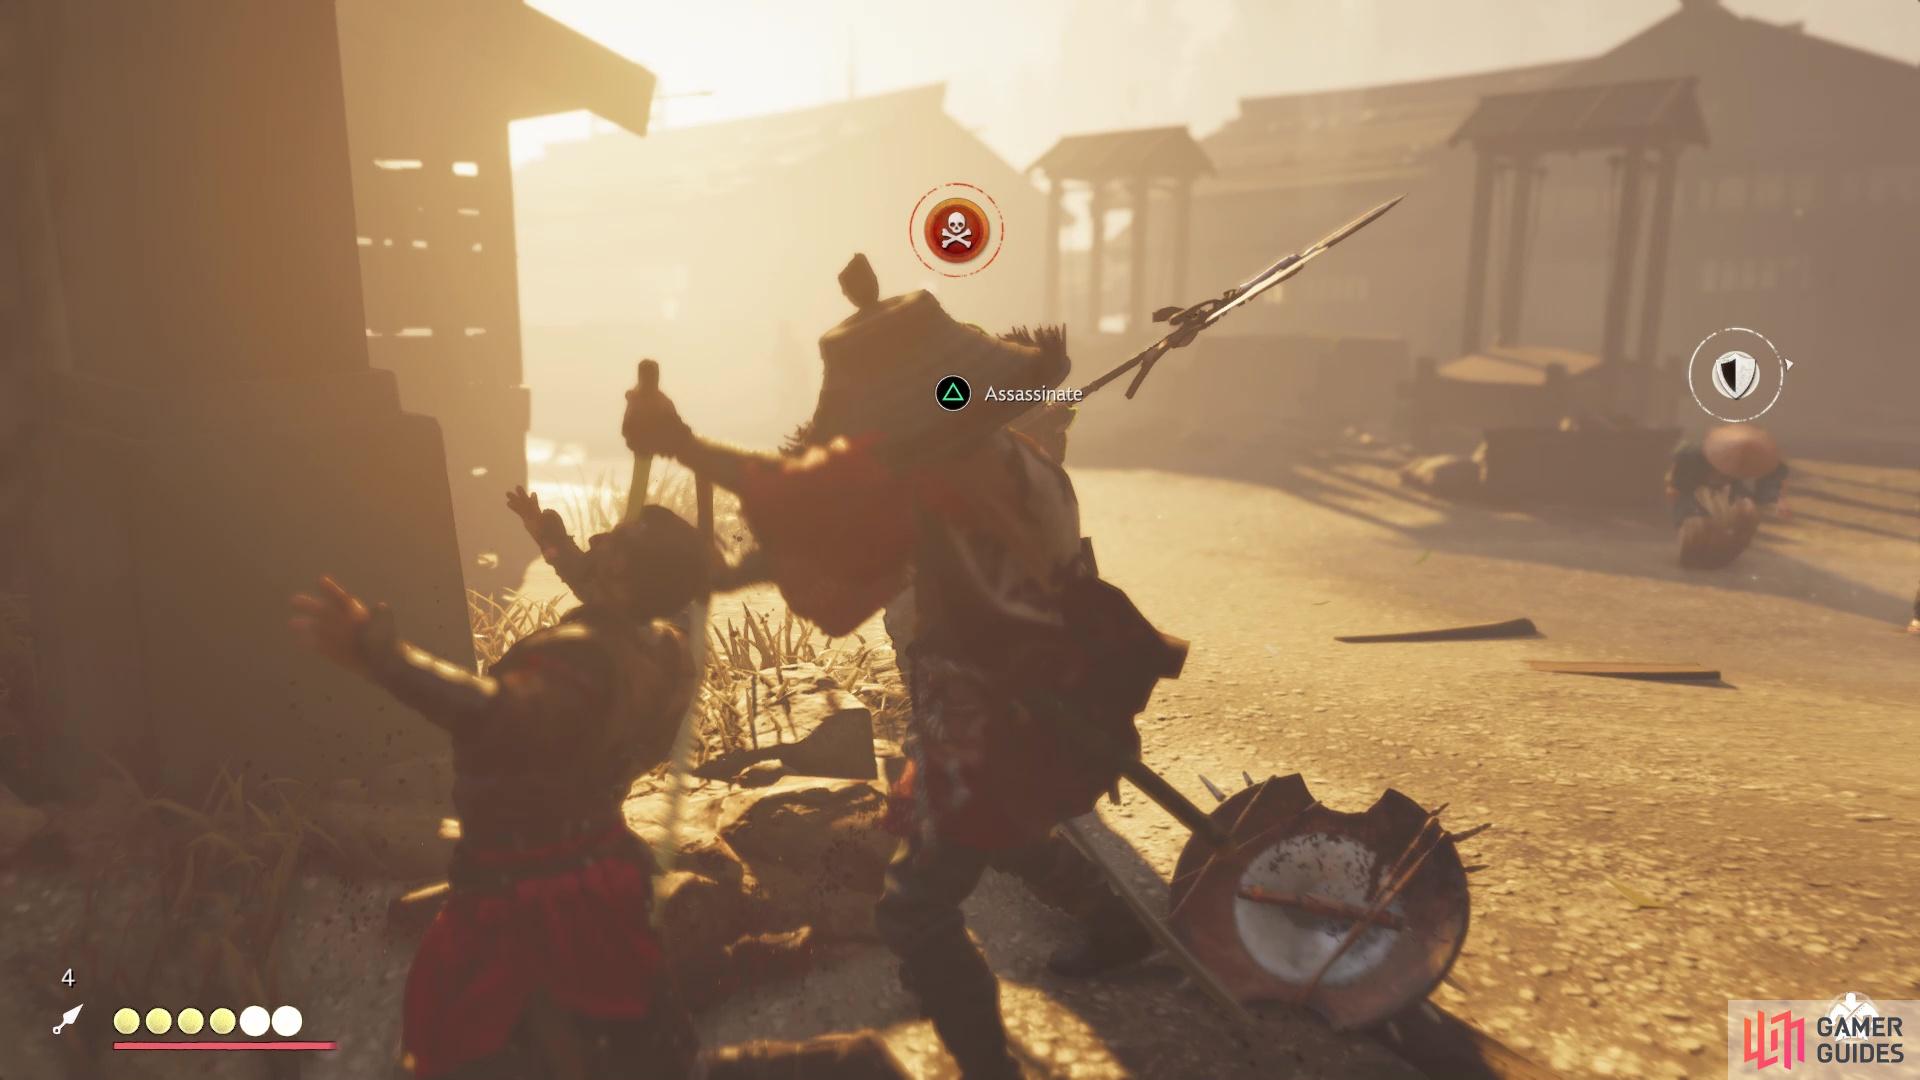
Protecting the peasants should be your top priority whenever you’re escorting them back to the forge
Making a Last Stand
Upon reaching the forge and approaching Taka again, the final stage of this mission will begin. The forge will be lit and a bunch of Mongols will approach the place, so you will have to defend the building and people. There will be a bunch of red-tiered and blue-tiered Mongols coming to you, as well as a few Mongol dogs. There will be no sneaking around here, either, as it’s a straight brawl, with Yuna helping out some. If you see the skull symbol appear over an enemy’s head, they are going inside the forge and after the civilians, so make it a priority to protect them no matter what.
After the first wave, some Mongol archers will “surround” the forge, so you will need to take them out. A third wave consisting of more Mongols will appear immediately after the archers, including more dogs. The last wave will include a few extra Mongols, along with a Mongol warlord. He will be yielding a sword and shield, so the Water Stance is probably best here. Keep an eye out for unblockable attacks, too, but he should go down relatively quickly. Clean up any remaining Mongols and you will be finished with this mission.
Cleaning Up Komatsu Forge
You have finally liberated Komatsu Forge from the Mongols, meaning that Taka will be making your new item in helping free Lord Shimura soon. However, as you probably noticed while exploring the town, there are some things to collect. As soon as you regain control after the mission ends, you will be in a graveyard, so turn around and look for the Singing Cricket right behind you. There is also a Hidden Altar nearby, so look for the large stone structure not too far from the Singing Cricket above. It seems that you might have to bow in front of the stone structure and not the sign to trigger the bird landing on it, which should make it count.
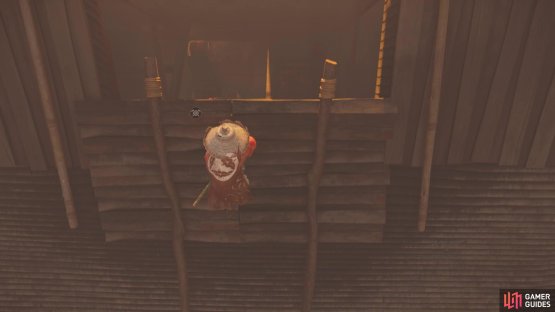
There are three Records located in the town of Komatsu Forge, so head to the northeastern portion of the town and look for the building with a partially collapsed roof. Head inside and you will find the First Meeting Record there. Now, locate the icon on your map for the next story mission, The Iron Hook. Near that will be a large building that has a second floor and up there will be The Black Sands Record. Head south of that Record and locate the Swordsmith, who should be inside of the forge. You will need to get to the top of this building, so climb to the roof’s highest point. Up there, you should spy a large hole in the roof and you will want to drop down to the rafter just underneath you.
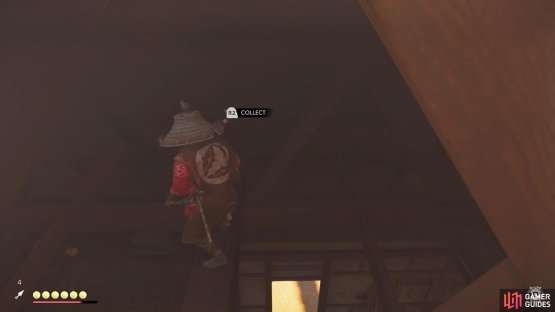
(1 of 2) Find the opening in the roof
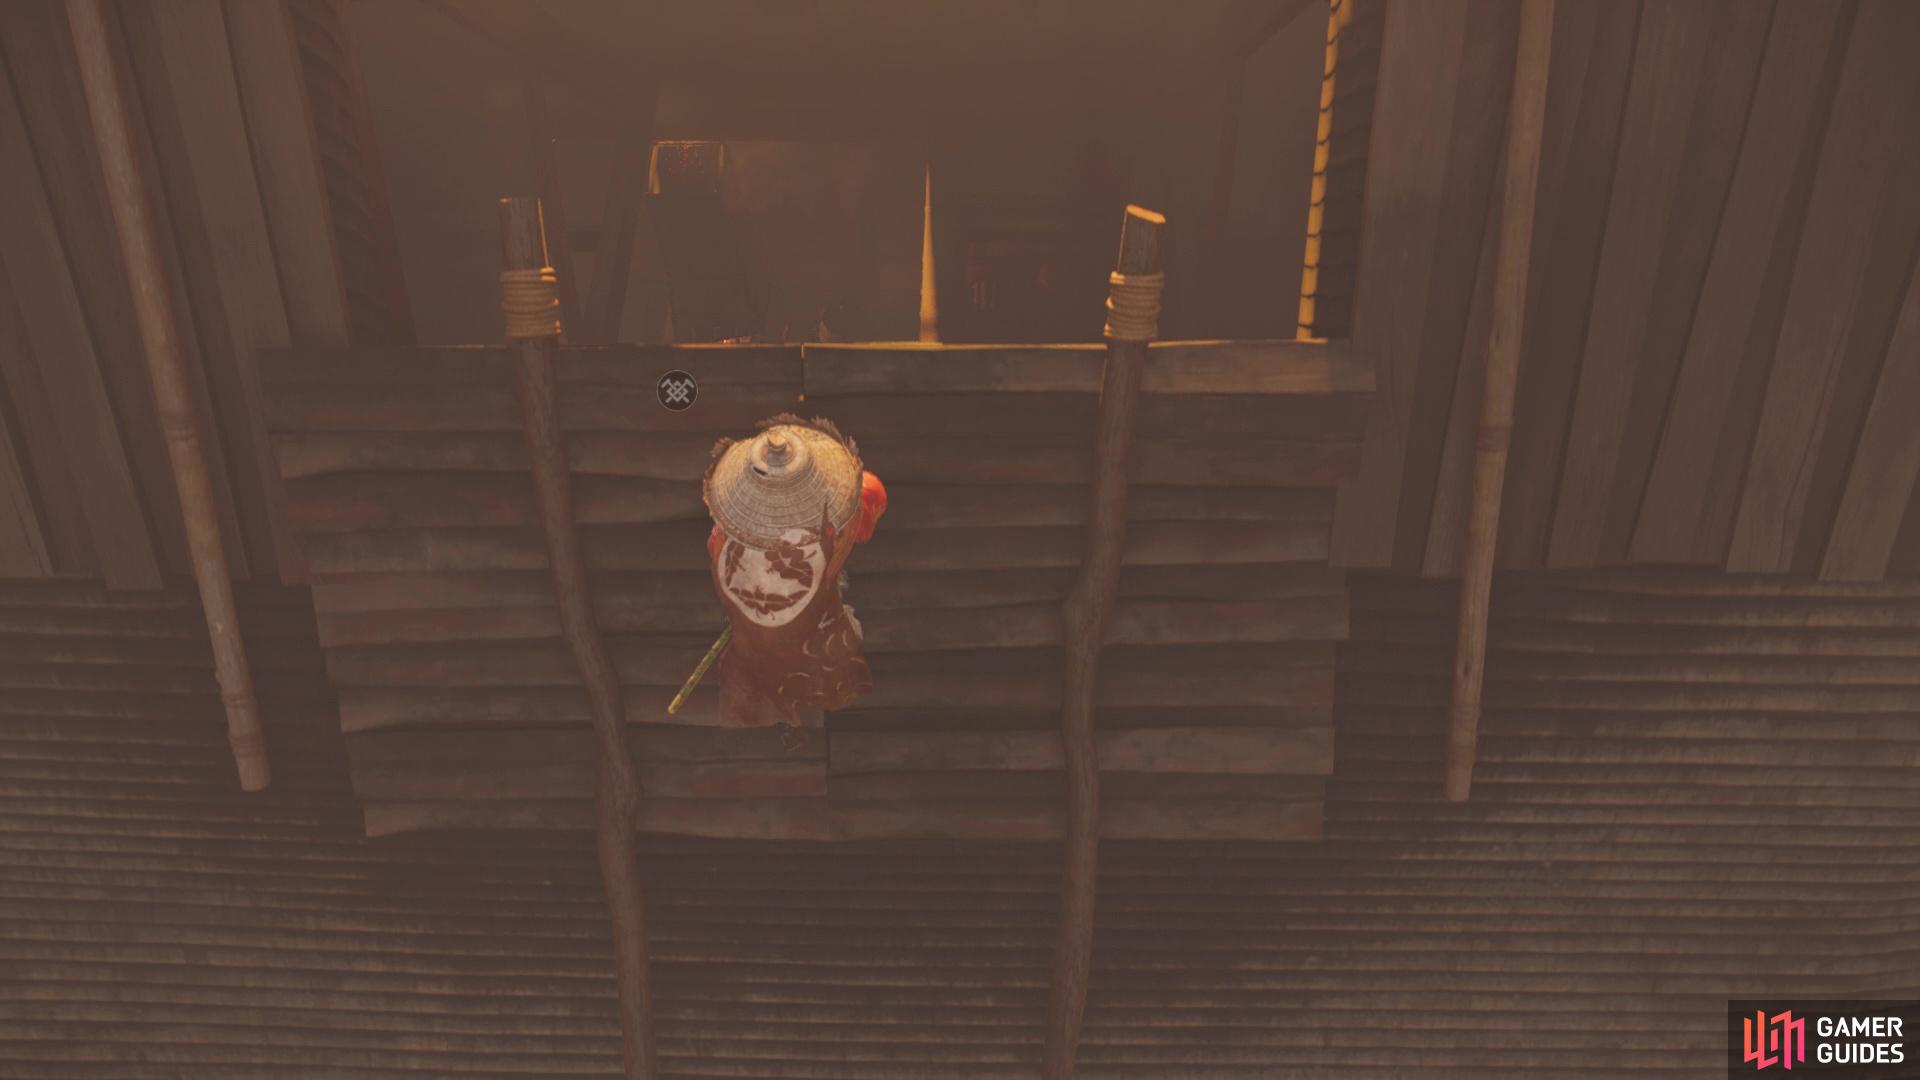

Find the opening in the roof (left), then drop down to the rafter to find the headband (right)
While standing on the rafter’s beam, look at the one end to find another headband, the Forgemaster’s Headband. If you southwestern portion of the town, you should see a new icon on your map. This is a monk that will reward you new saddles, depending on the amount of Sashimono Banners you’ve collected. If you’ve been following this walkthrough, then you should have a good number of them, thus unlocking a few of them. It will take a total of 25 banners to unlock all of the saddles, which is a lot less than the total of 80 banners in the game. The To Genzo in Komatsu Forge Record will be in the same building as the monk detailed above, on the ground floor. The last thing on the agenda for inside Komatsu Forge is the Bamboo Strike found west of the previous Record.
No Comments