You finally have a good foothold in Kamiagata, the third and final region of Tsushima, so you get a chance to explore it. Instead of starting off at Jogaku Temple, you will be sweeping across the southern portion of the region, then making your way north. Begin by fast travelling to Sago Lighthouse and following the road/coast north, to Fort Kaminodake. Here, you will find Masako and be able to finally complete her storyline by doing The Sister Betrayed. At the end of this Side Tale, you will be at Fort Kikuchi, which is a little bit north and right next to a few more things to do. Inside Fort Kikuchi itself, you will find a Sashimono Banner.
This little place is also just west of Takeshi’s Camp, which you discovered during Wolves at the Gate, although it isn’t a fast travel location. On a ledge on the western side of Takeshi’s Camp will be another Sashimono Banner. You should be right next to the Crane Mountain Shrine, with the path leading to the top being southeast of the map icon. Once you finish with that Shinto Shrine, fast travel to it via the icon, then head south to find a Pillar of Honor. South of the Pillar of Honor, right by the bridge, will be the first outpost for Kamiagata, White Falls Village.
White Falls Village
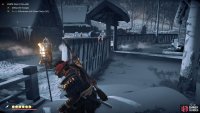
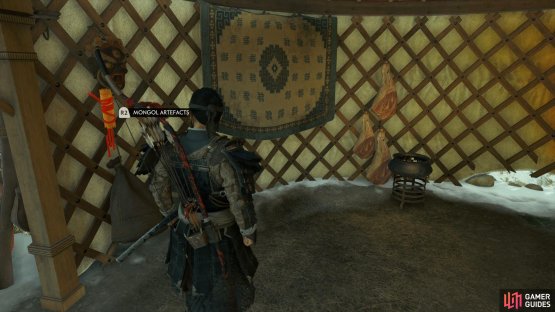
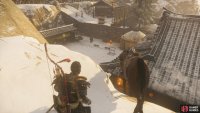
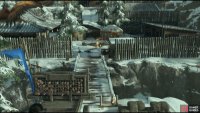
This is another small Outpost that requires you to simply defeat all the Mongols stationed there and the obvious approach is under the bridge to the northwest. From here, you can easily deal with the Mongol that guards it and then head around anti clockwise for easy assassination attempts. Pay special attention to the archers stationed on the small towers and try to isolate the leader for an easy kill. Once the area is clear, be sure to look for the Mongol Artifact on your way out.
(1 of 2) Begin your approach where you find the bridge
Begin your approach where you find the bridge (left), be sure to grab the Artifact on the way out. (right)
Once you clear the outpost, follow the river to the west, on the southern side. When you reach the northwestern corner of this area, you should see a rocky island not far from the shore. Swim out to that island and pick up the Sashimono Banner. Fast travel back to White Falls Village and venture south now, where you should be going up a hill. You should be able to notice some white smoke, which you will get to in just a second. Instead, look for a grapple point on the cliff nearby and climb up to the ledge with that grapple point, where you will find yet another Sashimono Banner. Now, head towards the white smoke to find the Jito’s Foothills Hot Spring.
Go north from the Hot Spring, to the river, then follow it east to a bridge. Instead of crossing the bridge to go north, there will another bridge just southeast of that one. There will be a small building just across this second bridge, and a Sashimono Banner will be inside the building. Southeast of there is the Kubara Crossing and on the front porch of the large building there is a mask called Ivory of Woe. If you follow the road southeast and as it turns eastward, you will eventually run into the White Mist Hot Spring.
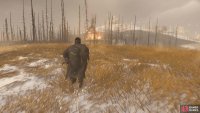
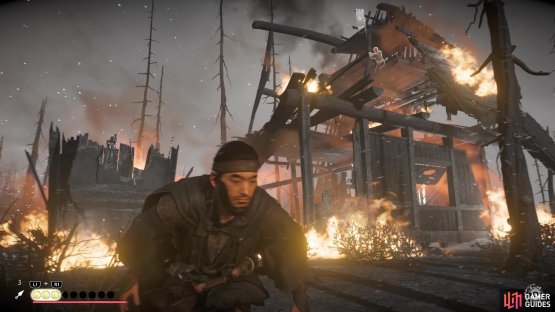
(1 of 2) You should be able to spot the burning building from a good distance
You should be able to spot the burning building from a good distance (left), The woman asking for help and the banner are both at the top of the building (right)
Travel northeast from the Hot Spring and you should notice a building on fire in the distance. This is Kin Village, or what’s left of it, but you might hear someone crying out for help. Climb to the top of the building that’s on fire and you will find this person, who needs to be rescued, but there is also another Sashimono Banner at the very top of the same building. Travel eastward to the edge of the area, then follow the cliffs to the north, until you settle on the path for the Frost Cliff Shrine. It’s a long journey to the shrine, as well as dangerous, since there’s a couple of jumps you need to do on small platforms.
Use the option to descend the shrine, then begin moving northwest, with your goal being the top of a large hill, where you will find a Pillar of Honor. From there, head east to the coast and follow it north, where you will find the Kin Lighthouse. You will also find another Sashimono Banner inside of the lighthouse, as well as a Bamboo Strike next to it. Southwest from the lighthouse will be a Fox’s Den. A little west of the Fox’s Den, will be the next outpost, Twilight’s Edge Overlook.
Twilight’s Edge Overlook
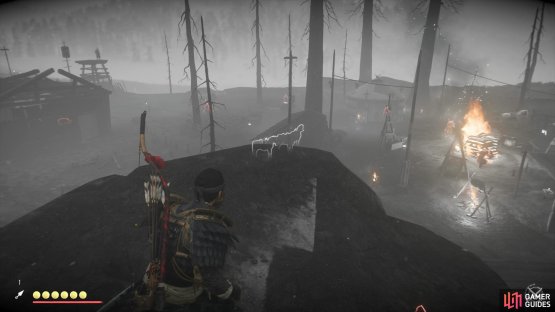
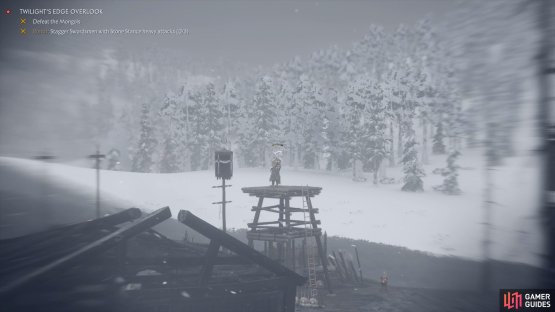
This Outpost is fairly open as far as Outposts go and there’s a number of ways to begin your approach but perhaps the most useful one is from atop the rocks to the south which will give you a great look over the whole Outpost. You’ll immediately spot the presence of dogs here so be sure to deal with them when they wander off and then you can drop down nearby to assassinate the nearby Mongol who rests here. You’ll find the leader himself training nearby which is ideal for a Slaughter to trigger your Ghost Mode. Rememebr to deal with the lone archer on top of a tower to the north of the Outpost and consider making use of Sticky Bombs and Blackpowder Bombs due to the open nature of this Outpost. Before you flee the Outpost once clear, pocket the nearby Mongol Artifact.
(1 of 2) This is an ideal place to get survey the camp
This is an ideal place to get survey the camp (left), be sure to deal with the lone archer first. (right)
West and a little south from the outpost is a large, open area of dead forest. What you’re looking for is a large fire, though, in the area and near it will be another Sashimono Banner. You should have a fast travel marker a little west of the banner, so head there and bow in front of the thing, as it’s actually a secret Hidden Altar. Venture north from there, to Kin Sanctuary, where you want to search the two large buildings for Records (Farewell and Cry for Help). There is a small island, connected via a bridge, just north of the “town”. On this island will be both a Pillar of Honor and a Bamboo Strike.
Take the southern exit in Kin Sanctuary and follow the road all the way south, until you reach the Fox’s Den. Head northwest from the Fox’s Den to reach another outpost, the Bitter Hills Garrison.
Bitter Hills Garrison
This is a pretty normal outpost, with your task is to simply defeat all of the Mongols stationed here. To begin with, start your approach on the overlook to the west, this gives you a great view of the camp below you. From here, there are multiple ways you can go about your business, consider leaping on to the roof and performing Chain Assassinations from high or put the Longbow to good use and begin picking them off. Alternatively, head to the south and take over the deadly Hwacha and make use of it to rain fire down on your enemies. If you’re going the stealth route here, be sure to take care of the pesky eagles so that you remain undetected. Once the area is clear, be sure to search for the Mongol Artefact by the overturned cart.
(1 of 2) Use this location to the get a good look at the area
Use this location to the get a good look at the area (left), the Hwacha is useful to the south. (right)
Upon clearing the outpost, head south from it to find a Side Tale by the bridge, titled A Father’s Choice. Return to the above outpost and venture to the northwest of it, although you probably would have an easier time going slightly northeast from Takeshi’s Camp, where you’ll find a Fox’s Den. Northwest of the Fox’s Den, you will find a watchtower and next to it will be a Bamboo Strike. Nearby the same watchtower, you should see a tower rock formation, so get over to it and climb to the top to find a Sashimono Banner. Not too far north from there will be another outpost, Derelict Mine.
Derelict Mine
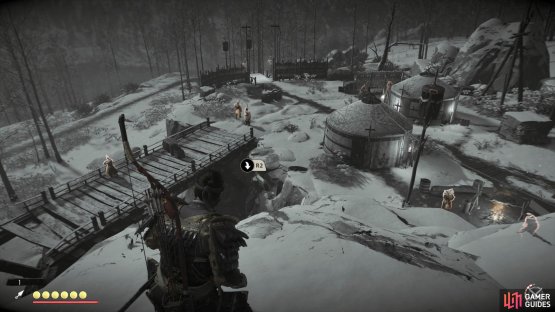
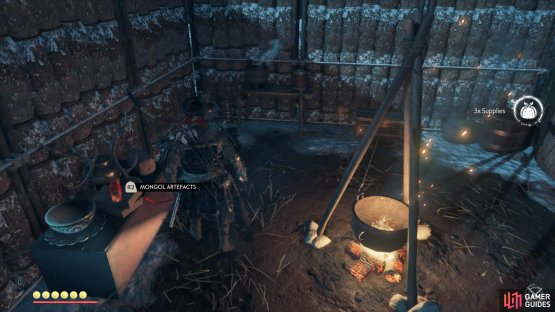
This Outpost stretches across two different parts of land with a burnt down bridge tying it together. As with all small Outposts, your main objective is to defeat all the Mongols and approaching from the south is ideal as you’ll be able to climb the rocks and get a good view of the Outpost. You’ll want to deal with the Mongol on the bridge and any that Patrol nearby before choosing to either stealth into the camp below or trigger a Standoff. Once the Outpost is clear, be sure to pocket the Mongol Artifact before you leave.
(1 of 2) The rocks to the south gives you a great vantage point
The rocks to the south gives you a great vantage point (left), be sure to grab the Artefact on your way out. (right)
Go west from the Derelict Mine and you should discover Sago Mill, a little town that is devoid of almost anyone. Ignore any people you see for right now and check a building in the southern half for the Seiryu’s Glare vanity item. In the northern half of the town, you will find three Records, with their locations as follows:
As you run around the northern part of the town, you will undoubtedly find a person who runs away from you. Follow him and speak with this NPC to initiate the Hidden in Snow Side Tale. When you initially have to investigate the town, you need to find a NPC outside one of the buildings to talk to, which will jump start the quest. West of For Kikuchi will be another outpost for you to dismantle, called Frozen Overlook.
Frozen Overlook
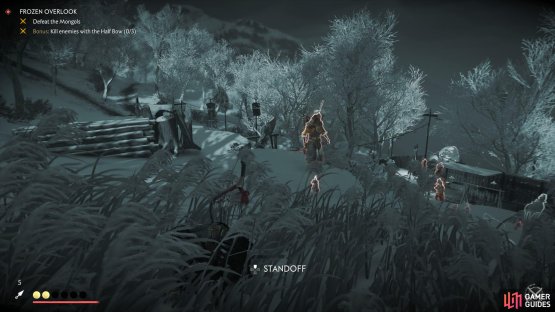
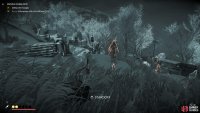
As with all small Outposts, the main objective here is to defeat all the Mongols and it’s a good idea to approach from the western ridge as it gives you a great look over both parts of the Outpost. As you’ll notice, there is two levels here and you’ll want to go about clearing the upper level first, taking care of the lone archer on the ridge to begin with. There are five more Mongols just below you, along with a Dog so consider a Chain Assassination or even a Standoff. Another group awaits you below and if you were fortunate enough to not alert them, begin with a Chain Assassination once again. Once the Outpost is clear of enemies, be sure to pocket the Mongol Artifact on your way out.
(1 of 2) Begin your approach here, taking care of the archer
Begin your approach here, taking care of the archer (left), be sure to collect the Artefact on the upper level. (right)
With another outpost finally liberated, head northwest from it to find a Fox’s Den. Cross the bridge near the Fox’s Den and look for the town at the southern tip. As you explore the town, you’re actually seeking a Mongol Artifact on the one ship. Northeast from that town is a mountainous area called Guardian’s Ridge. In this mountainous section, there is a cemetery and you will be able to find a Singing Cricket there. Lastly, venture west until you hit the coast and follow the path north. Near the one building, you will find a spot where you can perform the Sago Haiku. Find the path leading down to the beach and search the one boat to find a Sashimono Banner.
It’s time to continue with the main story missions. You will basically want to do everything, story-wise, until there’s only a single mission left. This allows you to access everything else in the game, as you will be barred from a single area in Kamiagata.









No Comments