


It’s finally time to take the fight to Khotun Khan directly. Before going into battle, you will probably want to check on the others, but this is purely optional, as the objective says. As you enter the temple grounds, you will see your allies marked, so they won’t be exactly hard to find. Whenever you’re ready to actually begin the assault, find Yuna by the swordsmith and talk with her. The game will cut to Port Izumi right after the conversation with Yuna, with things picking up straight away, so get ready to do battle with Mongols.
(1 of 2) Help your allies if they go down


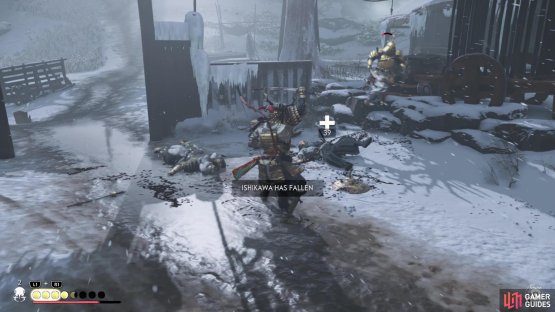
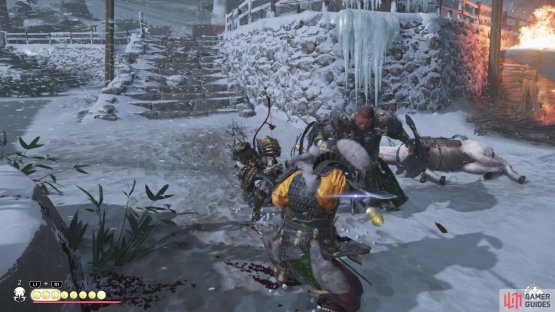
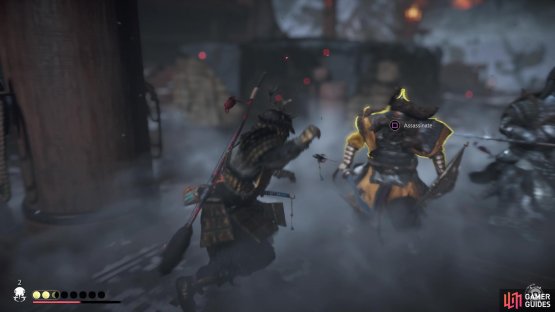
Help your allies if they go down (left), Be on the lookout for other enemies while fighting others (right)
As the Mongols ride through the fishing village, they’re treated to a nice surprise and you will need to pick off any stragglers, as well as get ready for more reinforcements. You will be fighting some of the strongest Mongols here, so expect to get hit some. At this point, you should have the majority of your armors maxed out, as well as your katana, so things shouldn’t be too troublesome. You will probably want to equip an armor that ups your melee prowess, like the Sakai Clan armor. You will also have to be careful when fighting a single enemy with others around, as they will join in with an attack here and there, especially on harder difficulties.
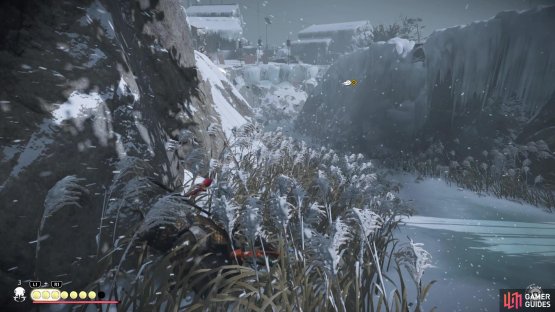
There will be another wave after the initial one, so continue fighting and keep an eye on your allies, especially if they go down. After killing all of the Mongols, approach the others, then regroup with Norio for the next objective, which will be to infiltrate Port Izumi. Despite the game putting you in front of the main gate, going towards it will cause you to die, as an abundance of arrows will rain on your body. Instead, you want to look to the right of the nearby wooden bridge, in a little valley of sorts, as that is the path you will be taking. While going through this passage, be mindful of some Mongols on the ledge above passing by you.
(1 of 2) You’re looking for this path to infiltrate Port Izumi

You’re looking for this path to infiltrate Port Izumi (left), There might be some archers on the ridge above that see you (right)
Infiltrate Port Izumi
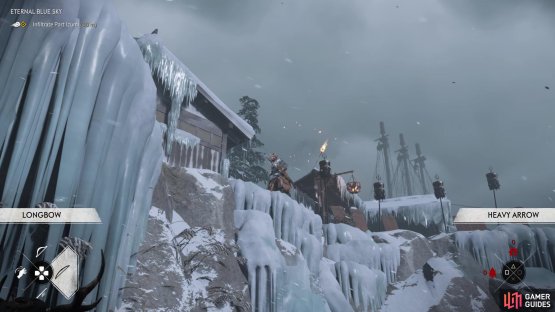
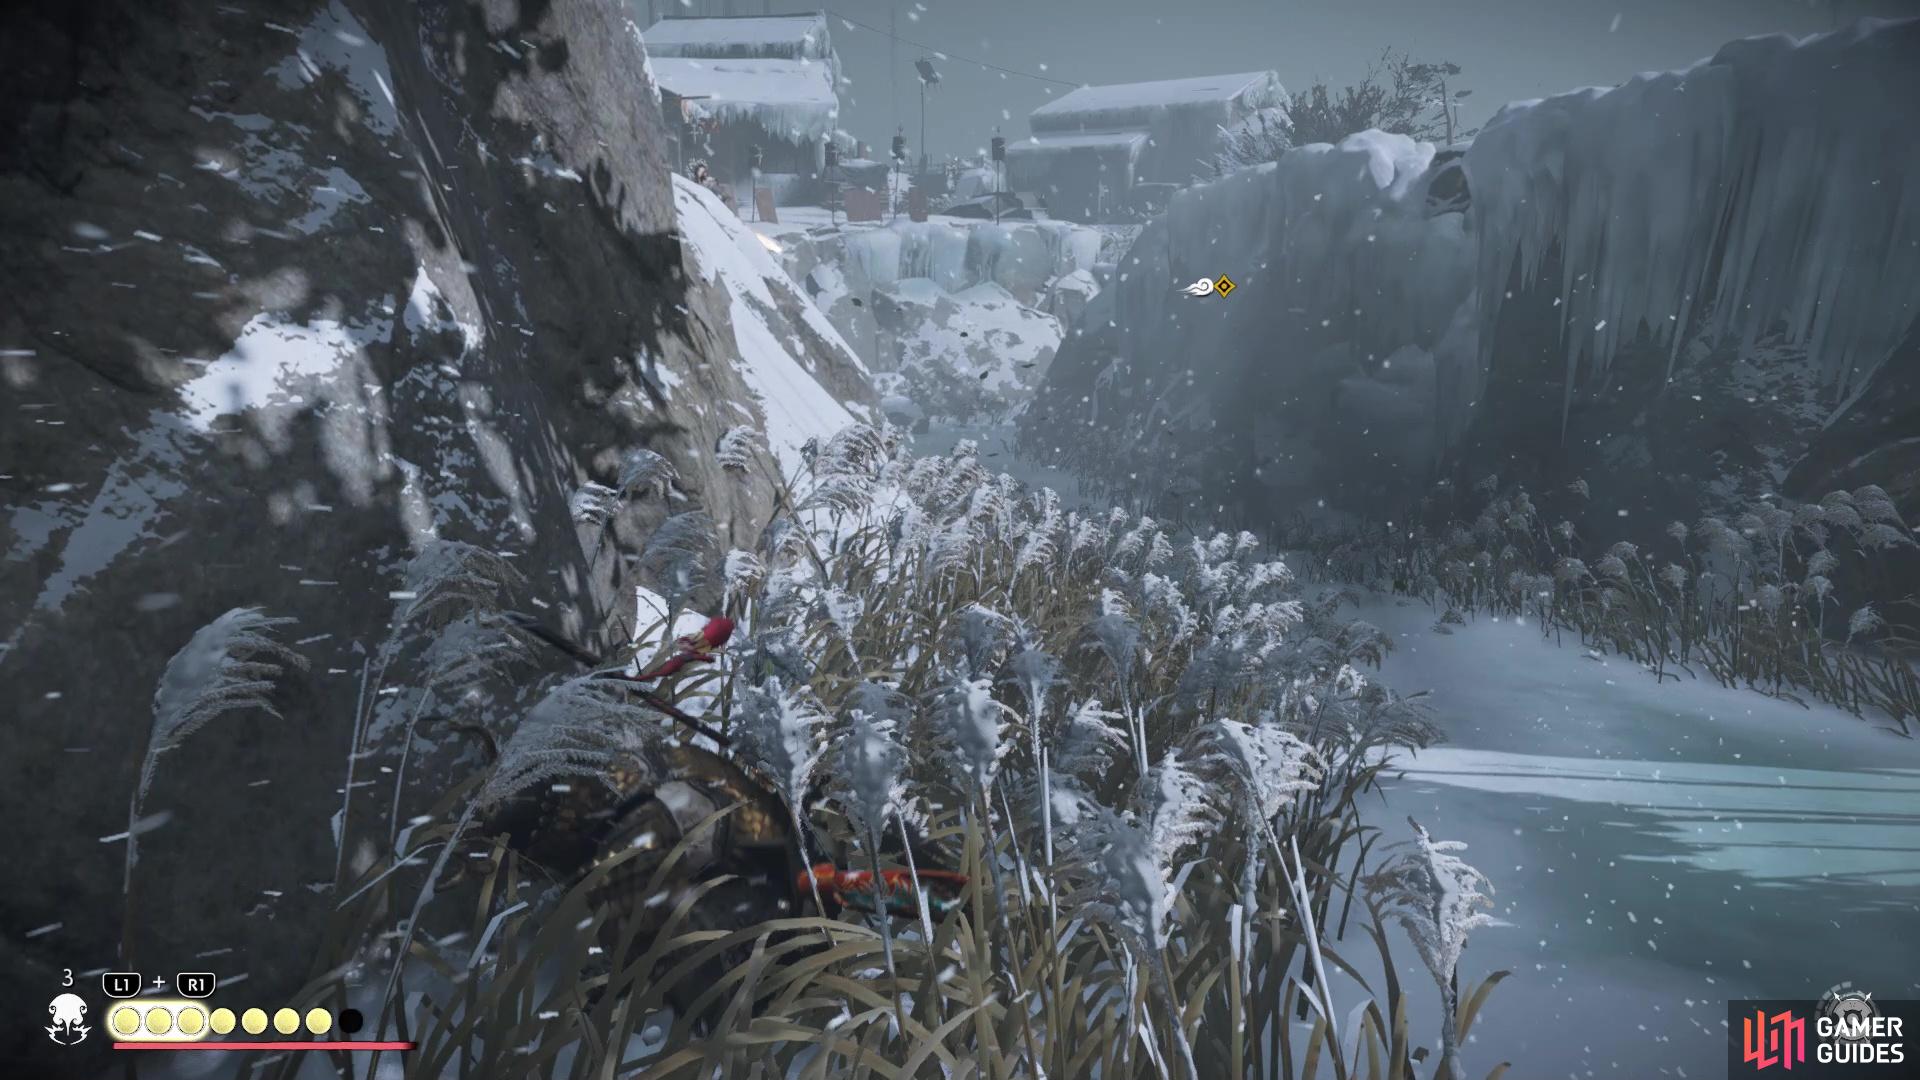
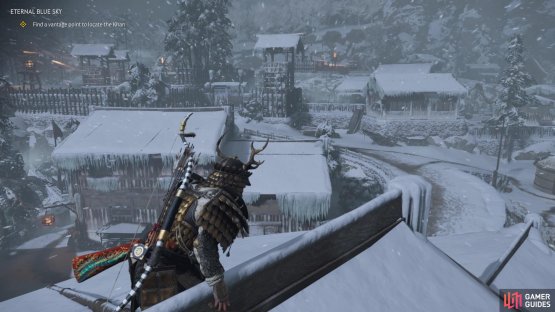
At the end of the passage, climb up and try to avoid being seen, although it’s not a game over if you are seen. There are a lot of Mongols here, so it’s definitely wise to keep hidden for now. The objective updates to you getting to a roof, so hide in the pampas grass to have some of the Mongols disperse, then look for the building with the wire attached to it. Use the stuff next to the building to climb to it, then cross over to the bigger building to get a better view of the surroundings. The objective will update to find a vantage point to locate the Khan. If you’re still on the roof of the larger building, there is a tower not too far from it that will be the point you have to get to.
There will be some Mongols in the way and while you can kill them, it might be better to ignore them unless you get Chain Assassinations (AKA no alerting others). At the watchtower, you will be treated to a cutscene, then your next objective will be to reach the manor house. There should be a lot less Mongols in the way now, and they are kind of lined up perfectly for Chain Assassinations, should you want to take them out to be on the safer side. Approach the bridge and try to get the stealth kills on the ones on the close side, then get ready to battle the others on the other side.
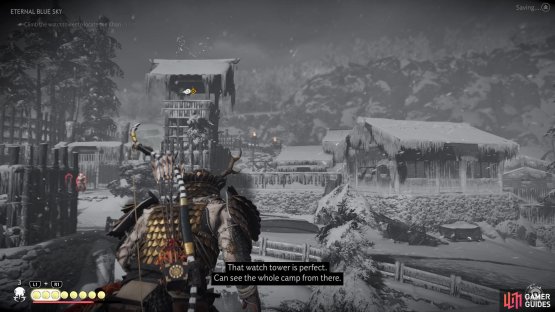
(1 of 2) The tower straight ahead is where you will need to go


The tower straight ahead is where you will need to go (left), The objective will update to the tower once you get close enough (right)
There will be plenty of archers to deal with here, with some other Mongols joining in a little bit. As should be obvious, take care of the archers first, then you can deal with the others after that. When the Mongols are done, follow the path to a gate and squeeze through it to finally confront Khotun Khan.
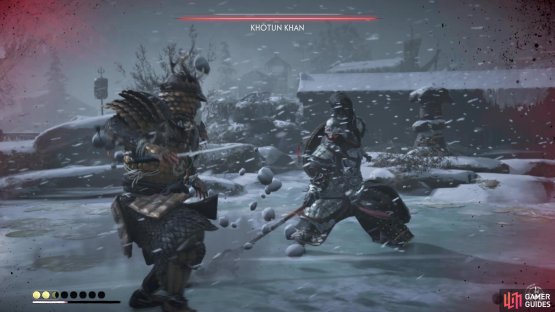
DUEL - Khotun Khan
The duel against Khotun Khan can definitely be a challenging one, as he has a few moves that are either extremely difficult to dodge effectively or come out super fast. First and foremost, his halberd is similar to a spear, so you should try to use the Wind Stance to break his guard much more swiftly. He has a lot of unblockable attacks, like his three-hit combo where he will do two wide sweeps with his weapon, then finish it with a spinning strike. It also seems he will do an unblockable stabbing attack after the spinning one, so be on the lookout for it.
By far, the worst move in the Khan’s repertoire comes whenever he spins his glaive around, as he will slam the ground with an overheard attack. This is a bit deceptive, as there is some splash damage when he makes contact with the ground. The easiest way to dodge this is to just dodge backwards. He also has two stabbing attacks that he’ll follow with a spinning attack; these are blue-tinted with the right skill bought, but unblockable if you don’t have it. The only other real attacks he has are quick ones with the one end of his glaive, then a sweeping attack at the end.
(1 of 2) When you see Khotun spinning around with his glaive


When you see Khotun spinning around with his glaive (left), he will perform a smashing attack that has some splash damage (right)
Once you bring his health down far enough, Khotun will run off and sic some Mongols on you. You don’t have to fight them if you don’t want to, but if you’re low on Resolve, it might be a good idea. Chase after the Khan, noting that more Mongols will be waiting on the hill, then whenever you get to the ship, the second part of the fight with Khotun will begin.
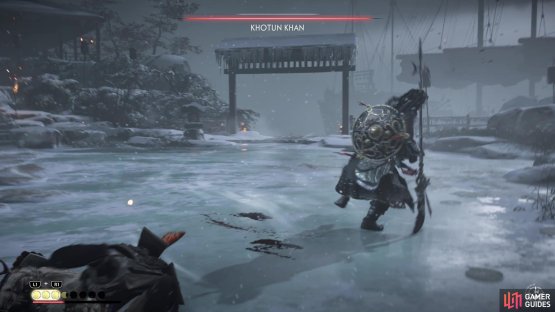
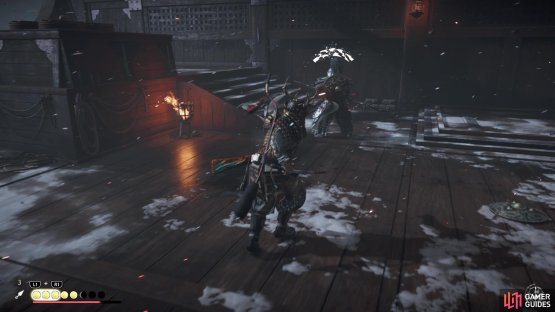
BOSS - Khotun Khan
Unlike the duel above, Khotun will be a normal enemy during this fight, so you not only have to contend with him, but also other Mongols. To make matters worse, you will have archers firing at you from another spot on the ship. The first thing you should do in this battle is keep moving, as sitting still puts you at risk of becoming a target for arrows. The Khan begins the battle with his glaive in hand, complete with all of the same moves as during your duel with him. The best part about this battle, though, is that you have full use of everything in your arsenal, including the Ghost tools.
If you’re lacking in Resolve, you can do something like drop a smoke bomb, then perform an assassination. The kunai are also helpful in breaking the guard of the enemies, including the Khan. Once you get enough hits on Khotun, he will summon another wave of Mongols, which include two brutes with the hand cannons. After hitting Khotun enough, once more, there will be a quick-time event-like button prompt. Press it to break his glaive, causing Khotun to use the one half as a sword, while bringing out his shield. Bust out Water Stance and go to town on Khotun. When you see the same button prompt appear again, press it the number of times it shows and that will finally be the end of Khotun Khan.
(1 of 2) You have all of your Ghost tools on the ship


You have all of your Ghost tools on the ship (left), so don’t forget to use them (right)
After the scenes following the battle are over, you will be back on your horse near Jogaku Temple. Just simply follow Yuna for a little bit, then there will be one quick little scene closing out this mission.
No Comments