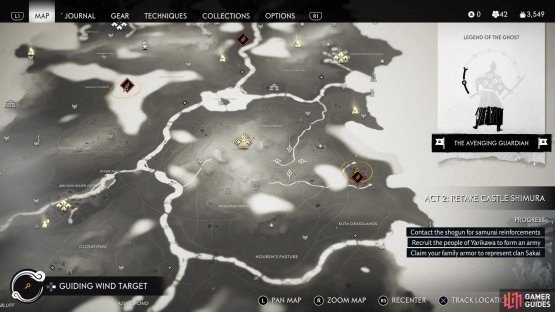
After completing A New Horizon, you will now have access to the second region of the game, Toyotama. Return to Castle Kaneda and look along the two northern beaches to find a Hidden Altar, as well as a Sashimono Banner to the east of it. Find the northern exit of Castle Kaneda and begin moving north, into Toyotama. The first named area you will come to is Himiko’s Garden and north of that will be Spirit Grover Cemetery. To the right of the “Y” in Cemetery will be a Fox’s Den.
Let the fox take you to the Inari Shrine, then fast travel to Fort Ito, which you’ve been to during A New Horizon. You will have lit the Akashima Lighthouse during that mission, so you don’t need to do it now. Northeast of the fort, along the coast and right outside of it, will be the Akashima Bamboo Strike. Head straight east from there, to where the mountainous rock formation is located, but you want to go behind it and find the Pillar of Honor, netting you the Dueling Festival Sword Kit.
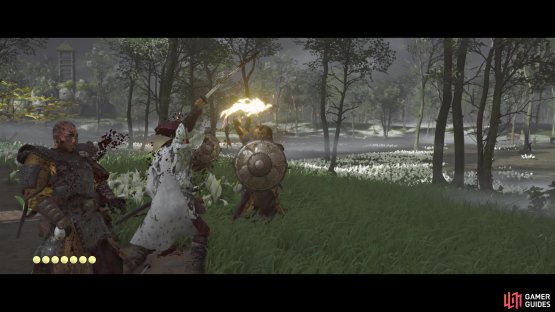
(1 of 2) The Mongols will begin stepping up their combat prowess in this region
The Mongols will begin stepping up their combat prowess in this region (left), including the archers, who have fire arrows now (right)
Return to the central section of this area and venture north, to where Akashima Higata is marked on your map. Just south of the second “A” in Akashima will be another Fox’s Den. Travel north to Akashima Village, which is a nice settlement, as there’s a total of four Records here. If you don’t have the Traveler’s Attire equipped, make sure it is when going through Akashima Village. The locations of the Records are as follows:
- The Healers of Akashima Record
- To Momiji in Akashima Village Record
- Hochi and the Warrior Monks Record
- Healing Lessons Record
Where you go the Healing Lessons Record, go outside and around to the back. You should see a grappling point here, so use it to get to the first part of the roof, then find the opening to go inside, where you will find the Healer’s Headband. Remember that warrior monk you met at Castle Kaneda? Well, he is here at Akashima Village and he will have three Side Tales for you to do right now, so go ahead and do them.
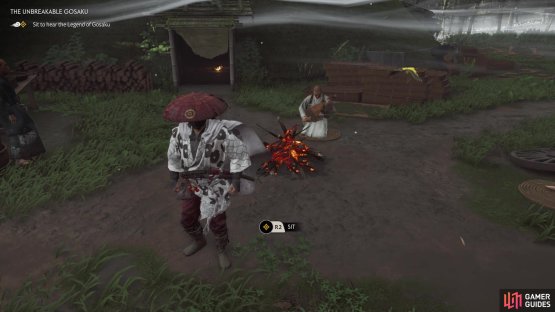
West of Akashima Village, along the road and at an intersection, will be another Fox’s Den. South of the main entrance to Akashima Village, which you probably saw on the way to it, is the travelling musician, Yamato. He will have another Mythic Tale for you, The Unbreakable Gosaku, although this one isn’t going to be completed right away, as you have to basically liberate six Farmsteads first before you can wrap it up for good. Back to the map, head east from where you found The Unbreakable Gosaku, and pass through the Hakutaku Forest.
(1 of 2) Sit down to hear the tale of Gosaku
Sit down to hear the tale of Gosaku (left), You will need to revisit some Farmsteads in Izuhara to get some of the keys (right)
You’re looking for a piece of land that is jutting out into the ocean on the map and if you look carefully, you should spot a donut-shaped landmark on the map, which happens to be the Marsh Tide Hot Spring. Continue to the end of the little peninsula to find a Pillar of Honor, netting you the Moon Bear’s Paw Sword Kit. North of Hakutaku Forest, and maybe slightly east, is a Survivor Camp and that is where you were supposed to meet with Sensei Ishikawa, but you can begin his one Side Tale here, called Dreams of Conquest, so do it now.
Return to Akashima Village and take the road leading out of it to the northeast. You should see some familiar torii gates, so continue straight northeast and right into the Marsh Rock Shrine. Follow the trail and look for some footholds on the rock wall to find the path that should get you to the altar. Once you finish it, look a little to the west of the shrine for a large pond/swamp, which will have a statue in the middle of it. On top of the statue will be the Wood Spirit Straw Hat.
Numata Settlement
You’ll find Numata Settlement to the north of Akashima Village and it will most likely be the first you encounter in Act II. You’ll also find this is one of the more larger Outposts here with a whole host of objectives such as claiming Sashimono Banners, recovering Stolen Iron and defeating the War General.
It’s best to approach this from the southeast and take the time to pick off any Mongols that may be on their own, archers especially. On this section of the settlement, you’ll find both Banners and Eagles to release along with being able to use the houses to lure Mongols and snipe them from safety. From here, you have a good outlook on the rest of the Outpost and you can use the nearby bridge to lure large groups of Mongols and toss Blackpowder Bombs or Sticky Bombs at them.
(1 of 2) You can lure groups of Mongols onto this bridge
You can lure groups of Mongols onto this bridge (left), be sure to snag the Records while you’re here. (right)
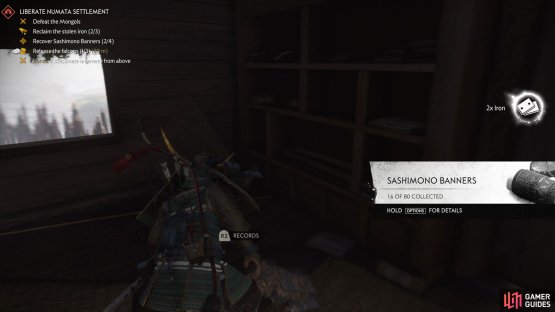
Concentrate on taking down the Mongols first, this will mark the rest of the collectibles in this settlement on your map as the Banners and Eagles especially are fairly spread out. You’ll start finding trees with grapple points on them in this settlement too, this can help you get across the area unseen. Once you clear the settlement, be sure to pocket the Records found in one of the huts.
Stone Mire Lookout
Make your way west of the Numata Settlement to locate Stone Mire Lookout, a small Mongol camp. Your task is a simple one here, simply rout the Mongol forces from the camp and its layout makes this a rather simple task.
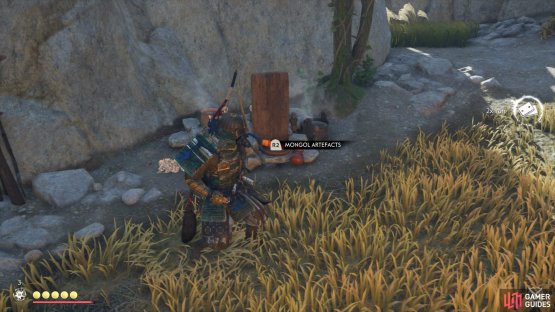
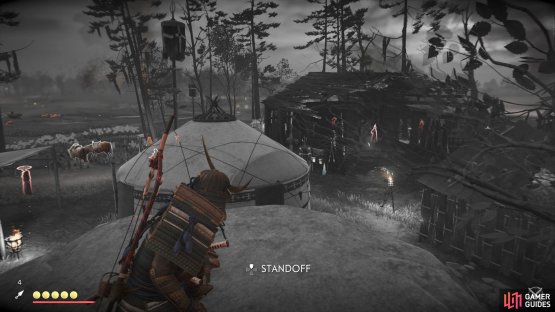
Approach from the northern side of the camp and you’ll find some rocks that overlook the encampment, from here you can either begin picking off your targets with the Longbow or drop down into the camp itself and head into the nearby tent to begin taking this on in a stealthy manner. You’ll want to be careful of the higher area to the west, the leader practices up here and there’s an Archer that accompanies him so be sure to deal with him first before taking on the leader. Before you leave the camp, be sure to look around and collect the Mongol Artifact behind some rocks.
(1 of 2) Enter from here to get a good vantage point over the whole camp
Enter from here to get a good vantage point over the whole camp (left), be sure to collect the Artefact while here. (right)
Dark Water Encampment
Make your way to the northwest of Stone Mire Lookout, across the river, to discover Dark Water Encampment. This is one of the more smaller Outposts you’ll find in Toyotama and as such, doesn’t require any in-depth tactics.
You can find a large rock to perch yourself on in the northeast of the encampment, you can use this to get the party started by unleashing arrows on a few targets. This will alert the remaining Mongols but due to the camps size, it’s nothing that should cause too much bother so long as you make full use of your Ghost weapons. One thing that you should be careful of however is the fact that this camp will include some Ronin in their ranks so be sure to focus your attention on them first. Once you’ve cleared the Outpost, be sure to search on one of the tents to collect another Mongol Artefact.
(1 of 2) Use the rocks here to survey the camp
Use the rocks here to survey the camp (left), the Ronin are a lot tougher than the regular Mongols. (right)
Travel northwest of the Dark Water Encampment and look for a lone statue on the side of the road. Right next to this statue should be a Hidden Altar, so bow to it to make a lone bird perch on top of the statue. South of that Hidden Altar, you should be able to spot a tower on top of the hill. That is your next destination, so head there and climb to the top of the tower to find a Sashimono Banner. Fast travel back to the Stone Mire Lookout and head west to the river, then follow it south to a building along the riverbank; on the dock there will be another Hidden Altar. You will also find another Side Tale a little more south of the Hidden Altar, titled The River Children.
Duel in the Drowning Marsh
Follow the river to the south and in the distance, you should notice something, like some banner flags. Head there to discover a Straw Hat, so talk to him to get a duel started, which is called Duel in the Drowning Marsh. The duel is not too bad, but Yasumasa does have quite a few unblockable attacks, so always keep an eye out for the red mark. Considering he is a Straw Hat, he has a lot of similar moves to a certain someone you know. The most annoying move is when he kicks up dirt with his one sword attack, as there is some splash damage to be taken from it, making it a little more difficult to dodge cleanly.
(1 of 2) Attacks from the sheathe will always be unblockable
Attacks from the sheathe will always be unblockable (left), The spinning attack will be the one that kicks up some debris (right)
After finishing off Yasumasa, head west a little bit and you will find the Akashima Haiku on a rock. Travel northwest from there and you should be able to spot the tree for the Fox’s Den. Not far northwest of there will be a Pillar of Honor, netting you the Breath of Hachiman Sword Kit and next to the Pillar of Honor is a Hidden Altar.
Iijima Farmstead
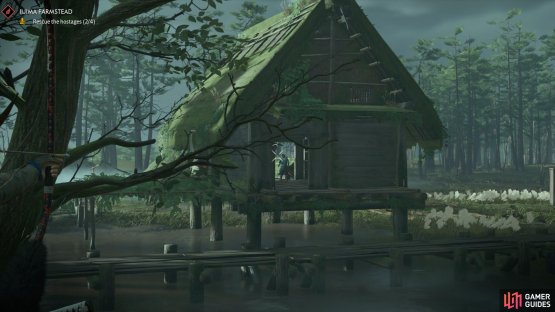
Southwest of your current position will be a farmstead, which has been overrun by Mongols now. Your main objective here will be to rescue the captive hostages (it will be your main objective at all of the farmsteads), meaning you will need to be careful with them being attacked by the Mongols, should you go for a head-on approach. If you enter from the north, you’ll find a house nearby that has a hostage just outside it to the south. Head around this house to easily dispatch a few Mongols and then head over to the center where the hostage is to deal with the rest using a Chain Assassination if possible. Continue to the nearby hut to the south and take care of the Mongol here before rescuing another easy to find hostage out on the walkway.
The next hostage can be found further south, on a thin walkway surrounded by Mongols with a troublesome archer on a nearby tower. Be sure to take the time out to sniper them first before dropping down and perhaps using a Smoke Bomb to clear out the others nearby the hostage or else they may cut him down. The final hostage is located in the center of the farmstead itself and you’ll have to contend with dogs this time too. Aside from the usual rewards for completing this outpost, you’ll also obtain the Key of Iijima needed for the Unbreakable Gosaku Mythic Tale.
(1 of 2) Make use of the house to defeat some easy to reach Mongols
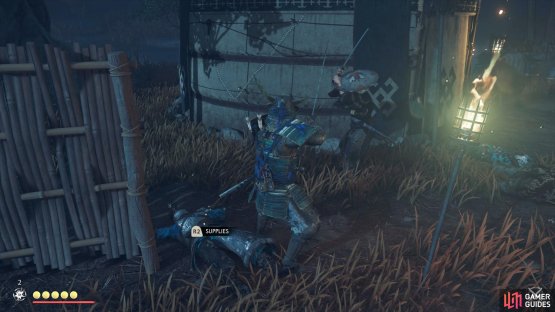
Make use of the house to defeat some easy to reach Mongols (left), be on the lookout for archers in the huts and take them out first. (right)
In the southwestern corner of Toyotama will be Umugi Cove, the destination you need to begin the next story mission. Once you enter the town, you will automatically be approached by a Straw Hat, who says Lady Sanjo will want to see you. You won’t get to fully explore Umugi Cove just yet, so do A Message in Fire first. Note that you will receive a trophy for just discovering Umugi Cove.















No Comments