The Treasures of Umugi Cove
You should now be finished with A Message in Fire, so return to Umugi Cove, as you left quite a bit to do there. There should be three Side Tales to do in Umugi Cove alone, as well as a Mythic Tale. In addition to that, you will find three Records inside of Umugi Cove. All of the above are as follows:
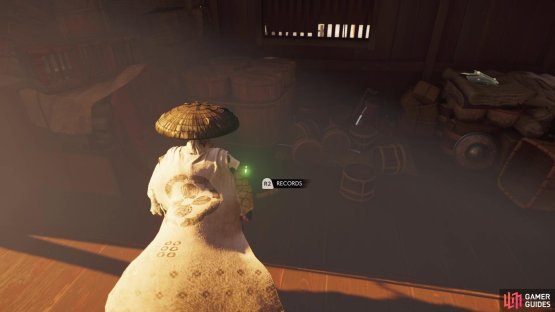
(1 of 2) You’ll find a few Records in Umugi Cove
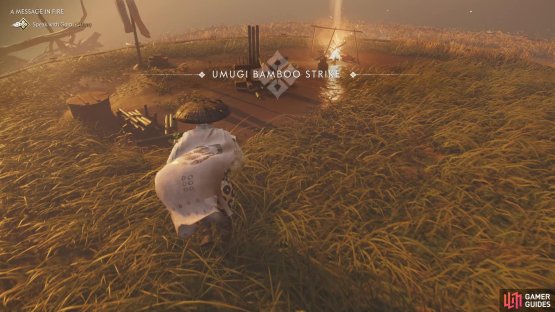
You’ll find a few Records in Umugi Cove (left), The Bamboo Strike is located on a beach on the northern side (right)
- The Delicate Art of Negotiation Side Tale
- A Thief of Innocence Side Tale
- The Generosity of Lady Sanjo Side Tale
- The Six Blades of Kojiro Mythic Tale
- The Ritual of Nukabukuro Record
- Outcasts Record
- Necessary for Survival Record
On the far western end of Umugi Cove, at the end of the walkway in the area with broken buildings and other debris, will be a Hidden Altar; it’s behind some boxes. Go north from the Hidden Altar, around the rocky terrain, and look for a campfire. Right next to the fire will be the Umugi Bamboo Strike. Fast travel back to Umugi Cove and head southeast to find a Survivor Camp. At this Survivor Camp, you will find another Side Tale to do, which is A Wealthy Man Has All He Needs. North of the Survivor Camp will be another Side Tale, The Fool. West, and a little south, of the Survivor Camp is the Mossy Rest Hot Spring. South of the Survivor Camp, at the end of the piece of land there, will be a Pillar of Honor, which will reward you with the Warrior’s Faith Sword Kit.
Return to the river that is east of Umugi Cove and follow it north, keeping an eye out on the left for a building on a hill. This is the Scarlet Rock Shrine and if you head to the western side of the icon on your map (should it appear), then you need to find a rock that you can jump off of and use your grappling hook on a tree. This will set you on the path to the actual shrine. Northwest of the shrine icon is the Umugi Haiku and a little west of that will be a Fox’s Den. Just a little north of the haiku spot will be another Straw Hat duel for The Six Blades of Kojiro, titled Duel Among the Spider Lilies.
Moss Light Inn
Make your way west of the Fox’s Den to locate Moss Light Inn, a small outpost for you to liberate. This is one of the more smaller outposts in the Toyotama region and there’s plenty of methods to tackle the outpost.
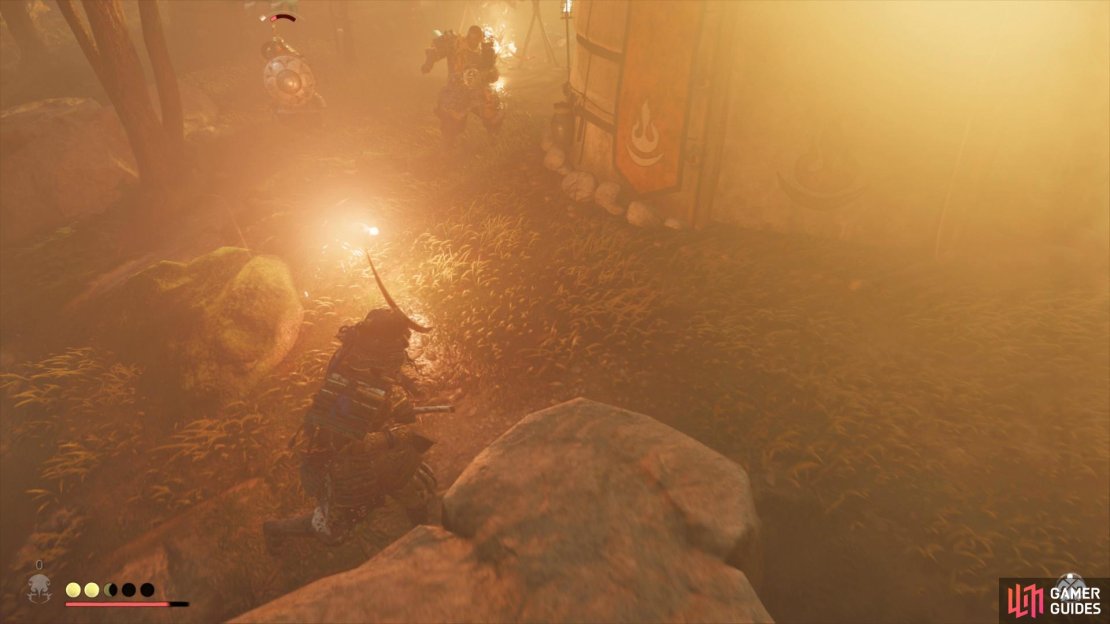
From the east, you can find some rocks that you can climb to give you a decent view of the entire outpost where the leader of the camp is also practicing. Be sure to use the Longbow to dispatch any lone Mongols and then drop down and perform a Critical Strike on the leader to take on the rest of the outpost. The difficulty in this Outpost is the inclusion of Ronin with the Mongols, these pose a much greater threat and should be your immediate target with your Ghost weapons. Once the area is clear, be sure to pocket the Mongol Artifact at the campfire.
(1 of 2) Use this rock to see the entire area and where best to strike
Use this rock to see the entire area and where best to strike (left), watch out for the tough Ronin enemies. (right)
Fort Imai
You’ll find Fort Imai to the north of Moss Light Inn and you’ll also find this is one of the more larger Outposts here with a whole host of objectives such as claiming Sashimono Banners, releasing falcons and defeating the War General.
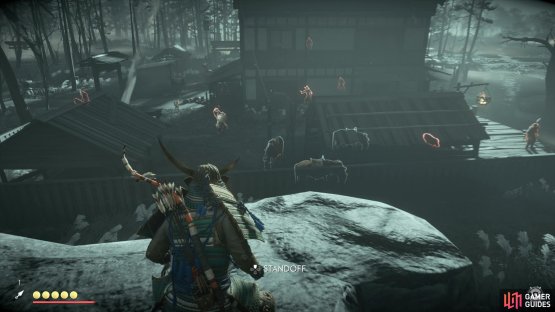
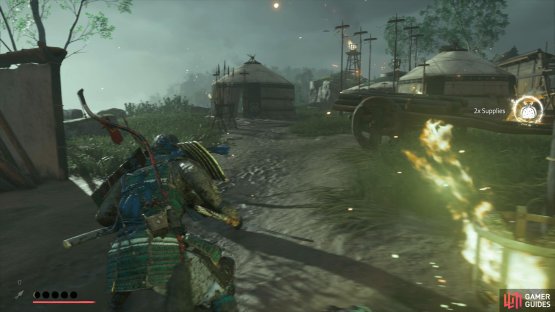
You can begin your approach from the south, in the lower camp where you’ll find less enemies to deal with. If you take the initial group of enemies out near the entrance, you can find a Mongol Artifact in the large tent at the back. From here, you can easily get to the where the archer is stationed on a tower and after dealing with him, give yourself a great view over the entire fort.
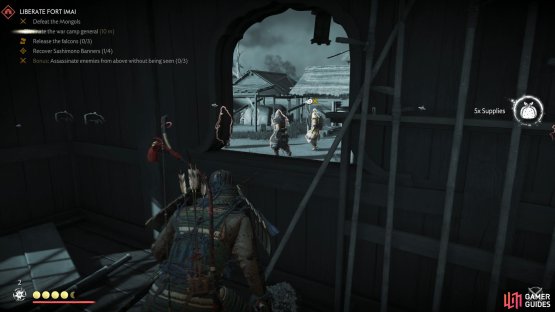
From here, you can either go about it using Stealth and drop down from the tower or you can use it to start raining arrows down on them and draw the enemies to your position. The first Sashimono Banner can be found just up here and you can get into the house to clear out another two Mongols while waiting for the War General to walk past and take him out too. This clearing is also an excellent place to draw more enemies to, especially if you have Sticky Bombs and Blackpowder Bombs on you to strike large groups at a time, just beware of the Ronin that are stationed here.
(1 of 2) Begin your approach from the lower camp
Begin your approach from the lower camp (left), you can easily reach this house and take out the War General as he walks by. (right)
You should only have stragglers left at this point so head around the rest of the fort, clearing them out and collecting the last of the items needed to clear this fort. Note that there’s another Mongol Records to pocket before you leave this area. There is a bridge to the west of Fort Imai, with Yuna being right across it. This is the location of her first Side Tale, with the remaining three being in the general area. The four Side Tales are as follows:
When you get to the spot for the third Side Tale above, there is a cliff you can scale with footholds and the grapple. Do this and look for a pile of rocks at the top, where you’ll find the Toyotama Straw Hat. During The Black Wolf, you will visit a small camp on the coast, where you can find a Mongol Artifact. Lastly, during Message in Blood, the camp you visit during it has another Mongol Artifact. From that same camp, head north, along the river, and you will come to an actual outpost, Hissing Creek Crossing.
Hissing Creek Crossing
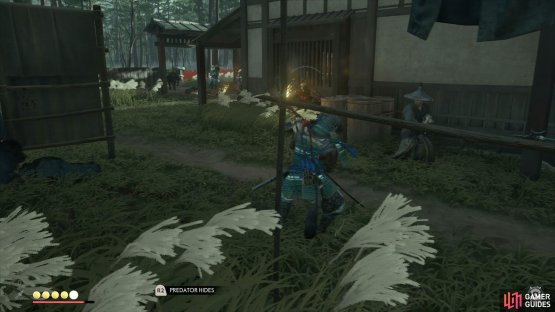
This is a small Outpost with the primary objective of defeating all of the stationed Mongols. The southern entrance is open with patrolling Mongols so instead, make your way around to the northern edge near the river where you can begin silently taking out a few lone Mongols. The leader is training to the west of the encampment so avoid him for now and attempt to take out as many as possible, including the archer on the tower, before you draw his attention. Despite there only being a small amount of Mongols in this Outpost, all of them but the leader are Brutes meaning you’ll want to stick to the Moon Stance to effectively defeat them.
The majority of the Mongols in this Outpost are Brutes so be sure to switch to Moon Stance.
Head south of the previous outpost and go up the hill, where you should see a cemetery. Clear the area of Mongols, if there are any, then look for the Singing Cricket. South of the Singing Cricket will be another outpost, but head west of it to come to a Fox’s Den. East of the Fox’s Den, on top of a small hill, will be a [Pillar of Honor](https://www.gamerguides.com/ghost-of-tsushima/maps/world-map#6484 “Pillar of Honor), earning you the Hijiki in Sunlight Sword Kit. Return to the outpost mentioned above to clear it now.
Lonely Forest Clearing
Your objective, like all small outposts, is to simply defeat all of the Mongols and you may want to consider approaching from the northeast where you can climb some rocks to reach the rooftops. From here, you can take out the archers on the towers and then leaping down to Assassinate a Mongol that patrols. The only real danger with this Outpost is the possibility of a patrol of four to five Mongols passing through while you’re here, if they do, you’ll have to deal with them also. Before you leave the Outpost, be sure to check on the back of one of the tents to pocket another Mongol Artifact.
Begin your approach from the rocks here to give yourself a good vantage point.
Take the road leading south out of the outpost and at the crossroads, begin heading east. Cross the bridge and at the second crossroads, take the road there that veers to the southeast. Along the way, you will run into another Fox’s Den. Return to the Fox’s Den and continue southeast, crossing the next bridge you find. Not too far after crossing it, you can find Kenji a little southeast, offering another Side Tale for you, Nattou and the Sake Seller. Cross the bridge to the southeast of where Kenji was, then follow the river to the north, to the waterfall. On the rocks above the waterfall, you should be able to see a Sashimono Banner.
Rebel’s Retreat
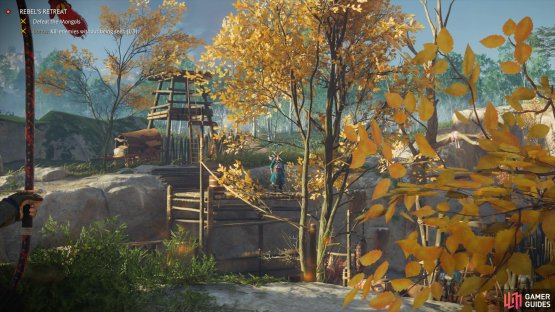
A little southeast of the Sashimono Banner is Rebel’s Retreat, a small Outpost that is surrounded by rocks. Once again, your objective is a simple one, defeat all the Mongols and you’ll want to make full use of the terrain to get the drop on your enemy.
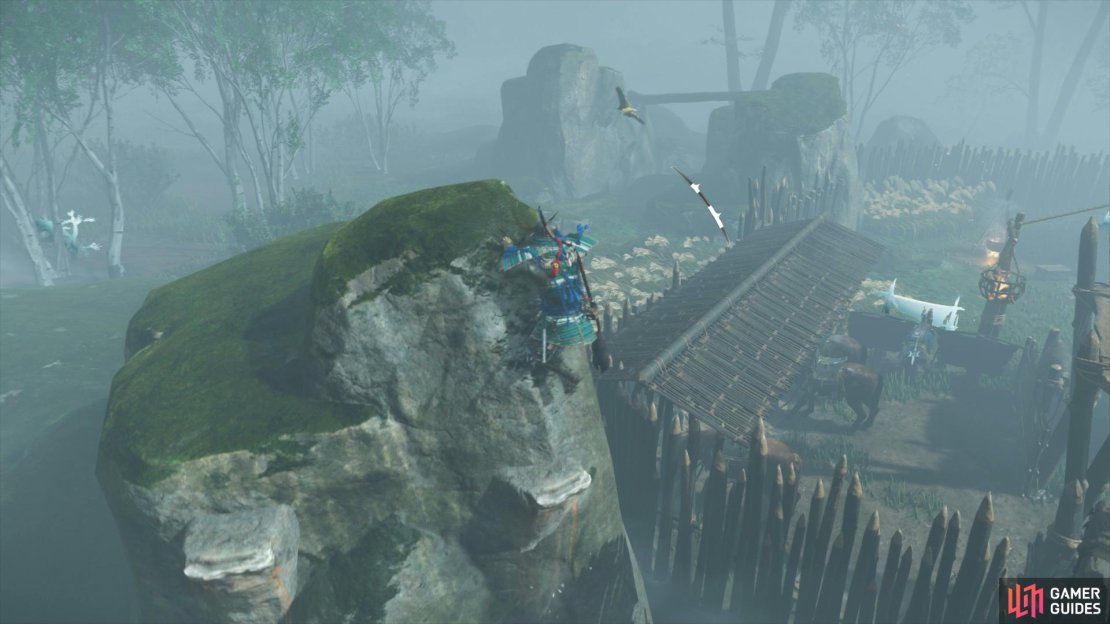
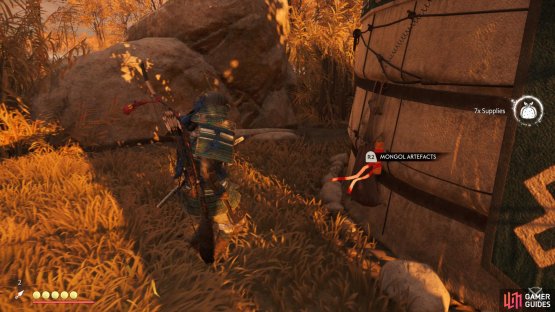
To begin with, climb up the southern rocks and use the Longbow to dispatch all of the archers on their perches. From here, you can drop down to the camp to take on the rest of the Mongols or use a combination of your bows and Blackpowder Bombs to wreck mayhem from above. Regardless of how you decide to take out the Mongols, be sure to snag the Mongol Artifact off the back of a tent on your way out.
(1 of 2) Use your Longbow from this location to deal with the archers
Use your Longbow from this location to deal with the archers (left), there’s another Mongol Artefact to collect here. (right)
Once you’ve liberated that camp, continue east, as if you were going to Fort Mitadake, but stop when you see some little island off the shore to the north; go there to find a Sashimono Banner. Return to Rebel’s Retreat and follow the north road out of the outpost, where you will run into a Fox’s Den not too far from it. Continue north and when you spot a torii gate, veer to the northeast. Upon reaching some stone stairs, you should see two frog statues and if you look very closely, there is a Hidden Altar next to the right statue. Follow the path and you will be on your way to completing the Lush Peak Shrine.
Return to the Fox’s Den you just completed and cross the bridge just west of it, where you should see Yamato not too far from it. He will offer the Spirit of Yarikawa’s Vengeance Mythic Tale. Do this now, then return to the spot you found Yamato and venture a little northwest to find a Survivor Camp. Here, you should see the main story mission, The Walls of Yarikawa. This will lead to three story missions in a row, including the one just mentioned.








No Comments