You have finally come upon the final story mission for Act 2, which you can begin by speaking with Yuna. Although the game doesn’t mention it, you can actually speak with your allies to hear their input on things. Whenever you’re ready, though, speak with Yuna by a hole in the wall to begin. Jin has a plan to go after the Mongols without having to sacrifice a bunch of lives. He wants Yuna and some others to gather a bunch of wolfsbane, as he plans to poison the Mongols. At this point, Yuna will hand over some things Taka made for you, which is the Ghost Armor, Ghost Mask and Ghost Headband. The most important is the Ghost Armor, which makes it so enemies detect you slower, kills have a chance to terrify nearby enemies, and the number of kills needed to activate Ghost Mode.
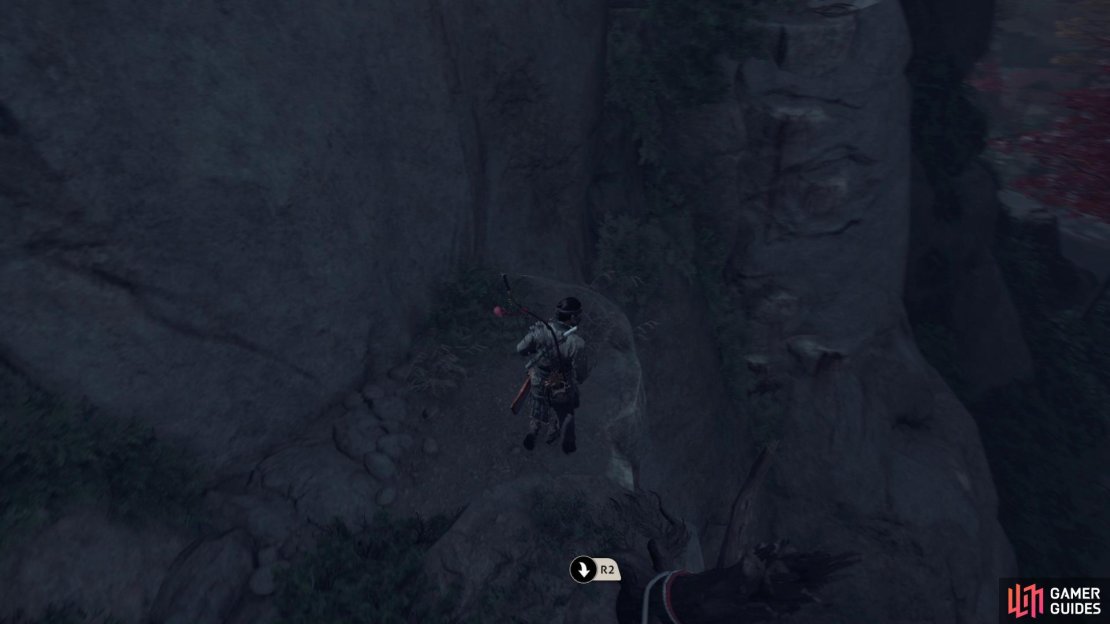
This gap looks like you can’t make it, but you totally can
It should be noted that getting seen during this mission is something you can’t do, so having something like the Ghost Armor equipped is great for the detection bonus. You can’t go back into the compound once you begin, so you’re stuck with the non-upgraded Ghost Armor for now. You need to get into the Mongol portion of the fort, so you will be using the grapple points underneath the bridge. This leads to a short climbing section, then one more little grapple point and you will be at the first keep with the Mongols. Your objective will now be to eliminate all of the Mongols inside the first keep.
Hop through the window when you can, keeping in mind to not be seen, and assassinate the first Mongol. Wait for the second one to have his back turned before going after him. There will be a ladder leading to the second floor in the corner of one of the rooms, but you want to make sure the Mongol on the second floor is moving away from you and out the window before approaching him. Here, you have two options, one of which is the ladder to the top. The other option will be to climb out the window, then inch your way to the top floor, waiting for the two Mongols there to separate before killing them. However you do it, survey the rest of the camp to see what to do with the wolfsbane and how to get there.
(1 of 2) Look for the slacklines to stay above the Mongols’ line of sight
Look for the slacklines to stay above the Mongols’ line of sight (left), You will want to take this archer out from a distance (right)
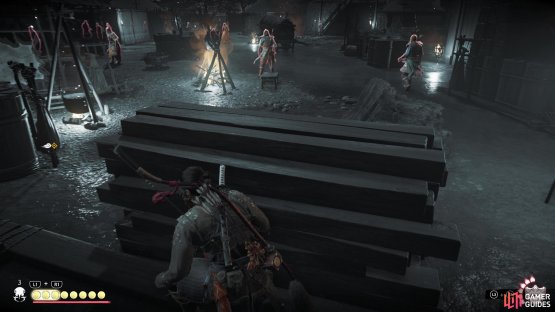
This is where the mission gets a little more difficult, as you still need to not raise an alarm (basically, if a Mongol blows their horn after finding you, you fail). You will be going through the garden area, as Jin points out it’s lightly guarded and have a lot of cover. Drop down to the lowest roof and look for some wire you can use to cross above the Mongols, but don’t do it right away. While looking in the direction of the garden path, check out the one tower and see if there’s an archer there, who should be dealt with before crossing the wires. The slacklines should deposit you right before a structure and near a closed gate.
Thankfully, you don’t have to go over the gate, but rather squeeze through a hole in the wall. You’re now in the final area, which is litterered with Mongols. Hide in the pampas grass before you and wait for the Mongol on the ledge above you to turn his back, which is your time to strike. You might be lost here on where to go next, but you can actually hop over the stairs and quickly bring down the Mongol on the other side. There should be a Mongol patrolling along the way, so you may want to assassinate him as he’s walking away. This might draw the attention of some Mongols, though, which is fine as long as they don’t see you.
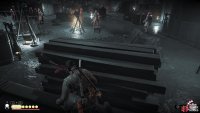
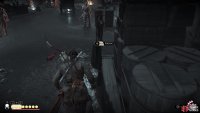
(1 of 2) Wait for the Mongols to look away from your direction
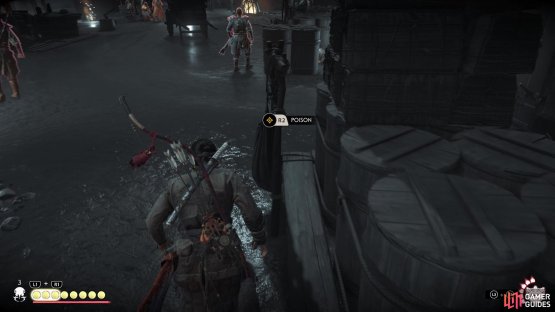
Wait for the Mongols to look away from your direction (left), so you can poison their drinks (right)
Wait until they go back to their normal routes, then use the ample cover to sneak to the markers. There are two things you have to poison, so keep a lookout at all times for nearby Mongols while you do so. When you’ve spiked both things, watch the aftermath of your actions. If you don’t have full Resolve right now, end the suffering of any Mongols still moving, then head to the main keep, where you will be pit in another duel with an old friend.
Duel - Ryuzo
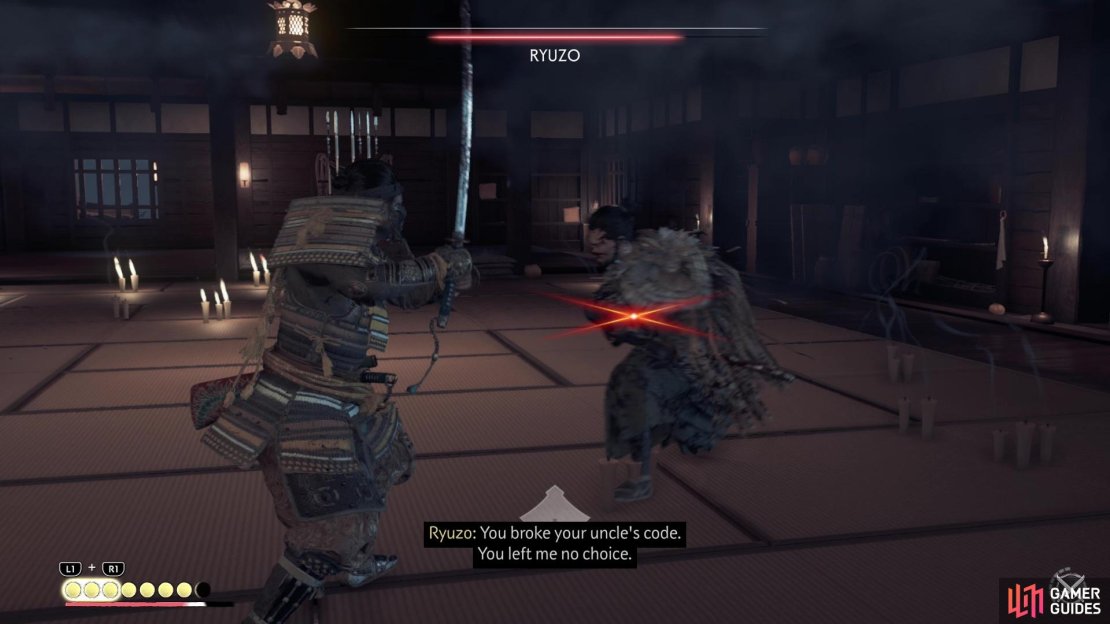
The second duel against this person might be a little easier, depending on what you remember from the first one. He has a few extra tricks up his sleeve, though, so you do need to be on your toes. He still has the two-hit unblockable combo whenever he sheathes his sword. He will still perform an unblockable slicing attack after running at you, but will follow this up with a kick and an overhead strike that is blue (blue meaning you can block it with the correct skill). Another running skill of his is a shoulder charge, which is unblockable.
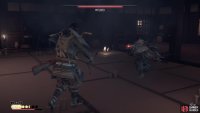
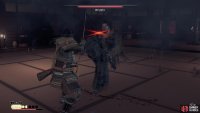
(1 of 3) You will see the red glint many times during this duel
Your opponent is also annoying, in that, he has a kick maneuver that he can do that is unblockable. This comes out rather quickly, so it can be difficult to deal with sometimes. The two-hit combo of the sweeping unblockable sword strike, followed by a blue-tinted spinning strike is also back. The duel is mostly controlled if you can manage all of the unblockable attacks, as there are still a lot to deal with here. If you happen to have a Ghost Stance ready, you can actually use that here in the duel to get three free hits against him, knocking off some health.
Winning the duel will give you one more cutscene, then take you straight to the next mission.



No Comments