


It’s time to finally start exploring the southern part of Izuhara, as there’s plenty of things to do down there. Wherever you may be, fast travel to the Adachi Estate and begin venturing southeast. It won’t be too long before you see a town area, which is called Kuta Farmstead. There’s nothing to do here, but there is a piece of Vanity Gear here, if you wish to collect it. You might see a golden bird around here, and while they haven’t really been talked about, they can lead you to all kinds of things, like collectibles and even undiscovered locations. If you’re having trouble finding the piece of Vanity Gear, look for the mini-water wheel that has blue butterflies; the Oni’s Blade Straw Hat.


(1 of 2) Golden Birds can lead you to all kinds of things in the game
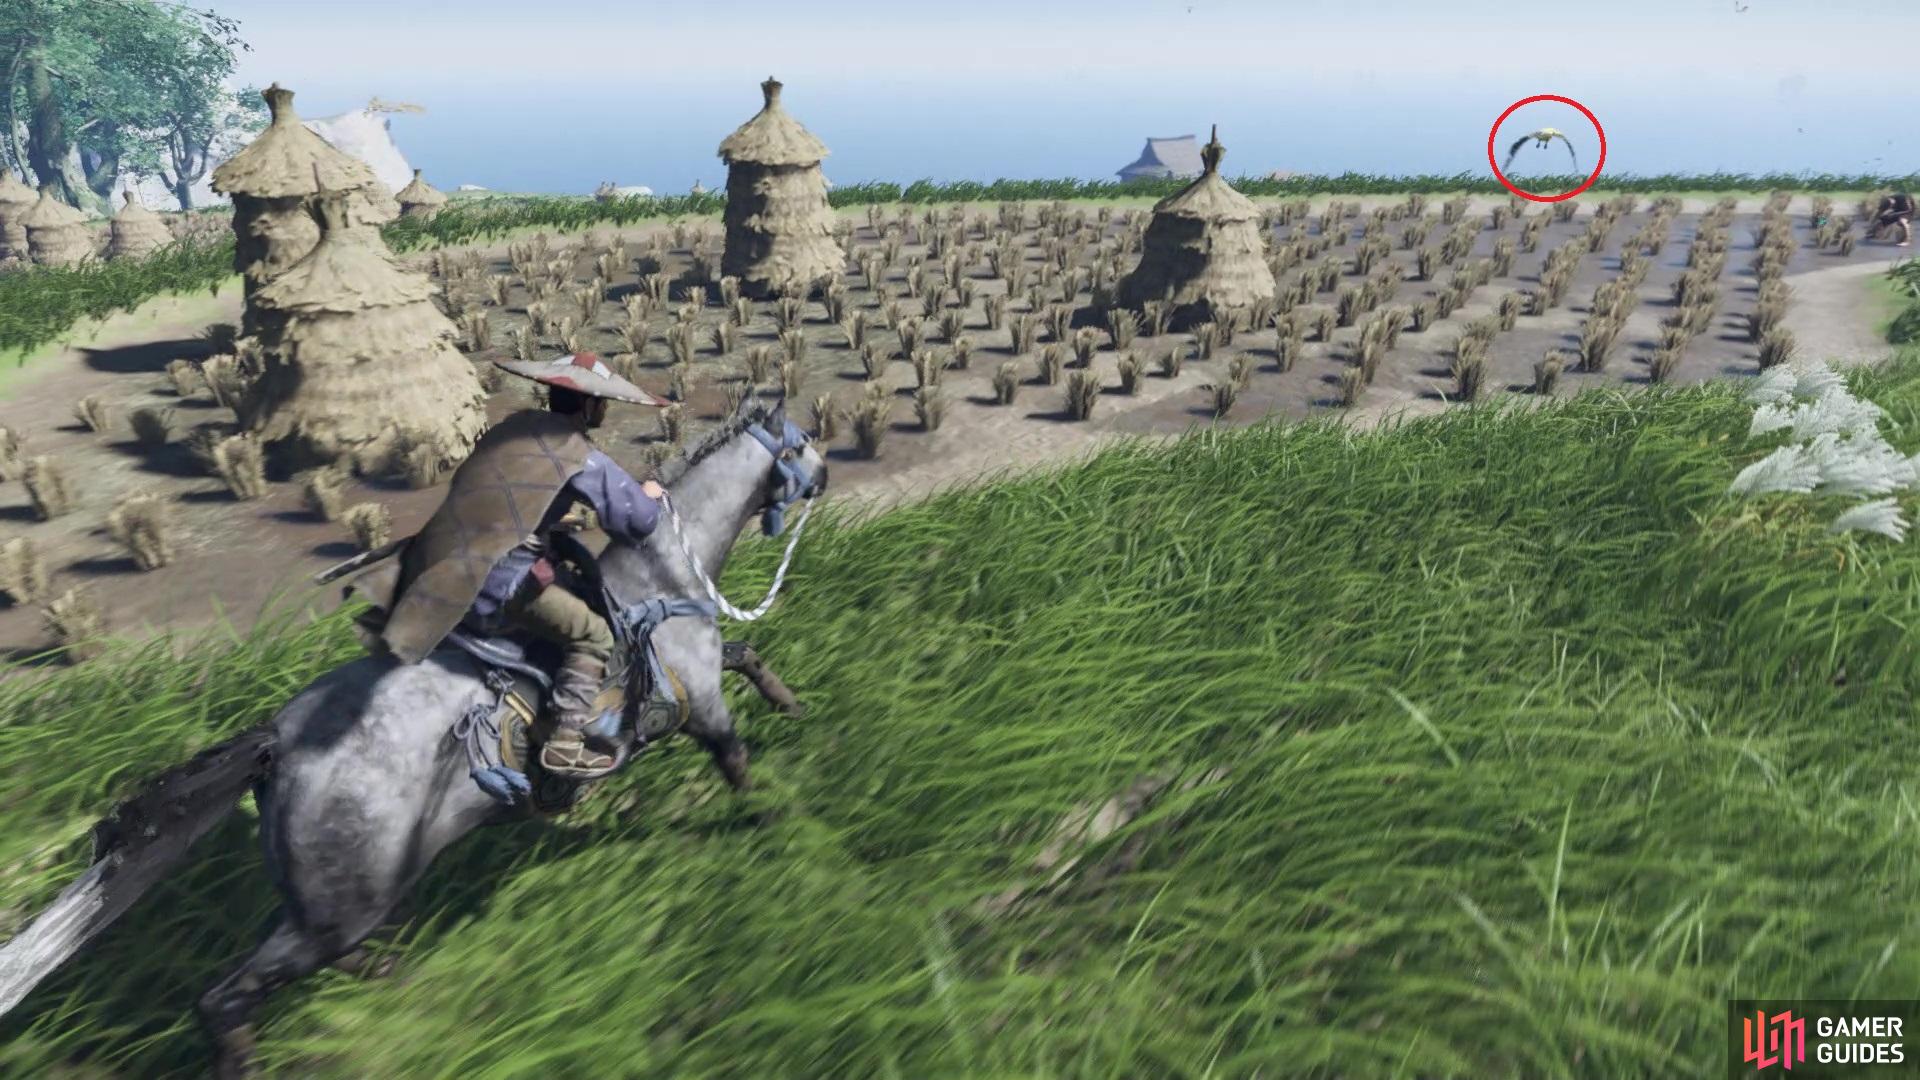
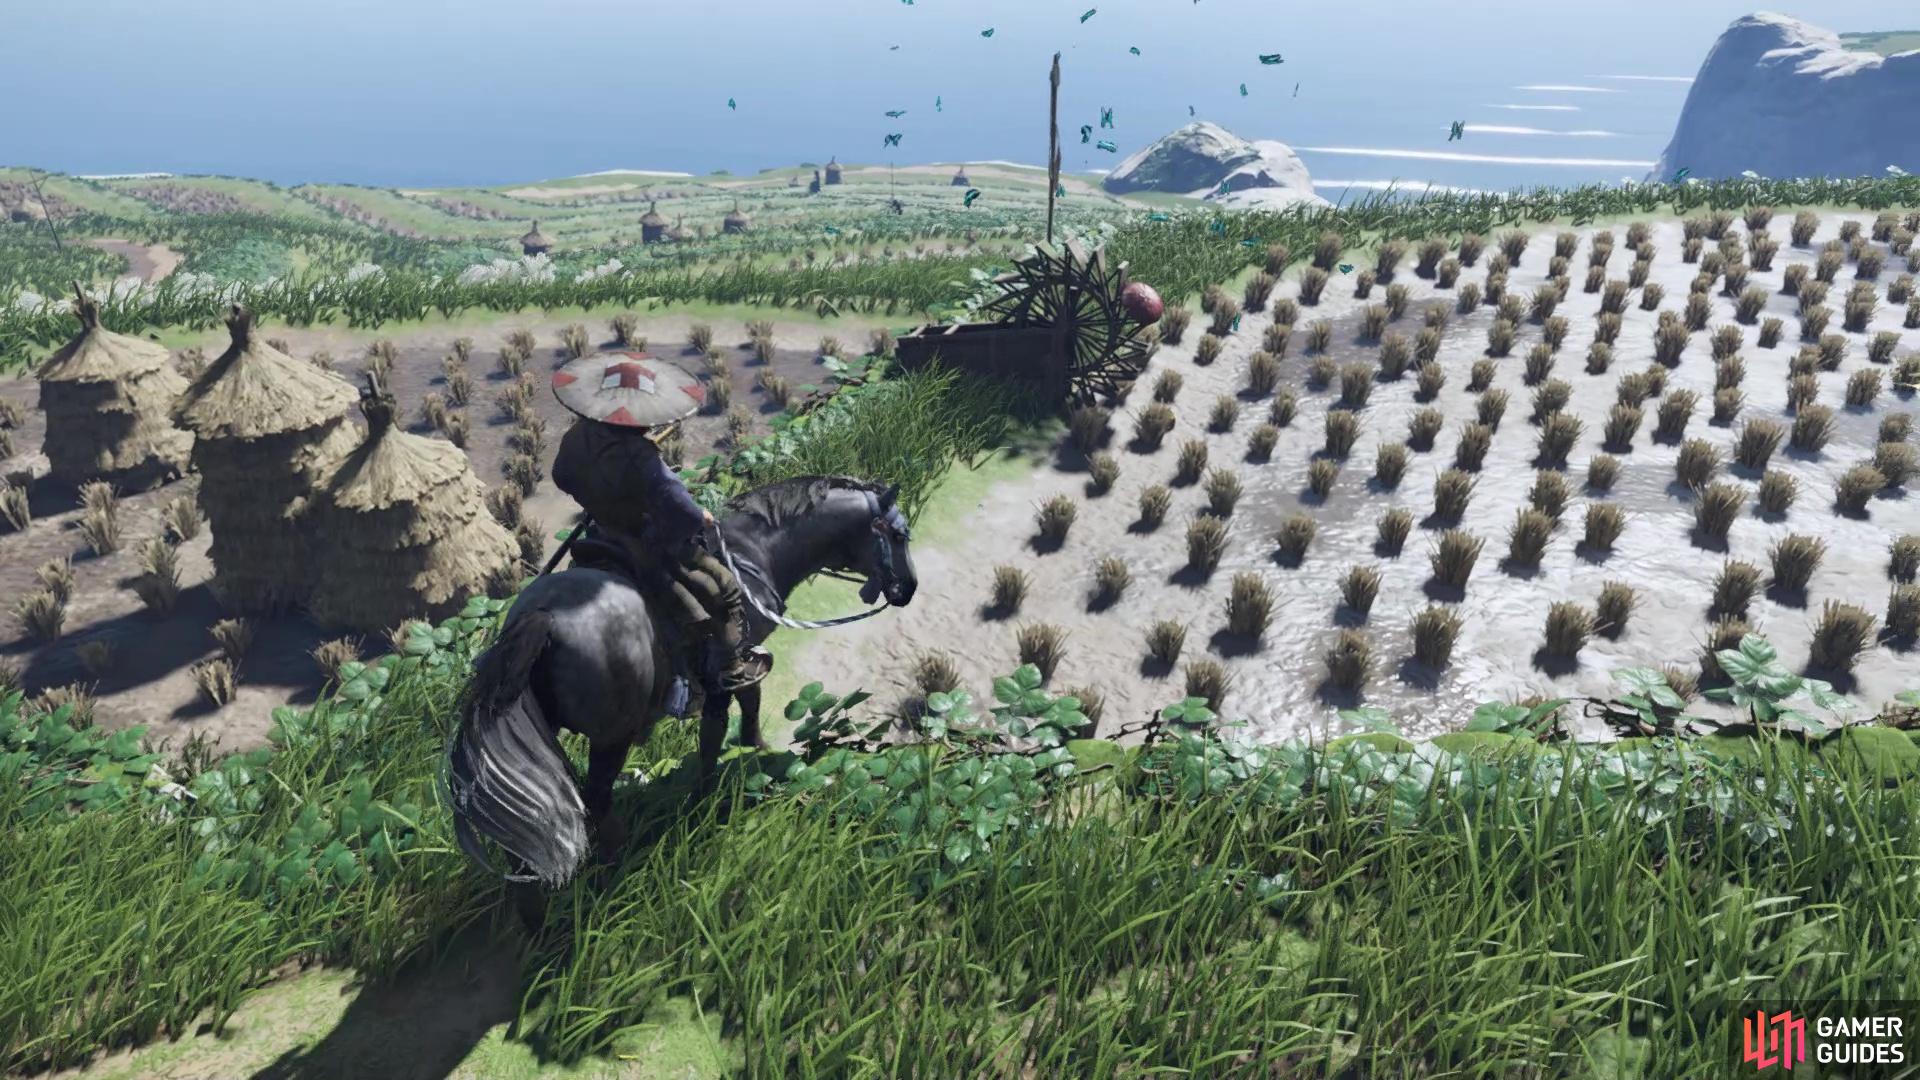
Golden Birds can lead you to all kinds of things in the game (left), The location of the Oni’s Blade Straw Hat (right)
Enemy Encounters - Red
As you begin heading south and start to explore more areas of Izuhara, you will undoubtedly start running into enemies that seem tougher than the beginning portions of the game. That is because they are definitely more challenging, since the Mongols have different tiers of troops in their invading army. The basic ones you’ve been fighting thus far in the game don’t really have a lot of substance to their attacks, other than maybe spearmen and the brutes, since they have unblockable moves. The first tier of Mongols has the color of white, while the second tier will be red, as you will notice from their clothing.
They will be using new moves and other enemy types will start using unblockable attacks. For example, spearmen will use a sweep attack, but other than that, they are largely the same. Brutes will be wielding a large shield, so your attacks will have a harder time hitting them, but Water Stance can stun them easily. You will also start running into Mongols wielding two swords. Their attacks are swift, plus they have a lunging attack that they use to close in on you quickly; there is also an unblockable.
The red shieldmen can be really annoying. While their sword attacks are nothing, they can strike you with their shield, which is unblockable. The annoying part about them is that they don’t really have a pattern in their attacks, plus they come out quick, so you don’t have a lot of time to react. Water Stance, though, will make quick work of the shieldmen, so if you see one coming, charge up the Triangle move and keep pressing Triangle to quickly break their guard. It should also be noted that you might start seeing Mongols with helmets on, meaning that headshots with the Half Bow are not going to work.
The Conclusion of A Family’s Escape
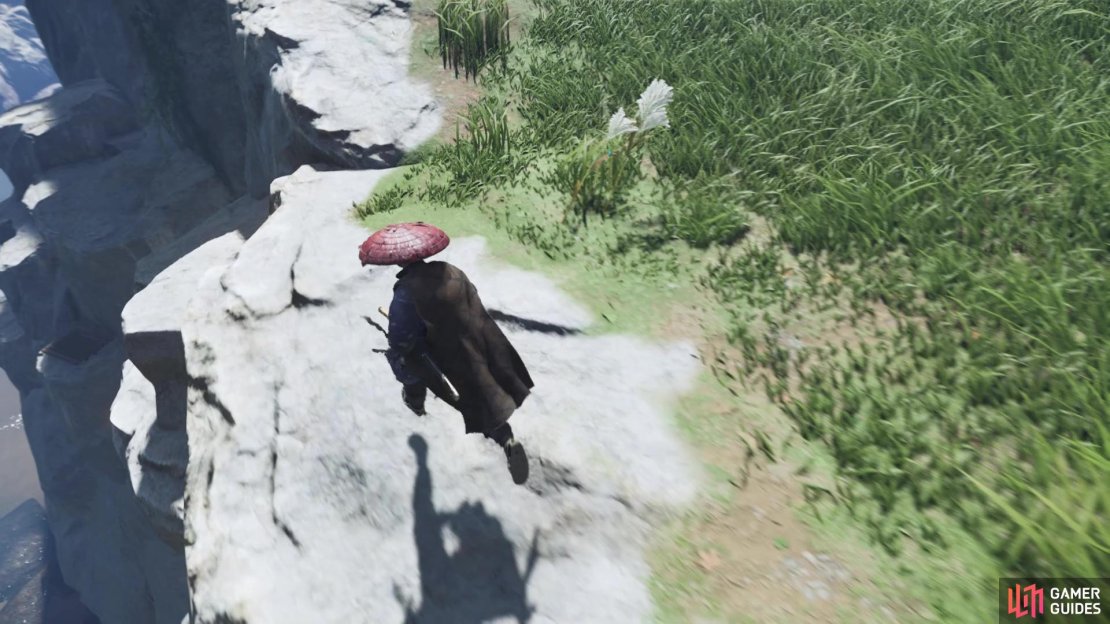
You should be near the coast, which is directly to your east, so head over to the cliff and begin following it south. You are going to Sibling Rocks next, where you will find something, but the path leading down to it is a bit hard to find. Before doing that, head to the cliff overlooking Sibling Rocks and you will find a Pillar of Honor there, netting you the Warrior’s Brush Sword Kit. Head north of the Pillar of Honor a little bit, along the edge, and you should see what look like “steps” going down, so start heading down until you get to the water. From there, you should be able to easily reach Sibling Rocks. Climb the stairs there to find not only a Sashimono Banner, but a large cache of supplies.
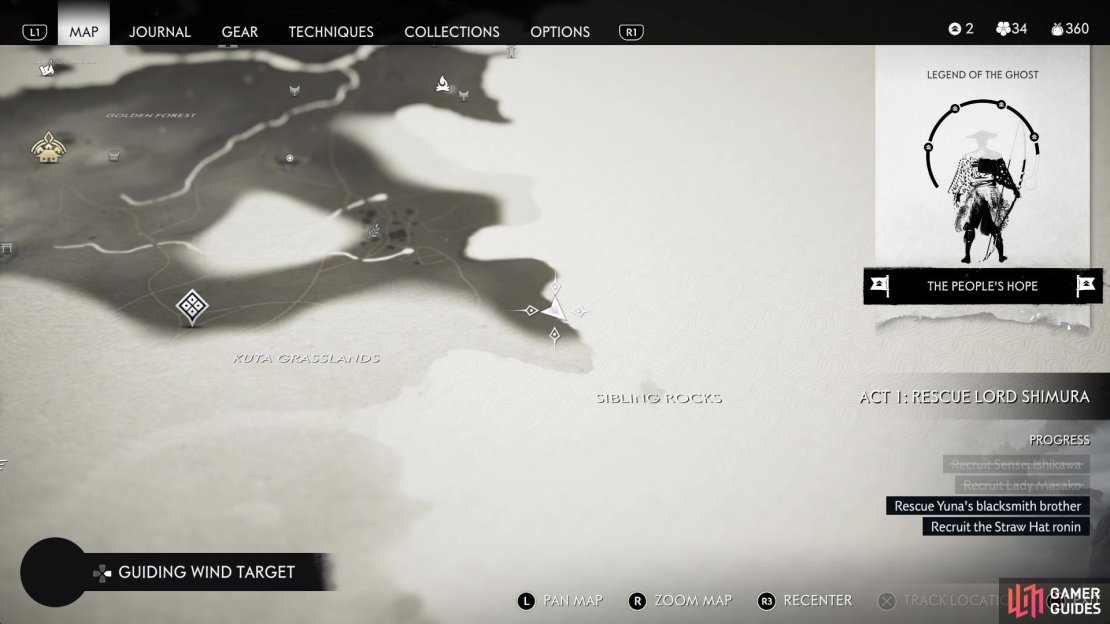
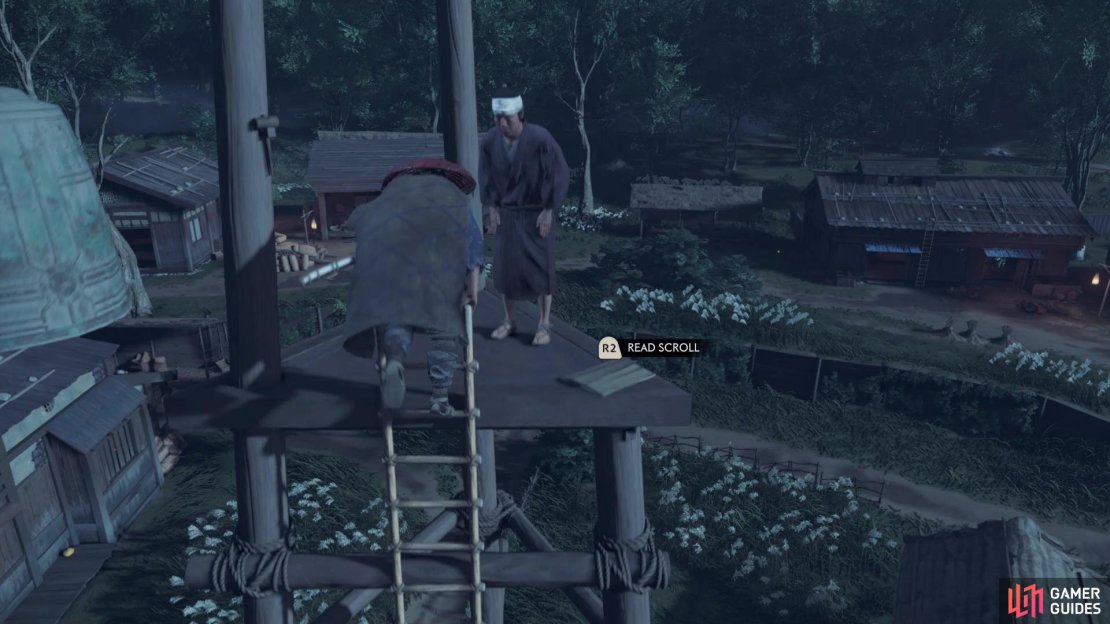

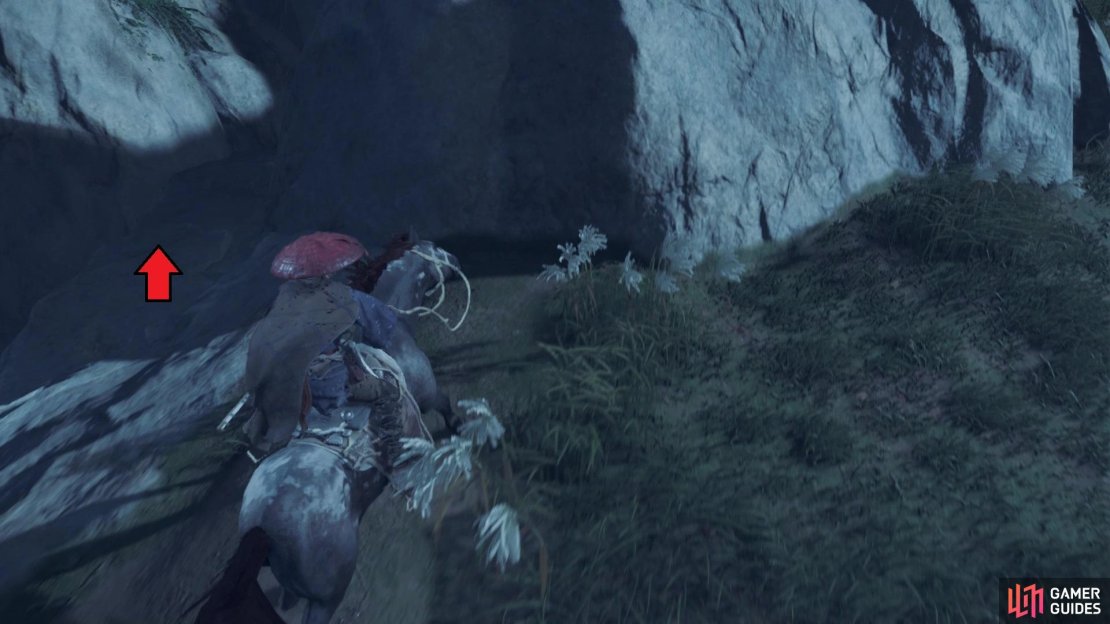
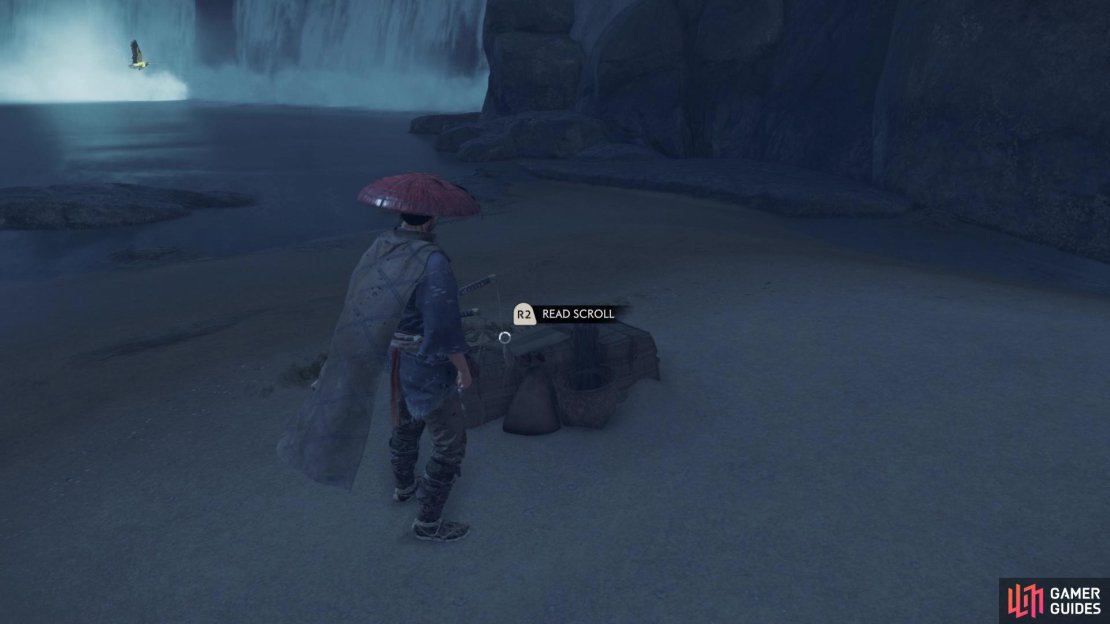
Remember that hidden quest, A Family’s Escape, that was mentioned during To the Golden Temple? Well, you will be able to finish that off now, so head back to Kuta Farmstead and search for a tall, lookout platform in the area. The second scroll will be at the top. The third scroll for this hidden quest will be found in front of the above Pillar of Honor. For the fourth, and final, scroll, it’s a little ways west-southwest of the Pillar of Honor. Follow the cliff in that direction and you should see a rocky path leading down. You know you’re in the right spot whenever you see some bodies. Not only is the final scroll on the beach (netting you some experience for collecting all four), but there is also a Sashimono Banner on a ledge on the way down.
Kuta River Bridge
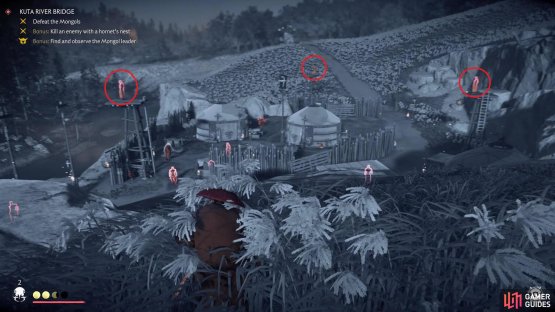
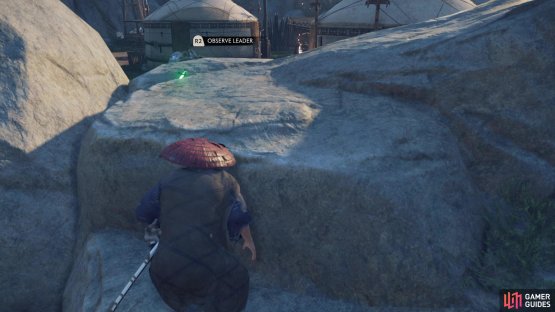
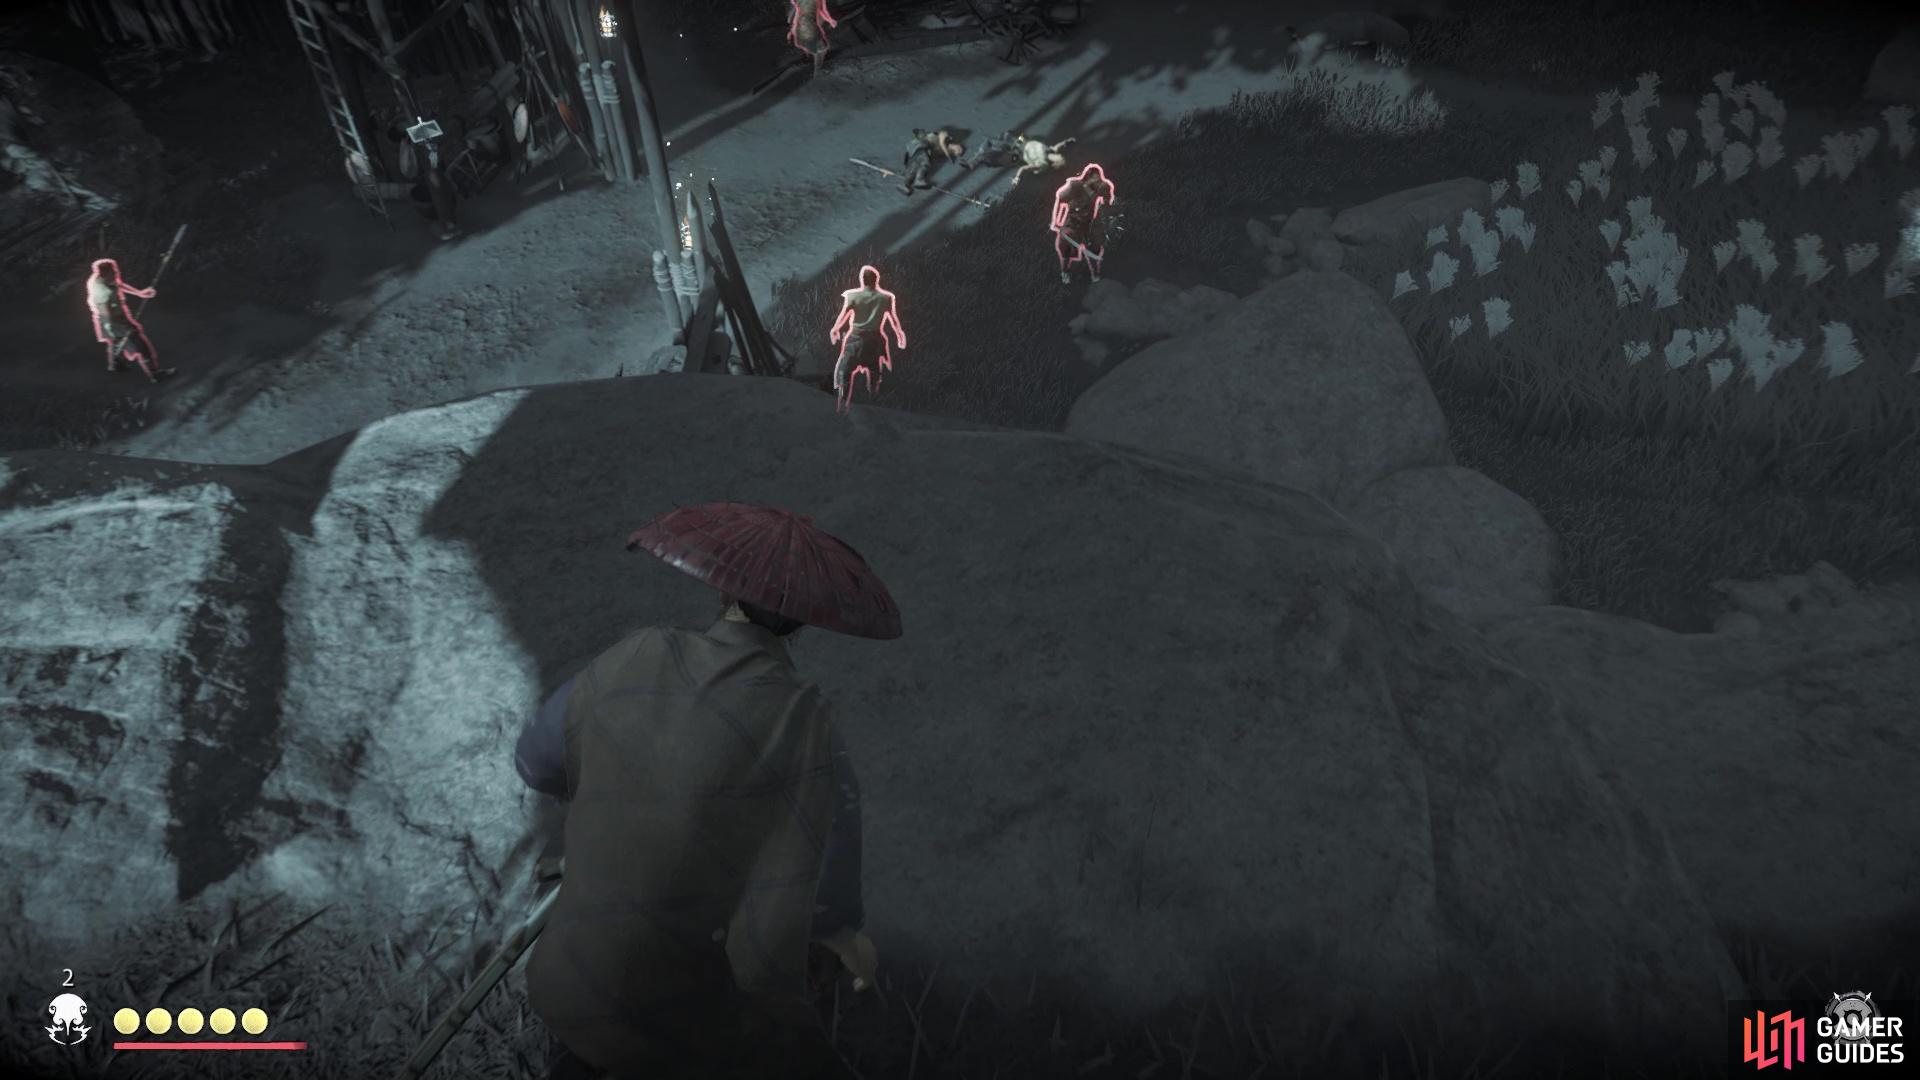
Returning to the main piece of land, continue following the coastline and you should arrive at a Mongol Territory, the Kuta River Bridge. This is a small encampment, so there’s not going to be too many enemies here. There should be a bonus objective here to observe a Mongol leader, so you will definitely want to earn that double progress towards the next stance. You should find there to be sufficient cover in sneaking to a spot where you can observe the Mongol leader. There might be another bonus objective, but that one will be random. One thing to watch out for will be the archers on the little watchtowers, with there being three of them.
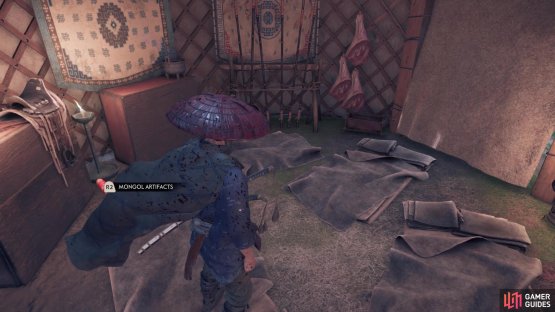
There’s really not much of a problem with this enemy camp, so clear out all of the enemies and kill the leader, after observing much if you can. Once you’re done, loot the place and look inside one of the tents to find a Mongol Artifact. Cross the bridge nearby, then follow the water to your east. On a rock between the two sets of waterfalls will be the Azamo Haiku, which will reward you with the Headband of the Invasion. Return to the Kuta River Bridge camp and head directly west from it, where you should happen upon a Fox’s Den. Let the creature lead you to the Inari Shrine, then fast travel back to that Fox’s Den.
(1 of 2) Your first priority should be to kill the three archers on the towers
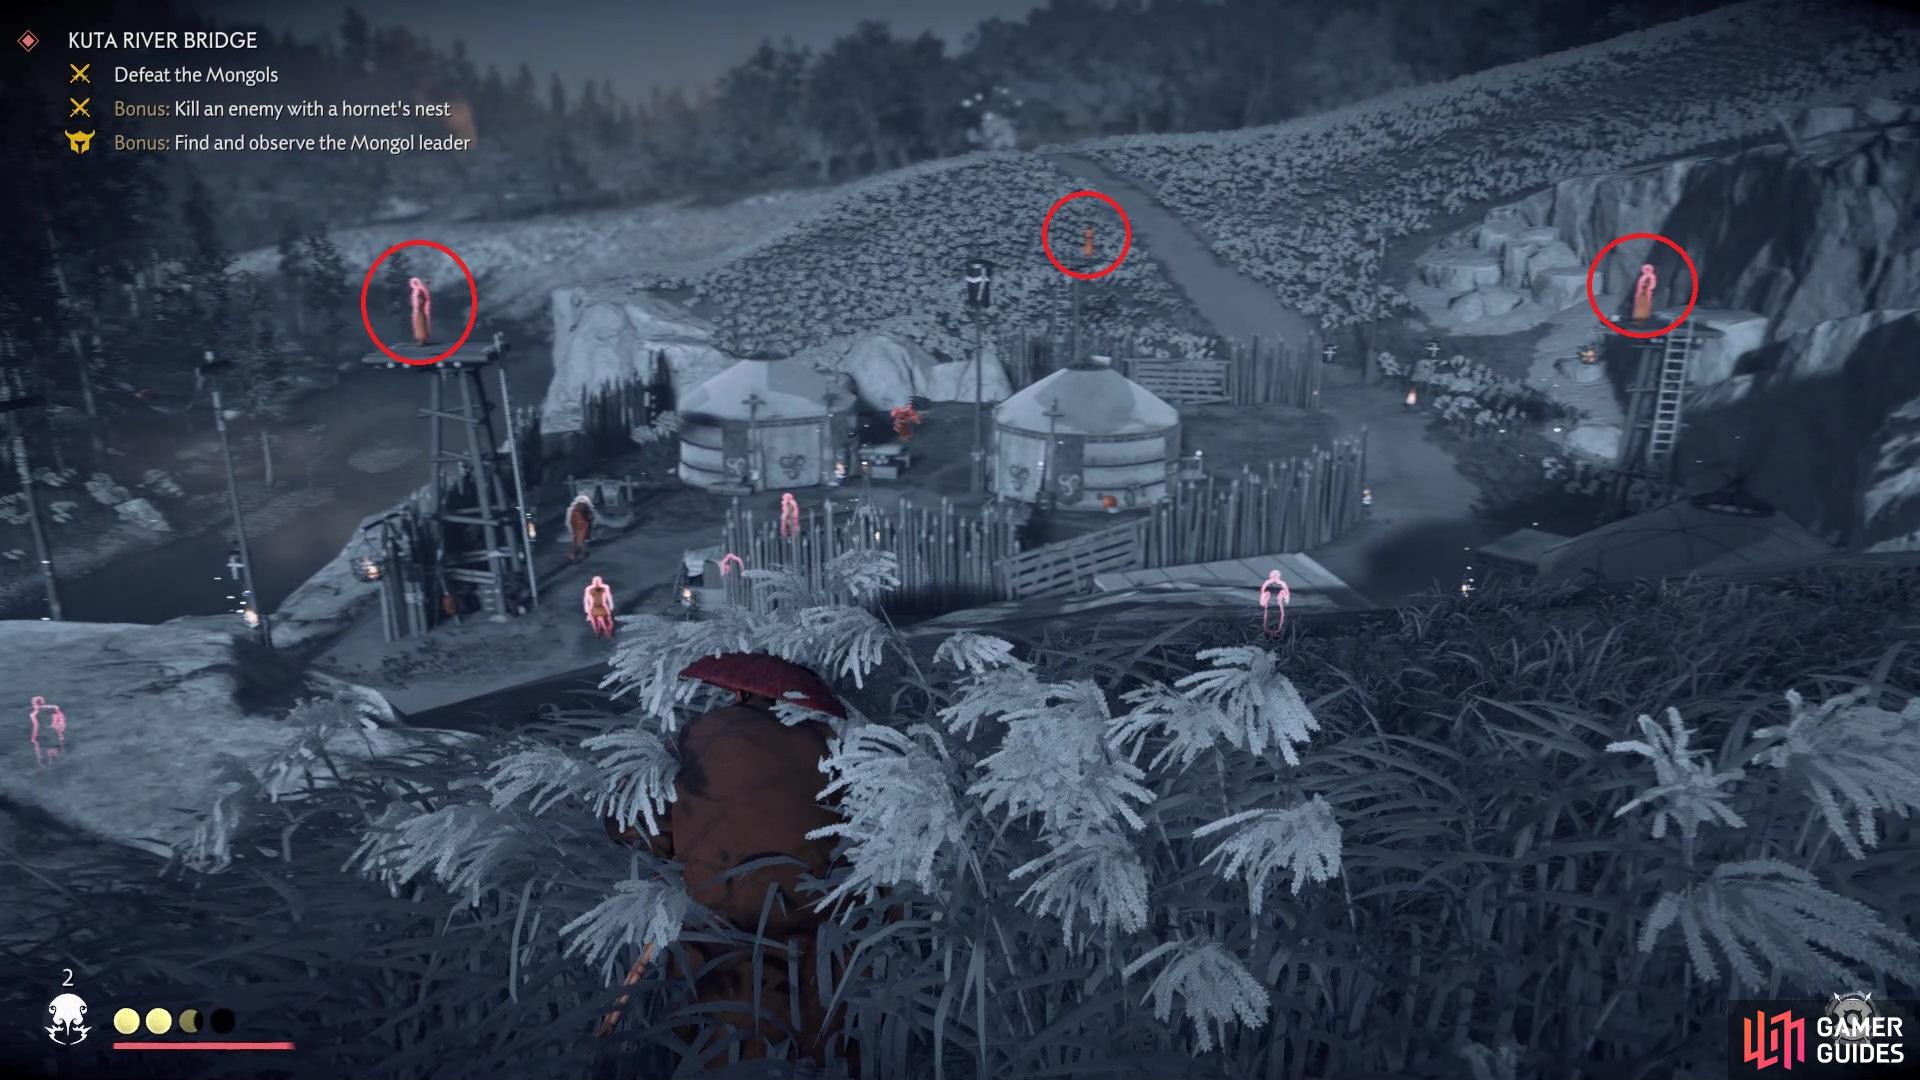

Your first priority should be to kill the three archers on the towers (left), You can easily observe the leader from behind this rock (right)
North-Northeast of the Fox’s Den will be a lone building in the woods and inside the house will be the beginning of The Cost of Iron Side Tale. Upon completing this, return to the same Fox’s Den as above and begin venturing to the southwest. On the southern bank of the river there, you will eventually run into a building. Outside of the building will be a Bamboo Strike, so do that, then look for the woman not too far that has a Side Tale for you. For Tsushima is the name of this Side Tale, so complete it while you’re in the vicinity. For now, fast travel back to the Bamboo Strike.
Travel westward this time, following the river, until you happen upon two houses along said river. The house on the southern bank will have a Sashimono Banner inside of it. Continue travelling westward and you will spot another Mongol Territory on the western bank, called Rushing Water Crossing.
Rushing Water Crossing
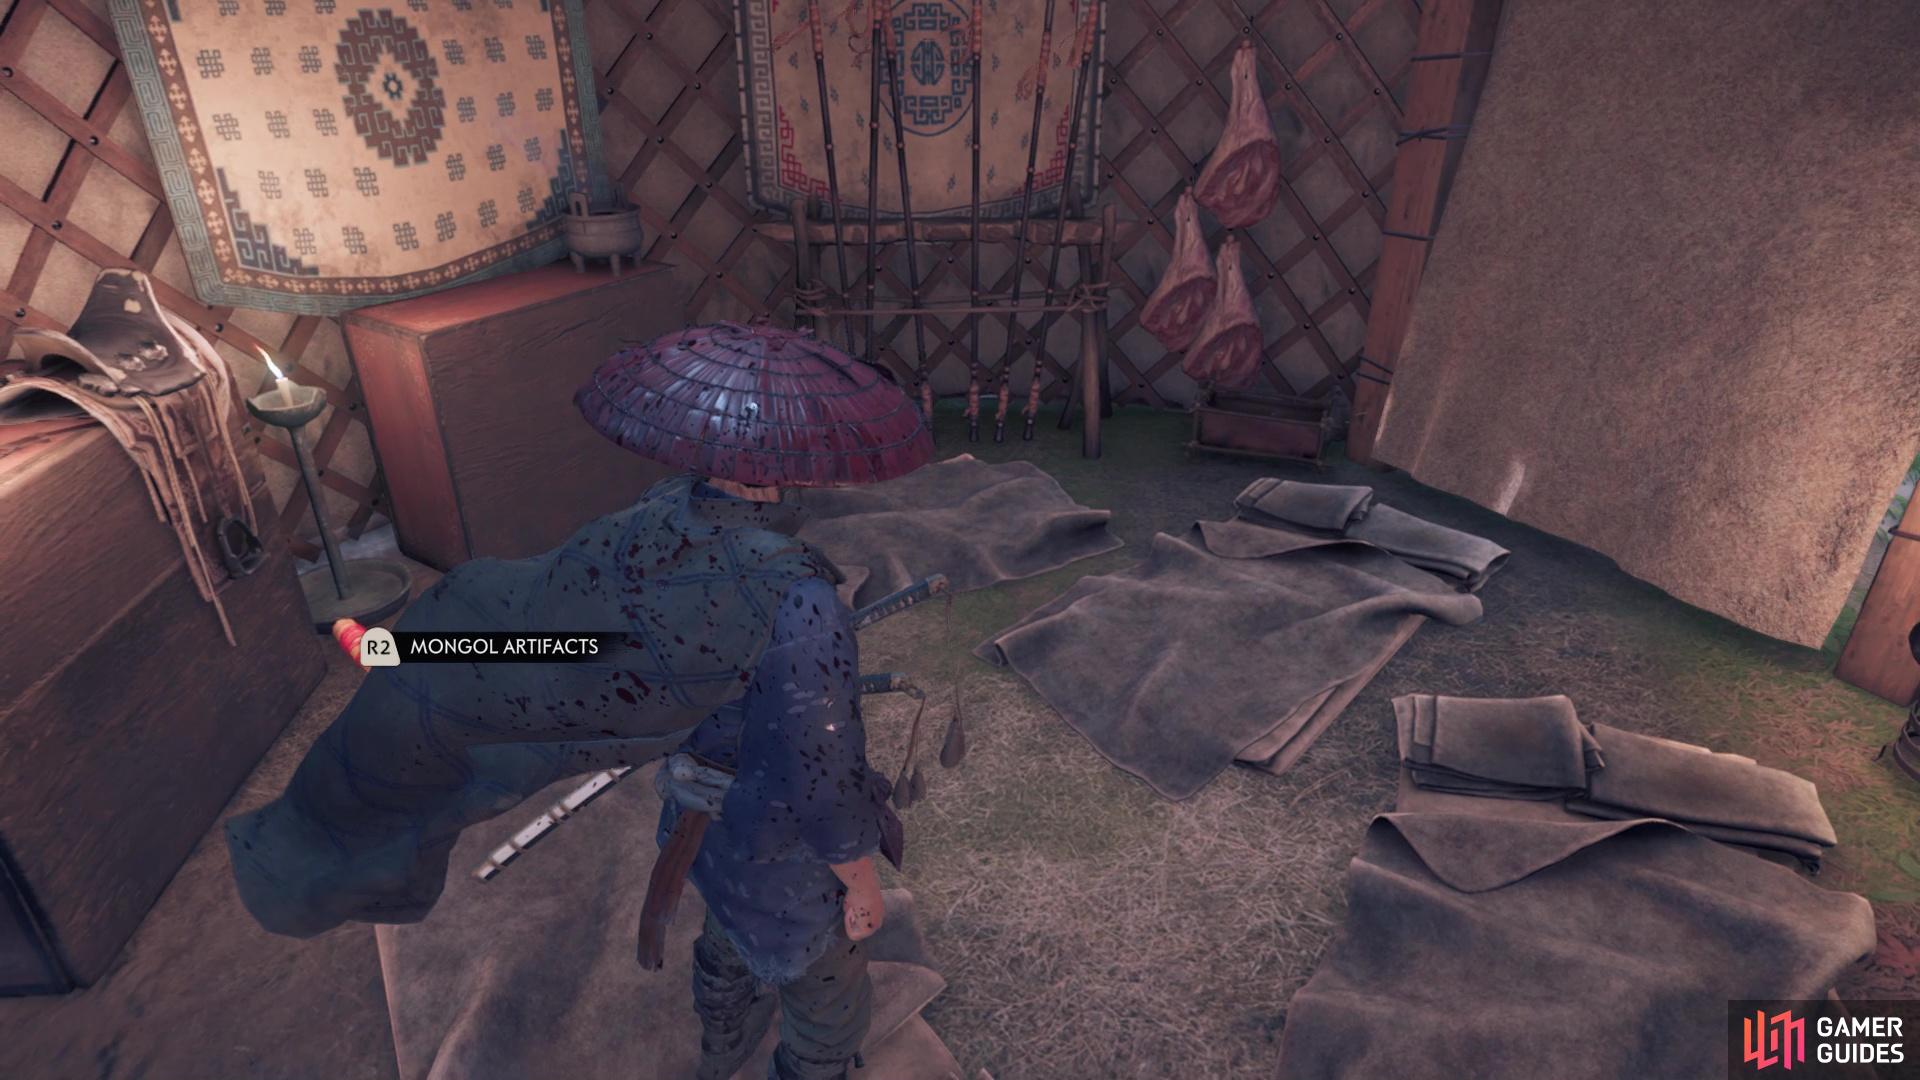
Your only goal for this outpost will be to defeat all of the Mongols. As before, the bonus objective is random, so make sure you try to achieve it for some more fame. There is a large amount of pampas grass on the western ledge, overlooking the camp, so you can use that to help survey the surroundings without being seen. This also might be a good ledge to get some assassinations attempts on enemies from above, should that be your bonus objective. There is a Mongol leader here, but you don’t have the bonus objective of observing him, so you can only kill him. When you’re finished with the Mongols, head into the one tent to find a Mongol Artifact. Next, go to the dock by the river and look for the wooden sign that signals a Hidden Altar.

(1 of 2) You can get a good vantage point from the ledge overlooking the camp
You can get a good vantage point from the ledge overlooking the camp (left), The Mongol Artifact will be inside the tent (right)
Fast travel back to the Ariake Bamboo Strike and begin travelling south-by-southwest. You’re heading for Kii’s Pond on the map, where you will find a building and some NPCs, one of which will have a Side Tale for you, called The Value of Sake. You should still be at the same place after finishing that Side Tale, so the next destination will be southwest from there. It’s not particularly hard to find the Hot Springs in this game, due to the reddish-colored tree and steam rising from the waters. Just look for the circle with a hole in the middle on your map and you should locate the Rising Trees Hot Spring.
There is still plenty of Izuhara left to explore.
No Comments