


You will be starting off from Sago Haiku, as that was the last thing you should have done while exploring Kamiagata the first time. From there, head northeast, following the road, until you cross the bridge and discover a Fox’s Den right there. Return to the Fox’s Den after praying at the Inari Shrine, then go and visit the Mongols at their outpost nearby, which is Silk Farm.
Silk Farm
You can begin your approach from any location, this is a wide open Outpost but the entrance to the northeast is a good choice and you can easily dispatch the patrolling Mongols around the western side of the farm. The largest group of Mongols are in the large building to the center of the farm however beware of the eagles in this Outpost to avoid being spotted. With that said, there are a lot of Mongols here and with the eagles here, chances are you will be spotted so it’s not a terrible idea to begin with a Stand Off using the Sakai Armor to thin down a large group of them to begin with. Don’t forget to grab the Mongol Artifact from the outpost before leaving.

(1 of 2) Take out the lone Mongols that patrol first

Take out the lone Mongols that patrol first (left), and be on the lookout for any Eagles. (right)
With that outpost taken care of, fast travel back to Derelict Mine and head northeast from it. You’re looking for the bridge in that general direction, so cross it and get ready to fight some Mongols. After delivering swift justice, speak with the NPC there to begin The Guardian of Tsushima Side Tale. This will take you to Cedar Temple, where you can find the Sago Blue Headband at the top of the tower there. While you’re at Cedar Temple, you might as well finish off Norio’s chain of tales by picking up and finishing This Threefold World. Not too far northeast of Cedar Temple will be Kawachi Whaling Village, the next outpost.
Kawachi Farming Village
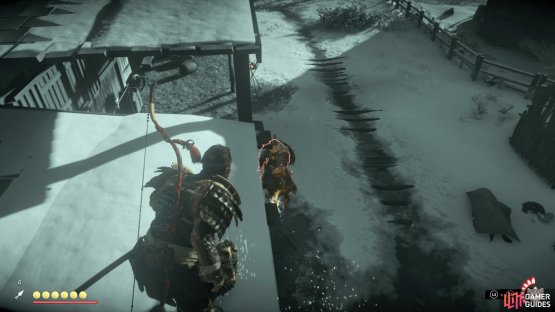
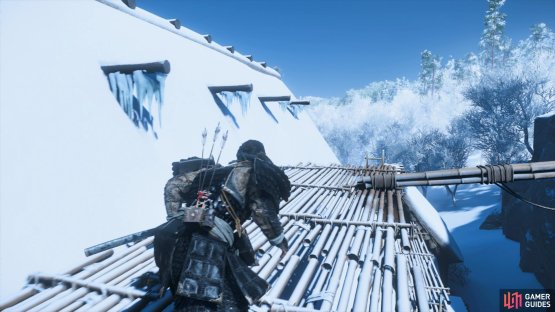
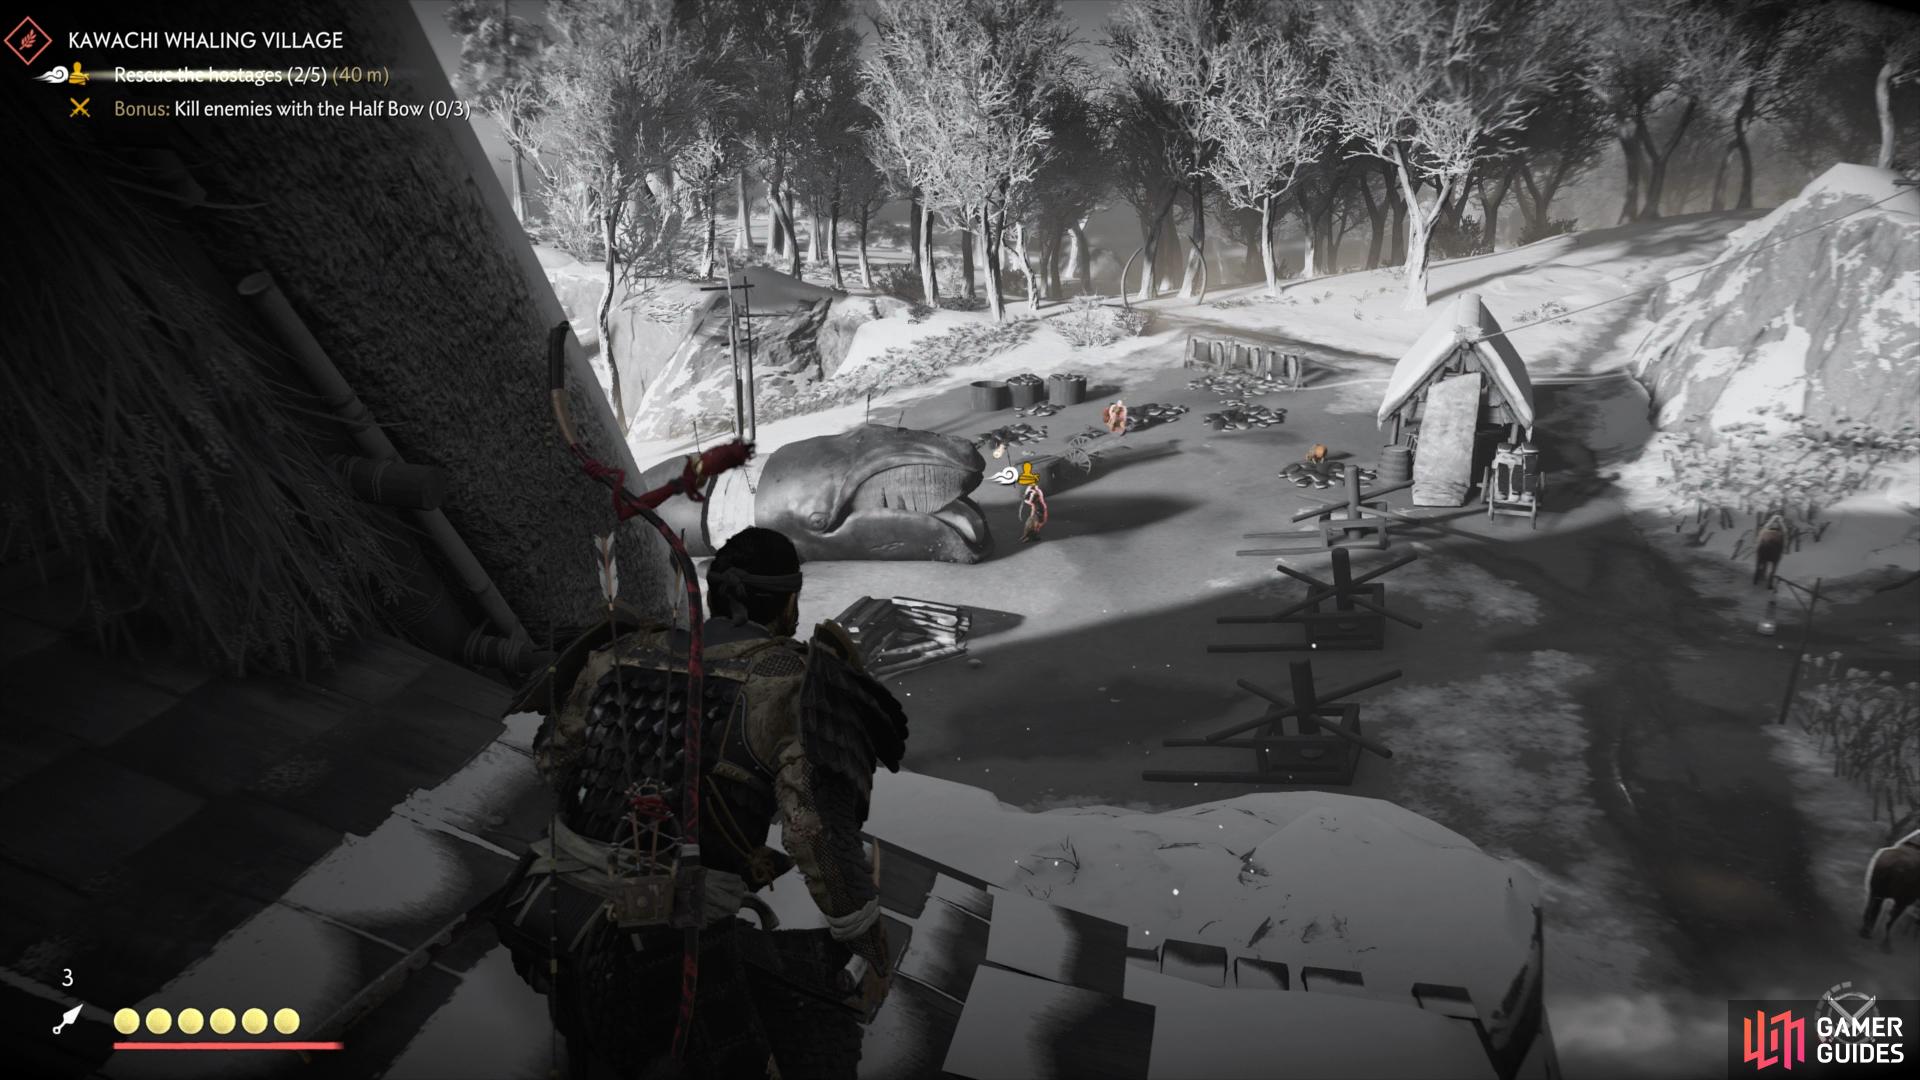
As such, your task here is to rescue the hostages that are captive here and it’s not a bad idea to begin by using the cliff to the southwest to get a lay of the land. You can gain entrance to the large building here via the rooftops and inside you’ll find the first hostage along with many Mongols. This entrance is the best way to go about it unseen, you can easily pass through all floors assassinating them before heading back up to free the captive.
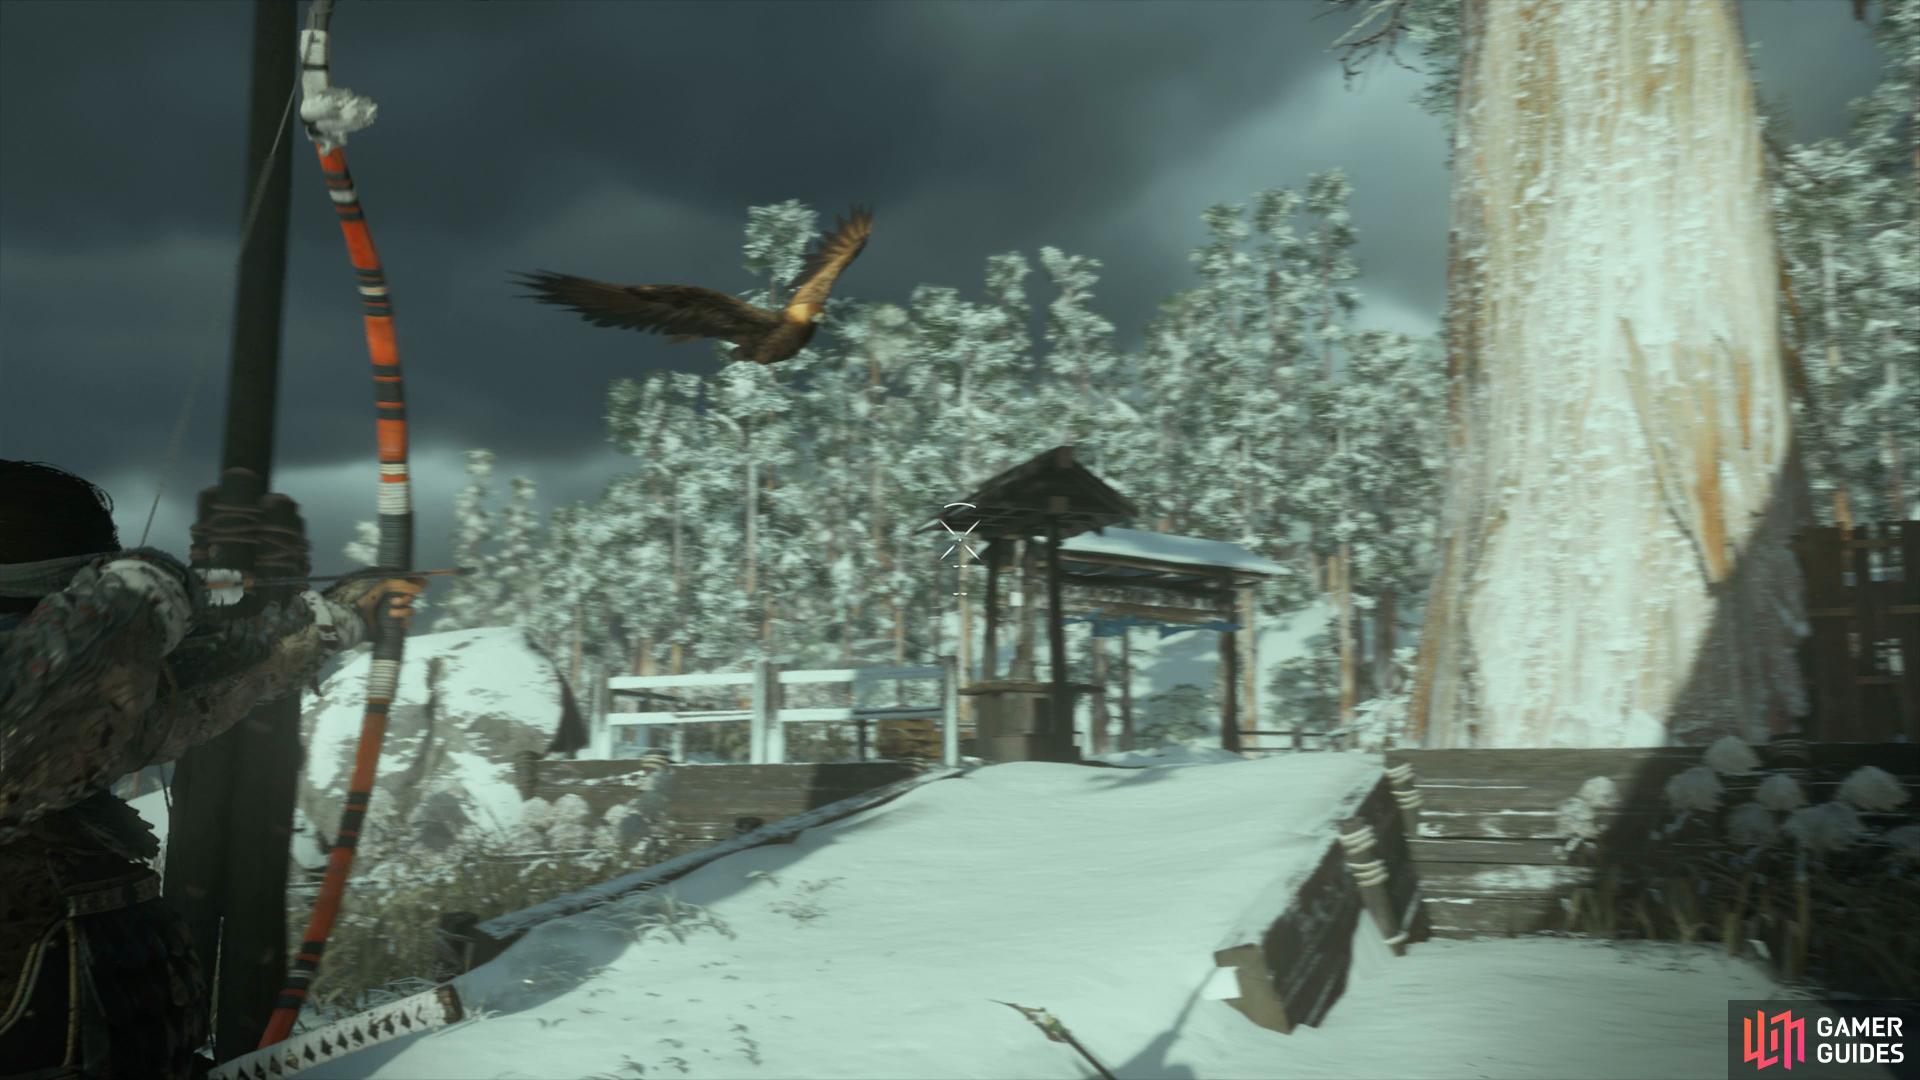
Leave this building and head to the edge to the southwest where you’ll find another large building. You can reach the roof of this one by swinging over using the Iron Hook, allowing you to quietly go about your business removing the Mongol threat. The next hostage can be found out in the open to the northeast of this building, your bow will be useful here to take down as many threats before rushing in to finish off any remaining Mongols, this is one of the easier hostages to rescue.

(1 of 2) Make full use of the rooftops in this area

Make full use of the rooftops in this area (left), and use the bow where possible to take out lone Mongols. (right)
You’ll need to head back up to the east to find the last two hostages, both of these have several Mongols guarding them, along with dogs. You’ll find buildings near both of them full with Mongols so work on taking them out first before focusing on the Mongols out in the open with the hostage. On top of the usual rewards you receive, you’ll also obtain a Piece of Mongol Armor needed for the Fit for the Khan Tale.
Start moving southeast from Kawachi Whaling Village, visiting Fort Jogaku once more. There will be a Mongol Artifact by the one gate, as well as a Sashimono Banner at the stables (you might have gotten the banner during a story mission). Southeast of Fort Jogaku will be another outpost, Frozen Forest Crossroads.
Frozen Forest Crossroads
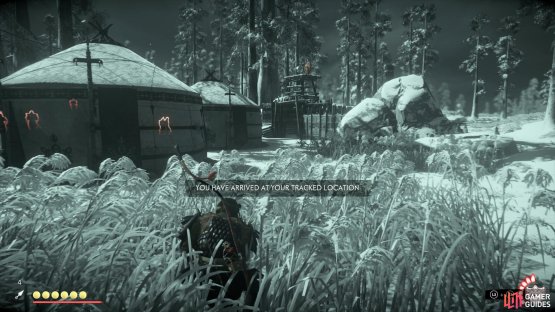
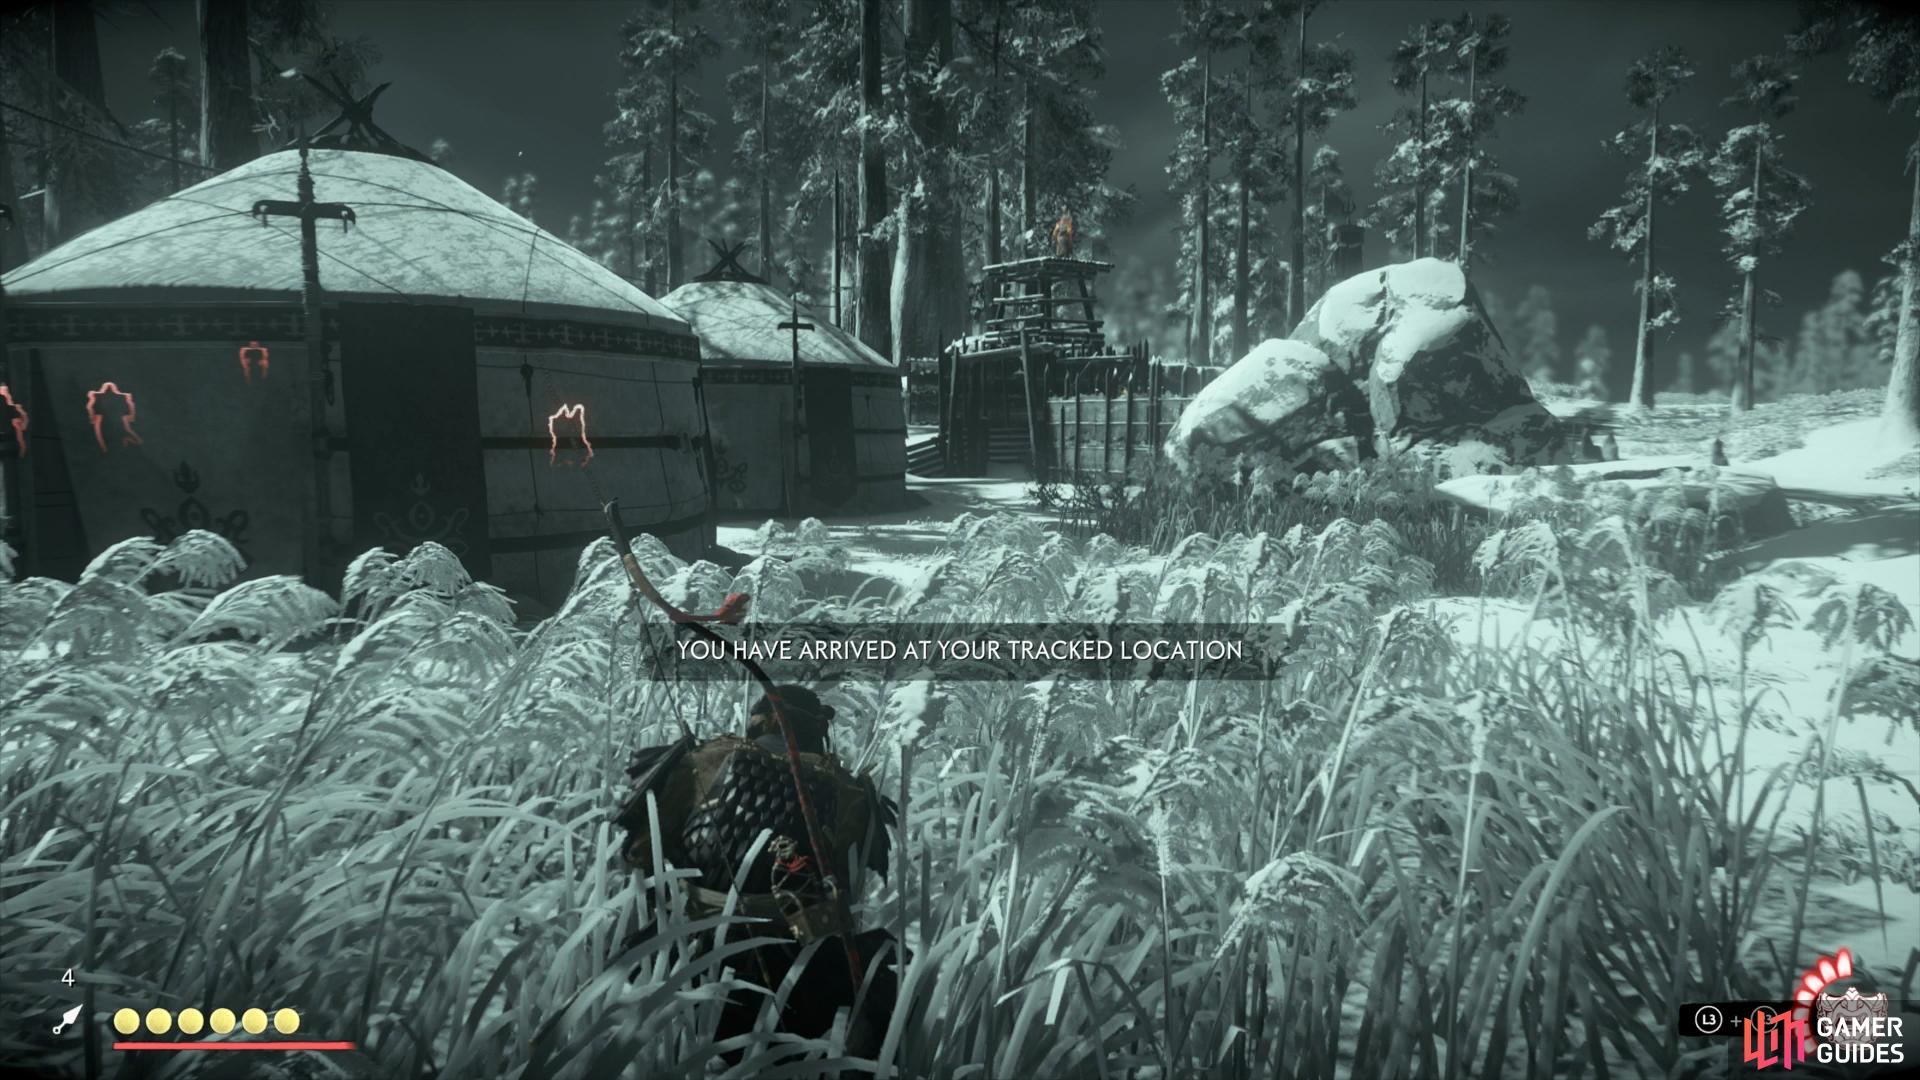
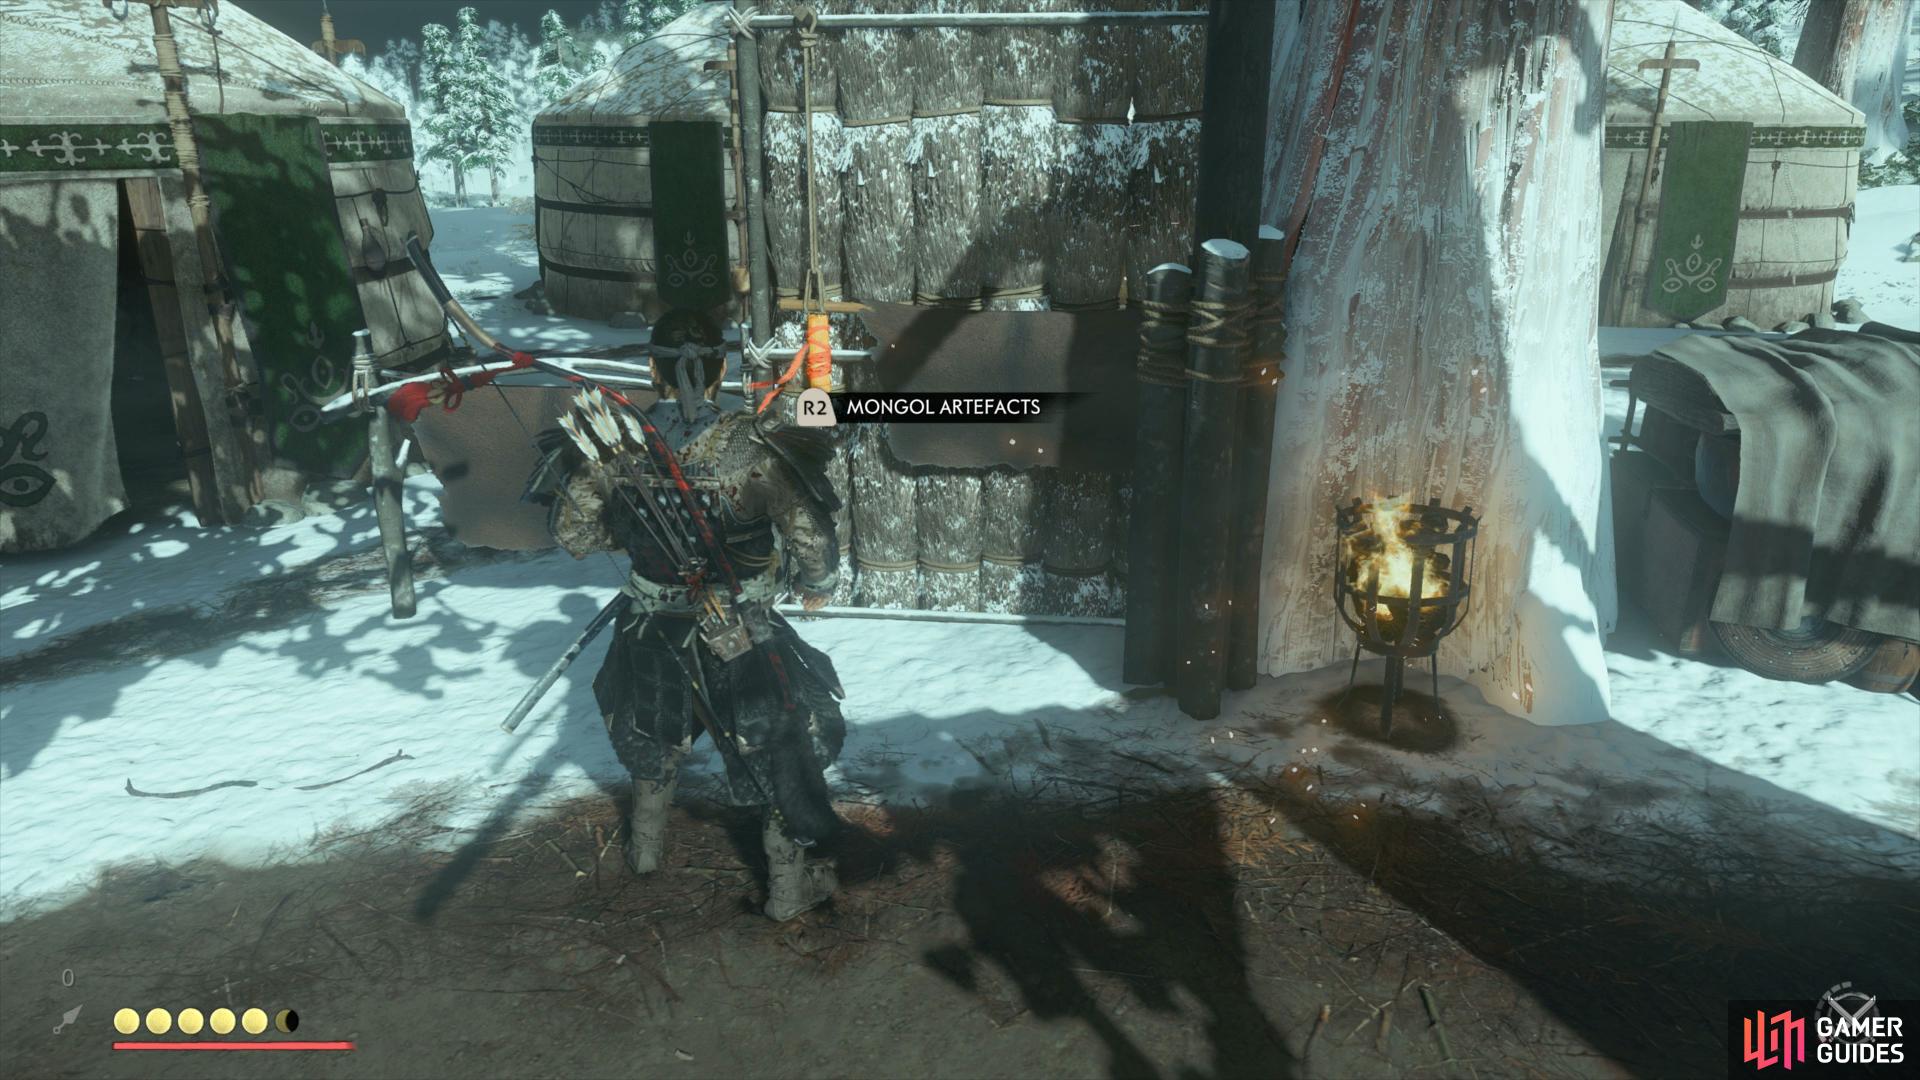
There’s not too much to this Outpost and you’ll find it to be one of the easier ones to liberate in Act III. There’s many grapple points that you can use to get around unseen but beware of the two Mongols accompanied by a dog that patrols outside, these can easily get behind you and cause trouble if you’re not careful. A lot of the enemies in general here will move about a lot so it’s almost easier to begin your assault here with a Stand Off, using the Sakai Armor fully upgraded and the right skills, you can almost kill all of the guards in one fell swoop. Once the Outpost is clear, be sure to search for the Mongol Artifact in the tent.
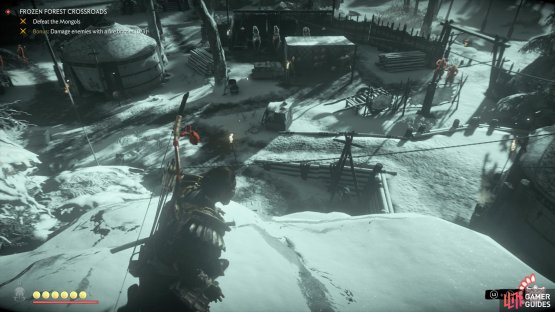
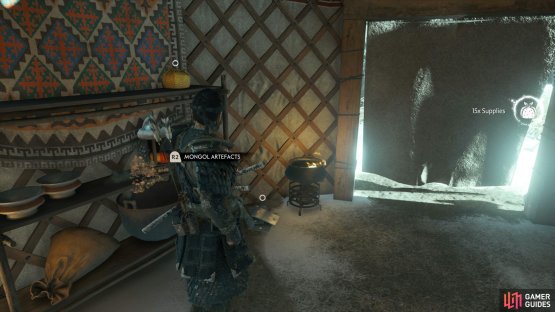
(1 of 2) You can get a good view of the whole Outpost from here


You can get a good view of the whole Outpost from here (left), be sure to collect the Mongol Artifact before leaving. (right)
Not too far southeast from there will be yet another outpost, called High Point Guard Post.
High Point Guard Post
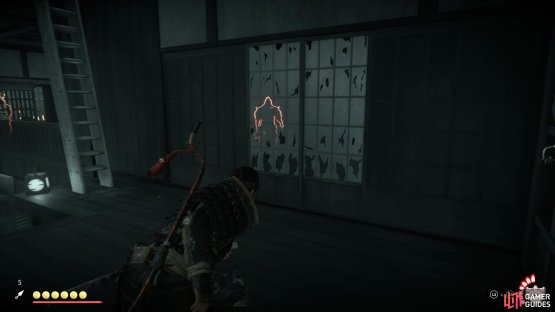
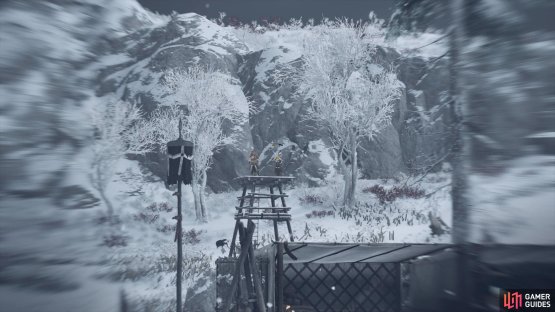
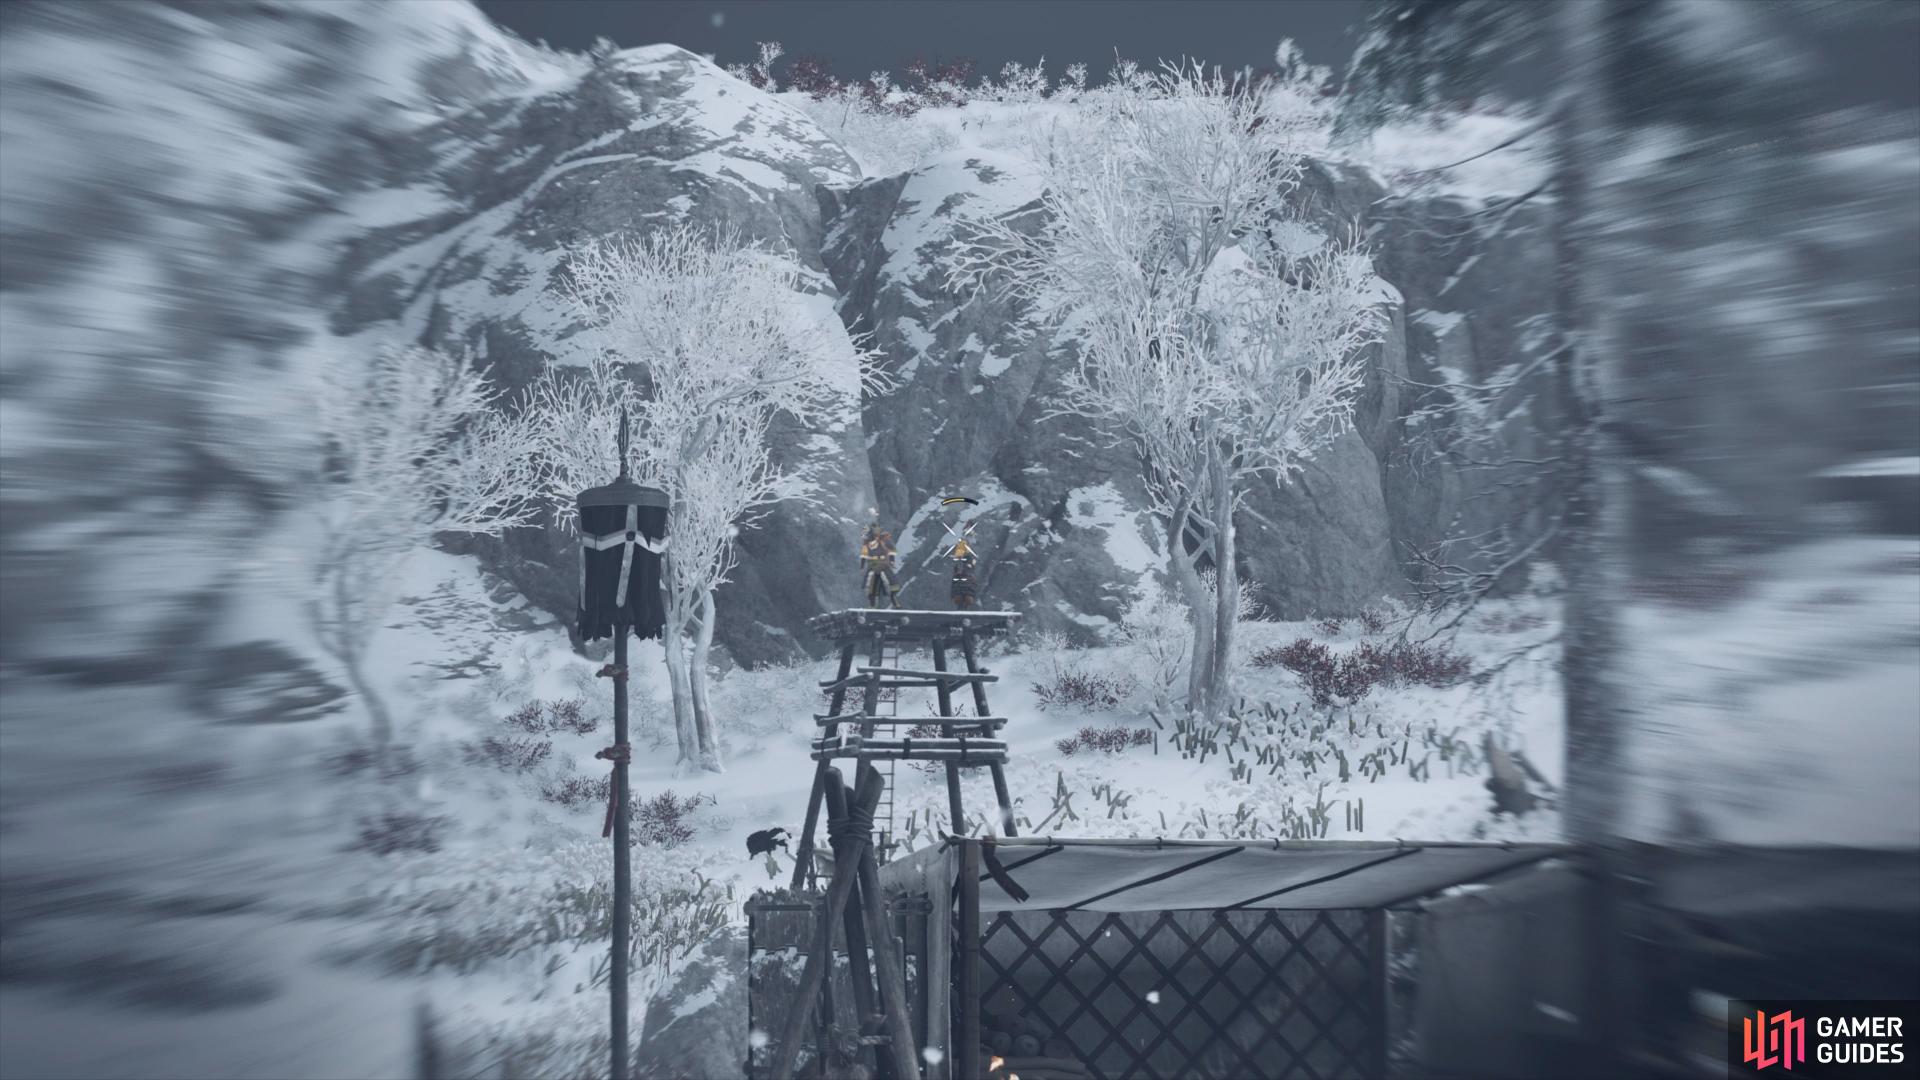
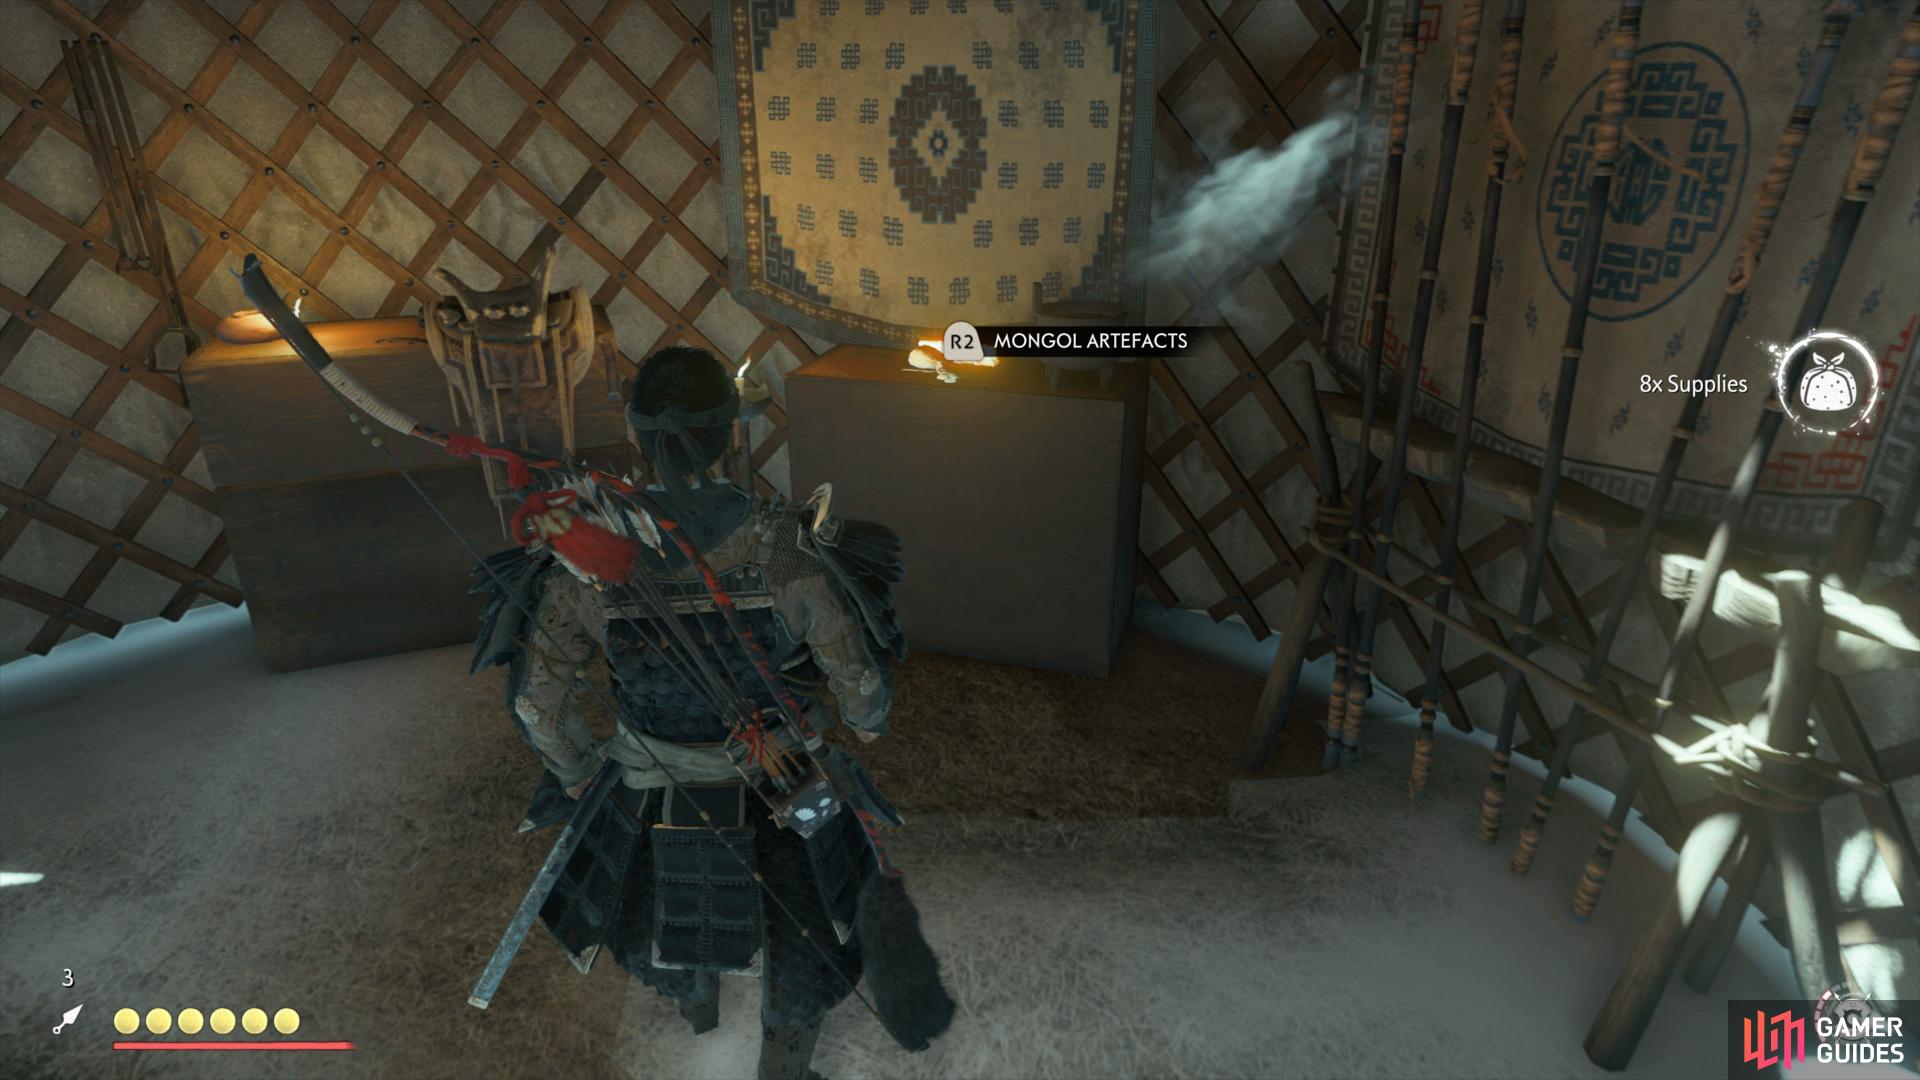
Despite being a small Outpost, it does stretch down the path with the leader situated in the middle. This can however, work in your favour, especially if you’re not going for the stealthy route. By approaching the cliff from the northeast of the Outpost, you can find yourself directly behind the leader in some grass, perfect for a Slaughter and to start the area in Ghost Stance. This will allow you to take another three out easily (more with the correct armor and charms) before you turn your attention to the tower and deal with the Mongol there. Before you leave the Outpost, look out for the Mongol Artifact in one of the tents.
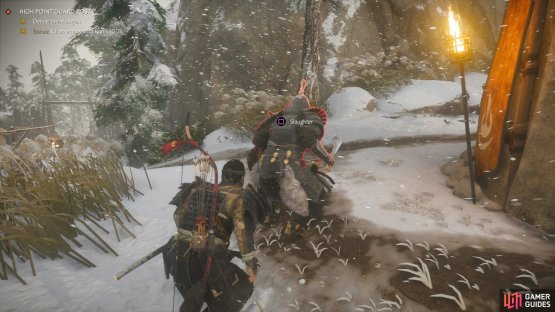

(1 of 2) You can Slaughter the leader and begin in Ghost Stance

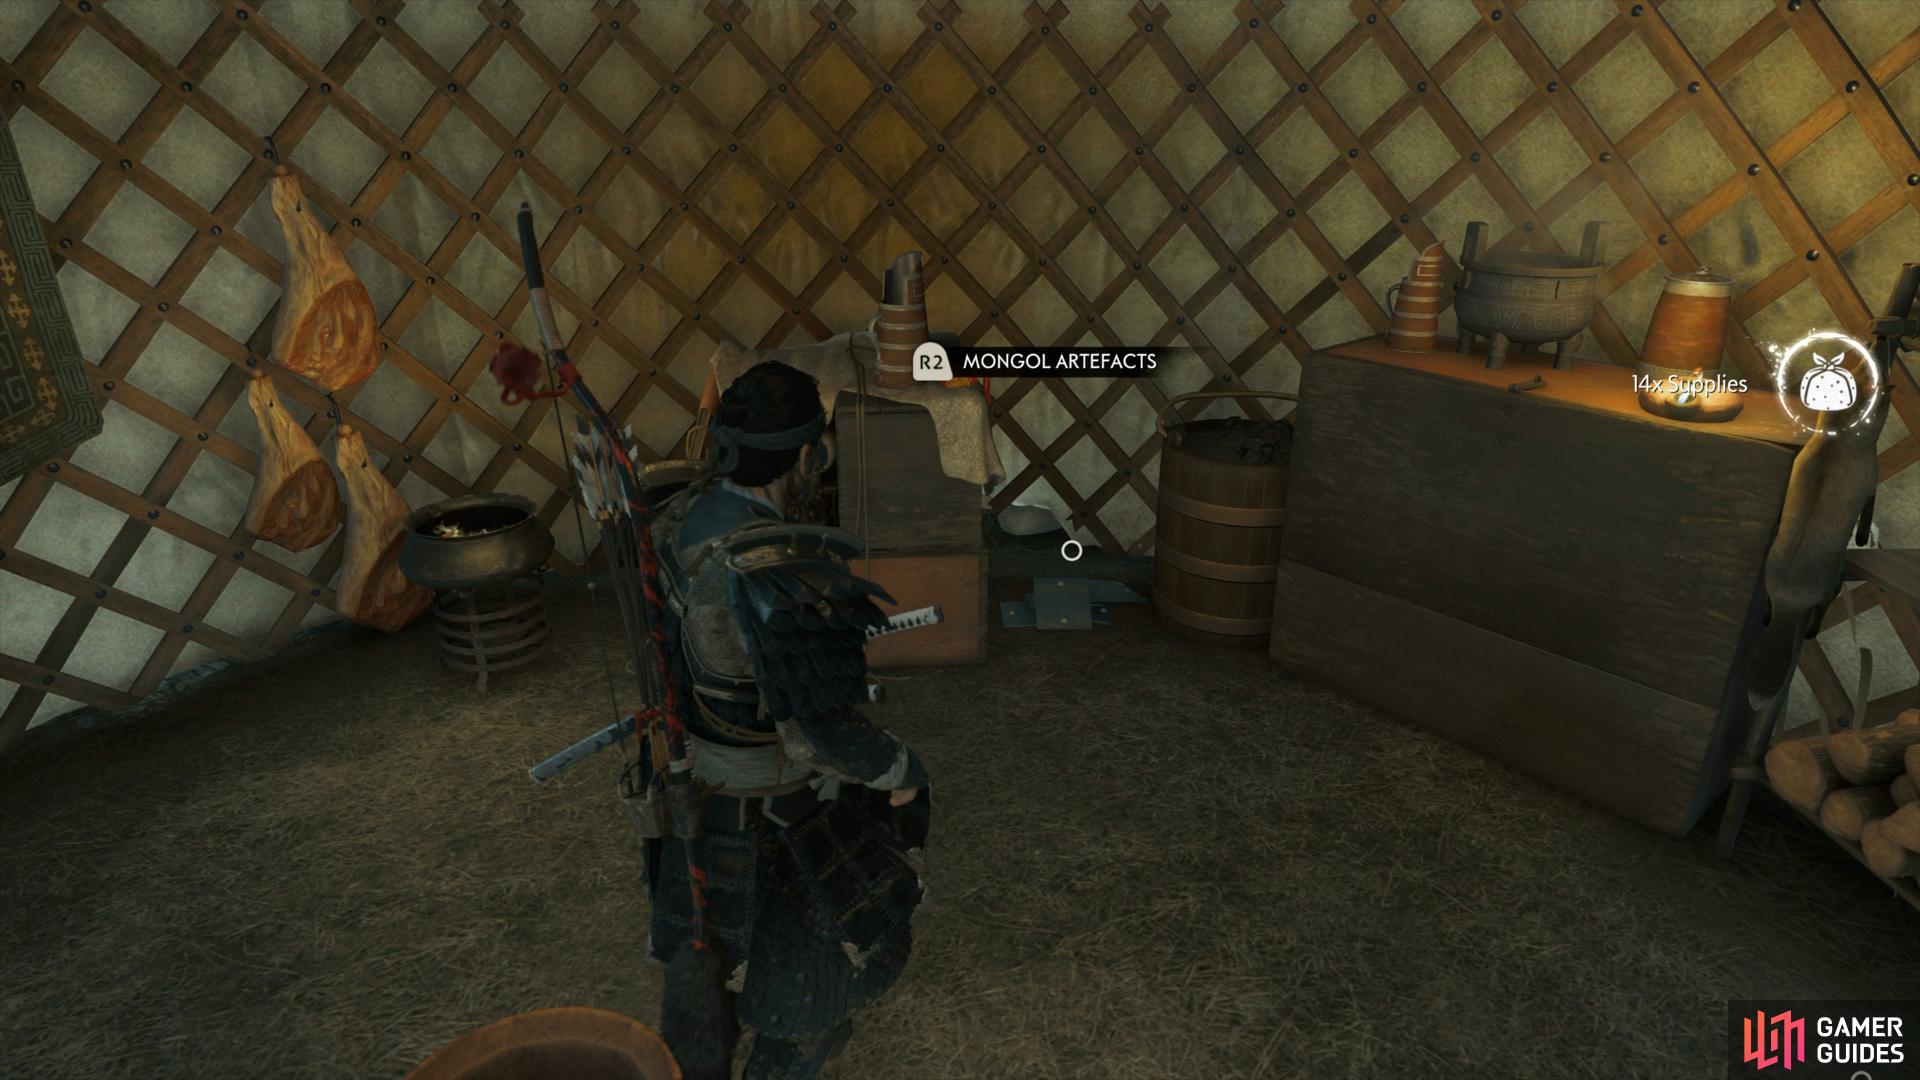
You can Slaughter the leader and begin in Ghost Stance (left), be sure to look out for the Artifact here. (right)
Upon clearing this outpost, there will be a tall hill not too far southwest of it, where you will find a Sashimono Banner. Just a little more southwest will be a bigger outpost, General Bartu’s Outpost.
General Bartu’s Outpost
Your main tasks here are to defeat all the Mongols, recover the Sashimono Banners and release the eagles before you can take on General Bartu himself. Avoid the southern entrance, it’s guarded by Mongols and archers so instead, begin from the eastern cliff to get a lay of the land, noticing how open it is. Focus on this southeast part of the Outpost and you’ll be able to dispatch some lone Mongols and archers as you make your way around to the east of the Outpost where you’ll find a building with a Sashimono Banner. From here, you can continue around the edge of the Outpost to find a group of three Mongols guarding an eagle, a Chain Assassination is ideal here.
Continue heading around the edge, ignoring the center for now and you’ll find a group of Dogs along with a Shield Mongol that you can easily take care of with Kunai. Continue down to the west here and you’ll find more buildings with Mongols and a Sashimono Banner nearby. With the majority of the outskirts taken care of, it’s just a matter of heading through the middle now to take care of all that remains along with looting the rest of the banners and releasing the eagles. It can be helpful here to lure a large group together and make use of Blackpowder Bombs or a Smoke Bomb to trigger a Chain Assassination. Once you’re ready to finish with this area, destroy the black powder cache and trigger a duel with General Bartu.
General Bartu has a shield with him and as such, you’ll want to switch over to Water Stance from the outset. If you have Ghost Stance available, make use of it from the start and then make use of Dance of Wrath if you’ve already completed the associated Mythic Tale, taking care not to dip under three Resolve for emergency healing. Bartu himself uses an ublockable red Shield Bash which is easy to spot but his most exploitable attack is when he raises his sword to bring it down in a slow strike, this is a prime time for a perfect parry which leaves him wide open. For clearing the Outpost and defeating General Bartu, you’ll obtain a Piece of Mongol Armor needed for the Fit for the Khan Tale.
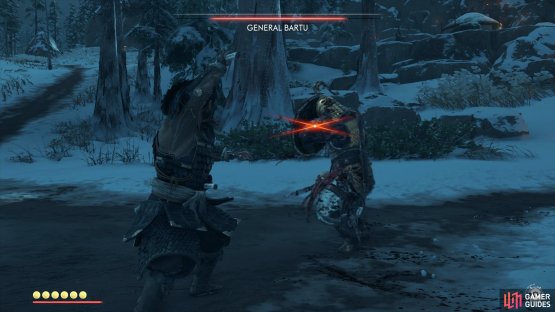

(1 of 2) Bartu will use an unblockable Shield Bash when approaching you like this
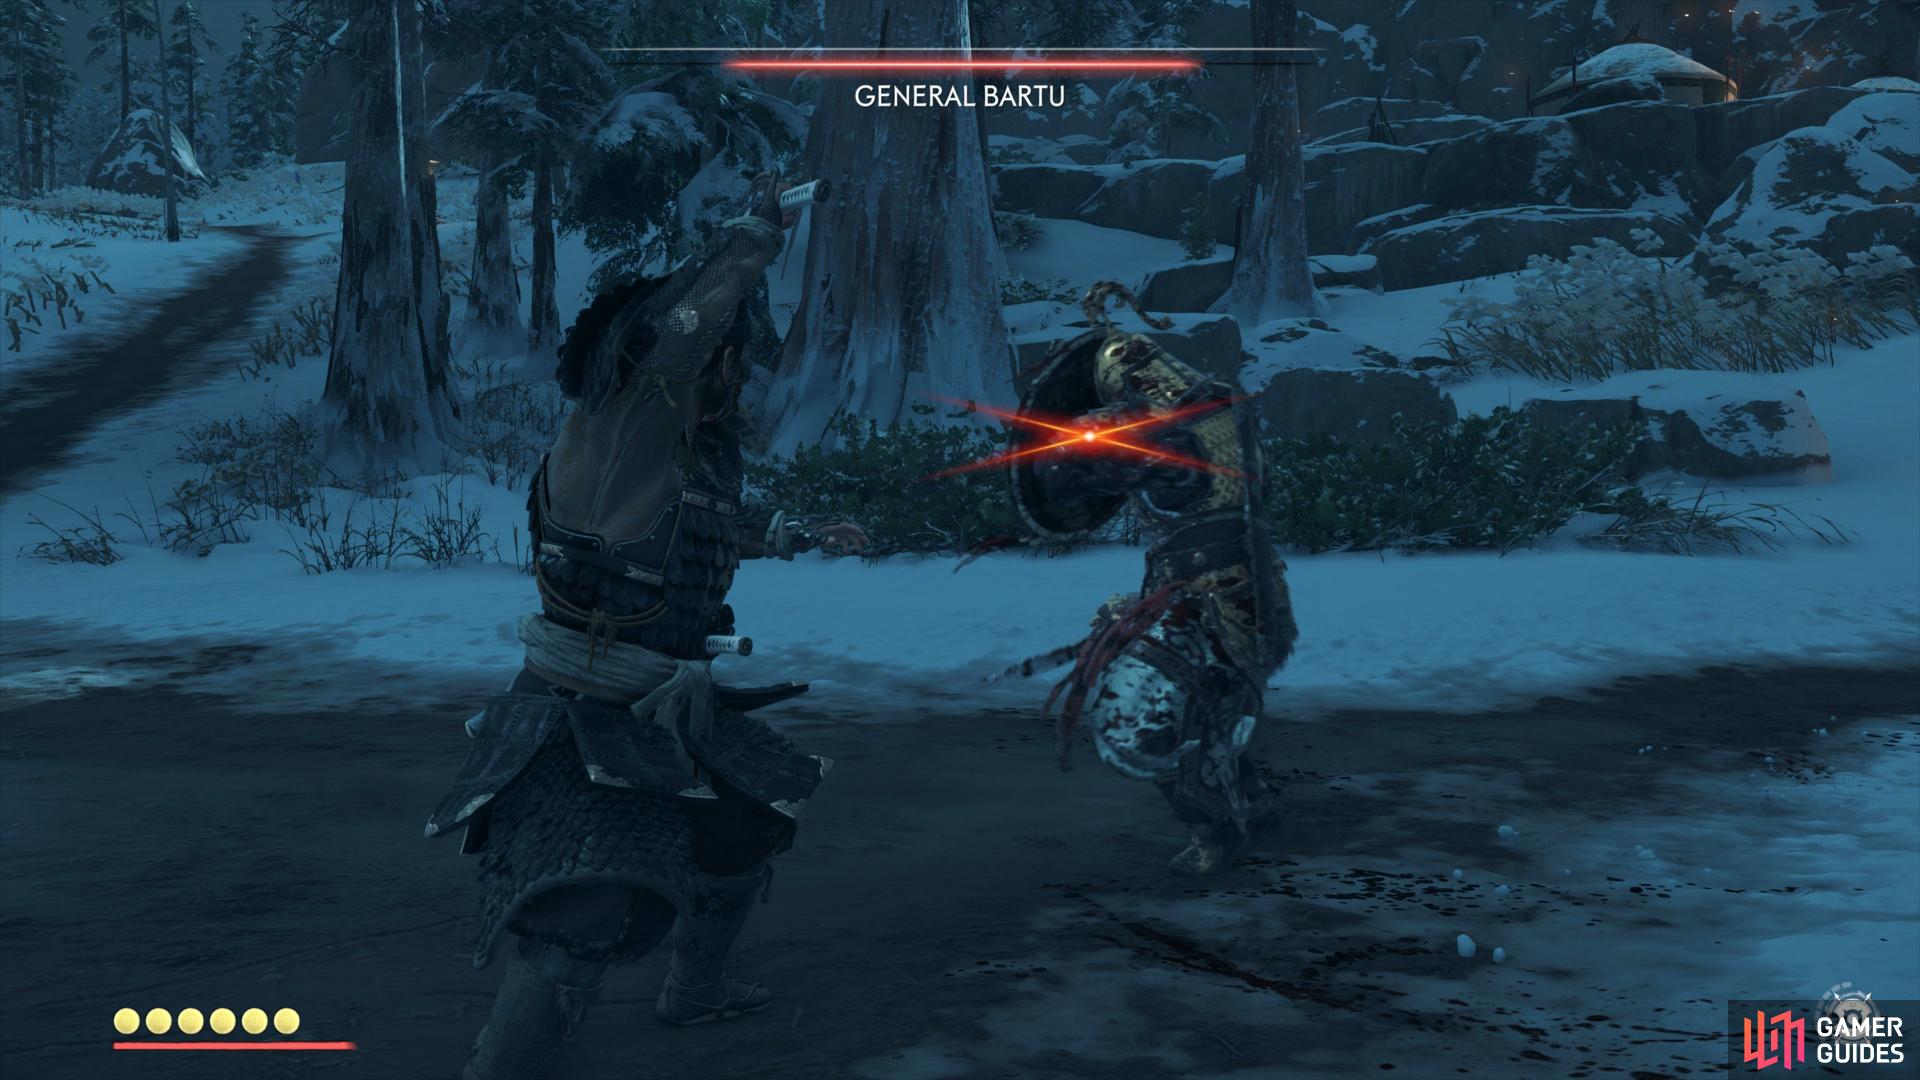
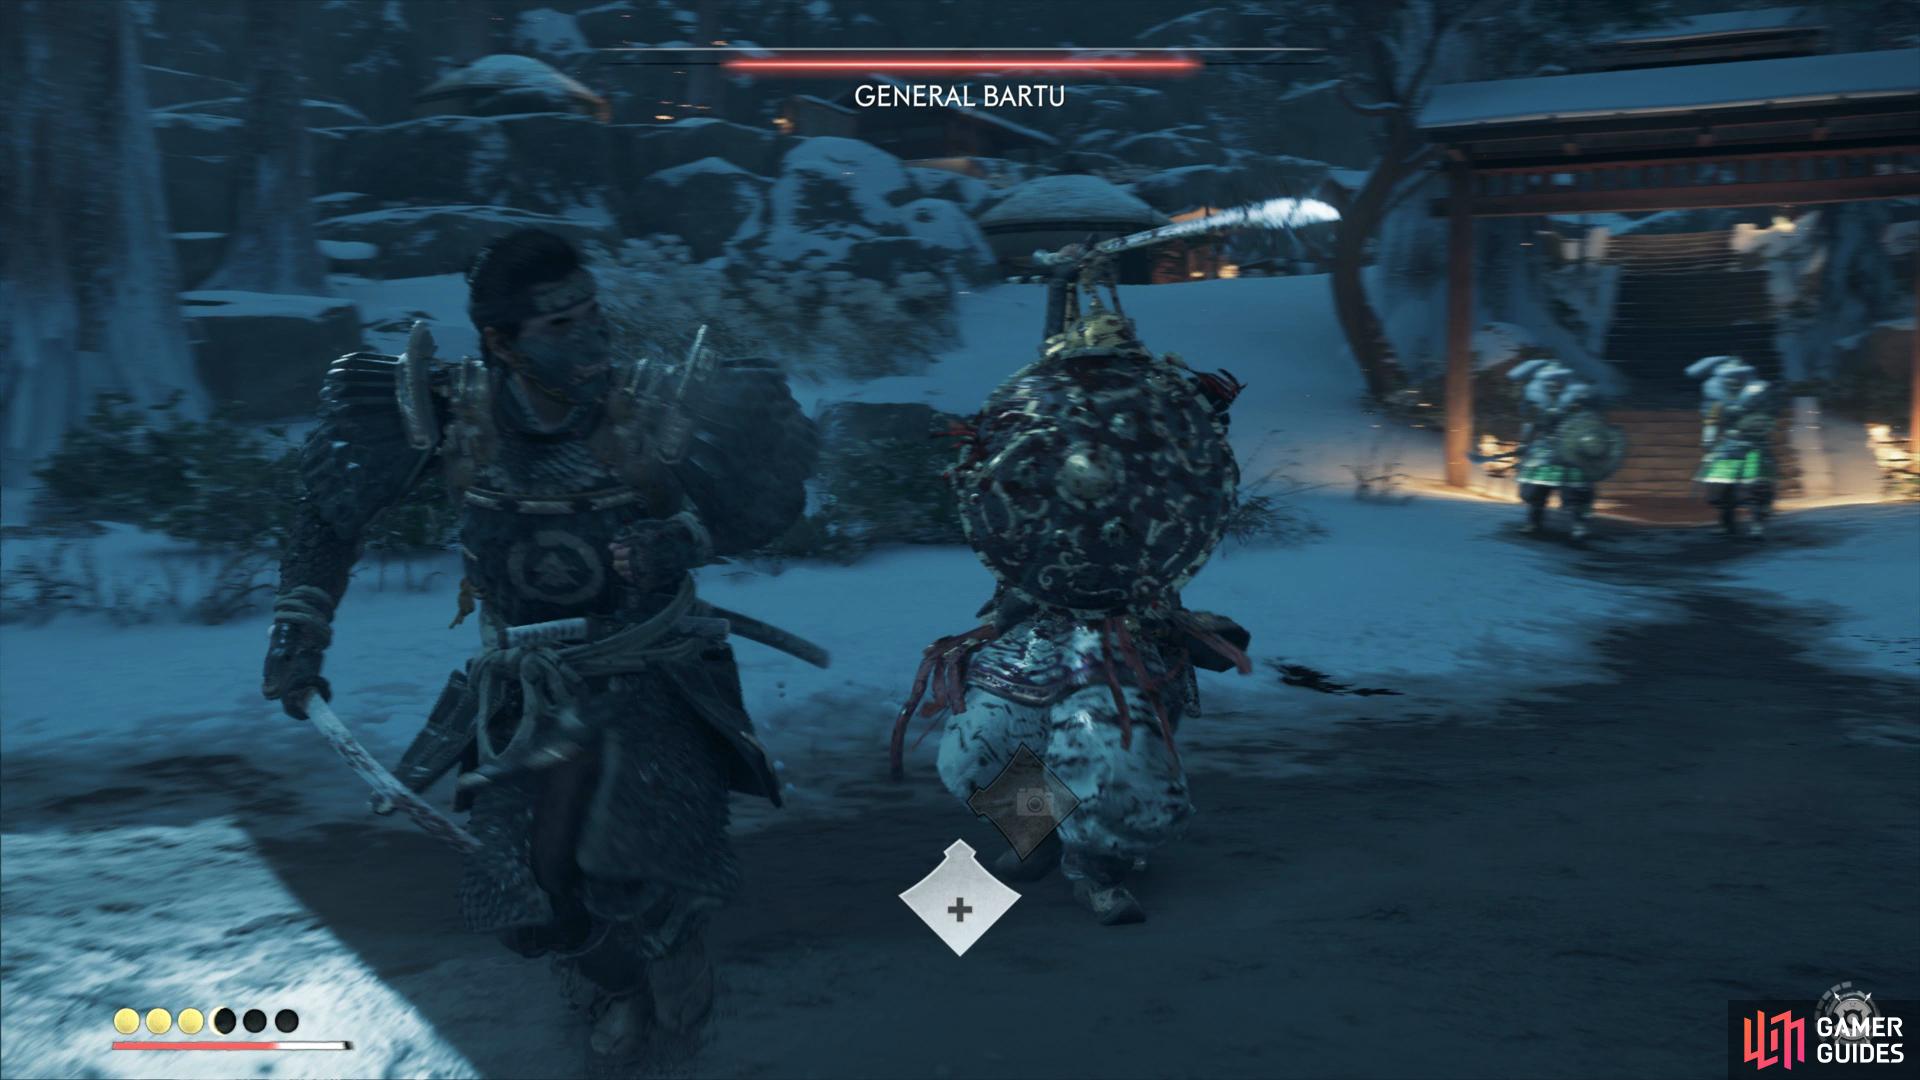
Bartu will use an unblockable Shield Bash when approaching you like this (left), this strike is easy to perfect parry and leave him open. (right)
Exit the outpost and venture east from it, looking for a fork in the road, where you will discover a Fox’s Den. Continue southeast from the Fox’s Den, looking for a higher spot, where you should find the Kin Haiku. Northeast from the Haiku spot is a place marked as Trapper’s House on your map, which is where you will be heading now. Once you arrive, go to the second floor of the house to find a Sashimono Banner. From the Trapper’s House, ride to the coast to the east, then follow it south until you find the piece of land jutting out into the sea, where you’ll find a Pillar of Honor. You will have to do some climbing and platforming to get to it.
Your reward for that Pillar of Honor is the Sly Tanuki Sword Kit, which is one of the pieces needed for a trophy (will be talked about in a little bit). For now, continue north from the Pillar of Honor, sticking to the coast, until you see some white smoke. That’s your cue that you’ve found the Morimae Hot Spring. This should be the last Hot Spring if you’ve been following this guide, unlocking the Fundoshi for Jin, which is “armor” for him that has absolutely no hidden benefits. Northwest from the Hot Spring will be the Morimae Brewery.
Morimae Brewery
As with all farmsteads, there are a number of ways to approach but the safest is from the southeast. The first hostage can be found a little to the north here and you’ll want to deal with the lone Mongols that patrol with dogs before getting any closer. Of particular note here is the archer that stands on the roof above the captive, deal with him before picking off the others. Make your way west from here and you’ll spot the next hostage on the lower ground, once again out in the open. Other than the two standing guard, the rest of these Mongols will patrol, allowing you to use stealth and then a Chain Assassination on the two at the hostage.
Make your way up to the northwest from here to spot the next hostage, another out in the open. He has two archers focused on him too however you can easily sneak up to both of them to easily dispatch them before dealing with the last two on guard at his location. The final hostage can be found near the burning house to the north, this has the largest group of Mongols so is best to free last. It’s best to approach from the top floor and work your way down but don’t be afraid to jump into the fray and use your Ghost tools if they spot you. Aside from the usual rewards, you’ll also obtain a Piece of Mongol Armor needed for the Fit for the Khan Tale.
(1 of 2) Deal with the archer first here

Deal with the archer first here (left), work your way down from the top in the large building to the north. (right)
Return to the coast and follow it north, all the way to the tip, where you will discover the Jogaku Lighthouse. Light it, then go around the back of it to find a Mongol Artifact. Fast travel to Izumi Village (which was cleared during the assault on Khotun Khan) and look inside one of the buildings on the southern side for a Record. Venture southwest from Izumi Village to find the Stone Cutter’s Village. Sitting on the porch of one of the buildings will be the Skeletal Vengeance mask. Continue northwest, to the frozen river and look on the frozen river, not too far from the bridge, for a Sashimono Banner. Return to the Morimae Brewery and ride straight west, until you reach the Icy Forest Crossroads.
Icy Forest Crossroads
This is one of the small Outposts in Kamiagata and as such, is prime for area of effect tactics, especially if you begin your approach from the eastern edge. Your first order of business here should be to dispatch the two archers on their towers and then work on either using Chain Assassinations to take out multiple at a time or go crazy with explosives. This is arguably one of the more recommended Outposts in the entire game to make use of Blackpowder Bombs due to everything being bunched up. Once the area is clear, be sure to pocket the Mongol Artifact on the way out.

(1 of 2) This is the best place to approach the Outpost from
This is the best place to approach the Outpost from (left), be sure to grab the Artifact on your way out. (right)
As you move northwest from there, you are looking for a NPC that is coughing up blood, who is more west than north. Once you find him, you can complete The Cost of Fear Side Tale. Upon completing it, head straight north from where you encountered the NPC to discover a Fox’s Den. From there, continue northwest to the little fishing village south of Jogaku Temple, where you can loot another Mongol Artifact.
Go to the northern shore of Jogaku Temple Lake and towards the western side, you will see some makeshift graves; on one of these graves is the Tengai hat. On the roof of the tall building on the southern end of Jogaku Temple is another vanity item, the Crooked Kama Headband. Equipping this, the Sly Tanuki sword kit, Gosaku’s Armor (with the Ocean Guardian dye) and any mask will unlock the Cooper Clan Cosplayer trophy. There are two Side Tales at Jogaku Temple, Friends in Passing, which is gotten from Ishikawa, and Fit for the Khan. The latter you cannot finish right now, as it requires you to collect four pieces of armor from the various outposts in Kamiagata, but you should already have three of them now.
Go ahead and do the former Side Tale now, which should unlock the final Ishikawa Side Tale, Laid in Rest. Once you’re done with all of that, return to Jogaku Temple and not too far east, outside of it, you will find a Pillar of Honor in the middle of the bamboo forest. Return to Jogaku and exit to the west, where you should find a Fox’s Den by the crossroads. Slightly northwest, at the bottom of the cliff, you will find a Sashimono Banner.
Northeast from the Fox’s Den will be a cemetery, which means there will be a Singing Cricket in it. Slightly northeast from there will be Yamato, who will give you the final Mythic Tale, The Undying Flame. This will place you on top of Mount Jogaku and while you’re there, climb to the roof of the dojo to loot a Sashimono Banner. Northeast from where you met Yamato for the above, you will find another Sashimono Banner in the middle of the field; this one can be a little hard to pinpoint, so make sure you use the Traveler’s Attire. Southeast from that banner will be another outpost, the Mountain Pass.
Mountain Pass
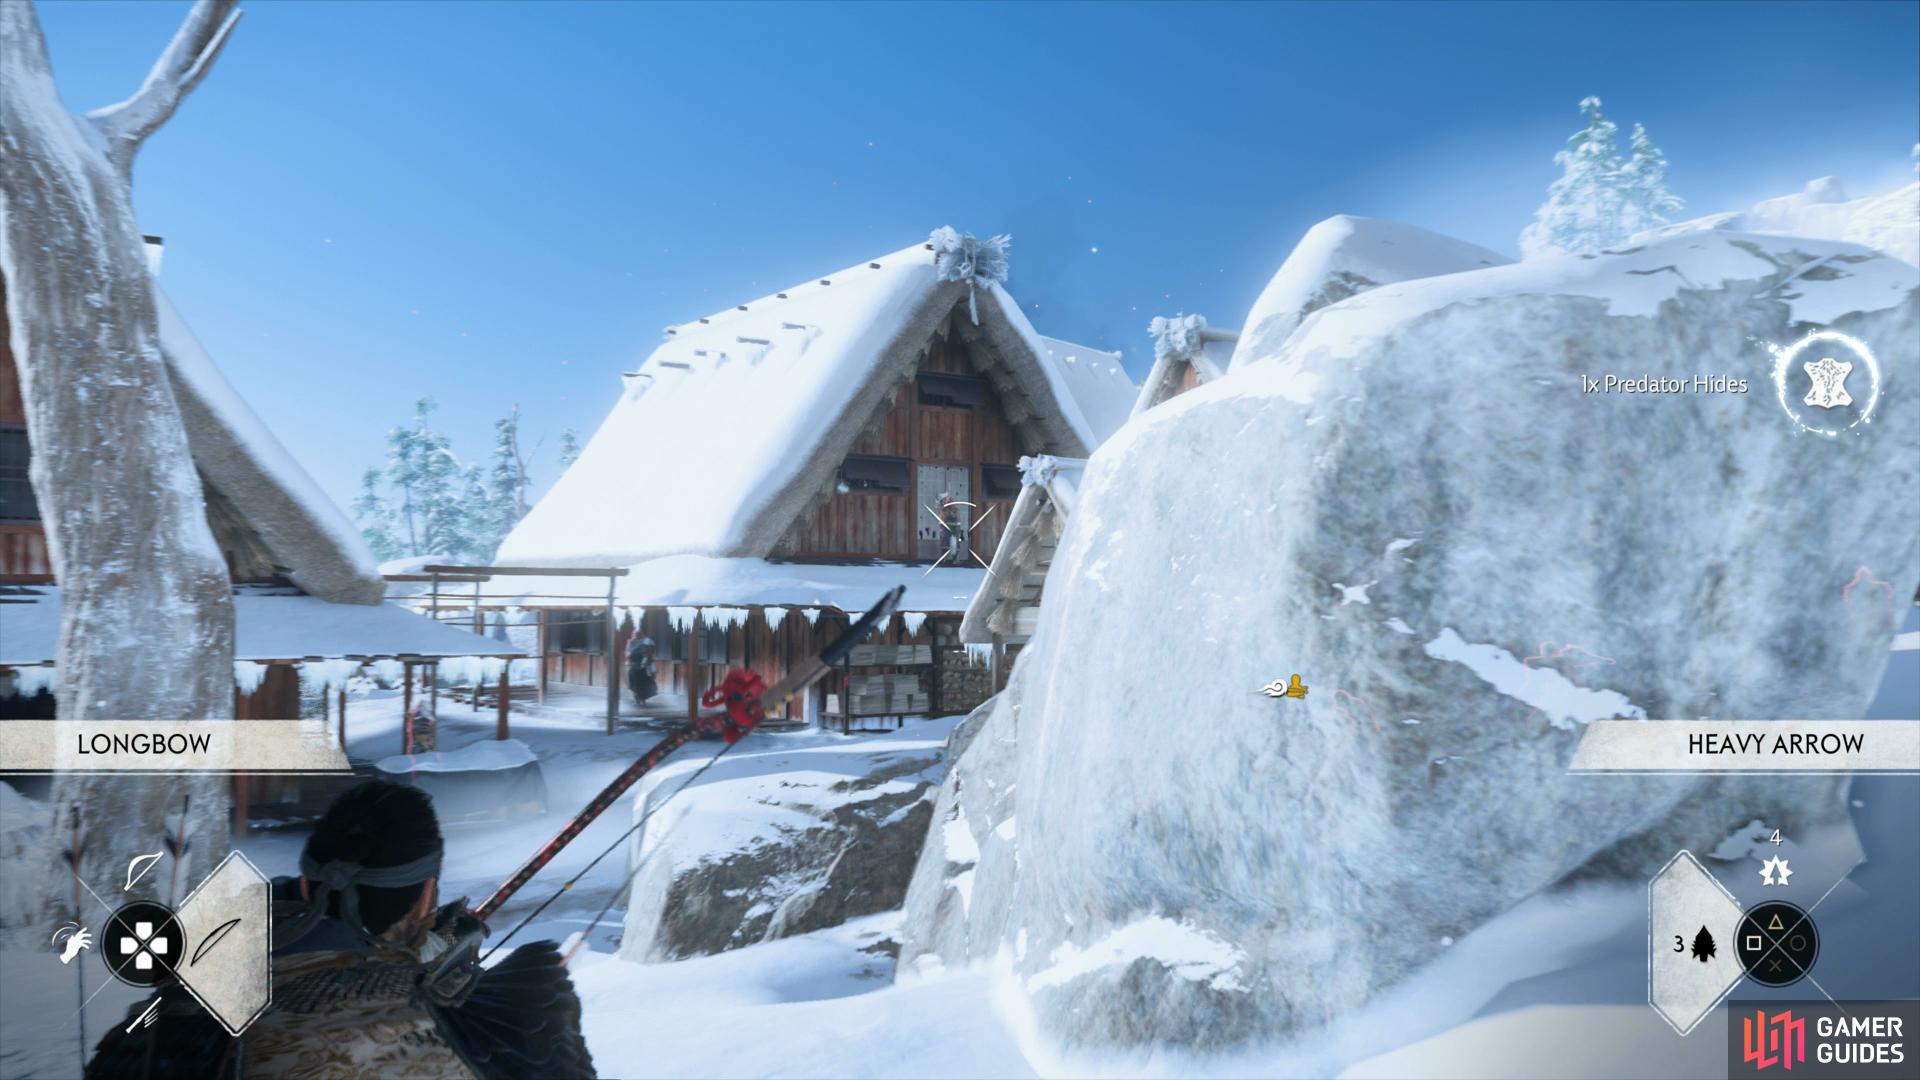
This is one of the smaller Outposts in Kamiagata and approaching from the west gives you a great entry point under the cover of the grass situated here. The largest obstance here are the two archers perched on the same tower to the north of this location but if your Longbow skills are reliable and you have all of the Concentration skills unlocked, you can kill both of them without alerting the rest of the Outpost. With them out of the way, you can sneak around the edges to dispatch the lone Mongols and gain your Ghost Stance that you can use to finish off the rest. Before you leave this Outpost, be sure to look for the Mongol Artifact in one of the tents.

(1 of 2) You can kill both Archers without alerting the camp if your aim is true
You can kill both Archers without alerting the camp if your aim is true (left), don’t forget the Artifact on your way out. (right)
If you look at your map, you see Cape Izumi to your east, so head over there and you will find a Pillar of Honor. Return to Mountain Pass and take the western exit, then at the crossroads, follow the road straight north, until you run into another Fox’s Den. A little north of there will be the final Shinto Shrine, Snowlit Peak Shrine. Southwest of the entrance to Snowlit Peak Shrine will be another cemetery, where you will find the final Singing Cricket. Southwest of there, on the map, you will find one final Pillar of Honor.
From there, head north and slightly west to discover the final Fox’s Den. Looking at your map, there is a located called Whaler’s Coast northeast of the Fox’s Den, so head there now. Right above the name on the map, you will find two more things, right next to each other, the Jogaku Haiku and another Sashimono Banner. Return to the Fox’s Den and southwest of it will be the final outpost in the game, General Dogshin’s Outpost.
General Dogshin’s Outpost
As such, your main objectives here are to recover the Sashimono Banners, Defeat the Hwacha Operators before taking on General Dogshin himself. Due to the size of the Stronghold, there are so many ways you can go about approaching this but consider dropping down from the cliffs to the southeast, this will get you close to those deadly Hwacha Operators. You’ll find a group of five Mongols here and you can dispatch them with a Chain Assassination followed by a quick Kunai throw.

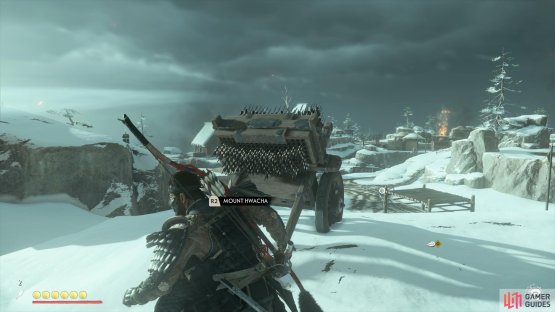
(1 of 2) This is a good location to drop down from, taking out an initial 5 Mongols
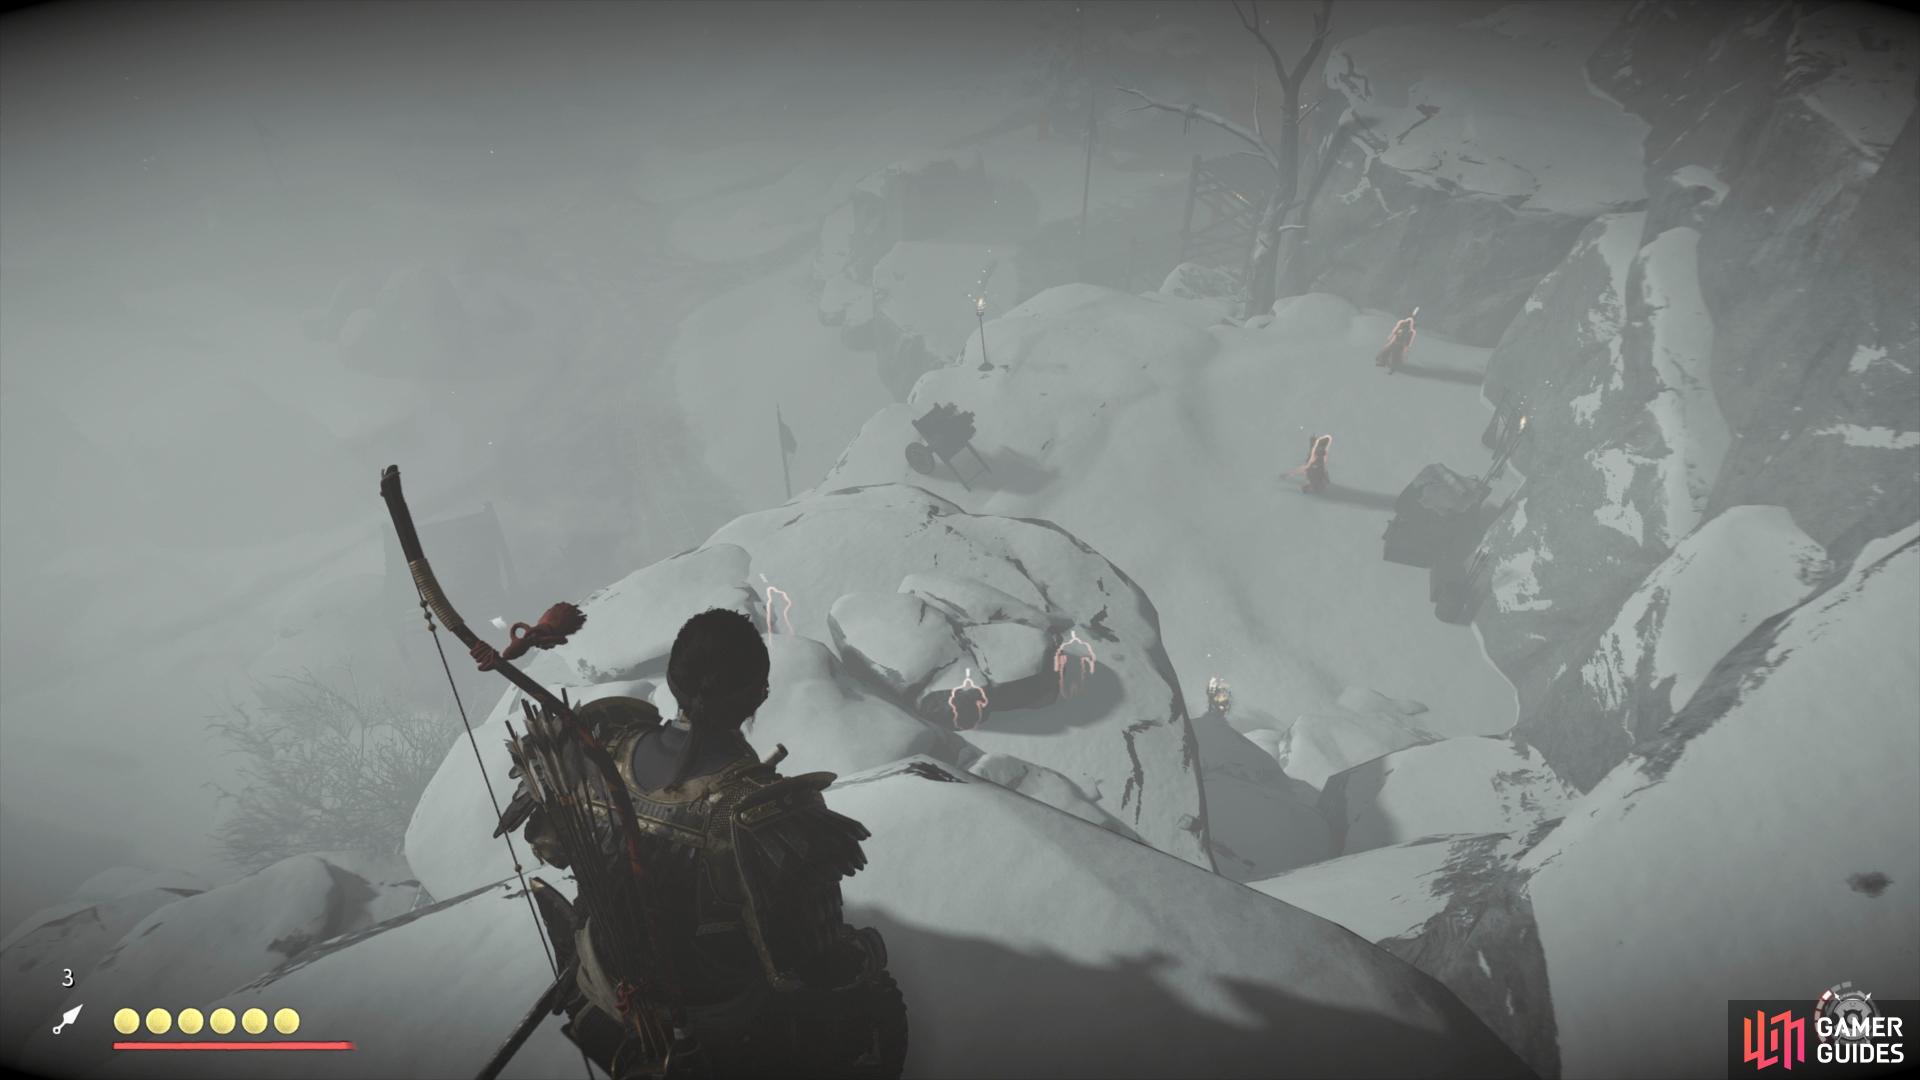

This is a good location to drop down from, taking out an initial 5 Mongols (left), this allows you to reach a Hwacha and cause chaos if you wish. (right)
From here, you can head along the southern edge to find another five Mongols protecting the first Hwacha, once again the Chain Assassination is useful here. At this point you can choose to continue the stealth approach or go for chaos, using the Hwacha to take on groups of enemies. This is the quickest route through the Stronghold although do note that you will eventually run out of arrows on the Hwacha.
Regardless of your choice, drop down to claim a Sashimono Banner and then head west to deal with all of the Mongols in the lower camps here. From here, it’s an easy path up the western side of the camp for easy takedowns and eventually you’ll reach the upper camps where you can use the same tactics as before on the lower camps. Once you reach the northeast, you’ll see a small path leading high up the mountainside, follow this and you’ll find the last enemies to defeat if you’ve been exploring the lower and upper camps properly. Once you have all the Banners, destroy the black power cache to draw out General Dogshin.
General Dogshin is another Mongol that has a shield, meaning you’ll want to switch to Water Stance for this battle. You’ll want to enter the battle with Ghost Stance as always so you can deal a large chunk of damage from the outset and then focus on countering the General’s attacks. Dogshin is a lot quicker than the General at the other Stronghold in Kamiagata and as such, you’ll need to dodge a lot of his red unblockable Shield Bashes, looking out to dodge his follow up swipe too. He will however have the same exploitable downward slash that you should look to perfect parry. Along with the usual rewards for clearing this Outpost, you’ll also obtain a Piece of Mongol Armor needed for the Fit for the Khan Tale. Don’t forget to loot the Mongol Artifact and Record before leaving the outpost.
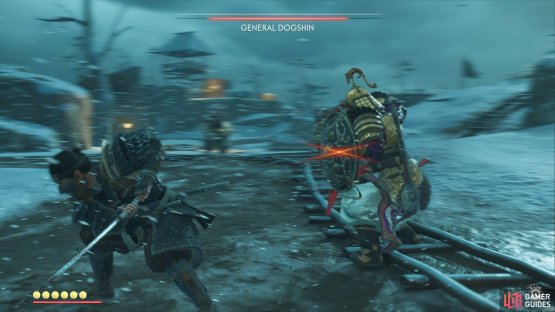
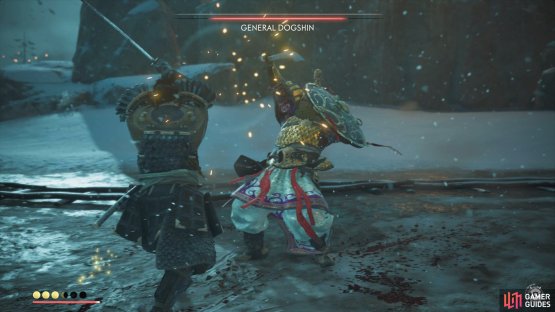
(1 of 2) Beware of Dogshin’s deadly Shield Bash
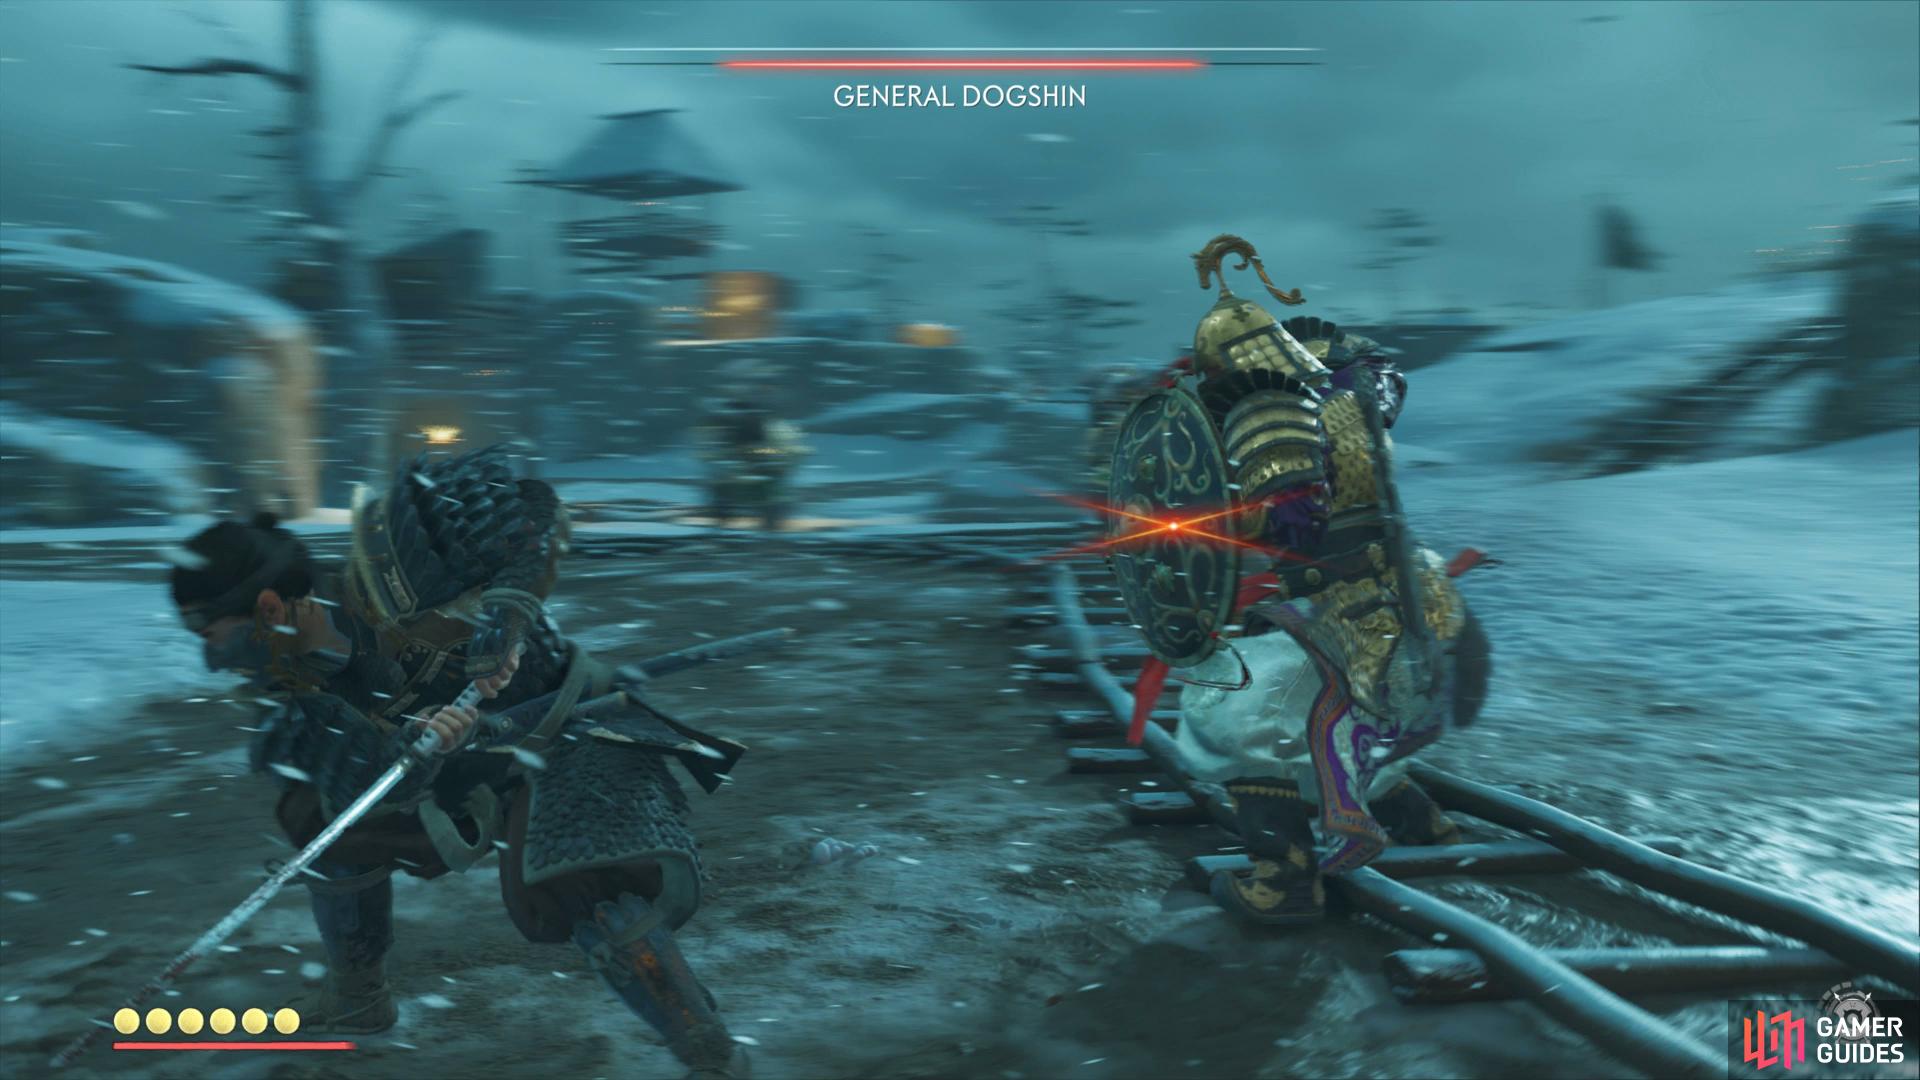

Beware of Dogshin’s deadly Shield Bash (left), look to exploit his slow downward strike. (right)
That should be your final outpost, as well as the final piece of armor for Fit for a Khan. Return to the NPC at Jogaku Temple to get fitted for the armor, wrapping up all of the exploration for Ghost of Tsushima. The only thing left to do is complete the final story mission, then you will finally be done with the game!
No Comments