


There is still plenty of Izuhara left to explore, especially the area around Azamo Bay. The last thing you did on the previous page was nab the Rising Trees Hot Spring, so let’s continue from there. Fast travel to the Azamo Haiku spot and start venturing to the south. You’re looking for a Fox’s Den, which will be northeast of the Logging Camp enemy outpost. Once you find it, let the fox lead you to the Inari Shrine, then it’s time to tackle that outpost mentioned.
Logging Camp
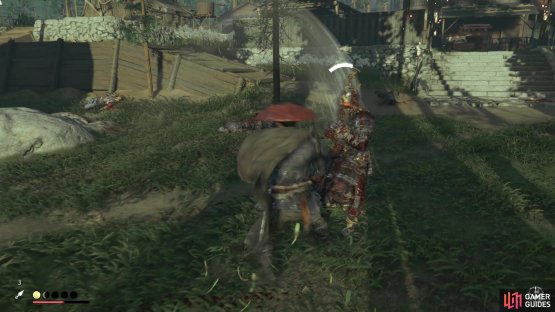
As already mentioned above, if you found the Fox’s Den, then the Logging Camp will be directly southwest of it. Aside from the bonus objective, which is random, your goal for the Logging Camp is to retrieve four Sashimono Banners (they will be marked), eliminate the war camp general, and free three prisoners. If you’ve been following this walkthrough, then this is likely the first instance in the game where you encounter Mongols with helmets on them. Since the Half Bow can’t hit through helmets, you will need a different approach, especially if you haven’t progressed enough to acquire the Longbow.

It should be pointed out that this is a pretty large camp, so there’s going to be a lot of enemies. You’re almost exclusively dealing with red-tier enemies here, too, so a frontal assault might be dangerous if you haven’t experienced them much. The first thing you should always do is look out for the archers on the raised platforms, noting some of them might have helmets, so you will need to improvise and either try to sneak up to their platform or possibly use fire arrows on them. Thankfully, not every enemy will be wearing a helmet, so you can pick off the ones who aren’t with headshots.
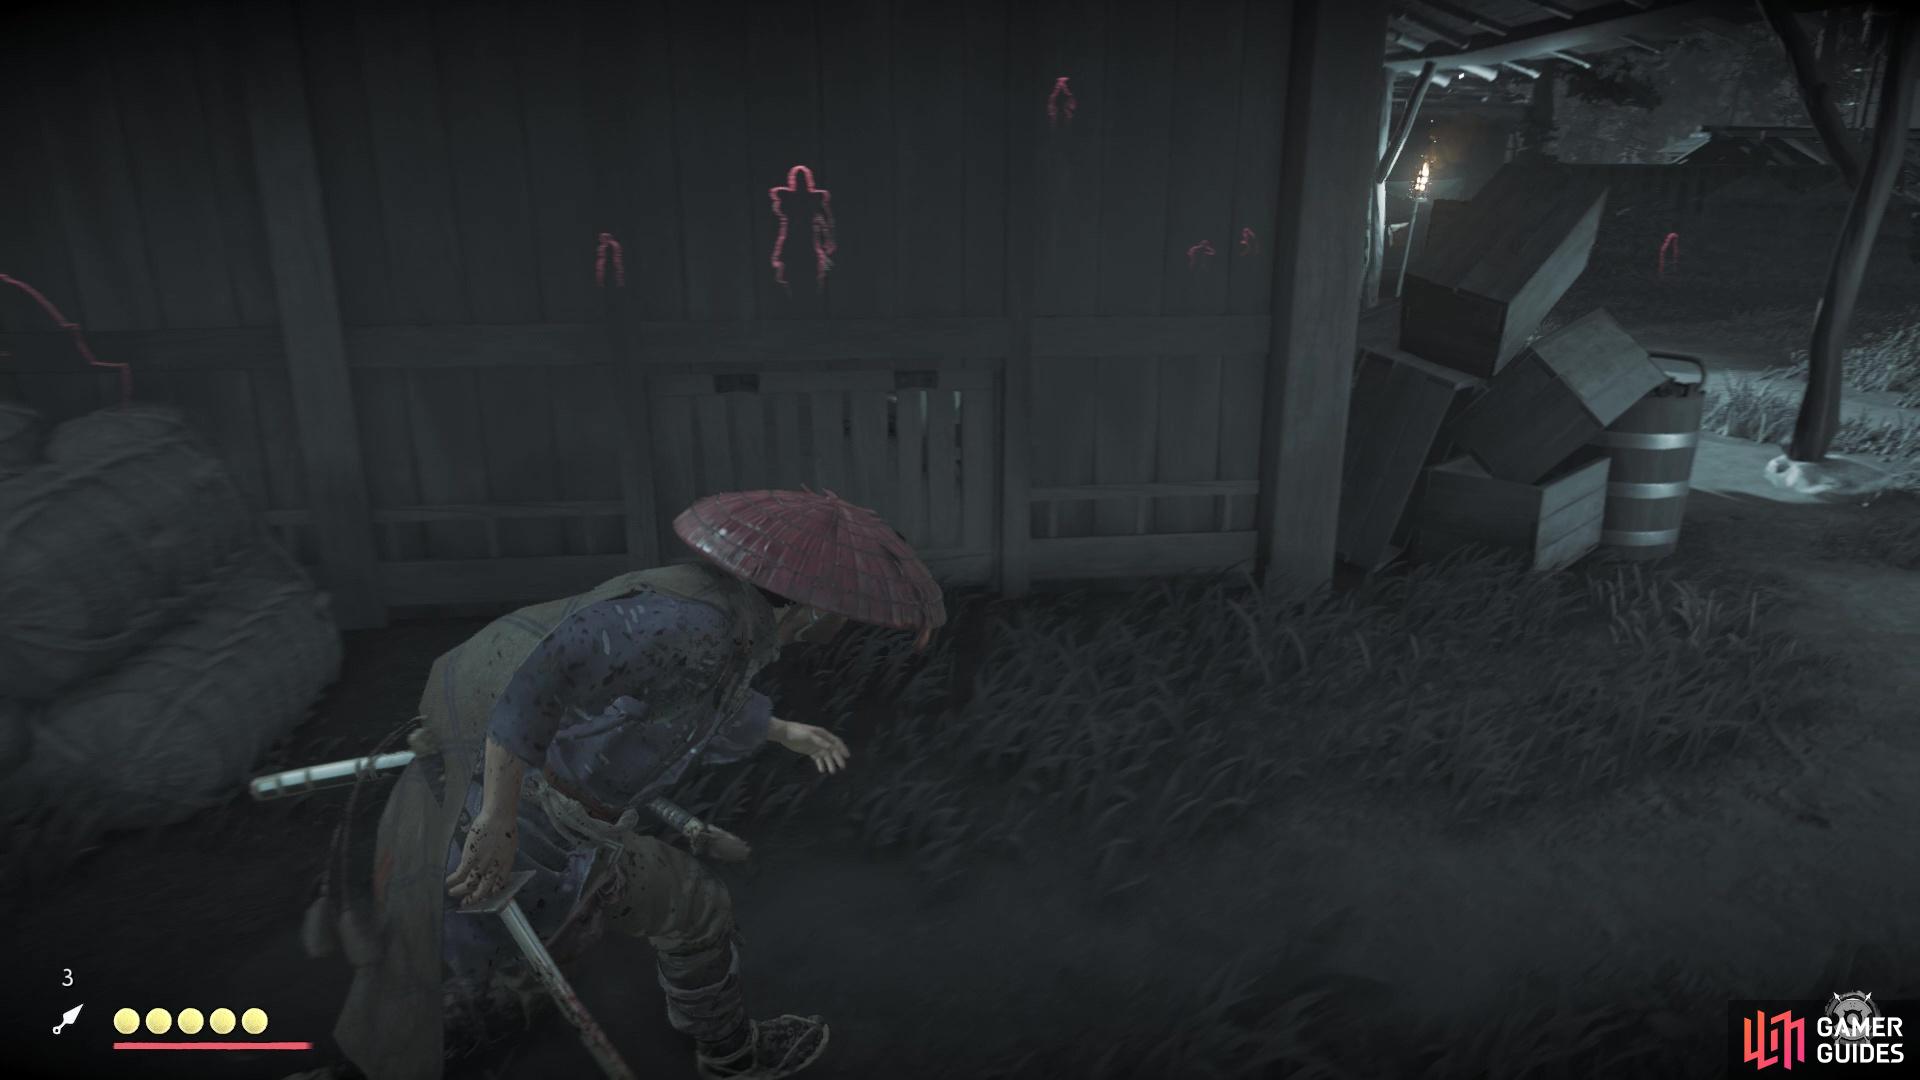
The prisoners are kept in cages that are locked, and it takes a few seconds to unlock them. So, you will definitely want to make sure no enemies are around, if you’re being all sneaky, when you go to free them and it doesn’t matter if enemies are still alive or not when you do. As before, the Sashimono Banners are highlighted for you and if you need extra help, their outlines are marked whenever you use Focused Hearing. The war camp general here in Logging Camp is a shield-user, so make sure you have Water Stance equipped to easily break his guard and bring him down. Don’t forget to go inside of the general’s tent to get a Mongol Artifact and Record. Once you complete all of the objectives, find the black powder cache, set it on fire and watch the camp burn to the ground.
Salt Wind Estate
The next stop on the exploration tour will be south of the Logging Camp, and it will be another enemy camp, called Salt Wind Estate. This place will be another instance where you have an opportunity to observe the Mongol leader, so make sure you try and do that. It is a smaller enemy camp, so you’re not looking at a whole lot of enemies or ground to cover. The main focal point of this camp is probably the house and there is a trap door on the one side you can use to sneak inside. You will also have enemies with helmets on here, although they don’t seem to be as prevalent as with the Logging Camp. There’s not really much else here to talk about, so do the objectives for the camp to liberate it. Near the front entrance of the camp, under the canopy right inside, you will find a Mongol Artifact.

(1 of 2) You can sneak into the building via the crawlspace

You can sneak into the building via the crawlspace (left), Equip the right stance to easily break the leader’s guard (right)
Upon liberating the above camp, follow the coastline to the south until you happen upon a bunch of Mongol ships. While this isn’t officially an enemy camp, you might want to treat it as one, as far as clearing out all of the Mongols, just to be on the safe side. Anyway, the real reason you’re here is because of the Mongol Artifact that is found on a pile of rocks in the middle of the area. South of the Rising Trees Hot Spring is an area named Archer’s Rise on the map, and southeast of there will be another Shinto Shrine. Ride straight southeast to try and uncover the icon on your map, then head to the eastern side of the icon to find a torii gate.
There will be a path here that brings you to the destroyed bridge that would normally lead you to the shrine. There will be some rocks you can use to the side that begins your platforming journey to the top. At some point, you will have to look for a little campsite nestled among some rocks to find the next path, which will finally bring you to the Arrow Peak Shrine. Your reward for praying at the shrine will be the Charm of Inari, which basically gets you extra Supplies, Predator Hides, Bamboo and Yew Wood whenever you collect some during your adventures. This can be one of the better charms to have, so you will always want it equipped from no on as you play.
(1 of 2) You can see some rocks off to the left that begin the path to the shrine
You can see some rocks off to the left that begin the path to the shrine (left), Head through the opening to find the next step to the top (right)
South of the Arrow Peak Shrine is another area called Sakimori Overlook. You probably saw some buildings nearby while climbing up to the shrine, so that is where you will be heading. Look for the path that leads down from the buildings, to the southwest, and right off the path will be a Fox’s Den. Let it lead you to the Inari Shrine, then look for some footholds right next to it, which will bring you straight to the Pillar of Honor (Mamushi Venom). Fast travel back to the above Fox’s Den and follow the cliffs to the south, to where you find the base of them. You are looking for a Sashimono Banner that is nestled right next to the base of the cliff, south of the first “I” in Sakimori on the map.
Stone Arch Crossing
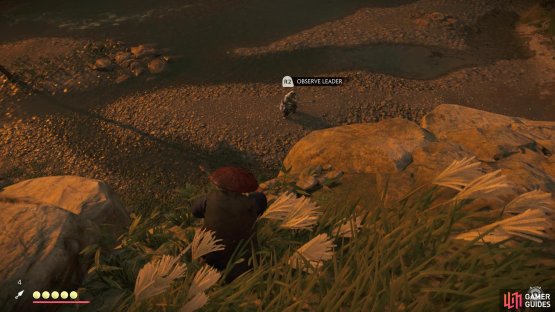
From the previous batch of collectibles, you will want to start venturing to the northwest. Along the river that runs north-to-south, you will come across another enemy outpost, this one called Stone Arch Crossing. There’s another opportunity to double down on Mongol leaders, since one of the objectives is to observe one. Thankfully, the leader should be pretty far away from the main encampment, so observing him without having to go deep into the camp is made a little easier. There will also be towers with archers on them, so you might want to worry about them before anything else.
As this is a smaller outpost, you won’t find many enemies here. The main entrance might be a troublesome spot, as there are two archer towers side-by-side and even one or two enemies guarding the gate itself. Since the camp is kind of split into two sections, work on the one part, then go and deal with the section with the archer towers second. The ledge overlooking the outpost is an ideal spot for reconnaissance, too, should you need it. After clearing the outpost and looting the place, check the stables on the one side to find the Mongol Artifact.
(1 of 2) The cliff overlooking the outpost provides a great vantage spot


The cliff overlooking the outpost provides a great vantage spot (left), plus it will allow you to observe the leader without any problems (right)
Logging Base
There’s definitely a lot of enemy outposts in this section of the map and it’s time for yet another one. If you head south-by-southwest from the previous camp, you will arrive at the Logging Base, which happens to be another large camp. This place seems a lot bigger than the Logging Camp and there’s going to be a lot of enemies to slice down. As with the previous camp, your main objectives are to defeat the war general and collect some Sashimono Banners (there’s three here). The other main objective, which is new for this camp, is to reclaim two bundles of stolen iron; don’t worry about trying to find them, as they are marked in the game, similar to the banners.
It is highly likely that this is the largest camp yet for you, as you will undoubtedly see as you go through this place. The camp is kind of split up into “areas” and upon clearing an area of enemies, it will remain that way, even if you happen to die. Unfortunately, it’s a little troublesome to figure out where exactly the boundaries are drawn, so you just have to hope for the best, should you happen to die. The metals you need to grab are similar to the materials you already should be picking up, so there’s nothing new with them. When you’re done with the objectives, loot the place, then look in the main tent where the general was located to find a Record and Mongol Artifact. Seek out the black powder cache at the end and light it to finally get rid of this enemy camp for good.
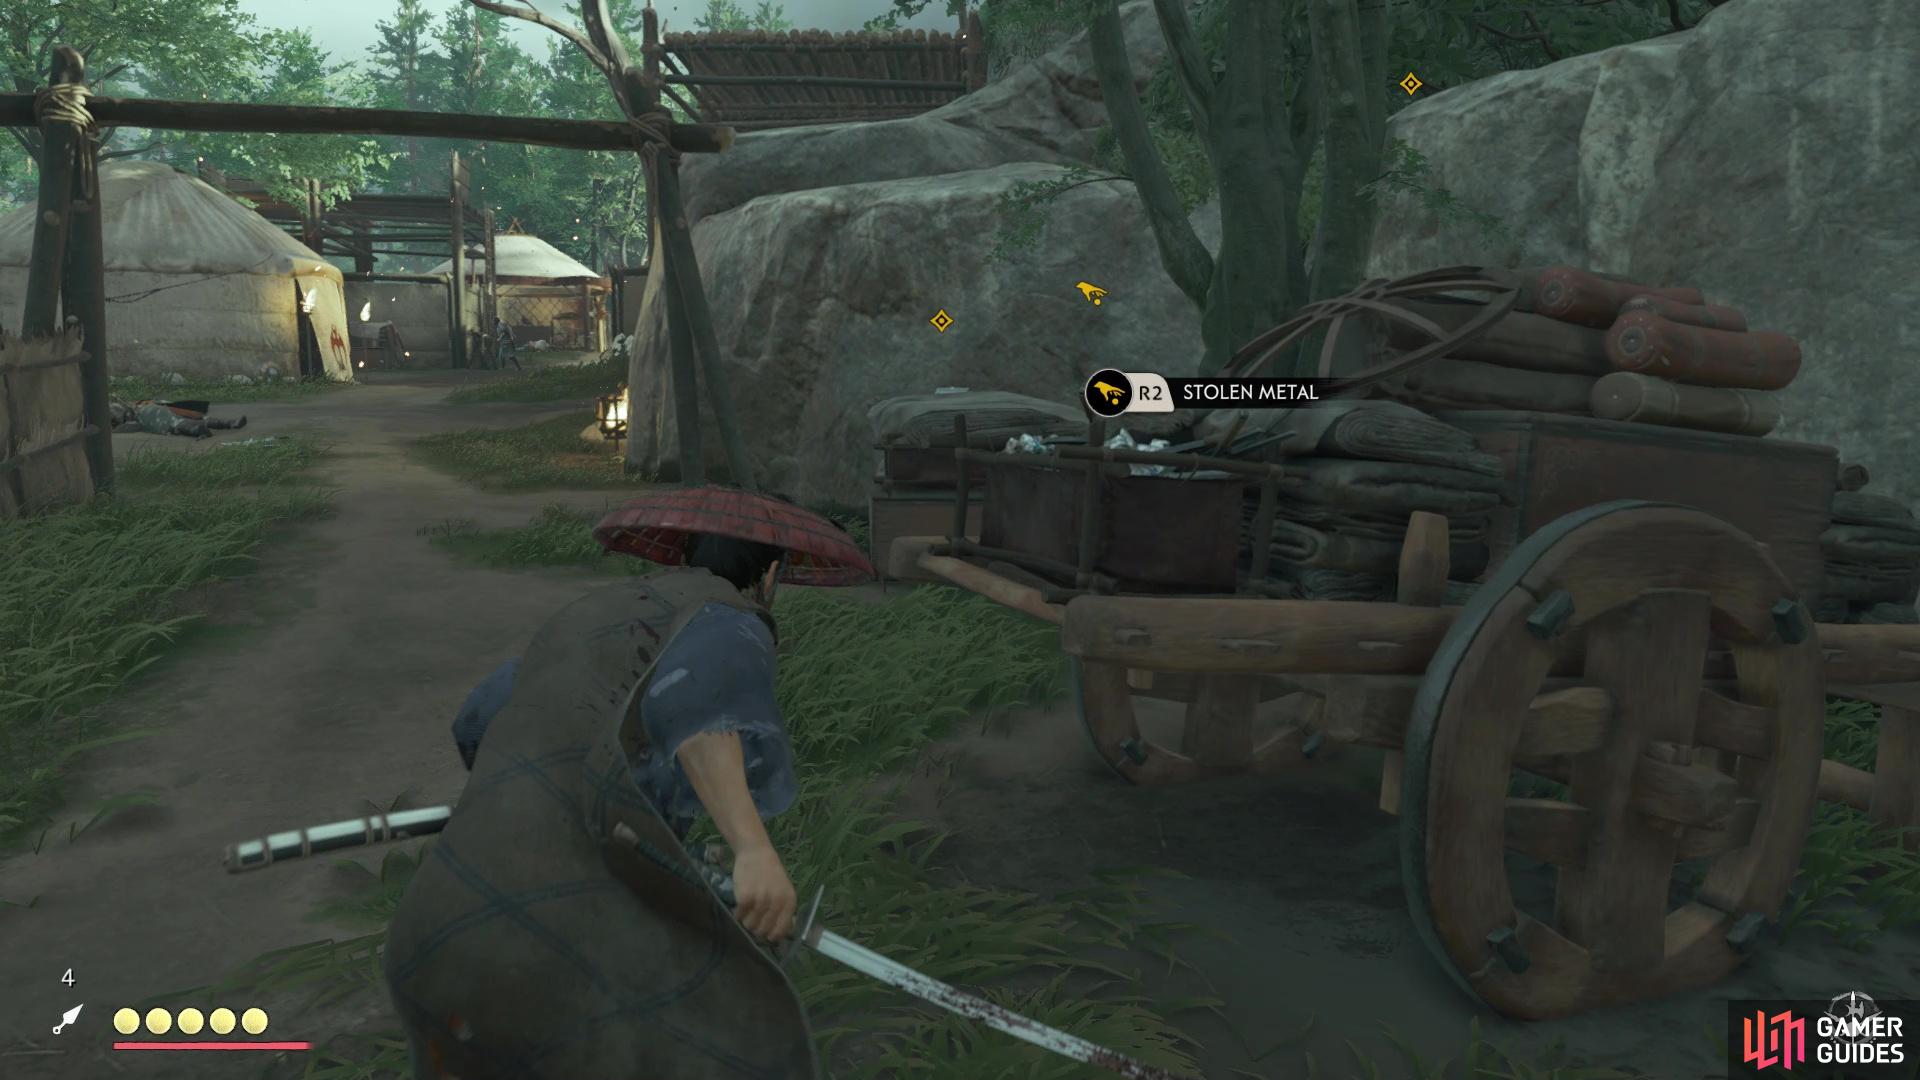
The metals you need to grab are shown with a hand icon
When you’re done there, start heading northwest of the Logging Base and look for a little camping area with some NPCs. There, you will find Yamato, a musician and storyteller that is basically the catalyst for beginning the various Mythic Tales for the game. You might have one already marked on your map from speaking to NPCs in the world, but this one is called The Legend of Tadayori. Before speaking to Yamato to begin that Mythic Tale, travel a short distance southwest of his location to find a house along the river; next to the house is a dock that has another Hidden Altar.
Return to the east side of the map, by the ships where you got that one Mongol Artifact and travel southwest from there. You’re looking for a Survivor Camp, which is just a quick stop on the way to one final enemy outpost here. Said outpost will be southwest from that Survivor Camp.
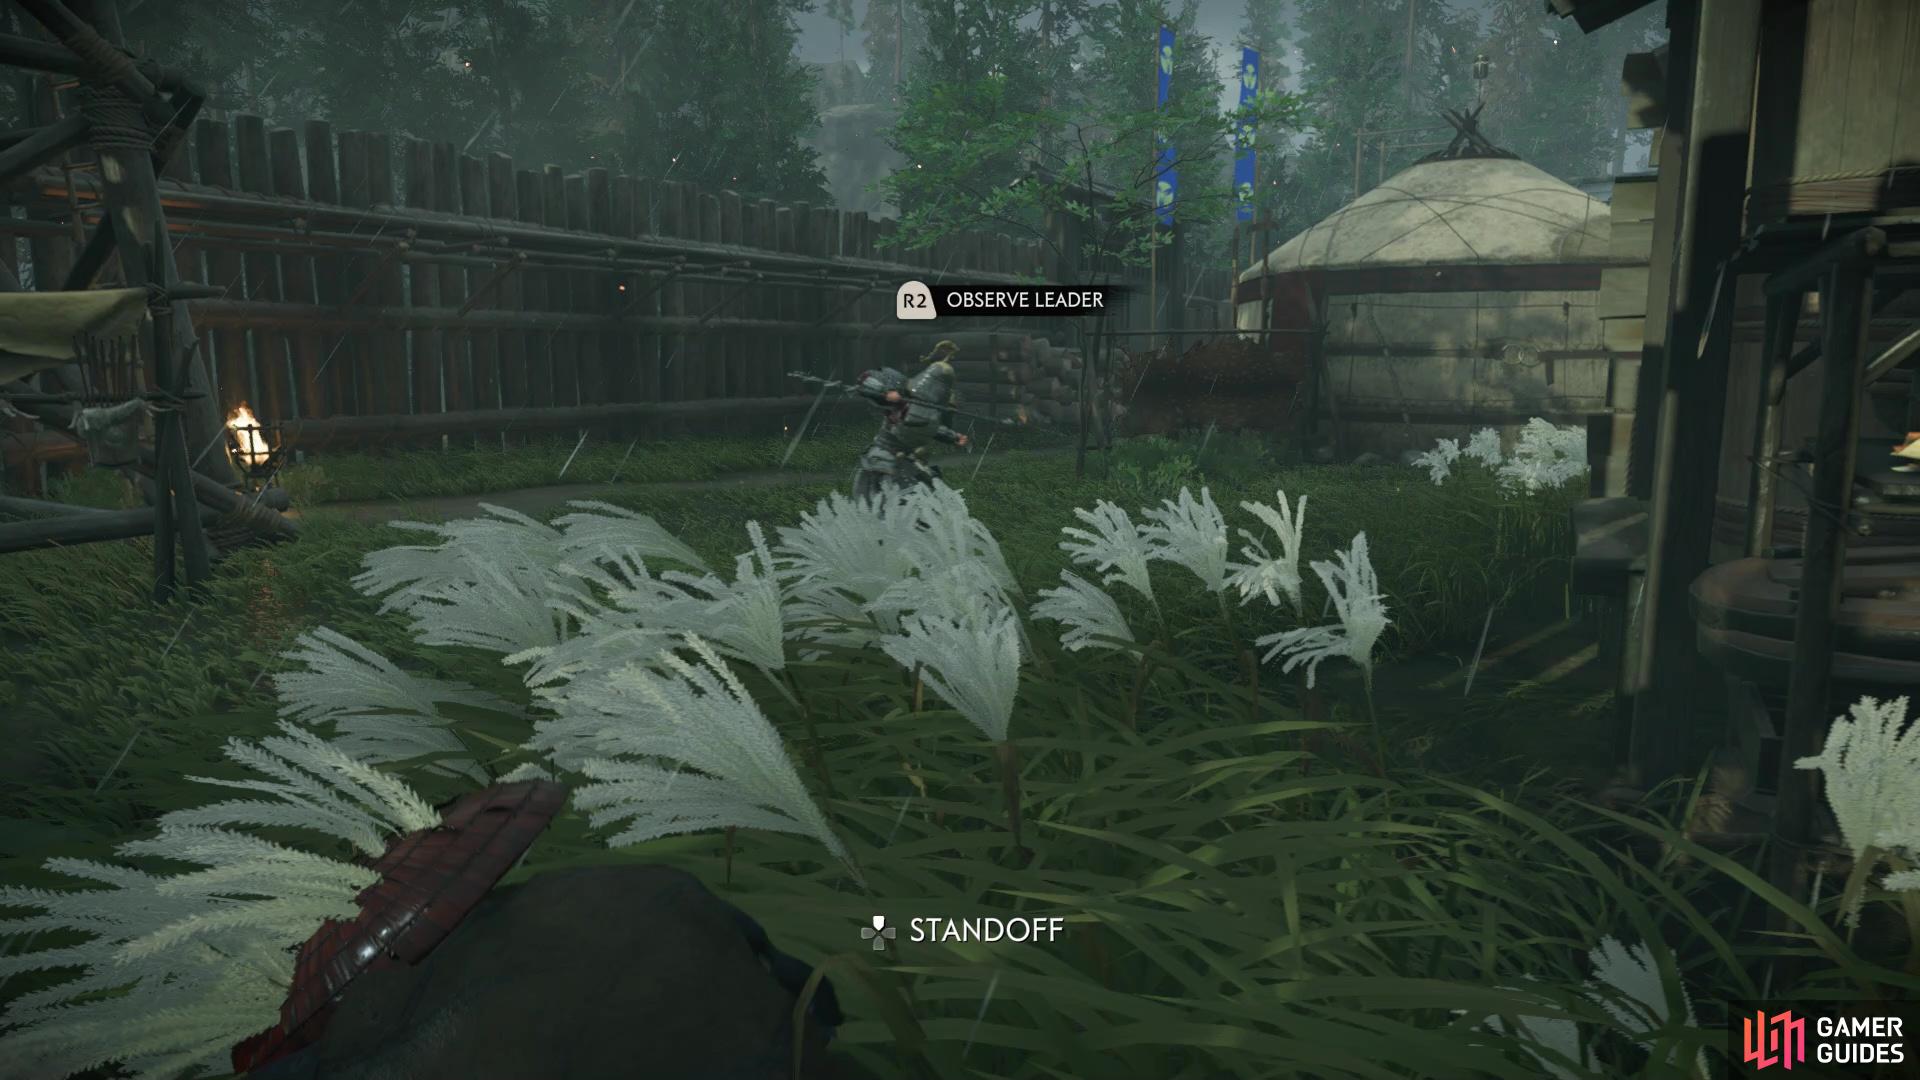
Tangled Crossroads
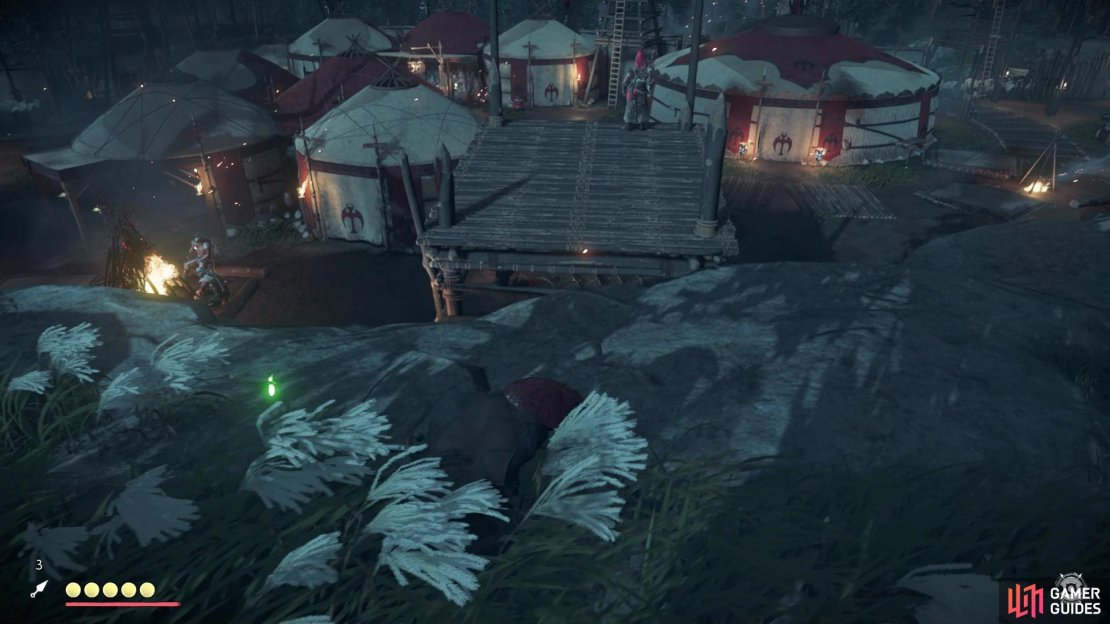
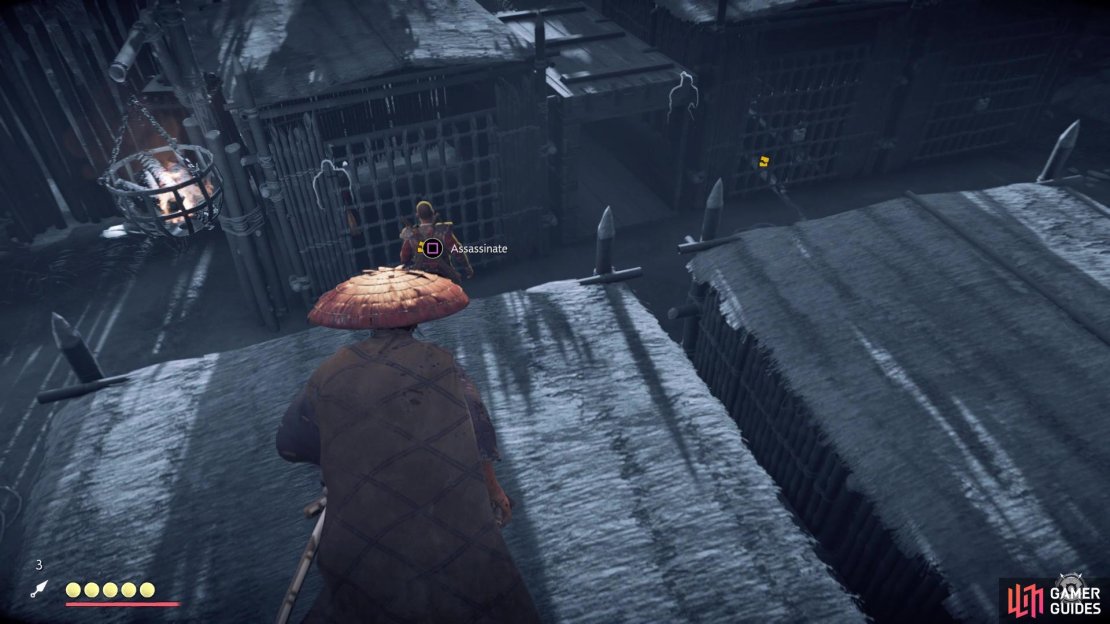
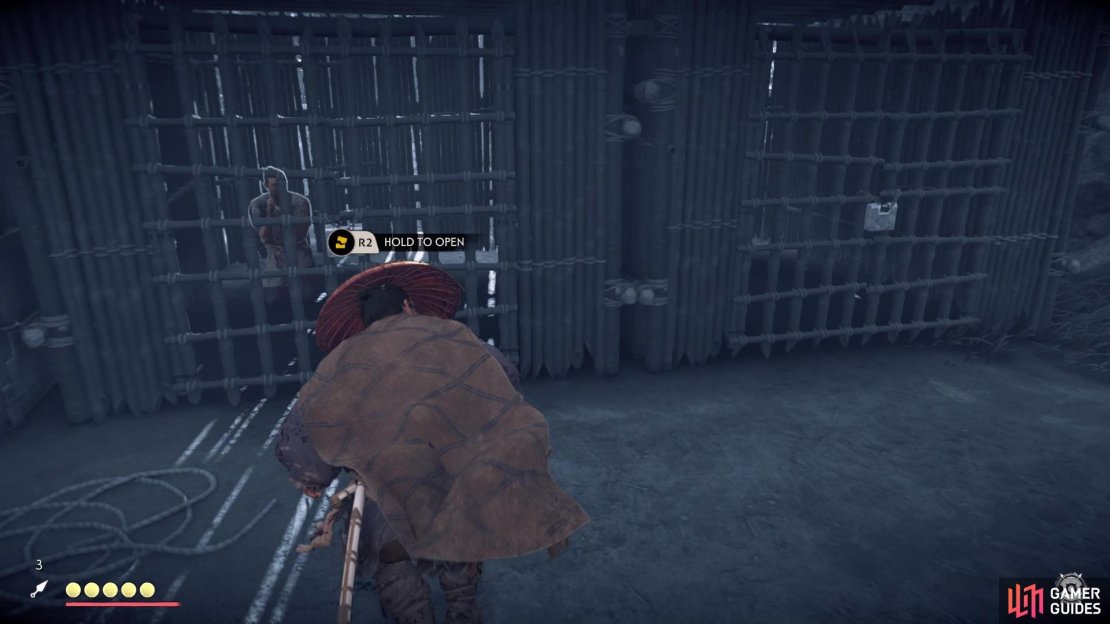
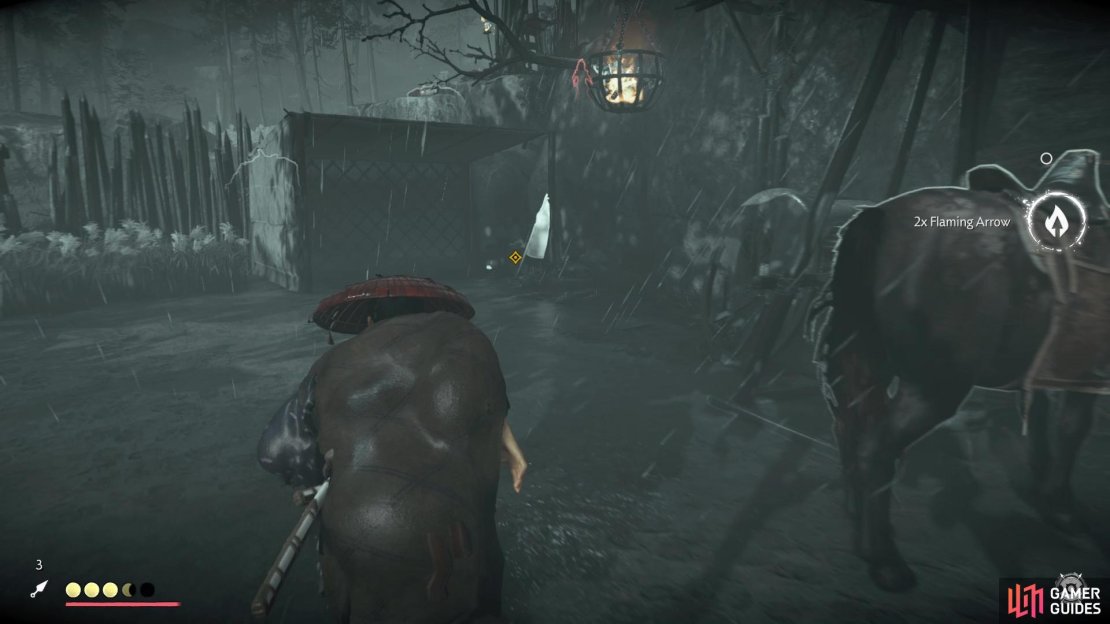
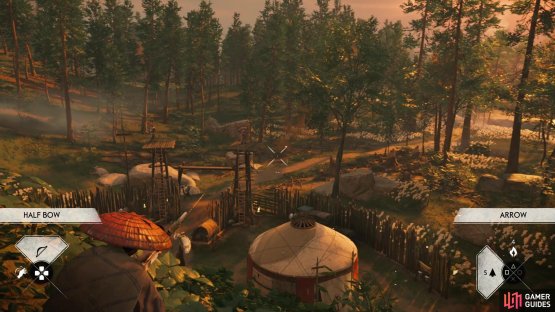
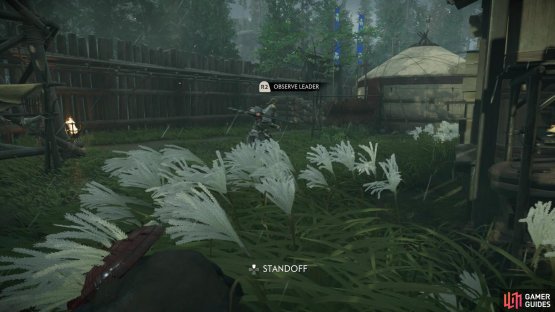
This is another smaller camp, with a random bonus objective, as well as the objective to observe the Mongol leader. For now, you should concentrate on getting rid of the archers in the towers by the entrances, although they likely have helmets on, so headshots are not going to work. Despite that, a fire arrow should take them out, but that does take a chance they will scream and alert others. Of course, the pampas grass will allow you to hide, should this happen. The easiest way to observe the Mongol leader is to follow the outer wall, look for the spot to squeeze through, which has pampas grass right there by the leader.
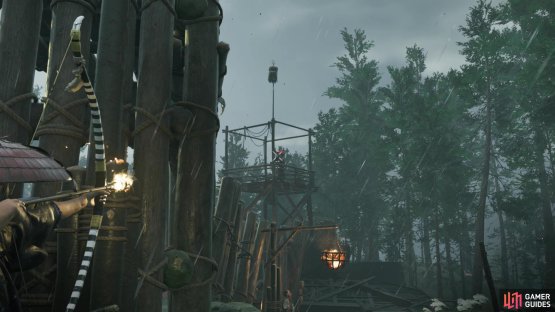
(1 of 2) Fire Arrows should easily take out the archers in the towers
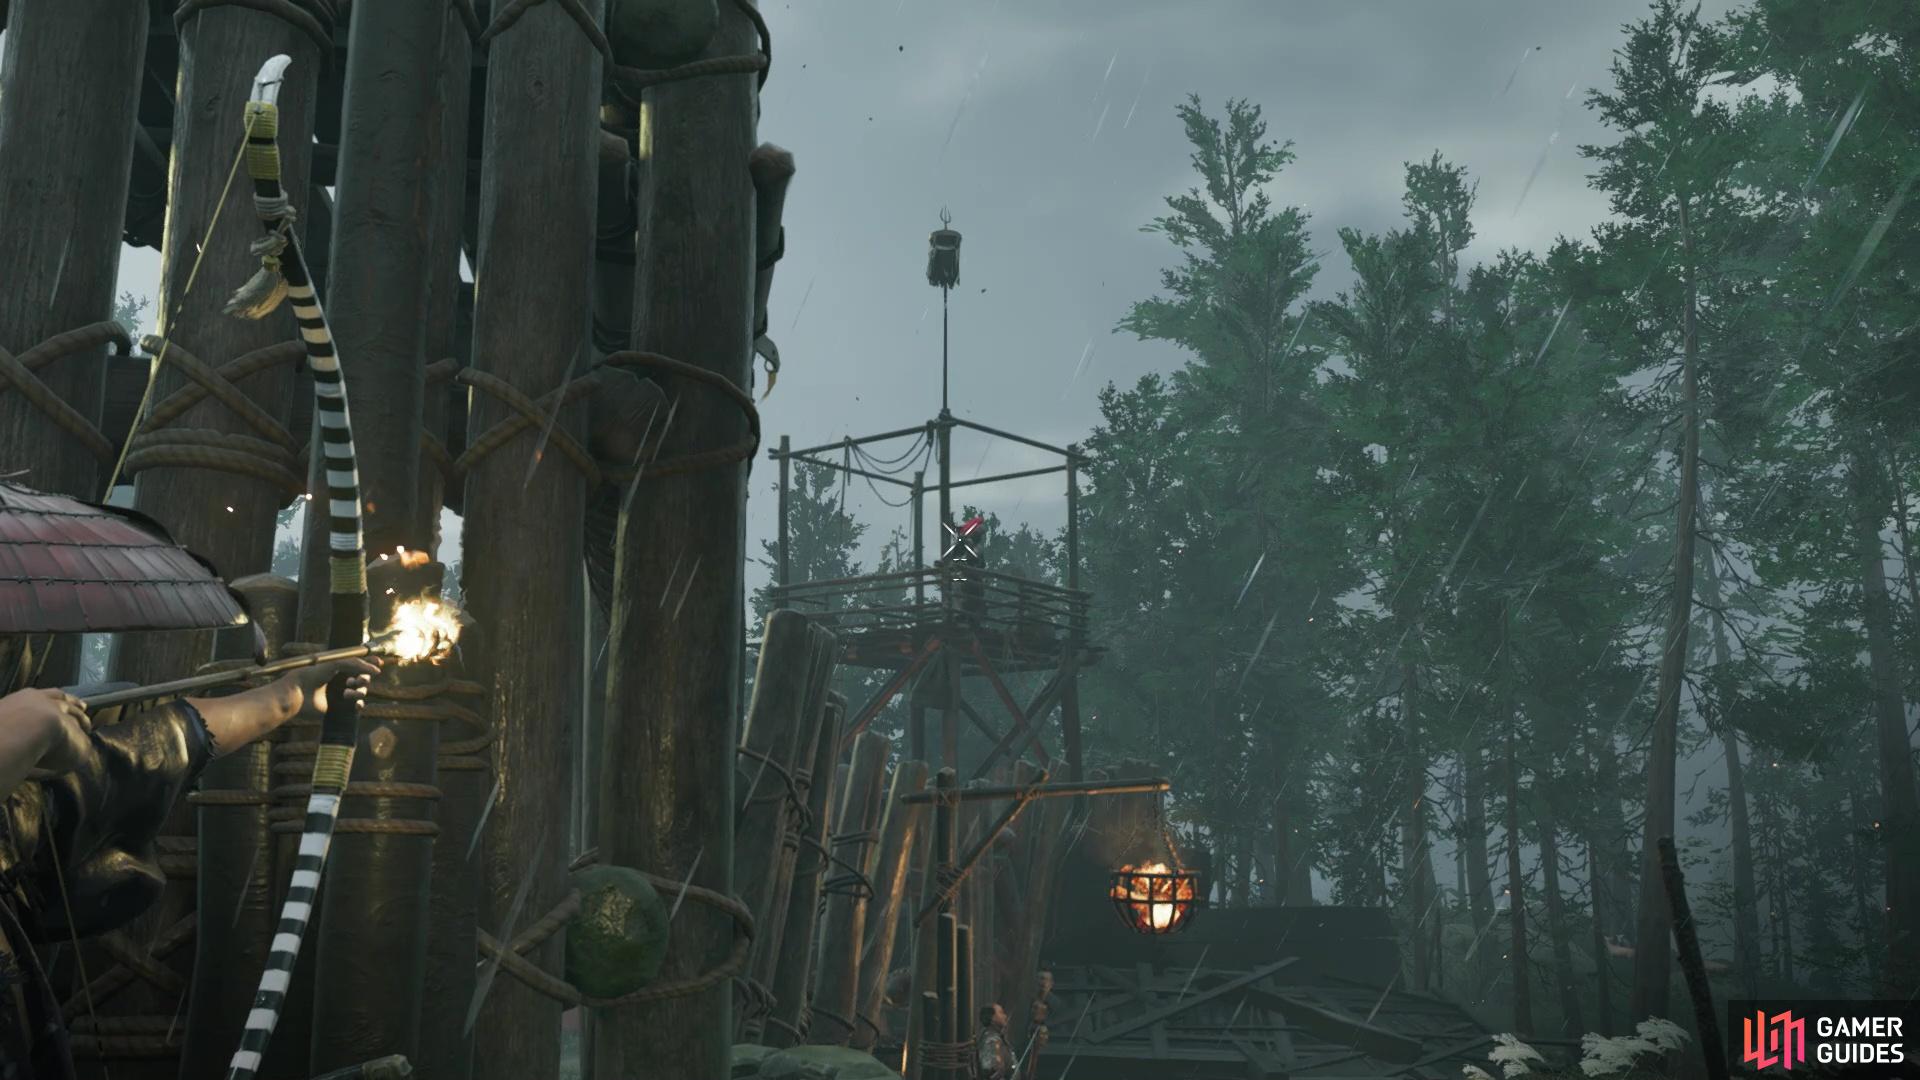
Fire Arrows should easily take out the archers in the towers (left), A gap in the outer wall easily lets you inside to observe the leader (right)
Compared to some other camps, this isn’t a really difficult place to clear and the biggest problem will probably be the archers, at first. With them out of the way, it’s just a matter of picking off the others. There is a Mongol Artifact located by the stables inside of the compound. With that camp out of the way, it’s almost time to return to the main story missions, but there is one more collectible to get. There is a small peninsula jutting out into the ocean southeast of the Tangled Crossroads camp. You should see something off in the distance once you’re there, which is a Pillar of Honor, netting you the Twilight Oni sword kit.
No Comments