


You are now in the open world and while it may be enticing to explore and do all kinds of side content, let’s concentrate on expanding the basic functions of Jin first. Before going straight into the next mission, you should become familiar with the main way of finding things in Ghost of Tsushima, which revolves around the wind. Pressing the Options button will bring up your map and if you move your cursor over to any of the icons, like Yuna’s mission as an example, then the wind will blow in the direction of that location. Since there is no compass or actual markers when controlling Jin, that means you will need to rely on the wind to guide you around the island.
With this wind thing in mind, make your way to Yuna to begin this mission, where she learned about some prisoners the Mongols have, one of which could be her brother. As soon as you gain control, mount your horse and follow the road you should be on. You will want to stay close to the water and not deviate into the fishing village. Keep galloping past a bridge and you should see the enemy camp on your right, but stick to your side of the river. Eventually, you should hear Jin mention a spot that overlooks the river, so go to that spot. Approach the marker and press R2 to survey the Mongol camp.
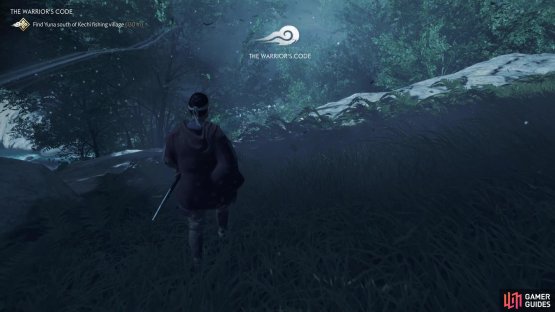
(1 of 2) Track a location on the world map

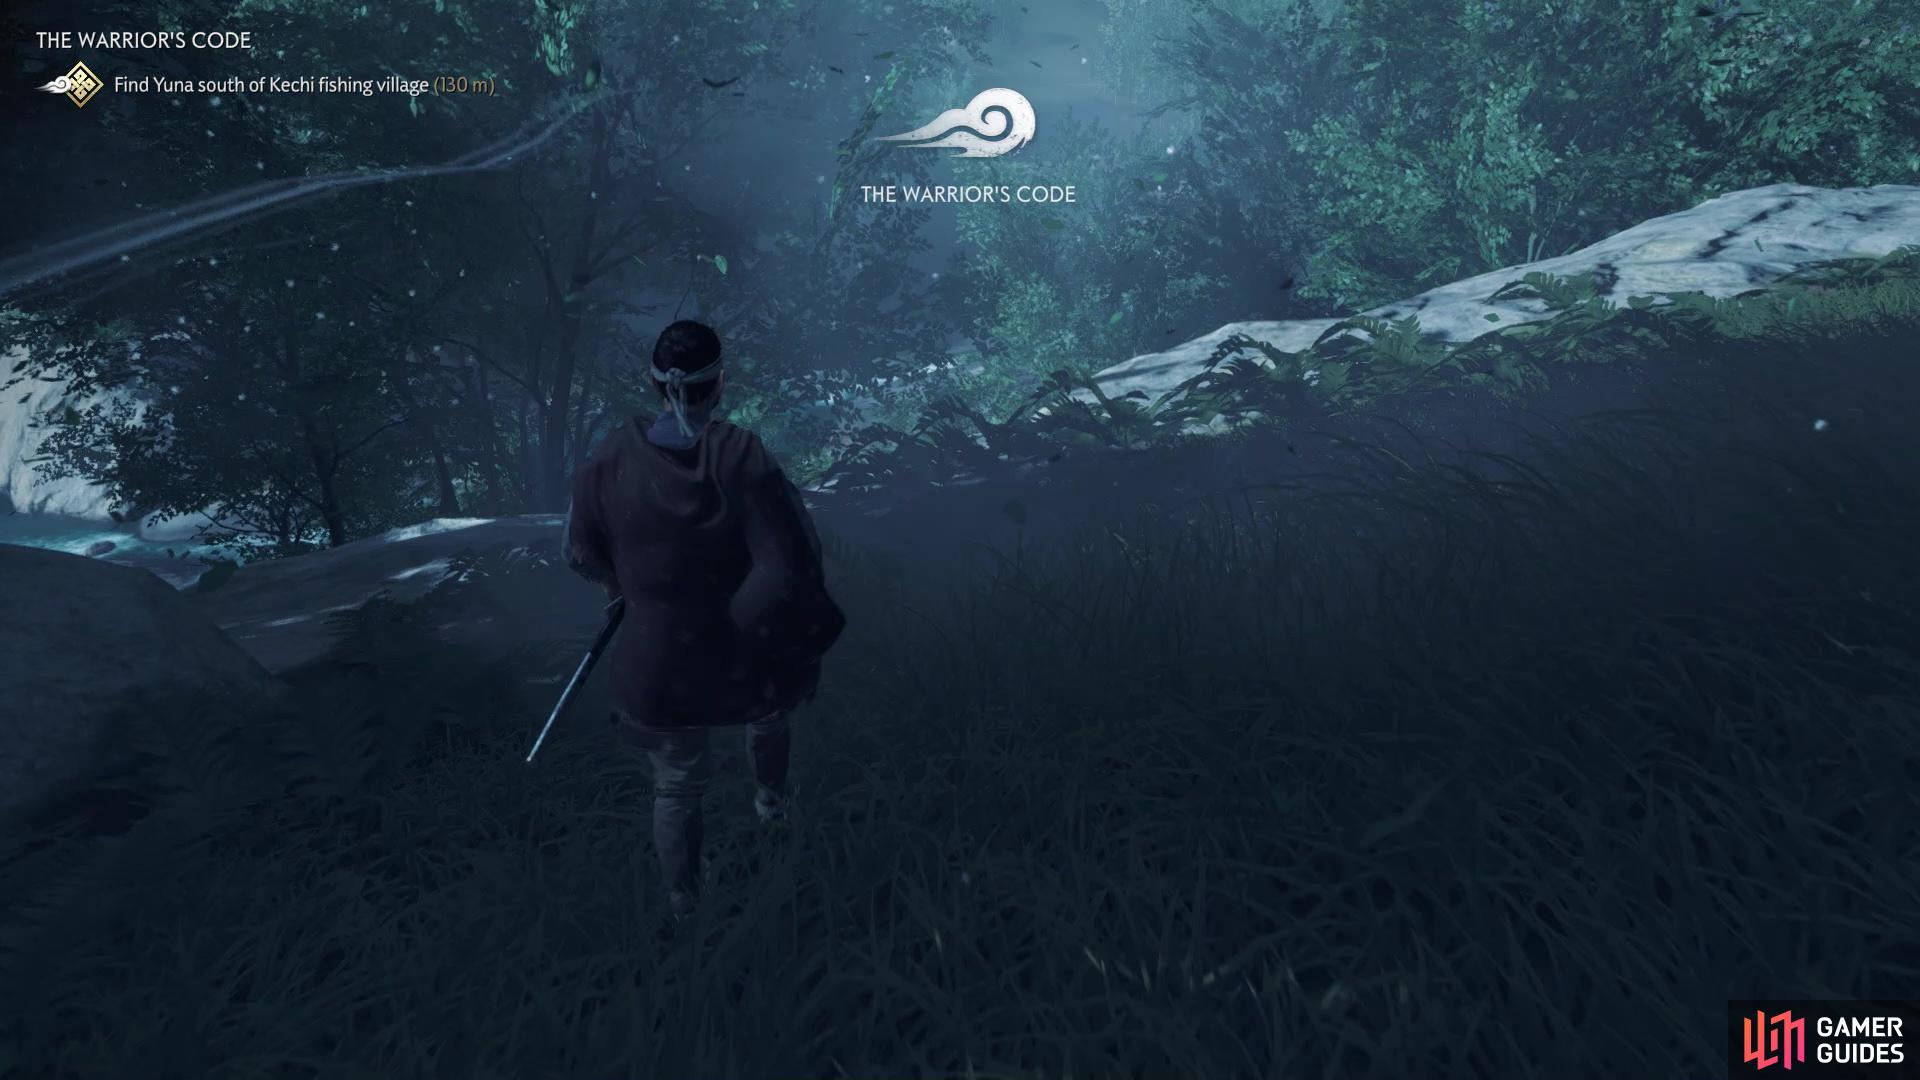
Track a location on the world map (left), and the wind will guide you to your location (right)
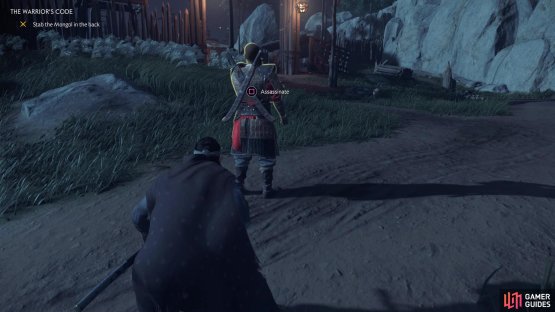
As you look around, you should see markers on your screen, which act as guidance as to where you should focus. When you’re in the right spot, the X button prompt will appear, so check out the two spots you see right away, then a third location will open up. Your way of entering the fort will be via squeezing through an unfinished gate. Once you regain control, you will be heading to that spot, so head down the hill, cross the river and the unfinished gate should be right there. Squeeze through it and there will be another scene with Yuna and Jin. Sneak up behind the Mongol and when you see the button prompt, press Square to perform an assassination. This will cause another scene, leading to one of Jin’s flashbacks.
Jin’s Hunt
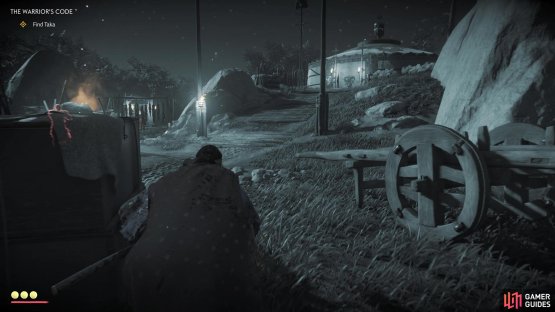
This is a relatively lackluster flashback, as both Jin and his uncle are hunting a bear. The bear, seemingly very wounded, is off somewhere and the pair are tracking it down. You will need to track down its location by following the tracks on the ground, but they can be a little hard to see. Instead look for the flattened grass and keep following that instead, as it’s much more obvious to the eye. Eventually, you will find the bear, which seems to be dead, so inspect the carcass to set off another scene, returning you to the present.
The Ghost Emerges
You will be introduced to Focused Hearing at this point, which is pretty much a way of seeing the locations of enemies. Pressing the Touch Pad will highlight nearby enemies, but it also slows your movement down. There is no penalty for using Focused Hearing, so you should be using it all of the time to locate enemies, especially if you’re playing in a stealthy manner. Thankfully, this enemy camp is really straightforward and simple, but there might be one enemy that’s a little hidden. For now, sneak up on the enemy right in front of you, then assassinate him. To your right will be another one tending to a horse, so he will be your next target.
(1 of 2) Sneak up on an unalerted enemy to get a prompt to assassinate them
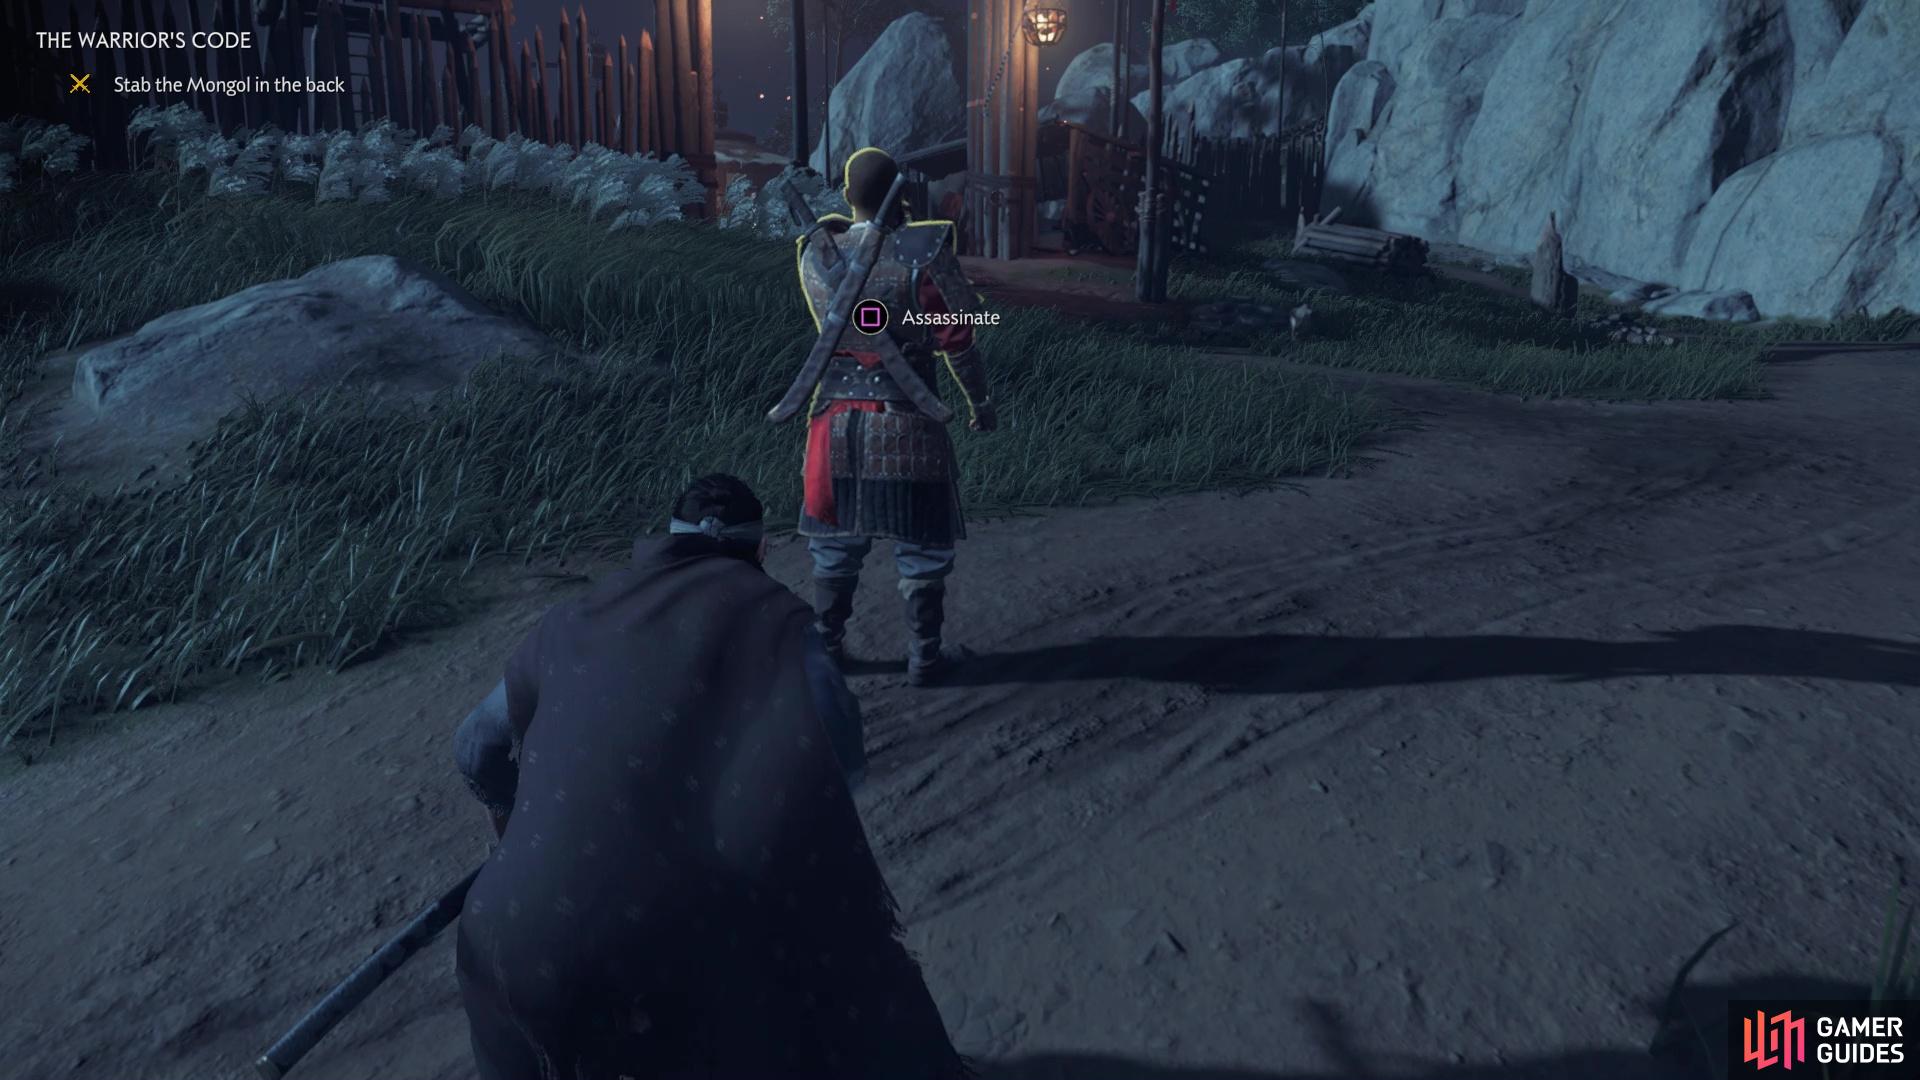

Sneak up on an unalerted enemy to get a prompt to assassinate them (left), Focused Hearing will allow you to see enemy locations, even through objects (right)
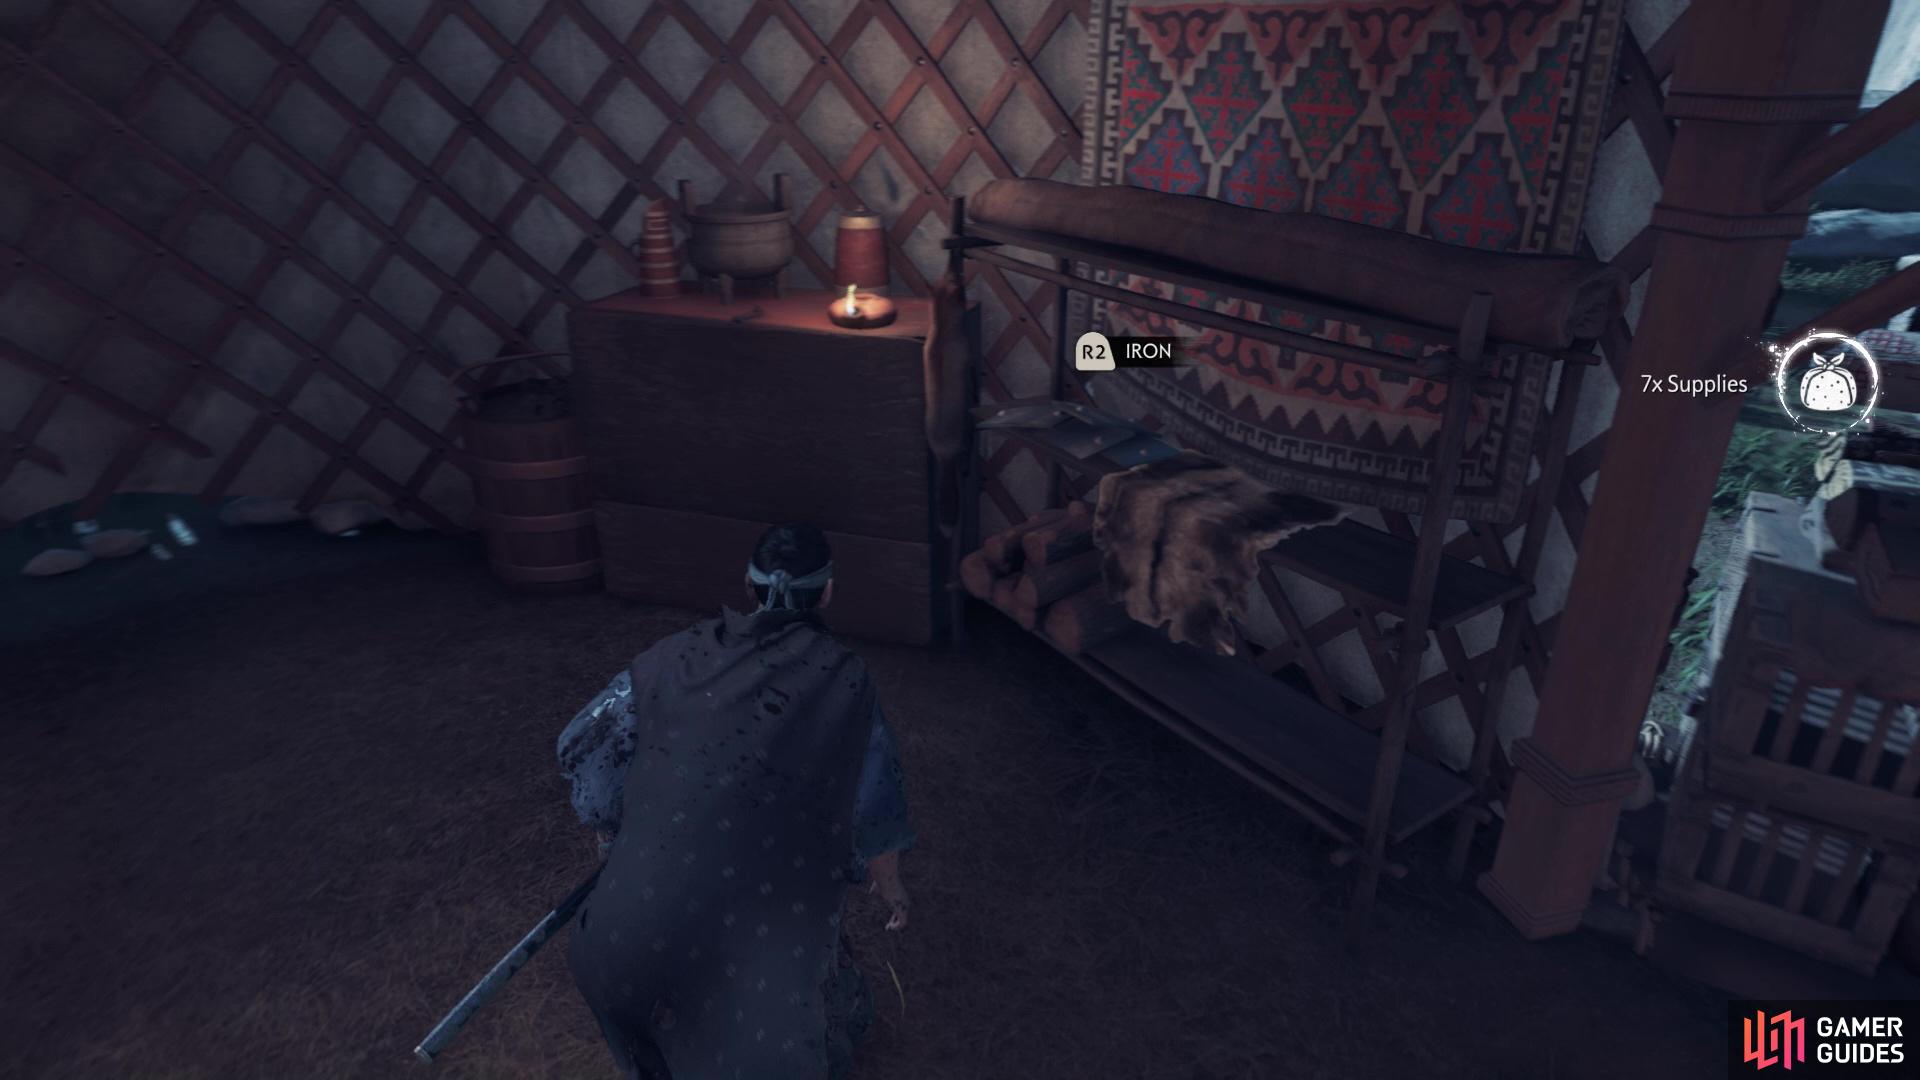
The two enemies talking to each other a little further ahead should disperse, so wait a few seconds for them to turn their back before sneaking up on them. There might be one hidden enemy you could have eluded you previously next to one of the tents, so check around this base level as much as possible to make sure you got all of the enemies. When you feel the coast is clear, check the various tents and surroundings to find some Supplies, as well as some Iron, which will be needed to upgrade things in the future.
The cage on the lower level isn’t holding Yuna’s brother, and while you can open it, there is nothing of worth inside. So, continue to the upper level and use your Focused Hearing to spot two more foes, one of which is inside of the large tent. You will want to be extremely careful, especially if you’re trying to be silent, in approaching this foe, as he will move back and forth. So, wait until he starts walking away, before slipping inside and cutting him down. Poke around the tent for more Supplies, as well as two of the game’s collectibles, Mongol Artifacts and Records.
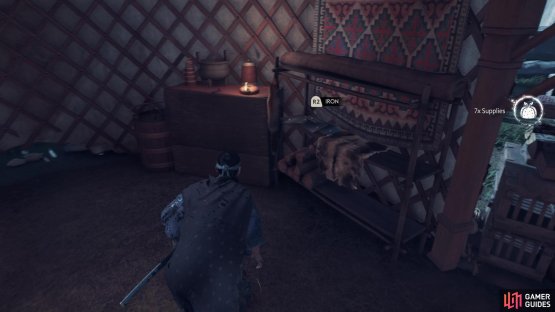

(1 of 2) You can find materials inside of the tents
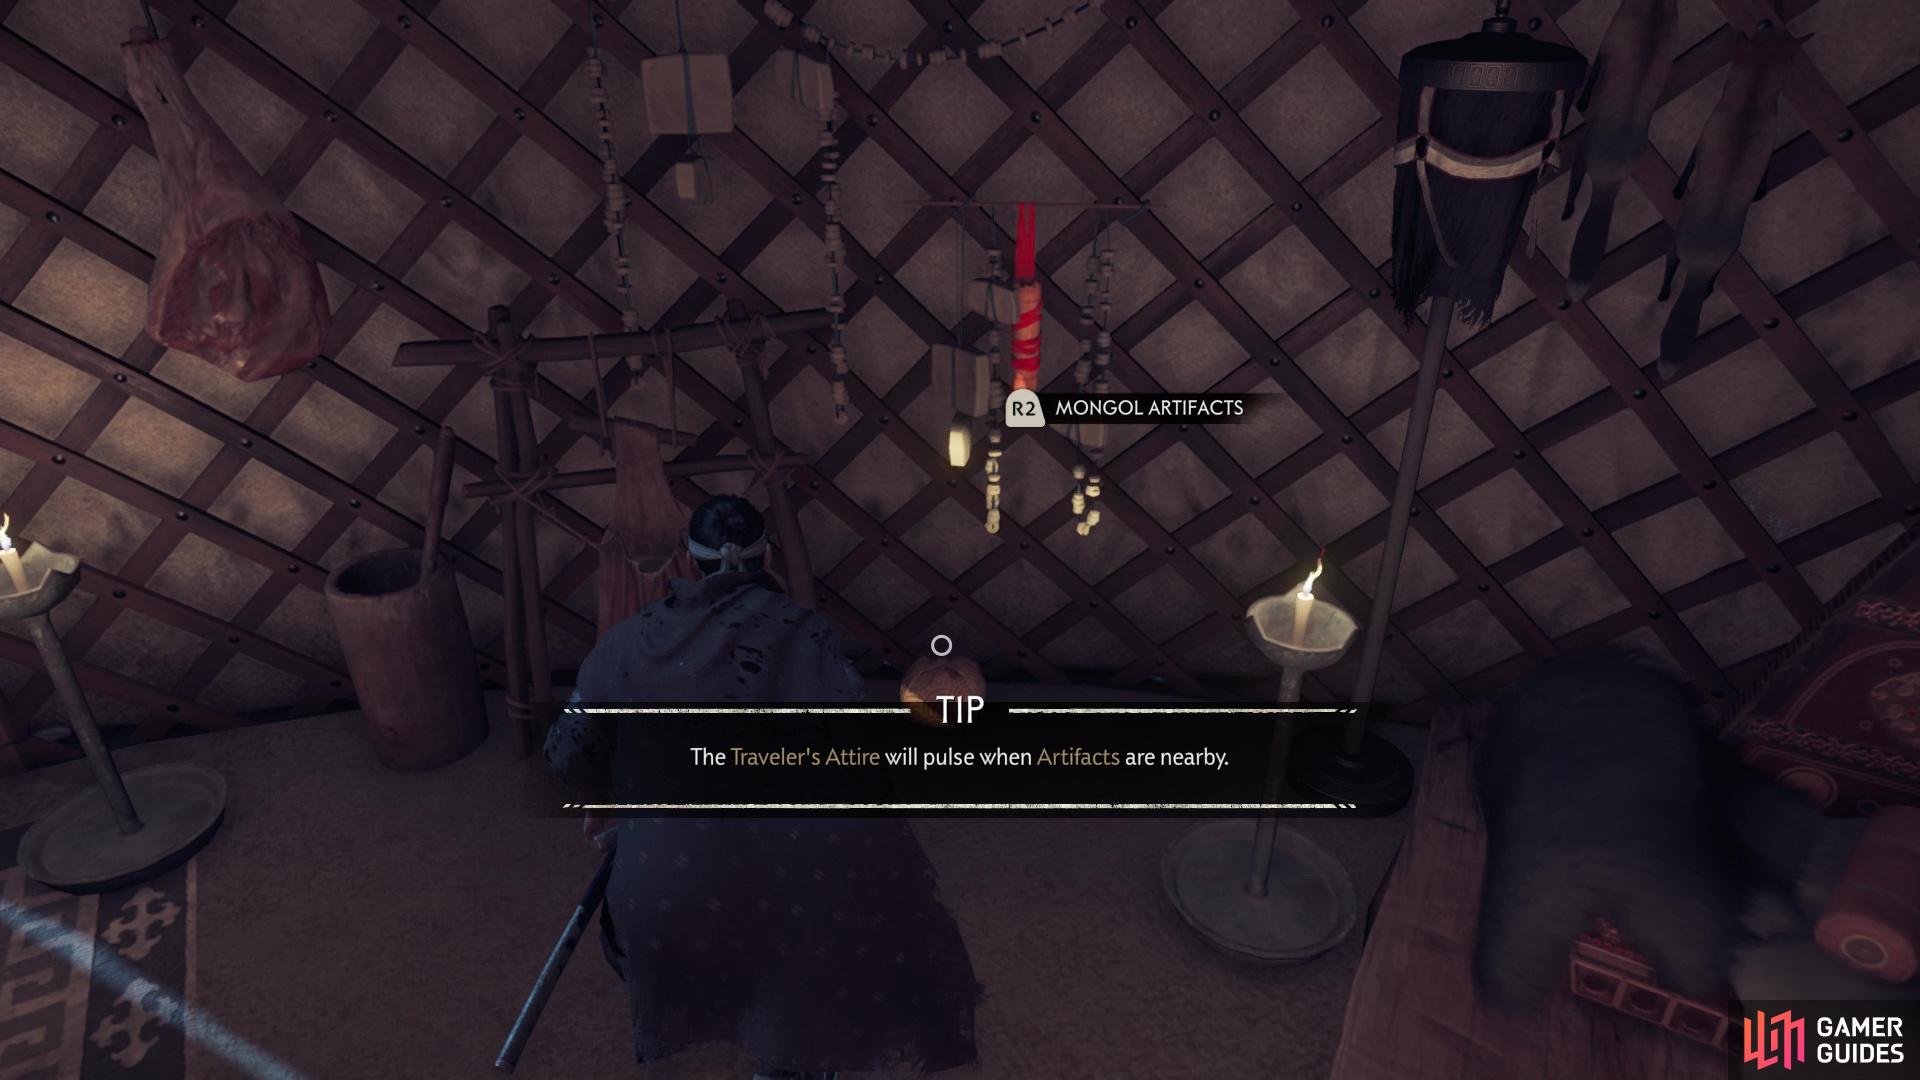
You can find materials inside of the tents (left), Inside the biggest tent will be one of the collectibles, a Mongol Artifact (right)
Return outside and sneak up behind, what should be, the final Mongol in this camp. Unfortunately, the prisoner inside is not Yuna’s brother, but he is still alive. Open the cage door and escape the camp, with you running to the river. Just follow them both and at the water, you hear mention of Azamo Bay, so that will be your next stop for Yuna. There will be a couple of scenes before the end of the mission is upon you.
For completing the mission, you should earn at least one Technique Point. These are points you can use to purchase skills under the Techniques tab in the menu. If this is your first thing you did upon arriving in the open world, then you only get the single point and will need to spend it on either one of two skills, Perfect Parry or Roll. Roll is basically a nice defensive maneuver to have to dodge attacks and sometimes even get away, but Perfect Parry, if timed right, can make head-on battles a lot easier. Skills are split up into three broad categories, Samurai, Stances, and Ghost.
Fox Den/Inari Shrine
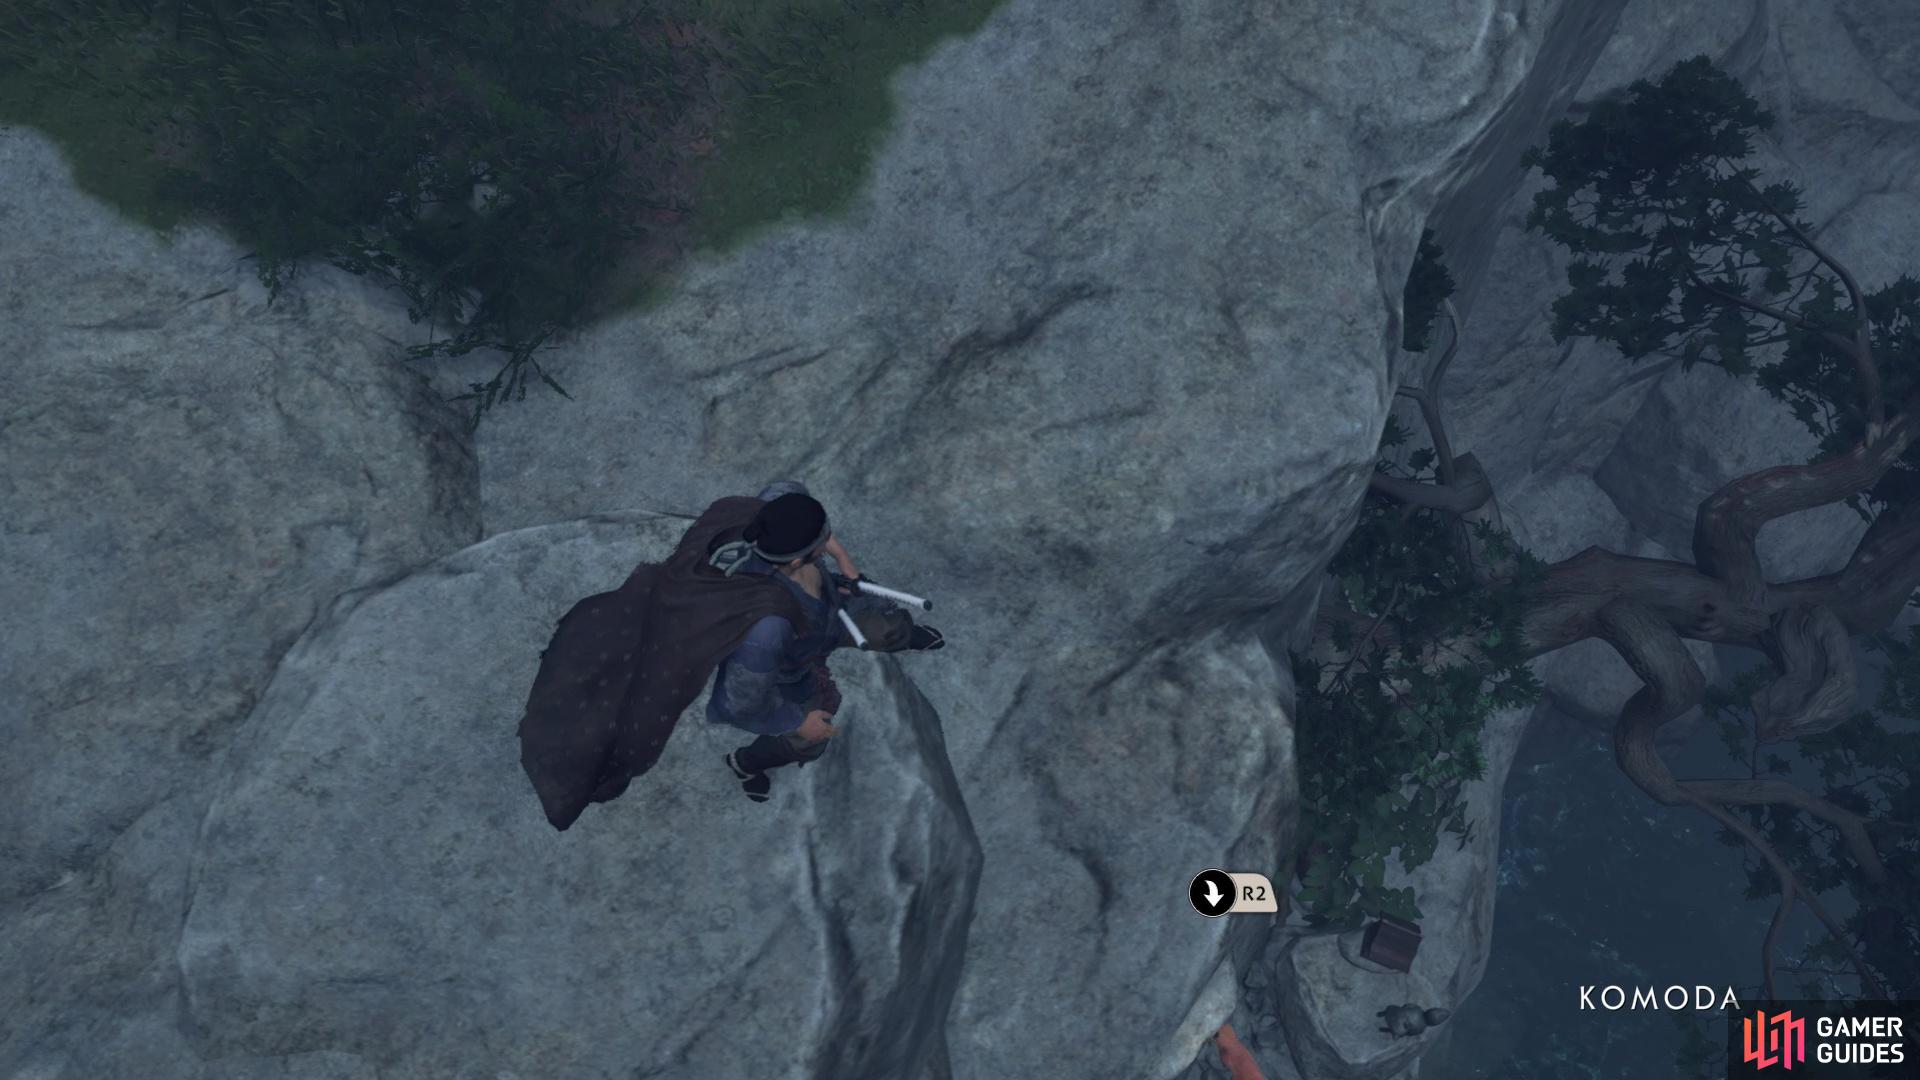
If you open up your map and zoom in, you should see a question mark really close to your position after finishing the above mission, so let’s head there. You will find a Fox’s Den, with a fox outside that seemingly runs away from you. However, it’s not really running away, as it wants you to follow it. So, follow the fox and he will lead you to a cliff. You could drop down to the cliff, but keep an eye on the fox to see where it goes, which should be near a ledge that allows you to drop down with the R2 button. Do that and you should see a small shrine, so pray at the shrine with the R2 button to unlock a Charm slot.
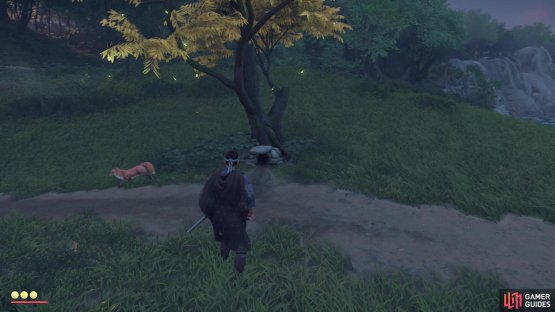
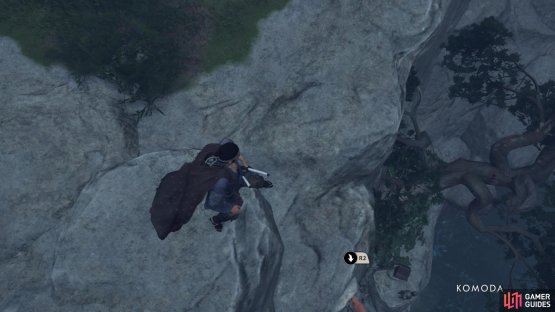
(1 of 2) Fox Dens are important, as the foxes lead you to Inari Shrines
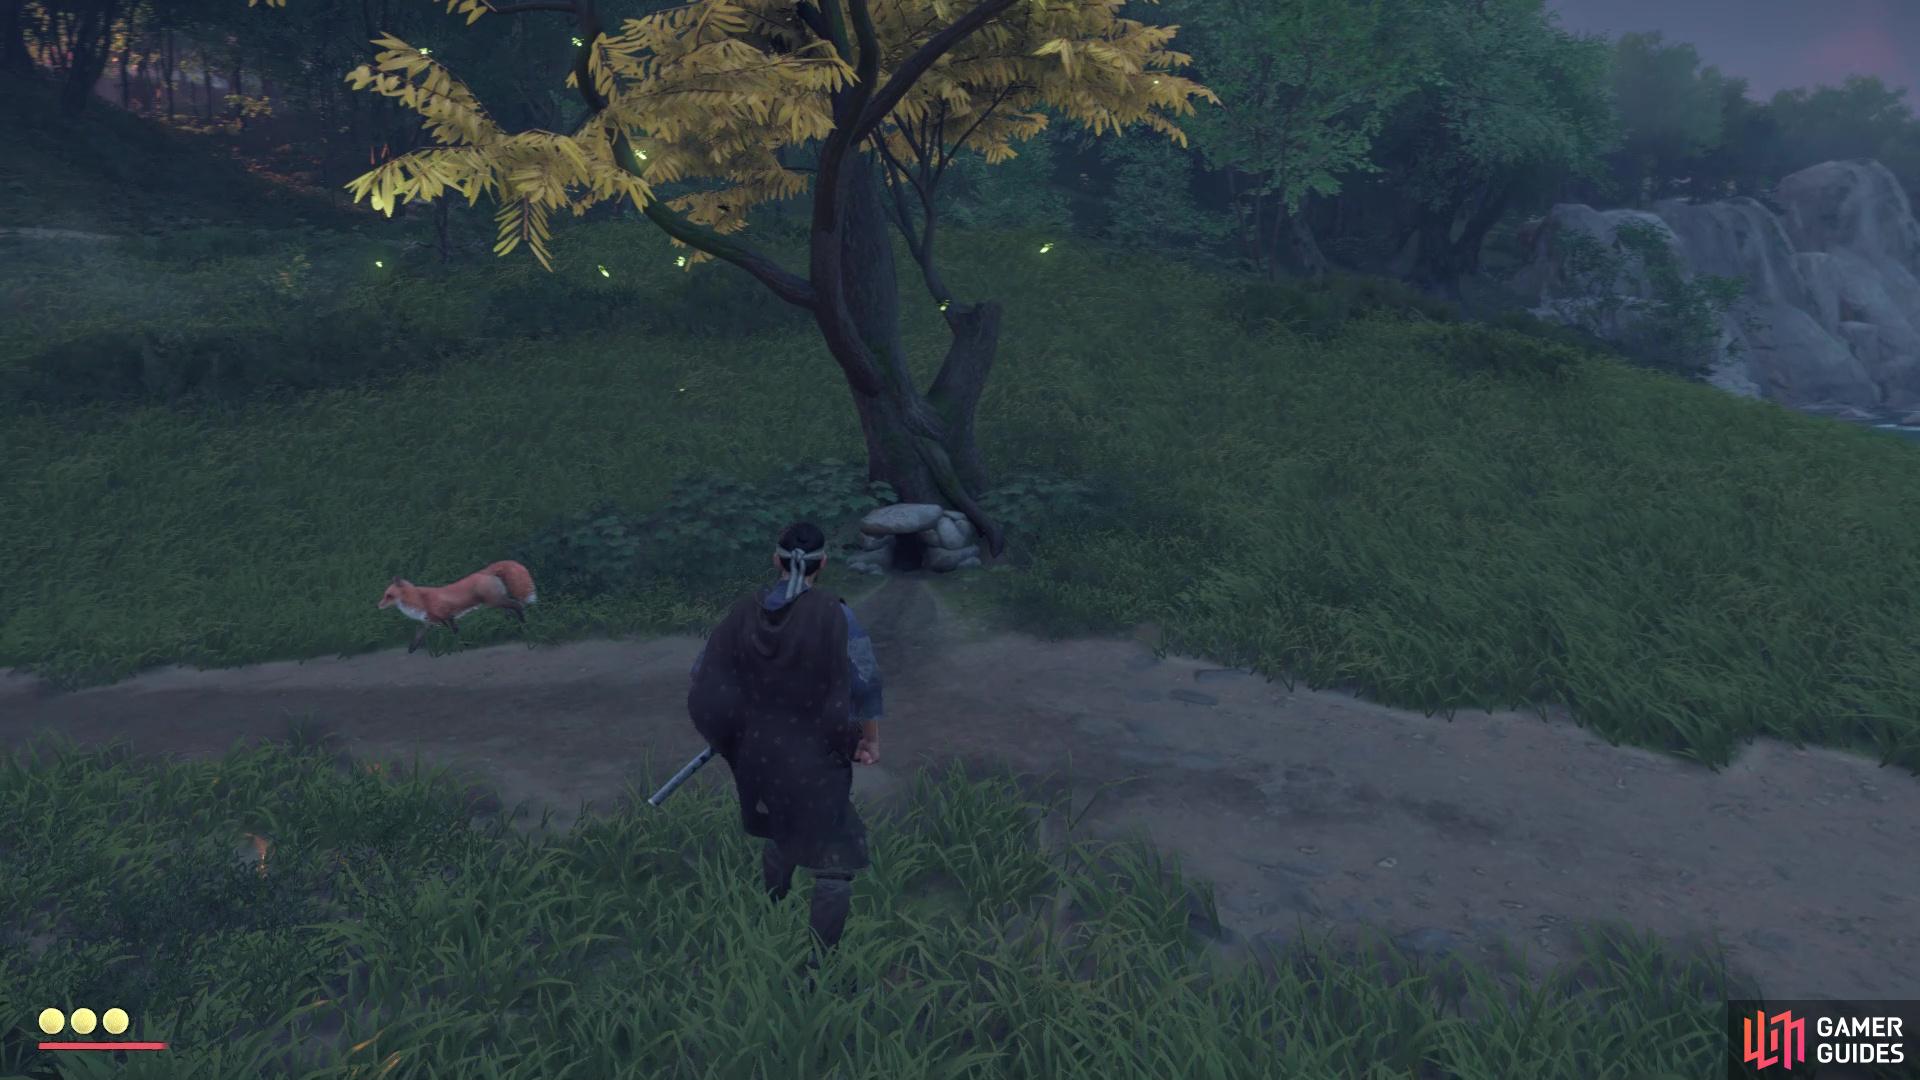
Fox Dens are important, as the foxes lead you to Inari Shrines (left), Drop down here to discover the Inari Shrine (right)
No Comments