This page offers a guide on how to complete the Pond Lab in Grounded. The Pond Lab is one of the labs that you’ll need to find in order to retrieve Super Chips for BURG.L. This page will detail how to find the Pond Lab and then how to complete all of its puzzles in order to find the Super Chip.
The Pond Lab is found underwater so make sure to bring the appropriate gear!
Where is Pond Lab?
The Pond Lab is situated deep in Koi Pond, near Oak Lab. Head over to our guide on how to reach the Pond Lab or watch our video on how to get to the pond lab!
To get to the lab you’ll need to make some equipment to help you breathe underwater. There are several items that can help with underwater breathing, but thankfully the easiest item to make - the gill tube - is suitable enough to get you to the Pond Lab without running out of breath. You will not be able to reach the Pond Lab without either the ![]() Gill Tube or the
Gill Tube or the ![]() Bubble Helmet.
Bubble Helmet.
How to Make a Gill Tube
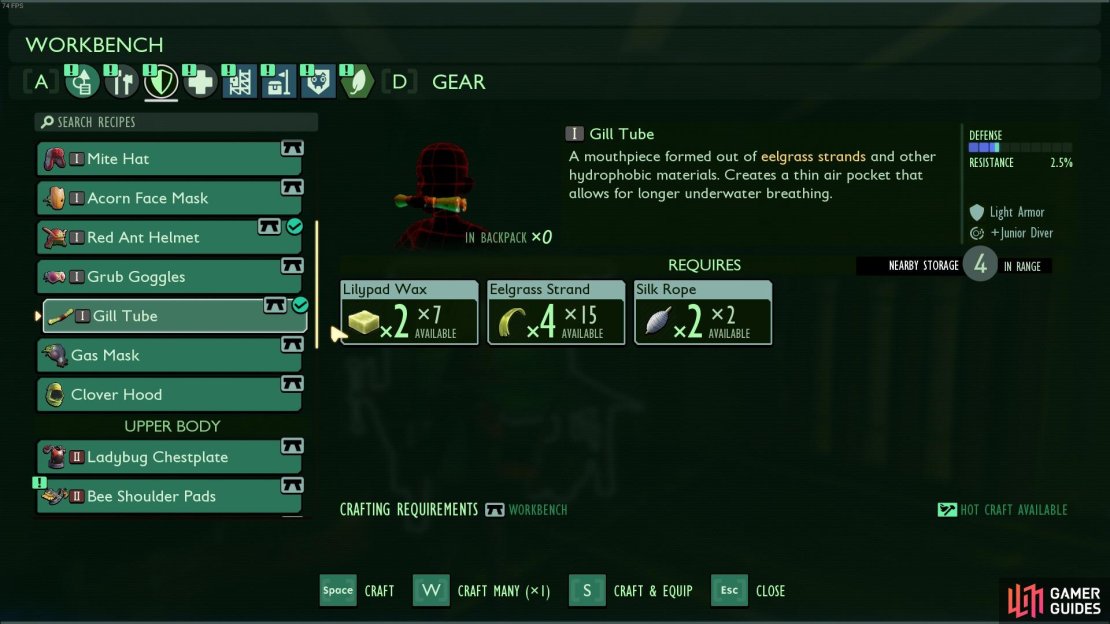
You’ll need the following materials to make the Gill Tube:
| Resource | Quantity |
|---|---|
| x2 | |
| x4 | |
| x2 |
Head over to our guide on how to make a gill tube for more information!
The Gill Tube doubles your breathing time underwater.
Arriving in the Pond Lab
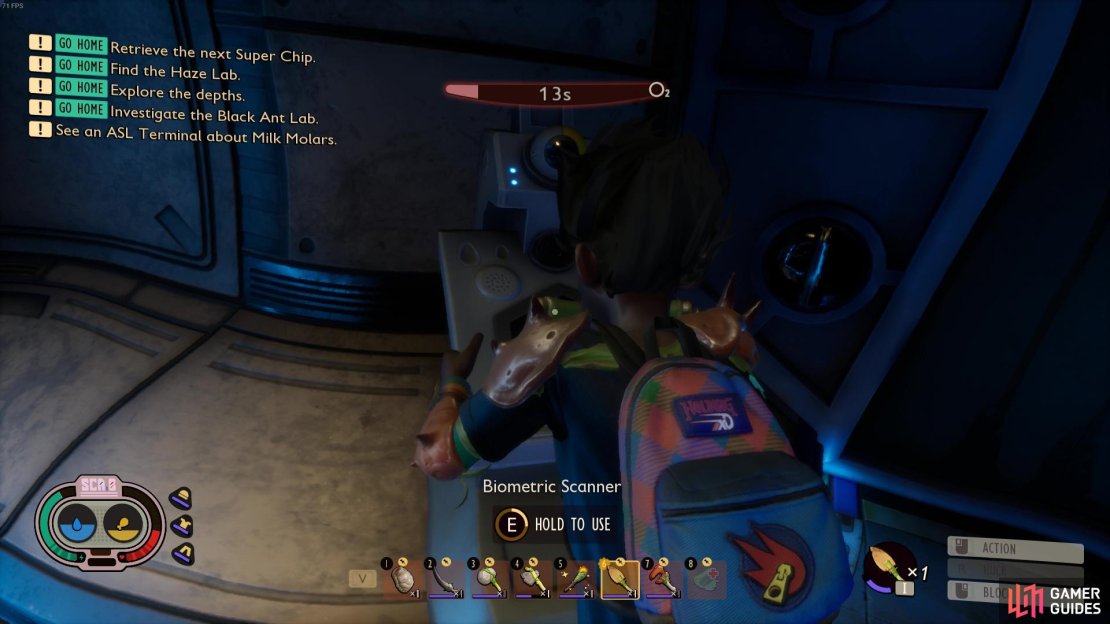
As soon as you’ve activated the bioscanner you’ll want to head up into the room to the right of the scanner to catch your breath (literally!). In this room you’ll find a power grid control lever and some files. When you try to activate the power grid control you’ll discover that all the breakers need to be switched back on.
Activate the Bioscanner.
Reactivate the Power Grid Control
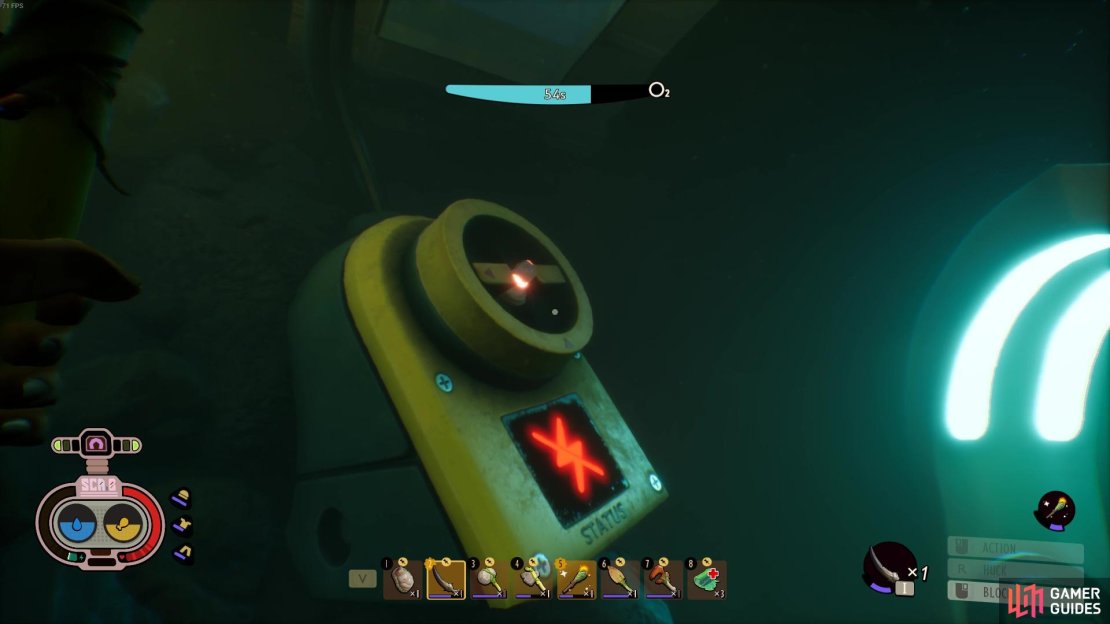
There are three breakers found outside the lab that need turning on so you can reactivate the power to the lab. Two out of the three breakers are relatively easy to reach, with the third being a little trickier.
You will need to find all three breakers.
How to Make a Bubble Helmet
If you only have the Gill Tube, you may want to quickly make a Bubble Helmet to give yourself even more breathing time - a whole 160 seconds worth of breathing time! To make it, you need the following:
| Resource | Quantity |
|---|---|
| x5 | |
| x4 | |
| x4 |
The ![]() Silk Ropes and the
Silk Ropes and the ![]() Eelgrass Strands can be picked up from the resource room in the lab, and you can find loads of
Eelgrass Strands can be picked up from the resource room in the lab, and you can find loads of ![]() Sunken Bones on the floor just outside of the lab! You can definitely make do without the Bubble Helmet but it is definitely a nice quality of life upgrade.
Sunken Bones on the floor just outside of the lab! You can definitely make do without the Bubble Helmet but it is definitely a nice quality of life upgrade.
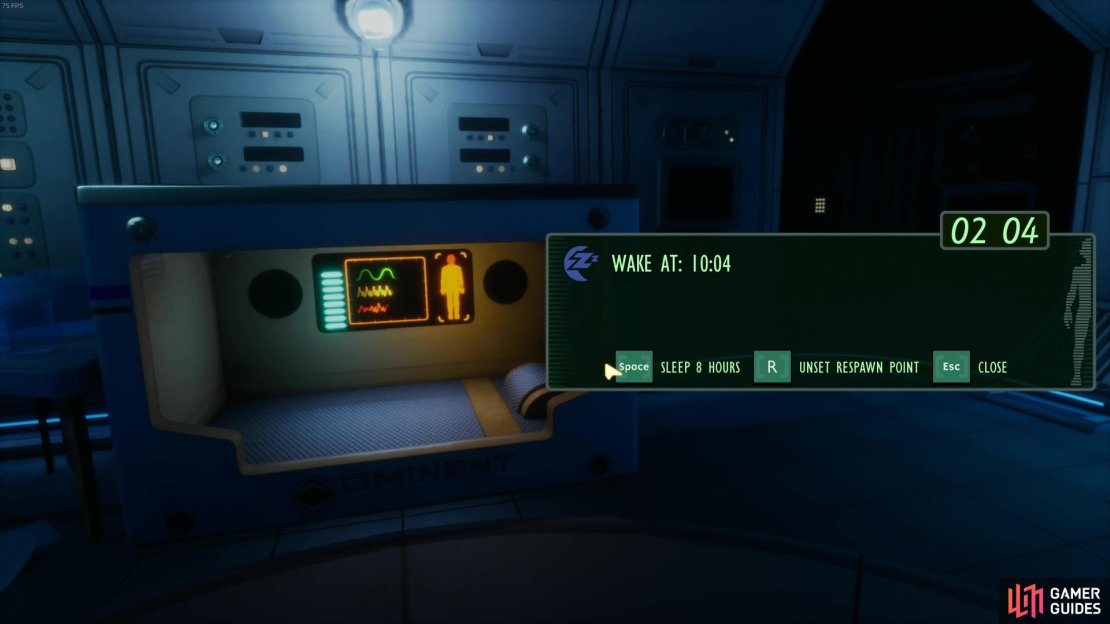
Before you head out, you’ll also want to set your spawn point! In the room to the right of the power grid lever, you’ll find a bed that you can set your spawn point in - this is obviously very useful if you accidentally die of hunger or dehydration, or perish to hostile creatures or drowning. But before you can get to the bed, you’ll have to deal with a new hostile robot enemy called the ![]() ARC.R. They send out powerful electrical orbs and use flashes of electricity to deal lots of damage - if you have a ranged weapon you’ll definitely want to use it here and avoid getting too close. If you are fighting in close combat, you’ll want to disengage when he starts shaking as it’s a sign that he’s about release a big burst of electricity that’ll knock you for a lot of damage.
ARC.R. They send out powerful electrical orbs and use flashes of electricity to deal lots of damage - if you have a ranged weapon you’ll definitely want to use it here and avoid getting too close. If you are fighting in close combat, you’ll want to disengage when he starts shaking as it’s a sign that he’s about release a big burst of electricity that’ll knock you for a lot of damage.
Having a bed in the lab is very useful! Make sure to set your spawn point.
Once you’ve set your spawn point and have made yourself a Bubble Helmet (optional!), it’s finally time to head out and turn on those breakers to reset the power.
How to Find Breaker #1
The first breaker is real obvious - swim back out the lab tunnel and head to the left. You’ll find the switch for the breaker nearby and you can interact with it to turn it on!
The first breaker is easy to spot as it’s just right outside the entrance into Pond Lab.
How to Find Breaker #2
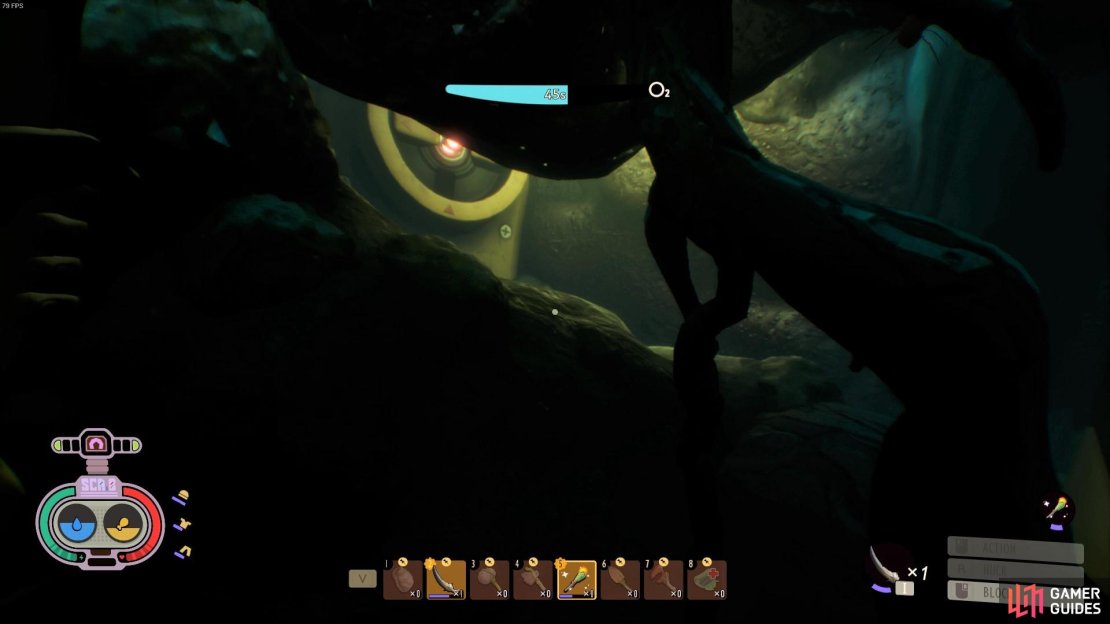
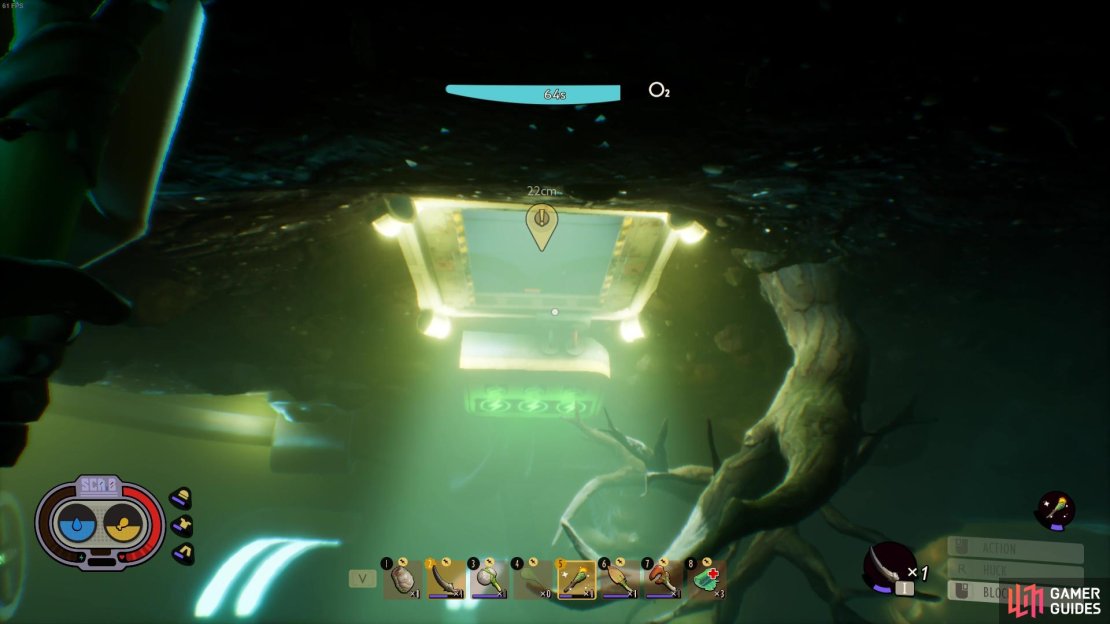
The second breaker is found straight ahead from the lab exit. You’ll need to swim into through some large underwater branches to an enclosed cave-like space where you’ll find the second breaker. In this area you may also find a few underwater spider enemies, but you can choose to ignore them and quickly turn on the breaker, if you’d prefer!
The second breaker is hidden behind some branches.
How to Find Breaker #3
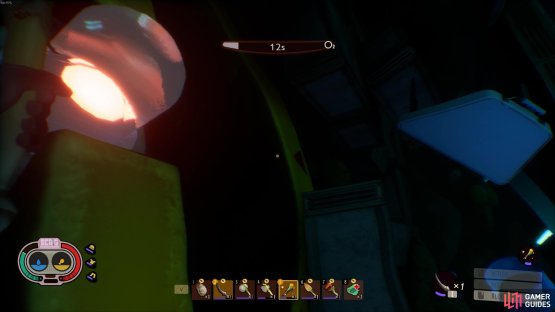
After you’ve returned to the lab for some air, it’s time to head out to turn on the final breaker. The Bubble Helmet is most useful for navigating this puzzle, but it isn’t completely necessary if you’re quick! You may also want to use the Slime Lanterns obtained from the resource room in the lab!
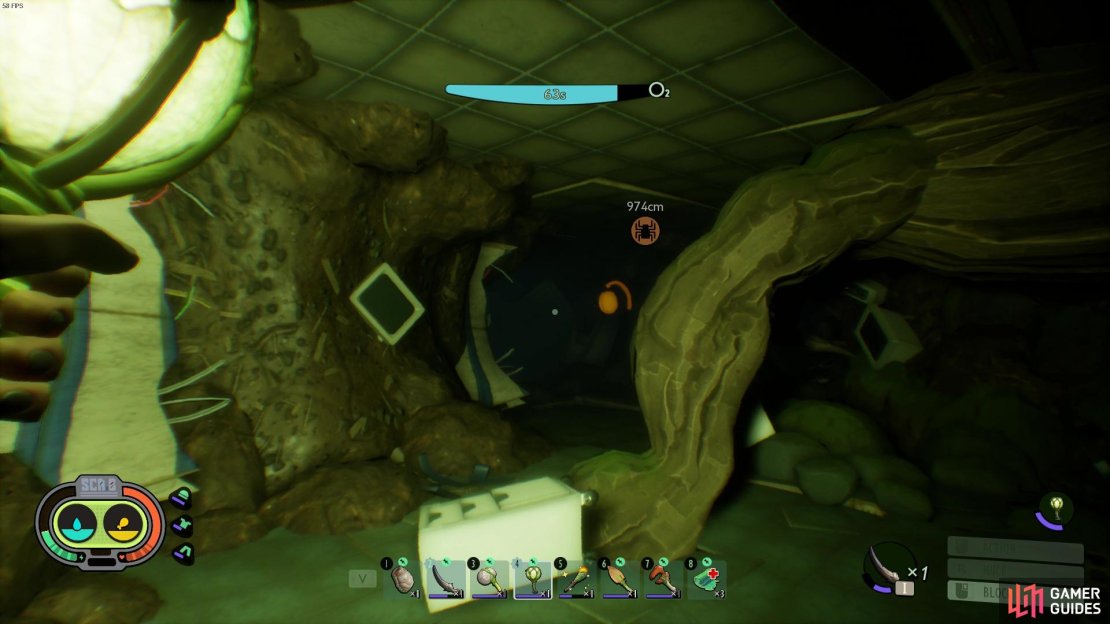
Now to get to it, you’ll need to first locate the ruined lab tunnels on the ground, to the right of the Lab exit. To get into the tunnels, you’ll need to go to the far end and find the broken glass that allows you pass into the tunnels. Now follow the tunnels along then to the left then down to the room with the breaker. If you haven’t got the Bubble Helmet, you may drown trying to exit these tunnels - but so long as you’ve set your spawn point you’ll be able to head out and collect your backpack easy enough.
(1 of 2) and make your way to switch on the breaker.
and make your way to switch on the breaker. (left), Head into the tunnels (right)
Once you’ve turned the breakers back on, you’ll be able to head up into the main area of the lab via an opening outside. The opening is found on the “ceiling” of the cave area, near the first breaker.
You can now enter the main Pond Lab area.
How to Complete the Main Lab
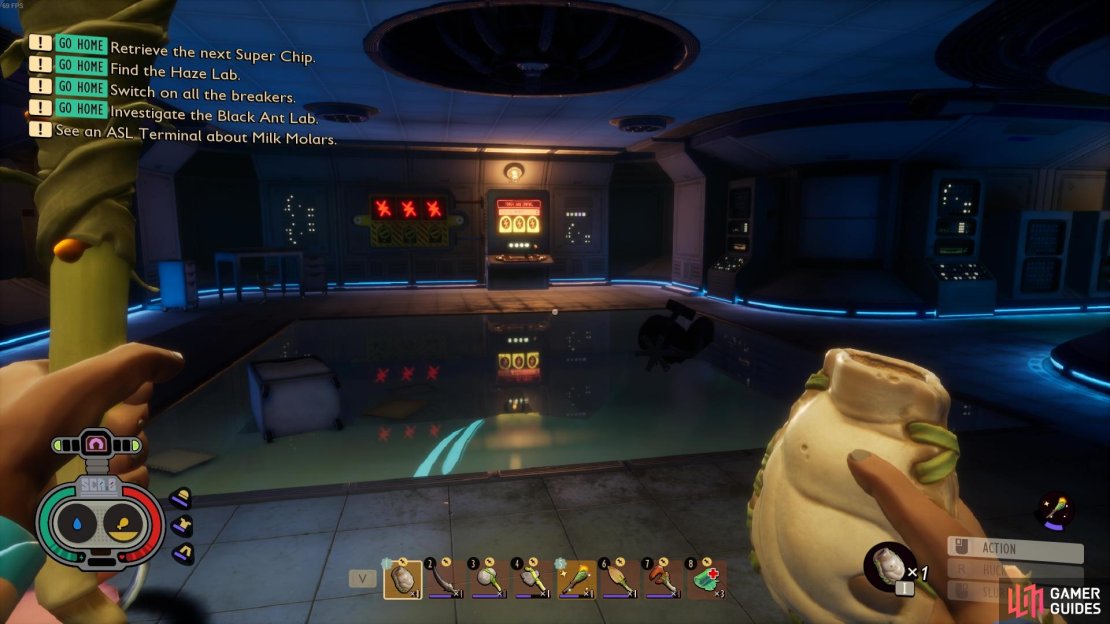
Now that you’ve made it to the main lab area, you’ll first want to open the door that connects to the room with the bed. This way you won’t have to travel all the way back round again from the bed.
After, head through the door that’s already green and you’ll be able to pick up some Raw Science. Continue down the corridor past the floating brain and behind it to find a chest containing some ![]() Brittle Marble Shards. On a table nearby you’ll also find a file.
Brittle Marble Shards. On a table nearby you’ll also find a file.
Next, you’ll need to swim down the submerged corridor and follow it around to find a way back up into a new area. This underwater bit is extremely dark so you’ll definitely want to use a slime lantern to lead the way!
Head into the underwater area (with a lantern!) and make your way around towards the other side.
Follow the corridor in this new area to the right and make sure to pick up the ![]() Brittle Quartzite Shard and the
Brittle Quartzite Shard and the ![]() Muscle Sprouts Test Kitchen folder.
Muscle Sprouts Test Kitchen folder.
After grabbing those, head over to the power grid control computer and input the password. This will open up some new doors for you. You’ll want to make your way back to the main Lab room, where you swam in from the bottom. You can either do this by retracing your steps or finding the second under water door and making your way back through the resource room, past the bed and back into the central room.
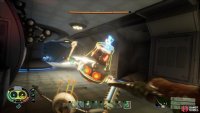
A new door in this central room has been opened up but before you can head through, you’ll need to deal with a host of robot enemies. Three of them will be ![]() TAYZ.Ts that can be dealt with easily, but you’ll also have to deal with an ARC.R as well. The best way to fight these guys is to first take out the TAYZ.Ts as they’re easy to predict and then focus the ARC.R. After fighting off the robots, proceed into the newly opened room that branches off the central Pond Lab.
TAYZ.Ts that can be dealt with easily, but you’ll also have to deal with an ARC.R as well. The best way to fight these guys is to first take out the TAYZ.Ts as they’re easy to predict and then focus the ARC.R. After fighting off the robots, proceed into the newly opened room that branches off the central Pond Lab.
(1 of 2) You’ll need to fight several TAYZ.Ts and a couple ARC.Rs too
You’ll need to fight several TAYZ.Ts and a couple ARC.Rs too (left), make sure to keep an eye out for their attack indications. (right)
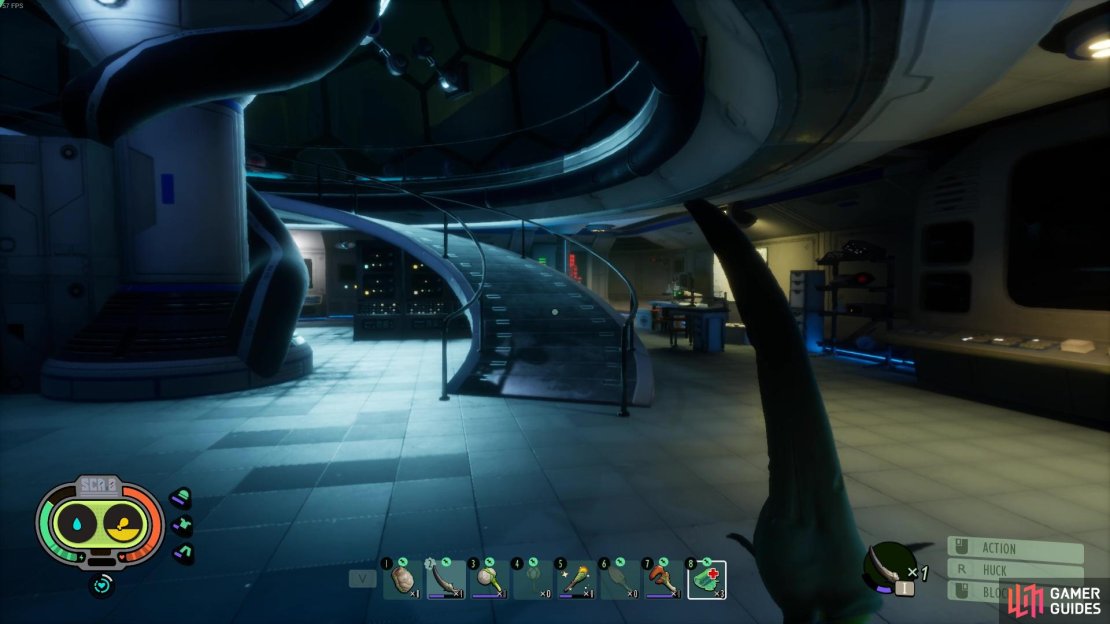
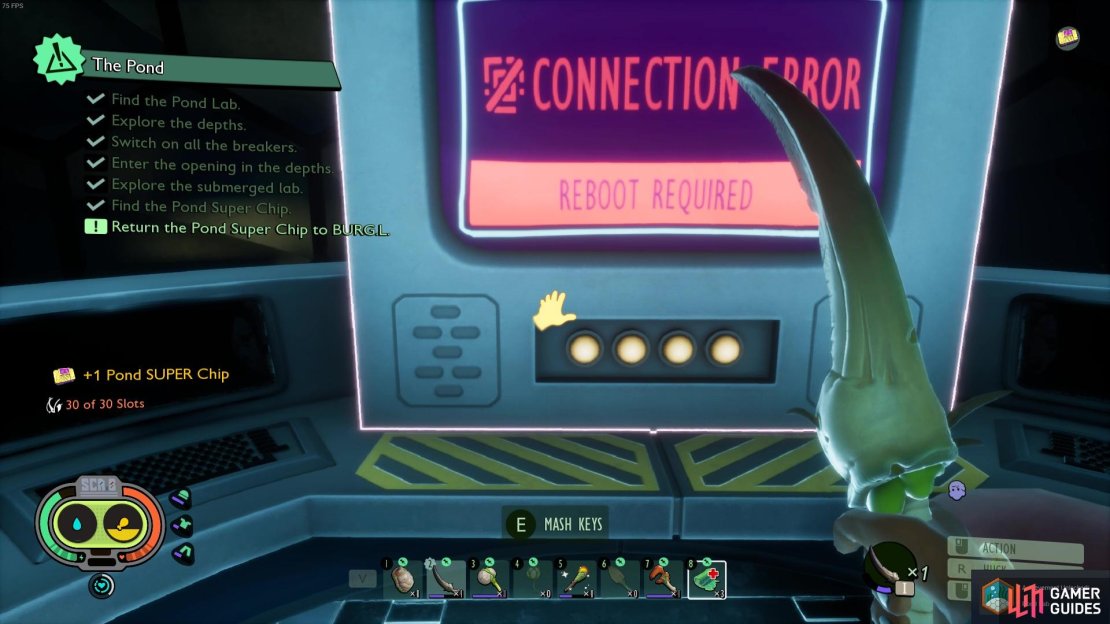
In this next dome room, you’ll also find a couple more robots to take out. Loot the folder on the table to the side of the entrance into the room before heading up to the top of the stairs and pick up the Pond Super Chip. After picking up the Superchip interact with the computer to open up a new shortcut method of reaching the Pond Lab if you ever wanted to return!
Before you depart, you should also grab the tape on the side and all the purple Muscle Sprouts surrounding the outer balcony. They can be used in smoothies!
Make sure to grab the super chip and reboot the Pond Lab computer.




No Comments