

Inside the Mountain, God of War.
Ascend the mountain
Begin by scaling the nearby wall and using the Bifröst to dispel the last of the Black Breath. Open the doors in front of you and head forward toward the imposing statue at the back. Although Atreus can read the riddle at the sand bowl, you’re unable to activate this for now, instead take the open path to the left of this chamber.
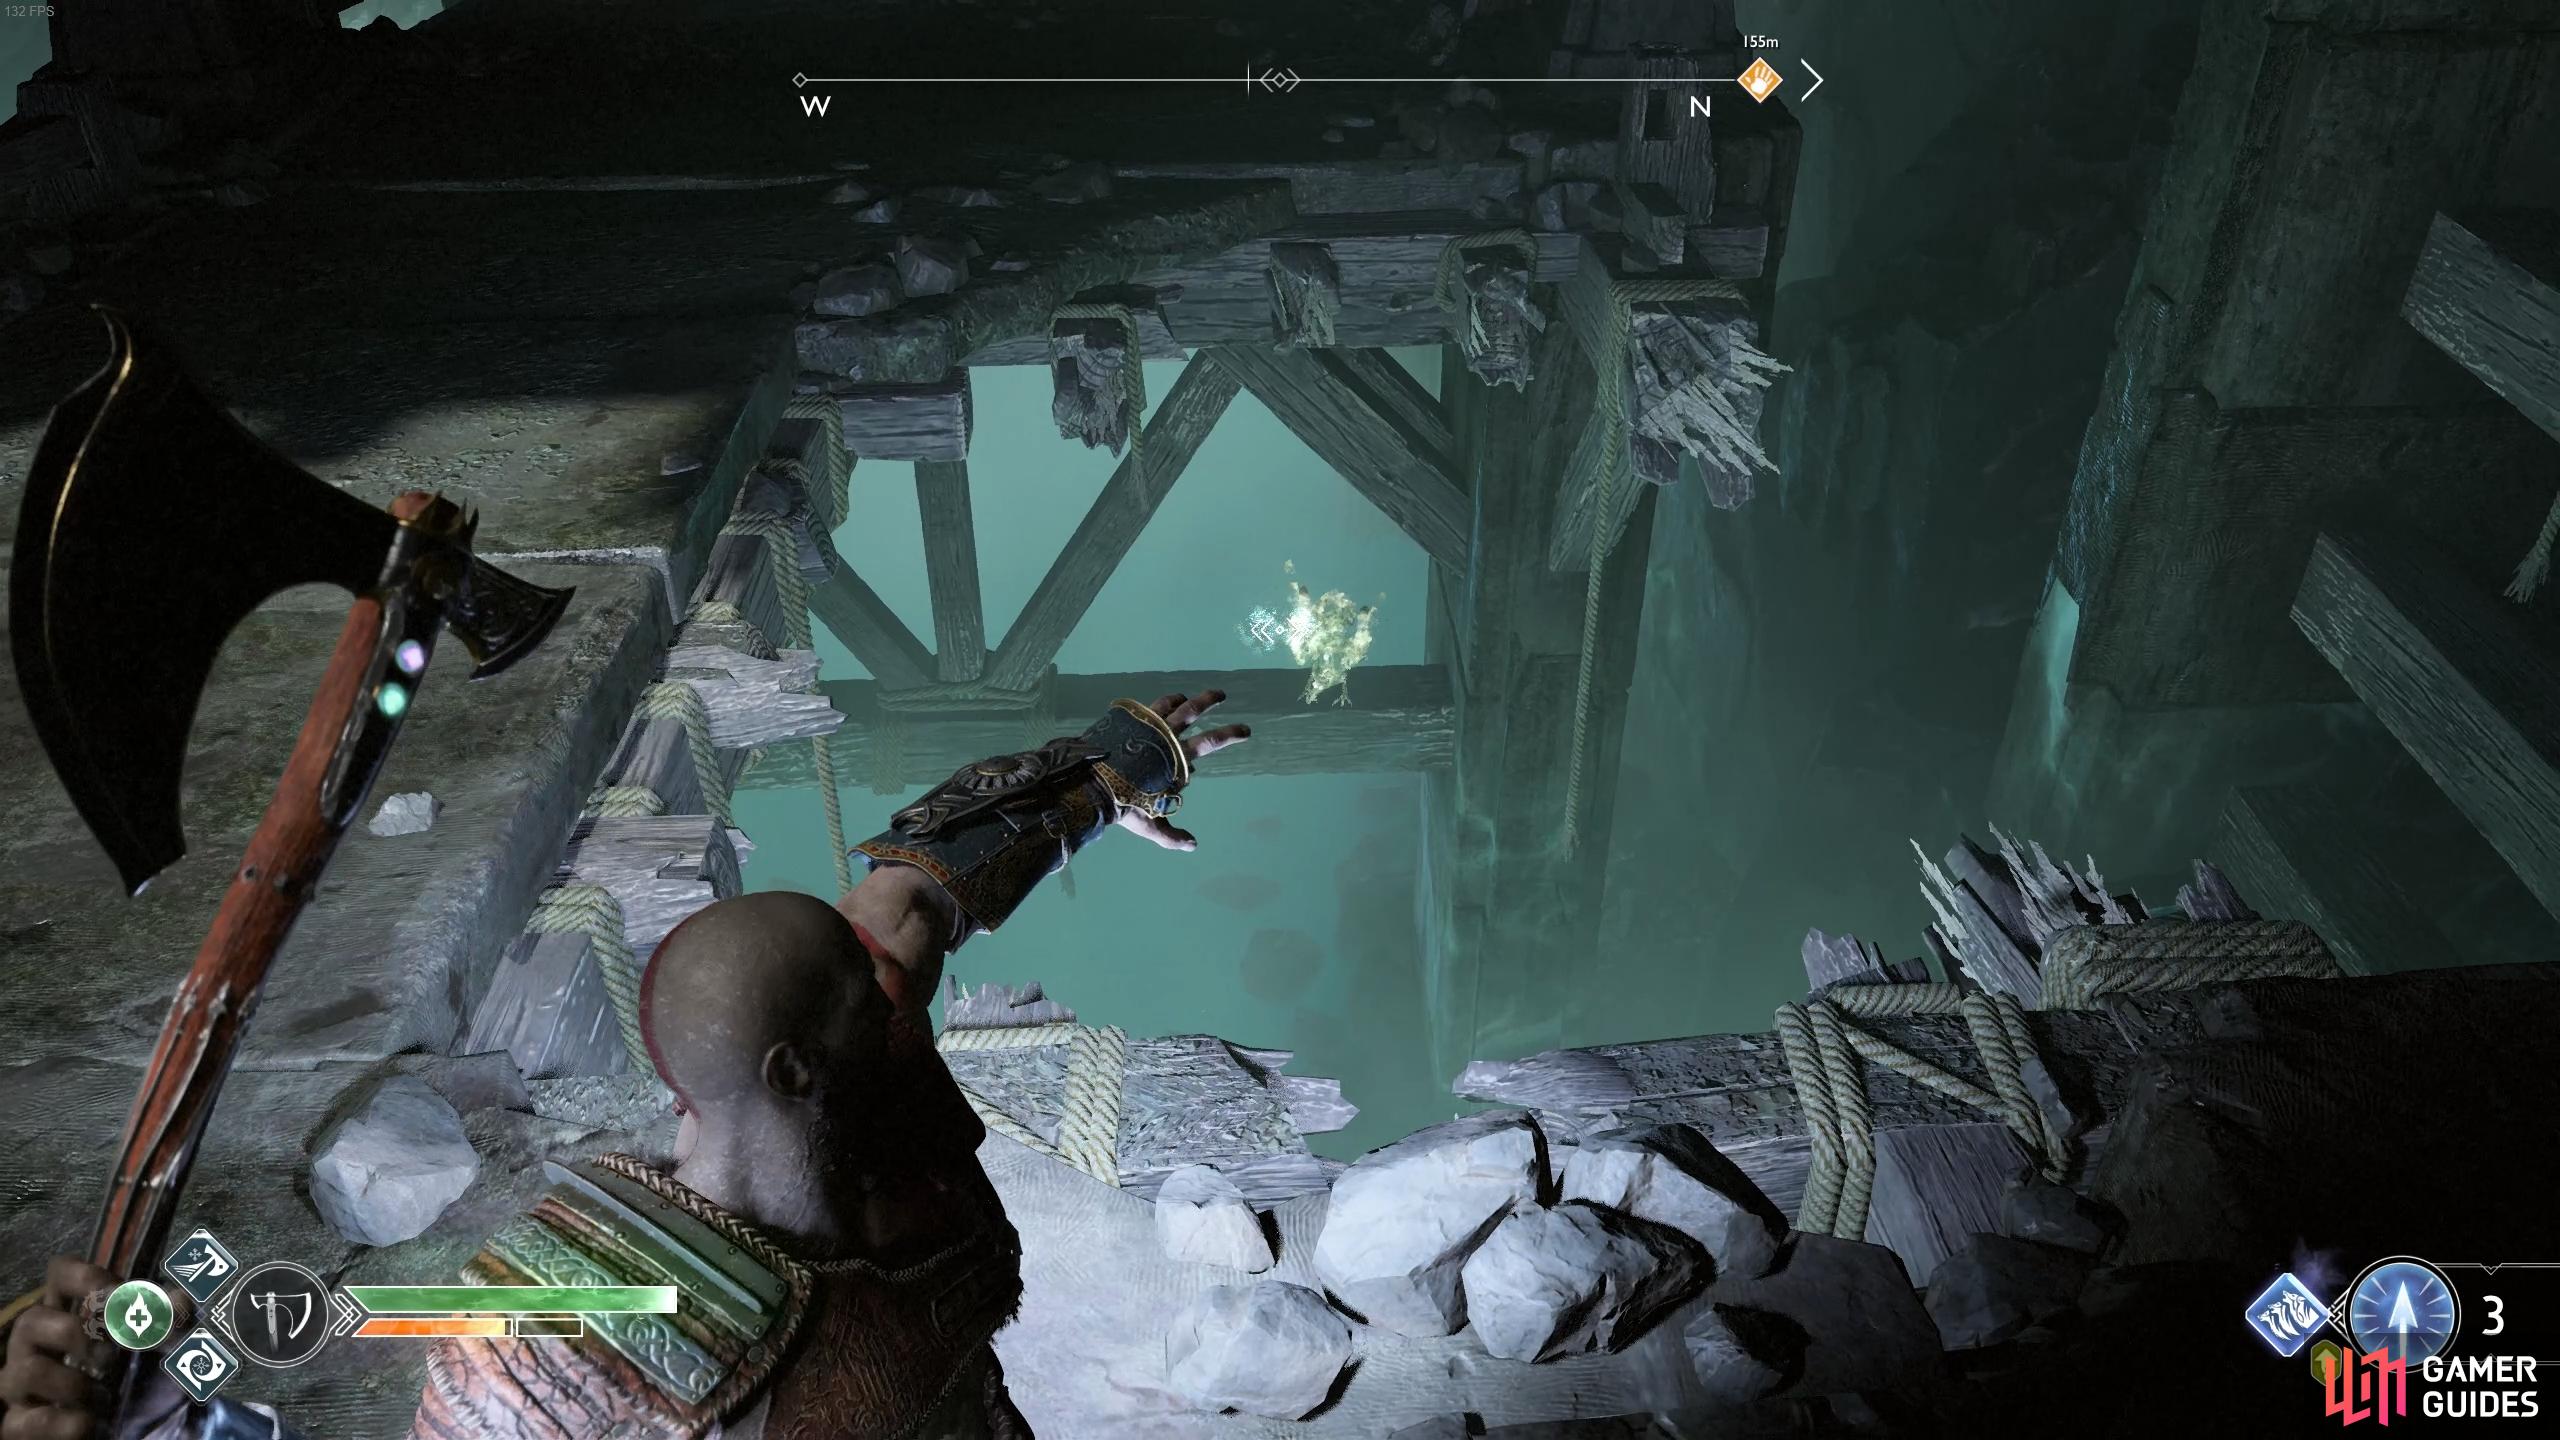
As you pass around the corner, two Speed Draugrs will shoot towards you, defeat them and then look in the air, there’s a crystal on top of the beam that you can knock down with the Leviathan Axe. Do so and pick it up, placing it in the open pedestal to the left of the sand bowl.
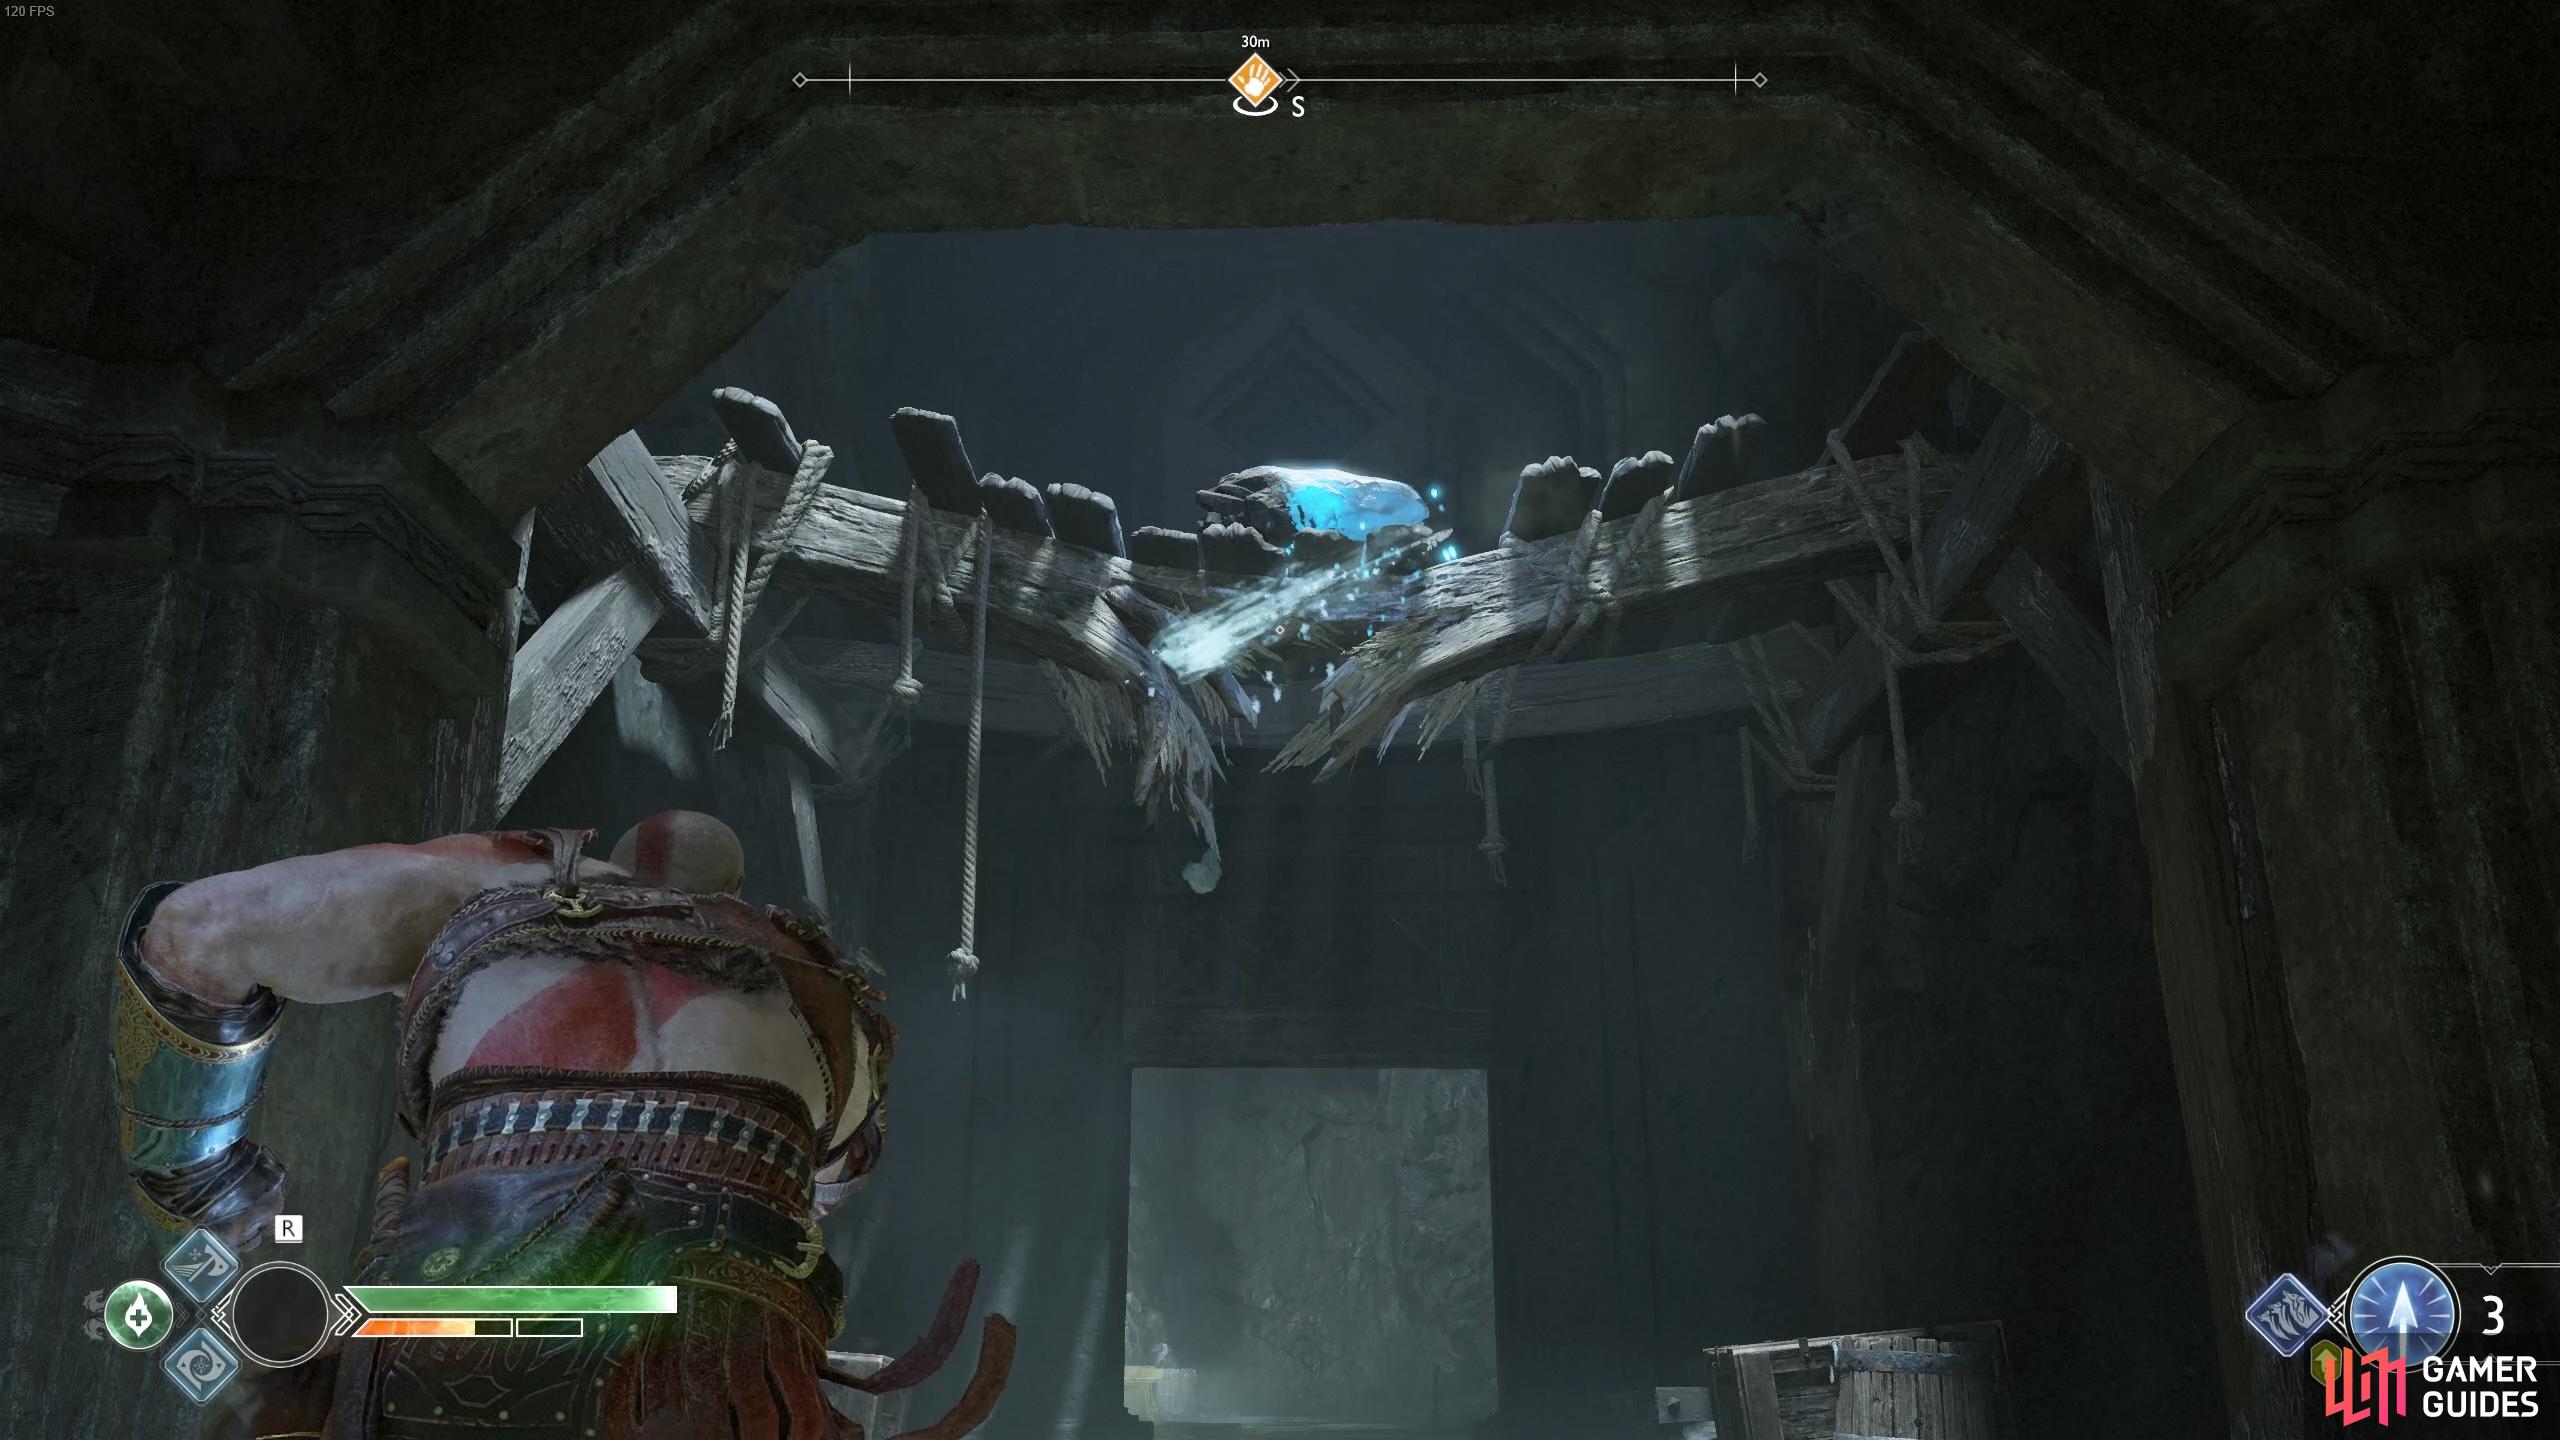
(1 of 2) Pick up the crystal after knocking it down from above.
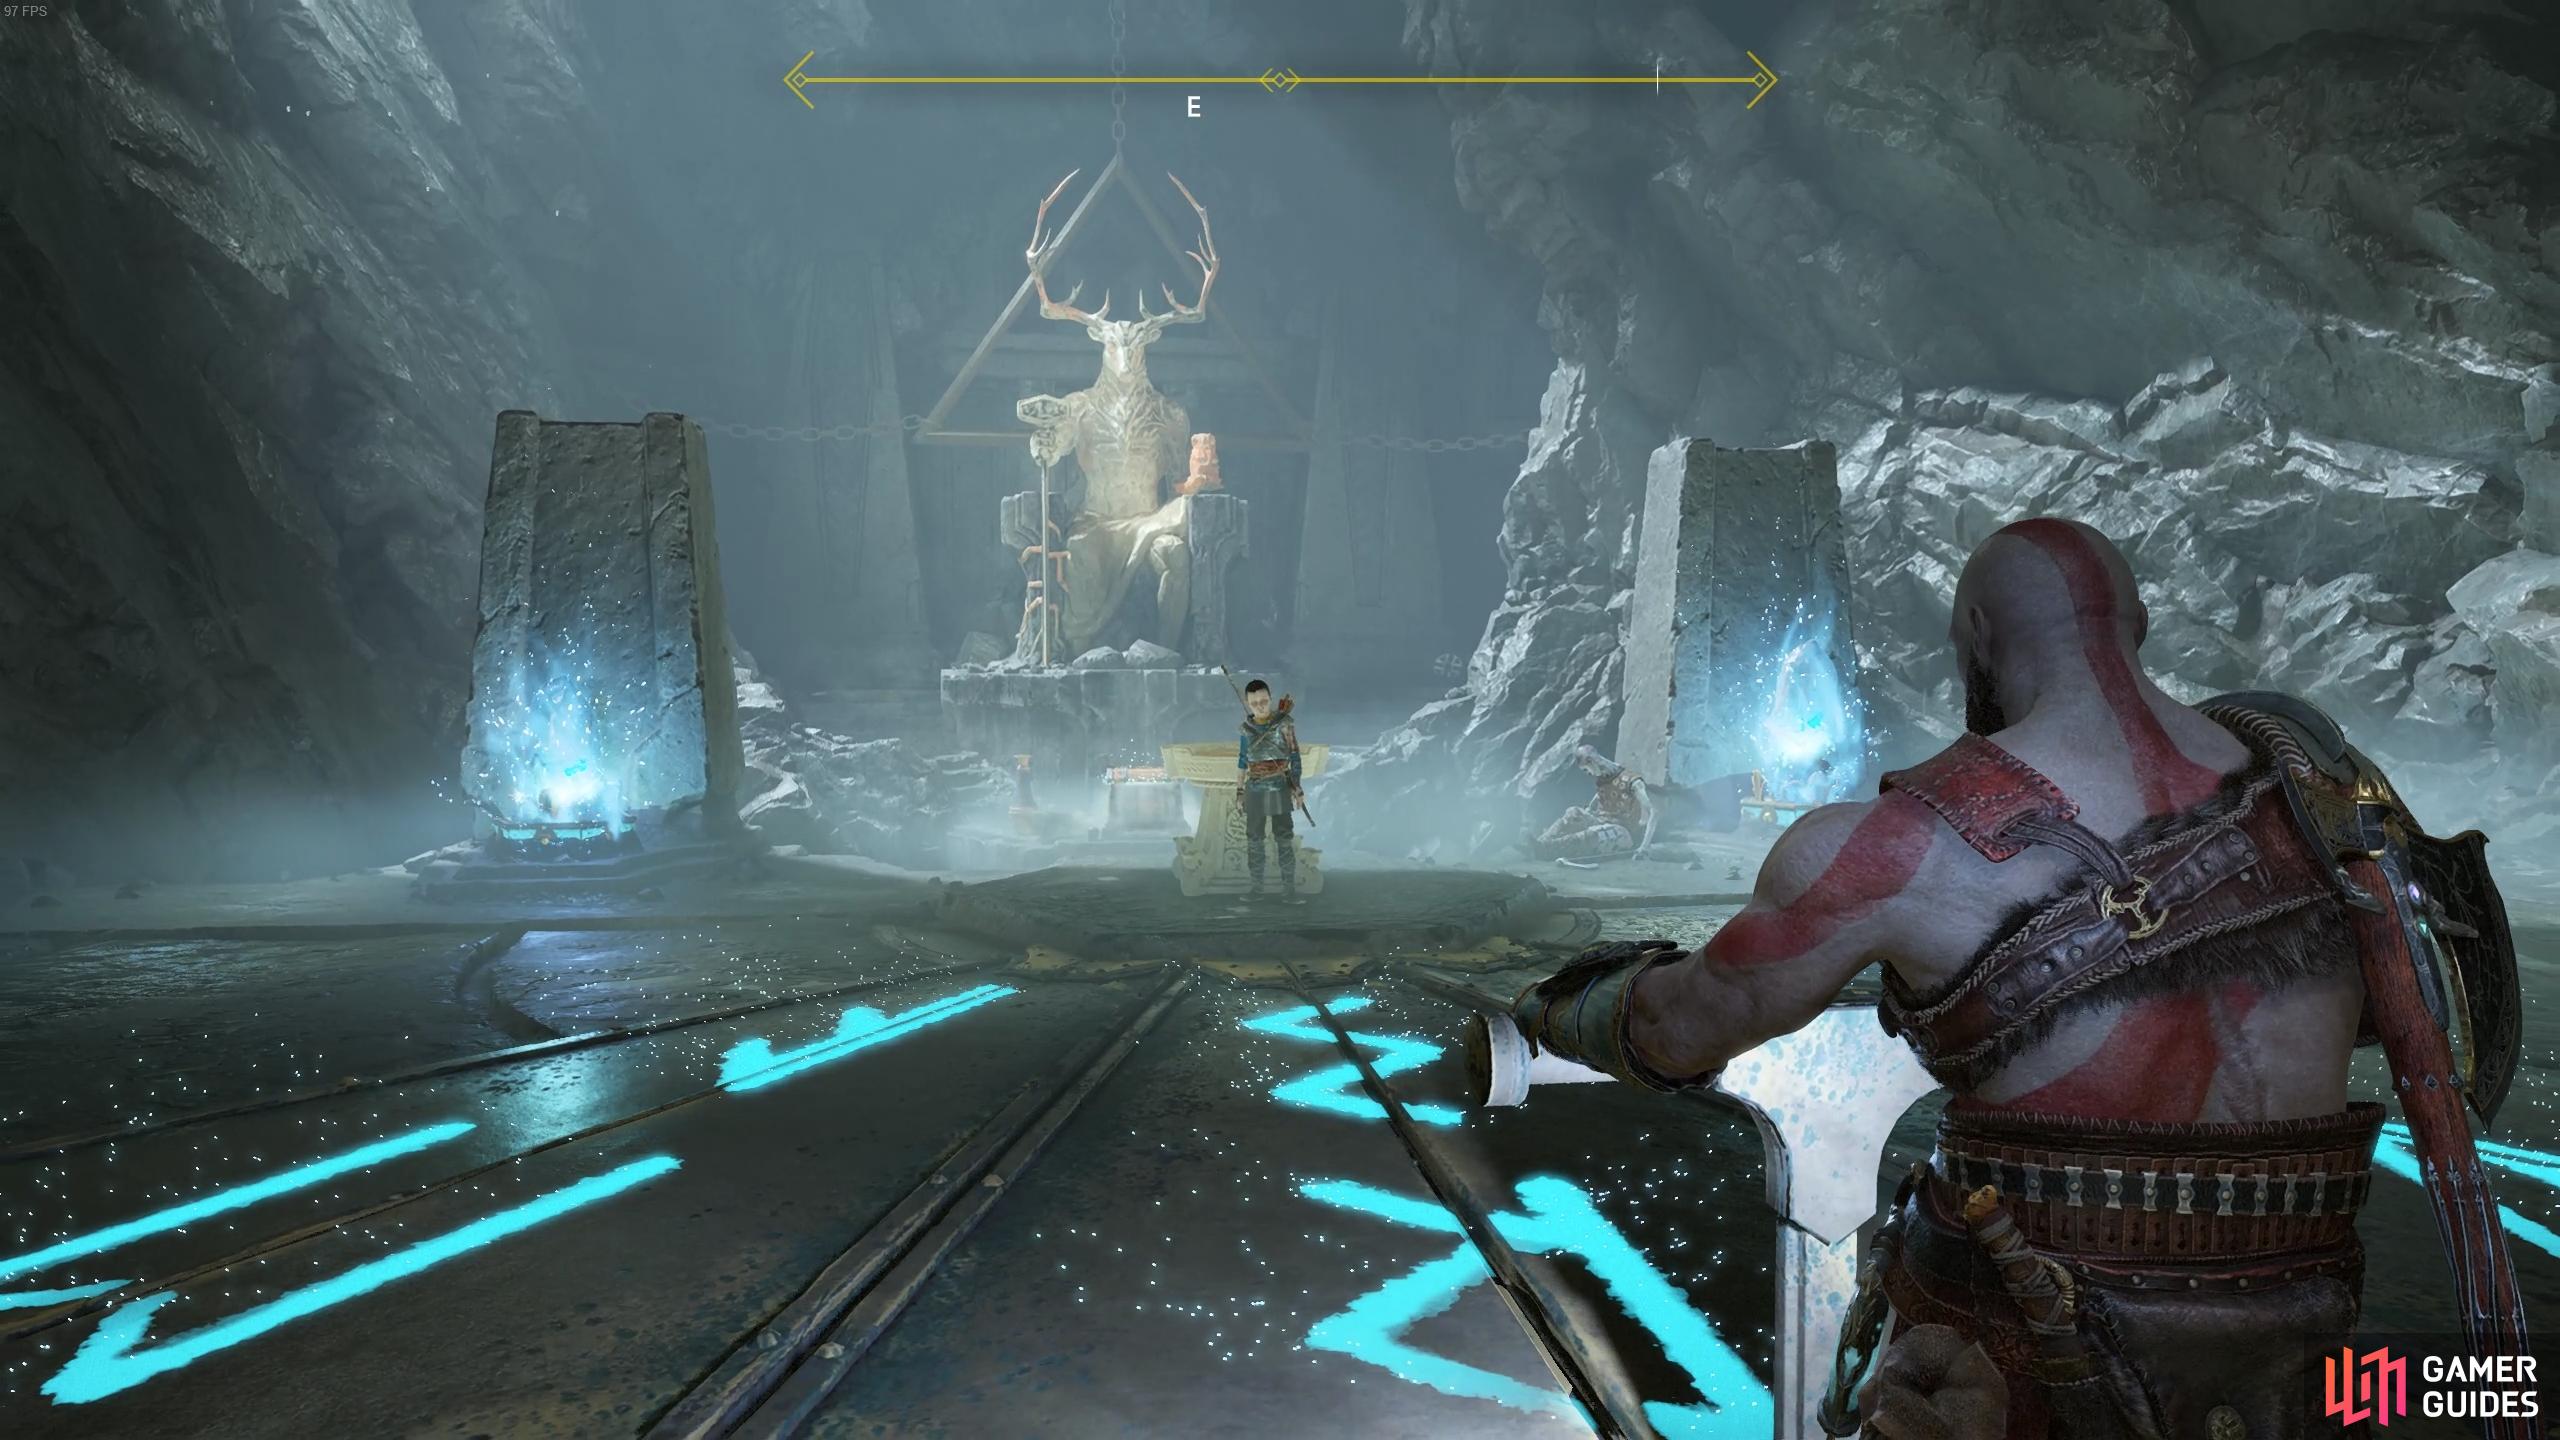
Pick up the crystal after knocking it down from above. (left), Pull the lever all the way back to line the runes up. (right)
Have Atreus light up both the Light Crystals here and then pull the switch all the way to the back, lining up the runes on the floor for Atreus to translate. A Light shoots out from the statue and toward the wall to your right, head towards it and open the makeshift door. Shoot the nearby Light Crystal to give yourself some light and then drop down the ledge and pass through the passage to your right, shooting the crystal to give you light on the way before passing under another small tunnel.
Traverse the dark caves
You’ll find yourself in a large open area with Draugrs at the back, ignore them for now and look to your left to find another crystal to light, revealing a passage up, take this this passage. At the top you’ll find a container to knock down, a crystal to light and a coffin to open containing Scaled Bracers of Focus. Head back down the stairs and pass under the rock to the left.
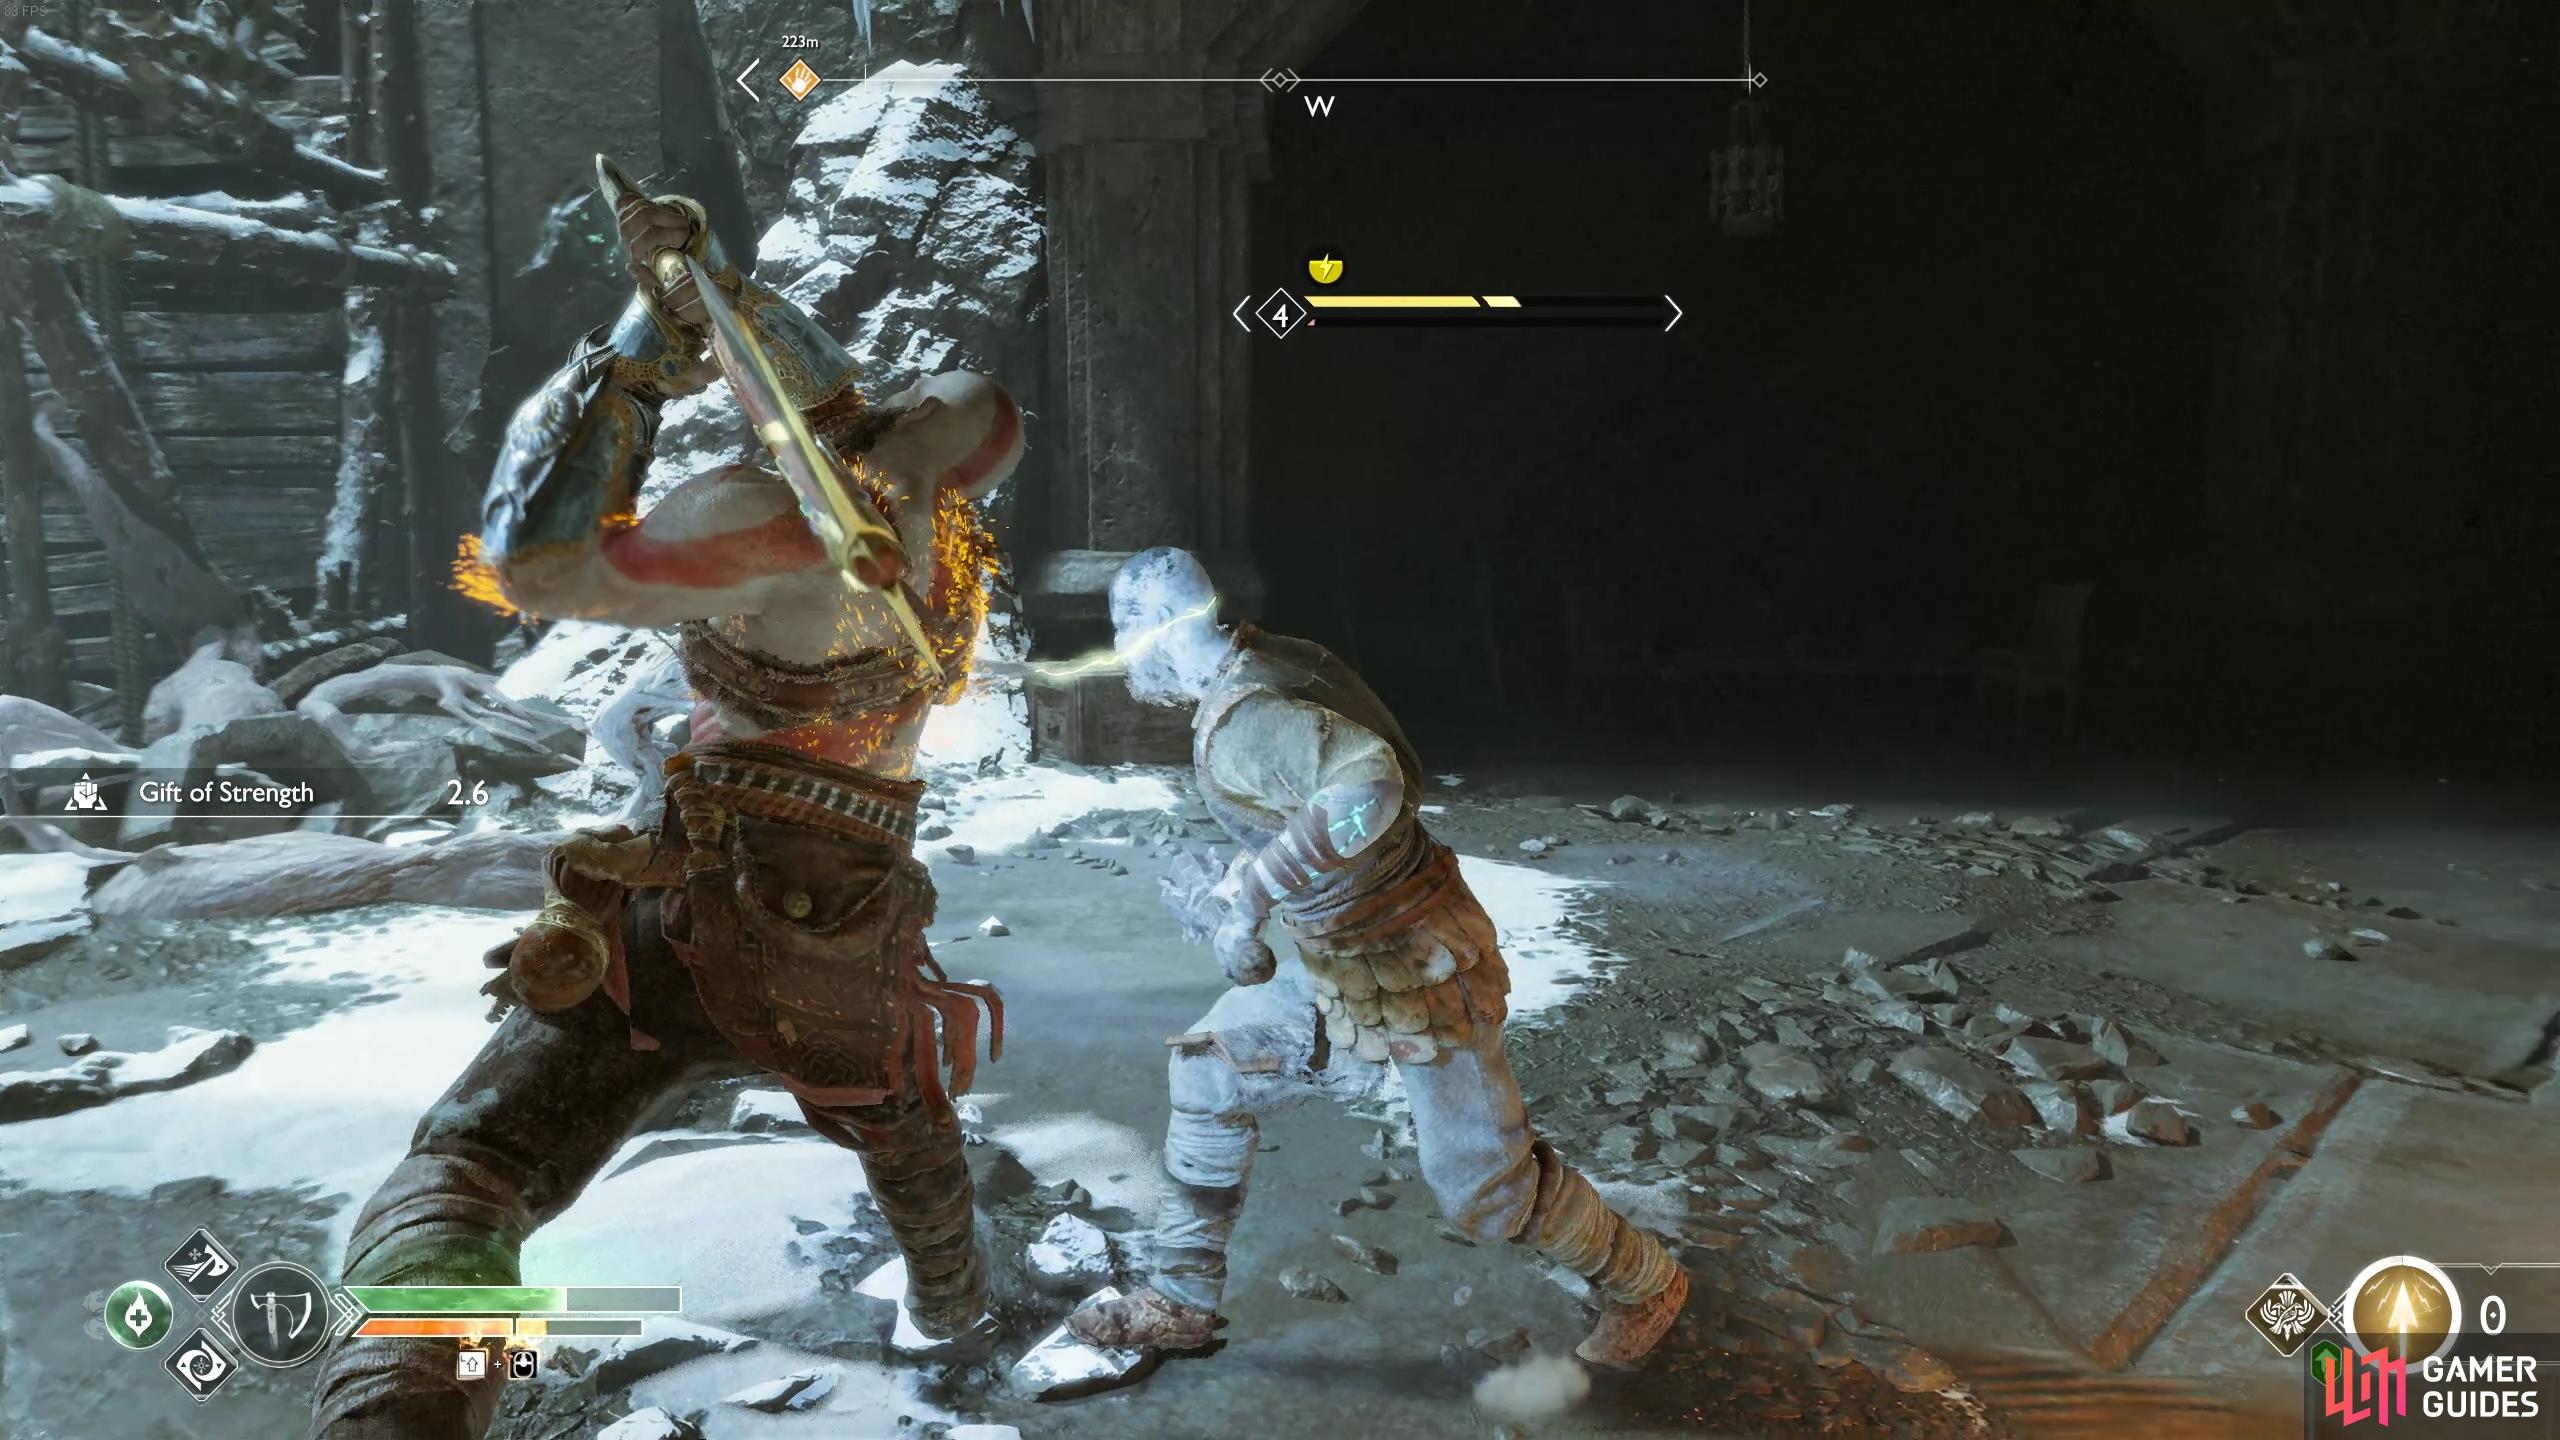
A new variant of Revenant attacks here, a Summoner and like the Dark Elf Summoner from Alfheim, can summon reinforcements, Nightmares in the Revenants case. Focus all your attacks on her and she shouldn’t be able to summon any allies. The Nightmares are also another new variant, Fire Nightmares and as you might expect, will shoot fireballs at you.
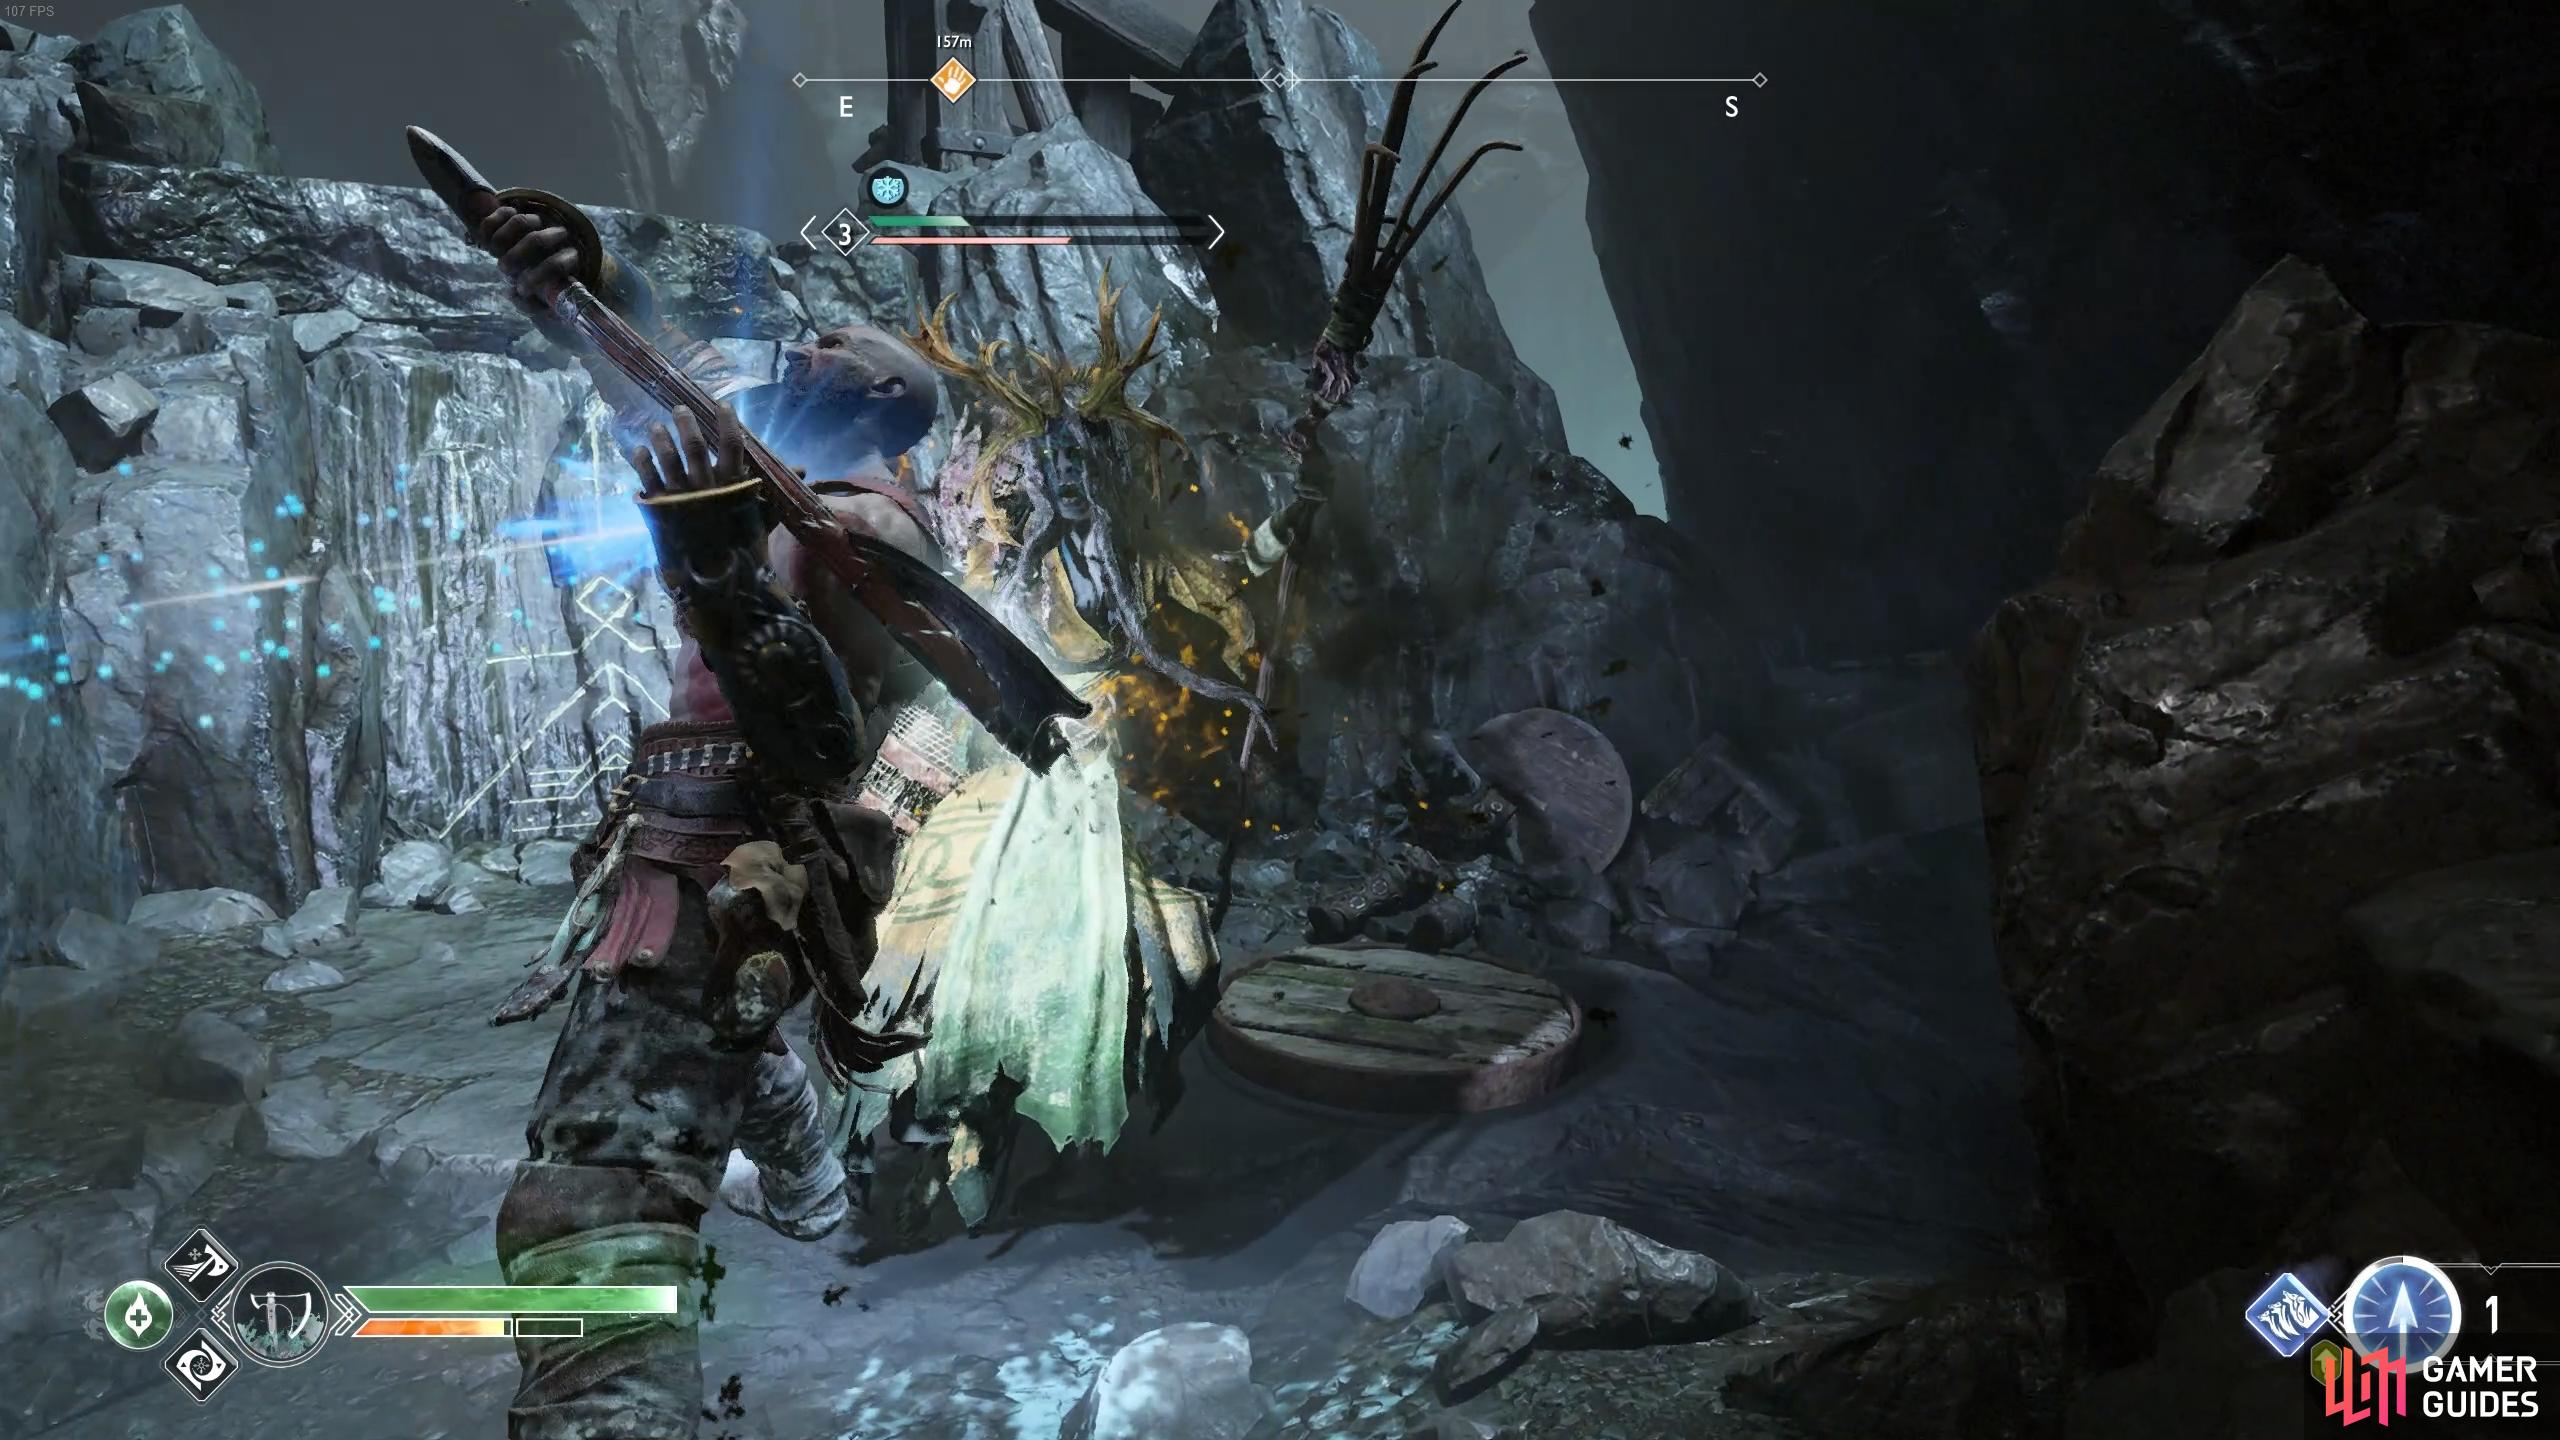
Concentrate on the Revenant to prevent her from summoning more allies.
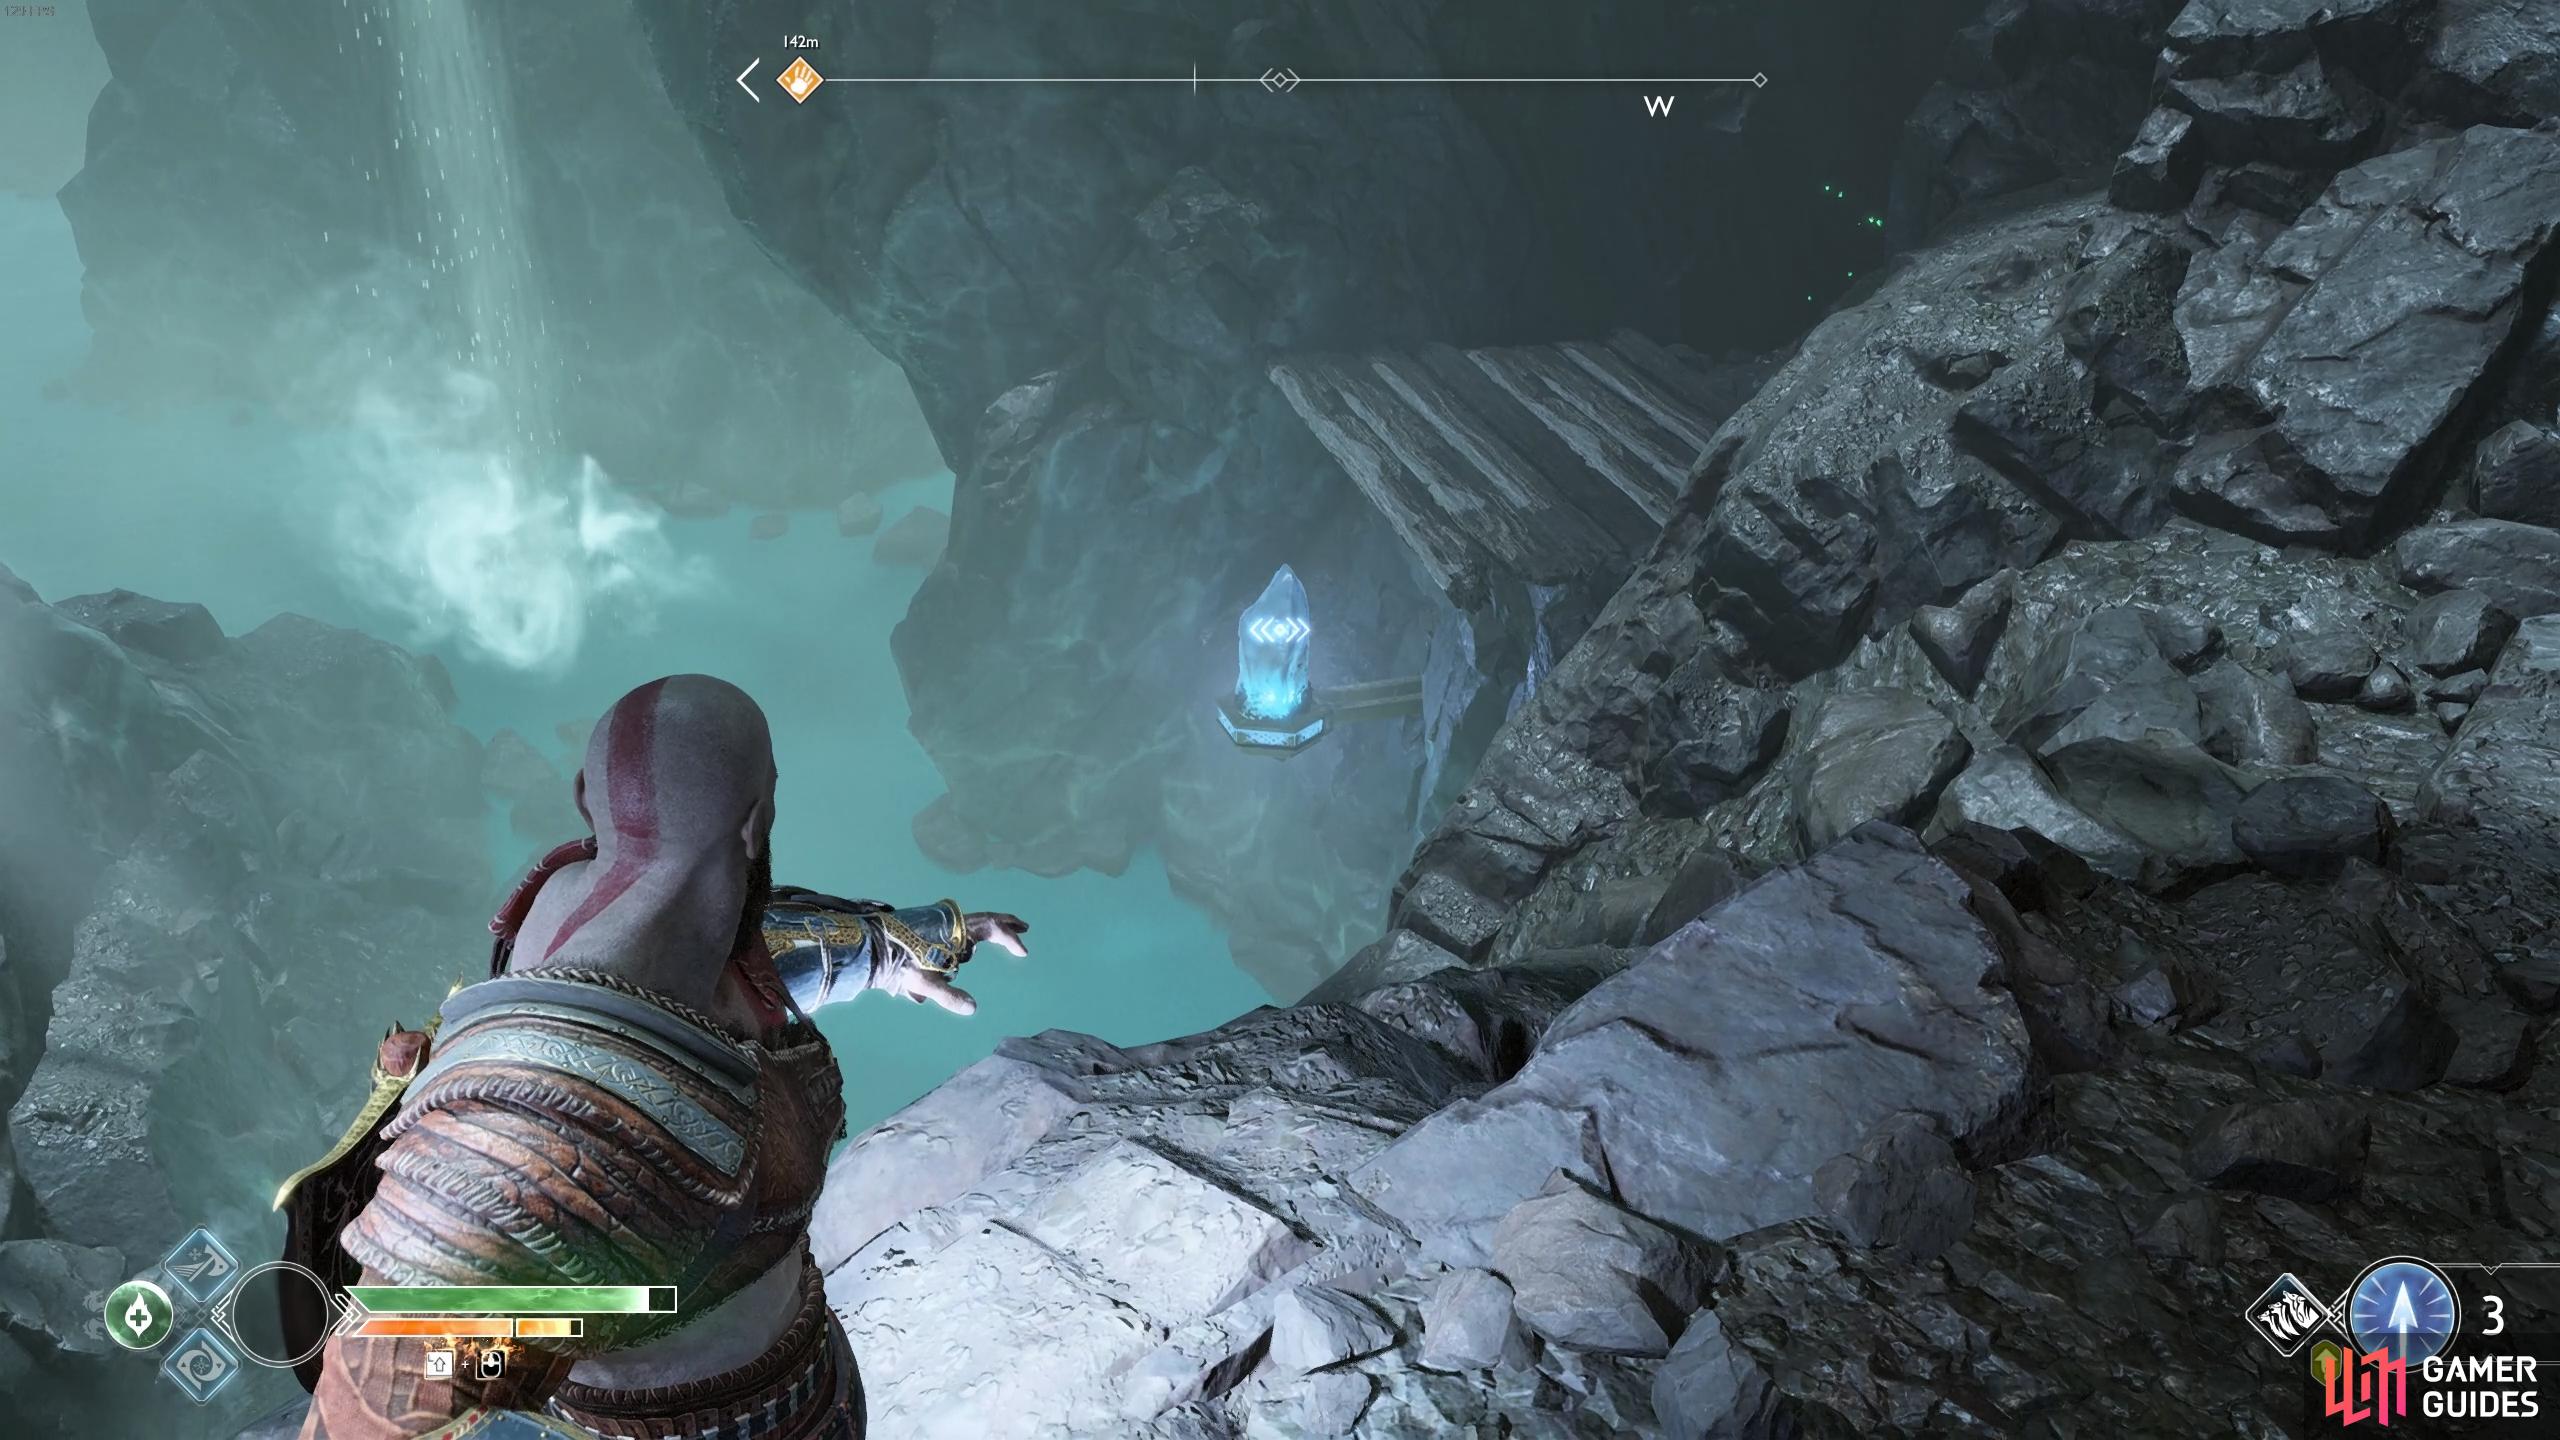
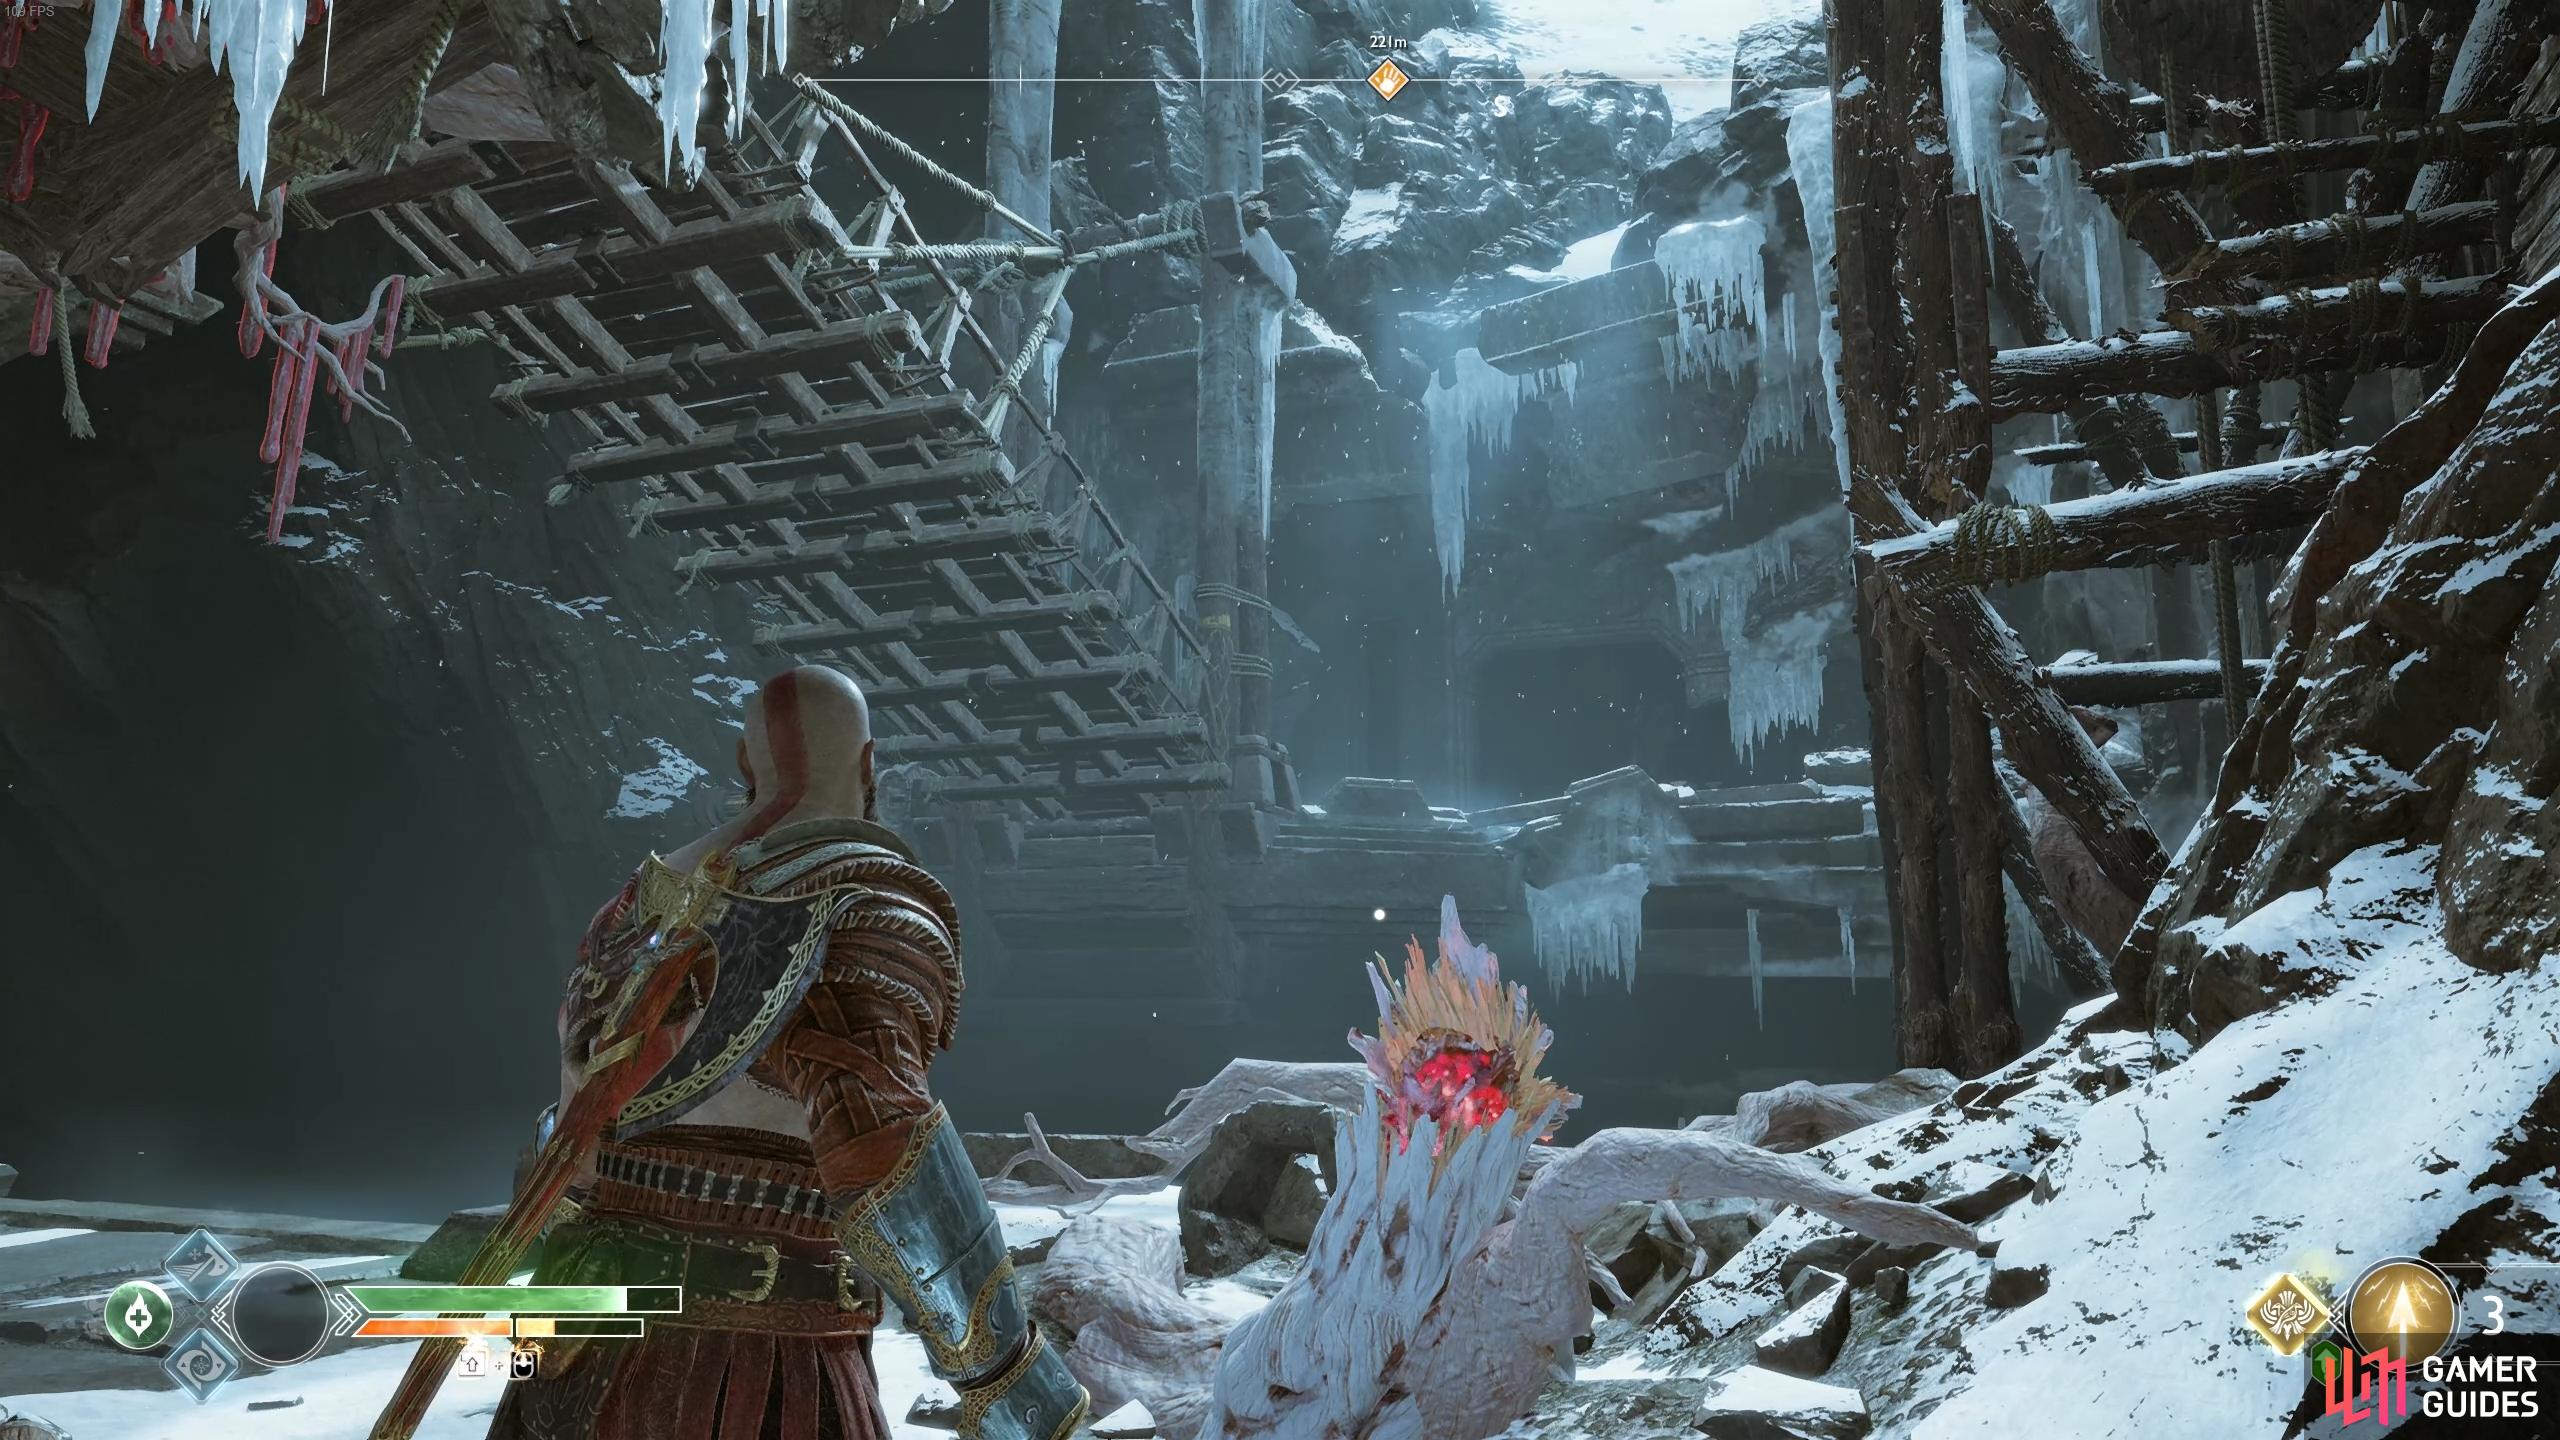
Once the enemies are defeated, pass the gap in the bridge and then turn around to face it, a Raven is hiding on a beam. There’s a Rune spinner in front of you but you don’t know the Runes needed for the nearby Nornir Chest yet so hold off on altering it for now and climb the ledge. Another group of Draugrs are up here and before you begin the battle, you may notice the cluster of light crystals sticking out of the rock, hitting these will cause a pulse of stun damage to nearby enemies. Defeat the Draugr and then move to the east slightly before gazing at the coffin on a platform over the cliff. To the right of this is a Light Crystal you can shoot to errect a bridge, inside you’ll find some more resources.
(1 of 2) Look for this Raven hiding under the bridge.
Look for this Raven hiding under the bridge. (left), Look over the cliff to the right once you climb the ledge to find this crystal. (right)
Head back up the ledge and go to the left, there’s a wooden wall you can break with an axe toss and then shoot the Light Crystal, this will erect another bridge leading up to the area above. Head up here and shoot the Light Crystal in the sconce above the Nornir Chest to light the area up.
If you walk over to the wall, you’ll see the Runes needed are written on the wall at the back, ᛒ, ᚢ and ᚱ. The first Rune spinner should already be on ᚢ, if it isn’t hit the discs to spin it around to that Rune. You’ll find the next Rune spinner to the right of the bridge you just lit up, hit the right disc once to get the ᚱ Rune. Finally, head across the light bridge once more and take the path to the left, you’ll spot the final Rune spinner in the distance to the left. Hit the disc to the right to display the final Rune, ᛒ and unlock the Nornir Chest containing a Horn of Blood Mead extending your maximum Rage.
Head back down the light bridge and look below the Rune spinner to the right of it, there’s a crystal you can pick up, carry this back up the light bridge and with you as you cross the bridge to the left of the Nornir Chest. Beware, there’s a Draugr waiting to attack you at the other side, defeat it and place the Light Crystal in the empty pedestal. As you insert this, a Projectile Draugr along with another Speed variant will attack, take them out and then light the crystal to light up the nearby Lore Marker.
Take the nearby zipline back down and take the right path at the fork and continue until you reach a light crystal in a sconce. Shoot this to light the area up and then look to the right of it, break the wooden door down and then break the boxes at the back of this room, you’ll find a corpse with the first Artefact for the Bottoms Up Artefact quest. Exit this room and continue to follow this path, defeating the Draugr and ducking into the tunnel ahead.
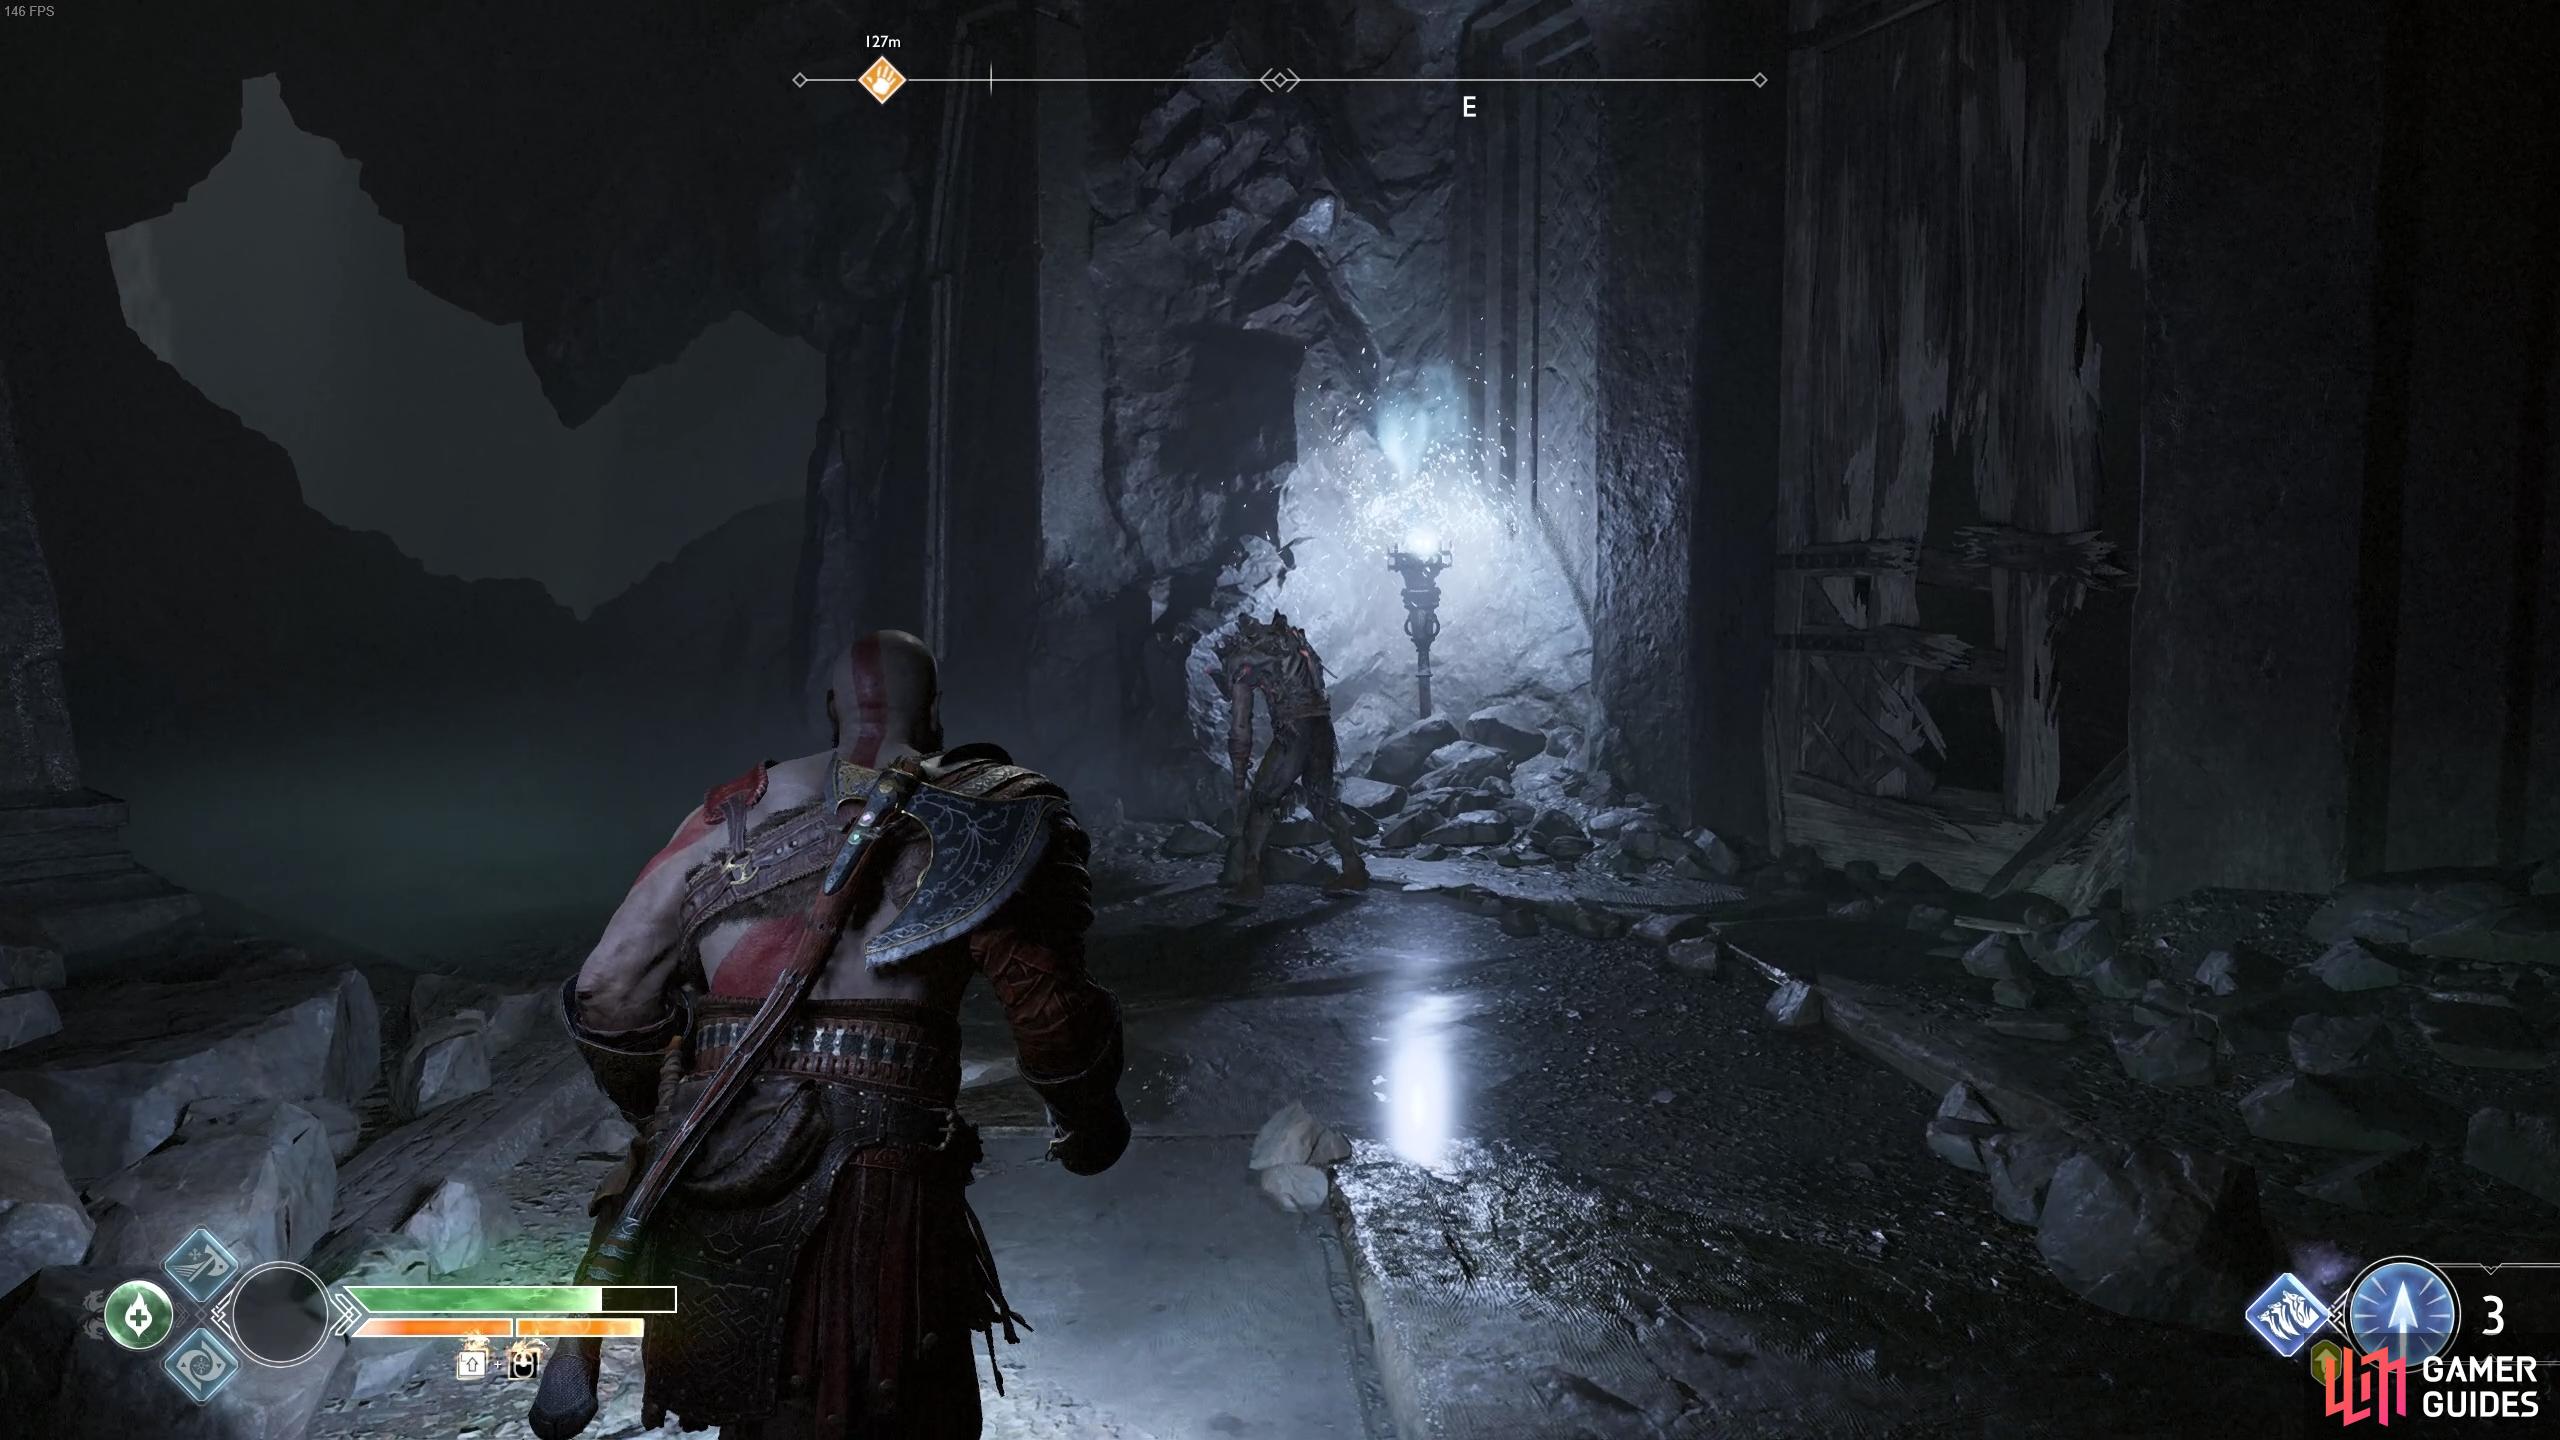

(1 of 2) You can place the crystal on the pedestal to read the lore.
You can place the crystal on the pedestal to read the lore. (left), Break the wooden door to the right of the sconce to find this Artefact. (right)
Pass through the tunnel and break through the two barricades to find yourself the other side of the statue from the entrance. Have Atreus read the Lore Marker on the back of the statue for more information and then pass around to the front of it to find a Hacksilver chest. Now look behind the statue to find a wooden door you can break down, inside you’ll find another Lore Marker on the ground for Atreus. Before you leave this library, wait for the stone on the ground to change to the color you desire before picking it up.
Once you’re ready, pass through the door to your right and you’ll be greeted by another type of Draugr, Power Weapon. These Draugrs can plunge their swords into the ground causing a fire fissure to shoot your way, be sure to dodge out of the way of this. Thankfully, they stun just as easily as all other types of Draugr so make use of Light Arrows to build up the gauge before Stun Grabbing them.
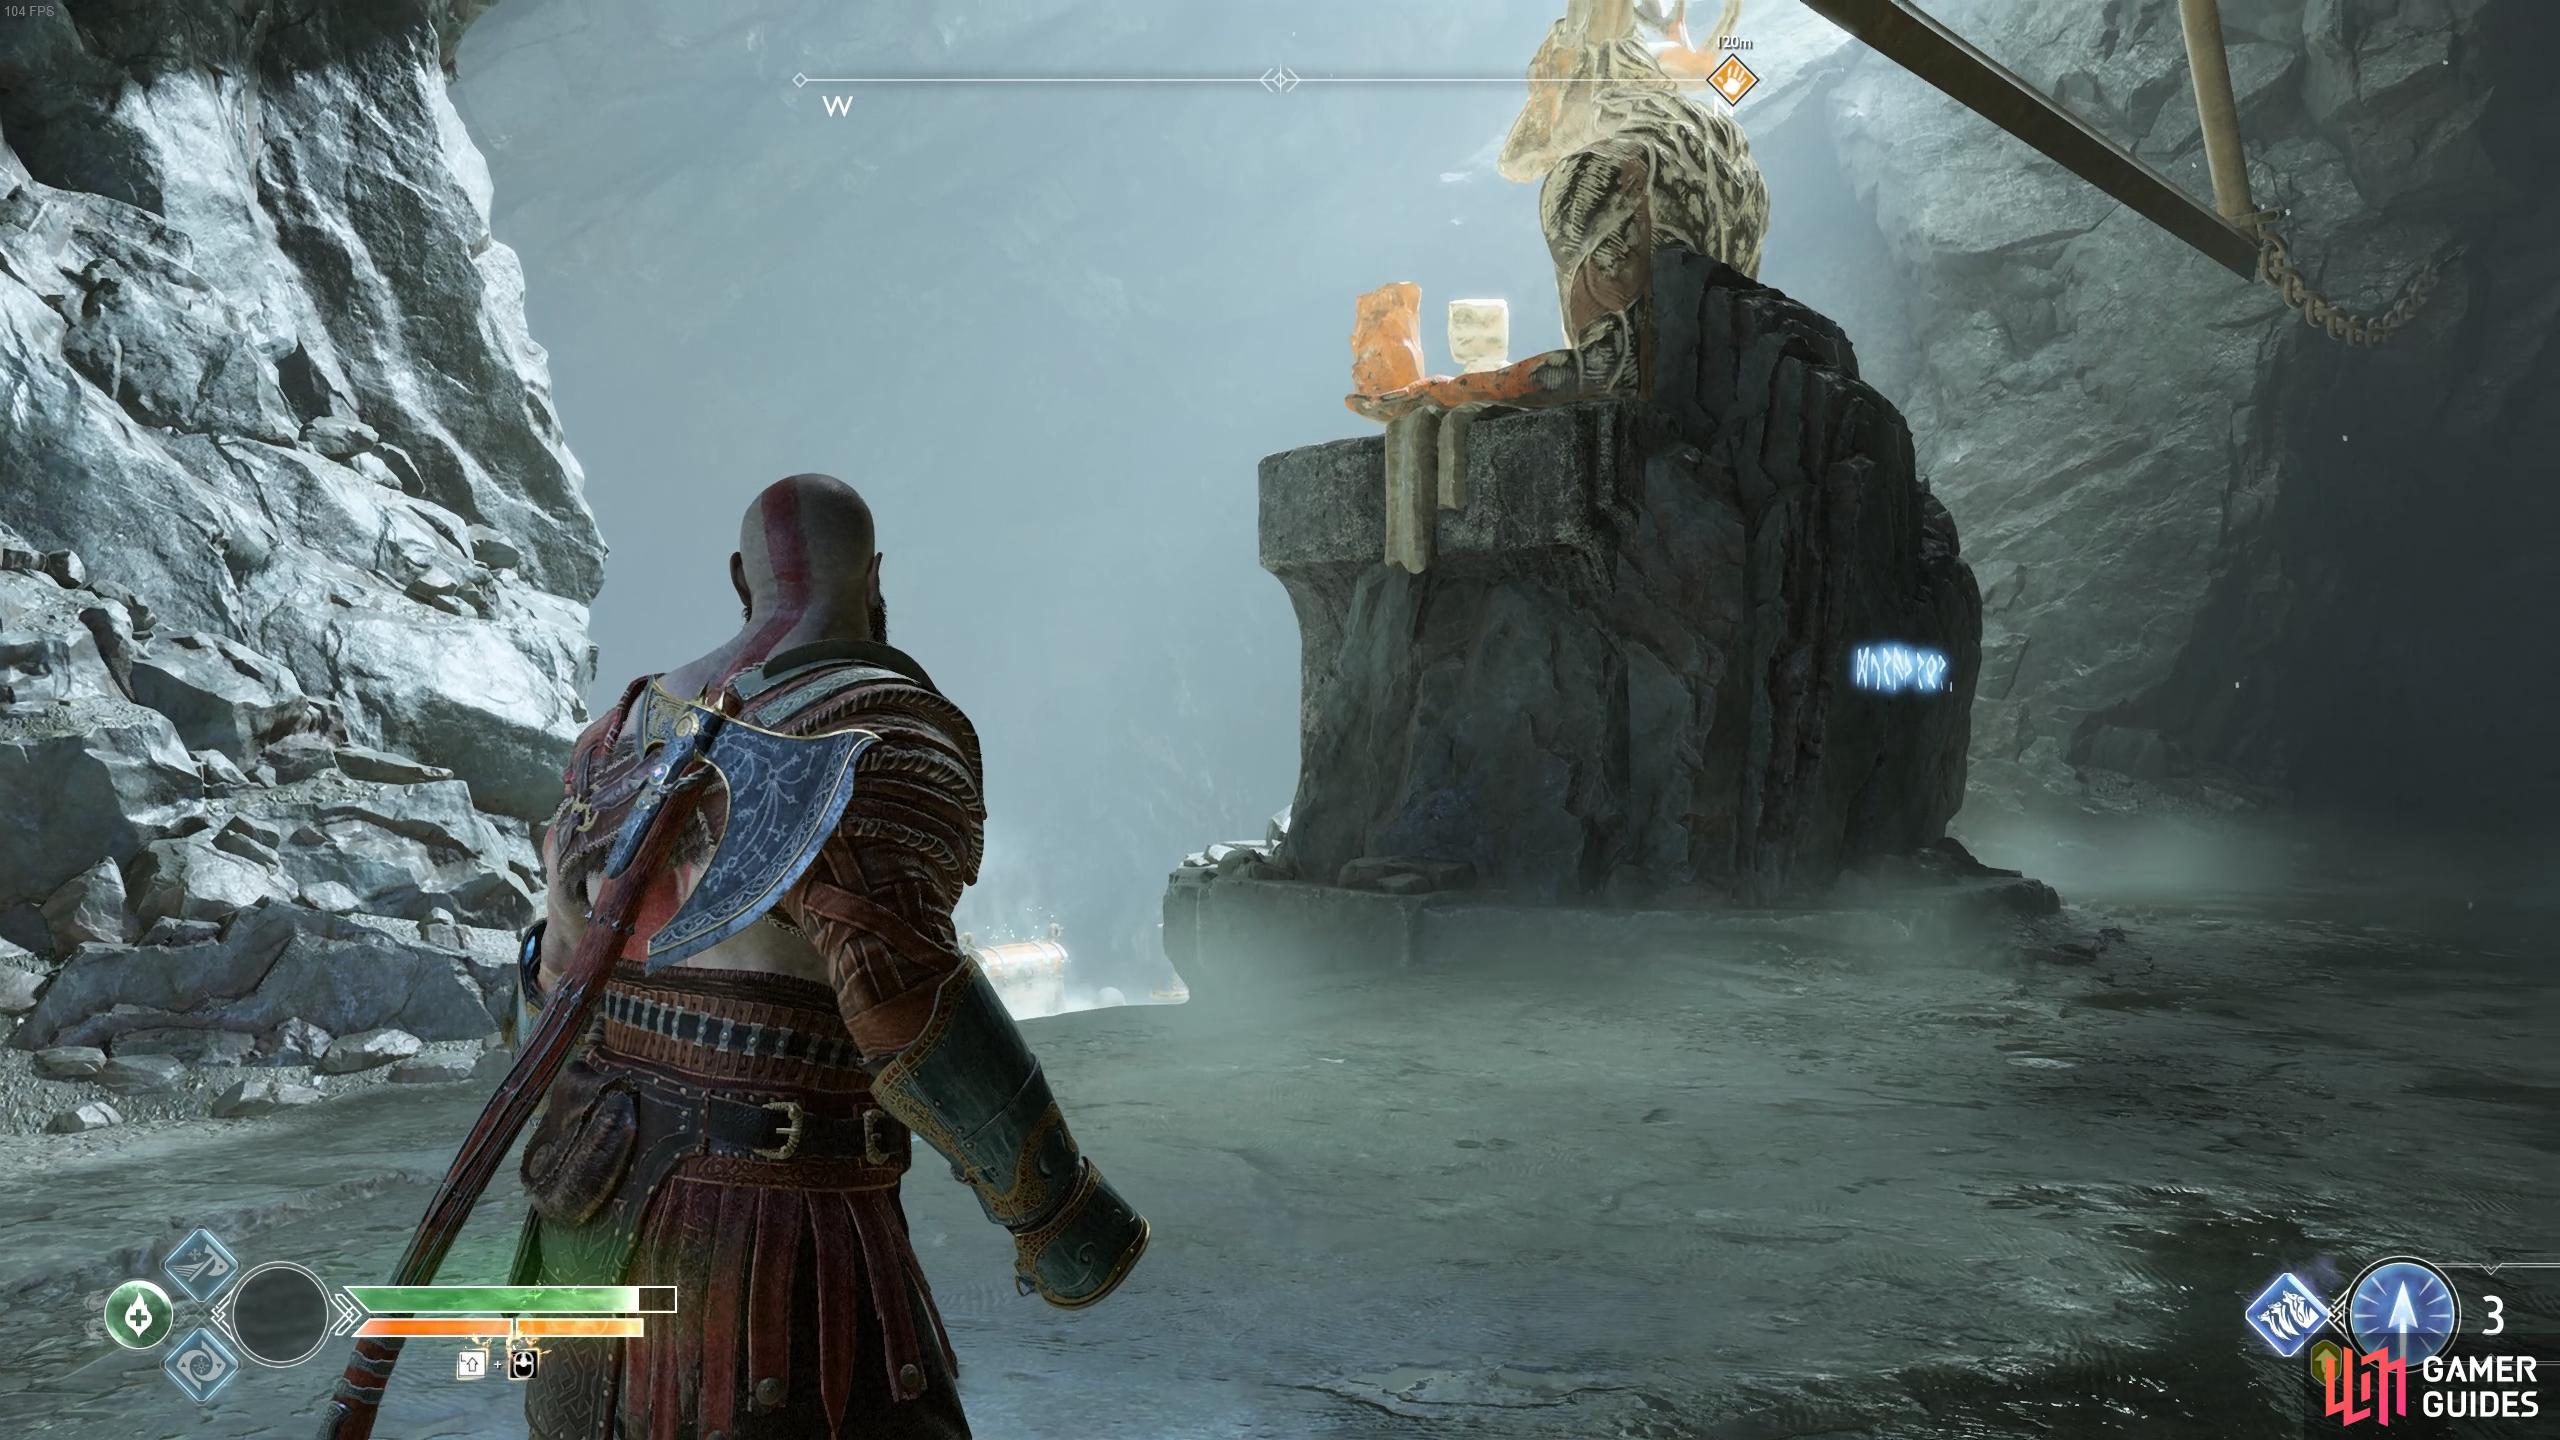
(1 of 2) Read the rune on the statue and loot the chest beneath it.
Read the rune on the statue and loot the chest beneath it. (left), You’ll find another artefact in the library behind the wooden barricade. (right)
To the left of this door is the red sap you saw earlier and a Lore Marker that can’t be activated for now, you’ll need to remove the sap in order to bring the crystal over. Follow the path up instead and another group of Power Weapon Draugrs attack along with another new variant, Shield. As with most shielded enemies, you’ll want to go barefisted against these to build up the stun meter and take them out with a Stun Grab. With the area clear, turn to the right to see a wooden wall going up and to the right of this, a small tunnel you can duck into and follow to find a coffin.
Return from the tunnel and scale the wall at the end, halfway up is a Lore Marker for Atreus before you leap off onto a higher ledge. At the top, turn to the right to kick a chain back down for a shortcut before following the path. Look to your left here to find some boxes and a chain hidden behind them, kick it down to reach the Hacksilver chest at the bottom. Follow the path now to the large door and open it using the nearby switch to enter the Heart of the Mountain.
Ascend the Cave Shaft
The spacious area ahead acts as a hub of sorts for your main task in the Mountain, activating the claw to ascend to the top. Begin by following the bridge to your right and activating the wheel stationed here. Atreus’ carelessness causes the claw to get stuck up high along with a small cavein which renders the wheel inoperable. A group of Draugrs are alerted by the sudden sounds and attack including another new variant, the Explosive Draugr.
Free the chain
These new Draugrs pose a great threat, they light up their torsos before exploding, causing damage to everyone (ally and foe) in the vicinity. Keep your distance from these foes and use arrows and axe throws to take them out. Along with these enemies, you’ll have to deal with Speed Draugr and Projectile Draugr. With the enemies dead, head over to the south to find a group of boxes, destroy these and pass through the gap to find a coffin before exiting and following the wall to the next Hidden Chamber.
(1 of 2) Don’t miss the Lore Marker on the back of the cart.
Don’t miss the Lore Marker on the back of the cart. (left), The next Hidden Chamber entrance is found to the right of this large area. (right)
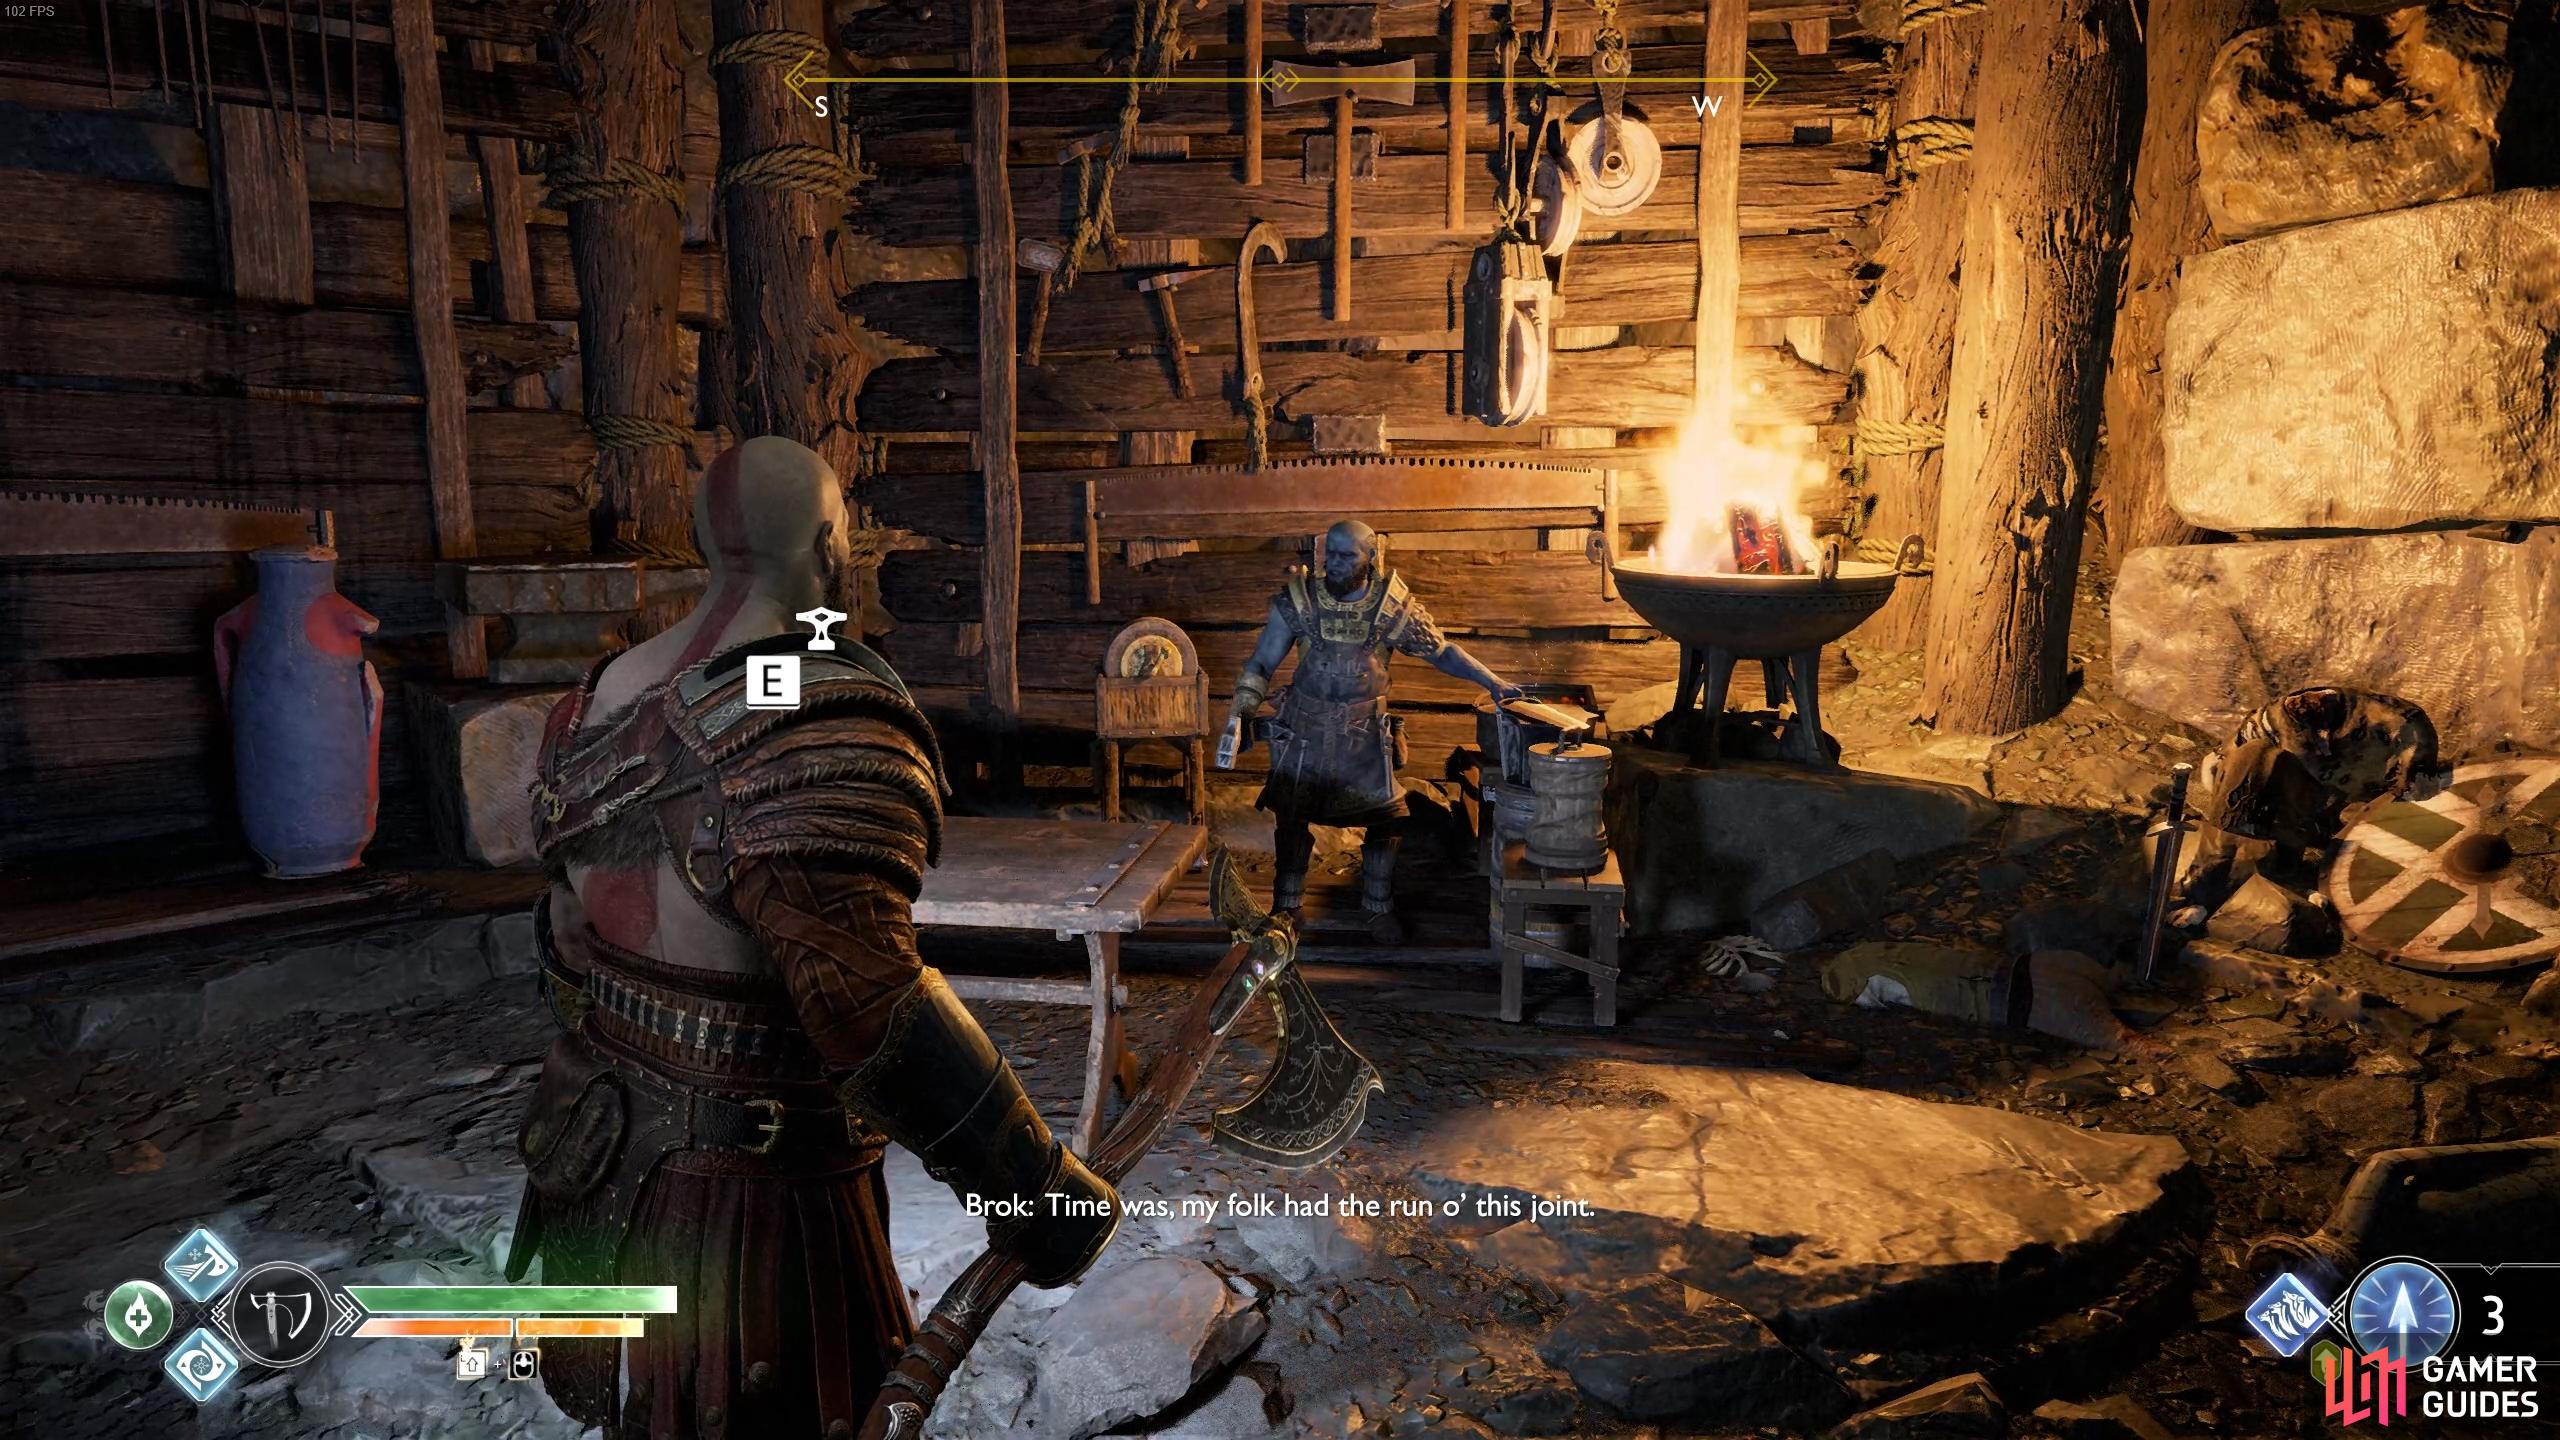
Look to the north of this Hidden Chamber to find a Lore Marker on the back of a mine cart. Continue north and before you take the passageway down the light filled cavern, look to the left to find a wooden barricade you can knock down revealing a Hacksilver chest. Take the other path now to find Brok has set up shop here. There’s three new grips to craft, all of which offer a Health Burst after performing certain skills, it’s a good idea to go ahead and craft the Deadly Grip of Vitality for now, this will grant the Health Burst on any kills you do with the Leviathan Axe (be sure to upgrade it too). Everything else remains the same so buy a Resurrection Stone should you need it and then leave the shop.
Turn away from Brok and head toward the cliff edge, in the air is the next Raven circling around. If you’re following this walkthrough, that should have been your 15th and will reward you with a nice chunk of XP. There’s a small sack of hacksilver near this edge too before climbing up the ledge to the right of Brok’s Shop.
(1 of 2) You’ll find Brok’s shop through the tunnel.
You’ll find Brok’s shop through the tunnel. (left), A Raven can be found flying opposite Brok’s shop. (right)
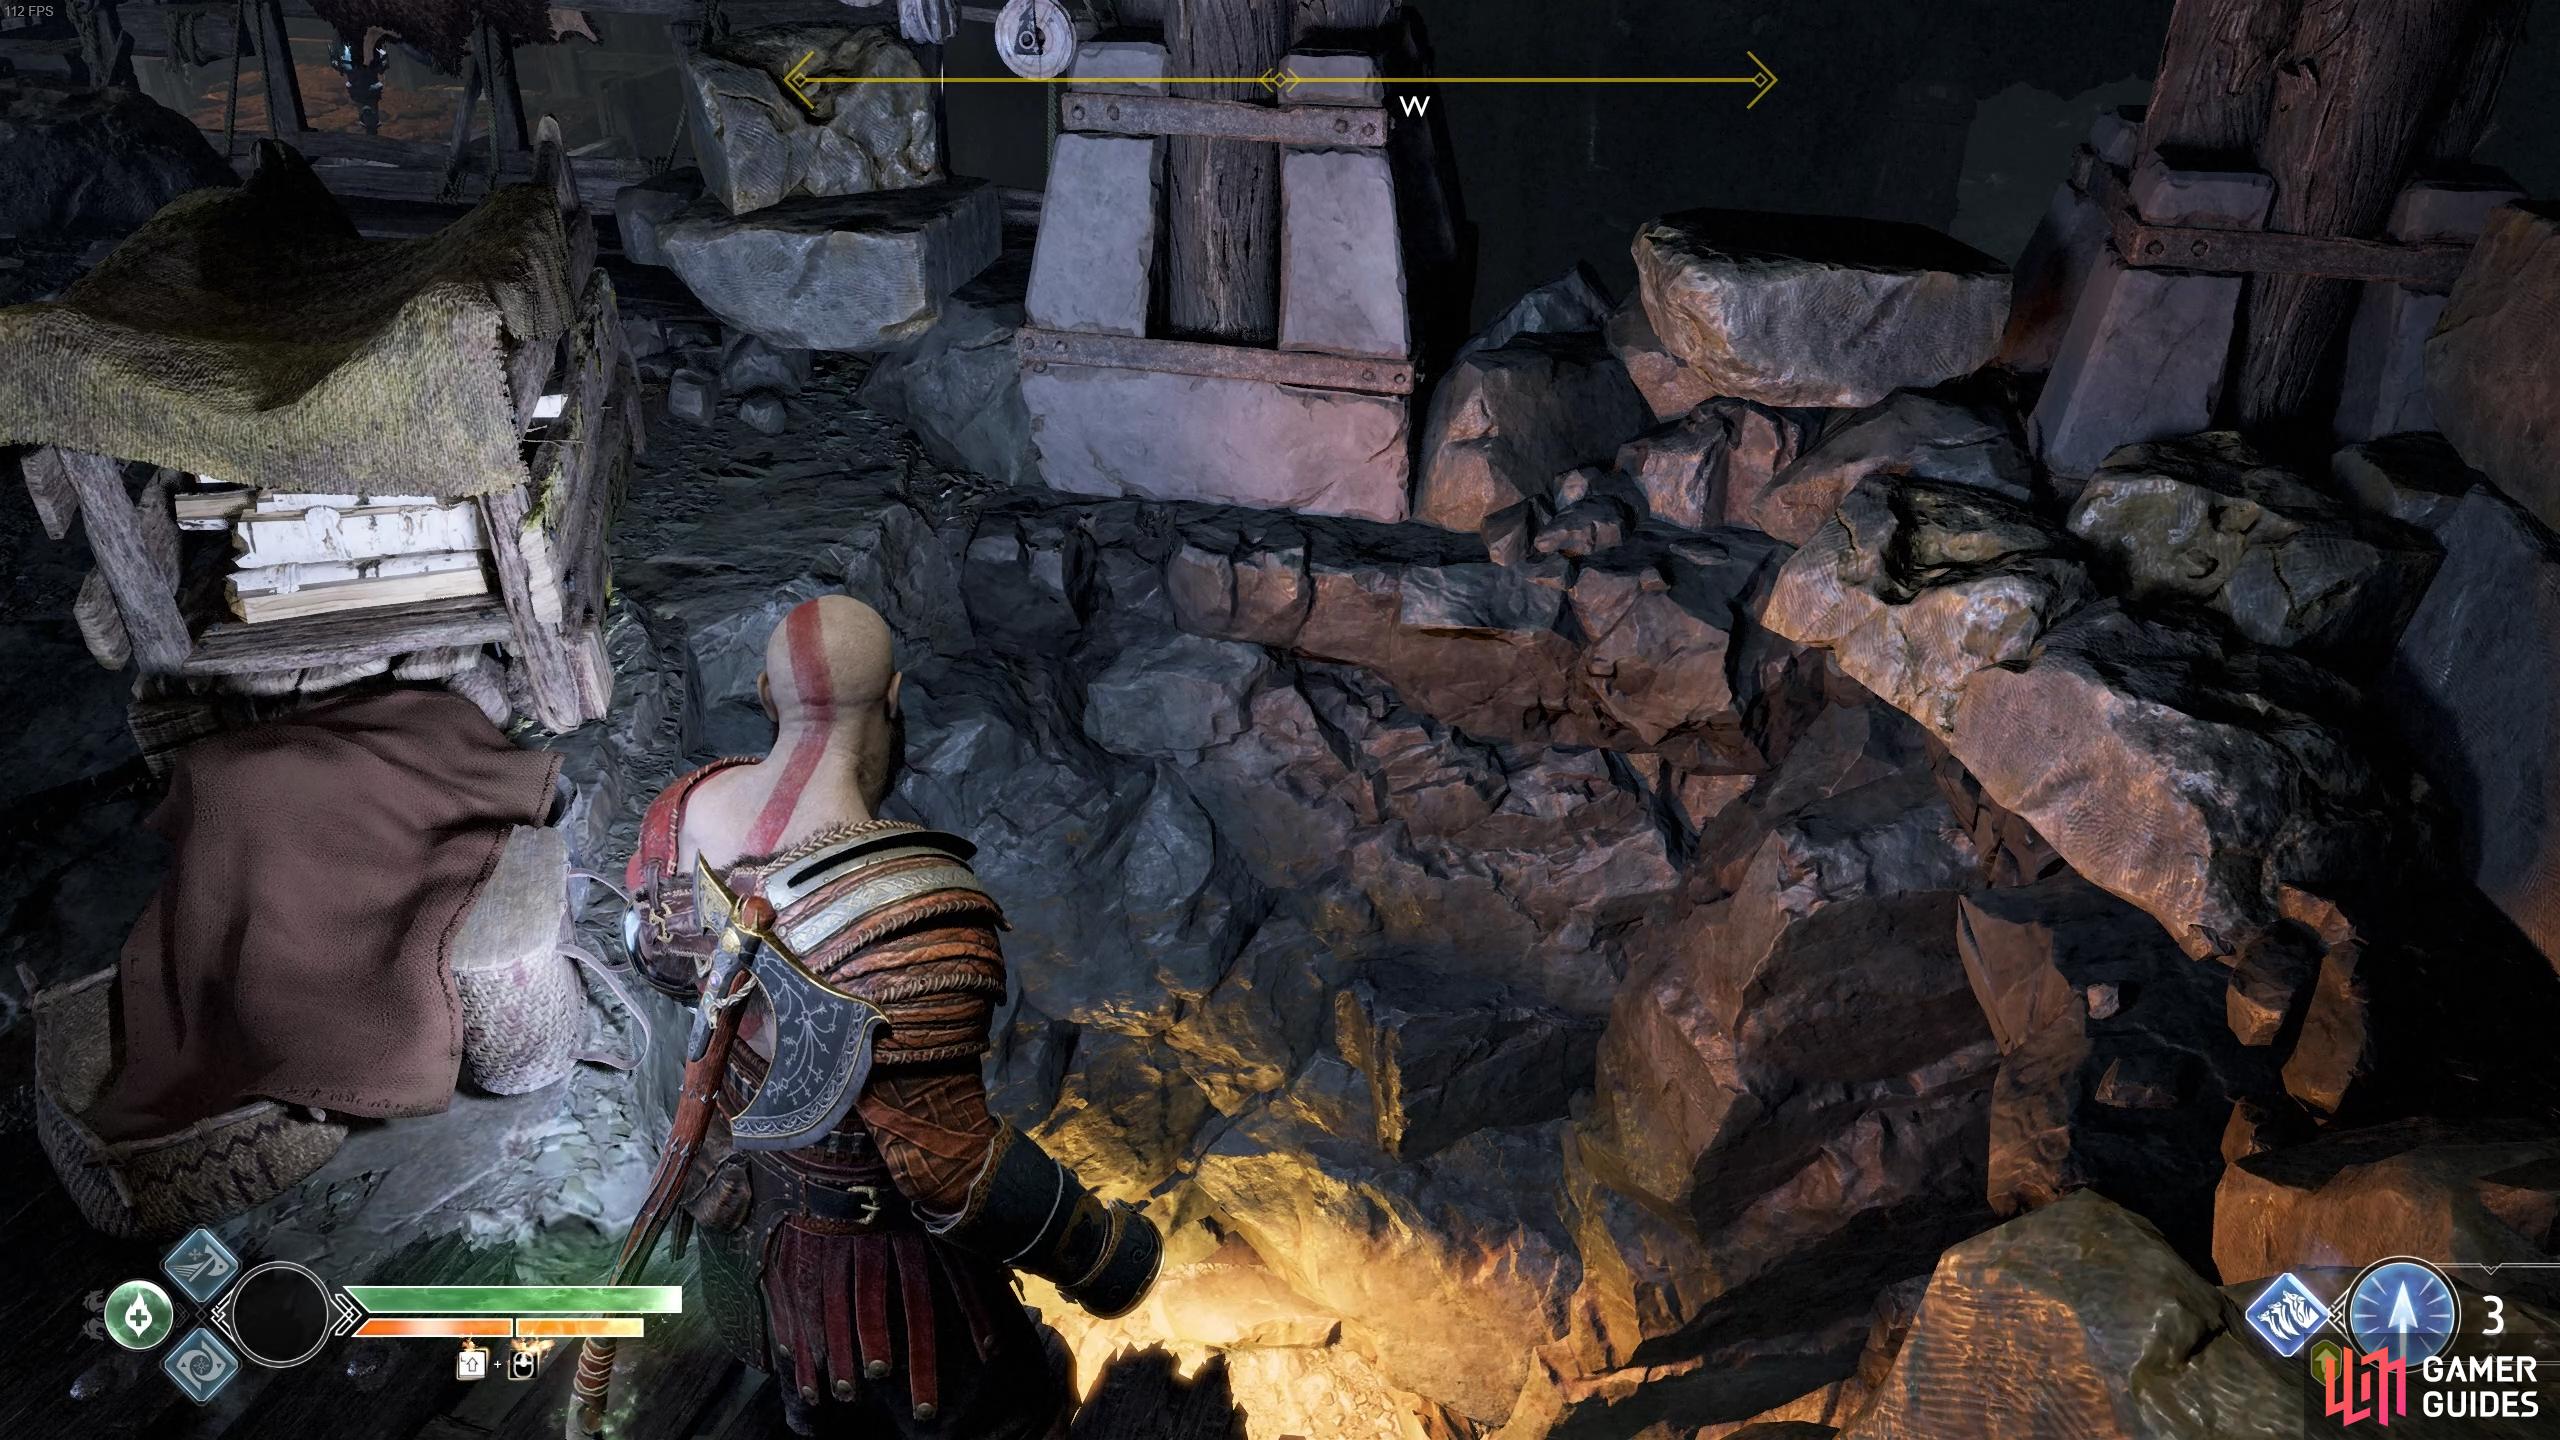
Shoot the Light Crystal through the hole to create some light and then break the box to your left, revealing a tunnel for you to crawl through and open the Hacksilver Chest. There’s a color altering stone for you to pick up and then take a right at the Light Crystal to find a coffin before dropping down the ledge.
Atreus points out there’s a tunnel large enough for only someone of his stature so Kratos will have to find an alternative way. If you look up to the right of the blocked passageway, you’ll find a spinning board. Throw the axe at this to open the passageway and pass through as the board rewinds back to it’s starting position. A spiked door blocks the exit, use the axe to push it back and enter the area beyond.
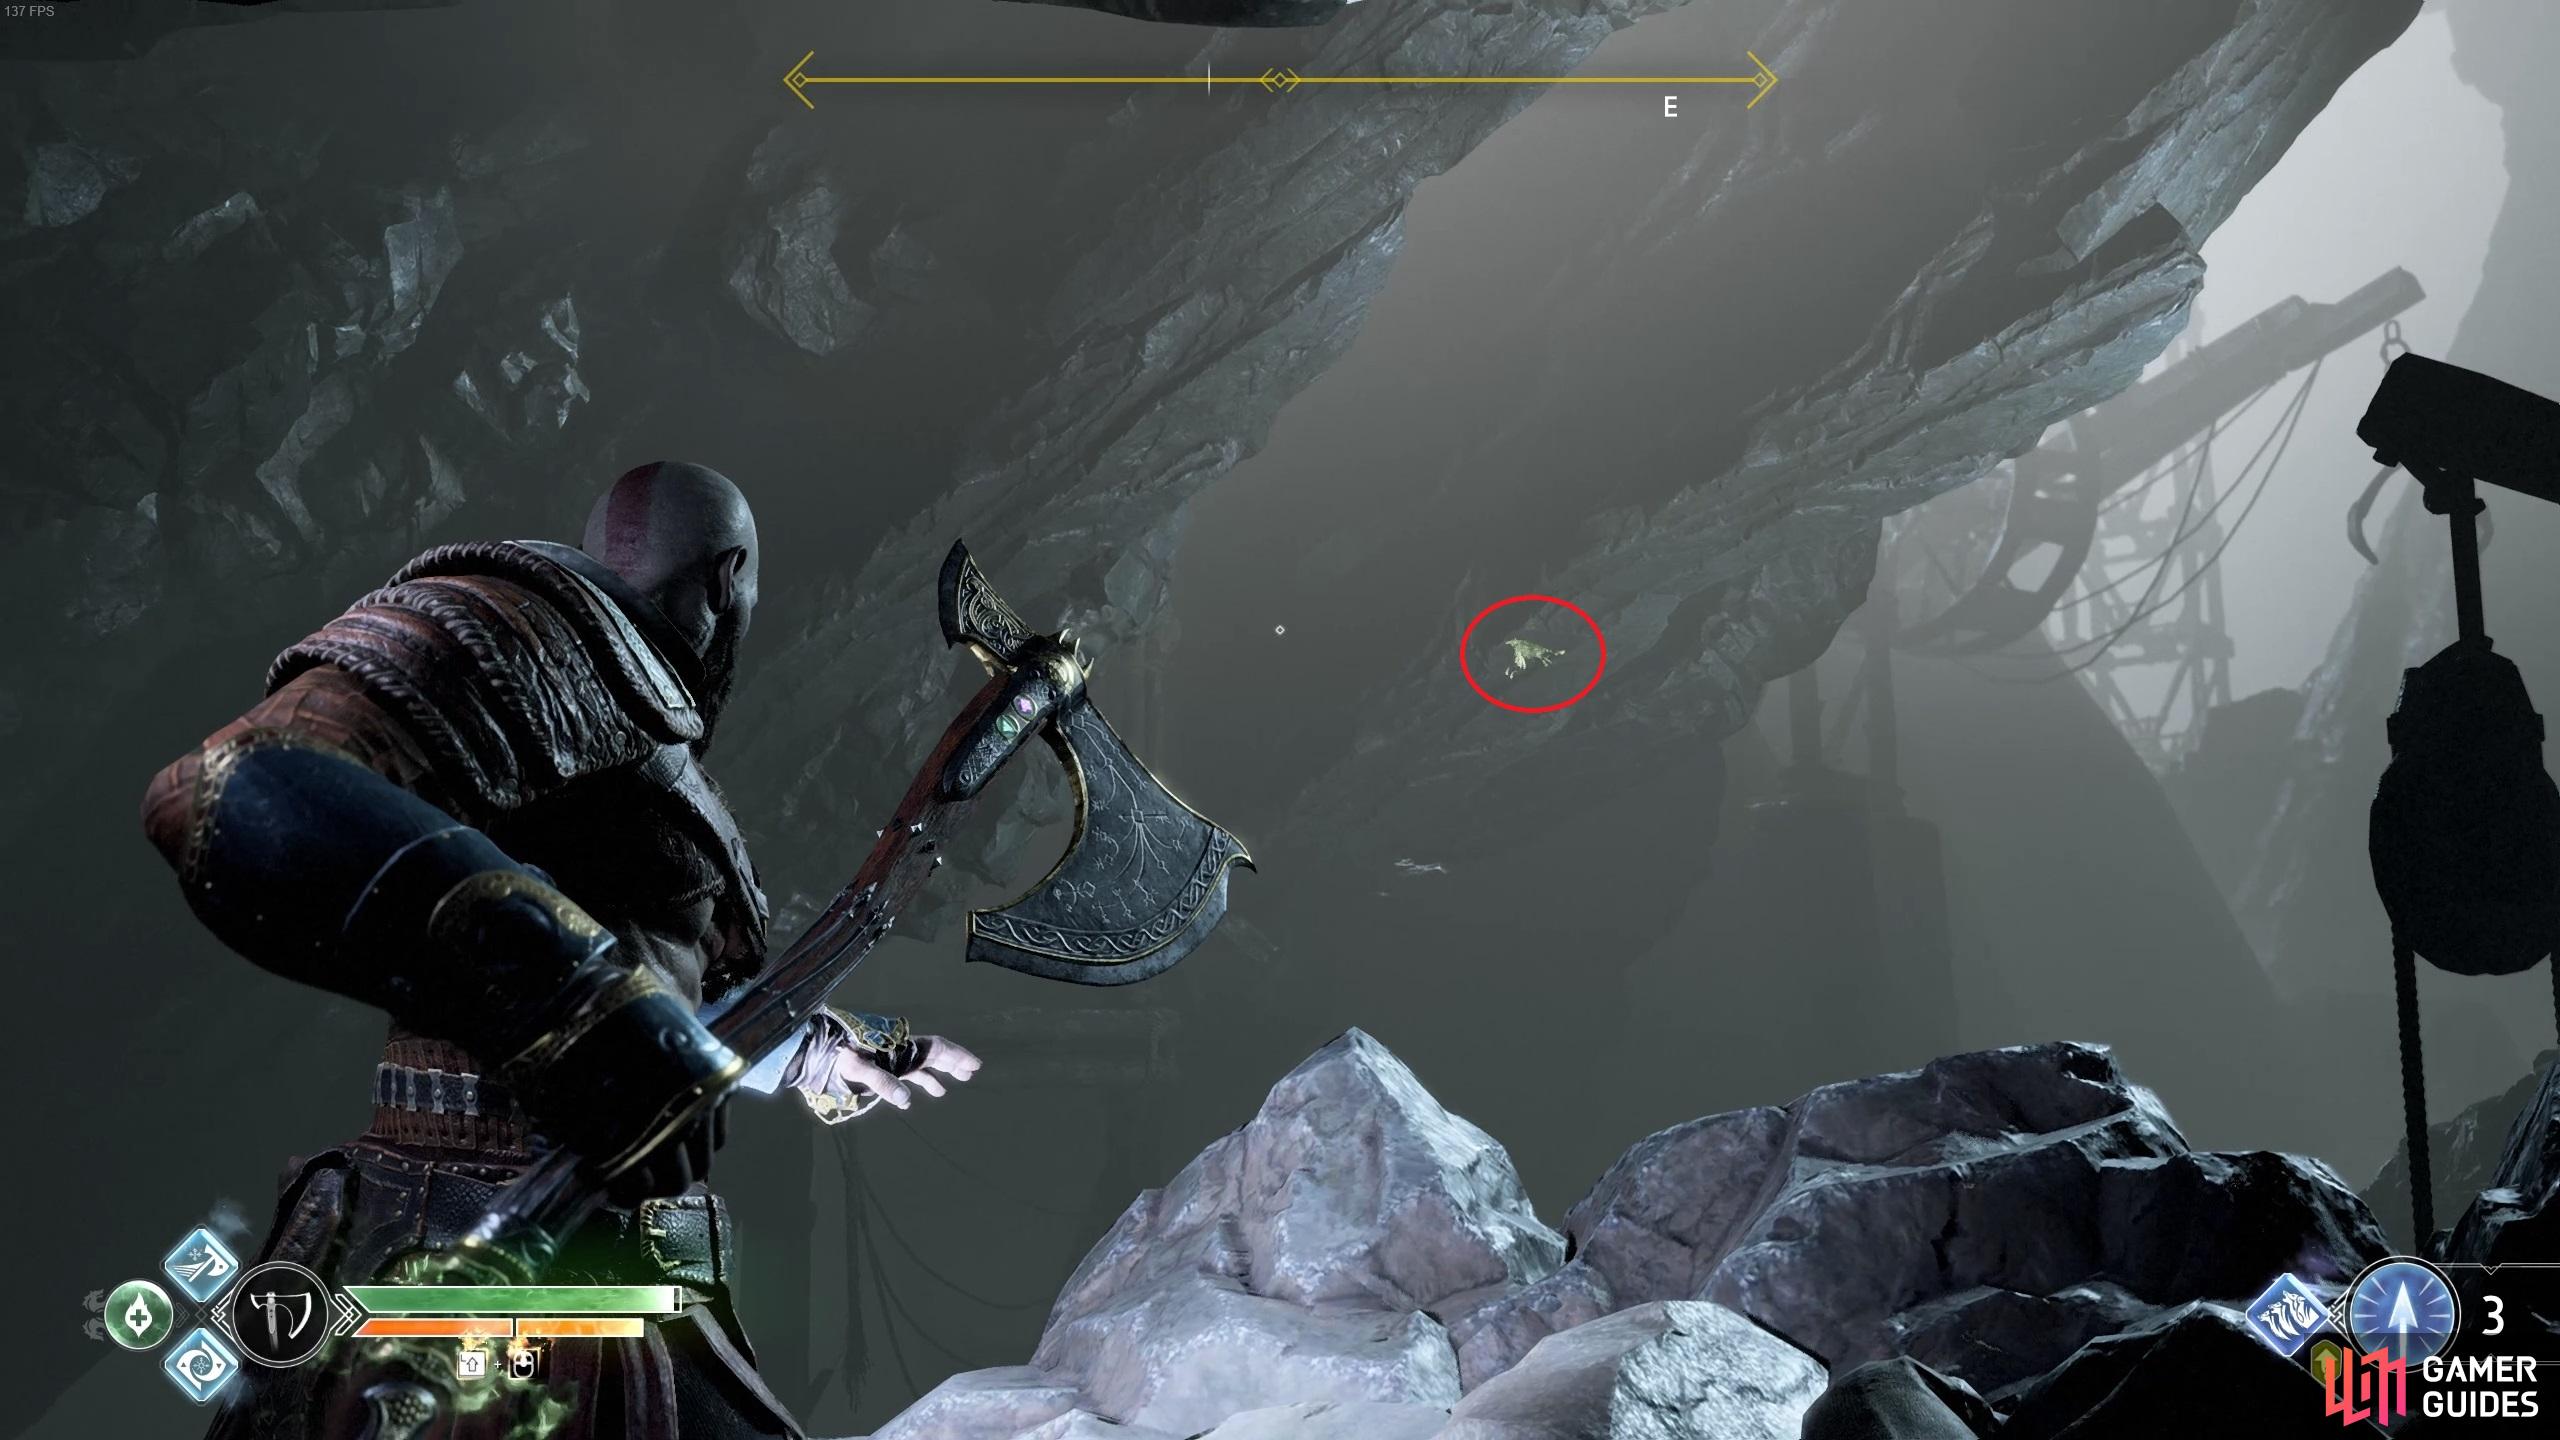
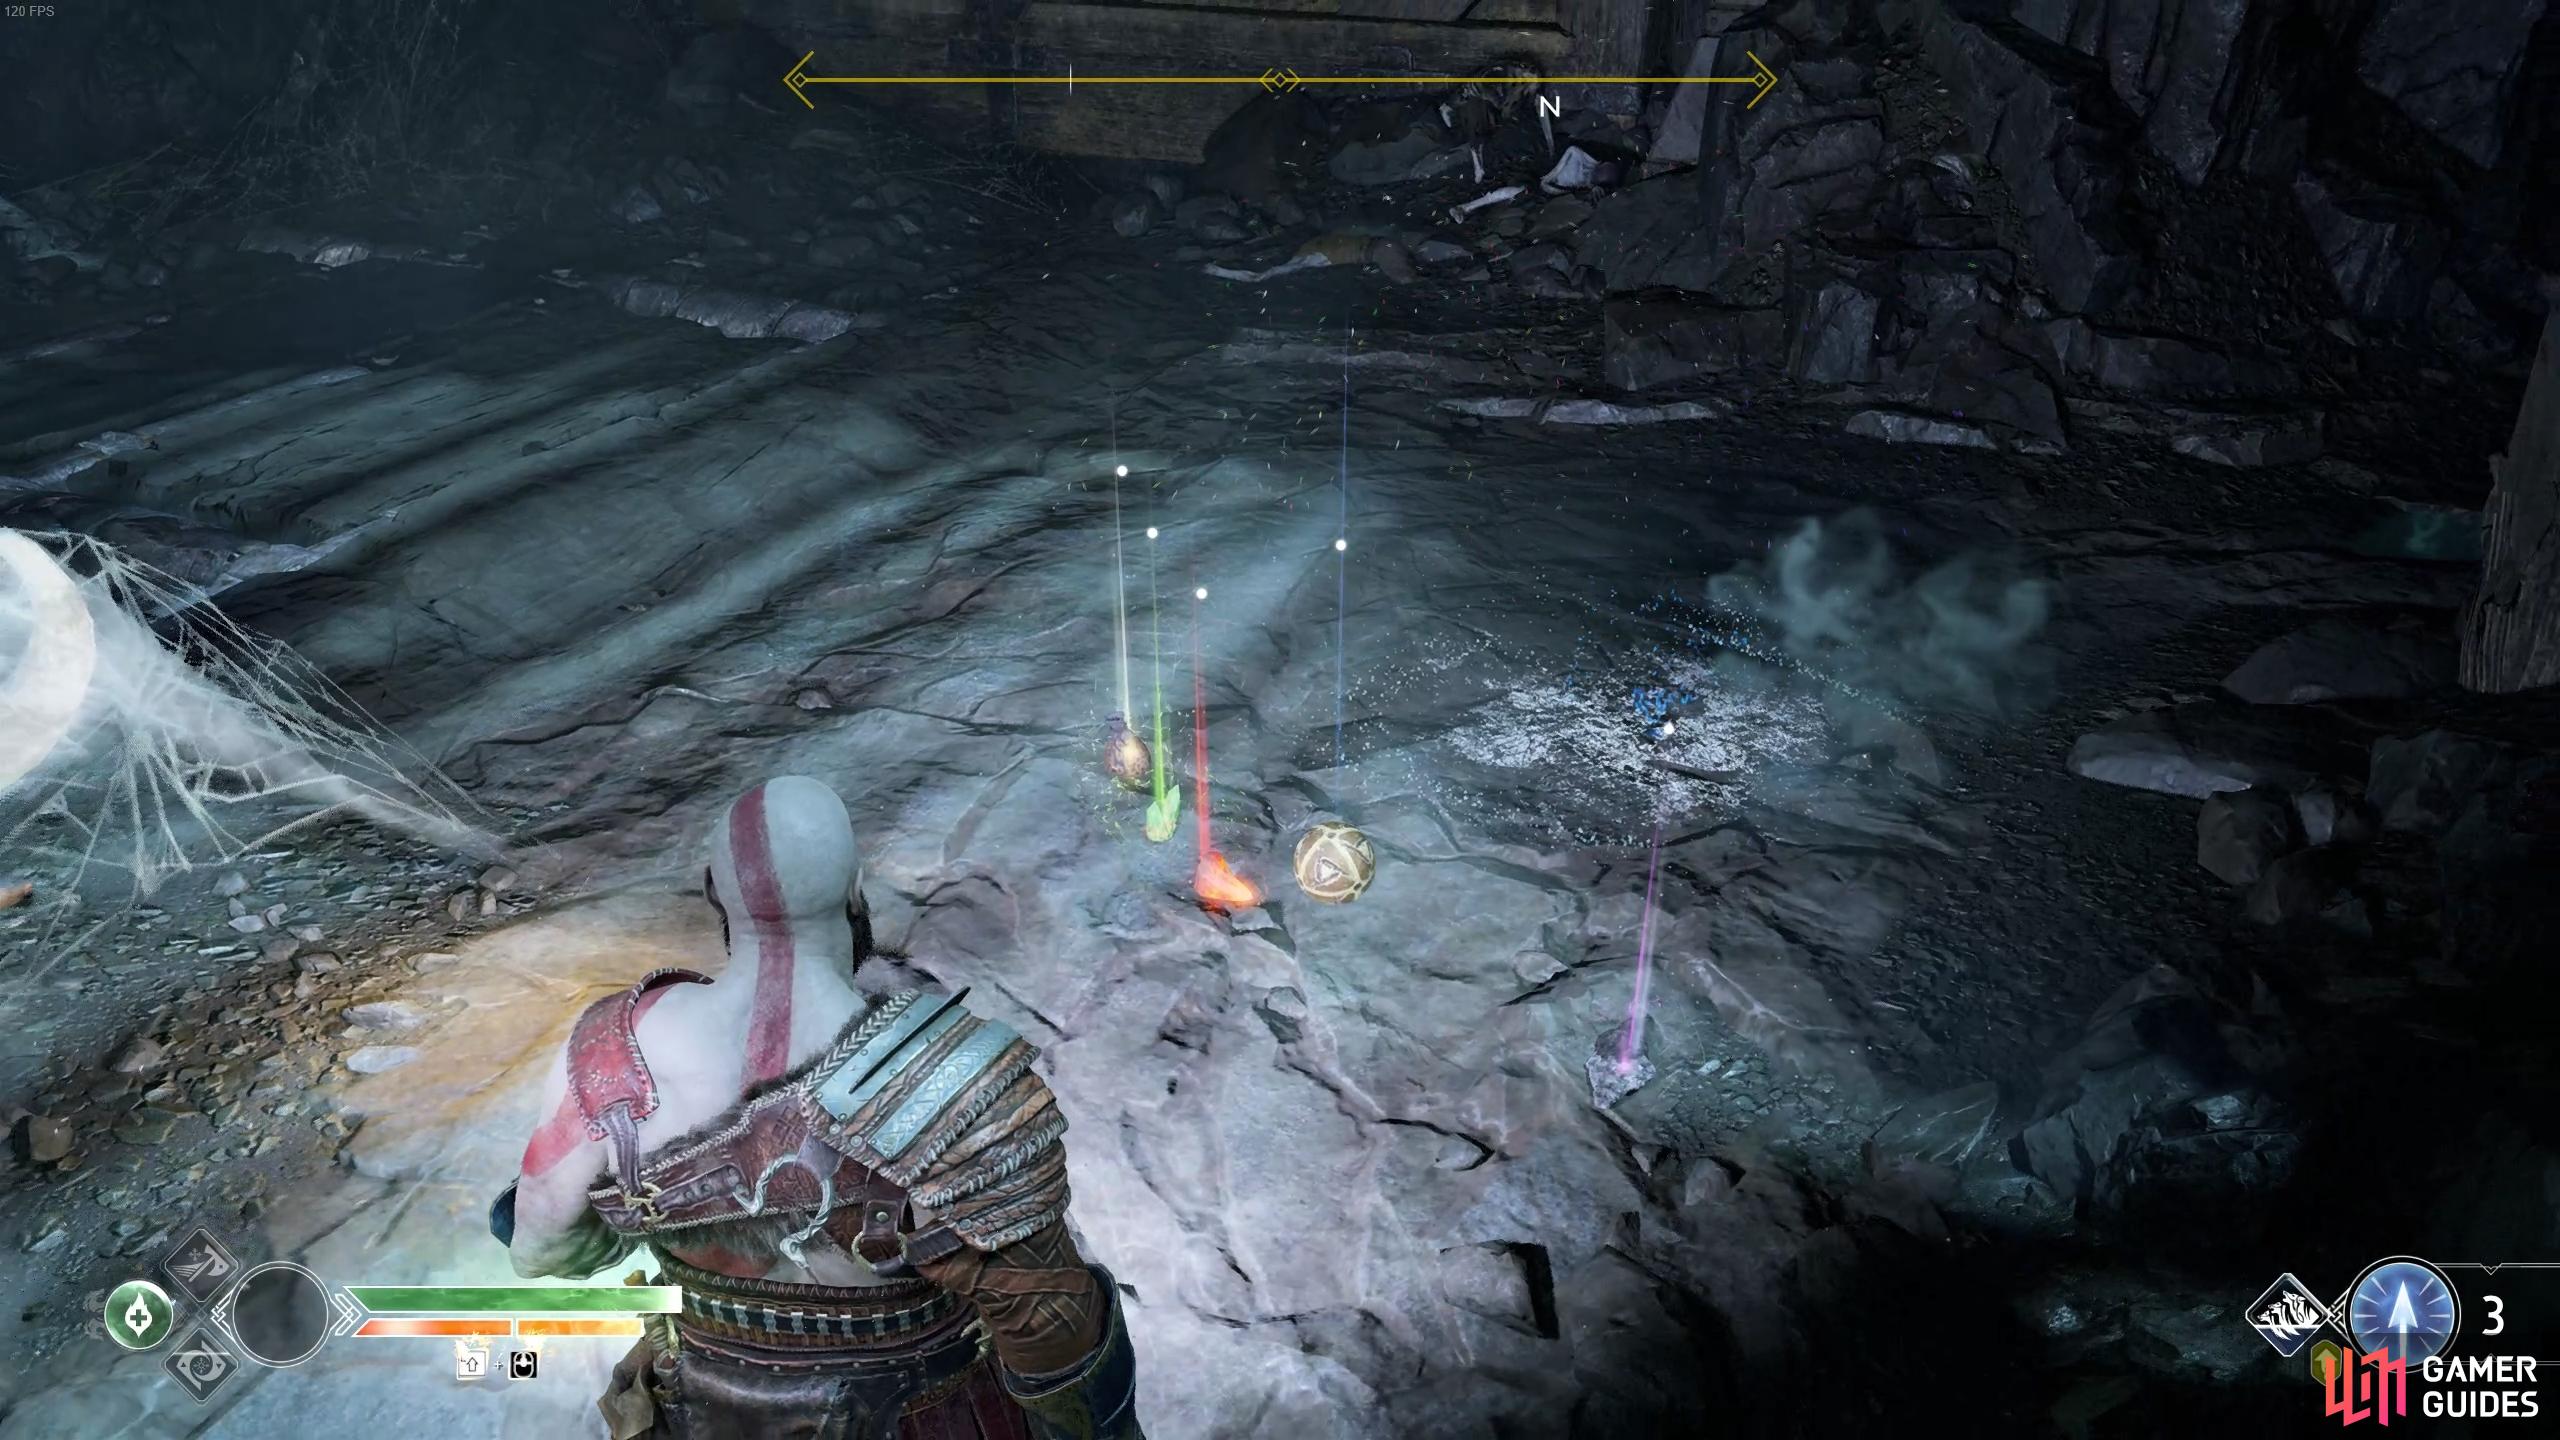
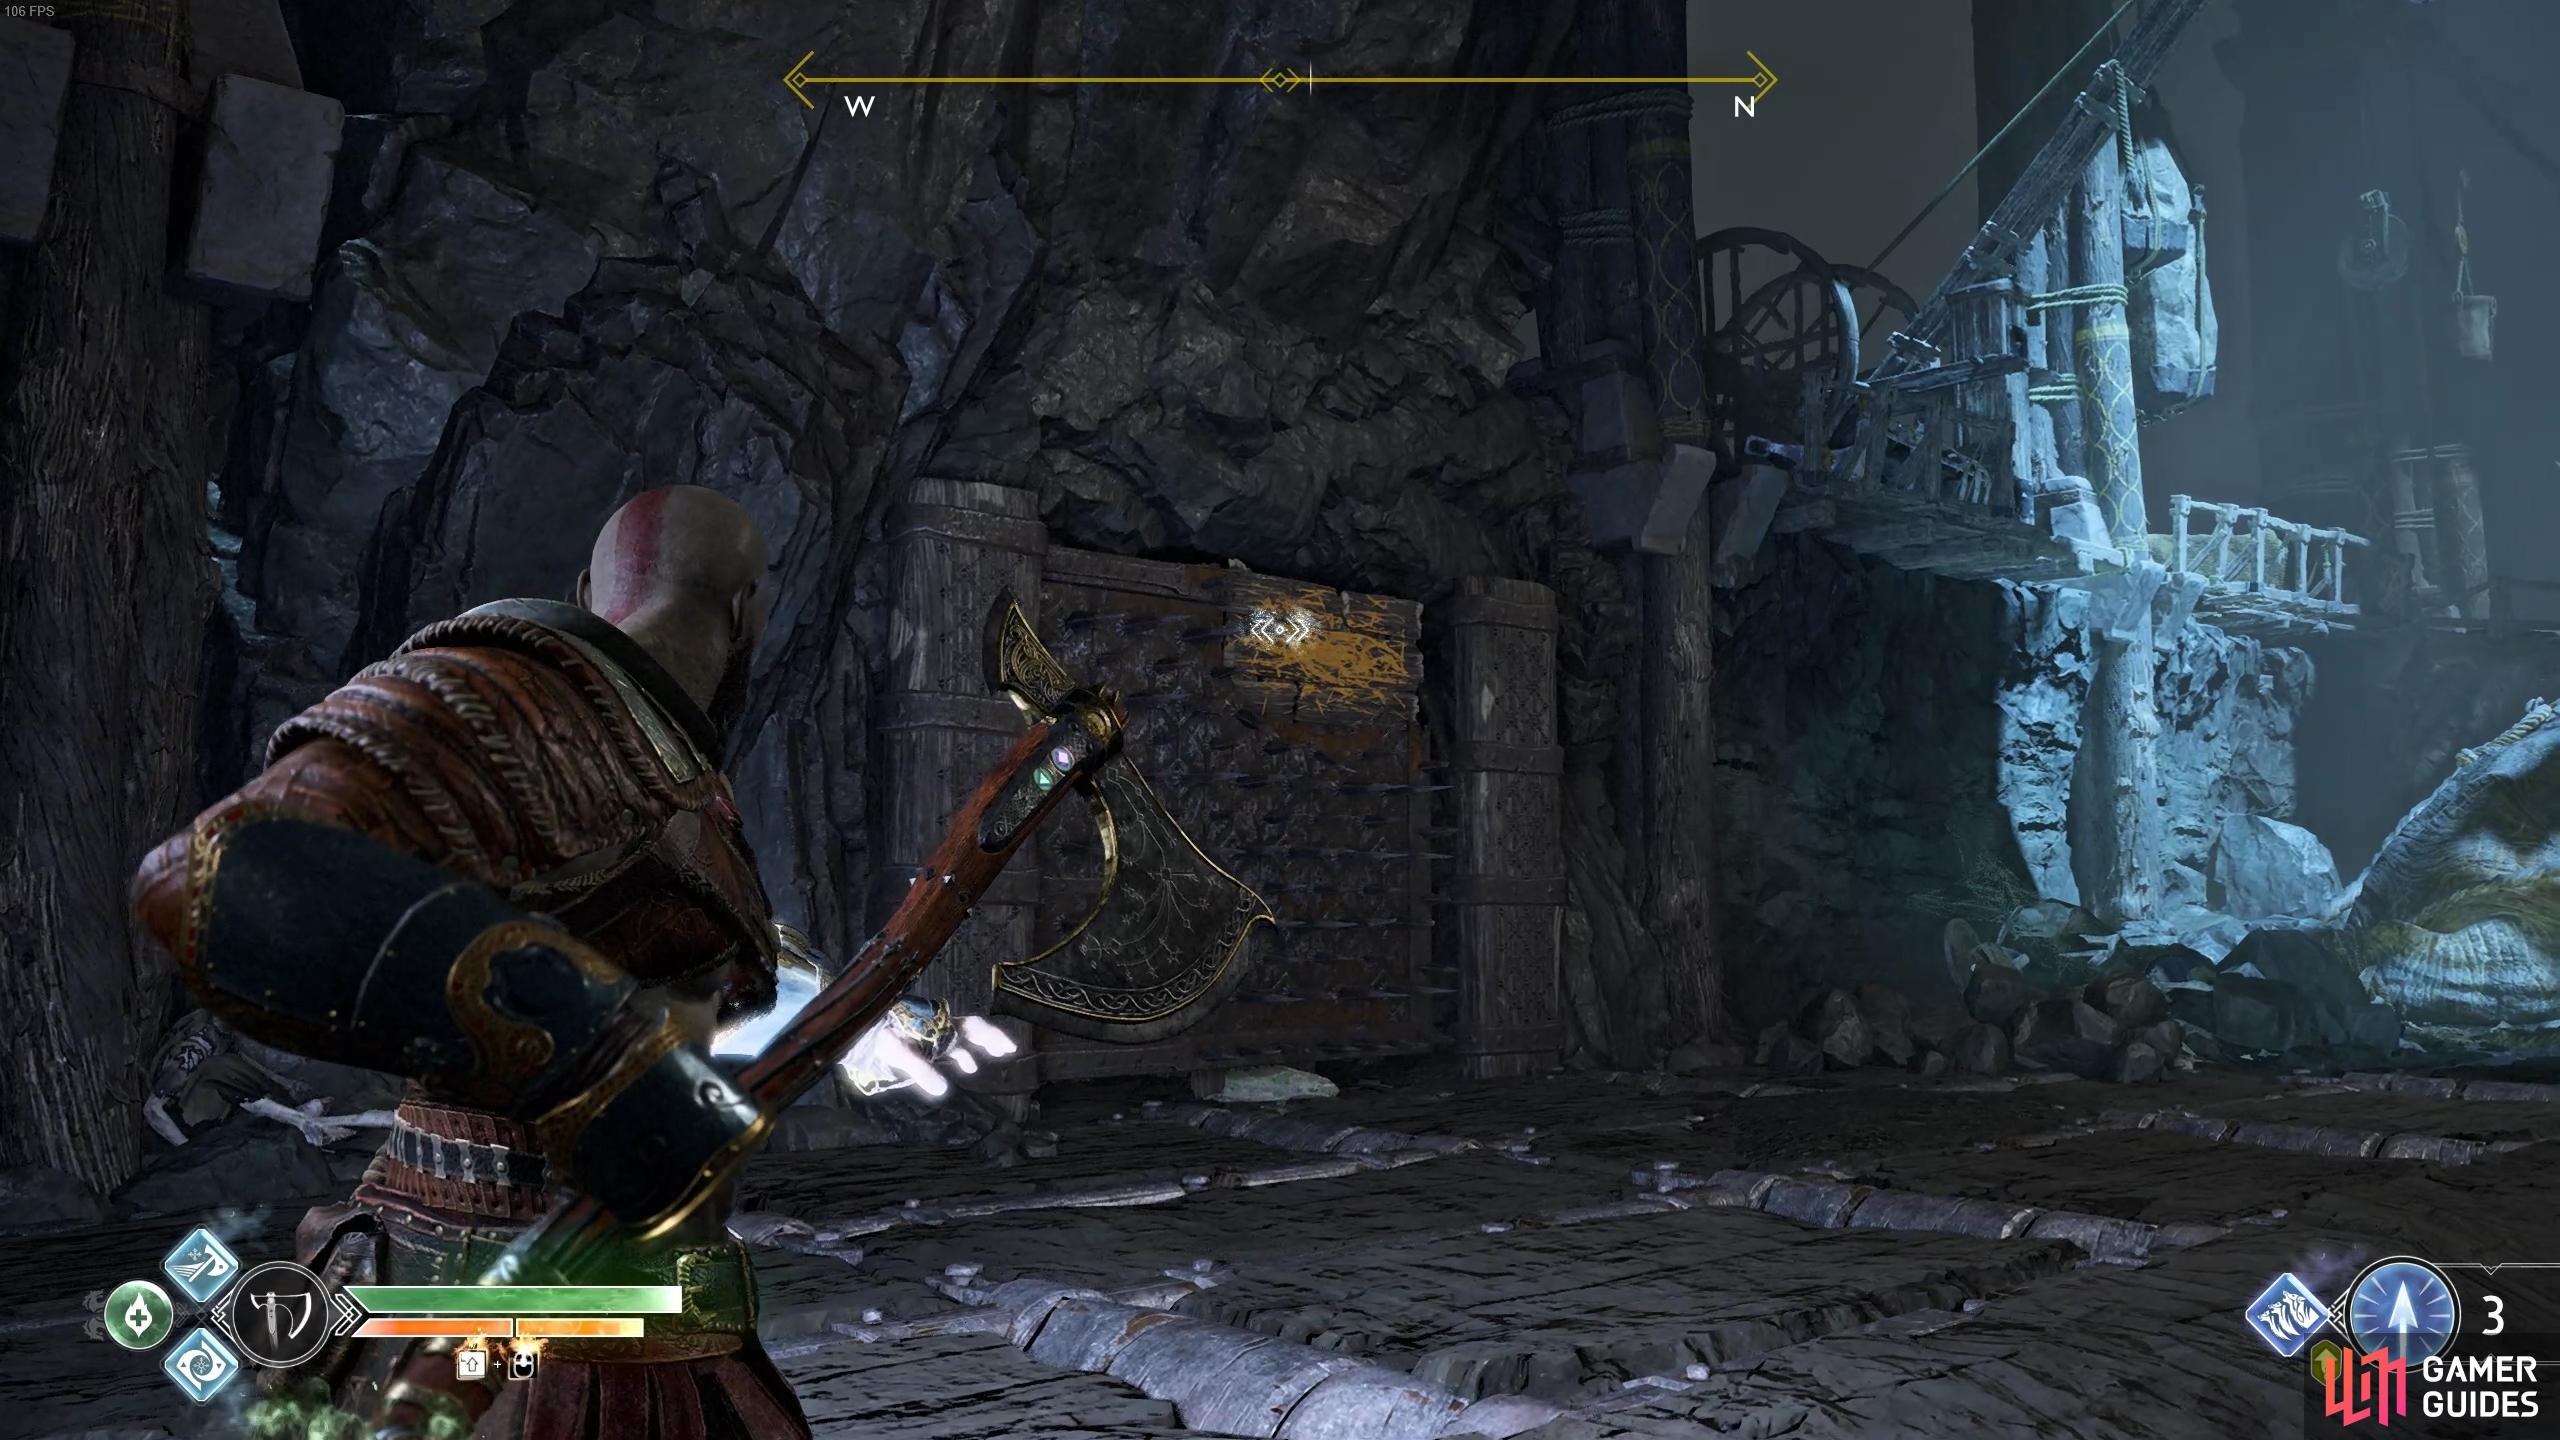
As you step into this area, you’ll be attacked by Draugrs, take them out paying special attention to the Projectile Draugr on the platform above. Once dead, head north of the dead creature to find a stash of loot, pick these up to obtain valuable resources and Hacksilver. You can now head behind the mine cart and begin to push it, stopping to break the runic disc holding it in place. Stop after pushing it a little and turn to face the wall, there’s a spiked door you can knock back and pick up the Artefact on the corpse.
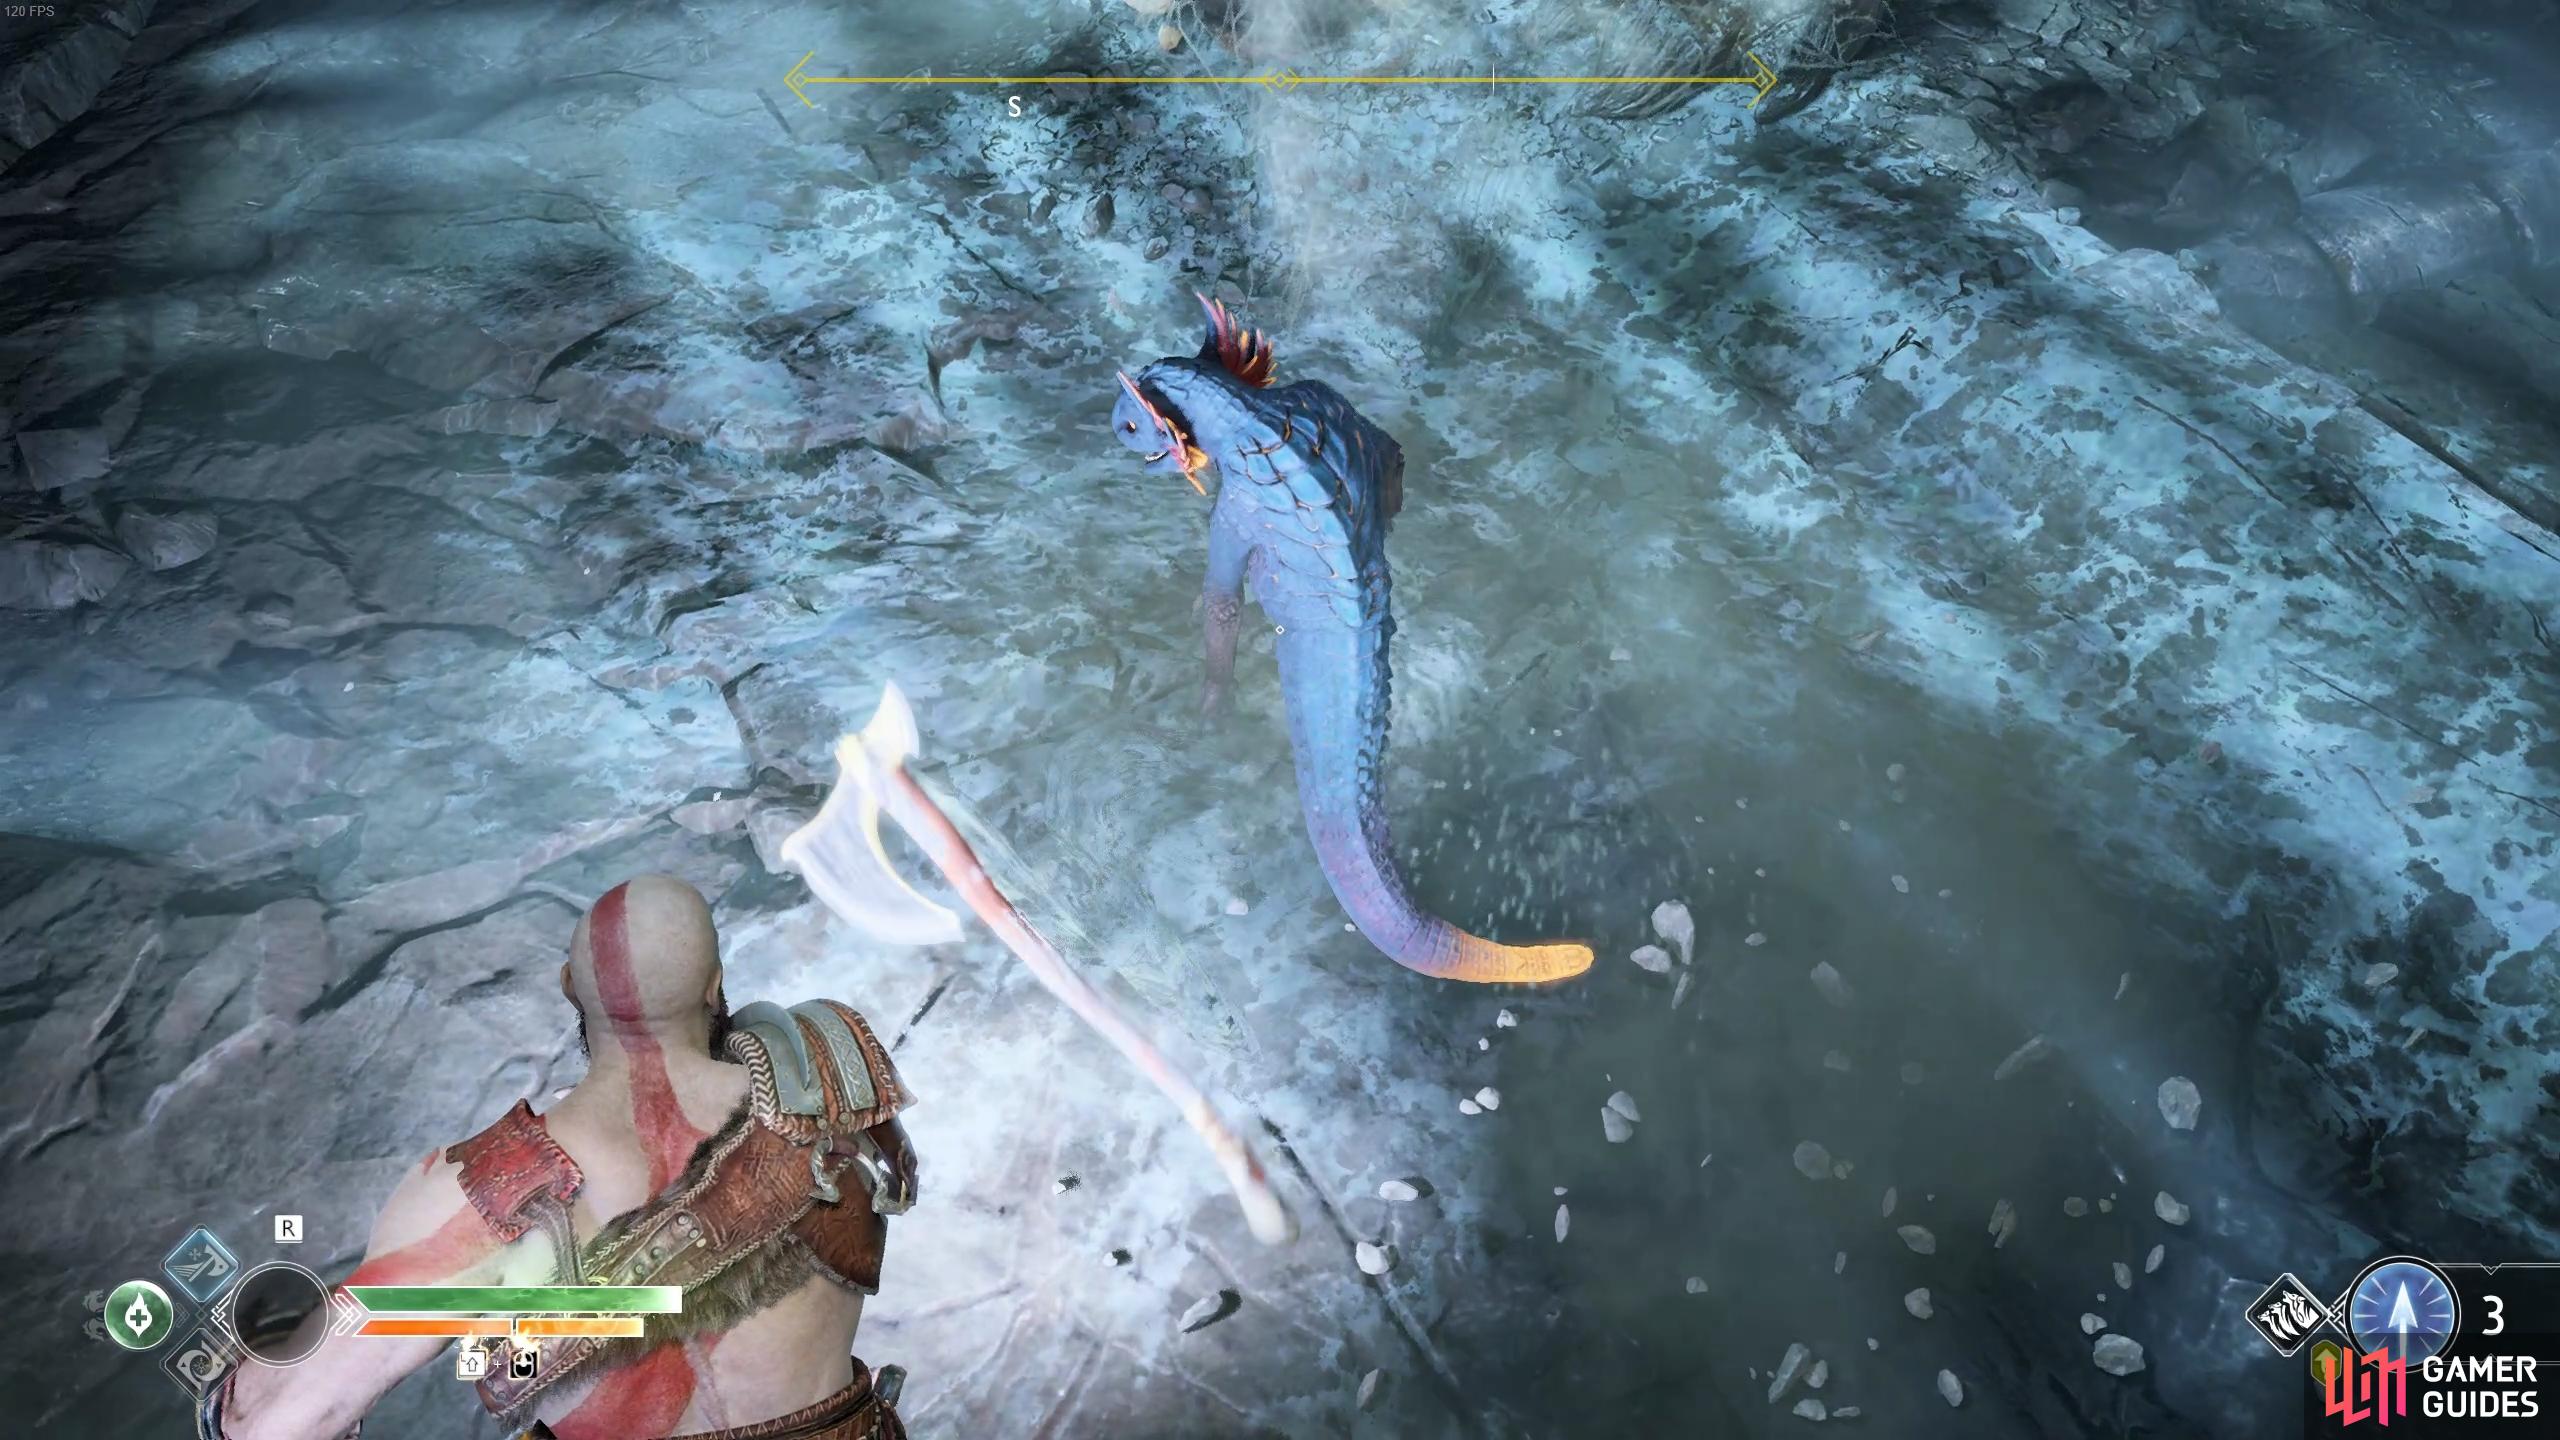

(1 of 4) Defeat this lizard to reveal valuable loot. You’ll need to be quick, but it’s worth the effort.
Continue pushing the cart and stop after it passes just after the raised bridge. Climb it and then the ledge to your right to reach the upper area before breaking the runic discs holding the bridge in place. Cross the bridge and light the area up with the nearby crystal before walking forward a little and breaking the nearby box to reveal a hole. Drop into the hole to find a coffin, open it and then leave through the gate, using the mine cart to reach the upper level once more.
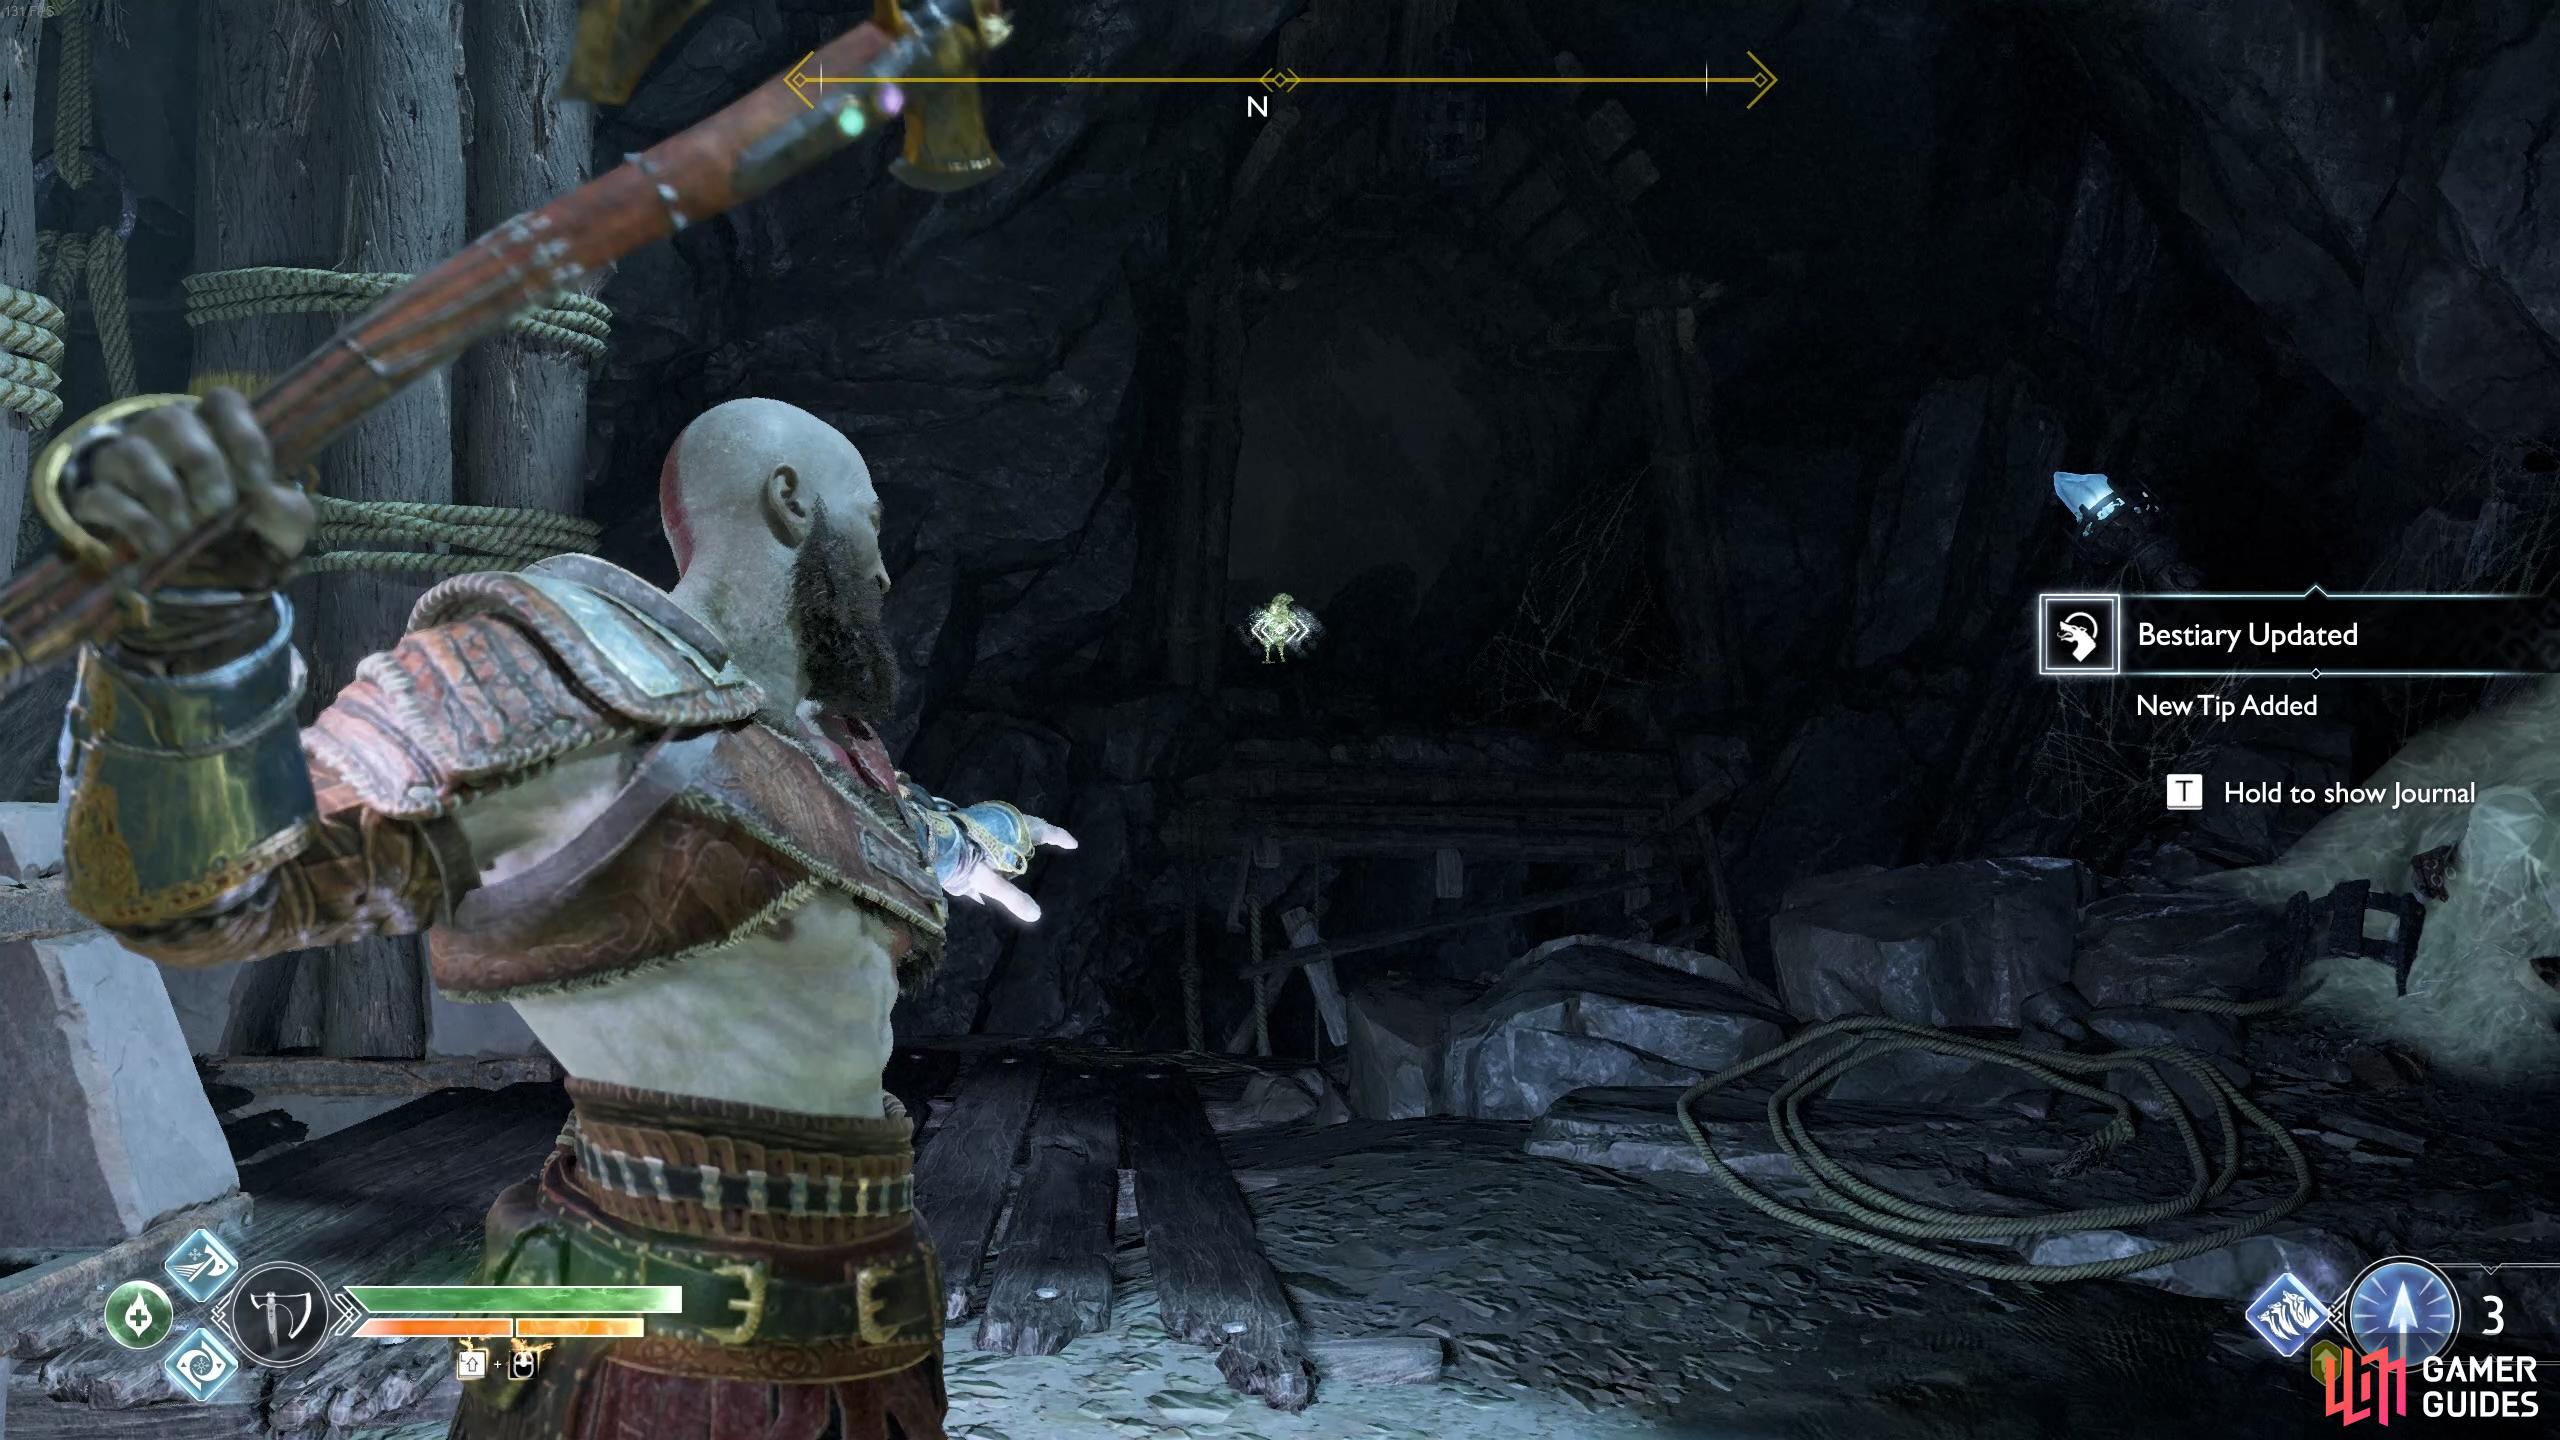
Follow the walkway to the north and two Draugrs will attack once you cross the bridge, defeat them easily and then look to the wall at the far end, the next Raven is perched here. Kick the chain down on this side to create a shortcut before hitting the runic discs holding the next bridge in place. There’s a container to knock down before you cross the bridge and two more Draugrs will attack. Once dispatched, hit the Light Crystal and then climb the ledge to find a coffin containing the Scaled Waist Guard of Focus.
(1 of 2) Break the boxes to find his hole leading to a coffin.
Break the boxes to find his hole leading to a coffin. (left), The next Raven is at the far end of this walkway. (right)
Drop down this ledge and head right, breaking the board and passing under the rock. Head to the large chain nearby and pull it to open the mammoth door to your left. Kick the chain down to your right for a shortcut and then open the gate to the left to reach the mine cart once more.
Stop pushing the cart once you’re alongside the ledge to the left, climb the cart and jump to the platform to your left. There’s a Legendary Chest for you to open and inside you’ll find the next Runic Summon, Falcon’s Dive.

Stop the cart here to leap to climb and leap to the left.
Continue to follow the walkway, kicking down another shortcut chain and then approach the boulder at the end. Kratos will use all of his might to hurl it off the rope and allow the wheel to become operable again.
Find a way to ascend
Defeat the Frost Troll
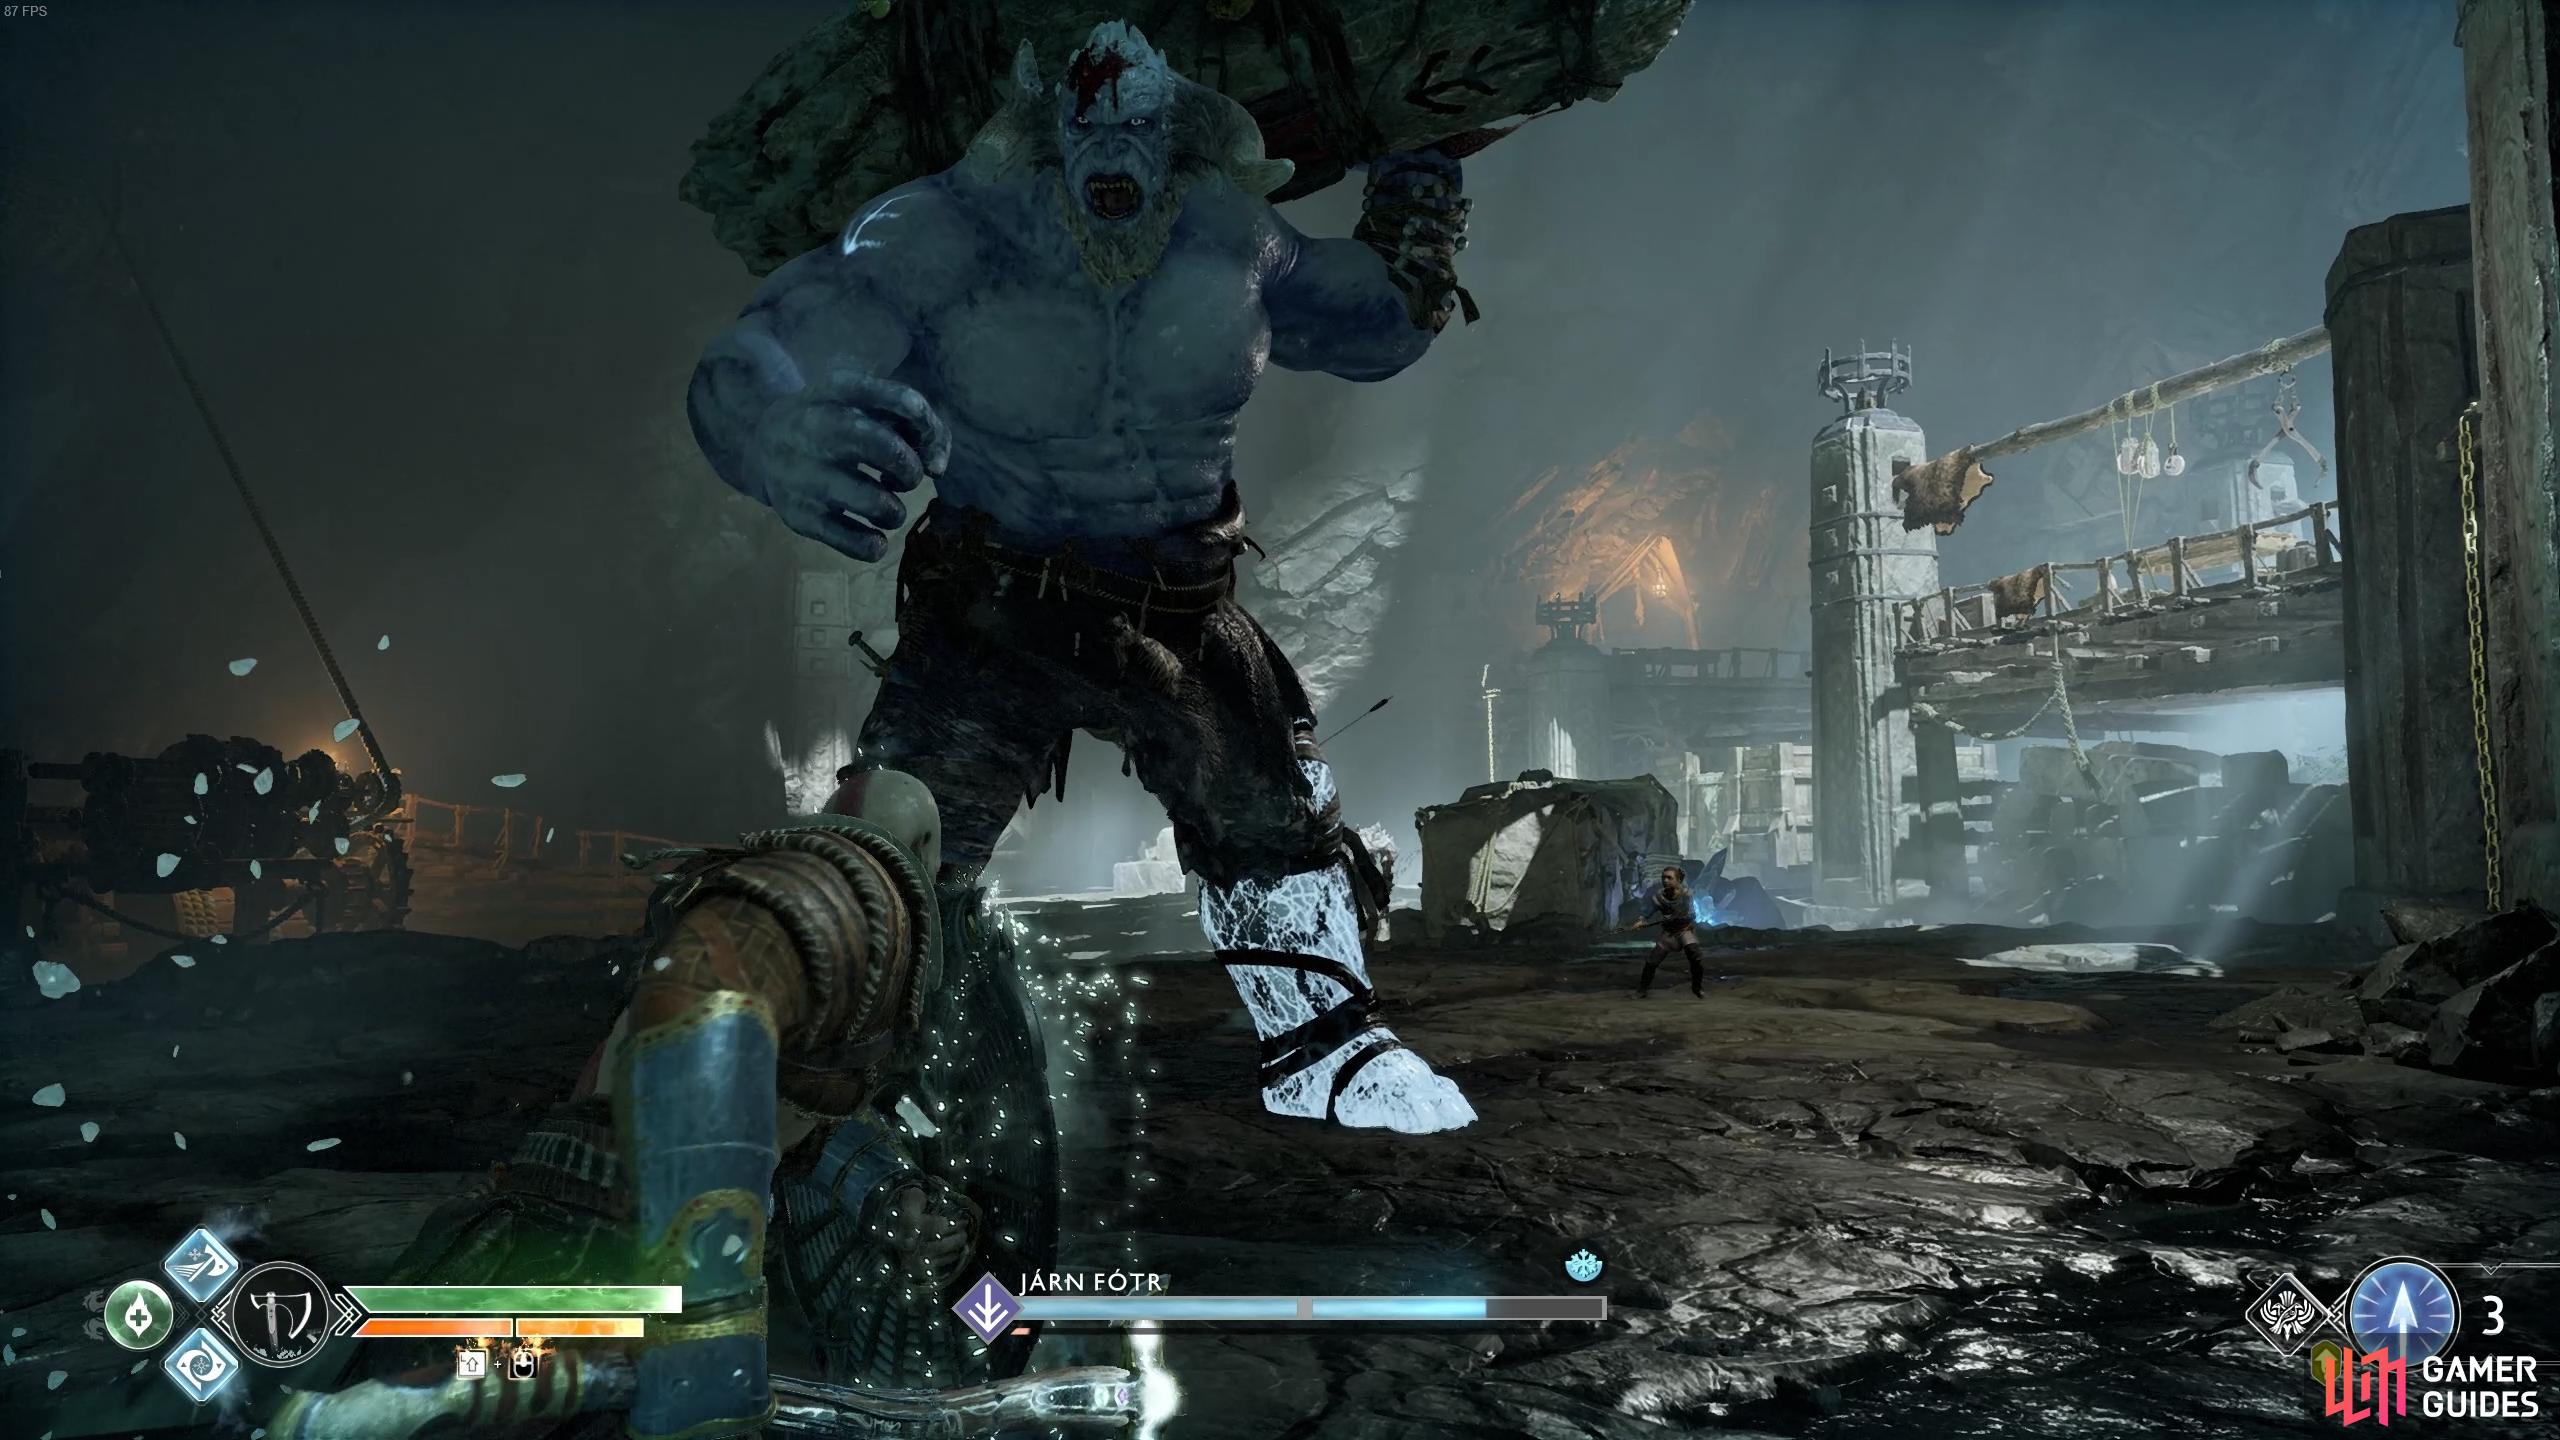
Just as it seemed things were starting to go your way, a Frost Troll rises from the pits of the Mountain once you drop to the ground.
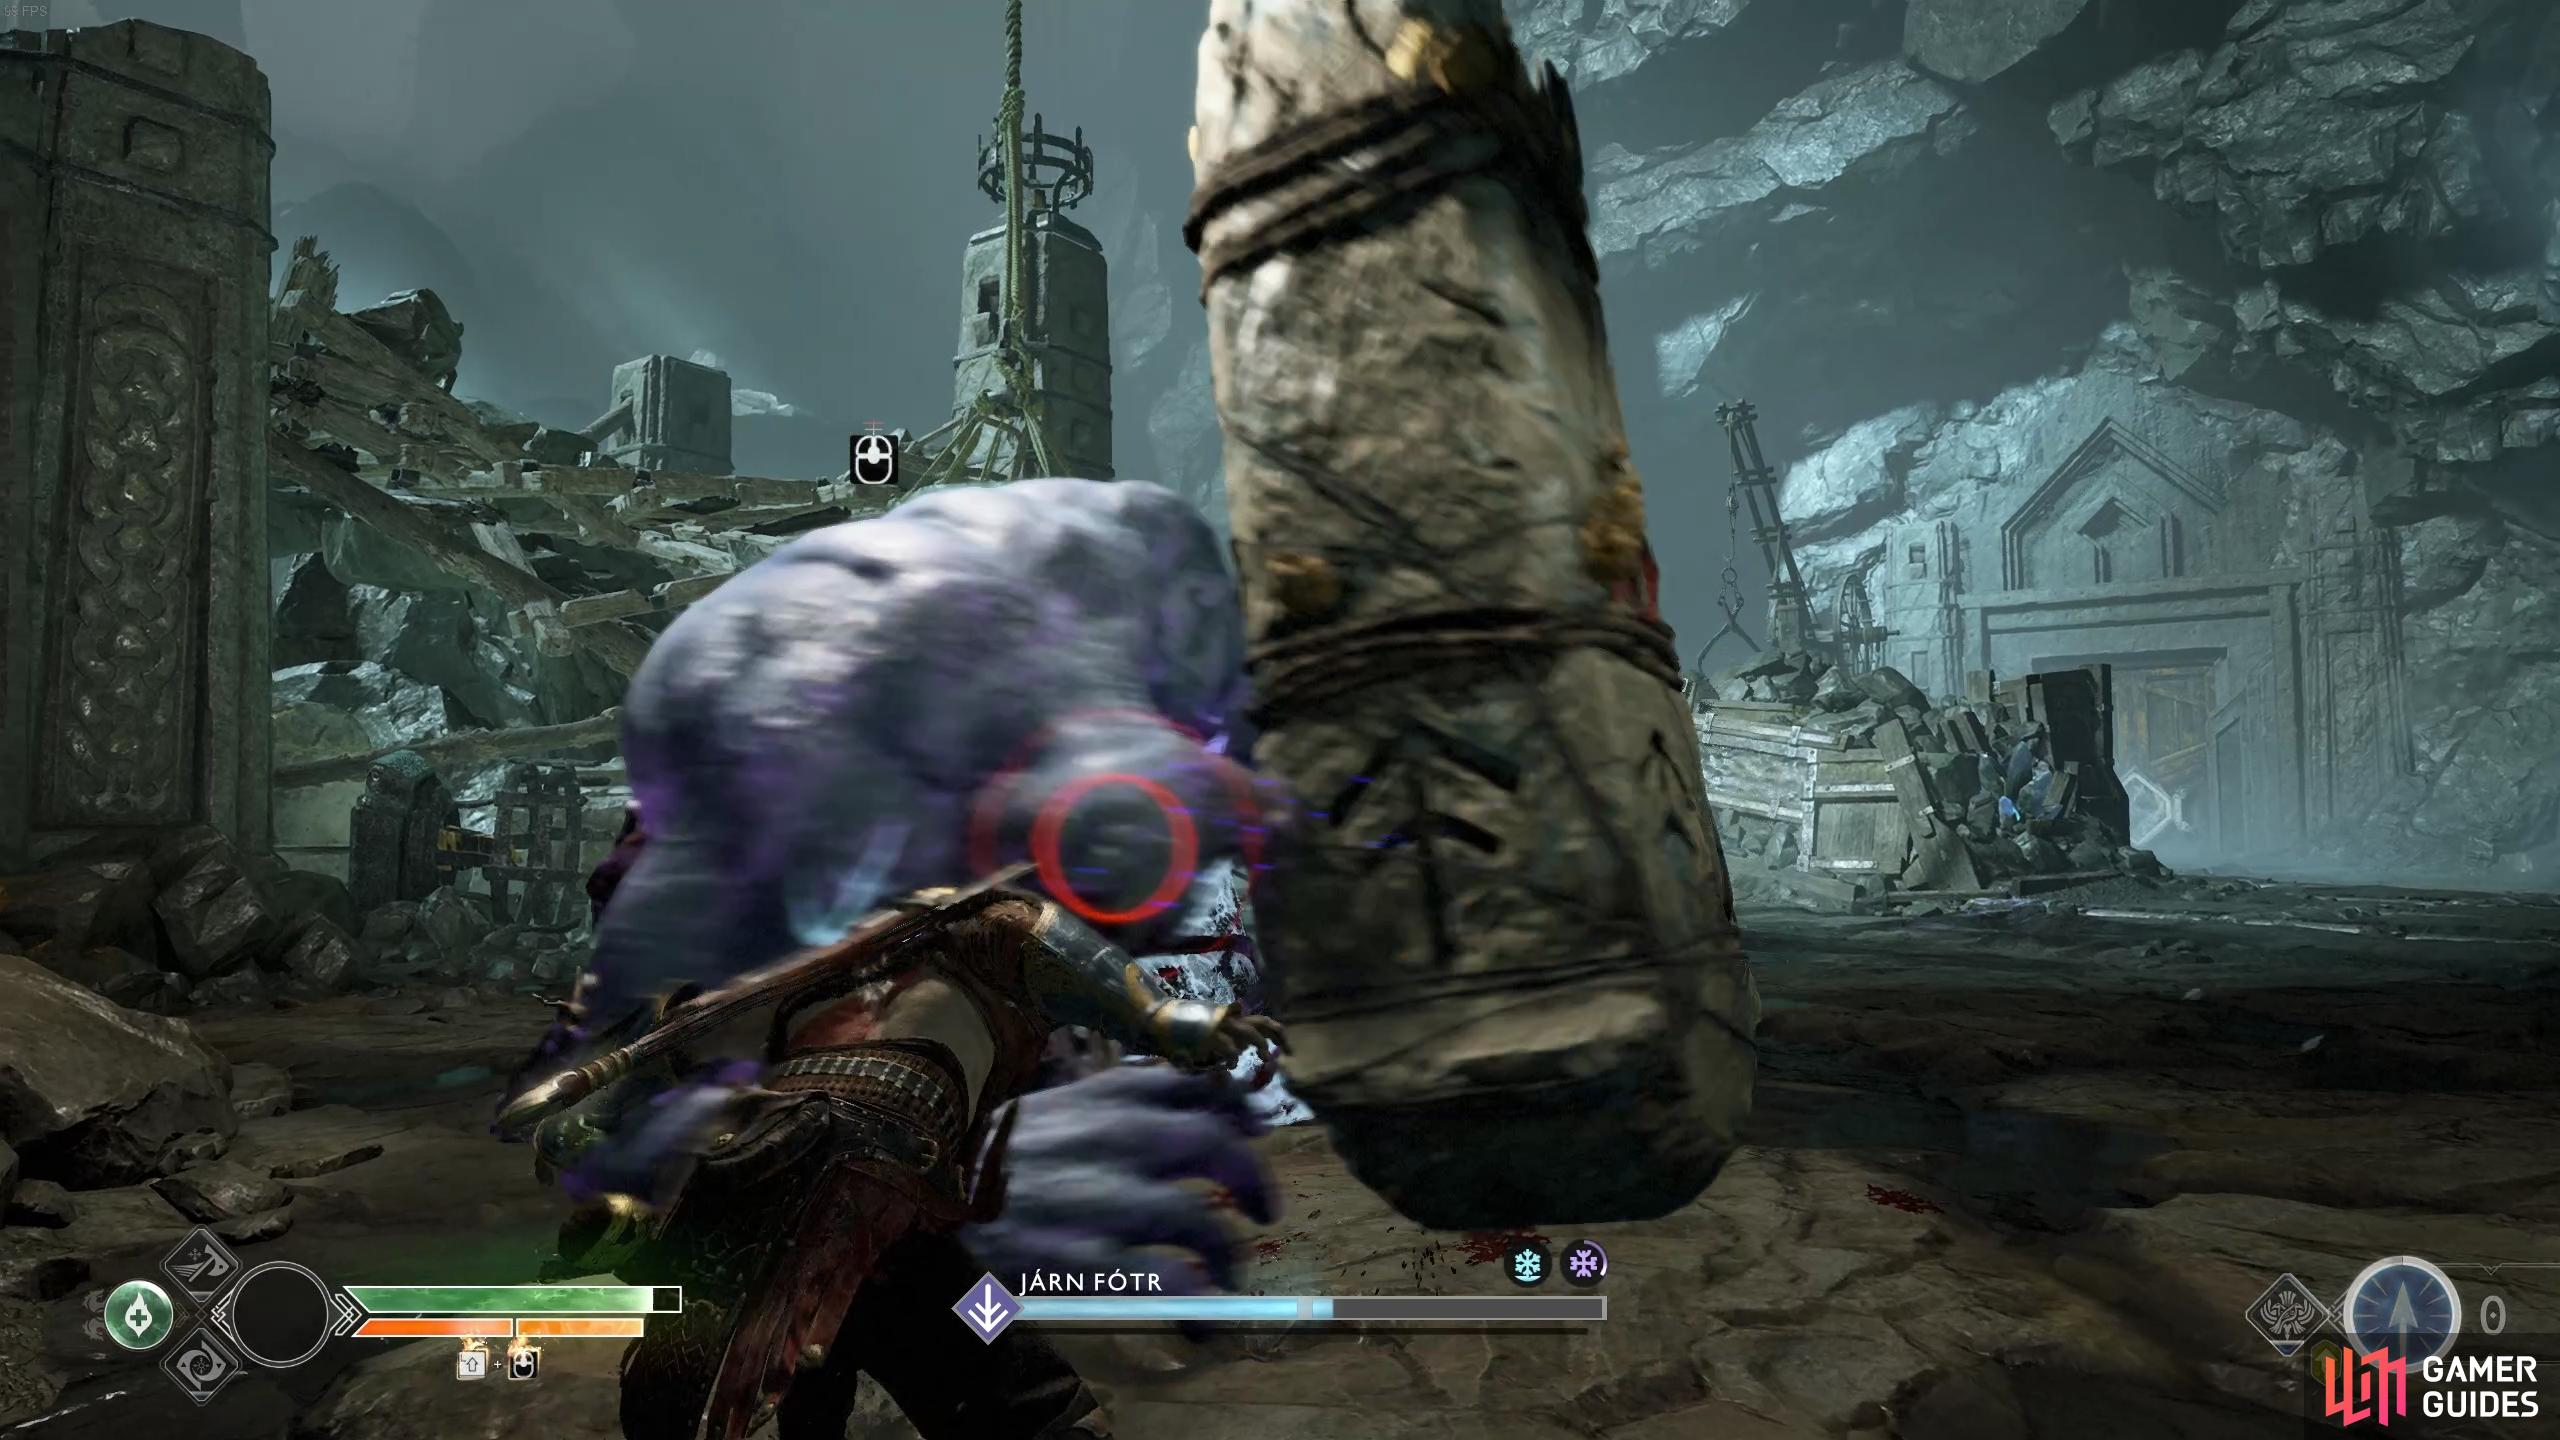
Járn Fótr is similar to his fire brethren with the change that his attacks are Frost based. This means that whenever you’re hit by his attacks, you’ll be temporarily slowed making it harder to escape his wrath. He features all of the same attacks as the standard Trolls such as the thrusts with the pillar and the swinging pillar move too.
He adds an Ice Stomp to his arsenal of attacks, when you see the left foot raise and glow, get back because a series of Frost based fissures will shoot out of the ground. Likewise, whenever he slams the pillar into the ground, he will cause a Frost based shockwave. Your method of attack should remain the same, keep your distance and use Atreus’ arrows to distract while you close in for a few hits before retreating.
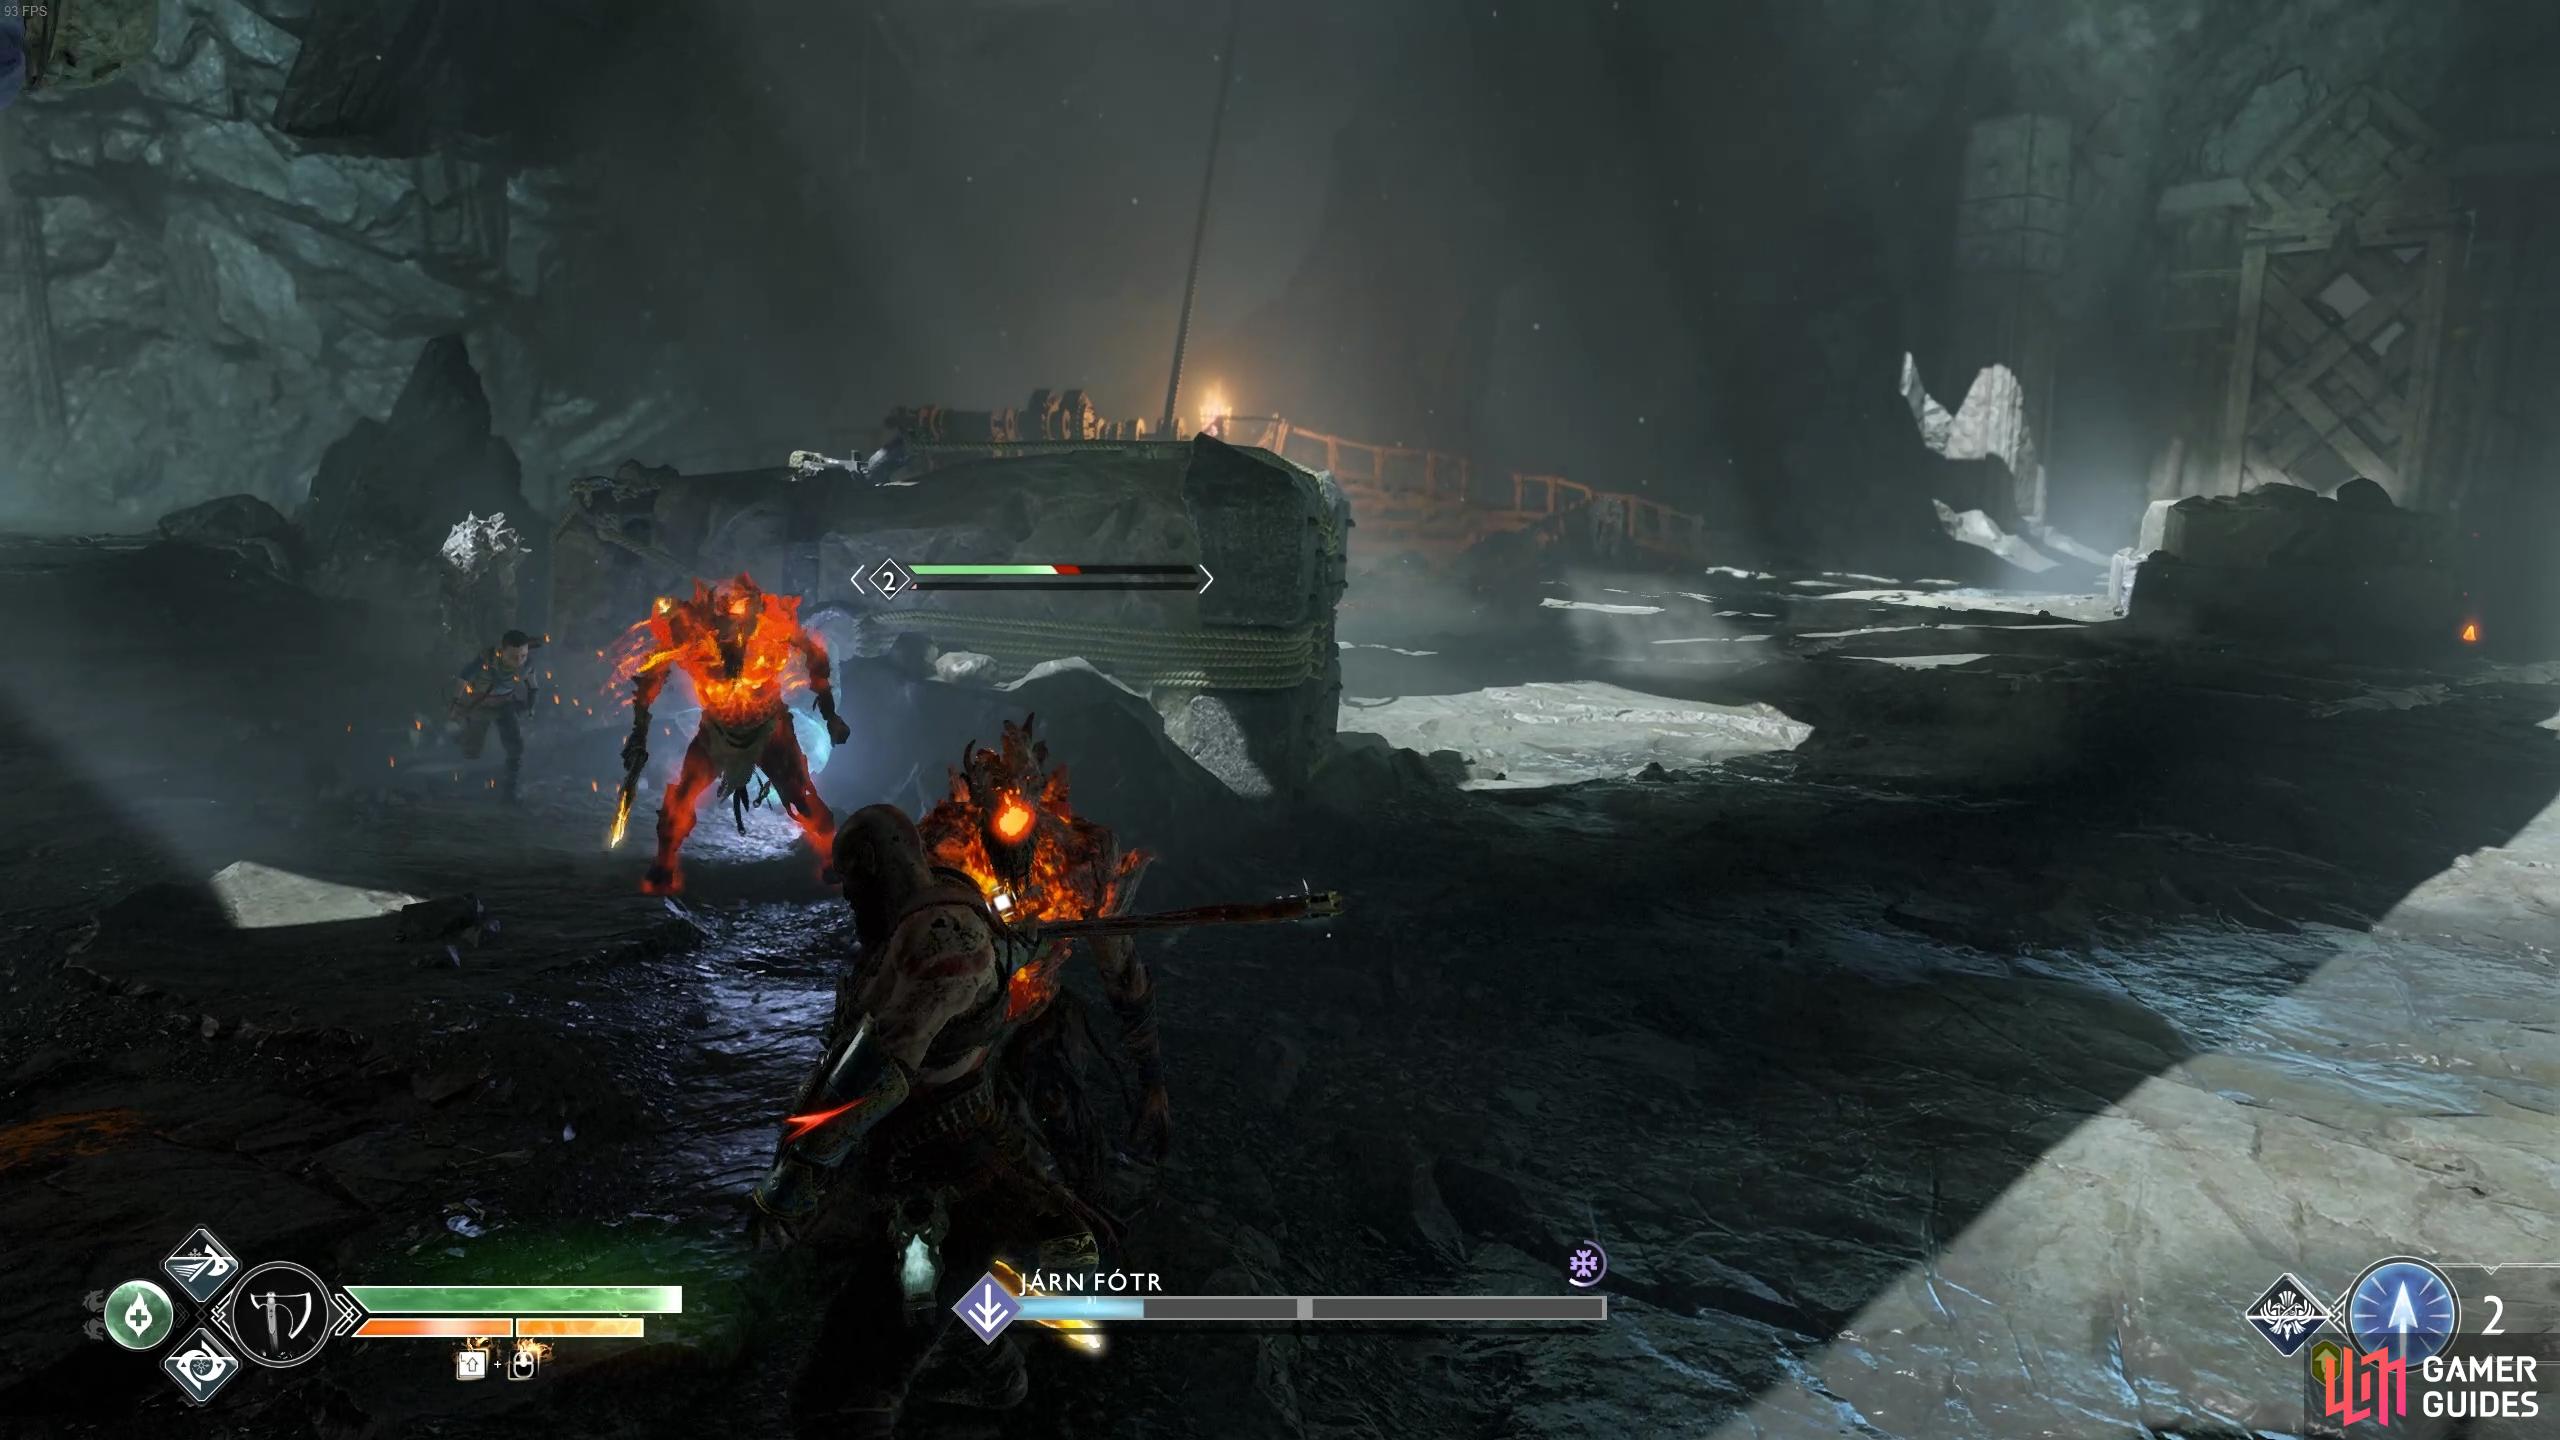
As his health drops, Draugrs join the battle including Explosive types, keep your distance and focus your attention on these before returning to your assault on Járn Fótr. Once his health is depleted, trigger the finisher with  or
or  to fell this frosty fiend.
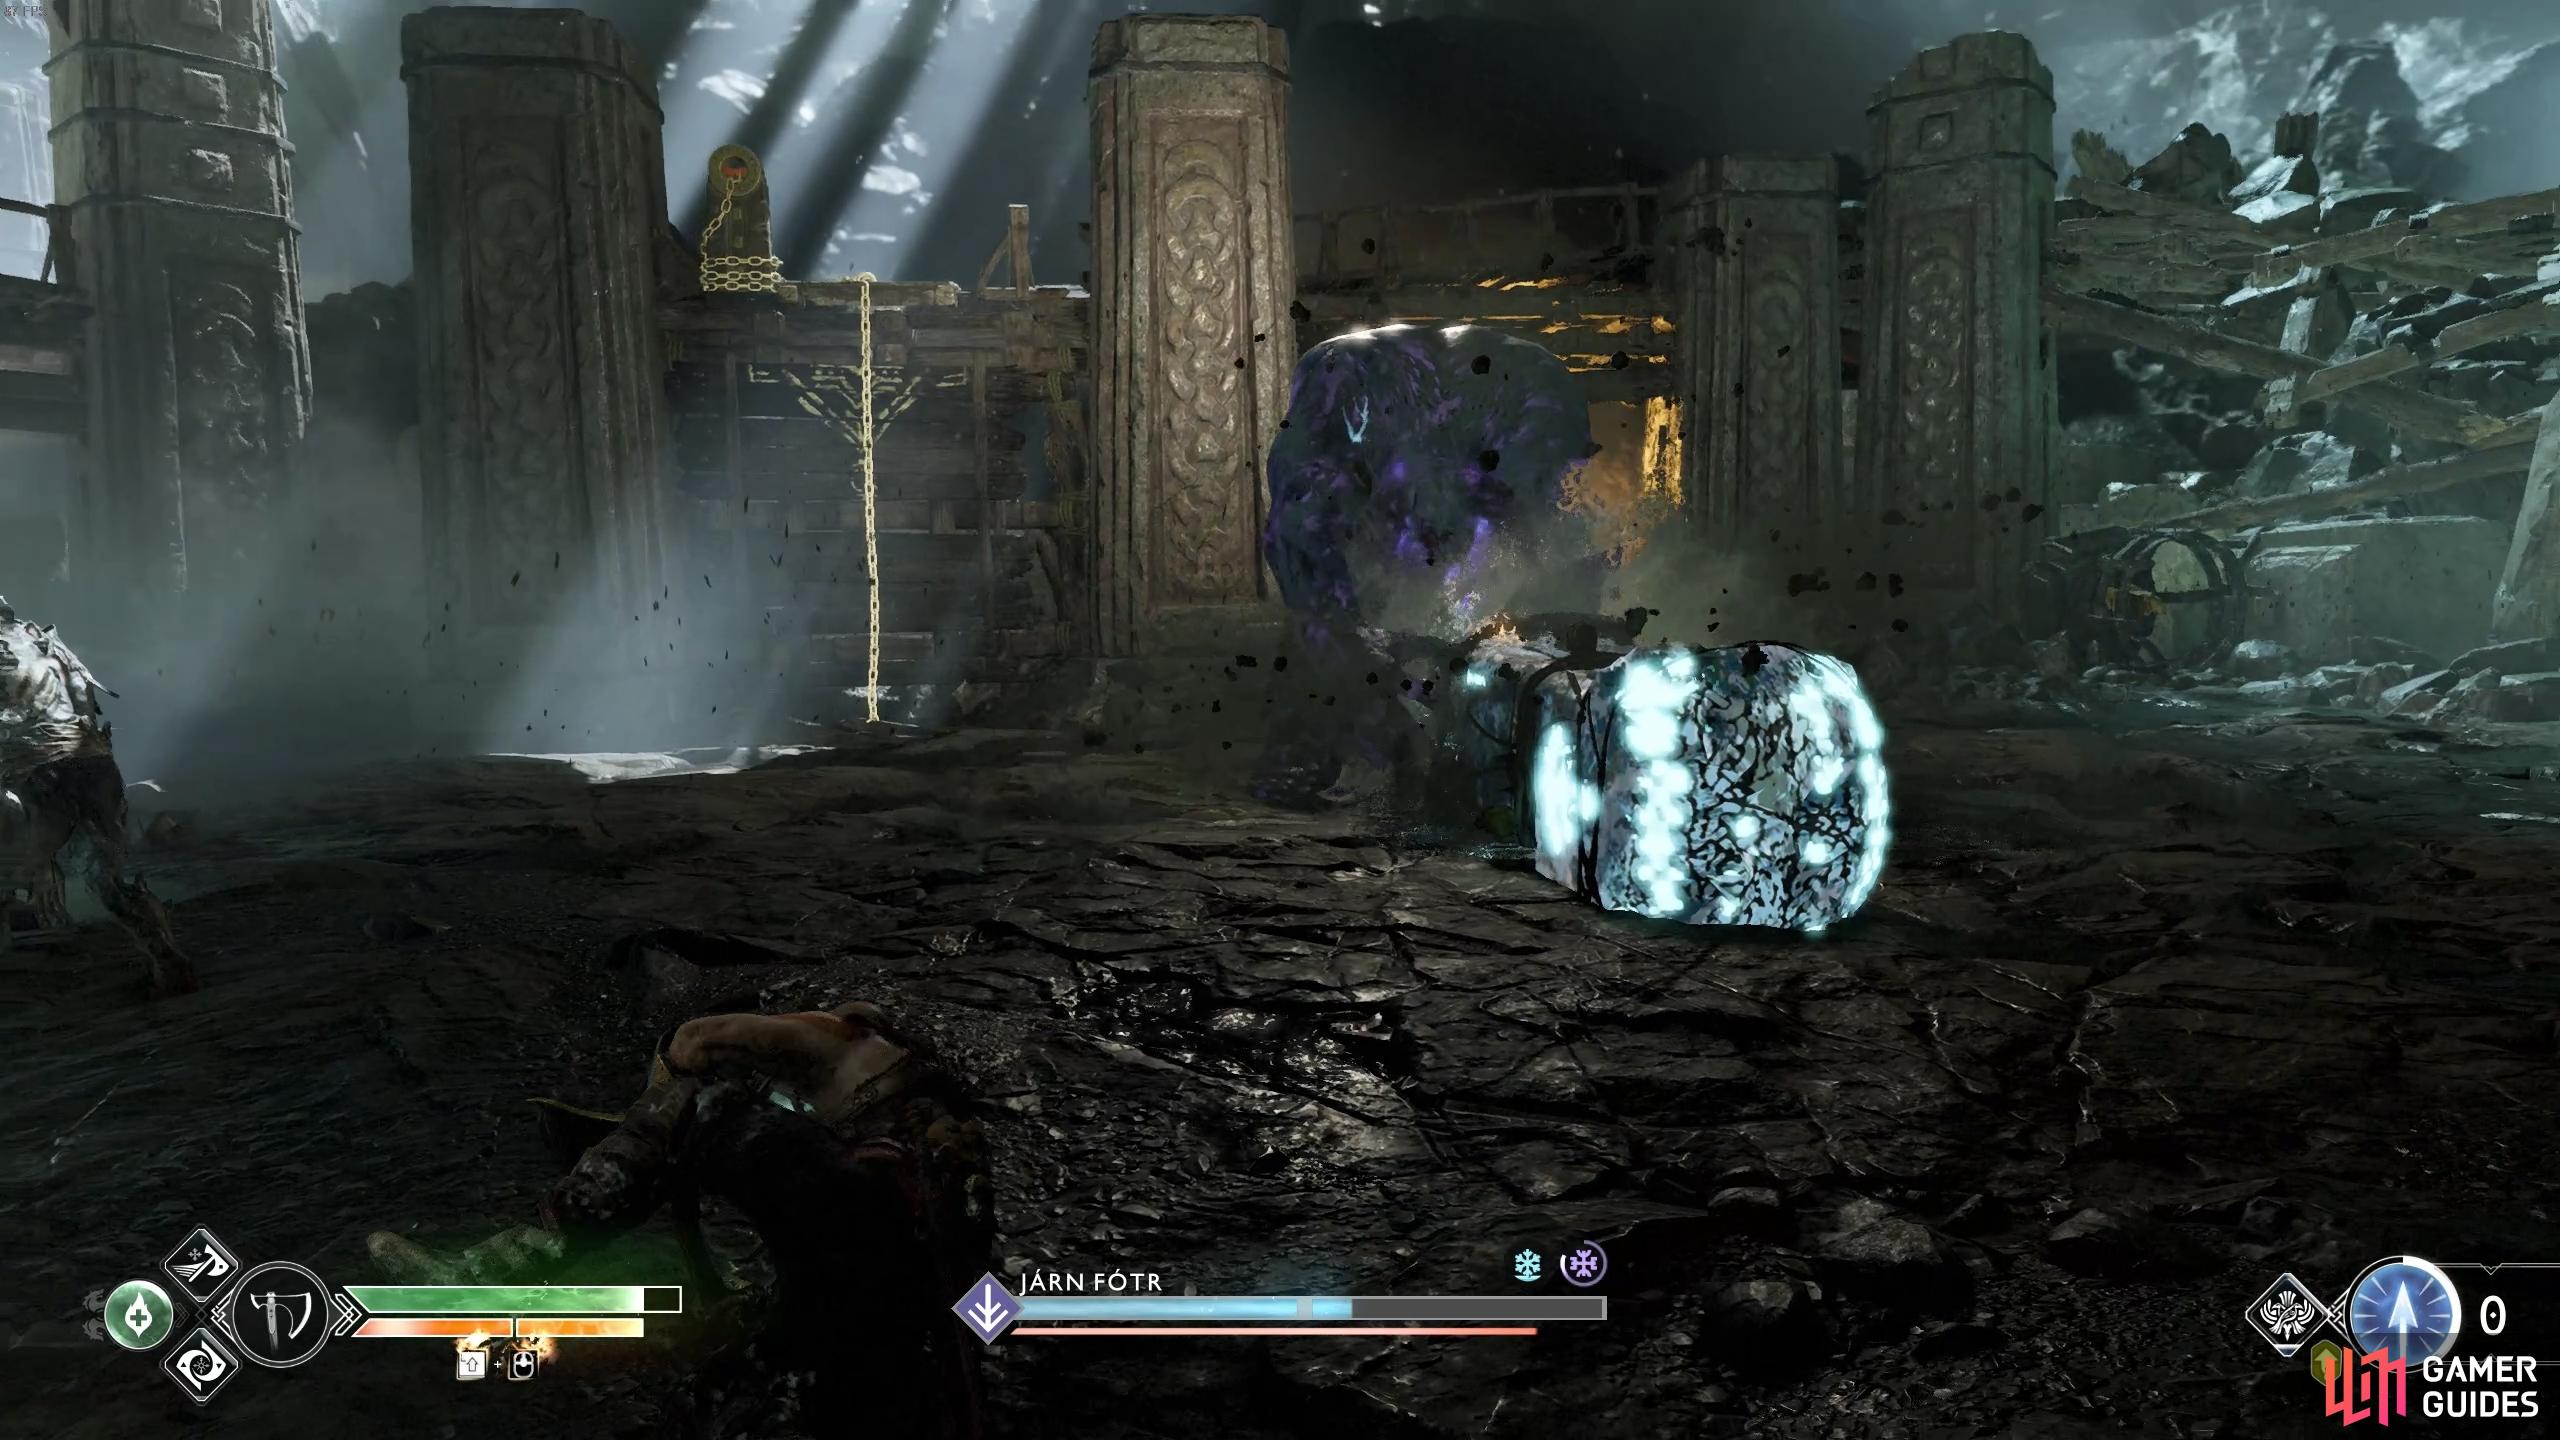
(1 of 4) Once you see his leg glow, get out of the way.
Be sure to loot the spoils on the ground upon his defeat, you’ll receive your next Frozen Flame, Solid Svartalfheim Steel, Hacksilver and The River of Knives Heavy Runic Attack.
Before you do anything, head back down the passage to Brok’s Shop and upgrade your Leviathan Axe to Level IV and if you have enough resources, the Talon Bow to Level IV. Now’s a good time to spend some of that XP you’ve been storing on all the new skills. Begin by purchasing the Whirlwind Sweep and Double Whirlwind skills in the Close Combat tree. These add a unique stance change by pausing after a light attack and then pressing following it up with another light attack once again causing the axe to fly around Kratos. For the Talon Bow, be sure to pick up the Atreus Power III and Dexterous Shot III skills.
Return to the main room now and push the mine cart as far as it will go. Head over to the wheel now and spin it back as far as it will go to lower the claw over the mine cart. Lock the gear into place with the Leviathan Axe and then jump onto the mine cart, when you’re ready, recall the axe.
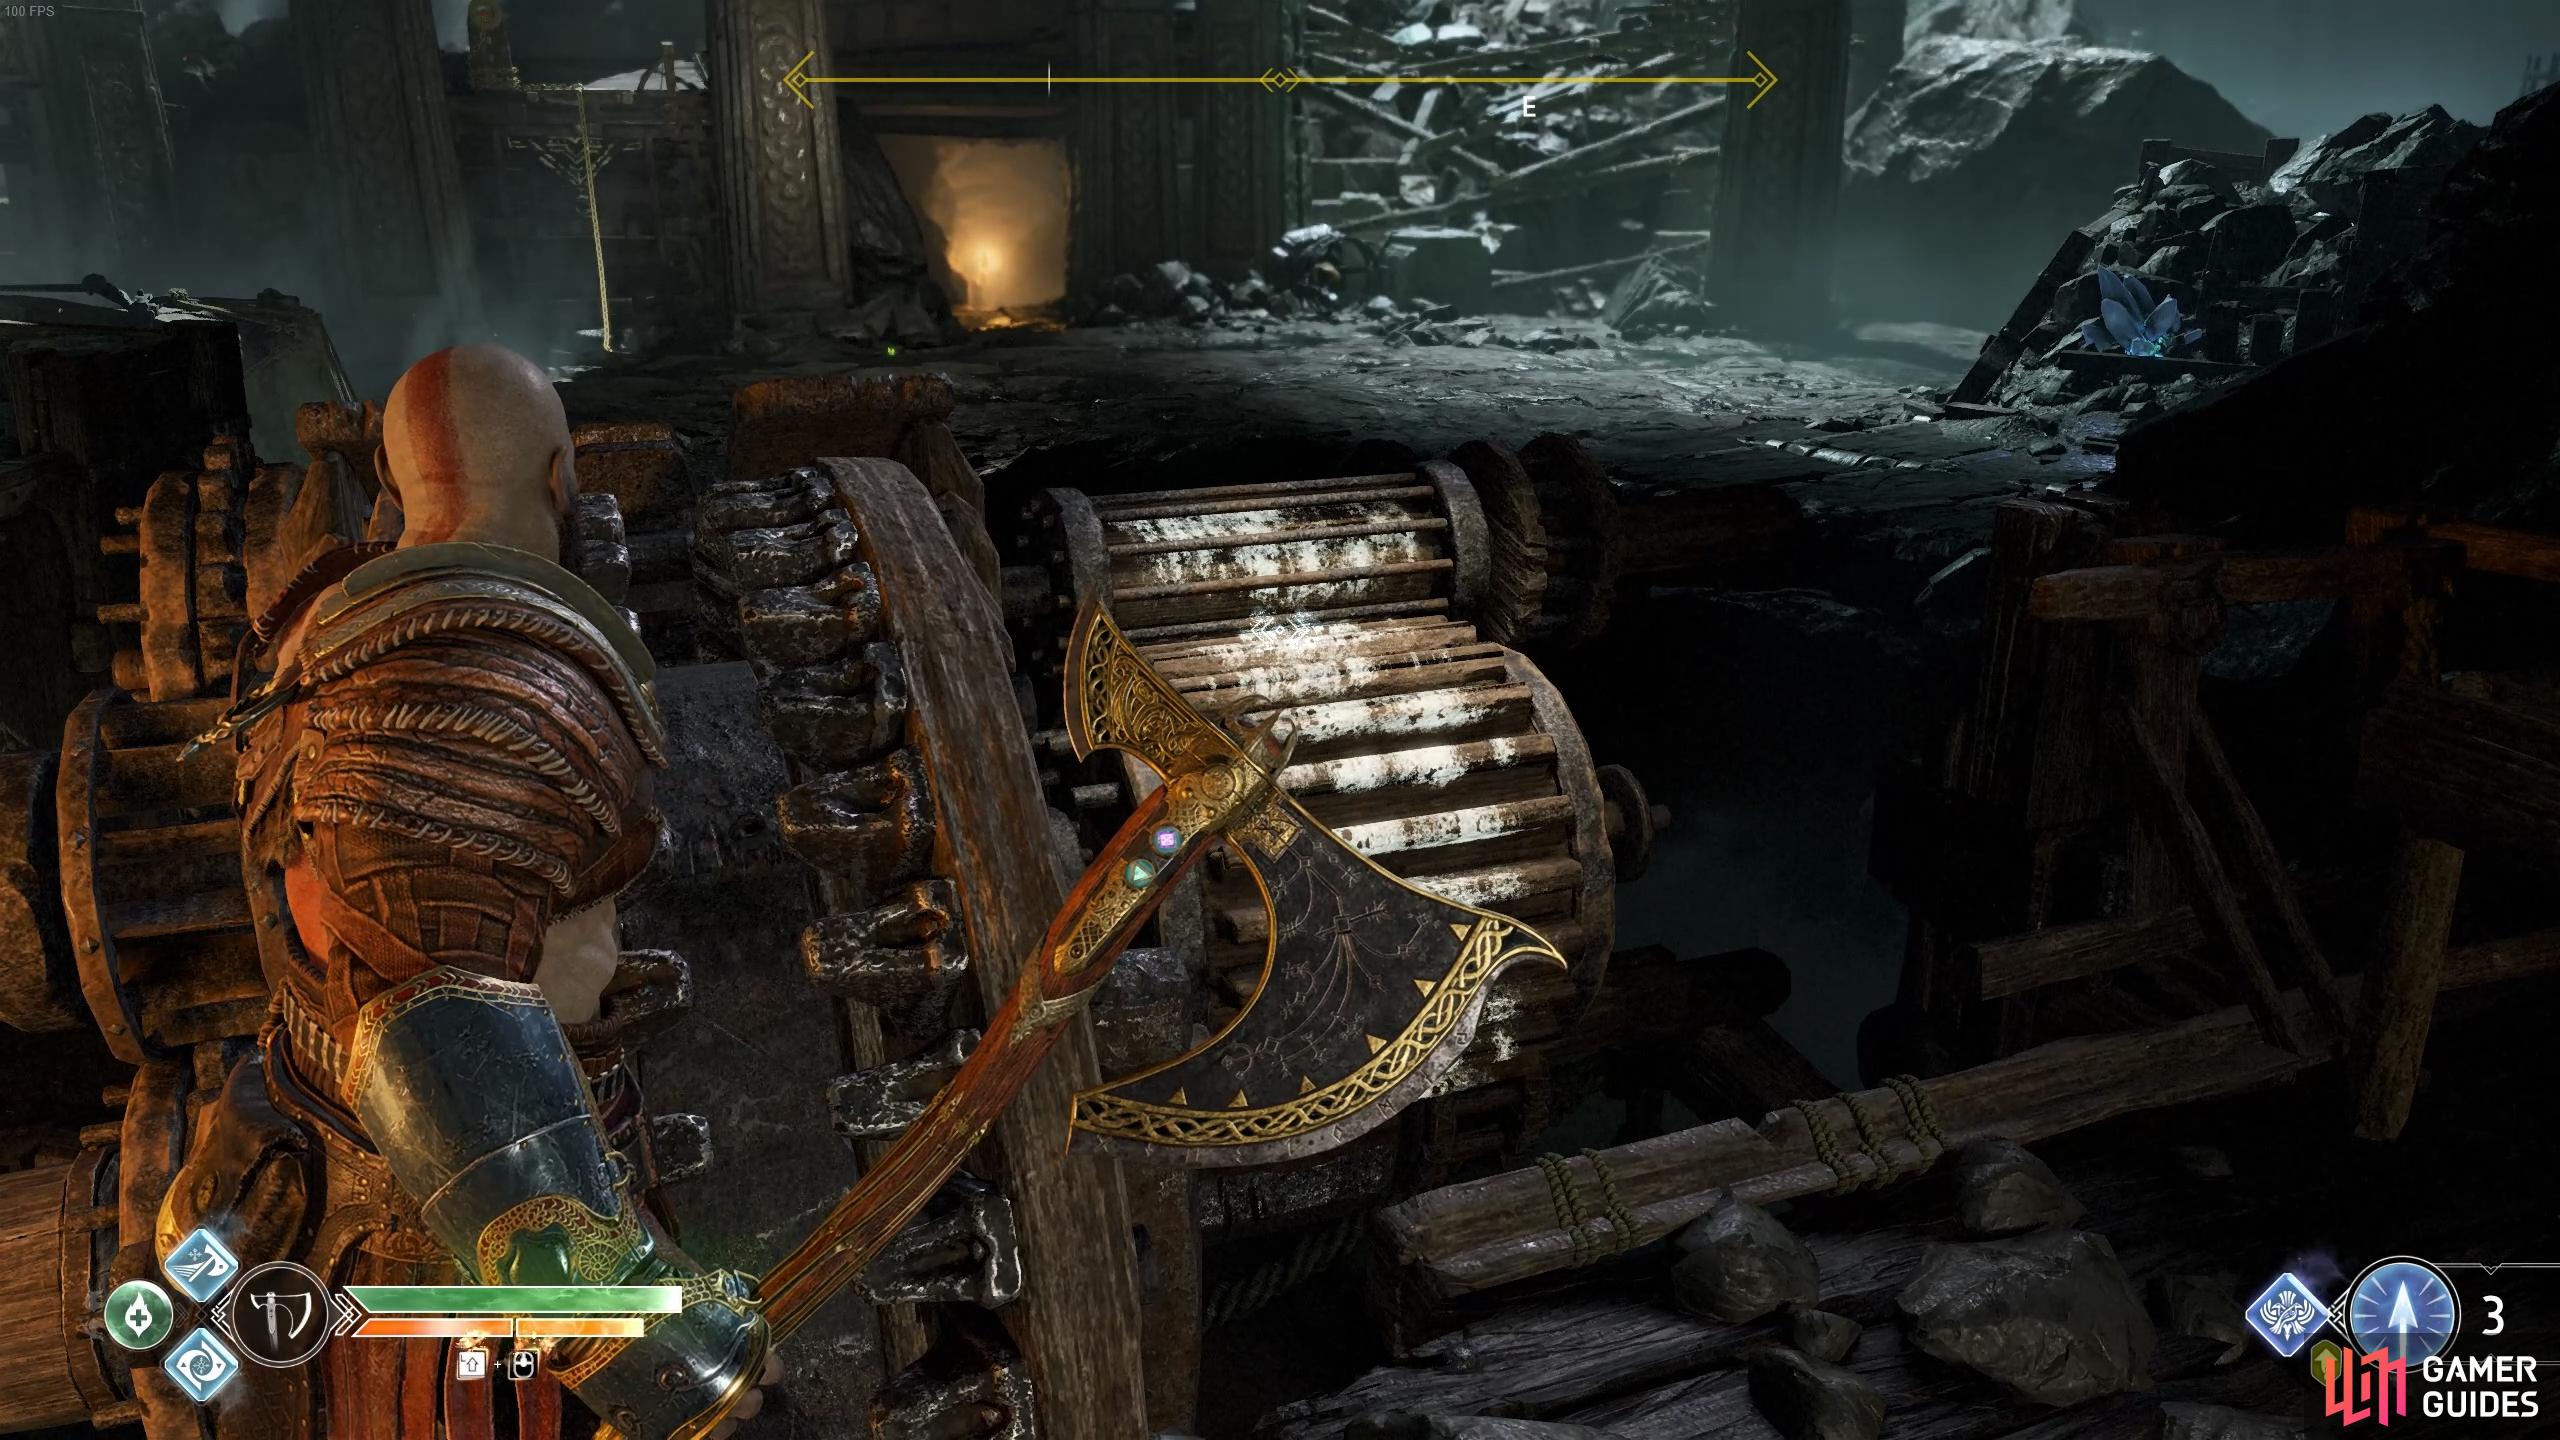
Lock the wheel in place using the axe.
Reach the summit
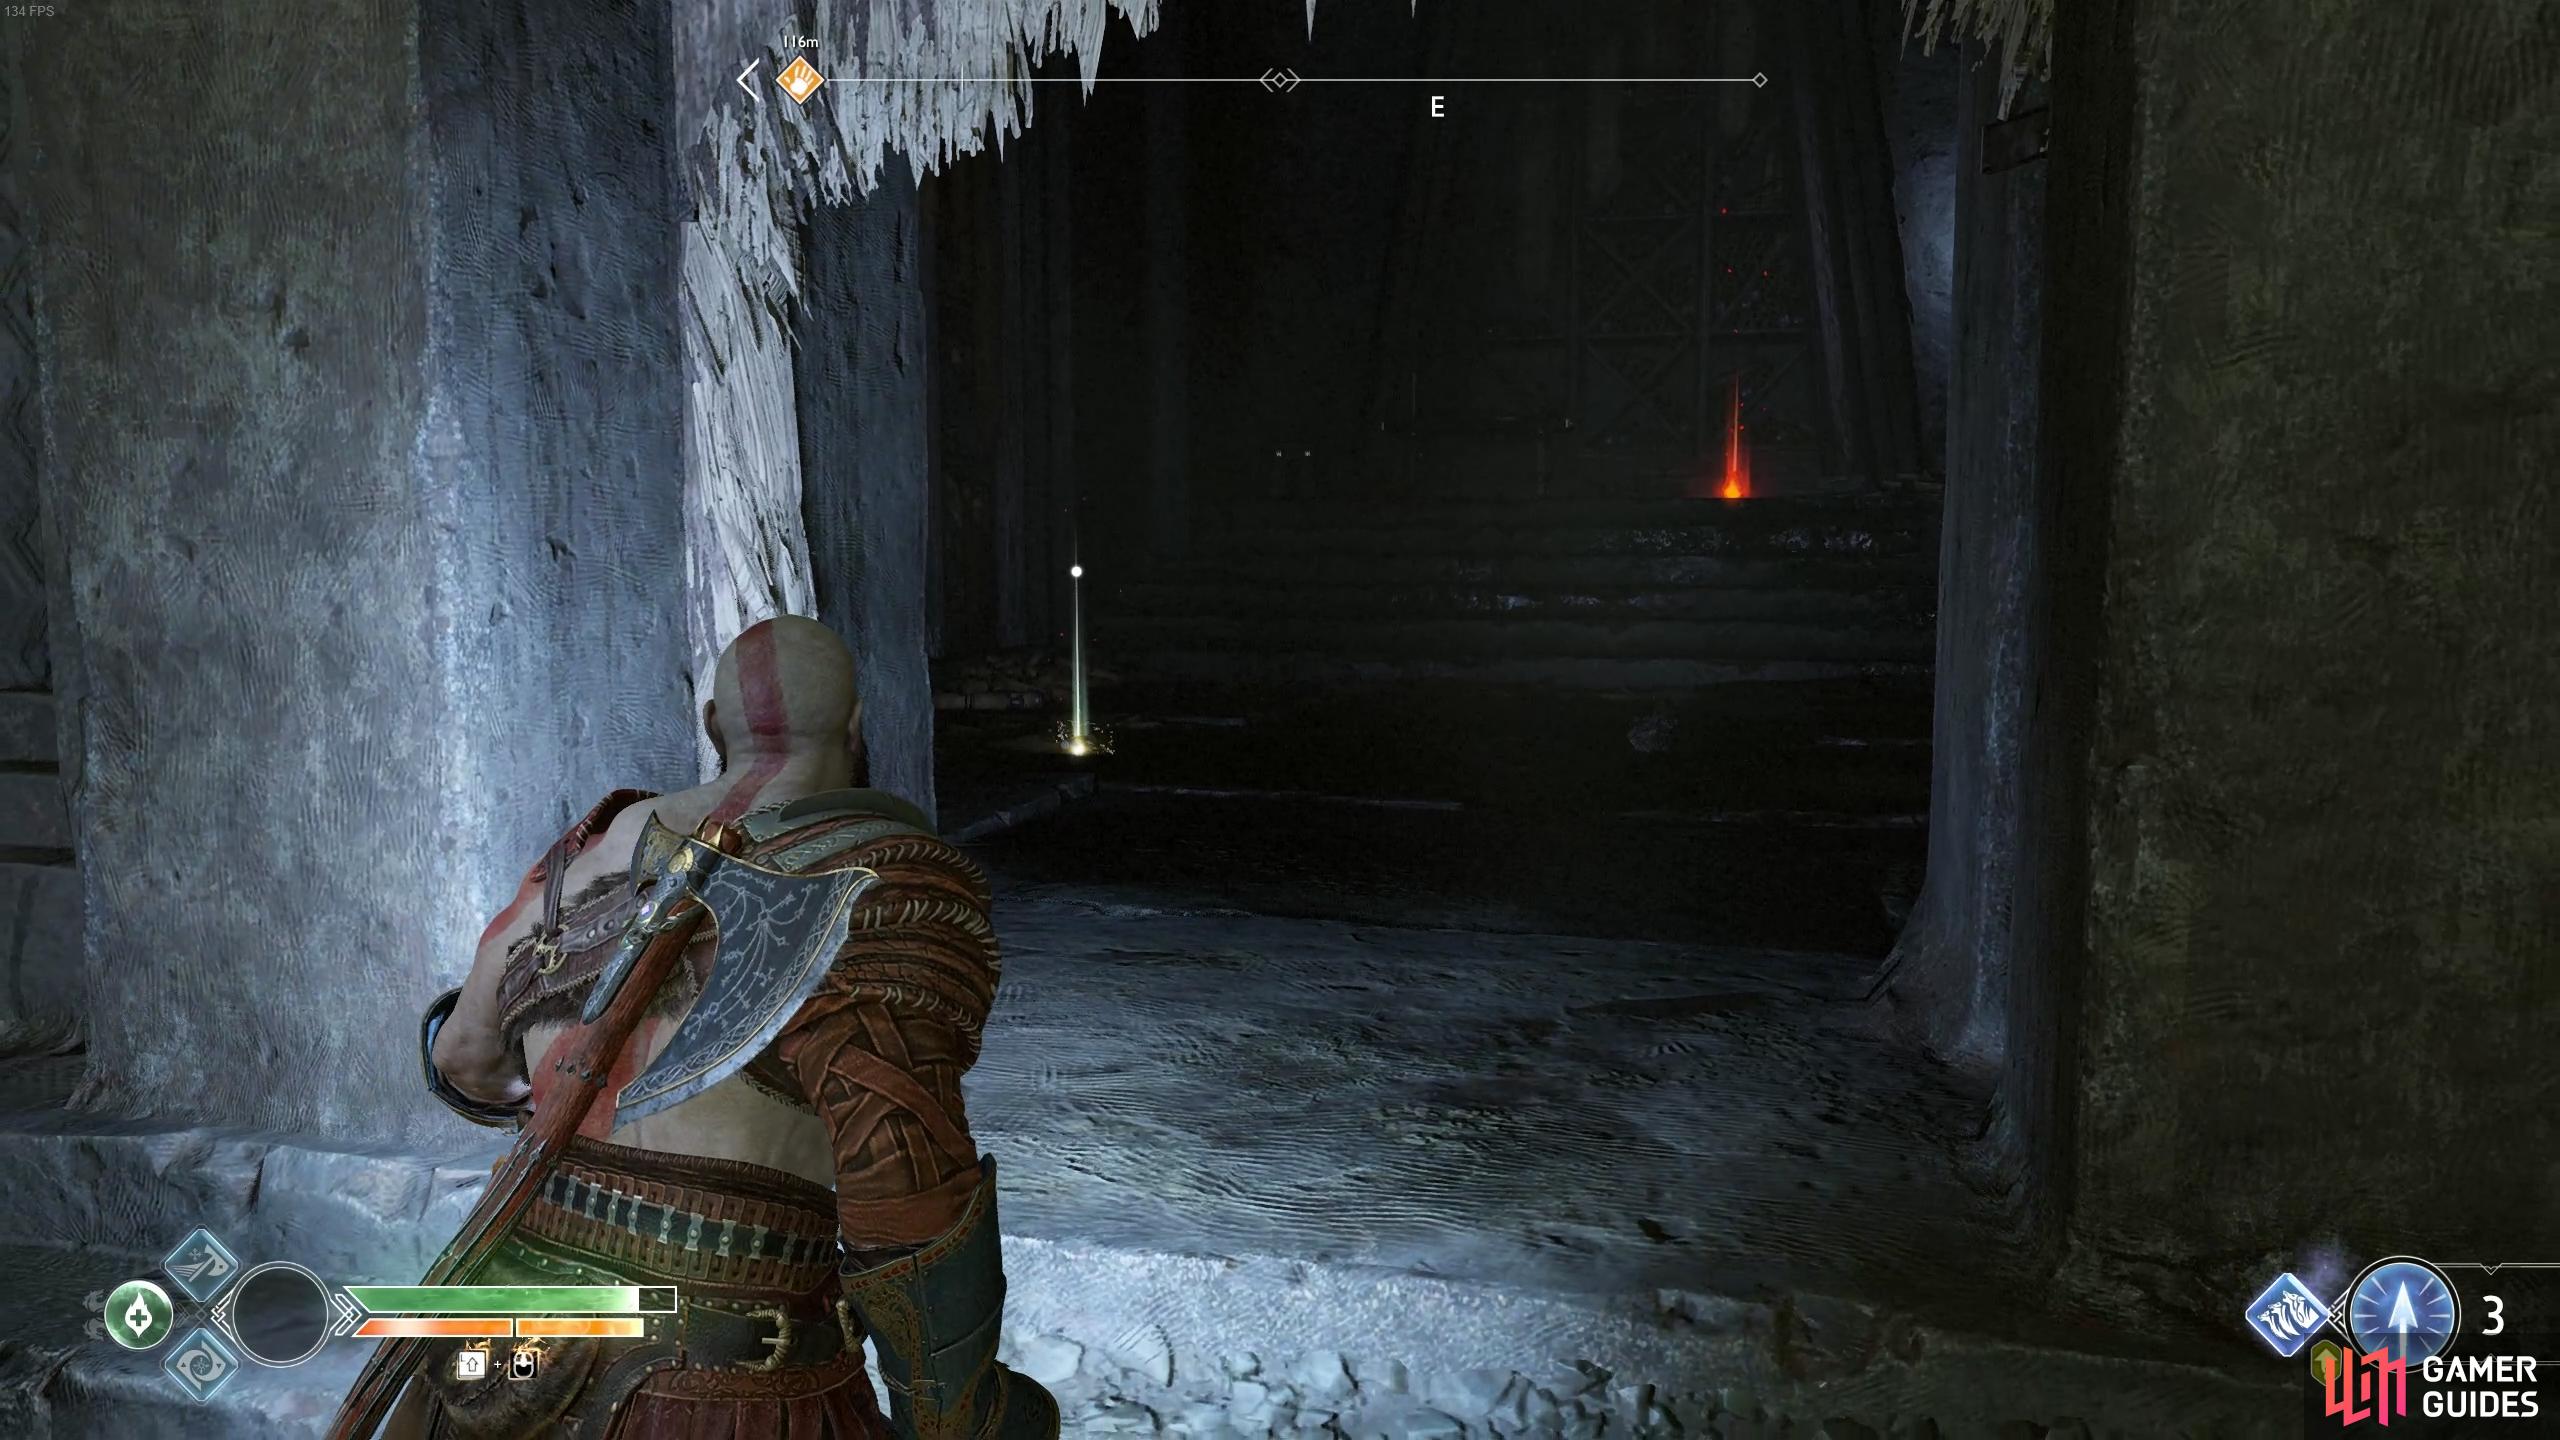
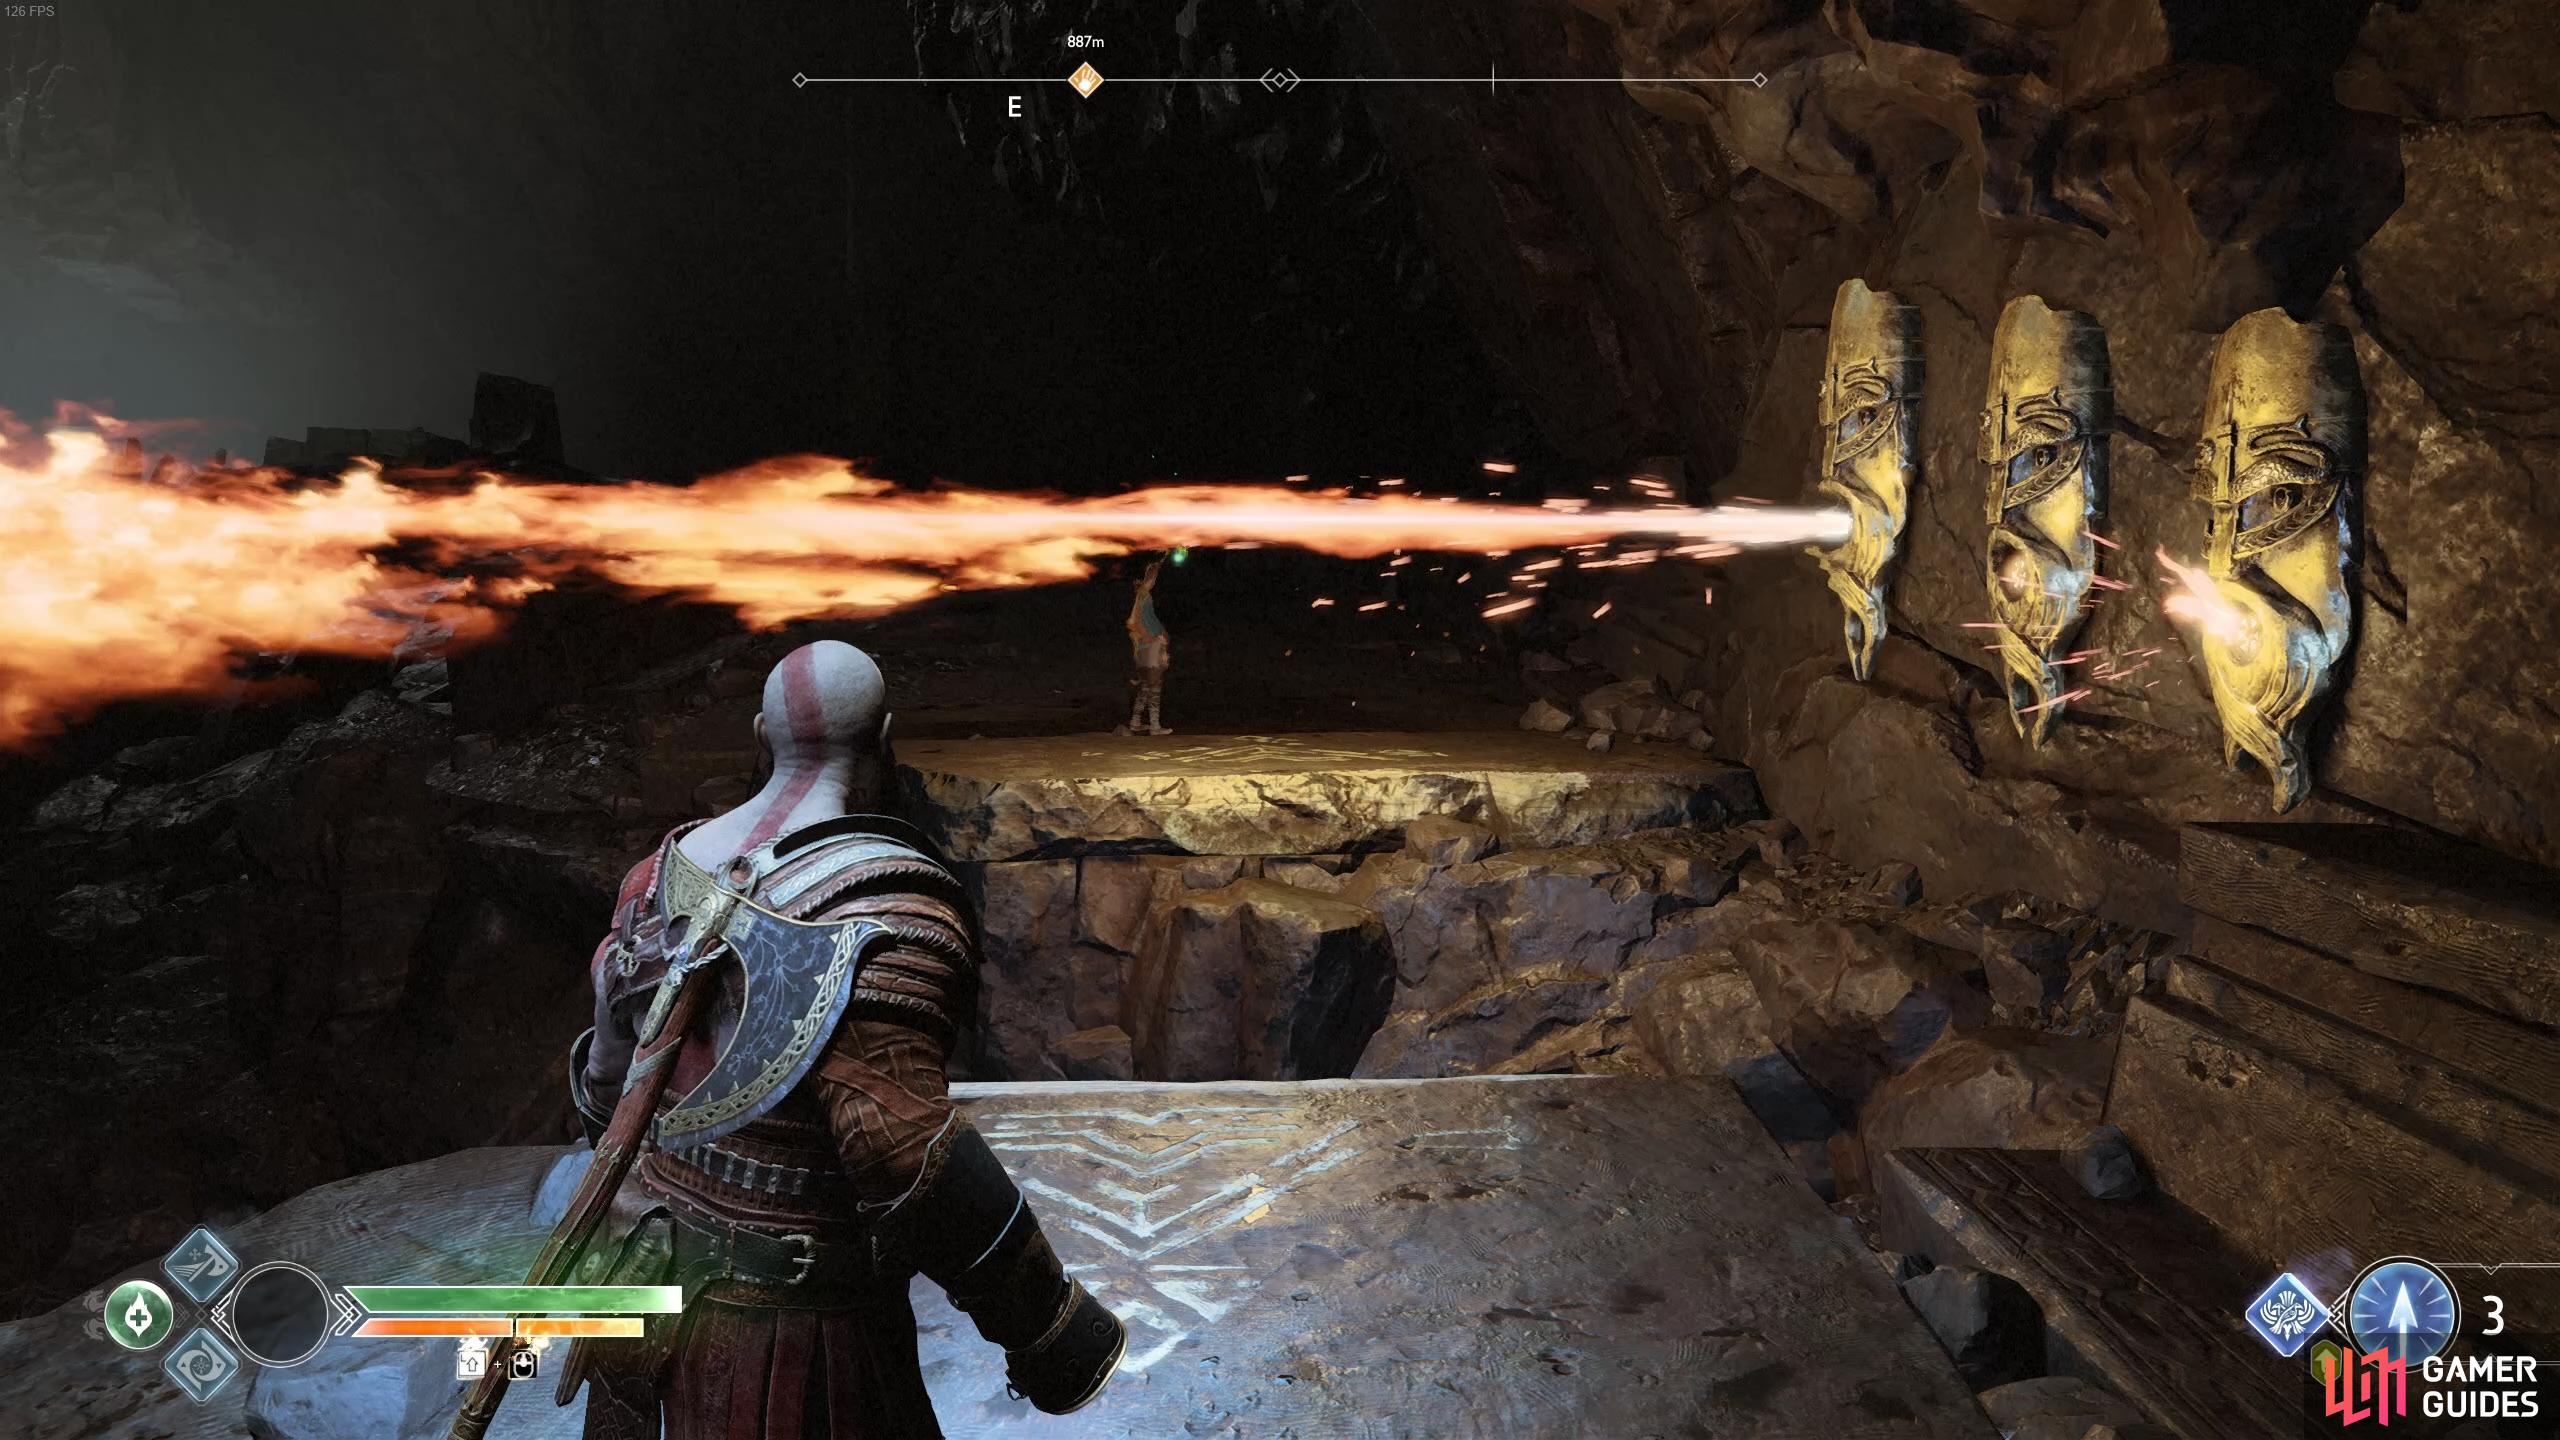
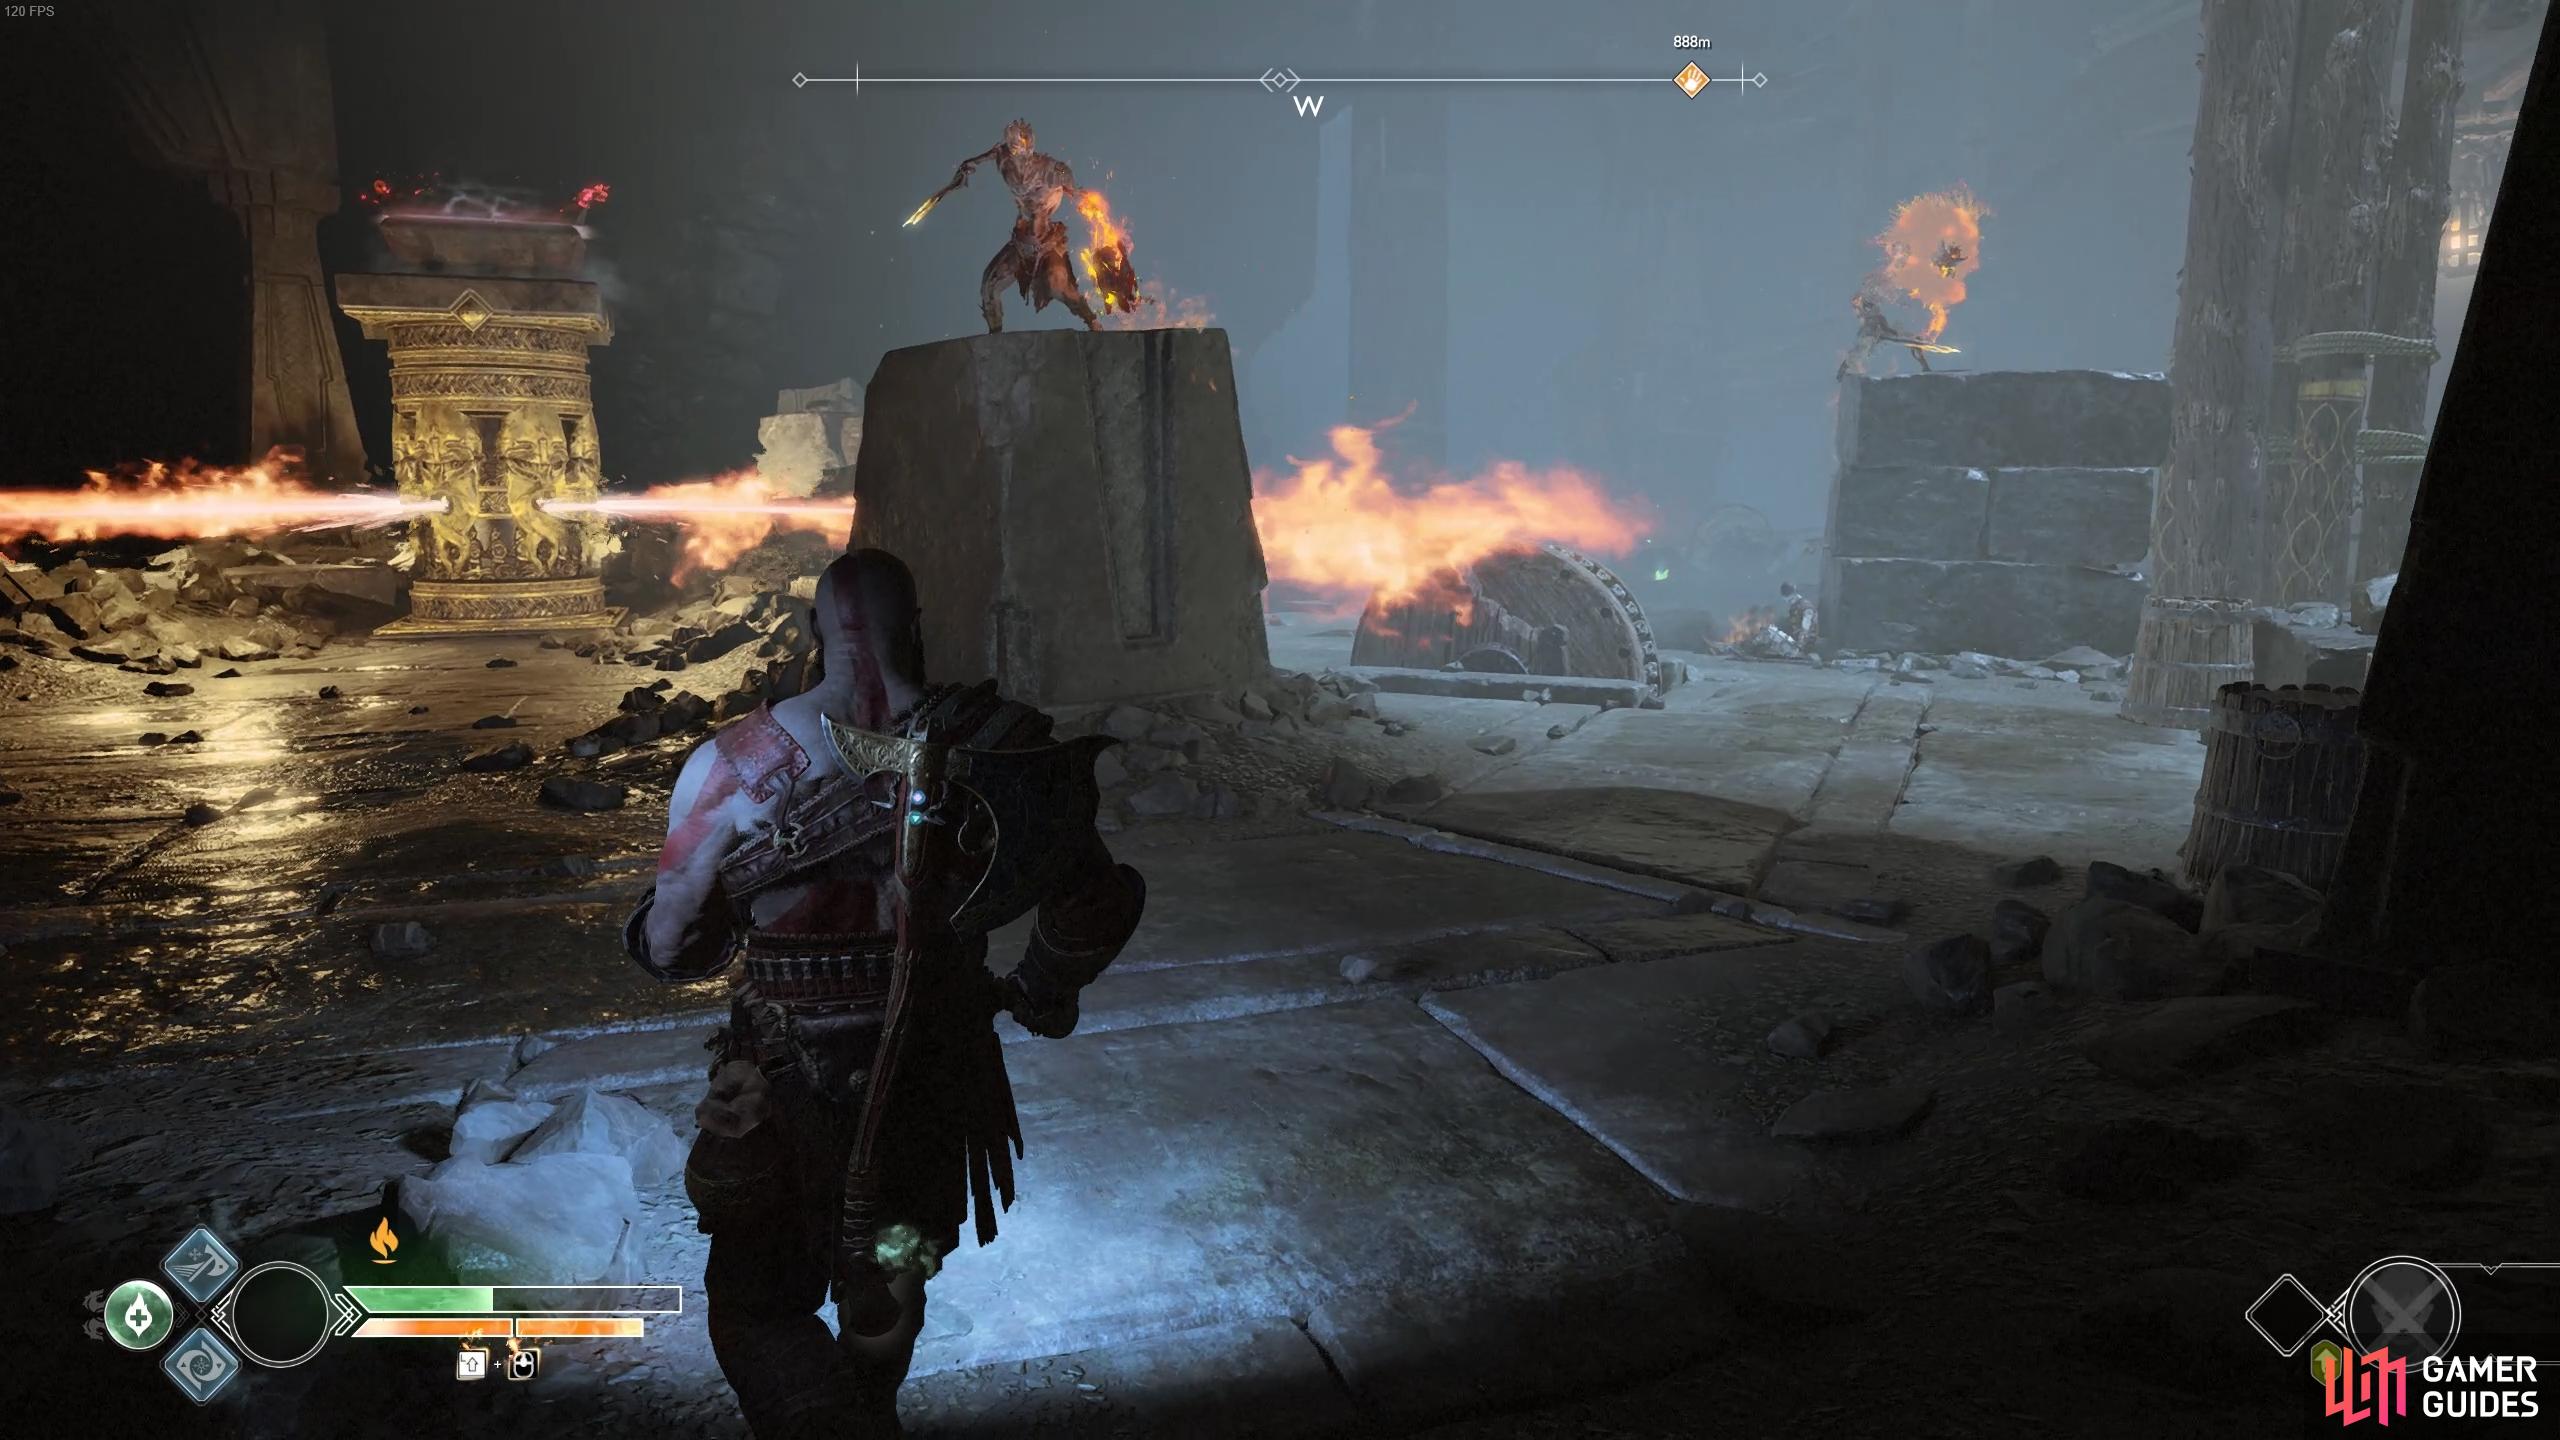
Atreus finally finds a lantern that’s not been destroyed, lighting it he sends it on it’s way hopeful that the giant’s will take care of his mother too. Before you follow Atreus, head back to the lift you just took and look around to the west side of it to find a Hacksilver chest hidden behind the rubble. Pick up the pace and catch up with Atreus to spot the jets of fire in front, Kratos sends Atreus through the tunnel to your side and then wait for the fire to stop before making your own way past.
For the next trap, wait until the final jet goes out before making your leap across the gap. There’s a health stone here should you need it and then press on. This time you’ll have to deal with a column rotating with a constant stream of fire jets. Wait for the nearest jet to pass you by and then head in, following it around and climbing up the first ledge nearby to snag a sack of Hacksilver. Wait for the flames to pass again and then drop back down and continue to follow it around, picking up another sack of Hacksilver in the middle.
(1 of 2) Wait for the last flame to go out before leaping across.
Wait for the last flame to go out before leaping across. (left), Stand behind the rock for safety as you take out the Projectile Draugr. (right)
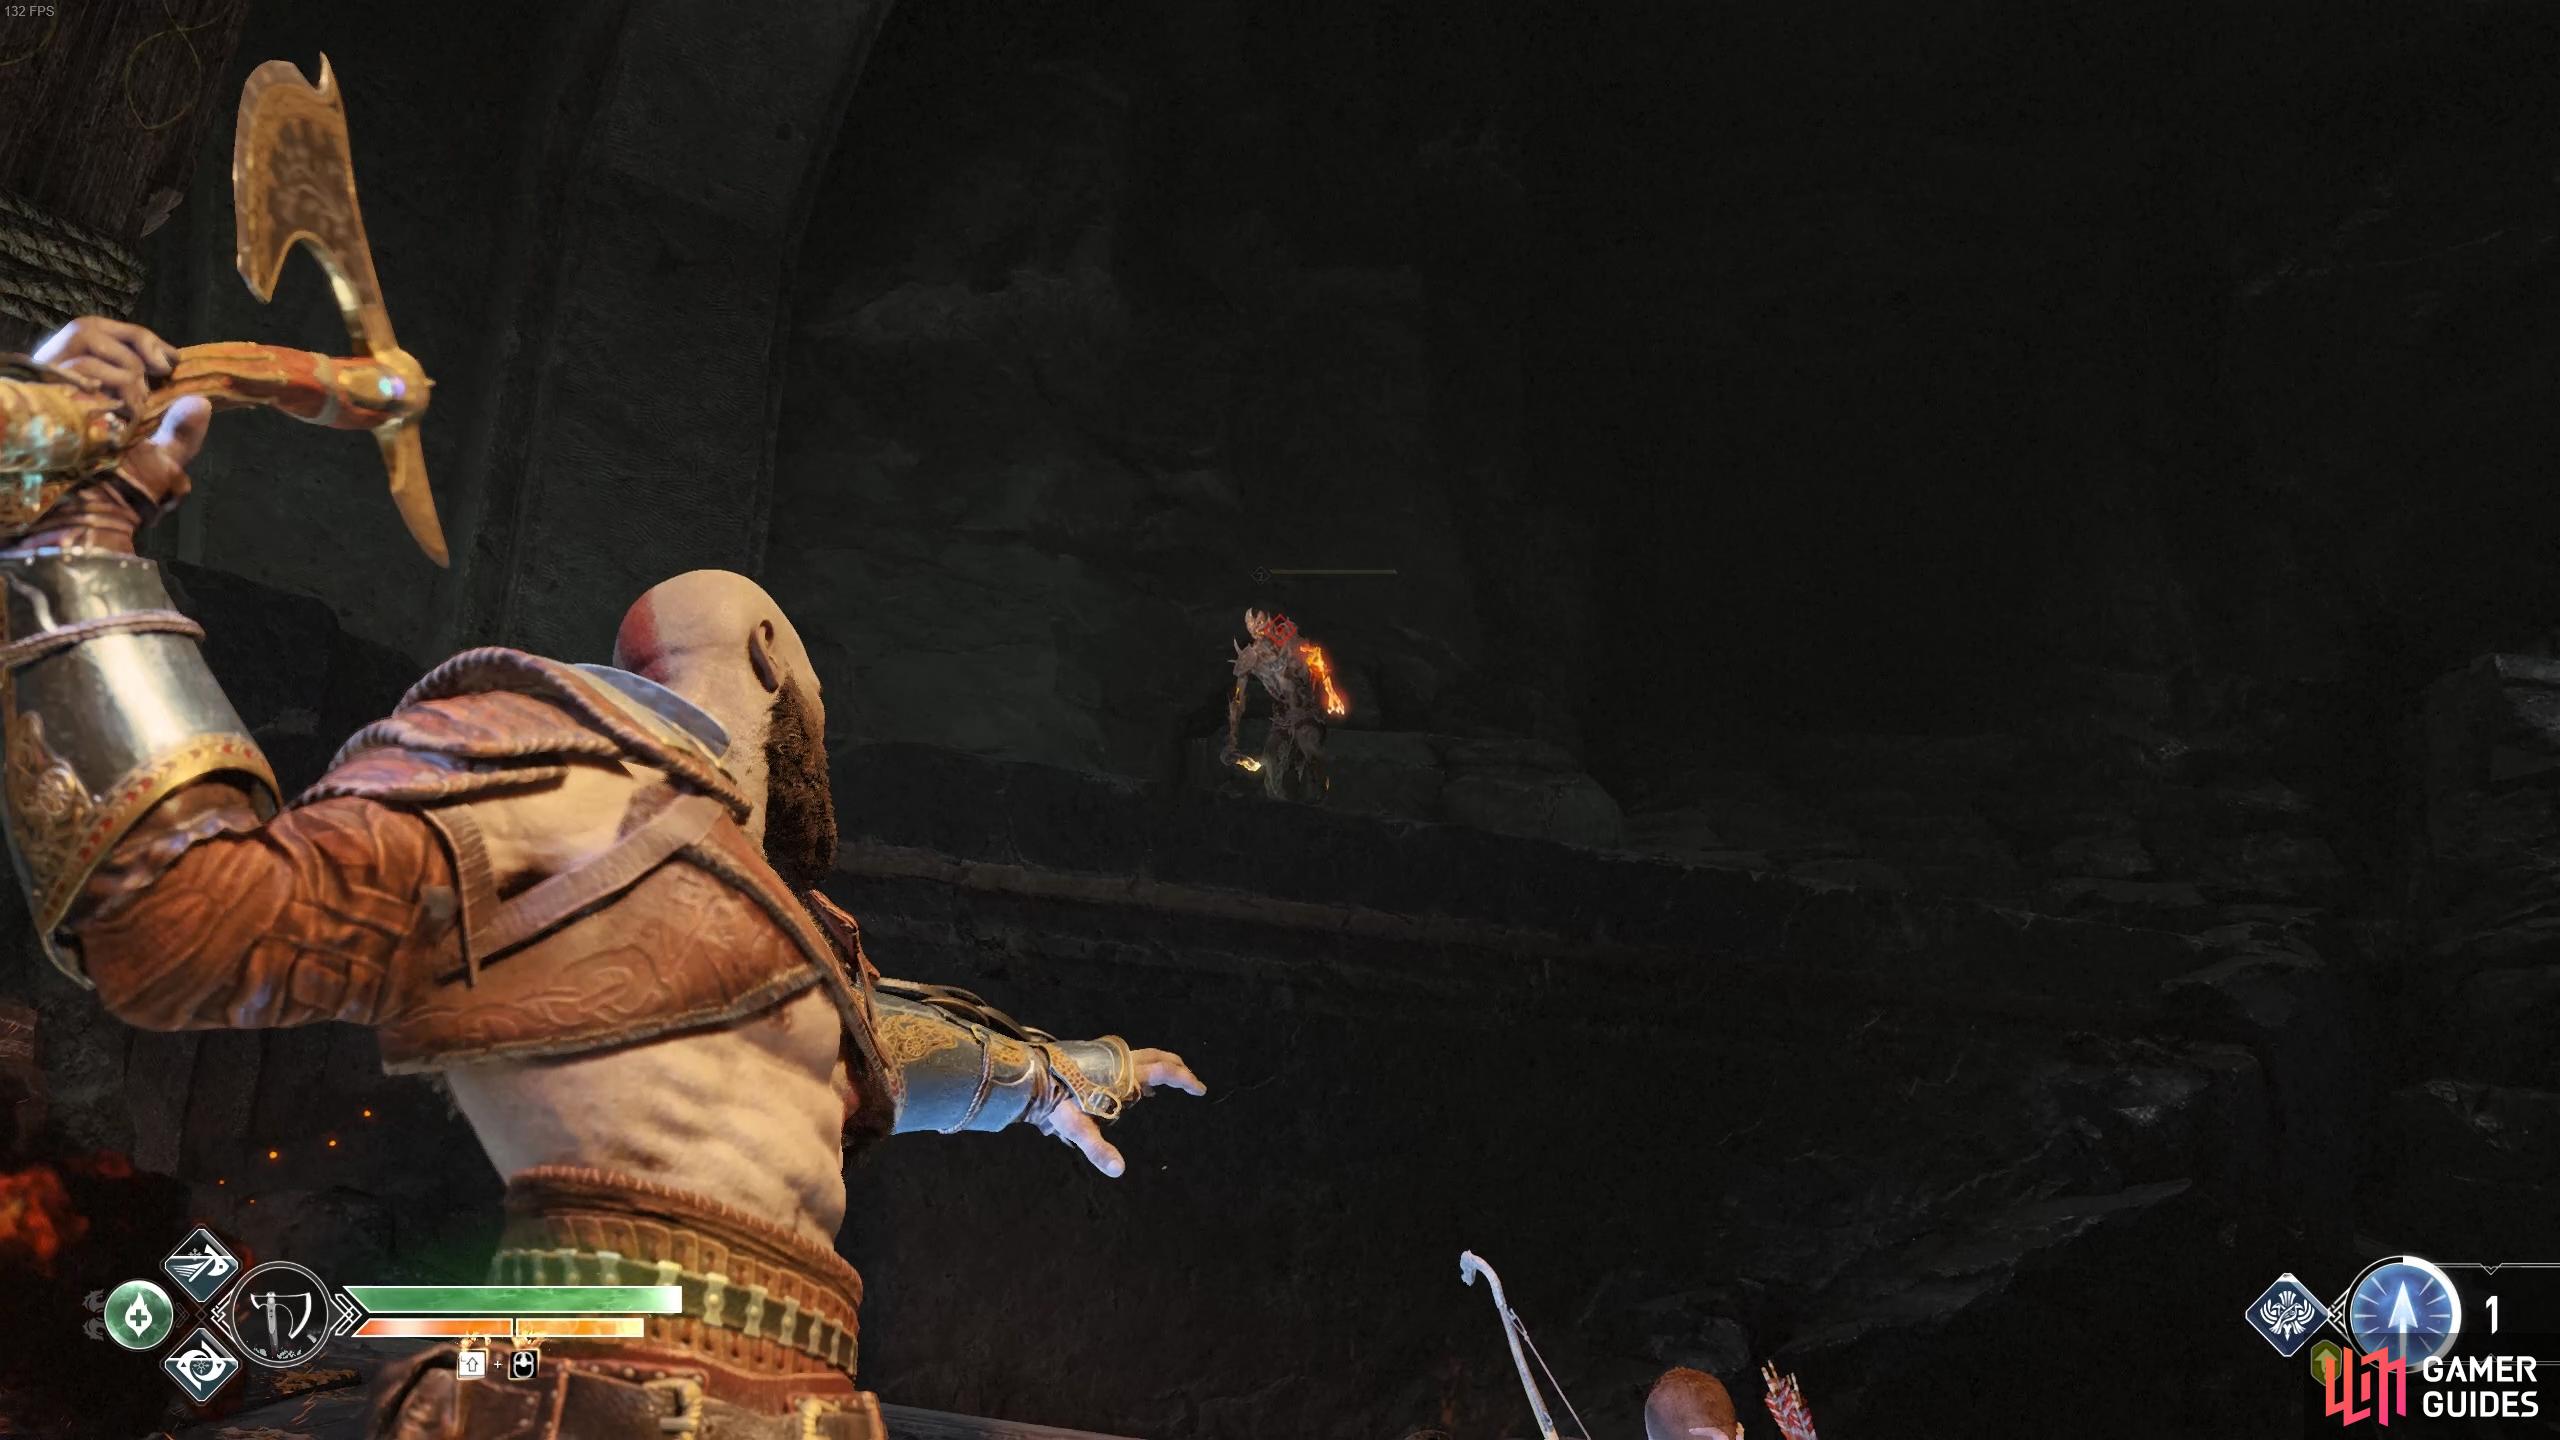
A Projectile Draugr will spawn on a platform at the back, use the pillars as cover from the flame jets and toss your axe at it to defeat it. Leap the small ledge and defeat the next Draugr as you continue around to the wheel and use it to lower the column into the ground. You can now head over and open the coffin to obtain the Plated Pauldrons of Focus. Continue along the path to the elevator ahead, you’ll need to push the large rock off the platform in order to get it moving.
The elevator only rises a short distance before stopping, jump off this platform to find a small sack of Hacksilver along with a Hacksilver chest. Return to the elevator and push the other rock off to continue your ascent. Your pleasant journey will be interrupted by Draugrs who wish to do your harm, thankfully the elevator is large enough to accompany you all. Make use of area of effect Runic Attacks and Summons and pay attention to the fact that you can knock enemies off the elevator for easy kills.
The elevator will rise a little more before getting stuck on the side of the shaft and another group of Draugrs see this as an opportunity to continue their assault. Once again you’ll be fighting every variant of Draugr with the addition of two Projectile Draugrs on the sides, take these out first to avoid being bombarded with fireballs while you continue to attack the others. In order to get the elevator moving again, head to the corner that is stuck in the wall and use Kratos’ strength to wrestle it free once more.
(1 of 2) Focus on Projectile Draugr first.
Focus on Projectile Draugr first. (left), Once the Ogre joins the fray, stun him and use his attacks against the other enemies. (right)
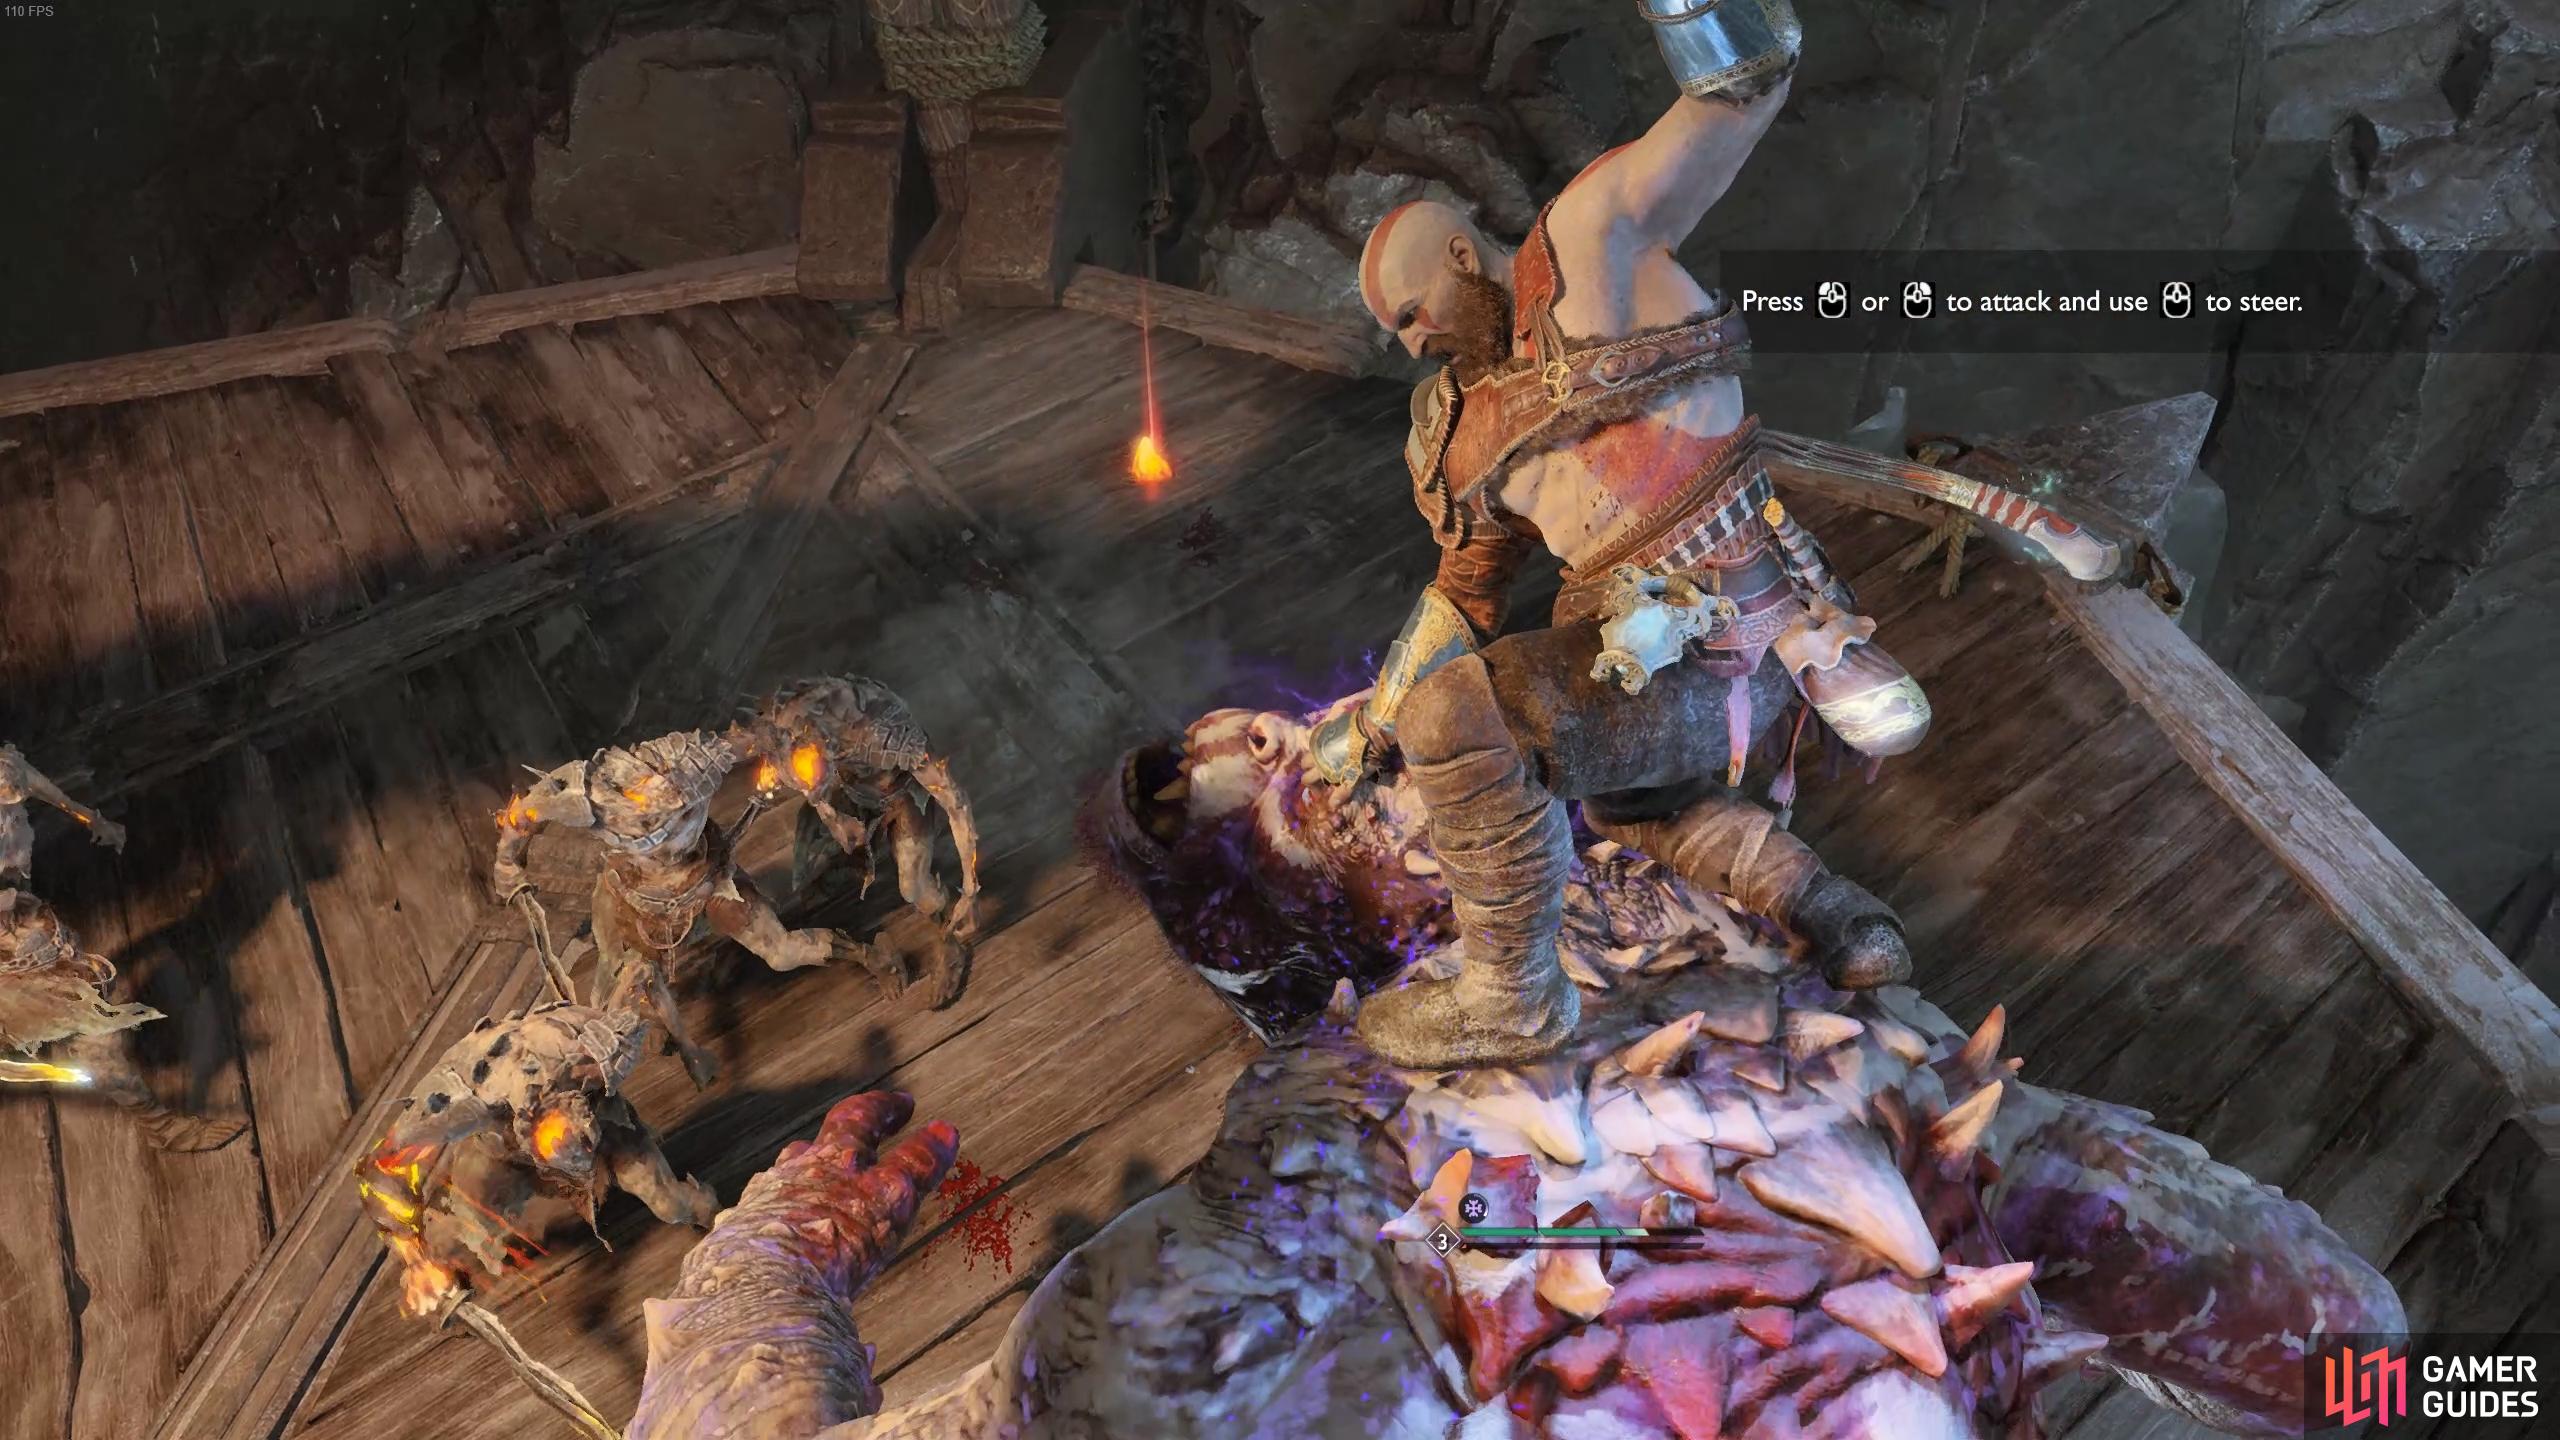
At this point, the elevator will continue to rise as more Draugrs arrive on it. Use the same methods such as area of effect and Runic Summons to clear the elevator of hostiles. The next time the elevator gets stuck, an Ogre joins the party along with yet more Draugrs. Turn your attention to stunning it at all costs before beginning the mount process, using the now controlled Ogre to knock the Draugrs over the sides. Don’t neglect the Projectile Draugr on the wall, you won’t be able to use the Ogre to hit this one. Once the enemies are slain, pick up the loot on the ground including the rarer resources from the dead Ogre. Once you’re ready, wrestle free the elevator once more to continue the ascent.
Hræzlyr - Lift Fight
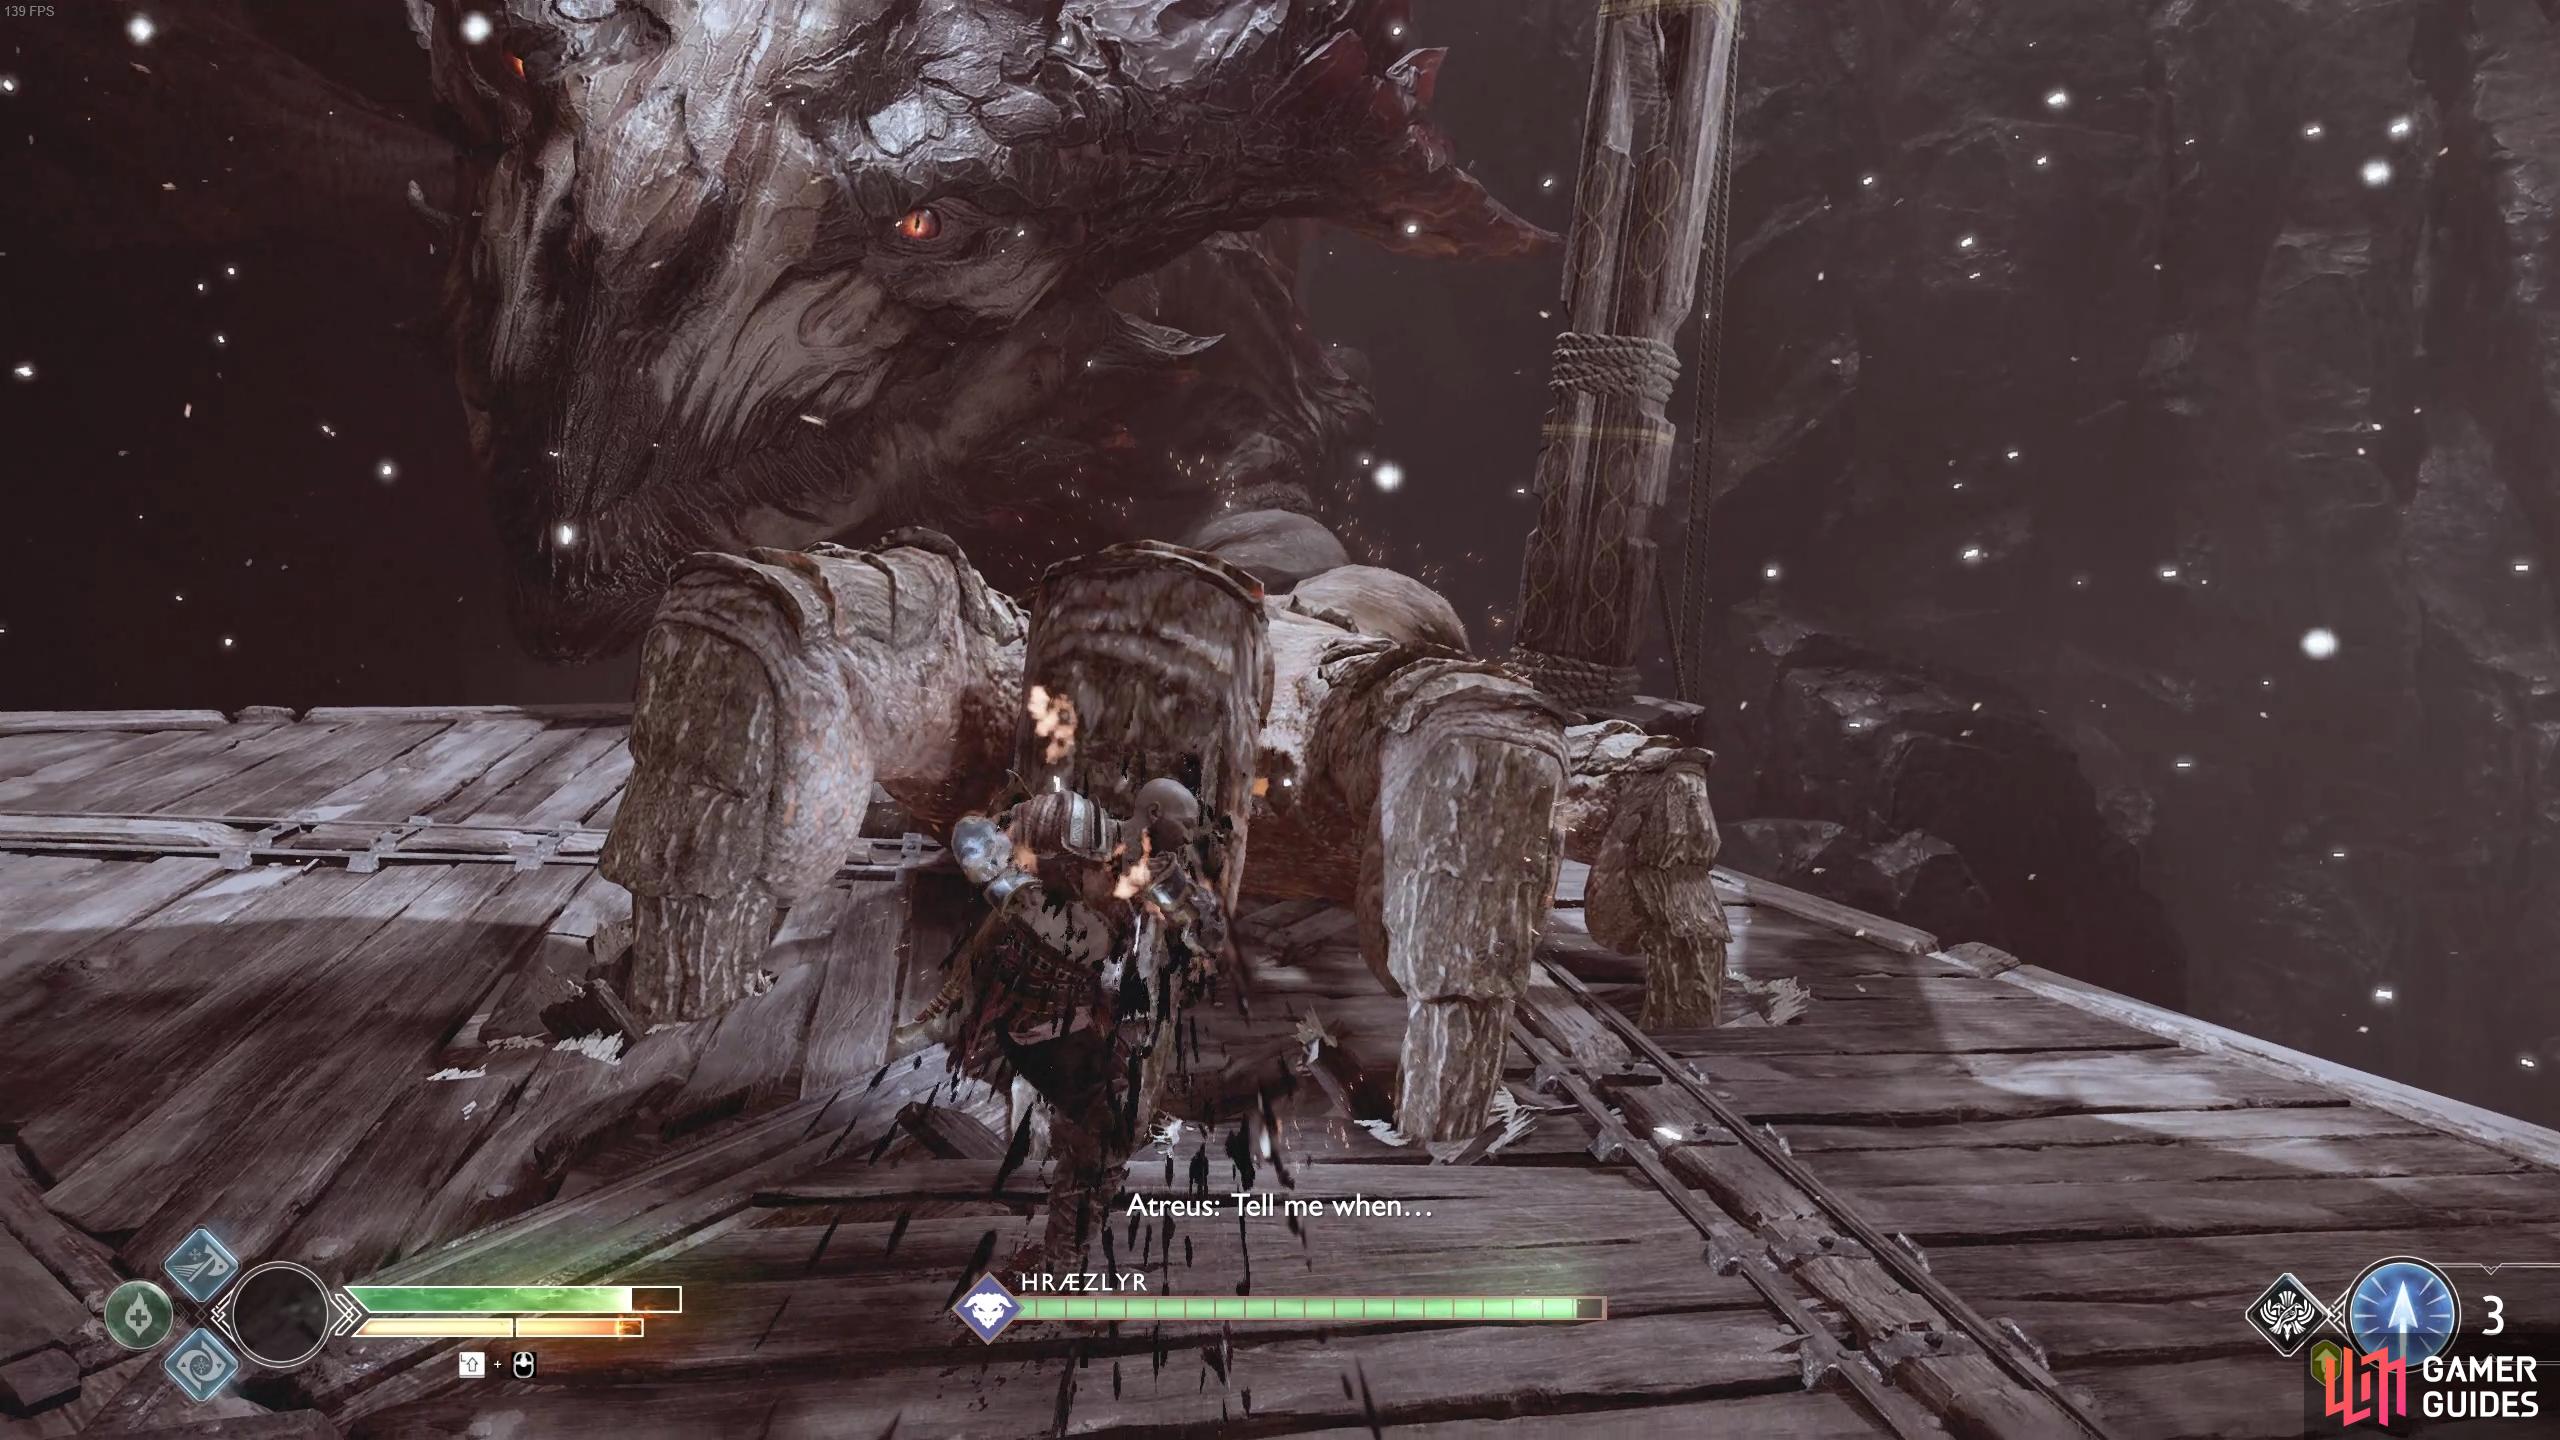
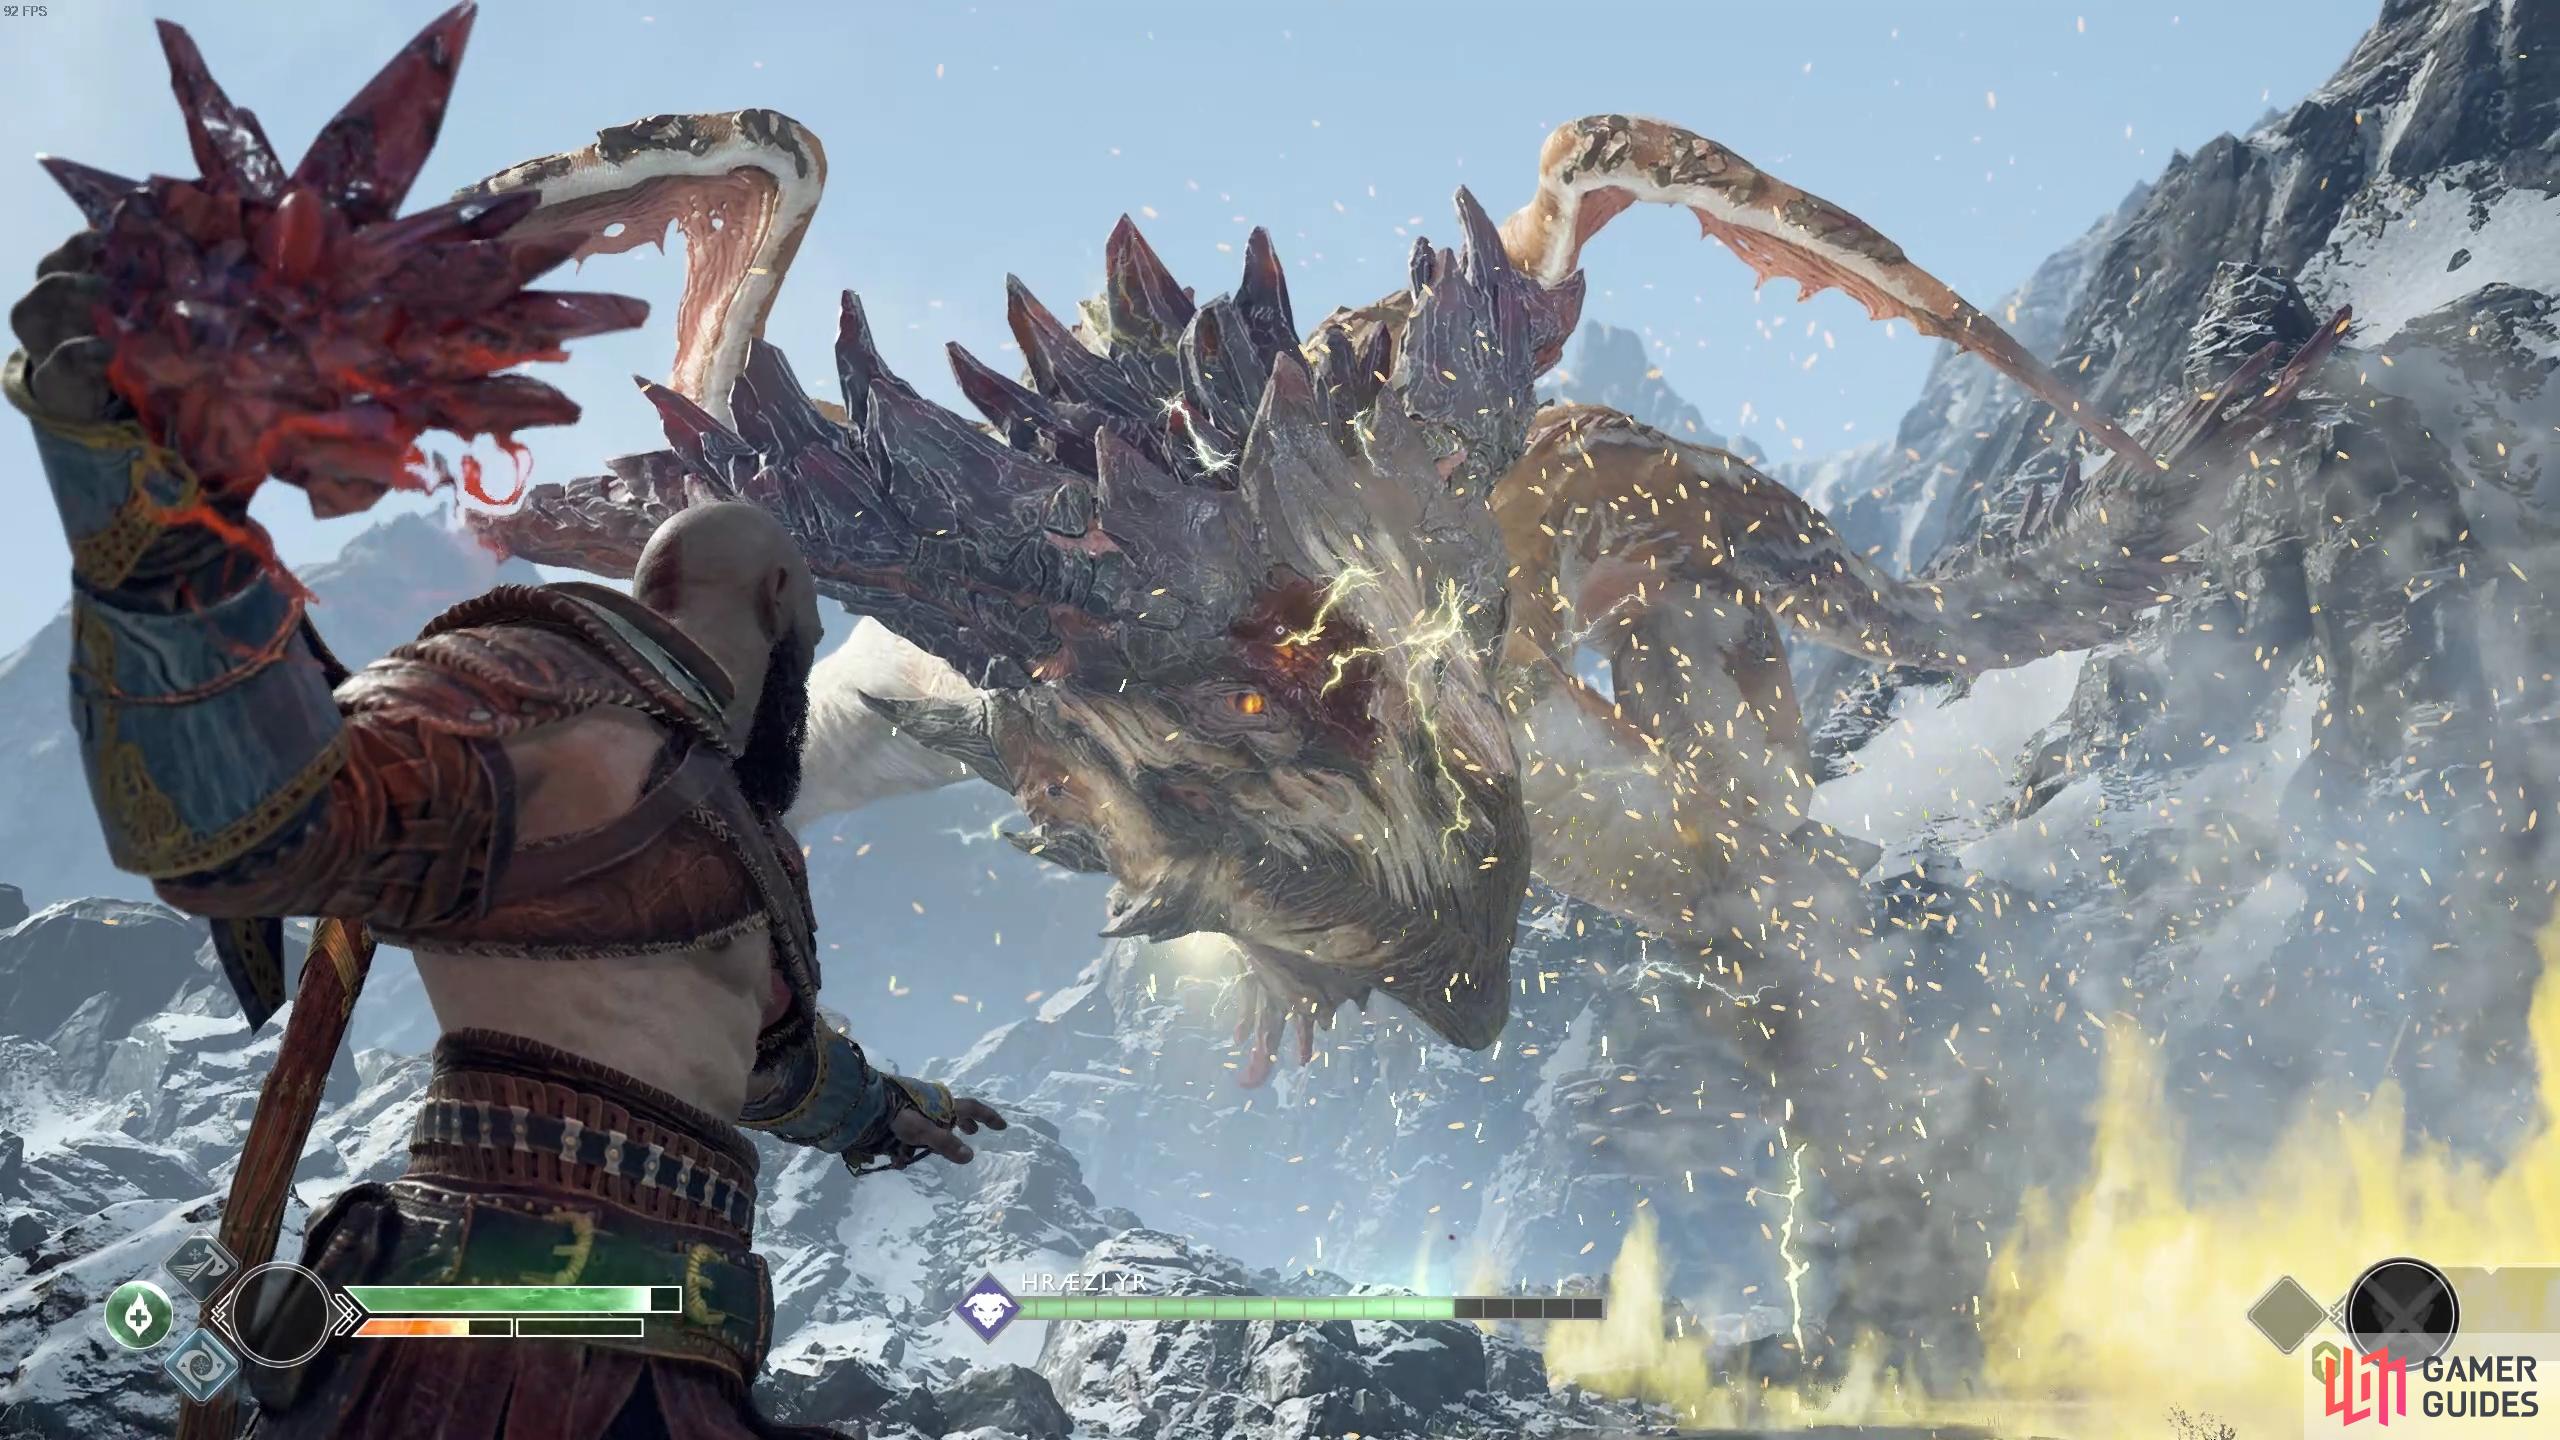
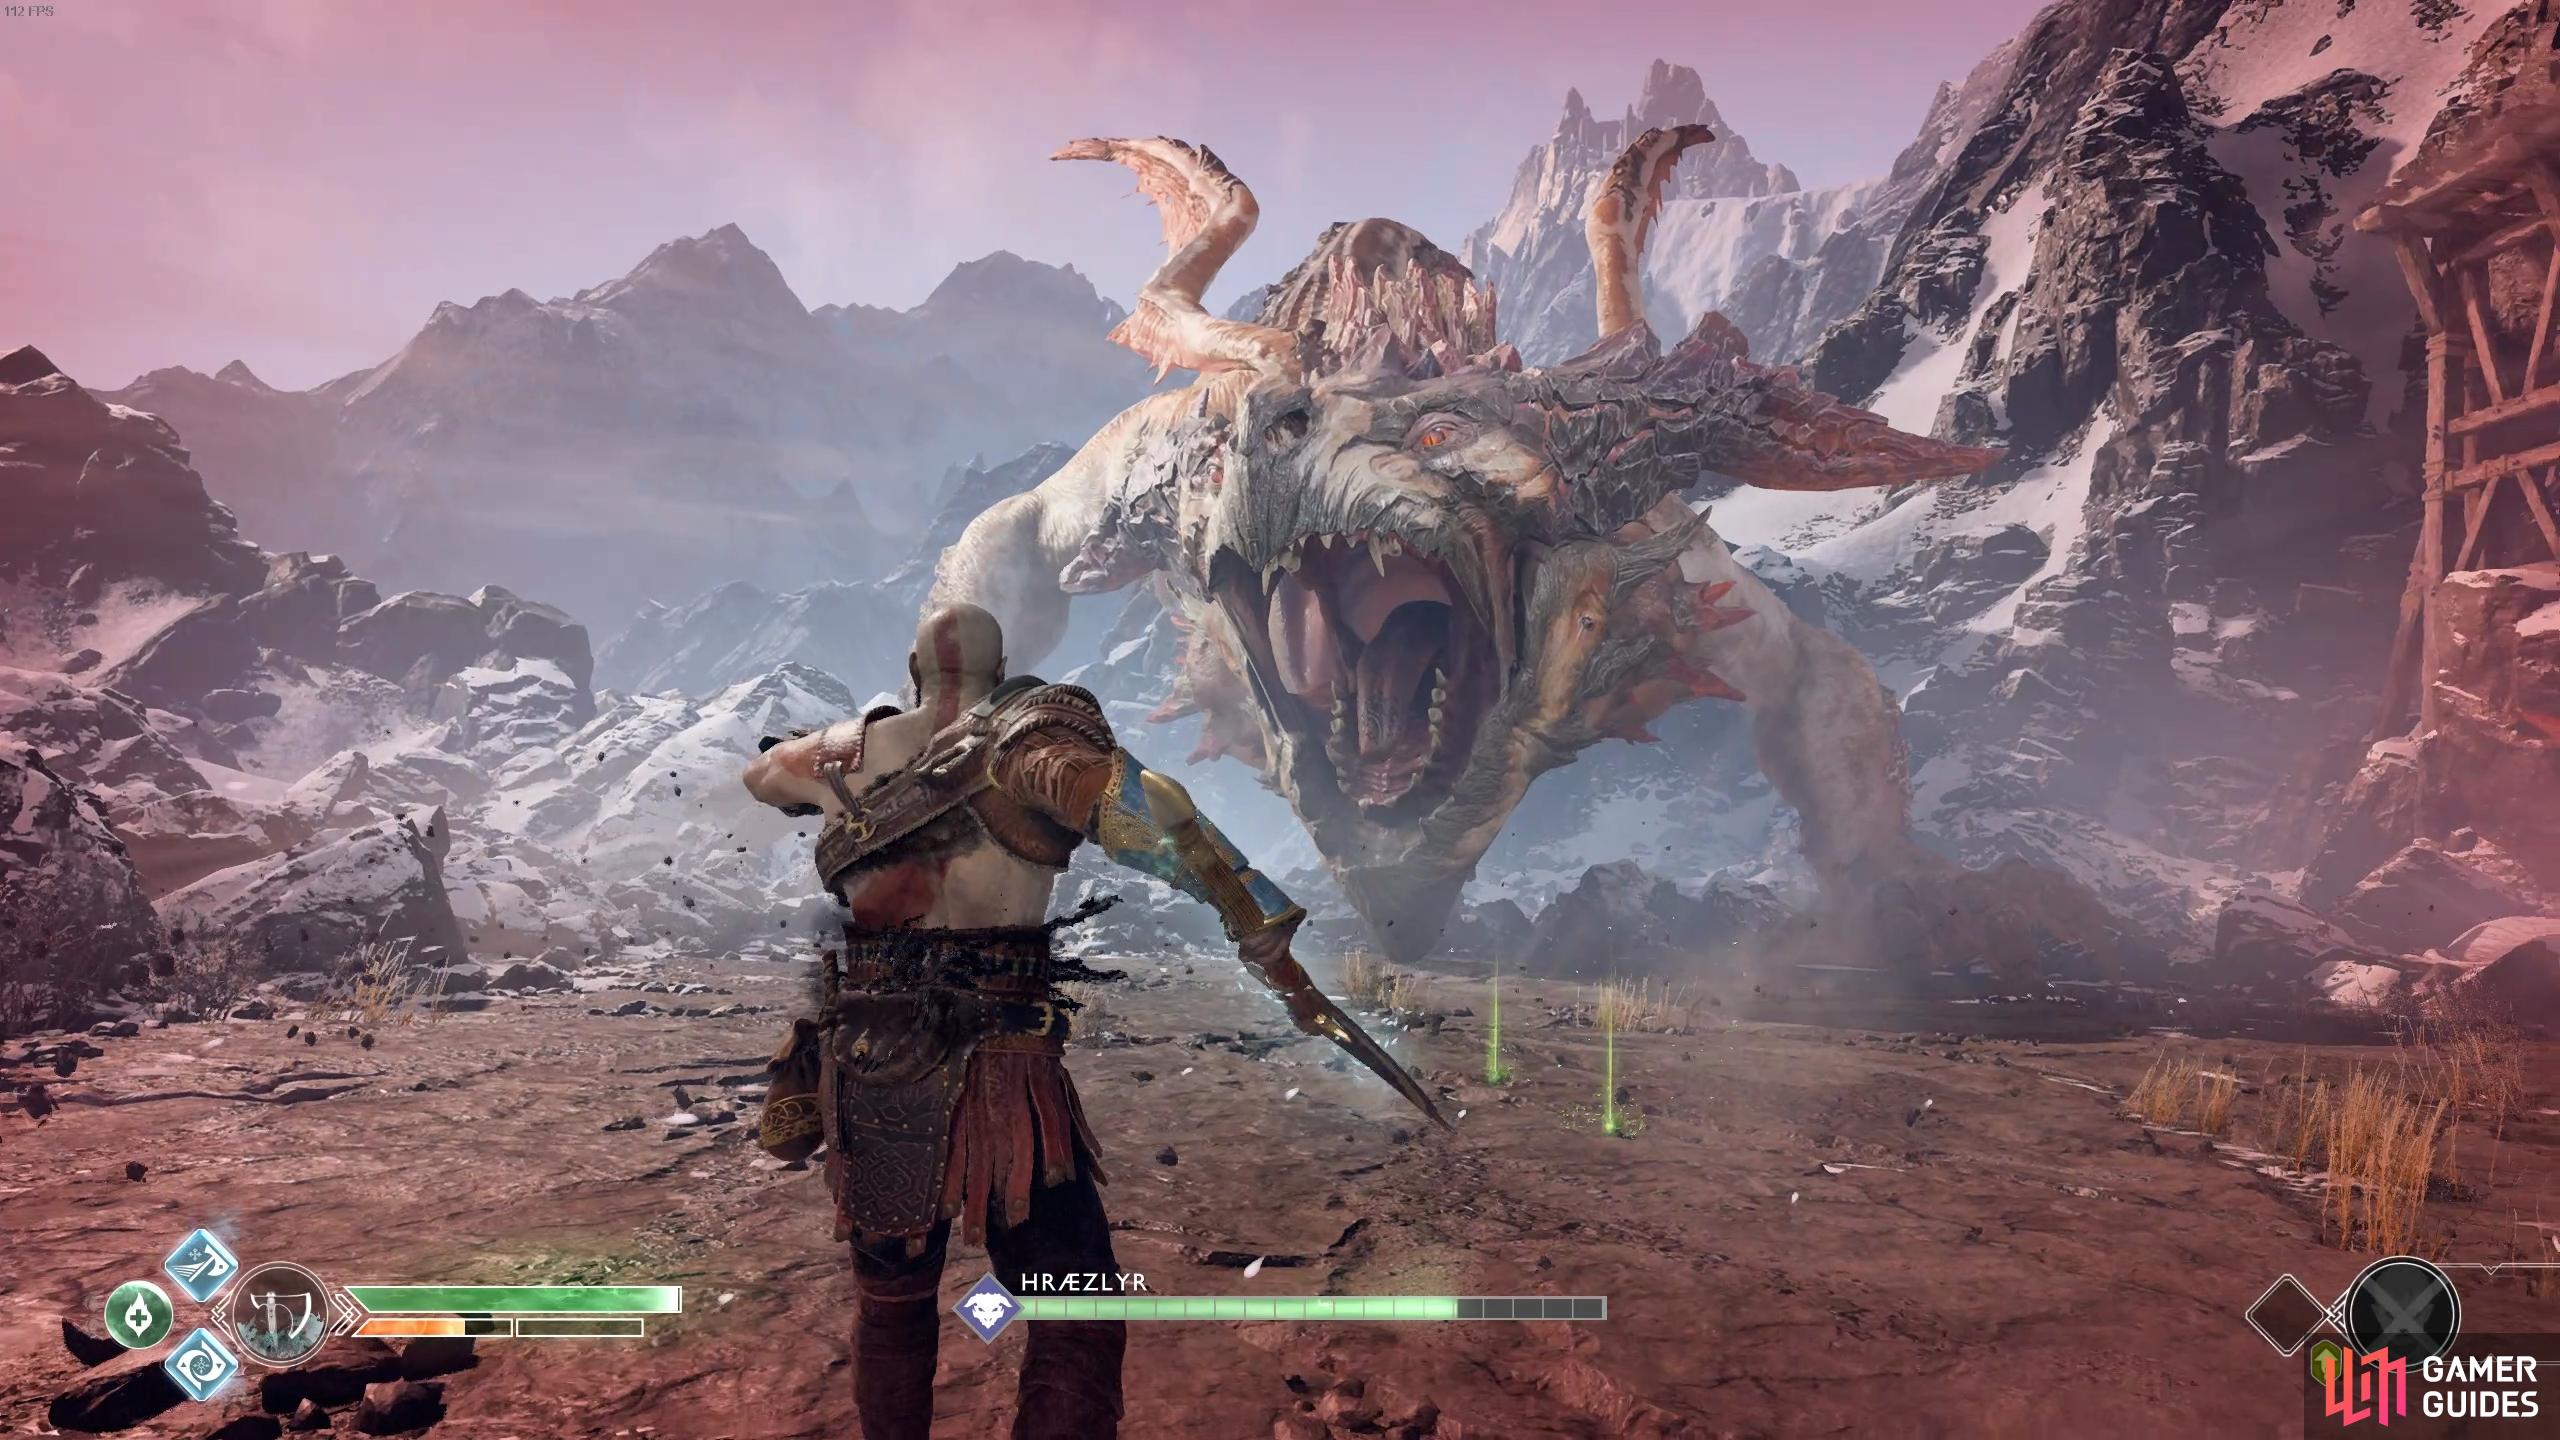
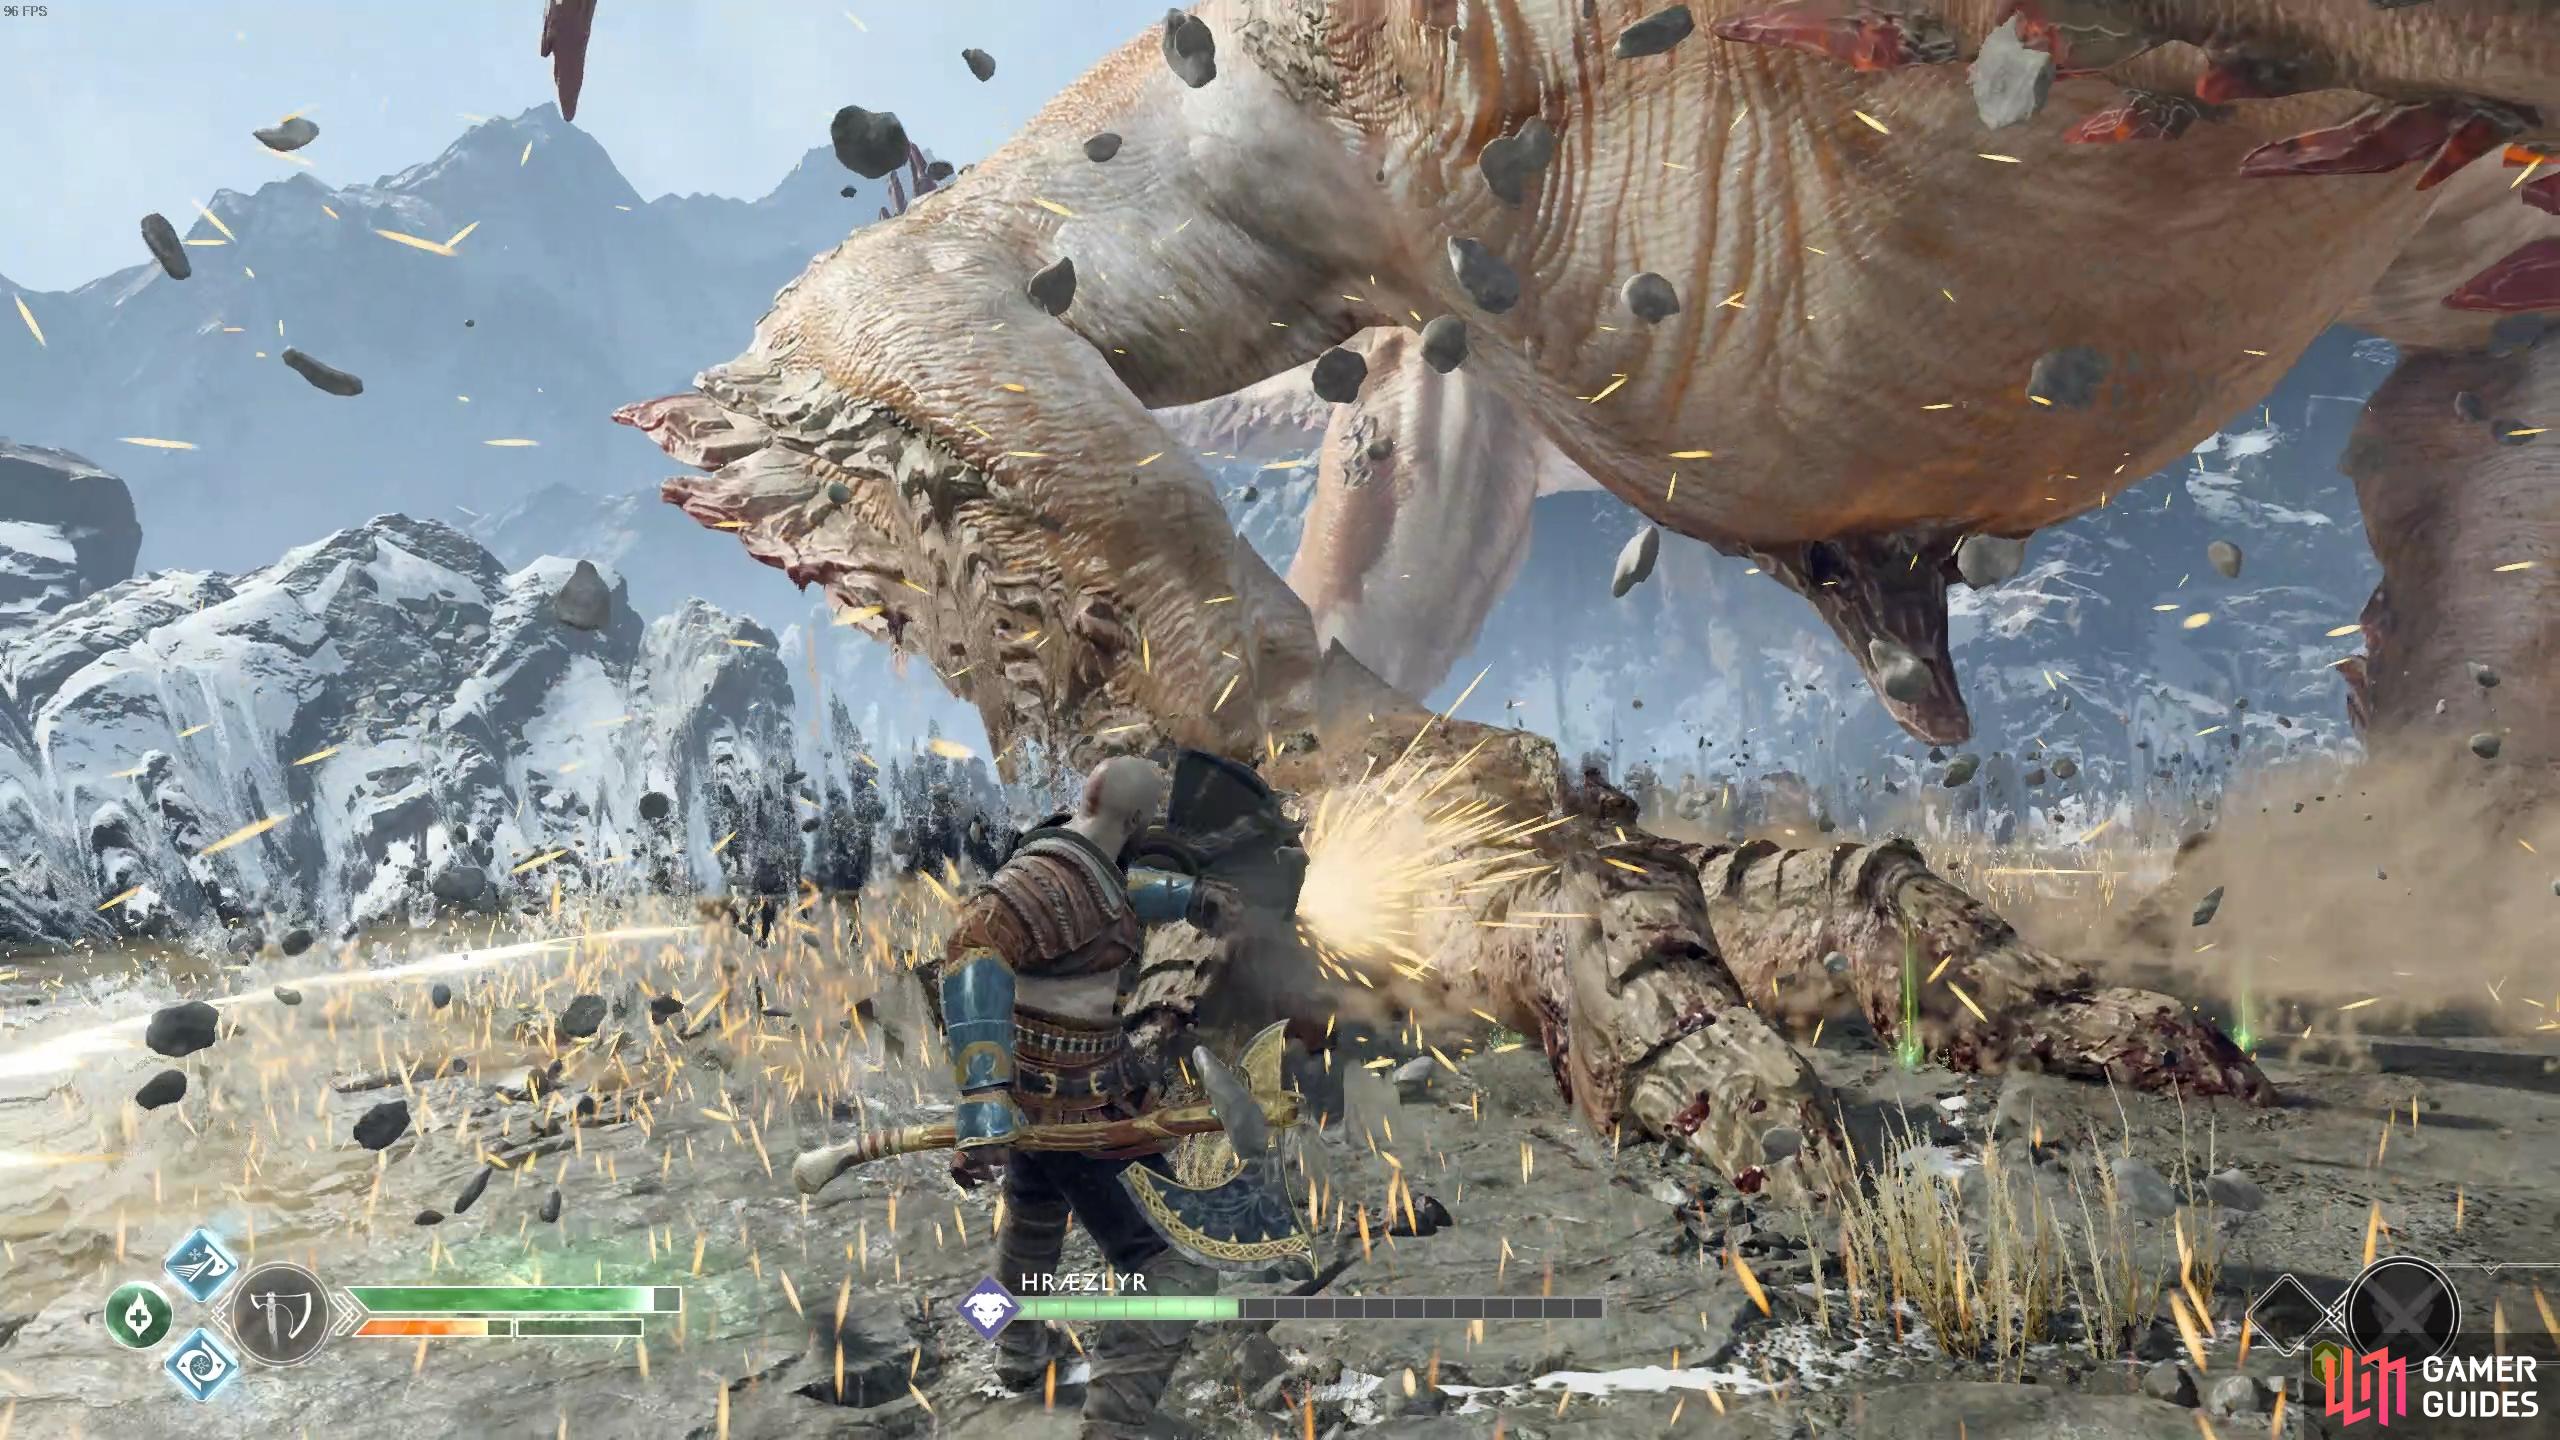
After Kratos and Atreus discuss their plans after the journey’s end, a lightning breathing Dragon, Hræzlyr gatecrashes the party. The elevator will continue to rise while you tackle this monstrous fiend.
The Dragon’s claws are your target here, however Hræzlyr won’t make it easy to reach them. He’ll slam his claws into the ground in the direction of Kratos, dodge roll out of the way to avoid this and then run in for some attacks before getting back out. Stay too close to the claws and Hræzlyr will lunge in and try to bite you.
You can use Spartan Rage to quickly end this phase of the fight.
After you deal enough damage to the Dragon, Hræzlyr will go into a frenzy, pushing the elevator around and biting chunks out of it before getting it stuck in the wall once more. Rapidly press the  button or
  key to wrestle it free and send it hurtling towards the Dragon, knocking it back. As the Dragon scampers off into a cave, the elevator will be caught on his tail dragging you into the cave along with it.
As you get to your feet, you’ll spot a red crystal fall toward the sap and ignite off the lightning, causing an explosion. As you follow the path you’ll come across another World Tree Sap obstacle and you’ll receive a short tutorial on how to destroy these, using the Shatter Crystals gathered from the stumps nearby and combining it with electric energy. Test this out for yourself right now, pick up a Shatter Crystal from nearby and throw it at the World Tree Sap obstacle in front, destroying it in the process.
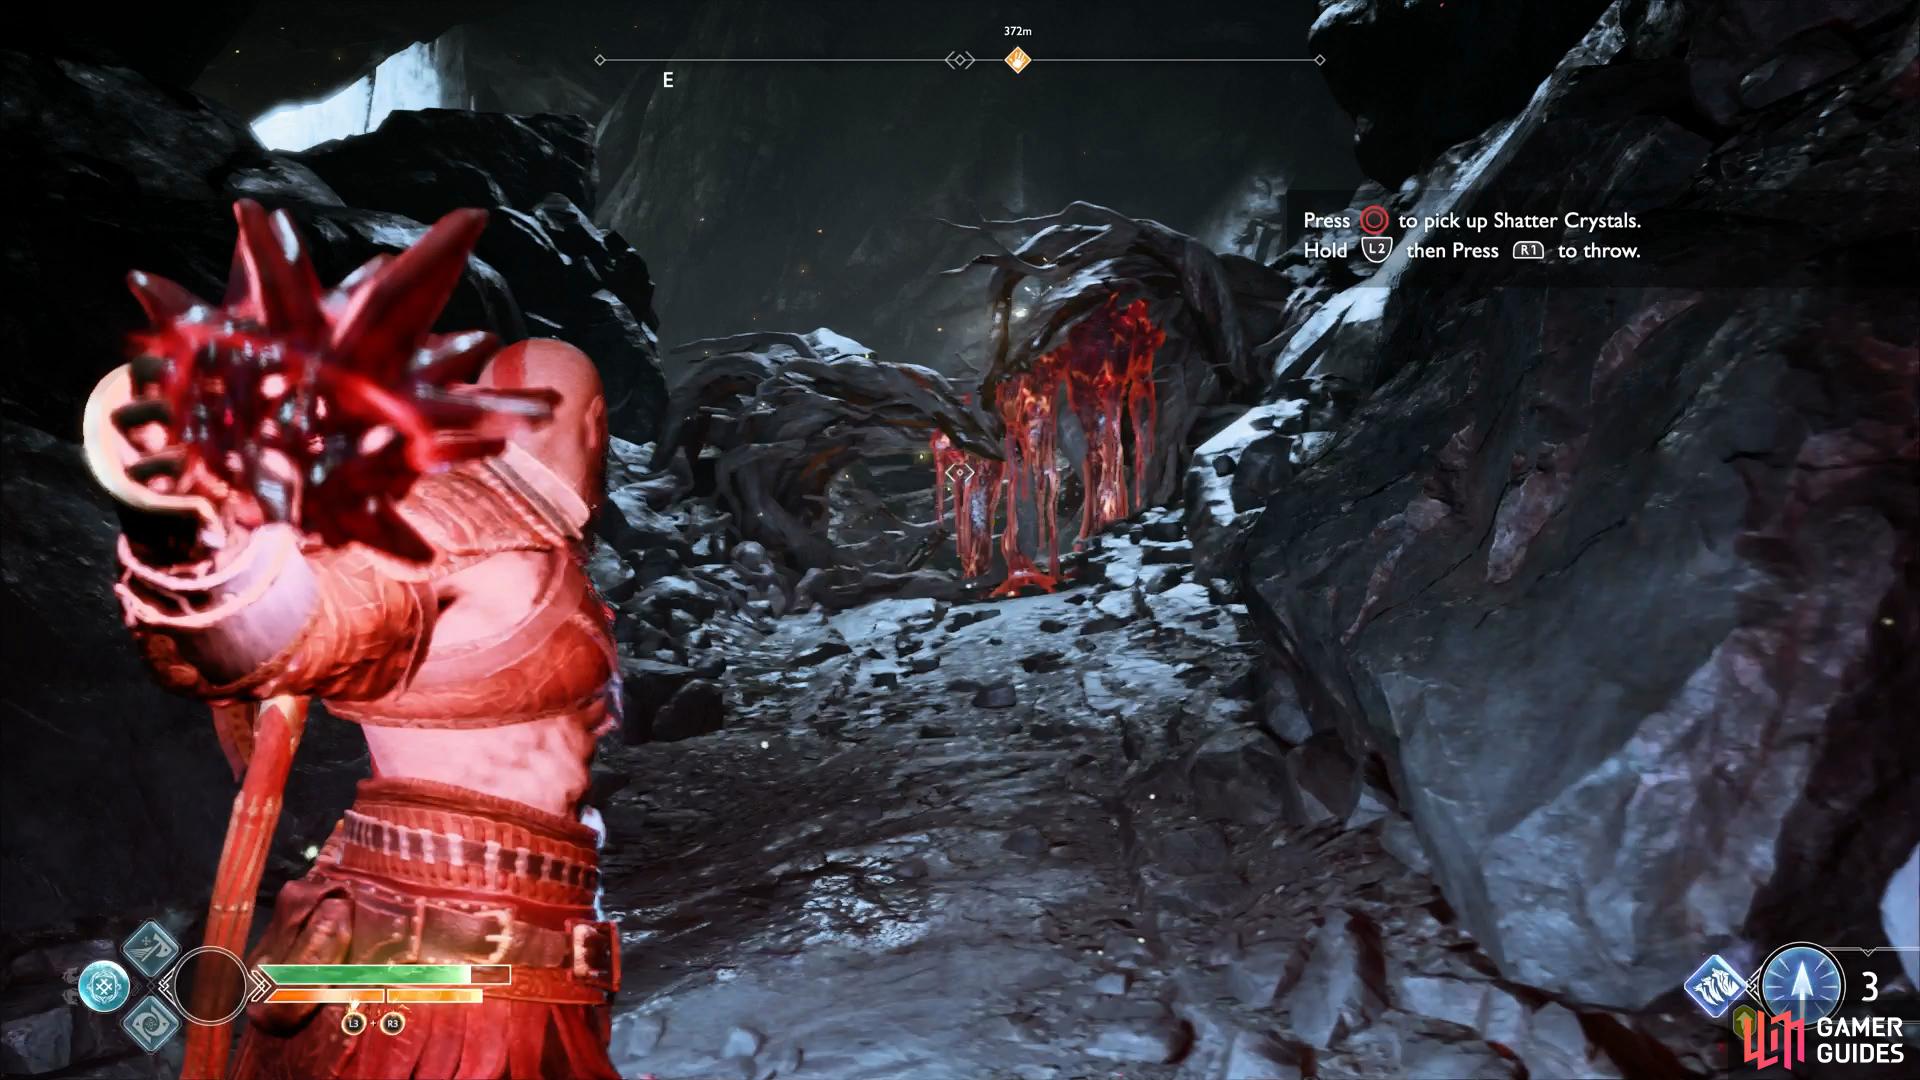
Take aim with Shatter Crystals and throw them at electrical energy to cause explosions.
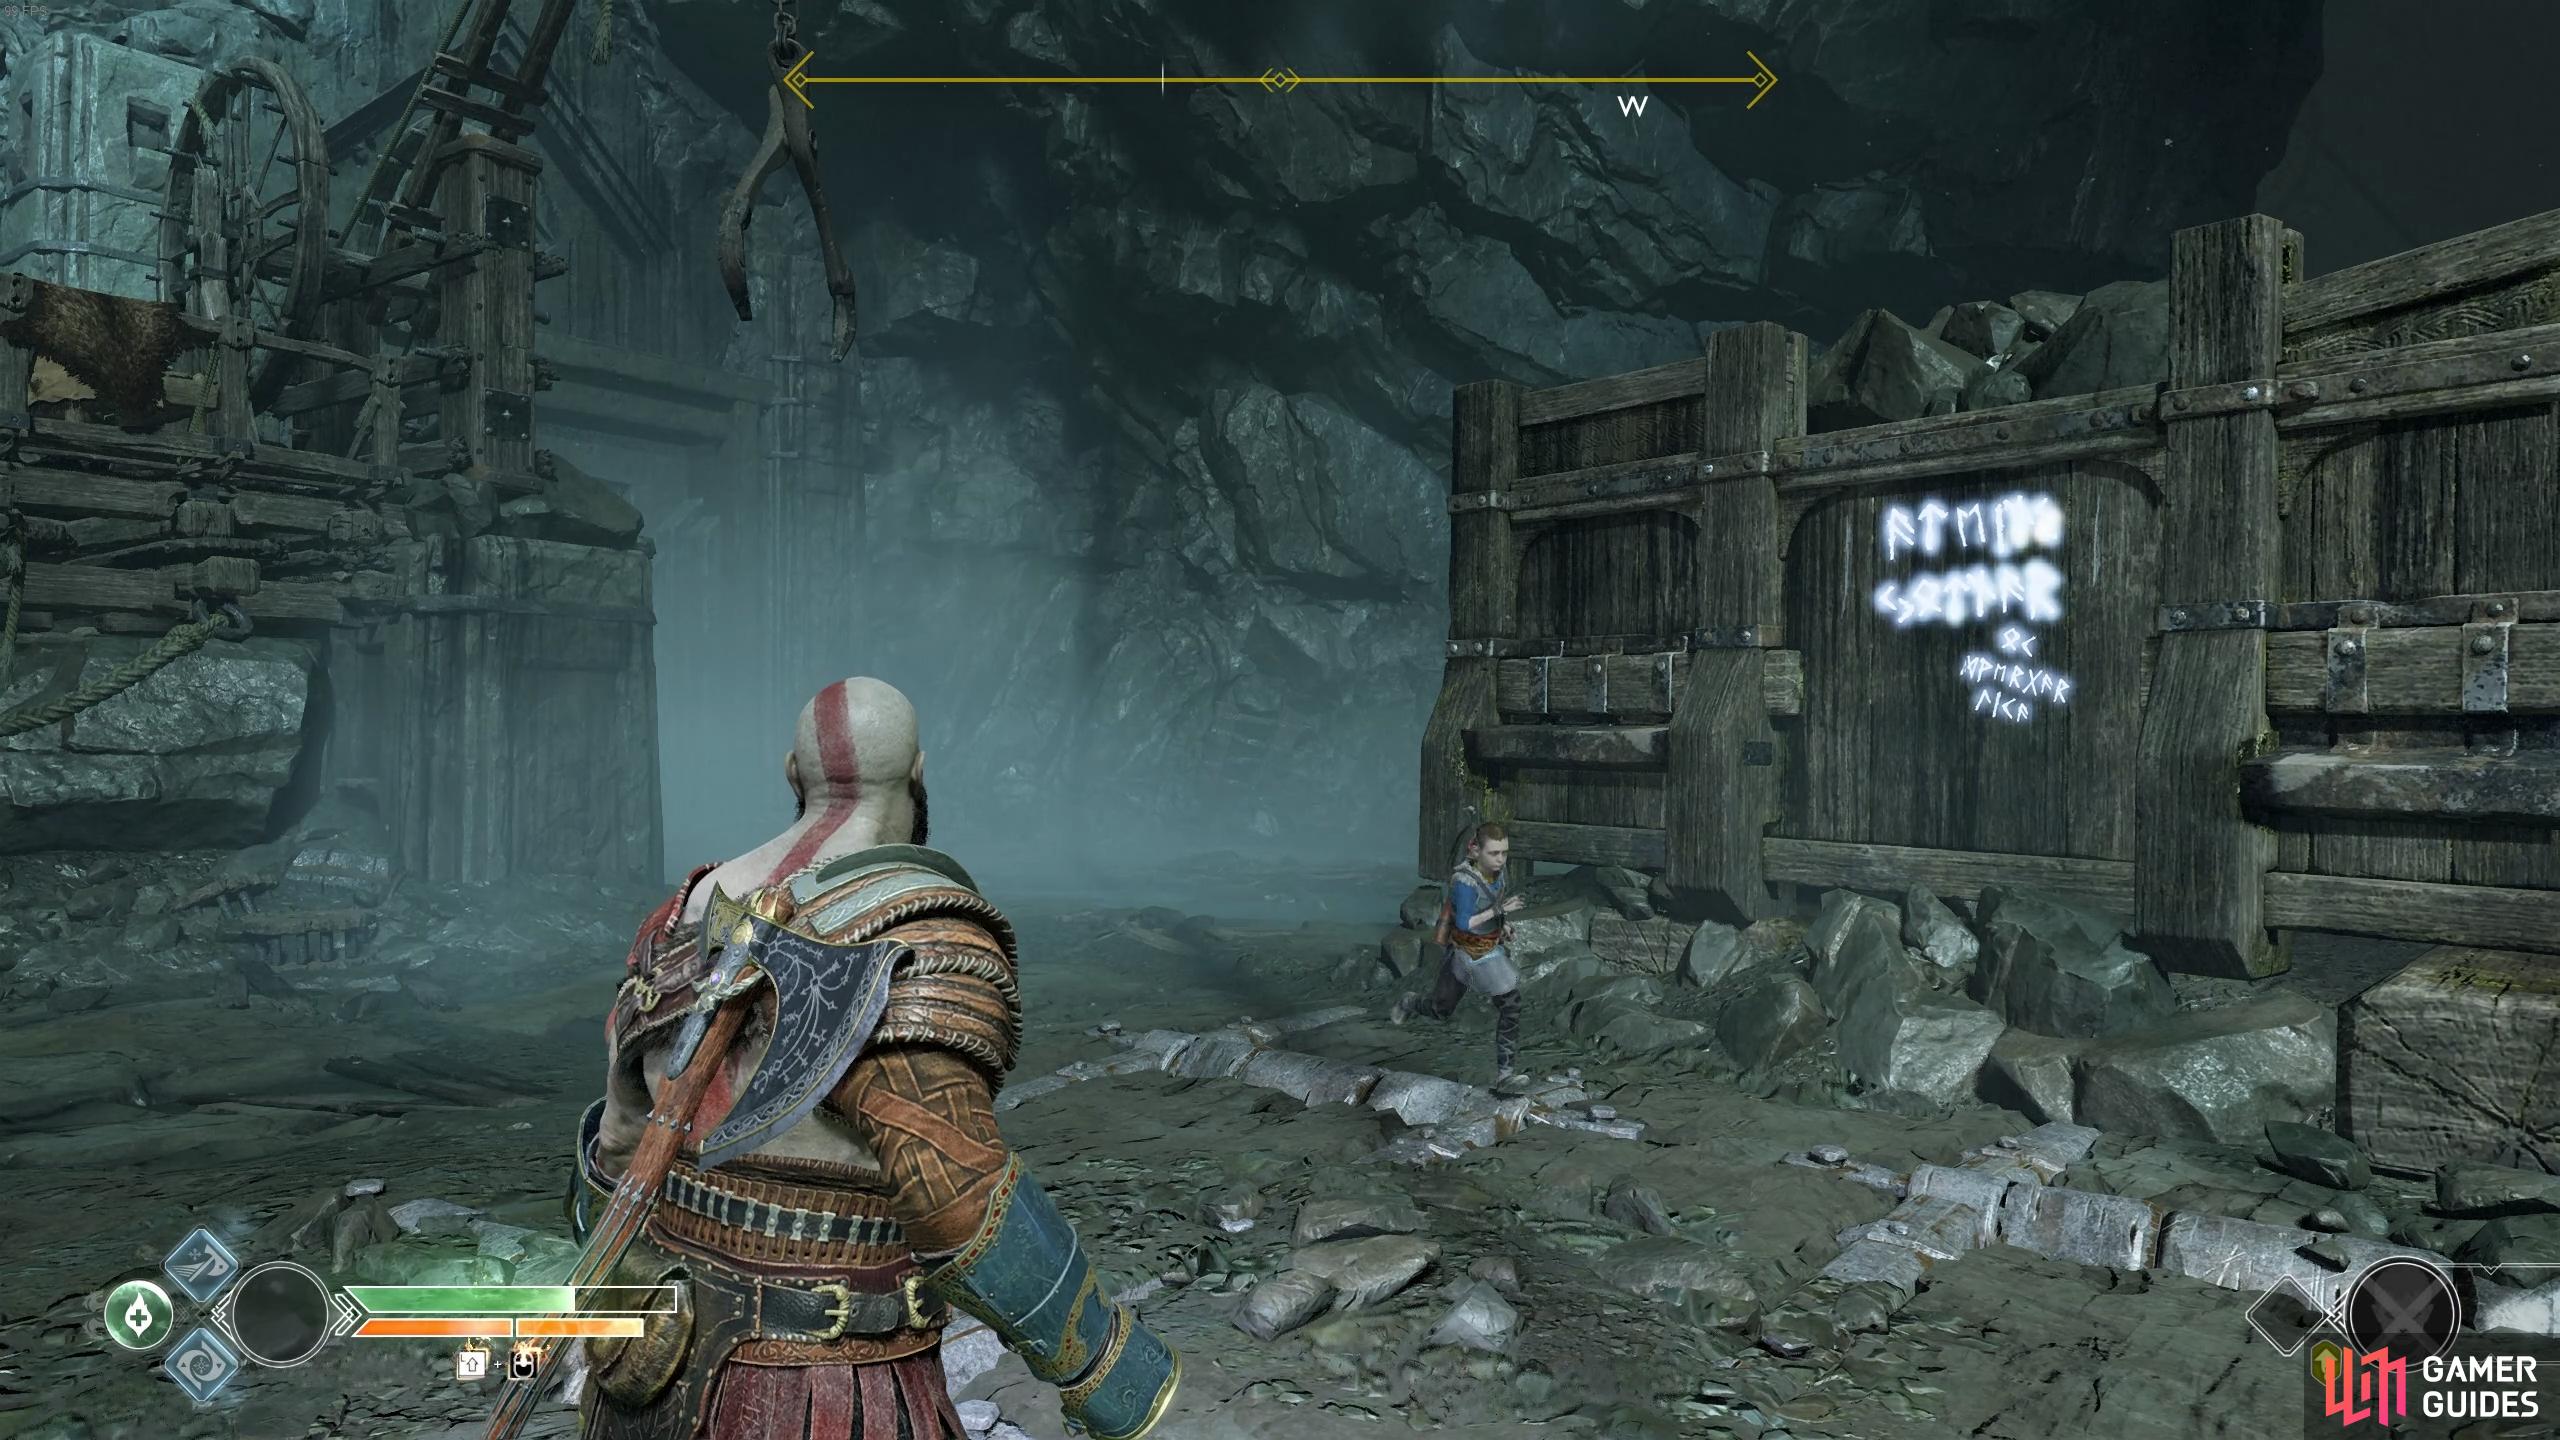
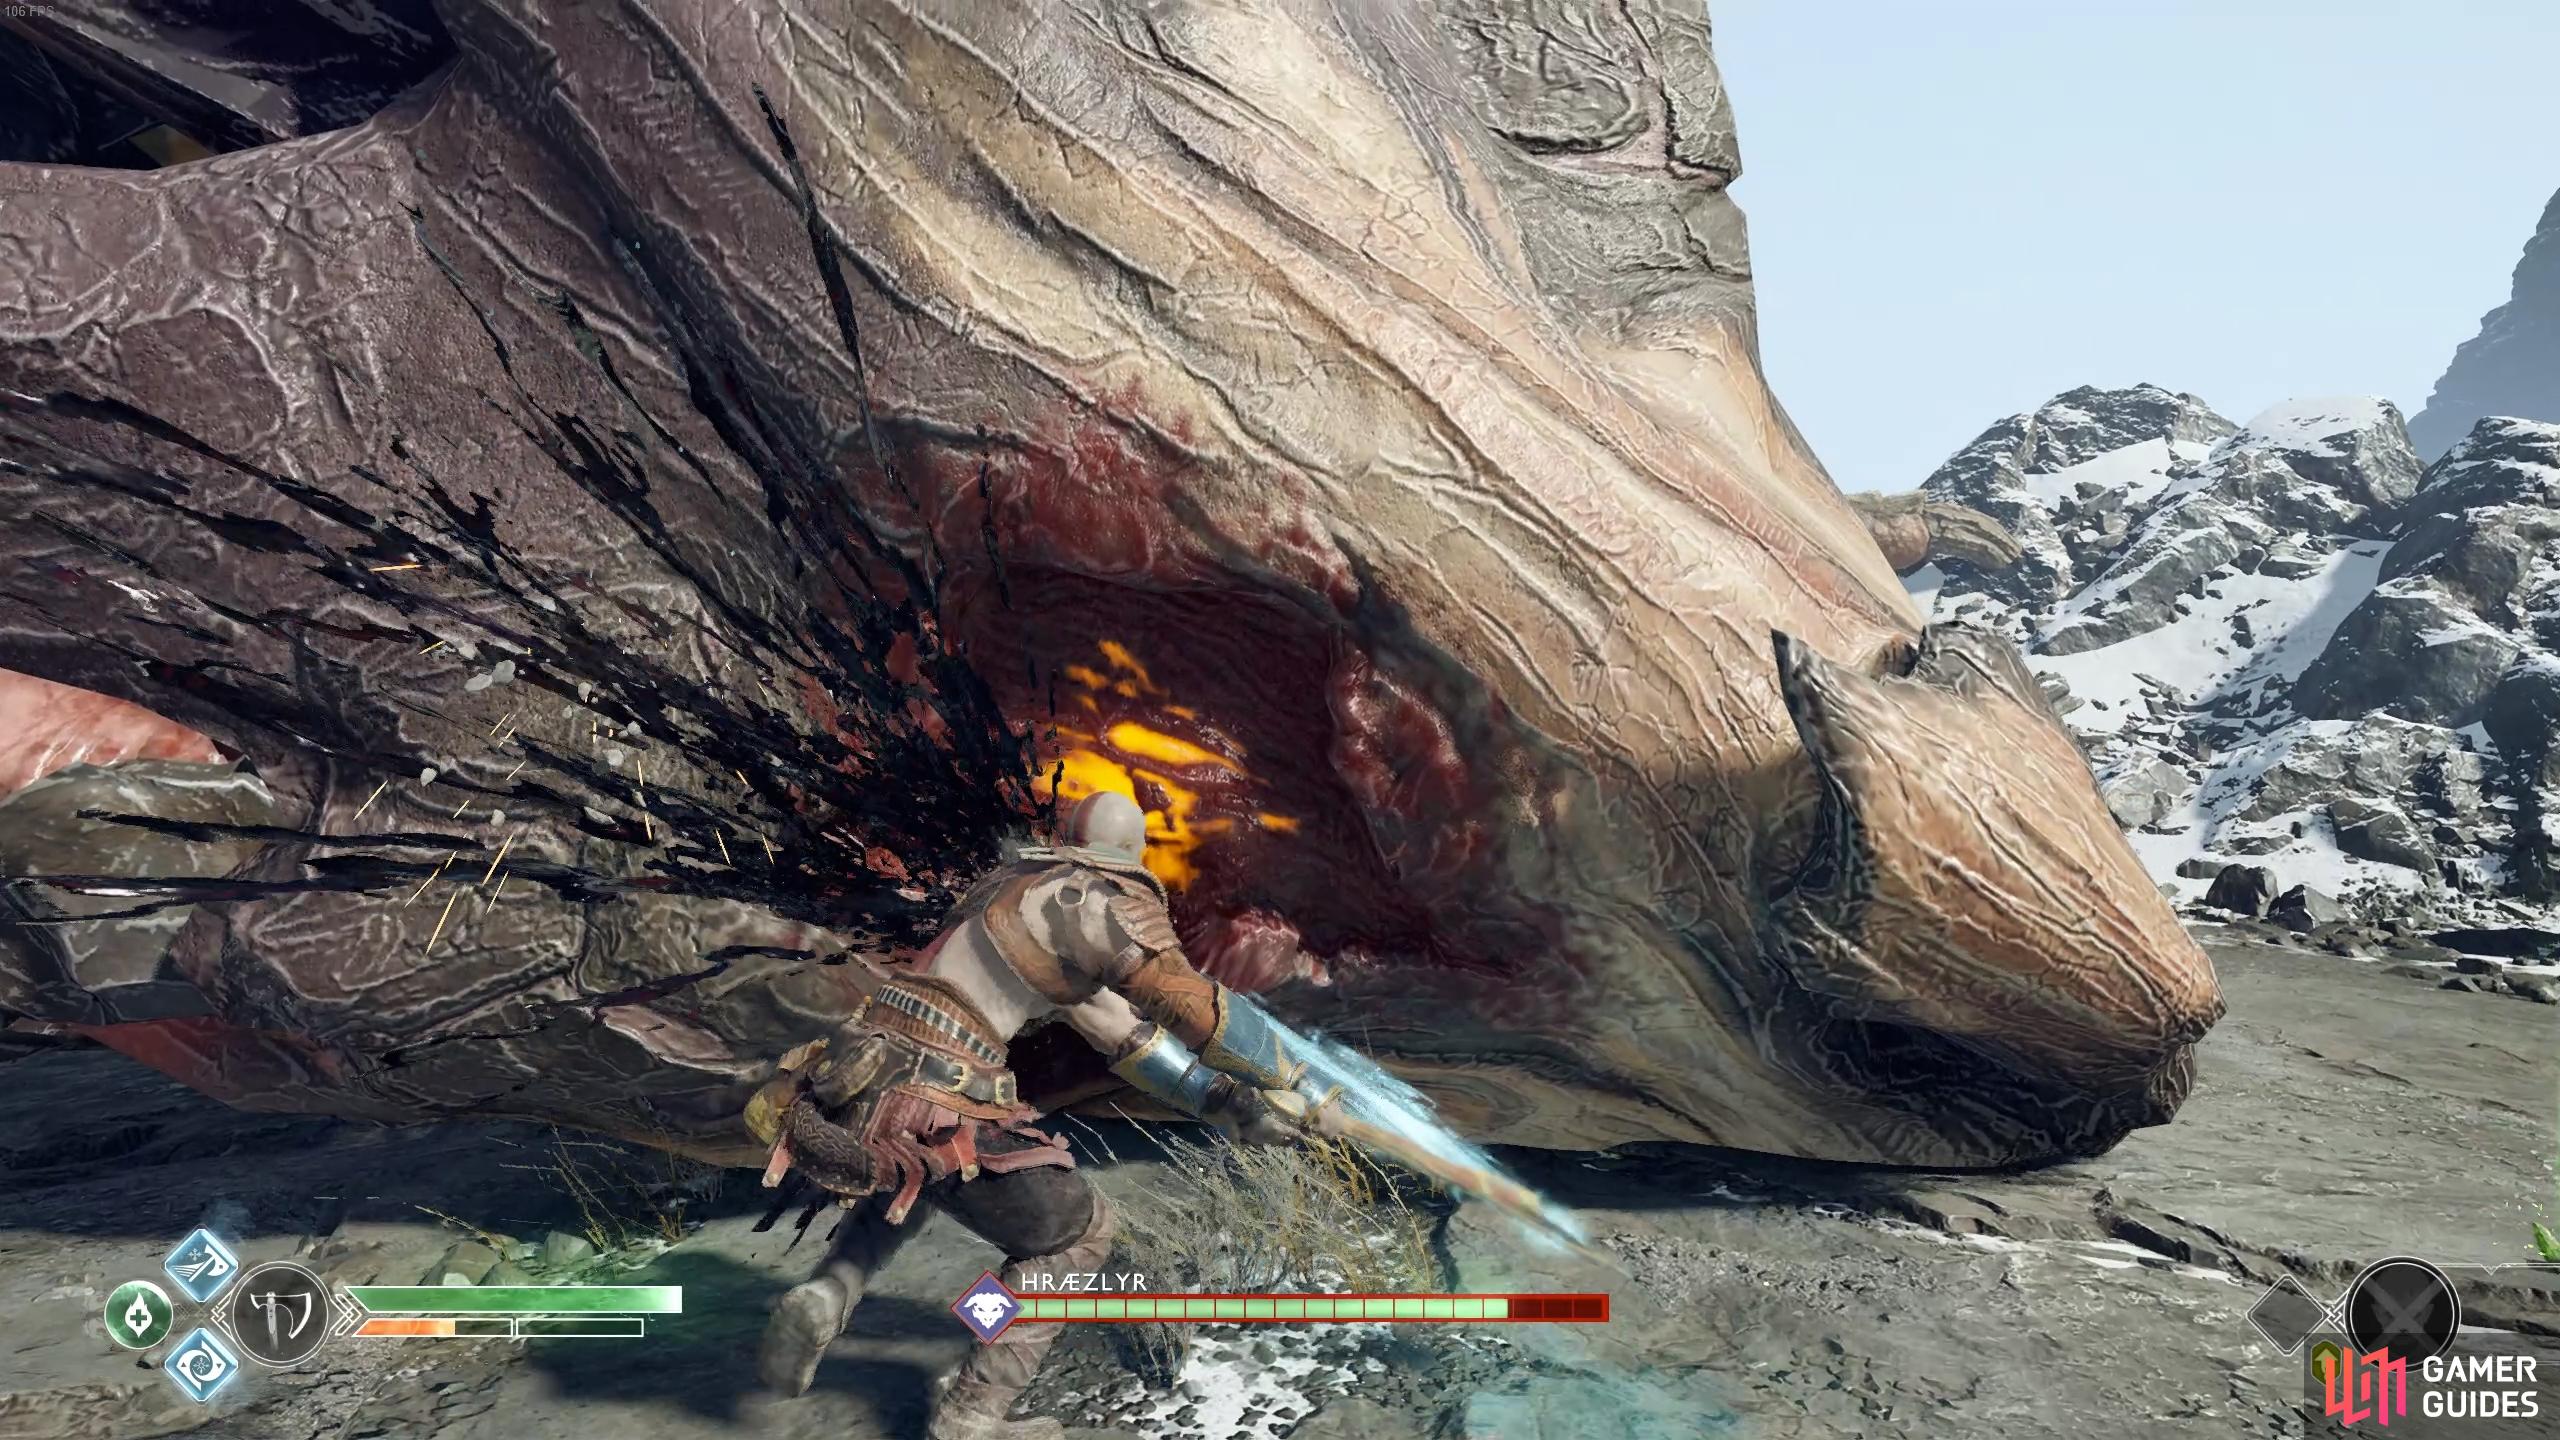
Follow the path and shimmy along the wall to the next stump, pick up a Shatter Crystal and toss it at the Sap to destroy it. Continue to follow the path through the cave, leaping the gap and taking note of the screaming ahead. As you exit the cave it becomes apparent that the screaming belongs to Sindri, under siege from Hræzlyr. Atreus will garner the Dragon’s attention, use this moment to trek up the path to your left and jump to the Dragon’s back. The initial assault fails and Kratos decides to take drastic measures, jumping inside of the creature’s mouth, begin striking from inside with the  or
or  and
and  or
or  buttons / keys before you leap out of the mouth to the ground below.
Hræzlyr - Dragon Boss Fight

Hræzlyr - Dragon Boss Fight, God of War.
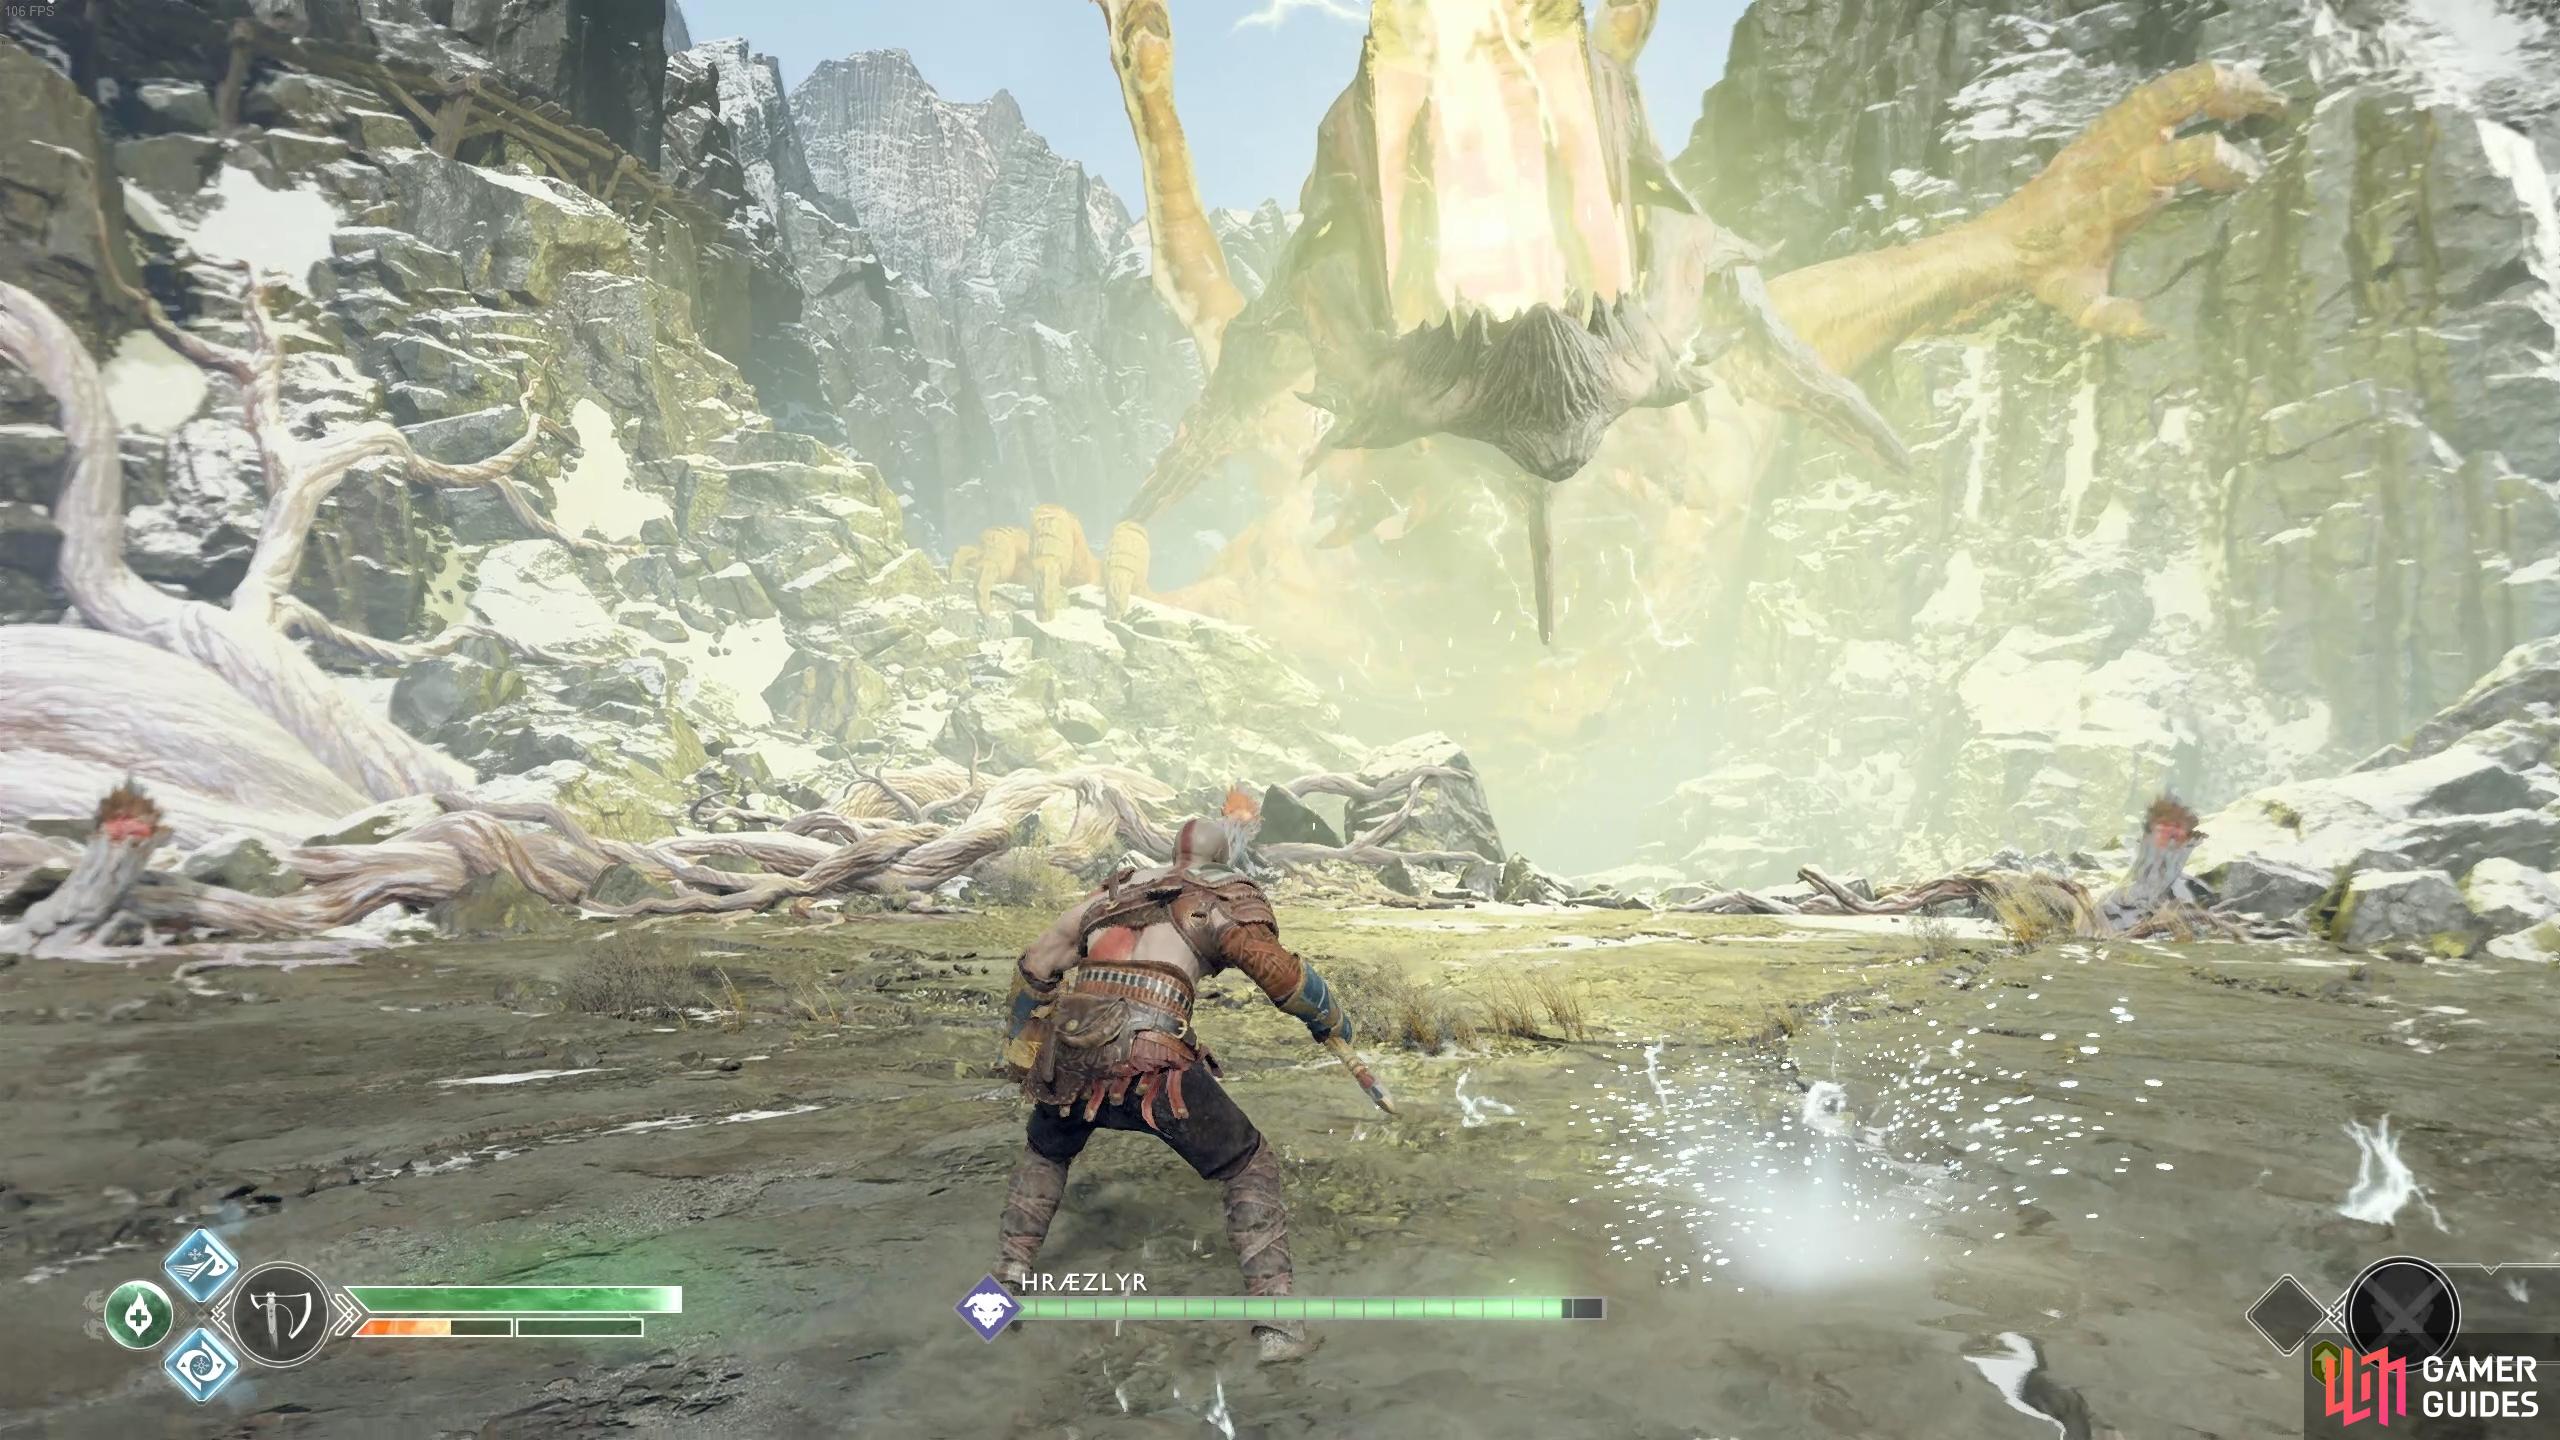
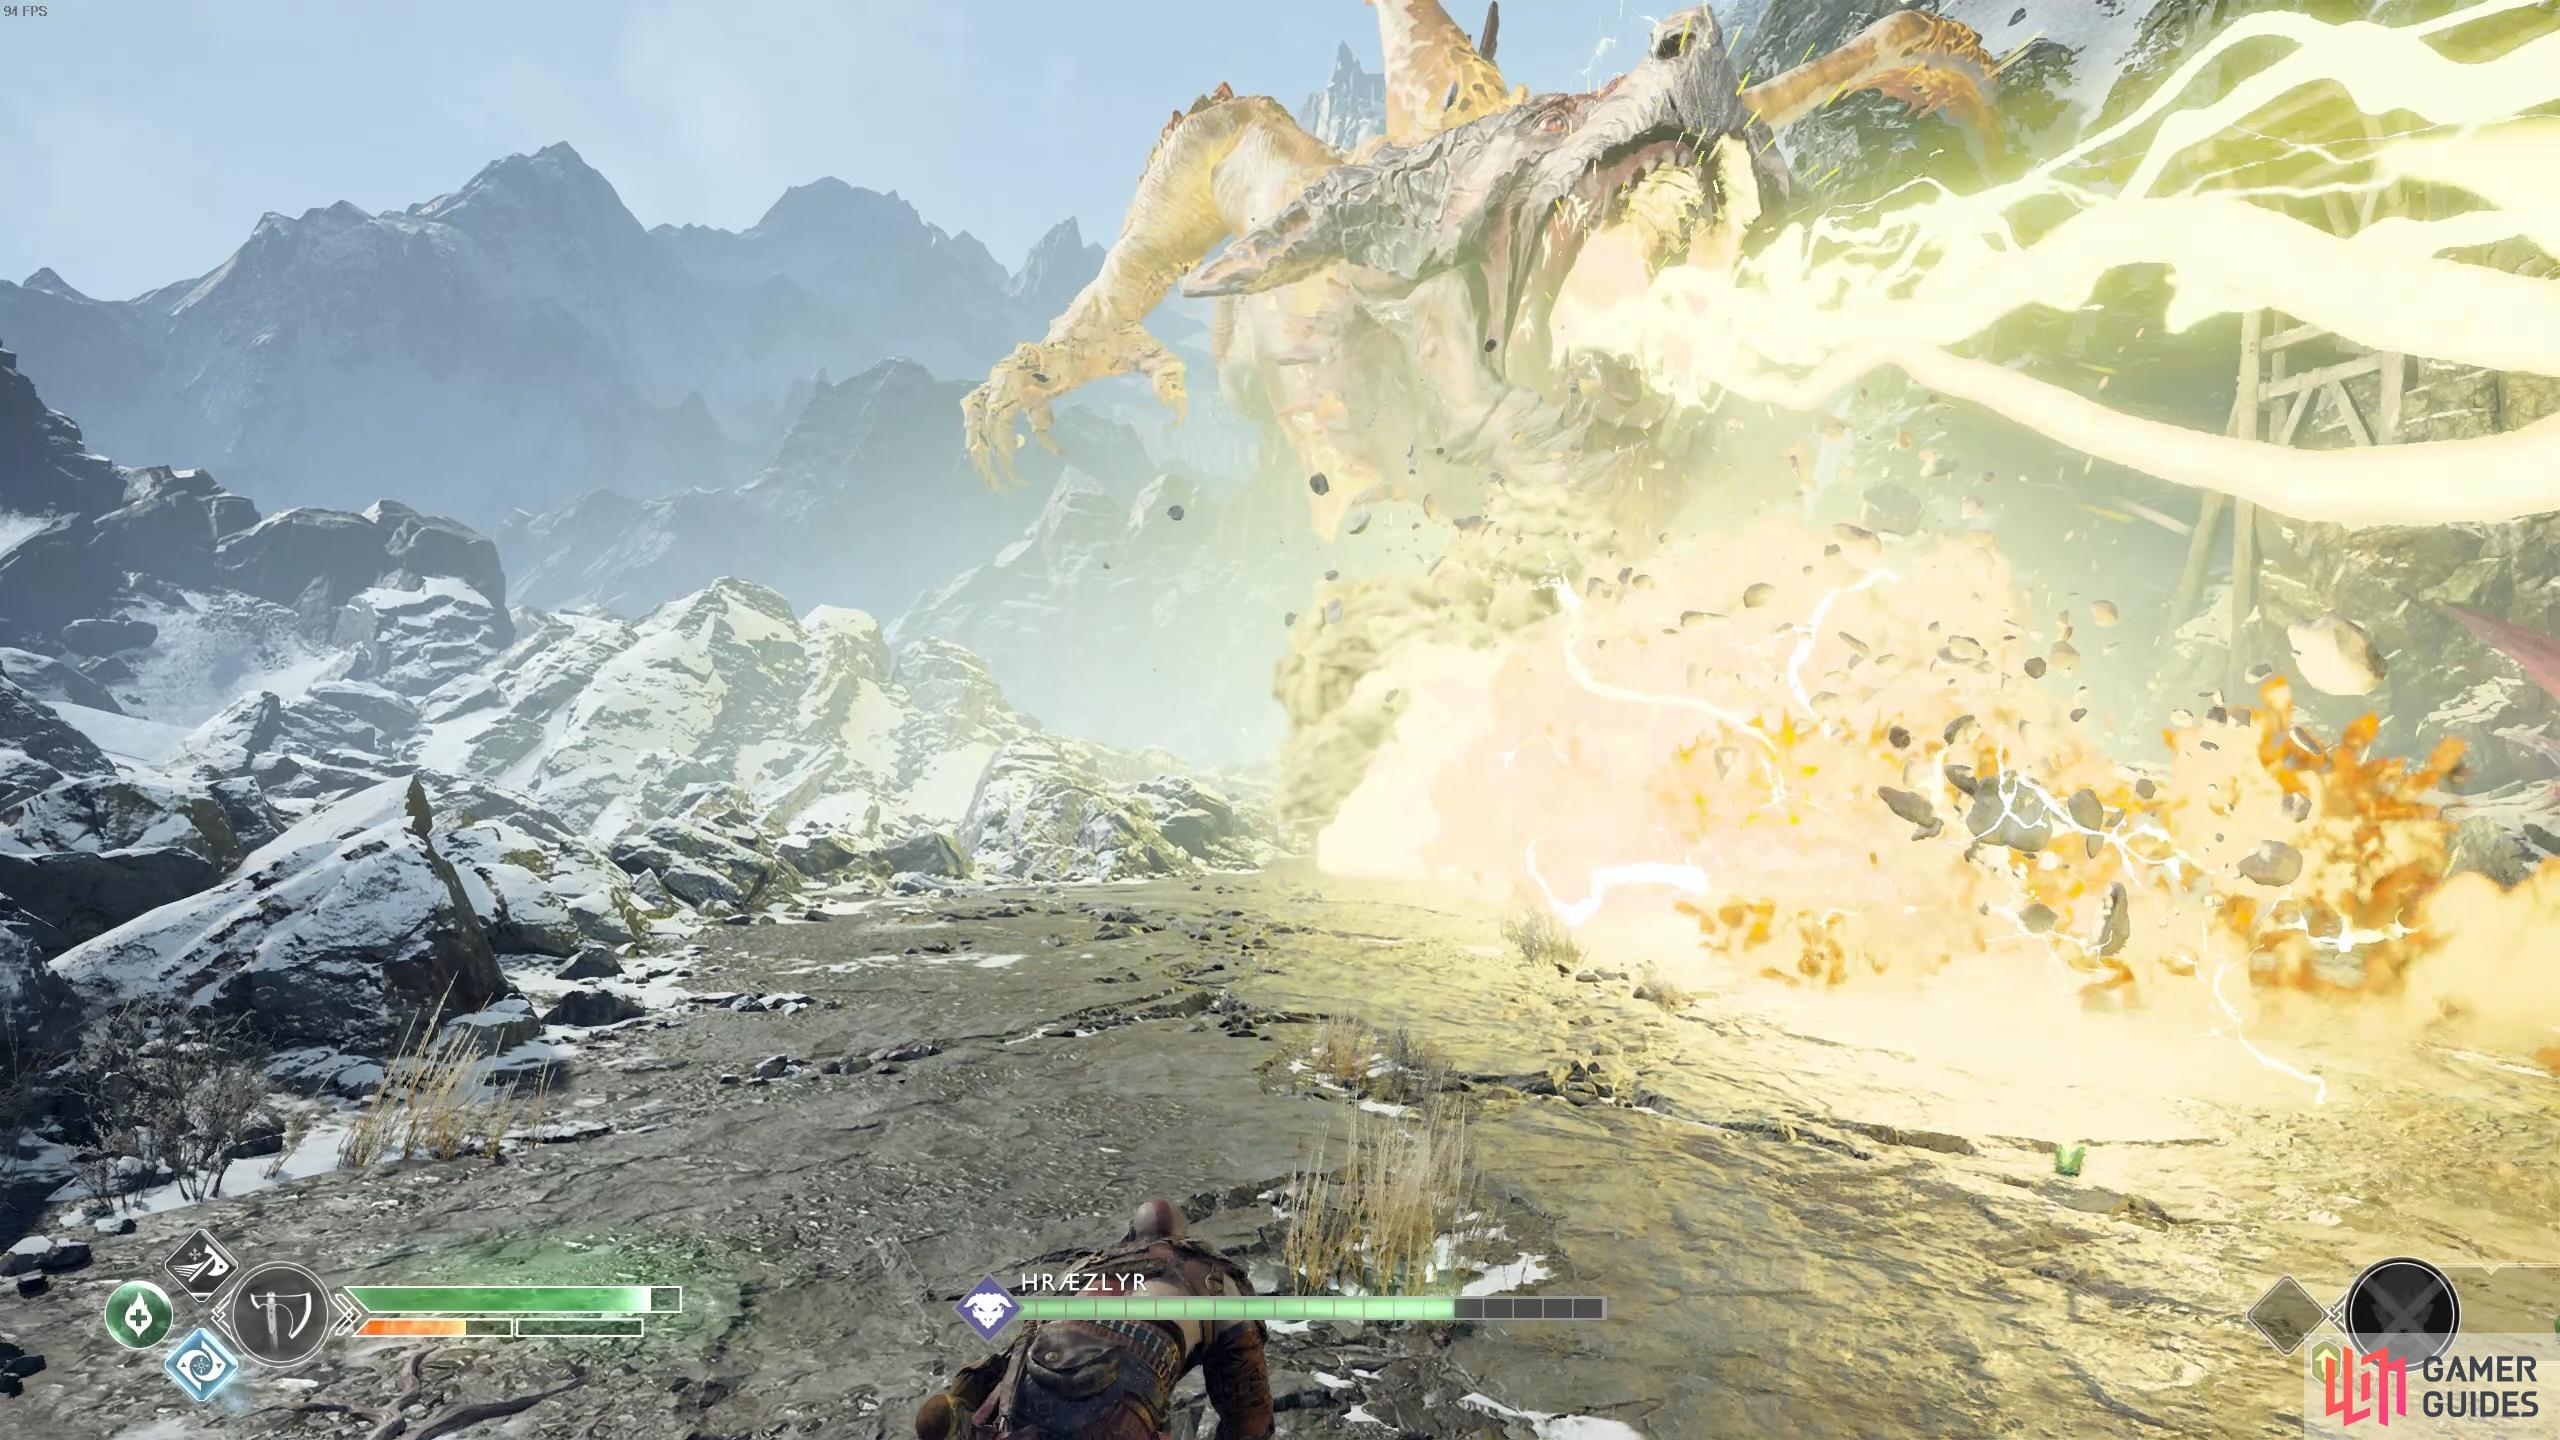
The battle begins properly now, you’ll be on the ground at the far back of this arena while the Dragon will attempt to shoot lightning down on you. Once he has spewed the lightning, look to the ground to spot static circles, be sure to avoid these indicators of where the lightning will strike.
Hræzlyr’s other attacks include an inhale of the air around him, pulling Kratos close towards him. The Dragon will then follow this up with another charge up of electrical energy which, when fired, will cause more static circles to appear around the arena.
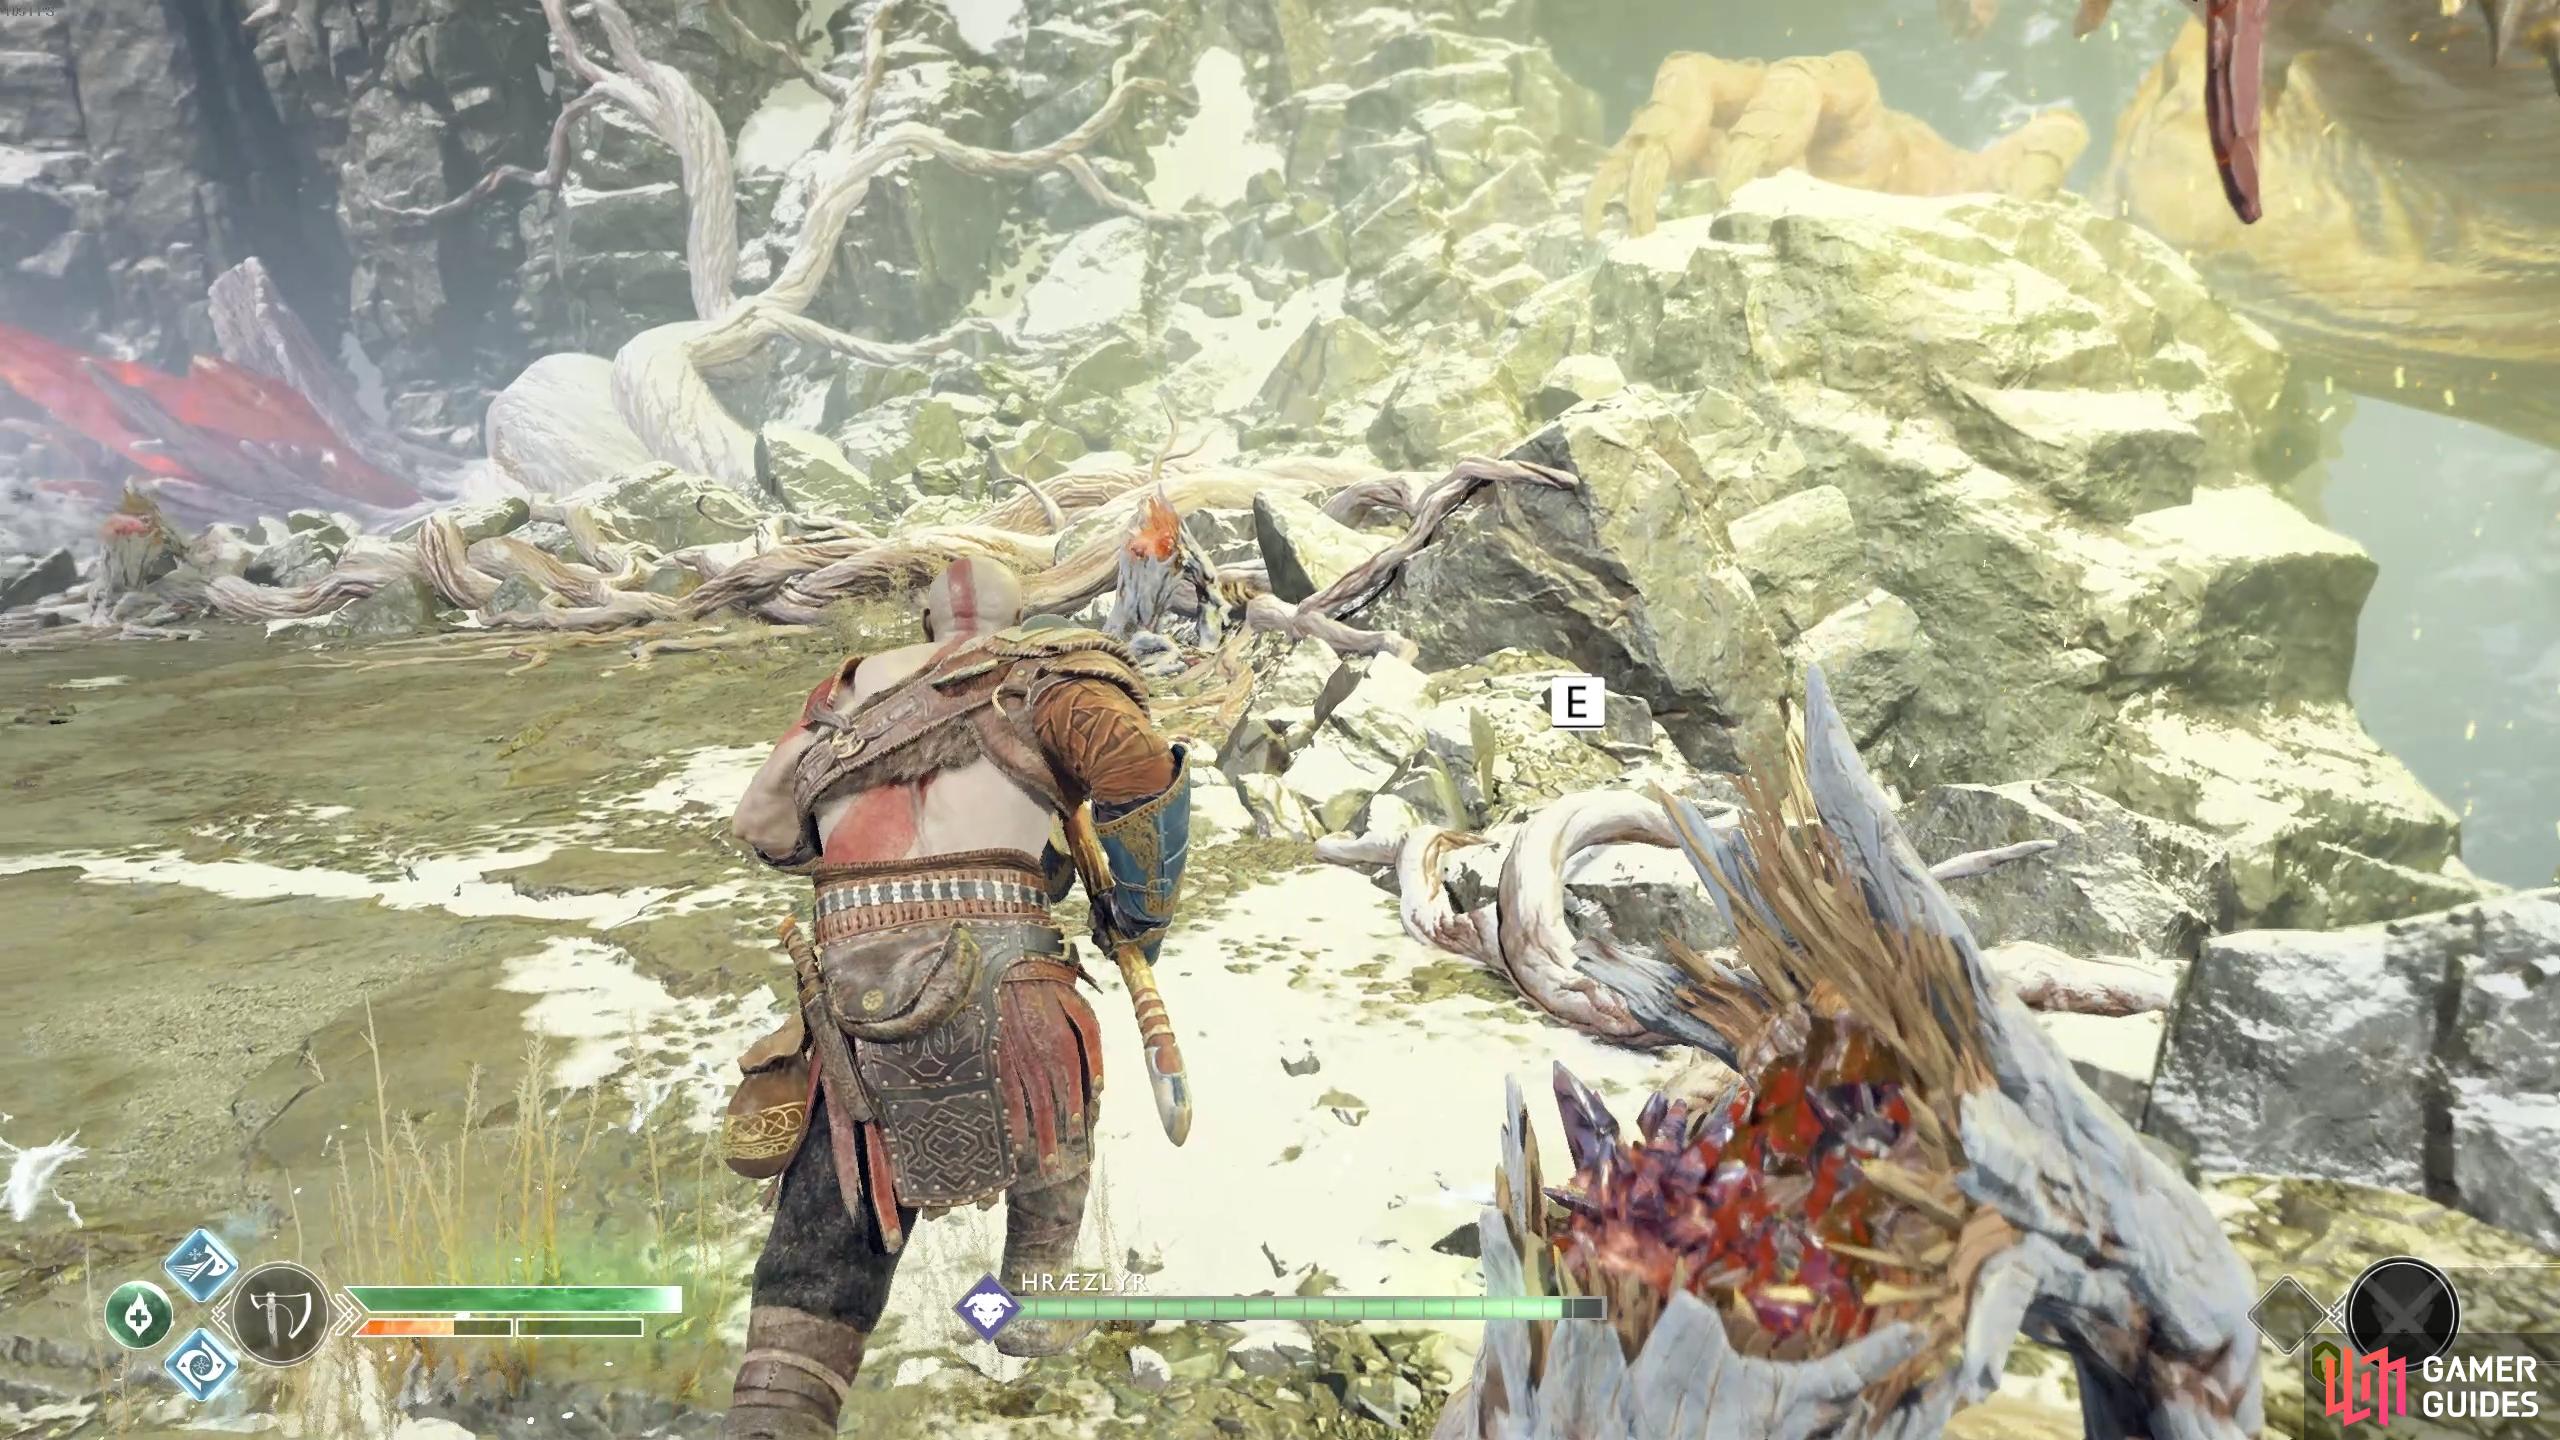
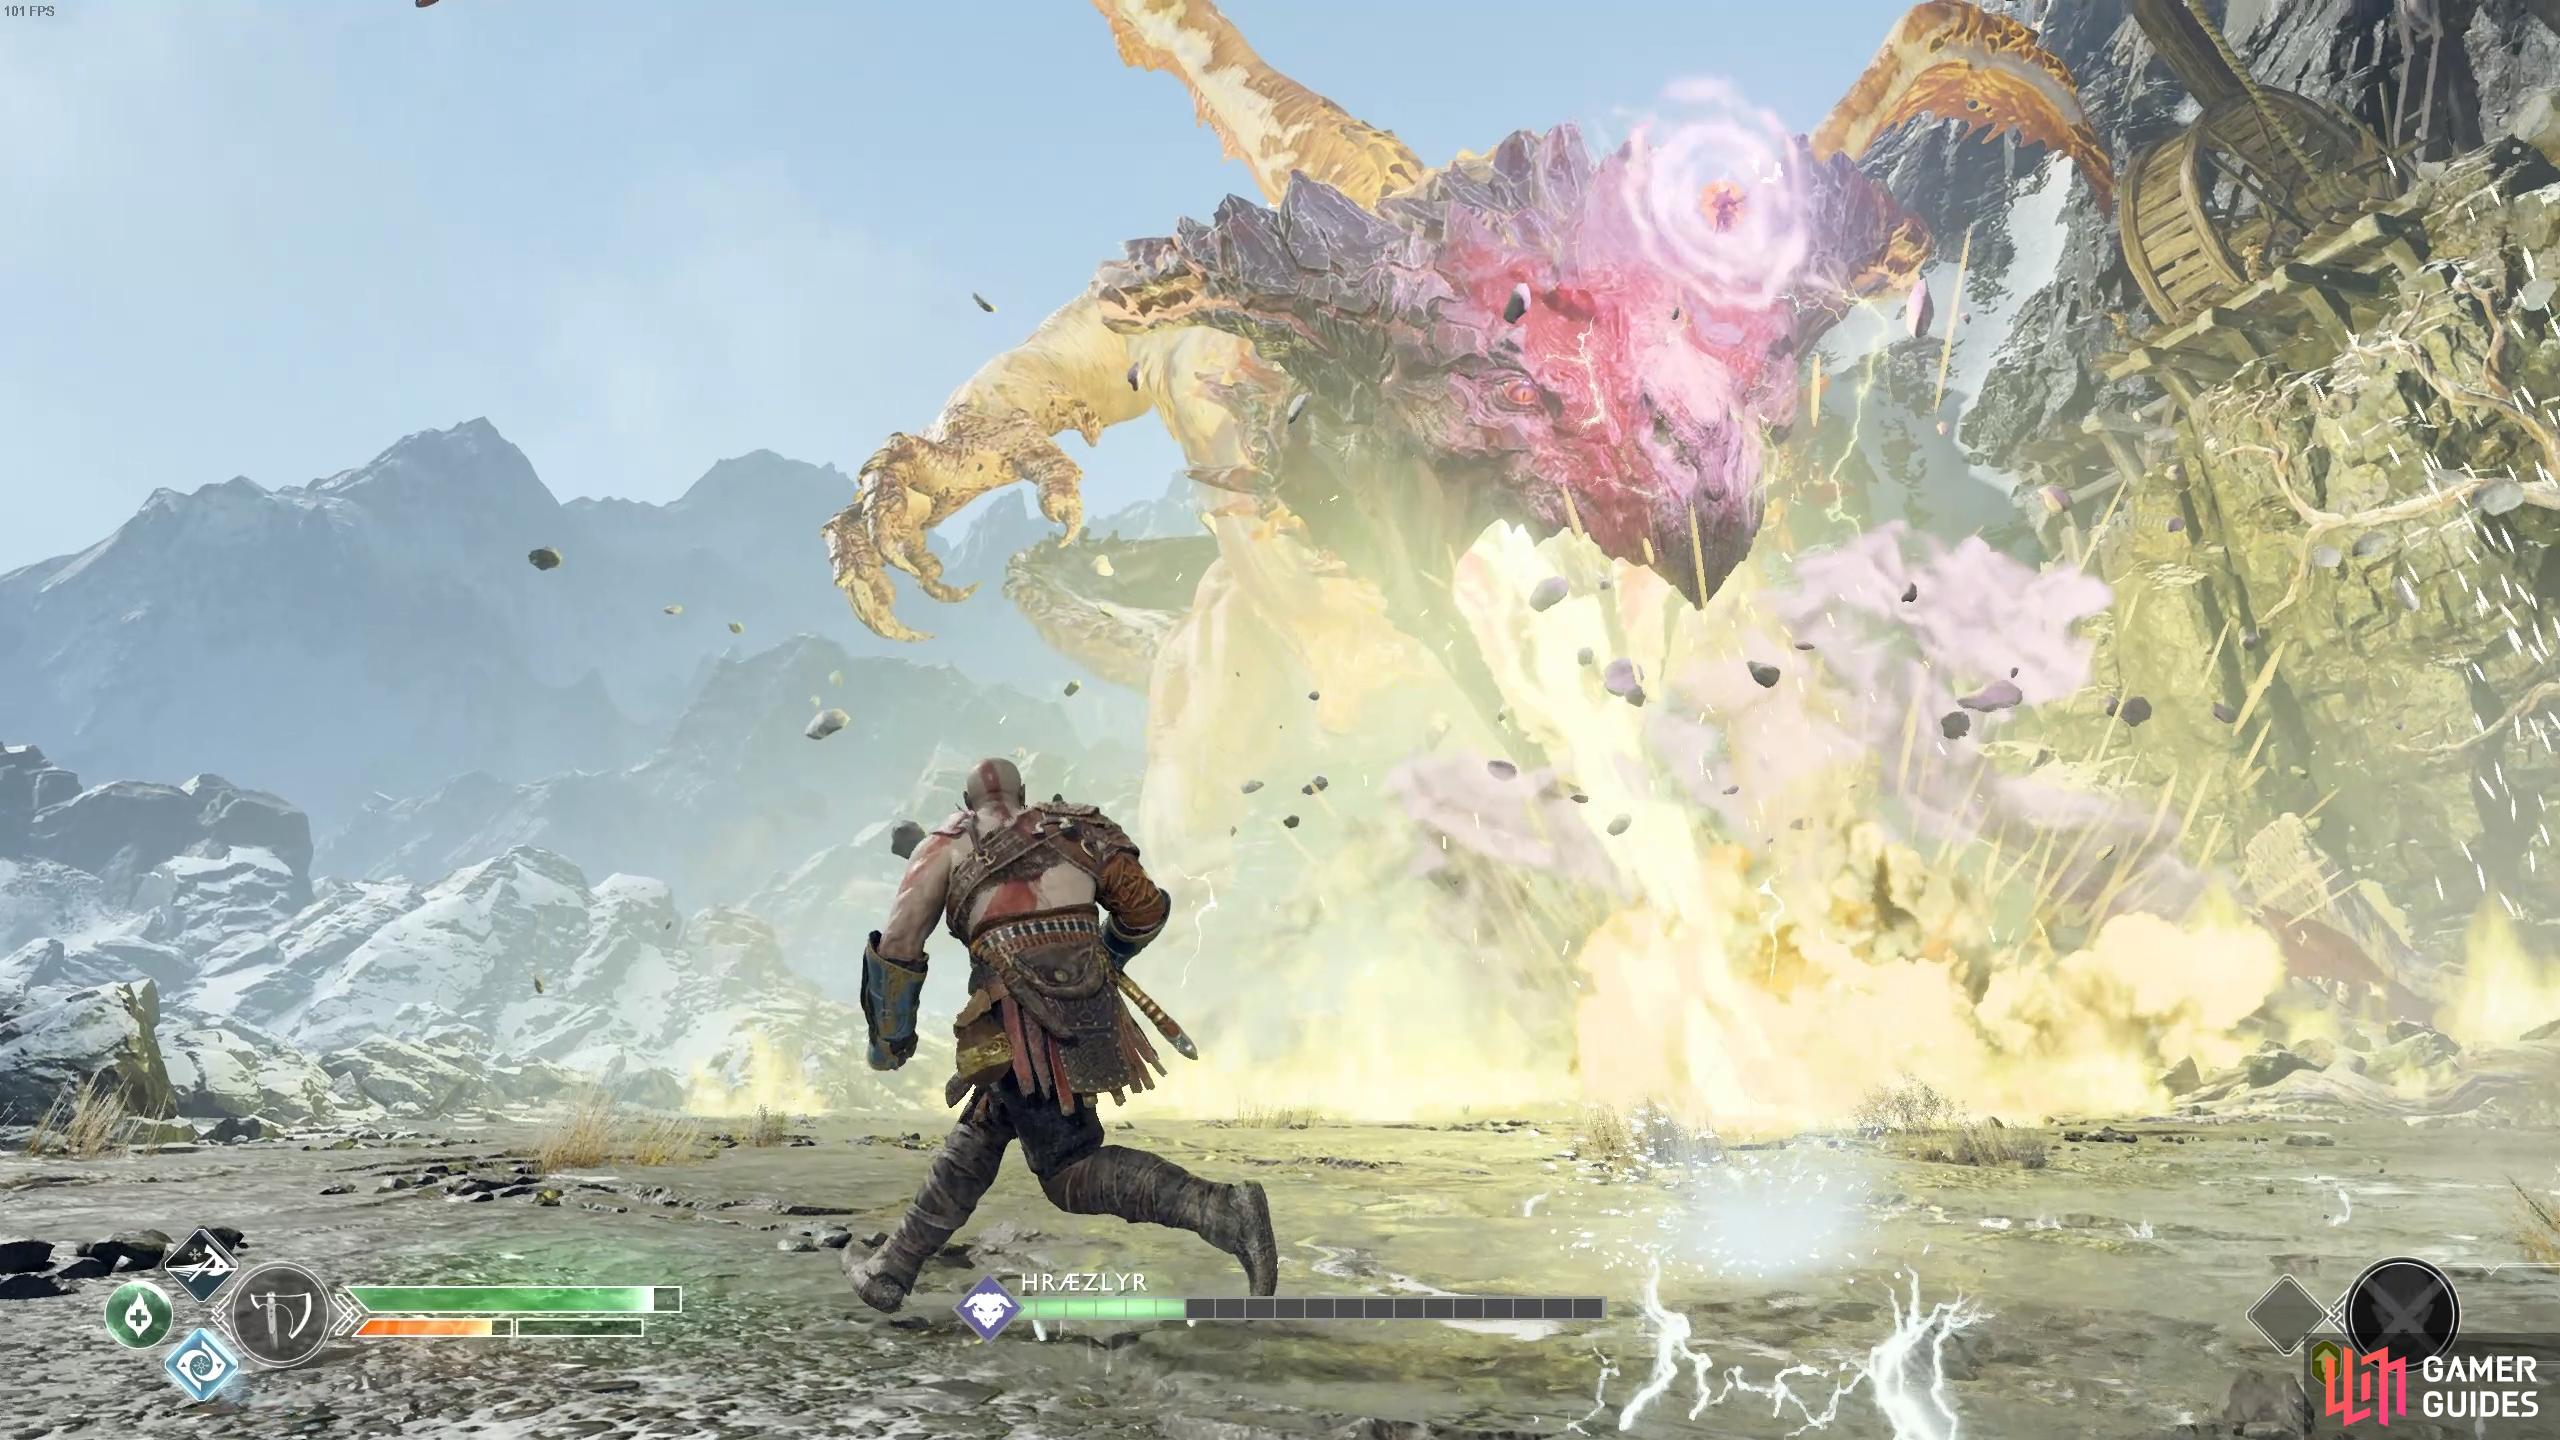
To even damage Hræzlyr during this phase, you’ll have to make use of the stumps with Shatter Crystals around the arena. You’ll notice upon discharging it’s electrical blasts, electrical energy will remain around the Dragon, this is your cue to pick up a Shatter Crystal and hurl it at the Dragon. This will explode and bring the Dragon plummeting to the ground in front of you, take this moment to direct attacks on it’s head before it recovers.
Beware now as the Dragon clambers across the arena to the other side before rising high in the air and slamming down to the ground, creating a shockwave that will shoot towards you. This can be blocked without penalty so be sure to have your shield at the ready once you see it rise. Hræzlyr will also try to change it up by pulling you in before unleashing the stomp, get back and put your shield up. In order to attack Hræzlyr in this phase you’ll need to block the shockwave and then rush in for some attacks on the claws, deal enough damage and the Dragon will resort to electrical attacks again.
(1 of 3) Look for the static circles to see where the lightning will strike.
This time, once charged up, the electrical discharge will be in a line along the arena and the effect will persist on the ground, dodge to either side and pick up a Shatter Crystal, throwing it at the Dragon to damage it heavily again. Once again the Dragon will fall to the ground, dash in and slash away at it’s head once more causing the Dragon to move to the other side once more.
(1 of 3) Hit the head as much as possible when the dragon falls.
This time Hræzlyr will begin lunging in for swipes of its claws, dodge this attack and then get some well placed strikes on it’s claws to deal damage as it gets stuck in the ground. Hræzlyr will also repeat the stomp so be prepared to block and then strike following that attack. Once again the Dragon will turn to electrical blasts again, repeat the tactic of dodging and throwing a Scatter Crystal to cause it to fall to the ground once more and ripe for more strikes from your axe.
The Dragon turns it’s attention to Atreus and Sindri at this point, attempting to chomp them as Kratos comes up with a new plan. This time the Dragon will return to it’s stomps, block and get a few attacks in before raising your shield quickly again. The dragon follows up with two more smaller stomps before lunging in for a bite. Deal enough damage and Hræzlyr will discharge lightning in the area around it, get back and toss a Shatter Crystal while also dodging the static circles around the arena. Two Shatter Crystals will bring the Dragon to the ground, dash in and strike some more and wait for the  button or
  key to prompt to have Atreus fire an arrow at the rope holding the claw in the air, bringing it down on the Dragon. Have Kratos pull the other side of the claw and plunge it into the Dragon, Hræzlyr breaks free but it’s not enough as the Dragon is defeated once and for all, thereby unlocking the Dragon Slayer achievement.

(1 of 3) Focus on the claws when they’re on the ground.
Sindri rewards Atreus with some new arrows for his quiver and then asks Kratos to procure a tooth from the Dragon for him. Oblige and head over to the gaping mouth in front of you and use the axe to break one free, obtaining a Dragon Tooth, Dragon Tear and XP along with it. Deliver the tooth to Sindri and he will enchant it allowing you to coat Atreus’ bow string and grant him Shock Arrows.
Shock Arrows are where Atreus truly comes into his own in battle. They are by far the best arrow type for him to use and should be a permanent fixture as your go to arrow. These arrows will allow you to lock down enemies in place and when combined with certain Runic Summons, gain complete control over the battlefield. Be sure to visit the Skills screen and purchase as many of the Shock related skills that is available to you, this should be your main priority for skill unlocking for the time being.
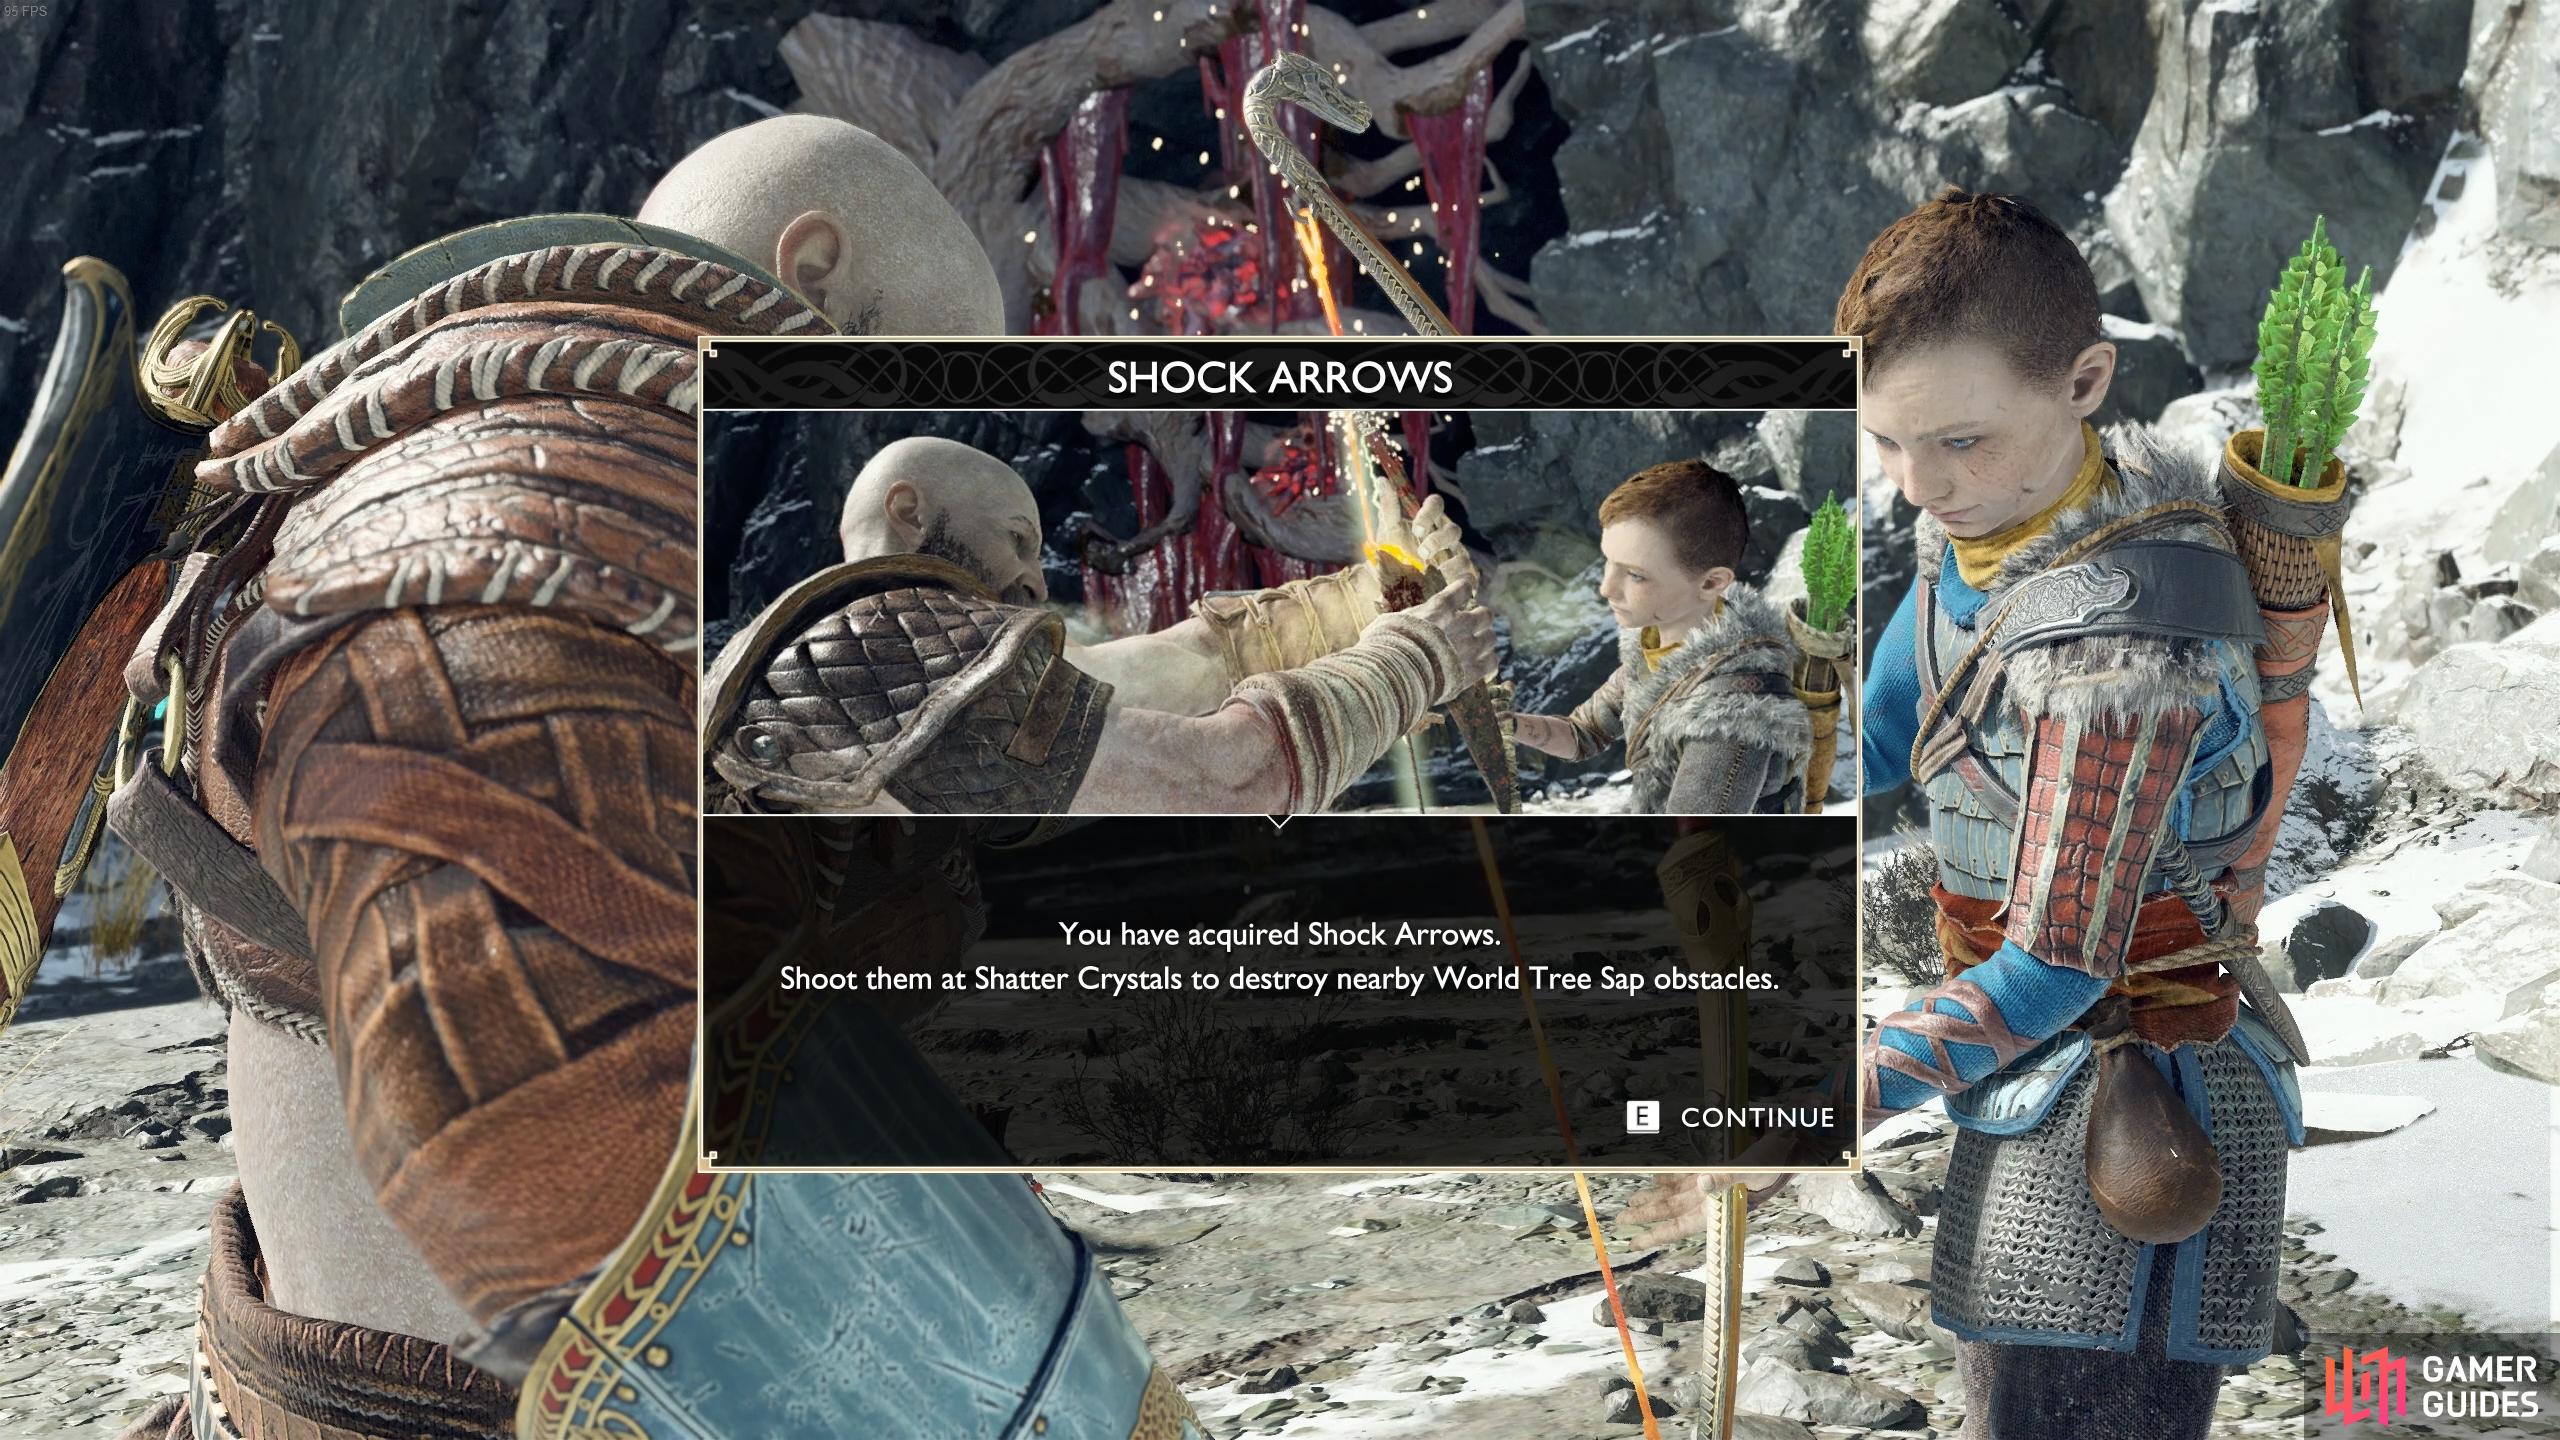
Shock Arrows are where Atreus shines in combat.
Before you leave the area, take the time to look at Sindri’s wares. He now sells the Superior Resurrection Stone which will restore more health upon use, sell your old one and buy this one. Sell any Artefacts you may have on you and any unwanted armor to gain more Hacksilver. If you have the resources on you, now is a good time to upgrade Týr’s Lost Unity Gauntlets.
Head into the now accessible cave ahead and when you reach the makeshift ladder at the end, look to the right to see a Legendary Chest tangled with vines. If you look to the right of it you’ll see a Shatter Crystal, have Atreus shoot this with a Shock Arrow to detonate it and free the chest, inside you’ll find the Tyr’s Revenge Light Runic attack gem.
Climb the ladder now and you’ll spot a new variant of Nightmare that infects the nearby Reaver. These are known as Nightmare Parasites and they enhance their hosts with a health regeneration effect as well as increasing their damage, whenever you see one of these, put them down quickly. Make use of your new Shock Arrows to stun the Reaver and take him out with a Stun Grab, releasing the Nightmare Parasite.
Move to the left side of the sap covered bucket to find a Shatter Crystal you can target, take aim and destroy it to remove the sap from the bucket. Head to where the bucket is and search behind it to find the next Artefact hiding at the back. Turn behind you to find a wheel, begin moving the bucket up using the wheel and then have Atreus aim at it once it sits in front of the next sap obstacle. This releases another two Nightmare Parasites, thankfully there are no hosts for them to infect so make use of the Shock Arrows to put them down. You can now climb the block in front and jump up to the ledge above.
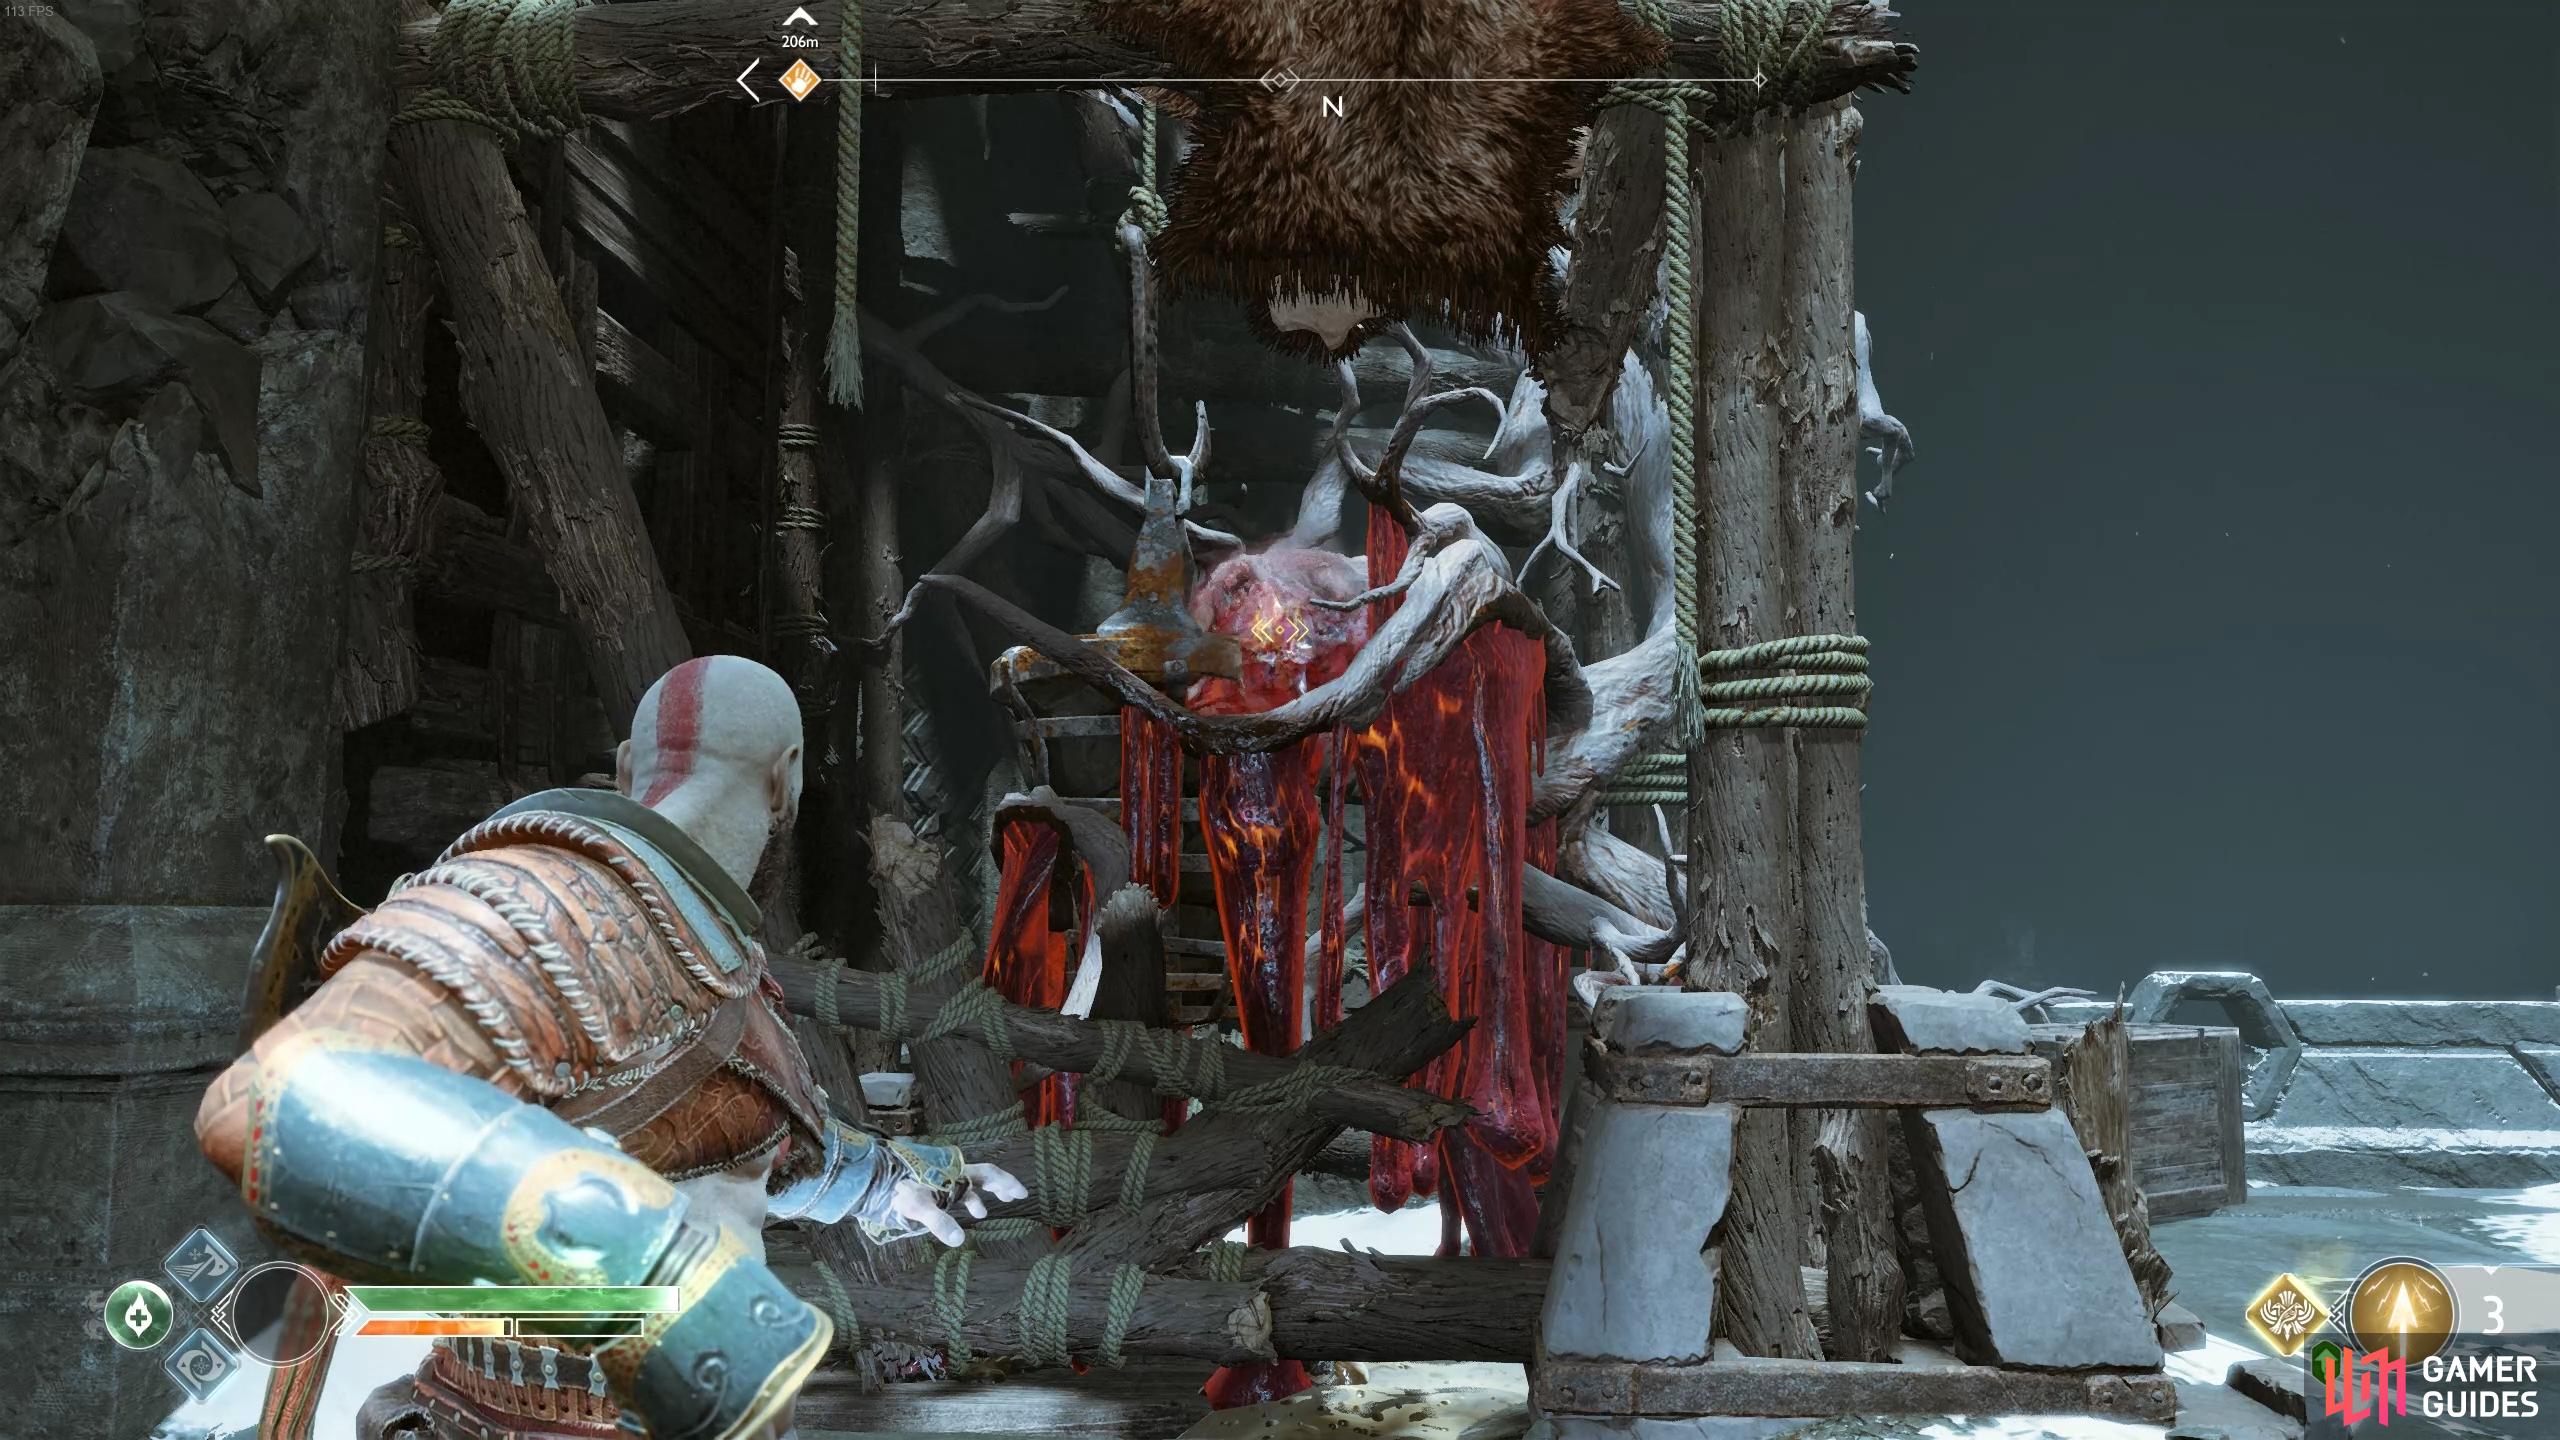
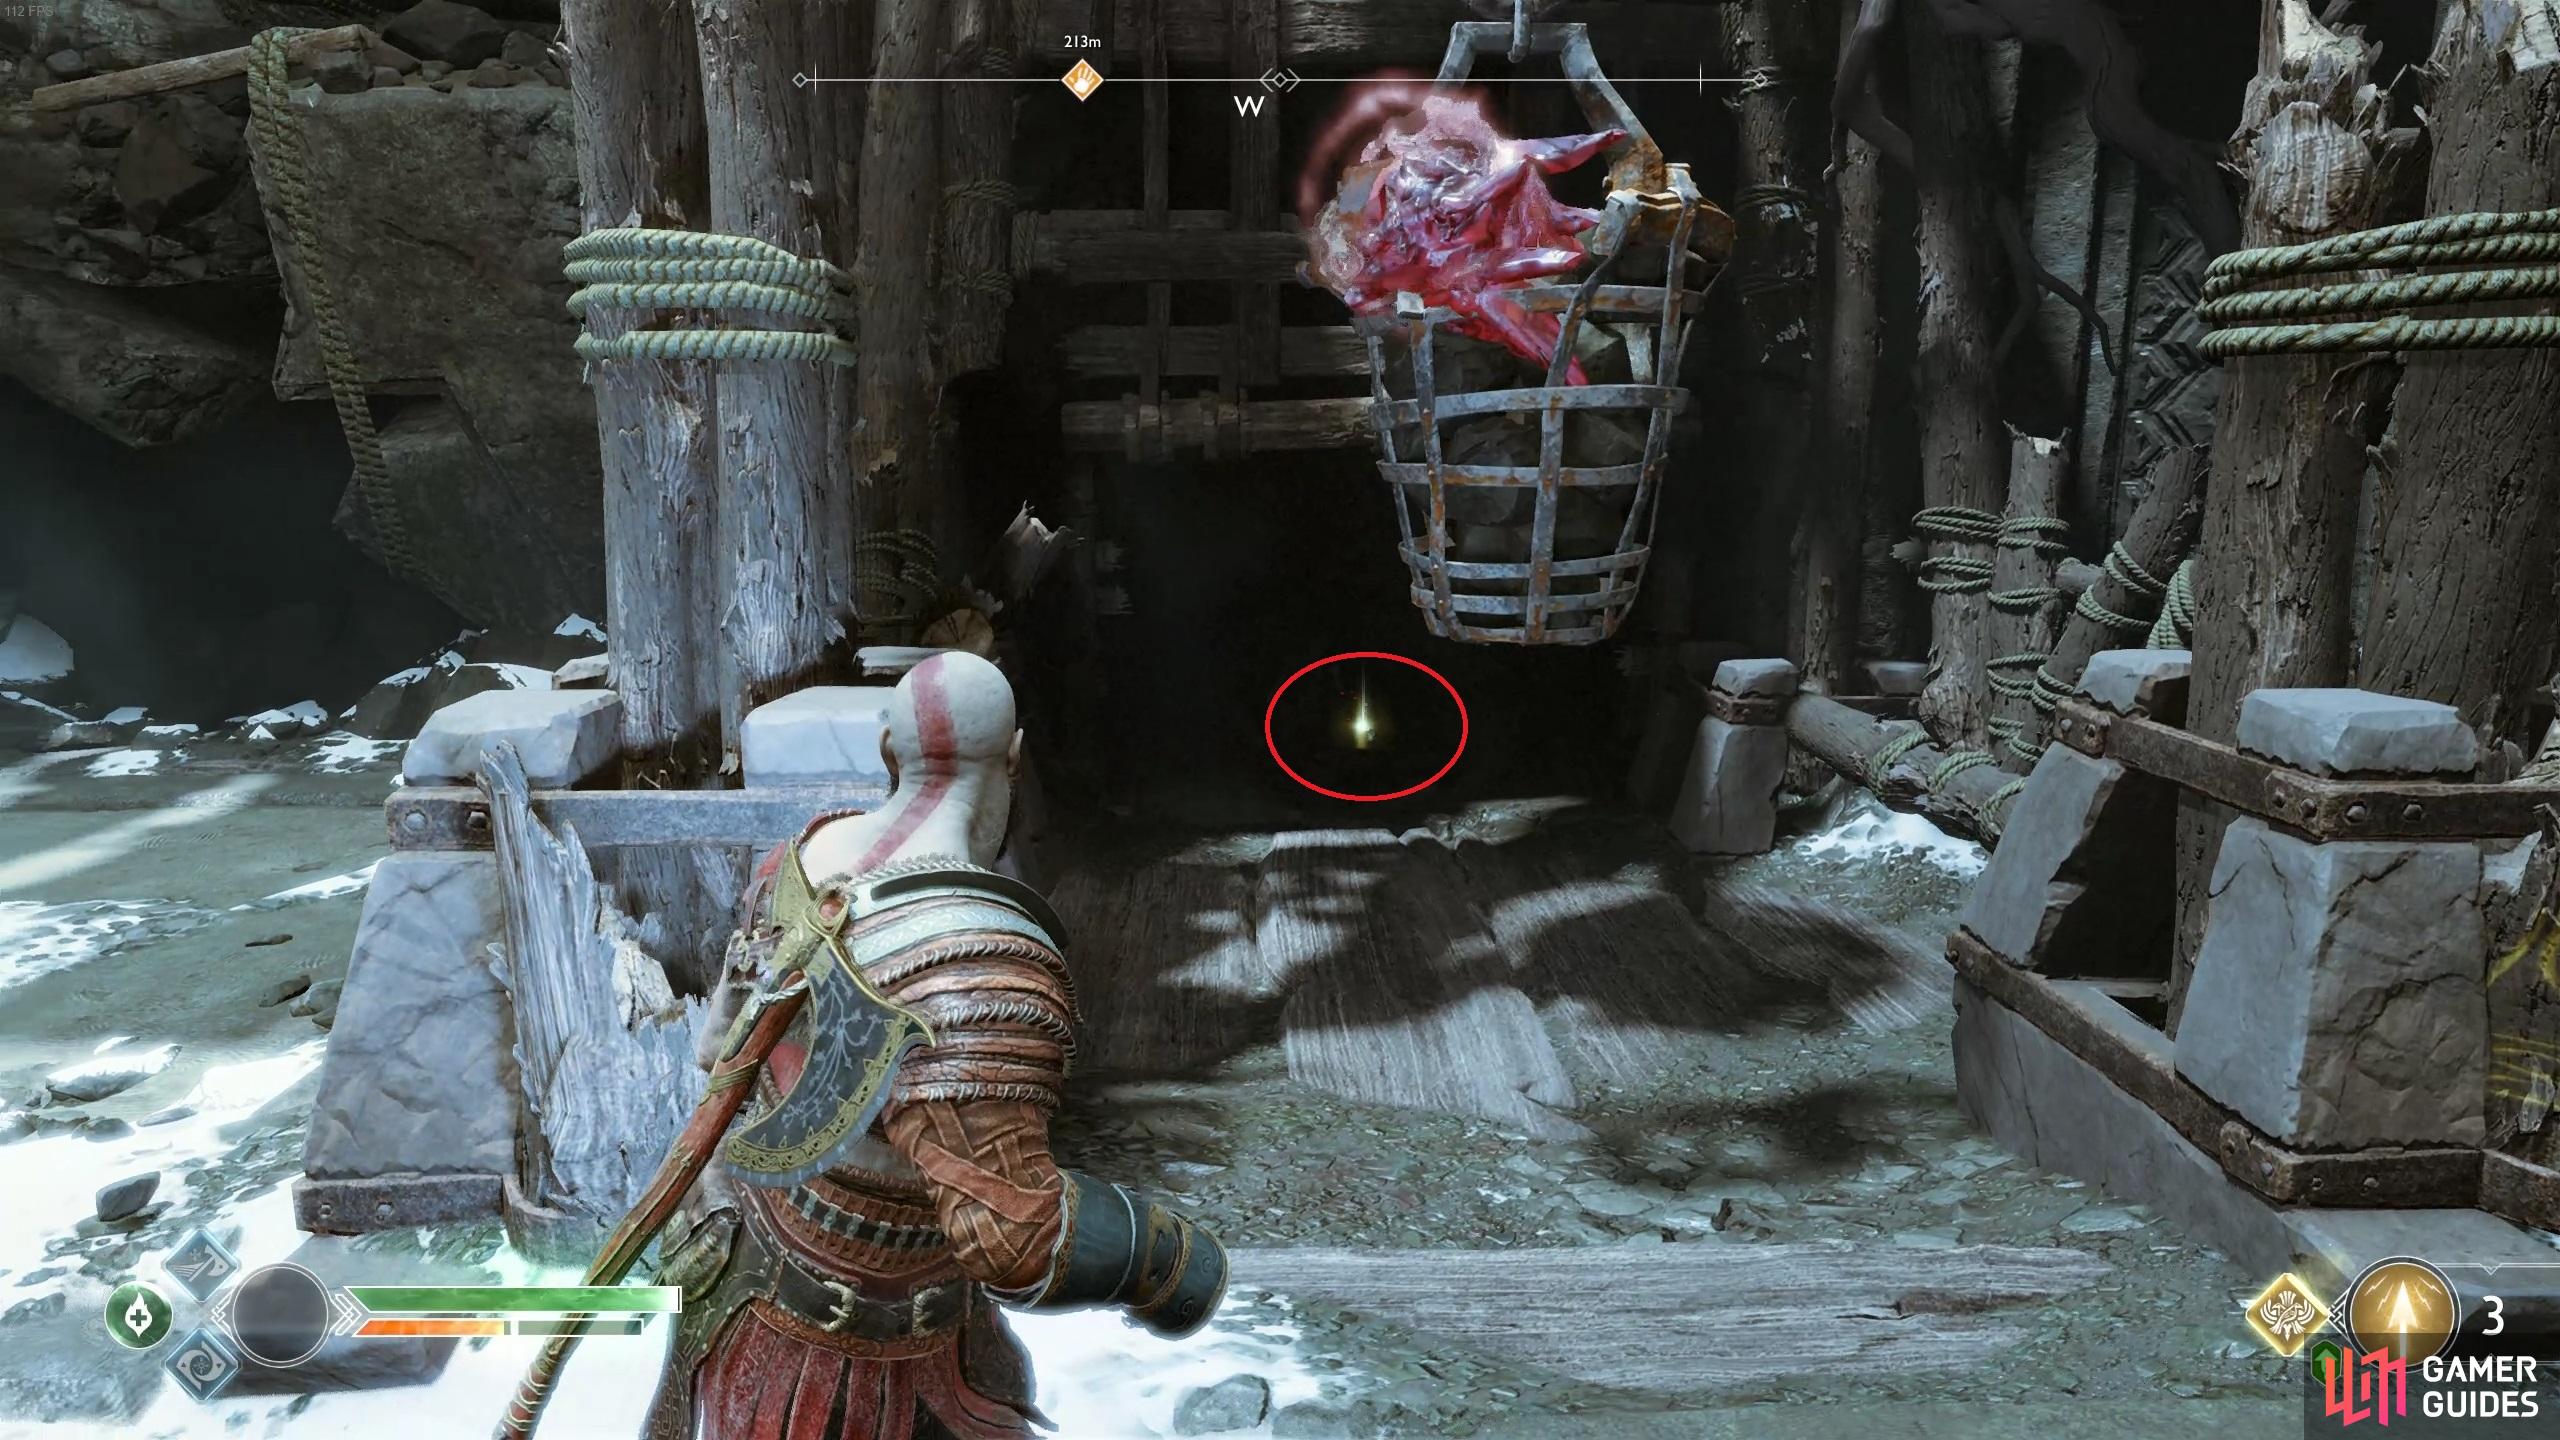
(1 of 2) Target the Shatter Crystal from here to remove the sap from the bucket.
Target the Shatter Crystal from here to remove the sap from the bucket. (left), The next Artefact is behind this bucket. (right)
Follow the path into the dark cave and be prepared for an ambush from a group of Hel-Reavers and a Hel-Walker. Use Atreus to pin down the enemies and then switch to barefisted to deal with the the Hel-Walker, your axe will only deflect. Once they’re defeated, check the room to the right for a color changing stone before lighting the crystal with Light Arrows and climbing the ledge.
Once the path opens up, a Hel-Walker, Hel-Shadow Archer and a Hel-Viken can be seen up ahead. Get the jump on them with a Runic Summon if you can and then focus all your attacks on the Hel-Viken first. These are more durable than their standard counterpart and take some beating to put them down, if you can, try and knock them over the side or fill the stun gauge to deal heavy damage with a Stun Grab.
With the enemies defeated, head over to the nearby sap stump and grab a Shatter Crystal, taking it back to the dark path previously and destroying the sap obstacle where you’ll find the next Jötnar Shrine. Head back to the previous room where you may have spotted a Nornir Chest along with the entire area covered in sap.
(1 of 2) Use rune attacks, combos and Atreus’ arrows to bring these tough enemies down.
Use rune attacks, combos and Atreus’ arrows to bring these tough enemies down. (left), The next Jötnar Shrine awaits in behind the first sap obstacle. (right)
Begin by picking up a Shatter Crystal and throw it at the portion of the bridge at the back before shooting it to lower the bridge a little. Now pick up another Shatter Crystal and use it to destroy the sap just above your head to gain access to the bridge itself. As you cross the bridge another two Hel-Shadow Archers and a Nightmare Parasite infected Hel-Viken will attack, quickly take out the archers with arrows while you focus on stunning the Hel-Viken.
Throw the Shatter Crystal above you to destroy this portion of the sap.
Look to the west here to see the first Nornir Rune nestled in the rubble and then use the nearby wheel. This will raise the bridge to its upper position, lock it in place by tossing the axe at the gear to your right and cross to the other side before recalling your axe. To your right you’ll see the next Rune sitting on the side and a coffin over the other side. Be careful when you open this, a Hel-Walker will reanimate and attack, defeat him to receive the spoils inside. The final Rune can be found back where you found the Jötnar Shrine earlier, look up in the corner to the east of that room to find it and unlock the Nornir chest containing an Iðunn Apple.
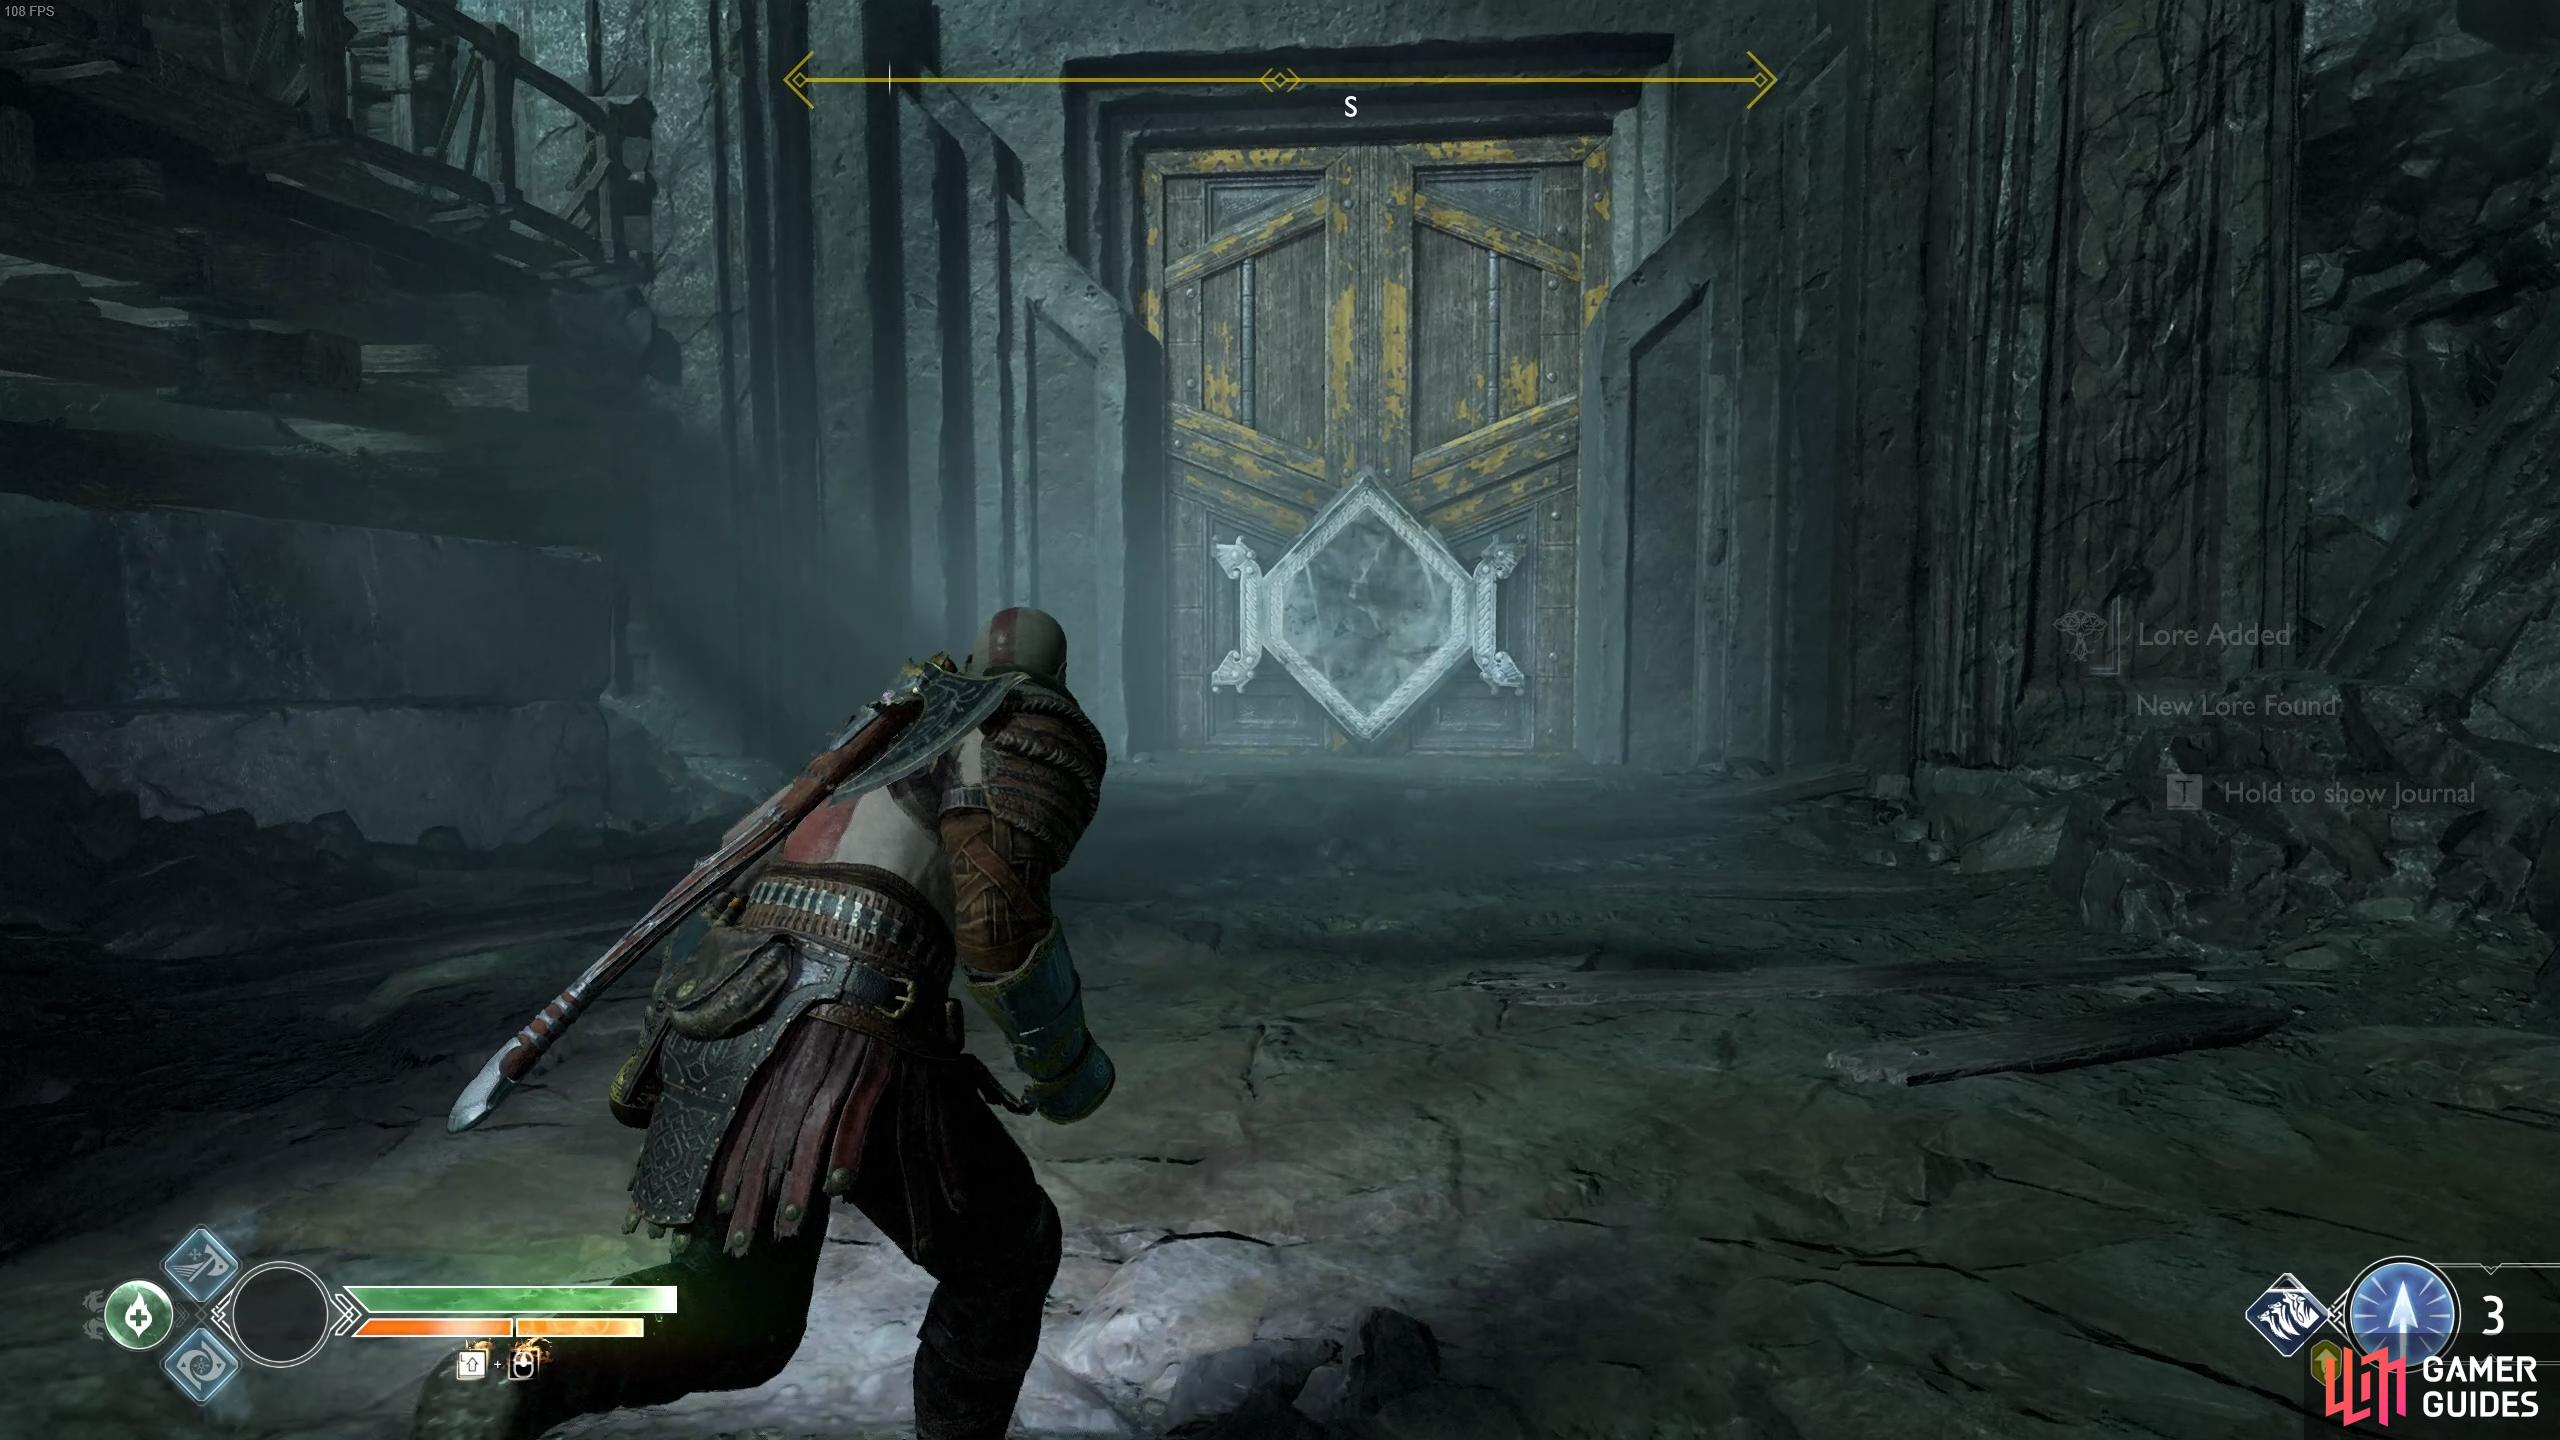
Pick up one more Shatter Crystal as you cross the bridge again and destroy the sap obstacle to your right to find another Lore Marker. Follow this path and climb the wooden ladder at the end and open the large doors to finally reach The Summit.
Kratos takes note of Atreus’ broken quiver and beckons Atreus to stop. Head over to him to repair the quiver using one of the mistletoe arrows, something that will have ramifications a lot later in your journey. With the summit in sight, begin the trek across when a large group of Hel-Walkers begin to attack.
You’ll need to fight against all variants of the Hel related enemies but thankfully the path is thin and they are easily knocked off the side. The main adversary to worry about is the Hel-Reaver Guard, these shield wielding enemies are difficult to hit but if you have the Charge of the White Bear equipped, you can use this to easily send them hurling over the edge of the mountain.
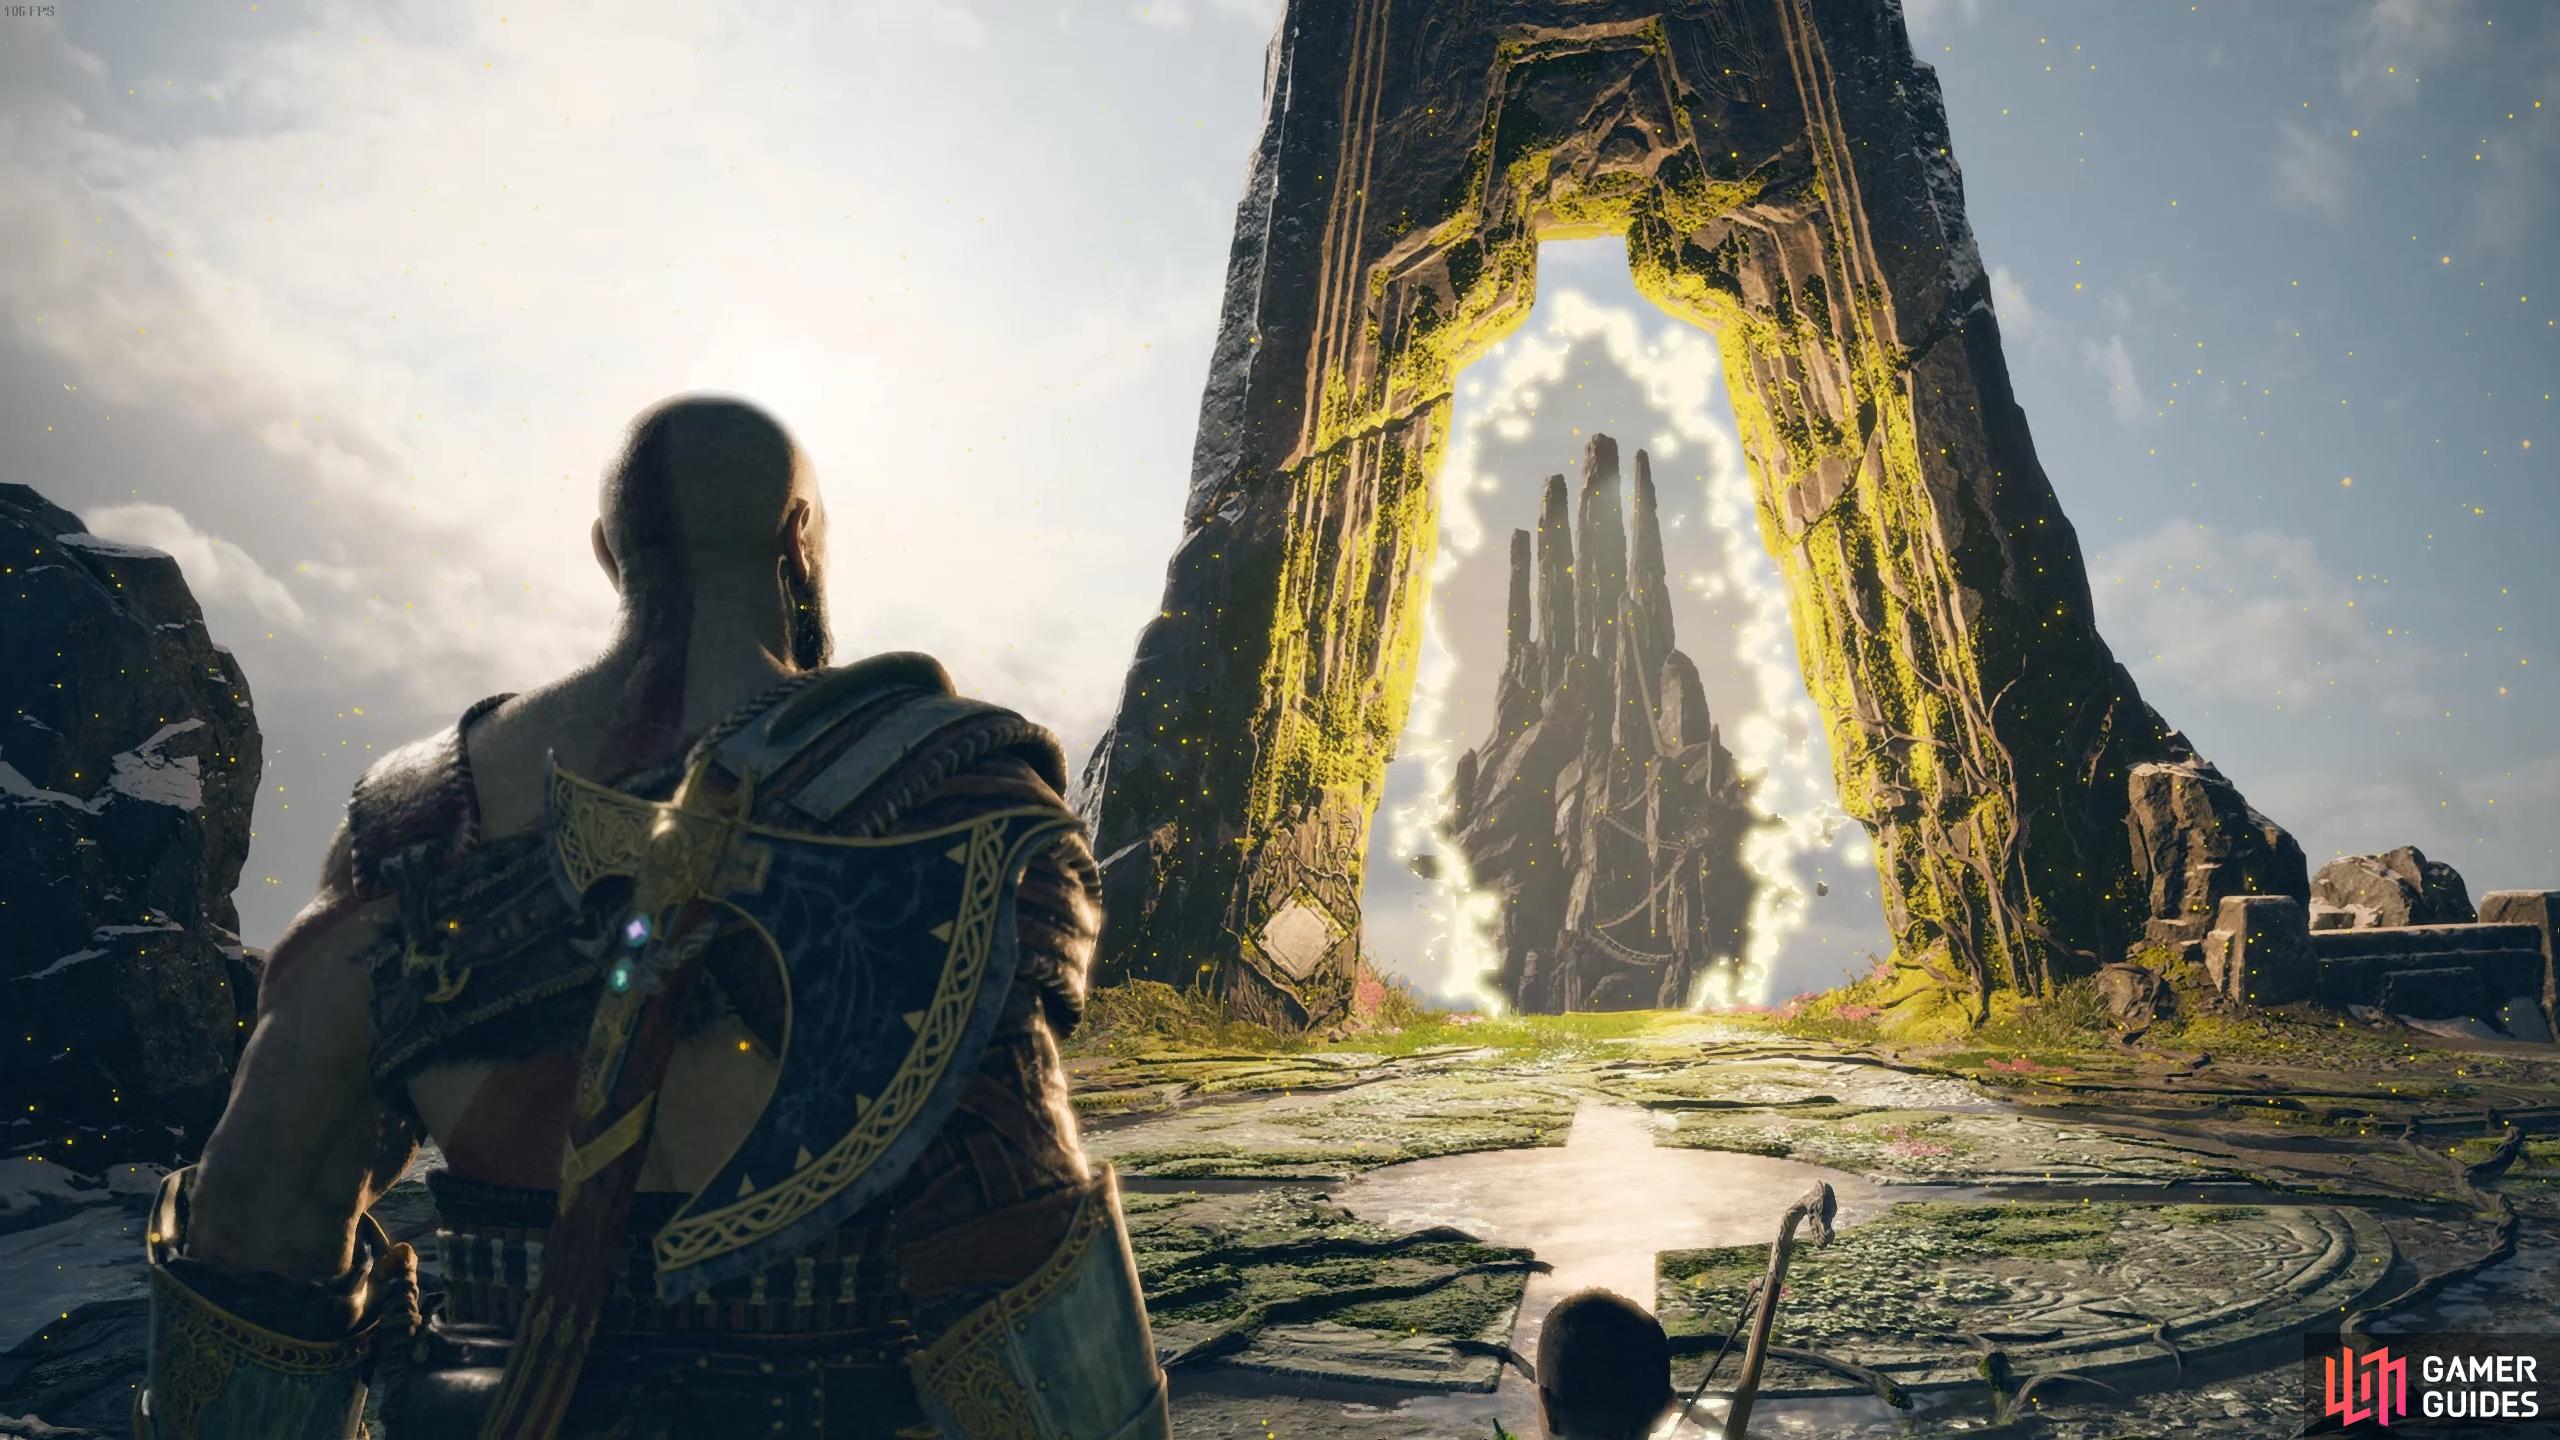
With the way now clear, head toward the wall in front and take a left and then another left to find another Artefact hidden in the corner. You can’t access the coffin at the end of this path so head back the way you came and begin scaling the wall. As you pass around, you hear voices and you’ll discover that the Stranger is still alive and his name happens to be the Aesir God, Baldur, son of Odin himself and brother to Thor. Continue to climb around until you reach the top of the mountain itself. You’ll be introduced to Mimir, the self proclaimed most knowledgeable being in all the realms. Unfortunately it seems that this is not the highest peak in all the realms and that Jötunheim is where you need to head to. Talking of heads, Mimir requests you sever his head and bring it to someone who knows the old magic, this is the only way he can be free of Odin’s cruelty. Thankfully for you, you know just the person, with a swing of the axe, Mimir’s life comes to an end along with the quest.
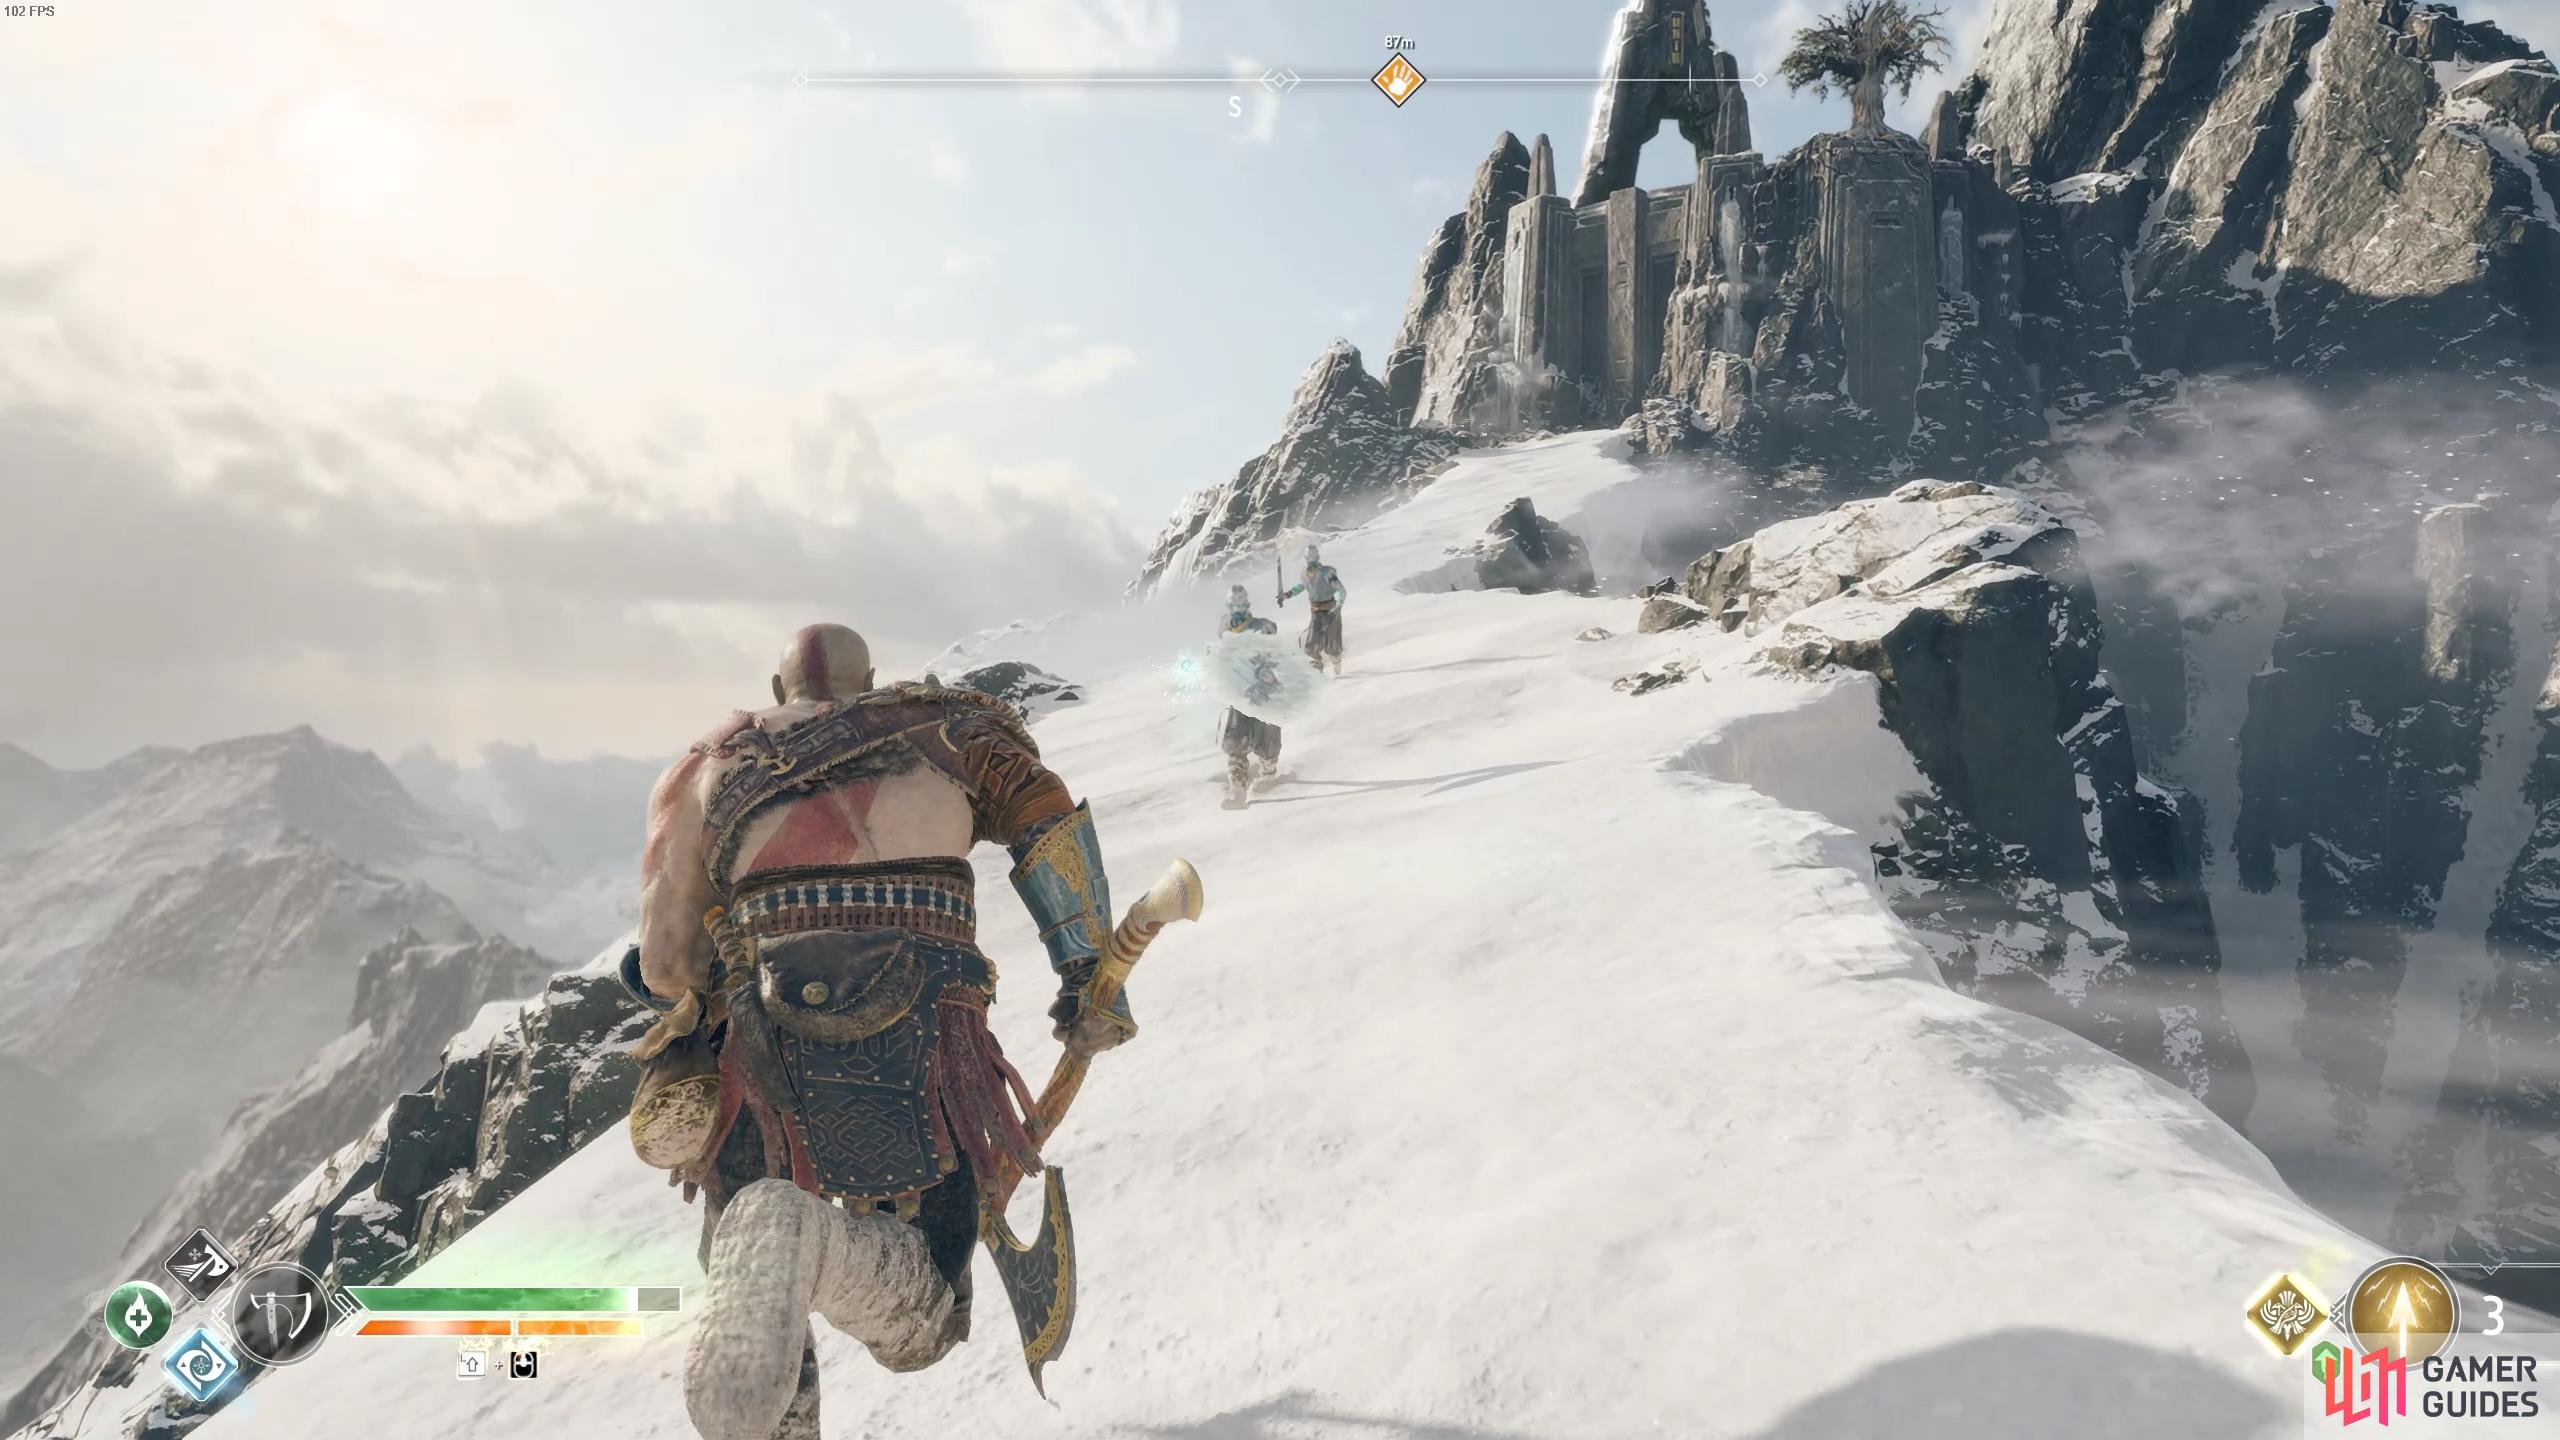
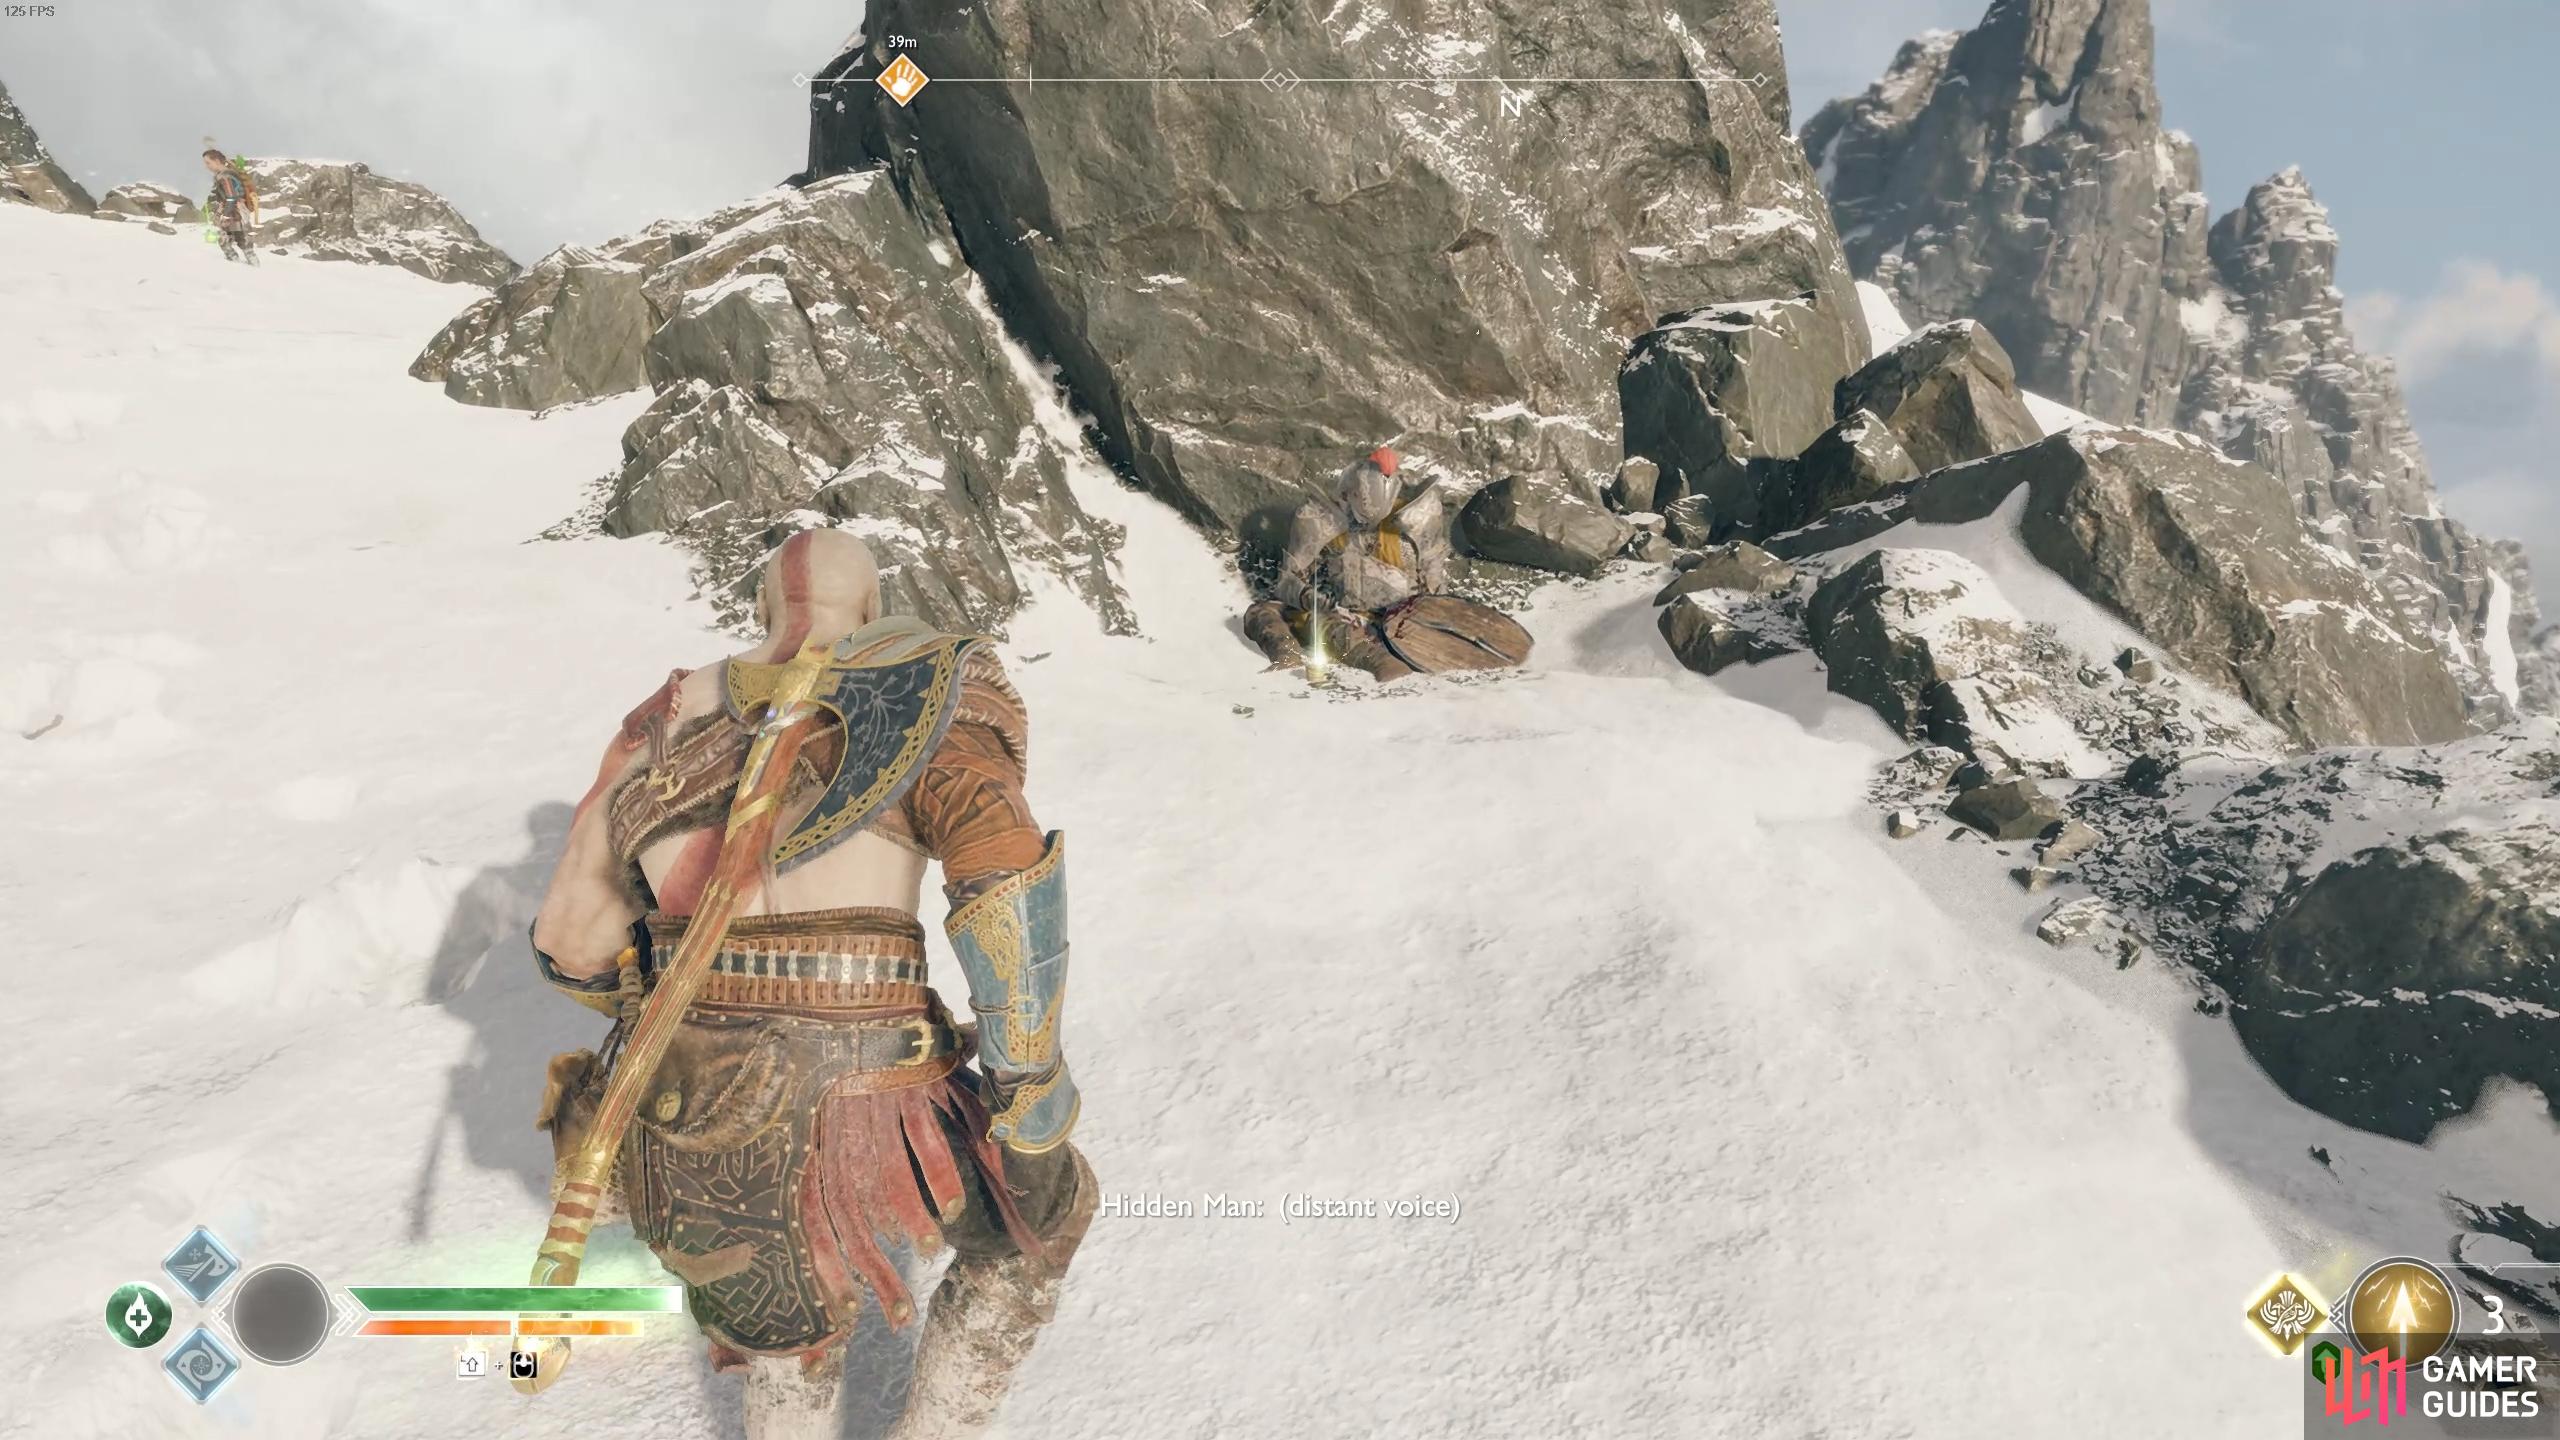
(1 of 3) You’ll encounter a few enemies on the pass, most of which you can knock off the edge.

 Sign up
No Comments