

Return to the Summit, God of War.
Journey back to the mountain
Before you decide to trek across the bridge and into the tower, turn back and pay Brok a visit. You can upgrade the Blades of Chaos to Level III and upgrade Atreus’ armor to the Legendary variant of your choice (Runic Vestment if you’re following this guide). Head to the Skills screen and purchase all the new skills available.
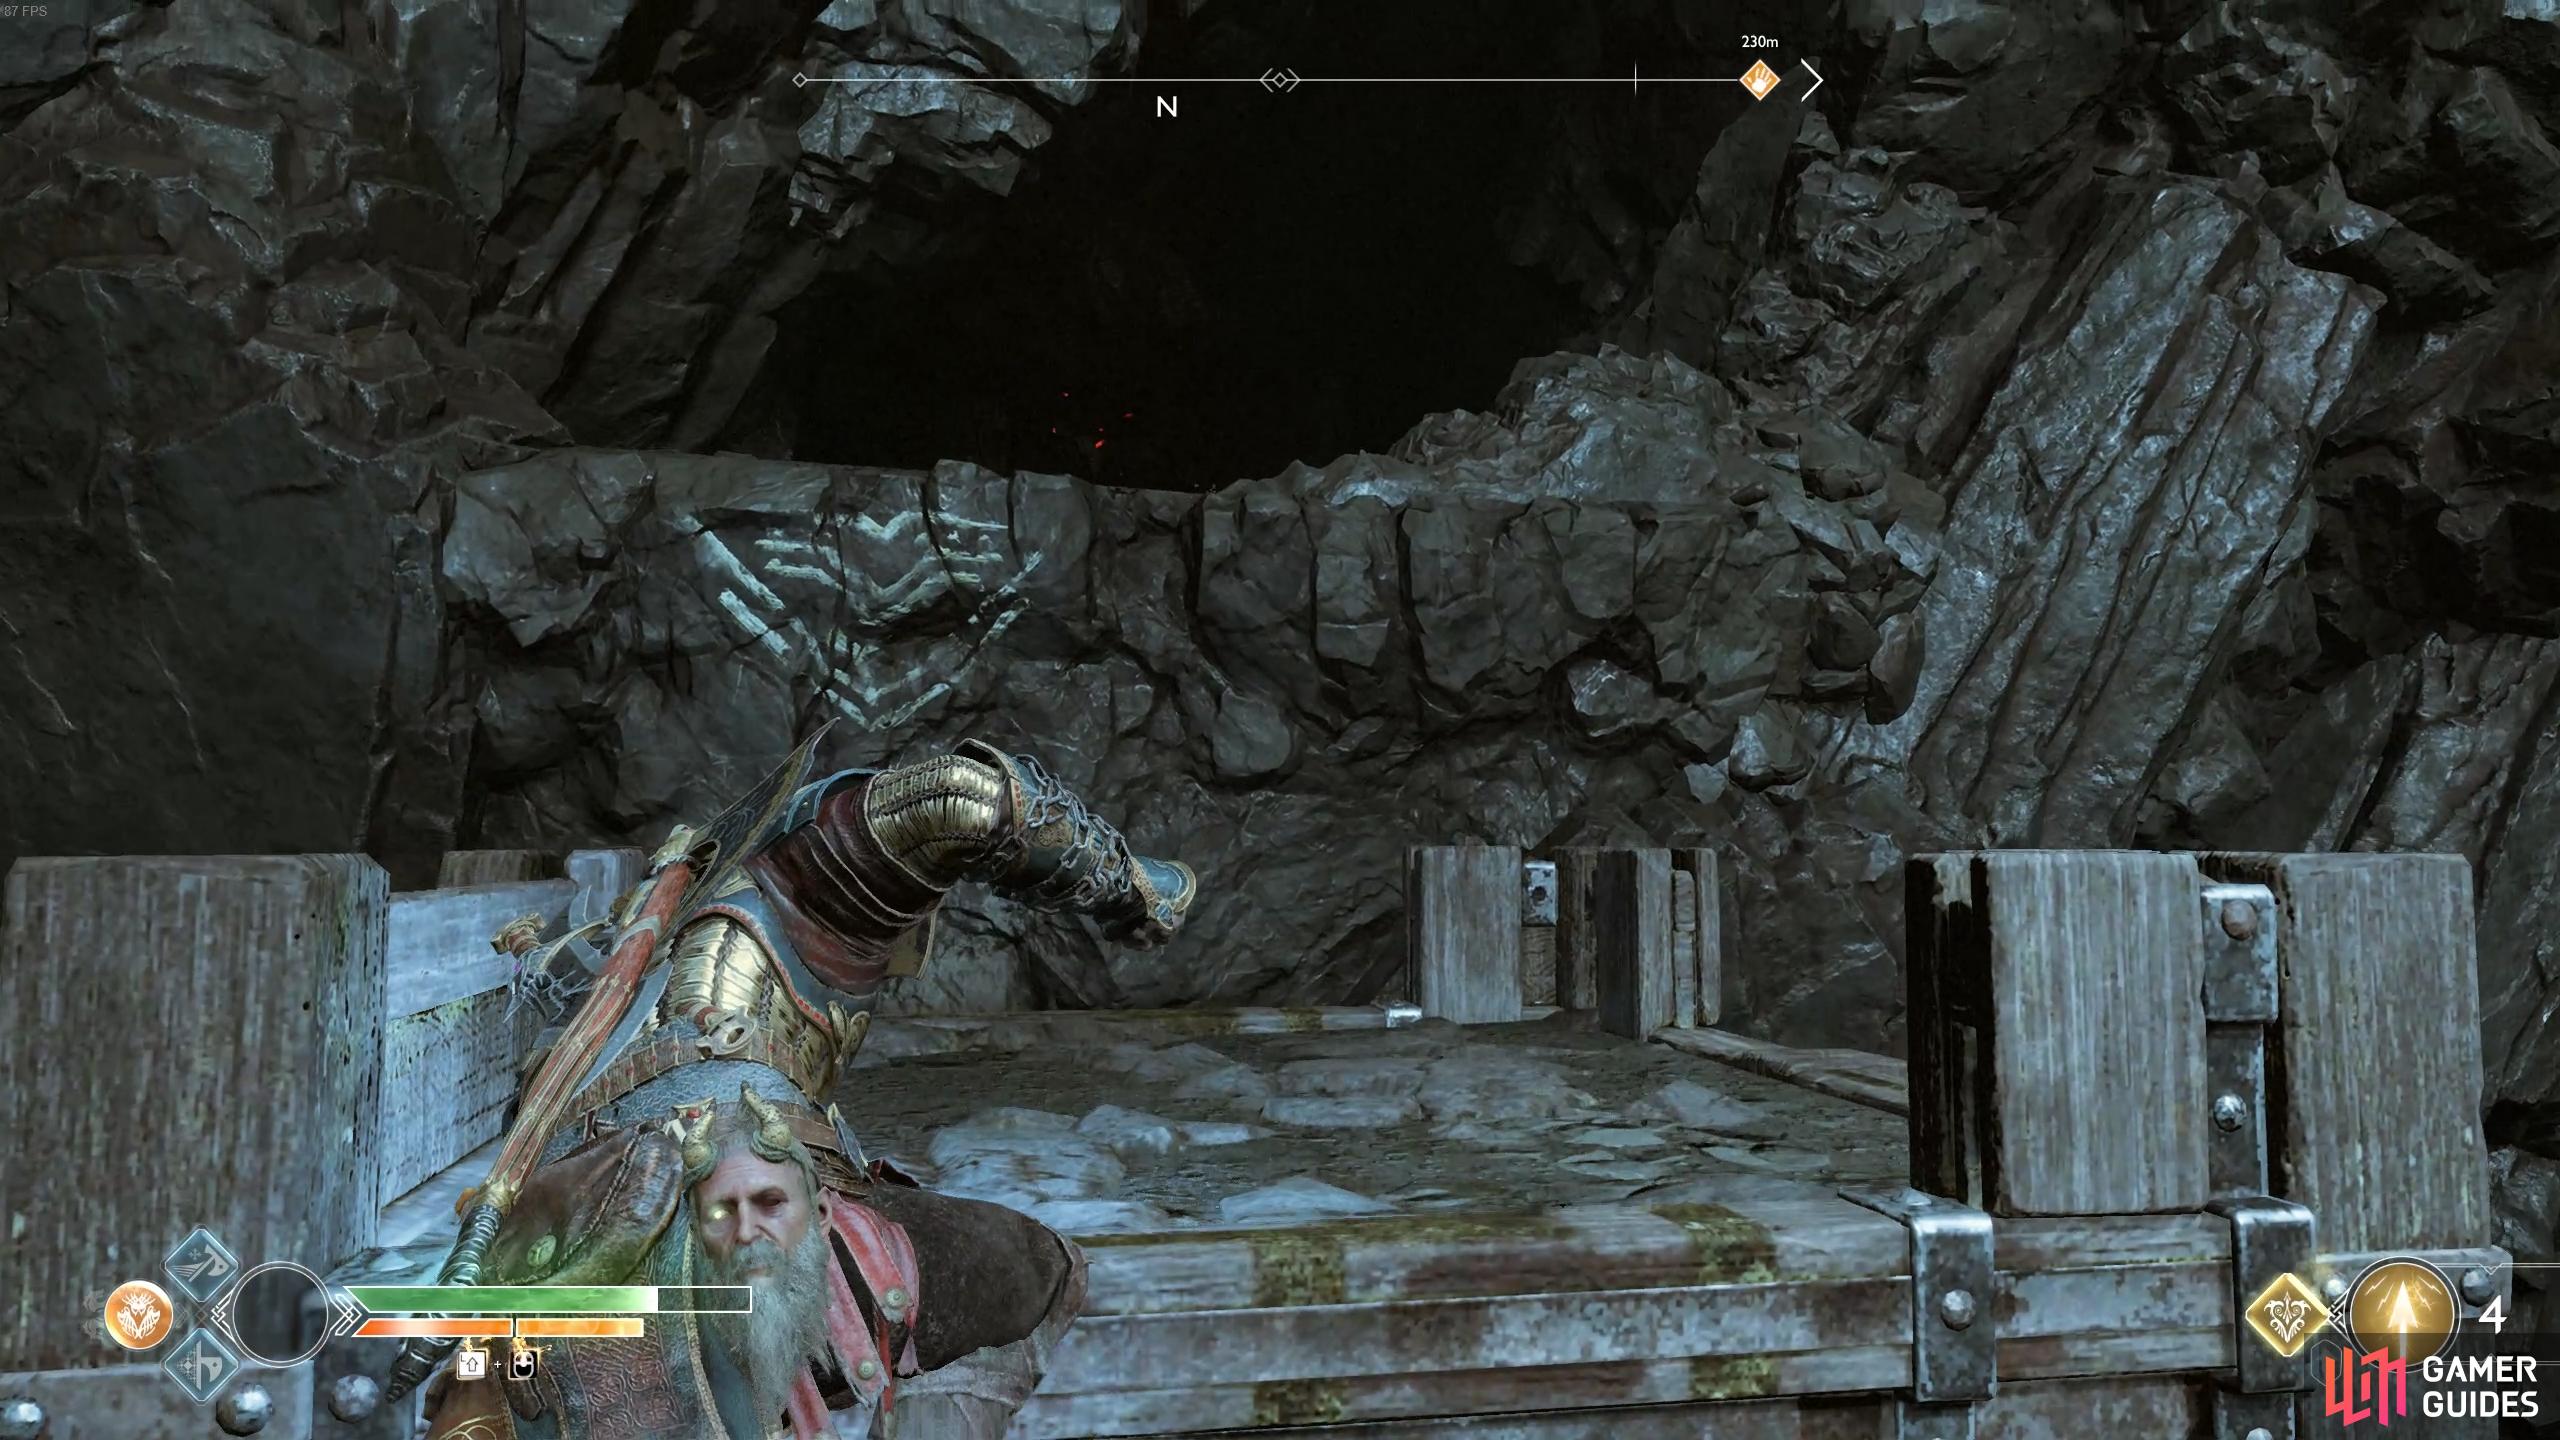
Exit the shop, head across the bridge and through the large doors at the end. Now’s a good time to attempt this Realm Tear if you haven’t already done so, you’ll be facing off against two high level Revenants so make full use of Shock Arrows to pin them in place. Close the tear after to obtain Dust of Realms and 5000 Hacksilver. Check the right Lore Marker for a bit of info on Muspelheim (you still can’t translate the left one for now) and then travel through the caves until you’re back outside.
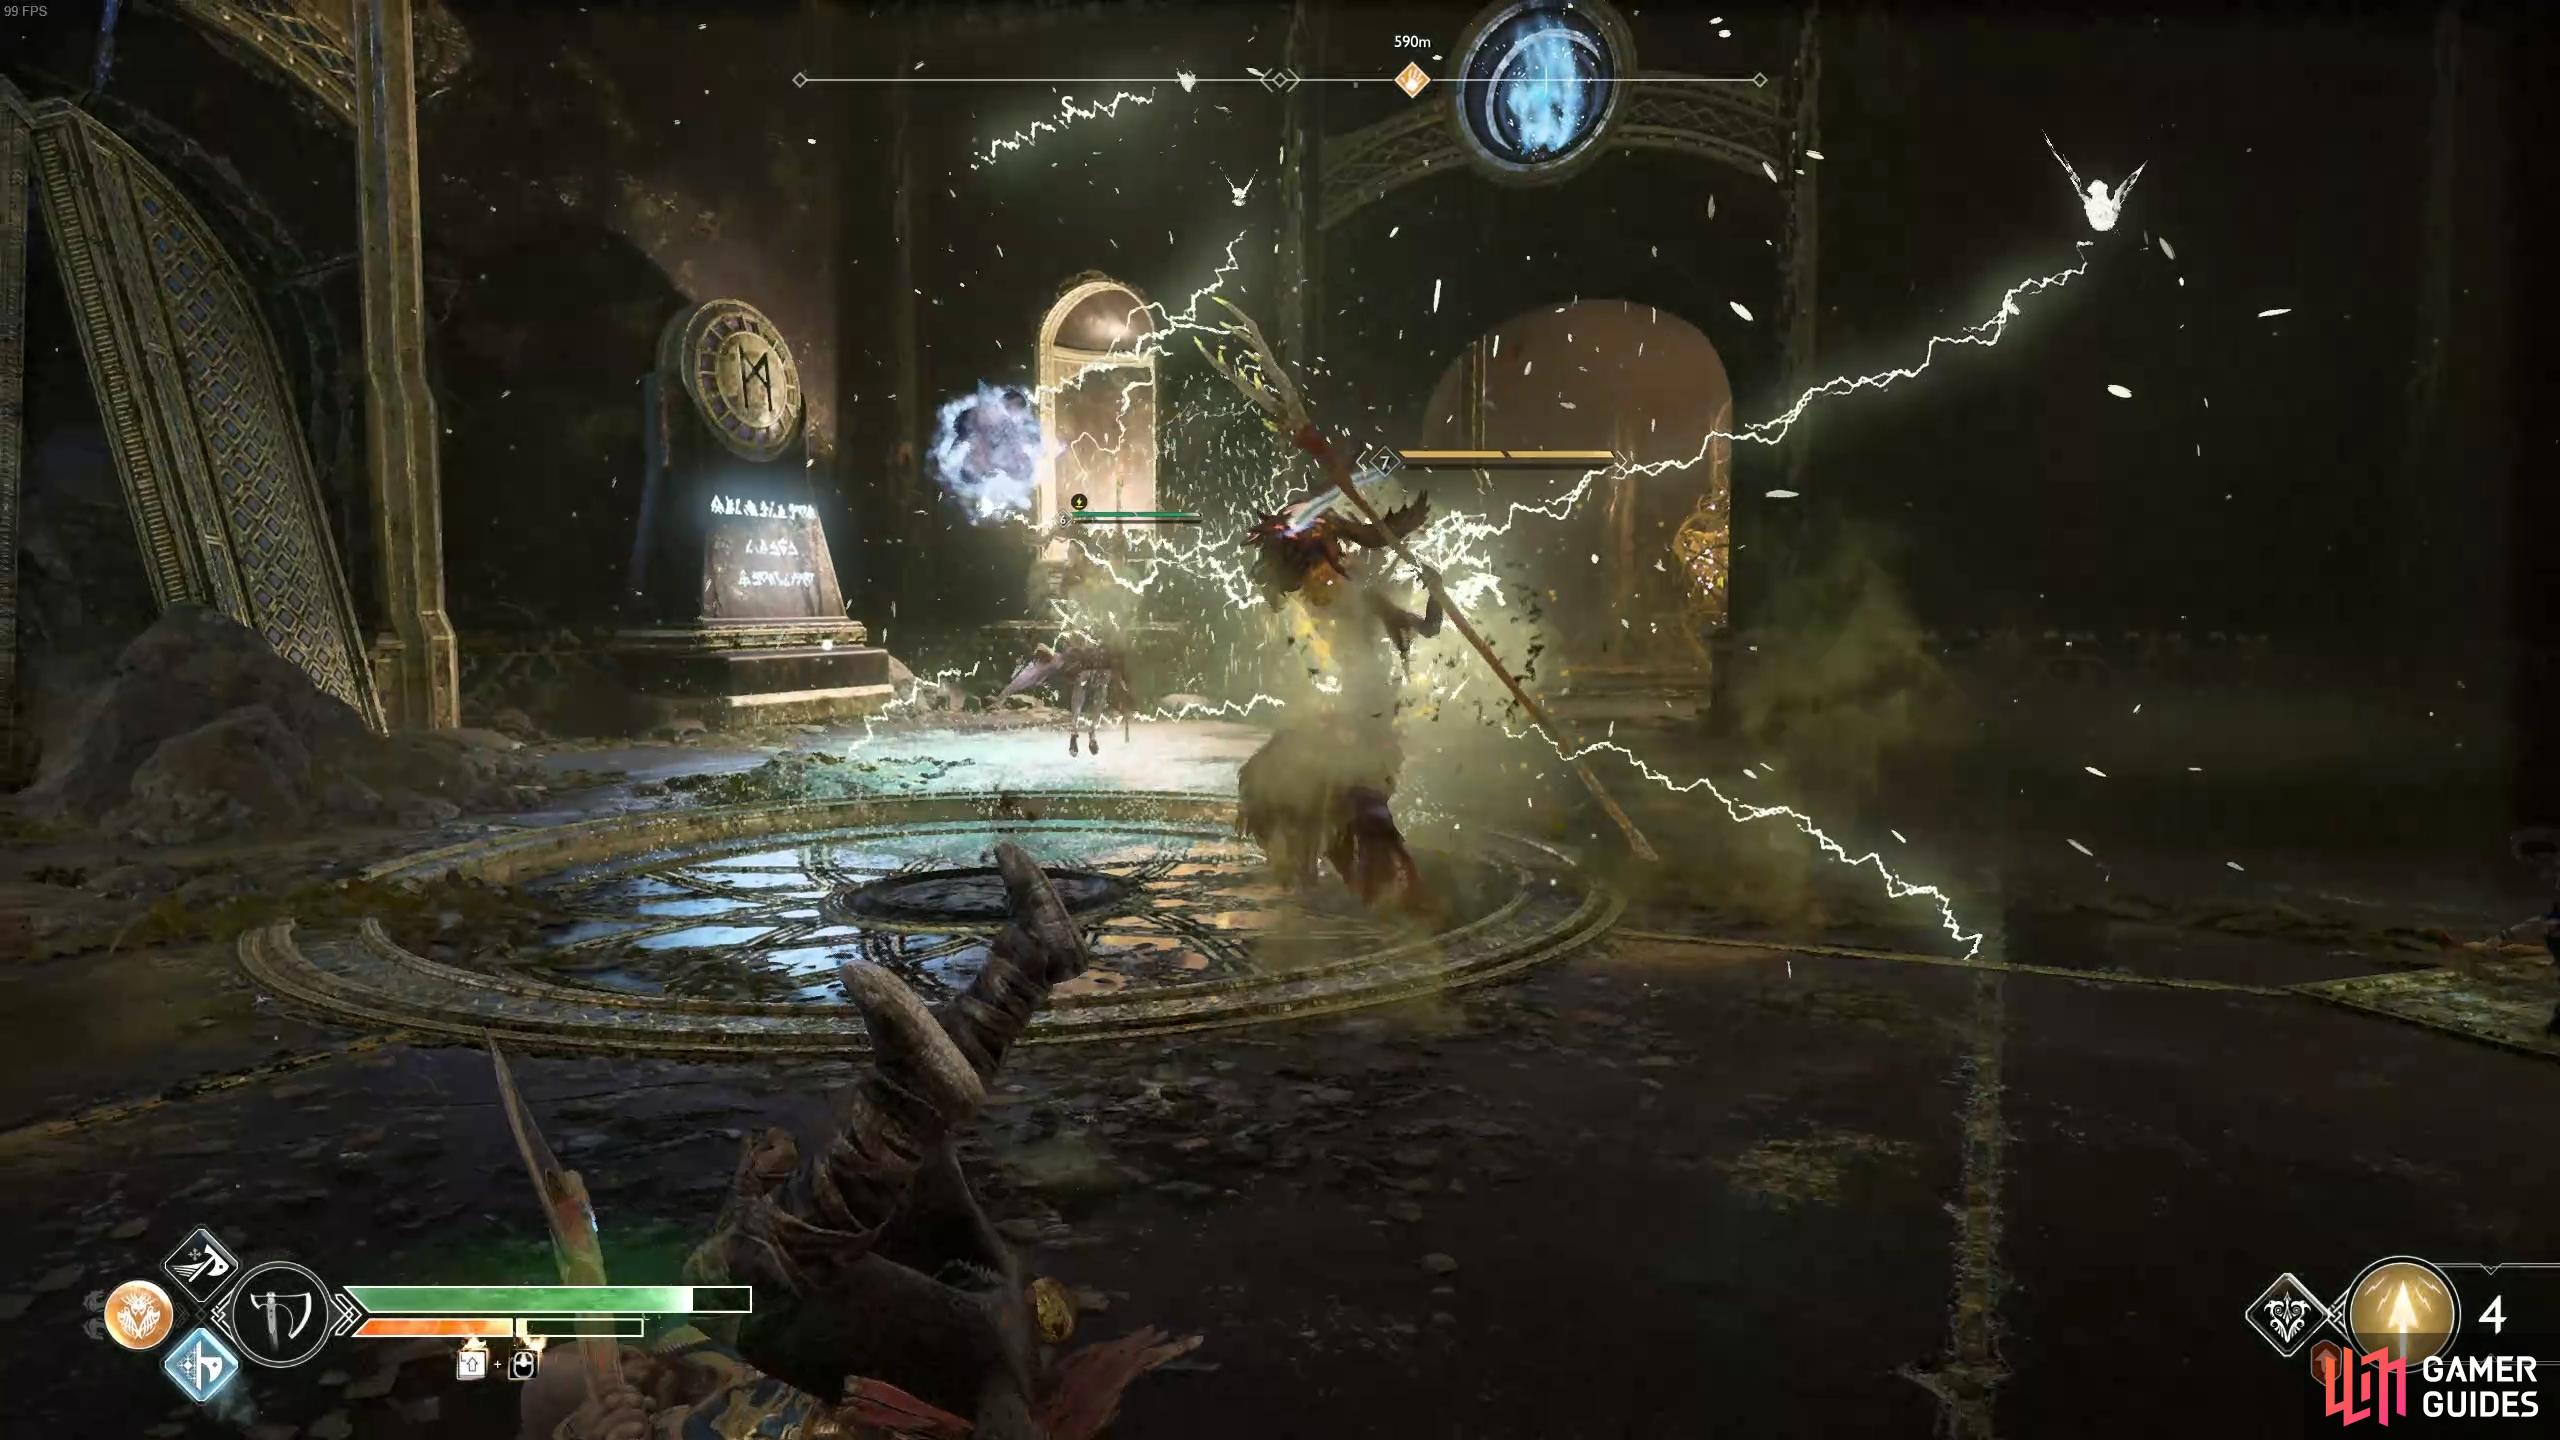
Use Atreus’ arrows to lockdown the Revenants and focus on one at a time.
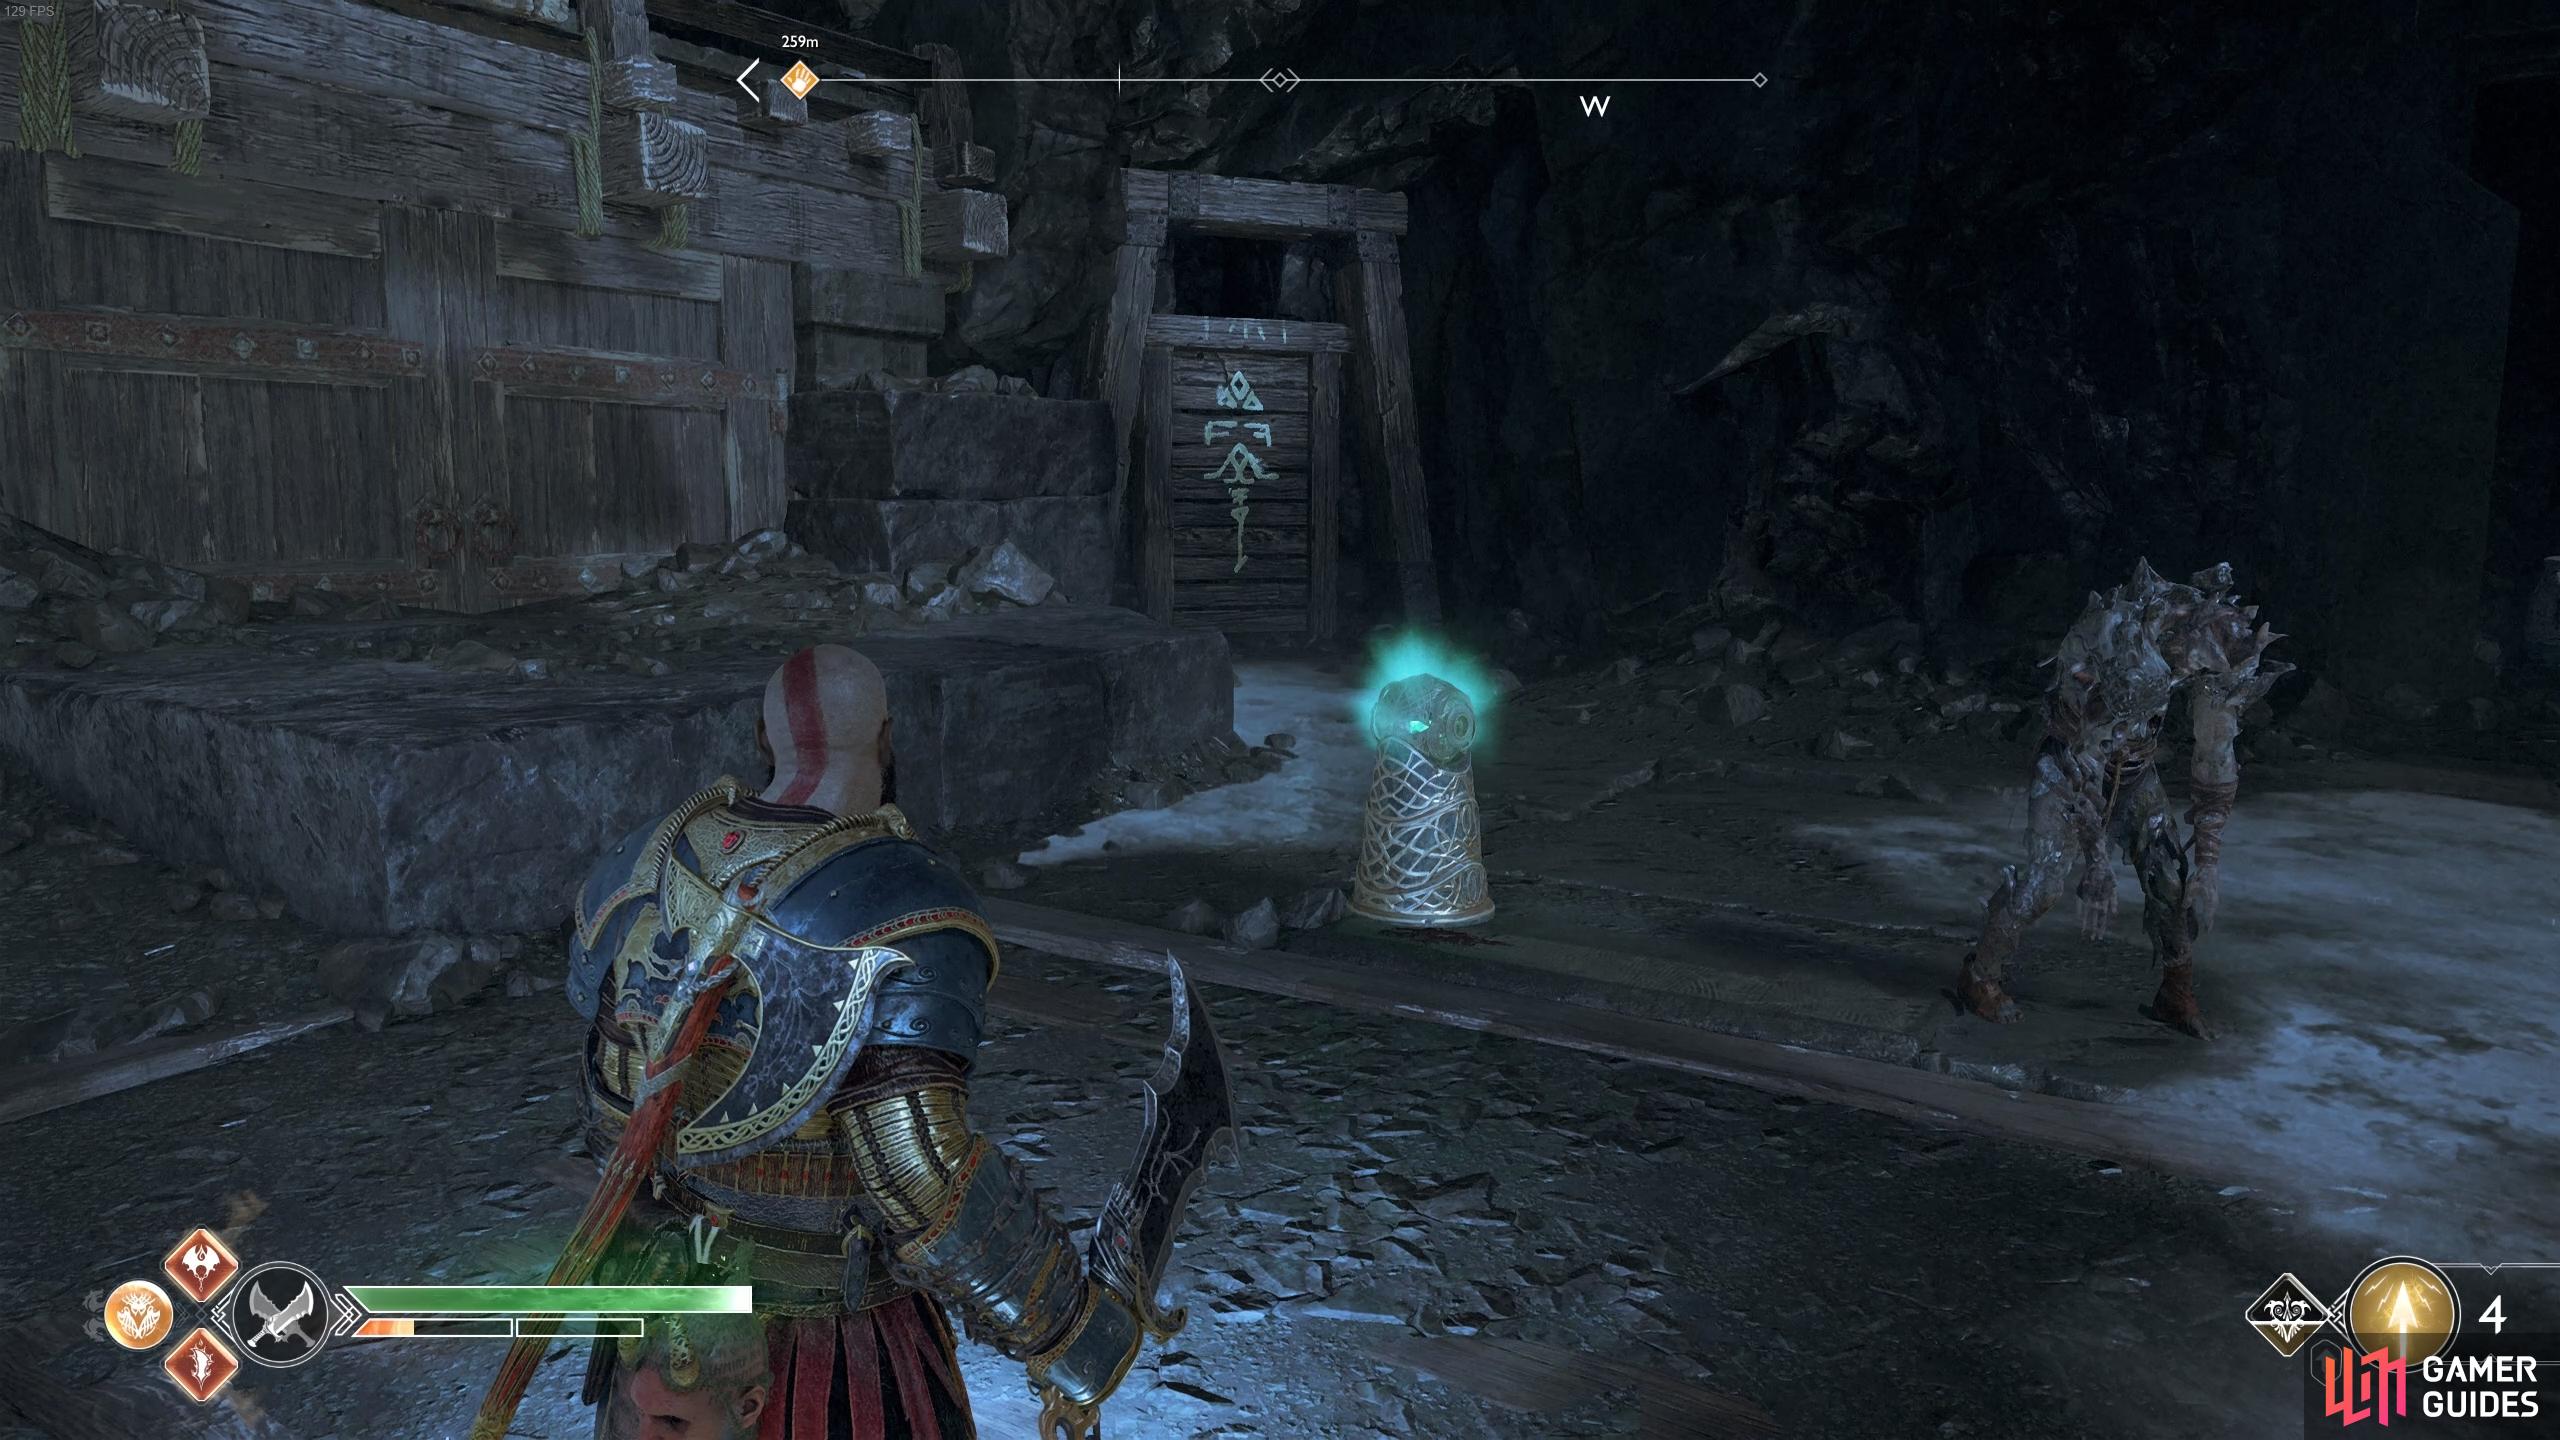
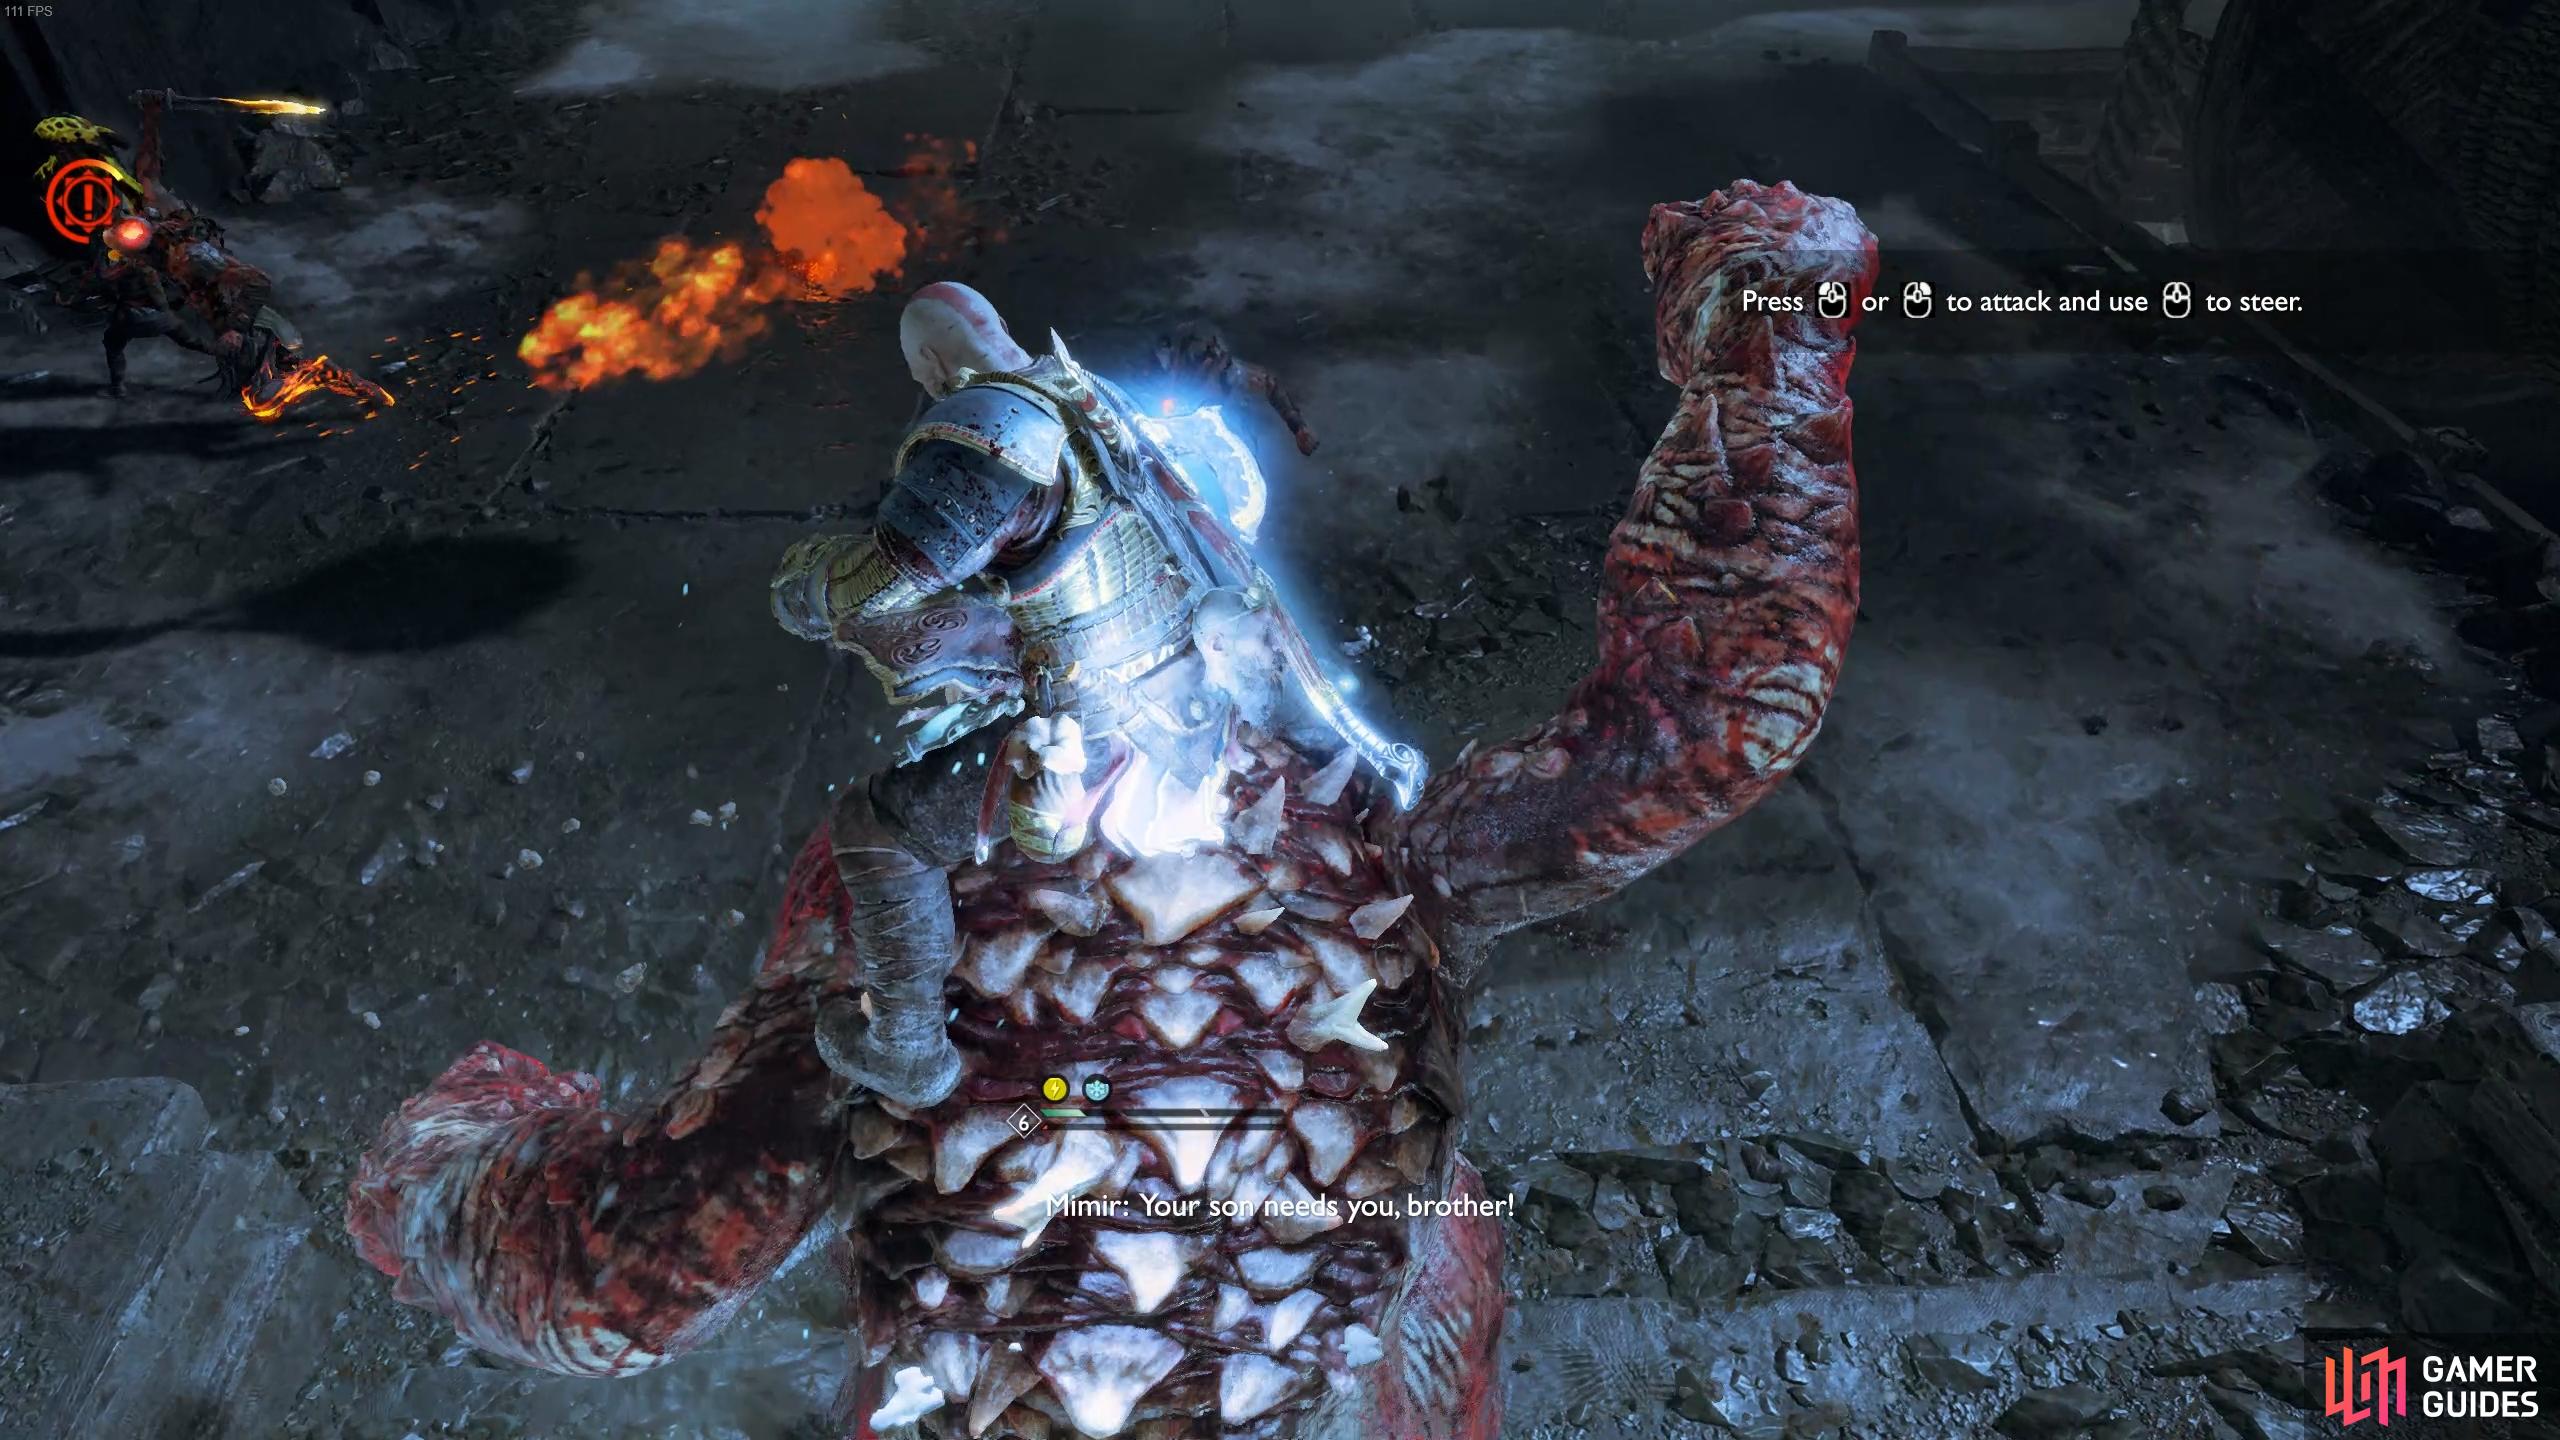
Atreus scolds Sindri on his behavior as he begins to exercise his newly discovered position as a god. Make use of the shop if you need to grab a Resurrection Stone and then step forward to be confronted by a Nightmare, a Fierce Ogre and a Fierce Wulver. Focus you attention on the Ogre and stun it, riding him to help you defeat the other enemies. Once dead, loot the spoils and then head to the east corner to find the lift out of service. Head up and disable the Scorn Pole before shooting the Shatter Crystal on your right to remove the sap around the coffin. Look to the left and use the Blades of Chaos to remove the Hel’s Brambles before tossing the axe at the Scorn Pole. Open the coffin to obtain the excellent Sigil of the Weapon Legendary Enchantment.
Recall the axe and head up the wall at the back as you begin to make your way back towards the mountain. Take the left path at the fork and disable the Scorn Poles, looking above the opened coffin to spot some Hel’s Brambles. Burn it with the Blades and then grab the Winds of Hel above running behind you and taking the other path to spot another wind trap on the left wall.

(1 of 2) Burn the brambles above the coffin to reveal a wind trap.


Burn the brambles above the coffin to reveal a wind trap. (left), Deposit it in the trap located on the left wall. (right)
Head forward and defeat the two Hel-Revenants before looking on the left wall to spot more brambles to burn away revealing the next wind trap. Grab the Winds of Hel once more and deposit it in this new wind trap before grabbing it one final time and opening the door to your right. A Legendary Chest awaits inside containing the Blast of Hephaestus Light Runic Attack gem for the Blades.
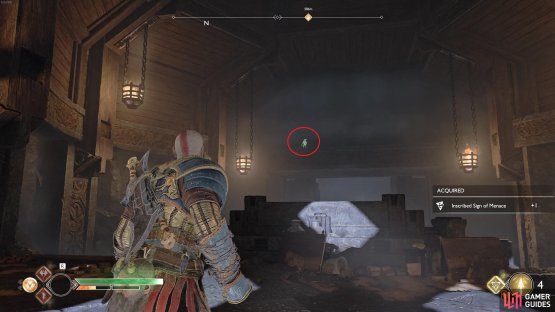
(1 of 2) Search upstairs in the hidden chamber to find a coffin.


Search upstairs in the hidden chamber to find a coffin. (left), Turn around and look above to spot the Raven. (right)
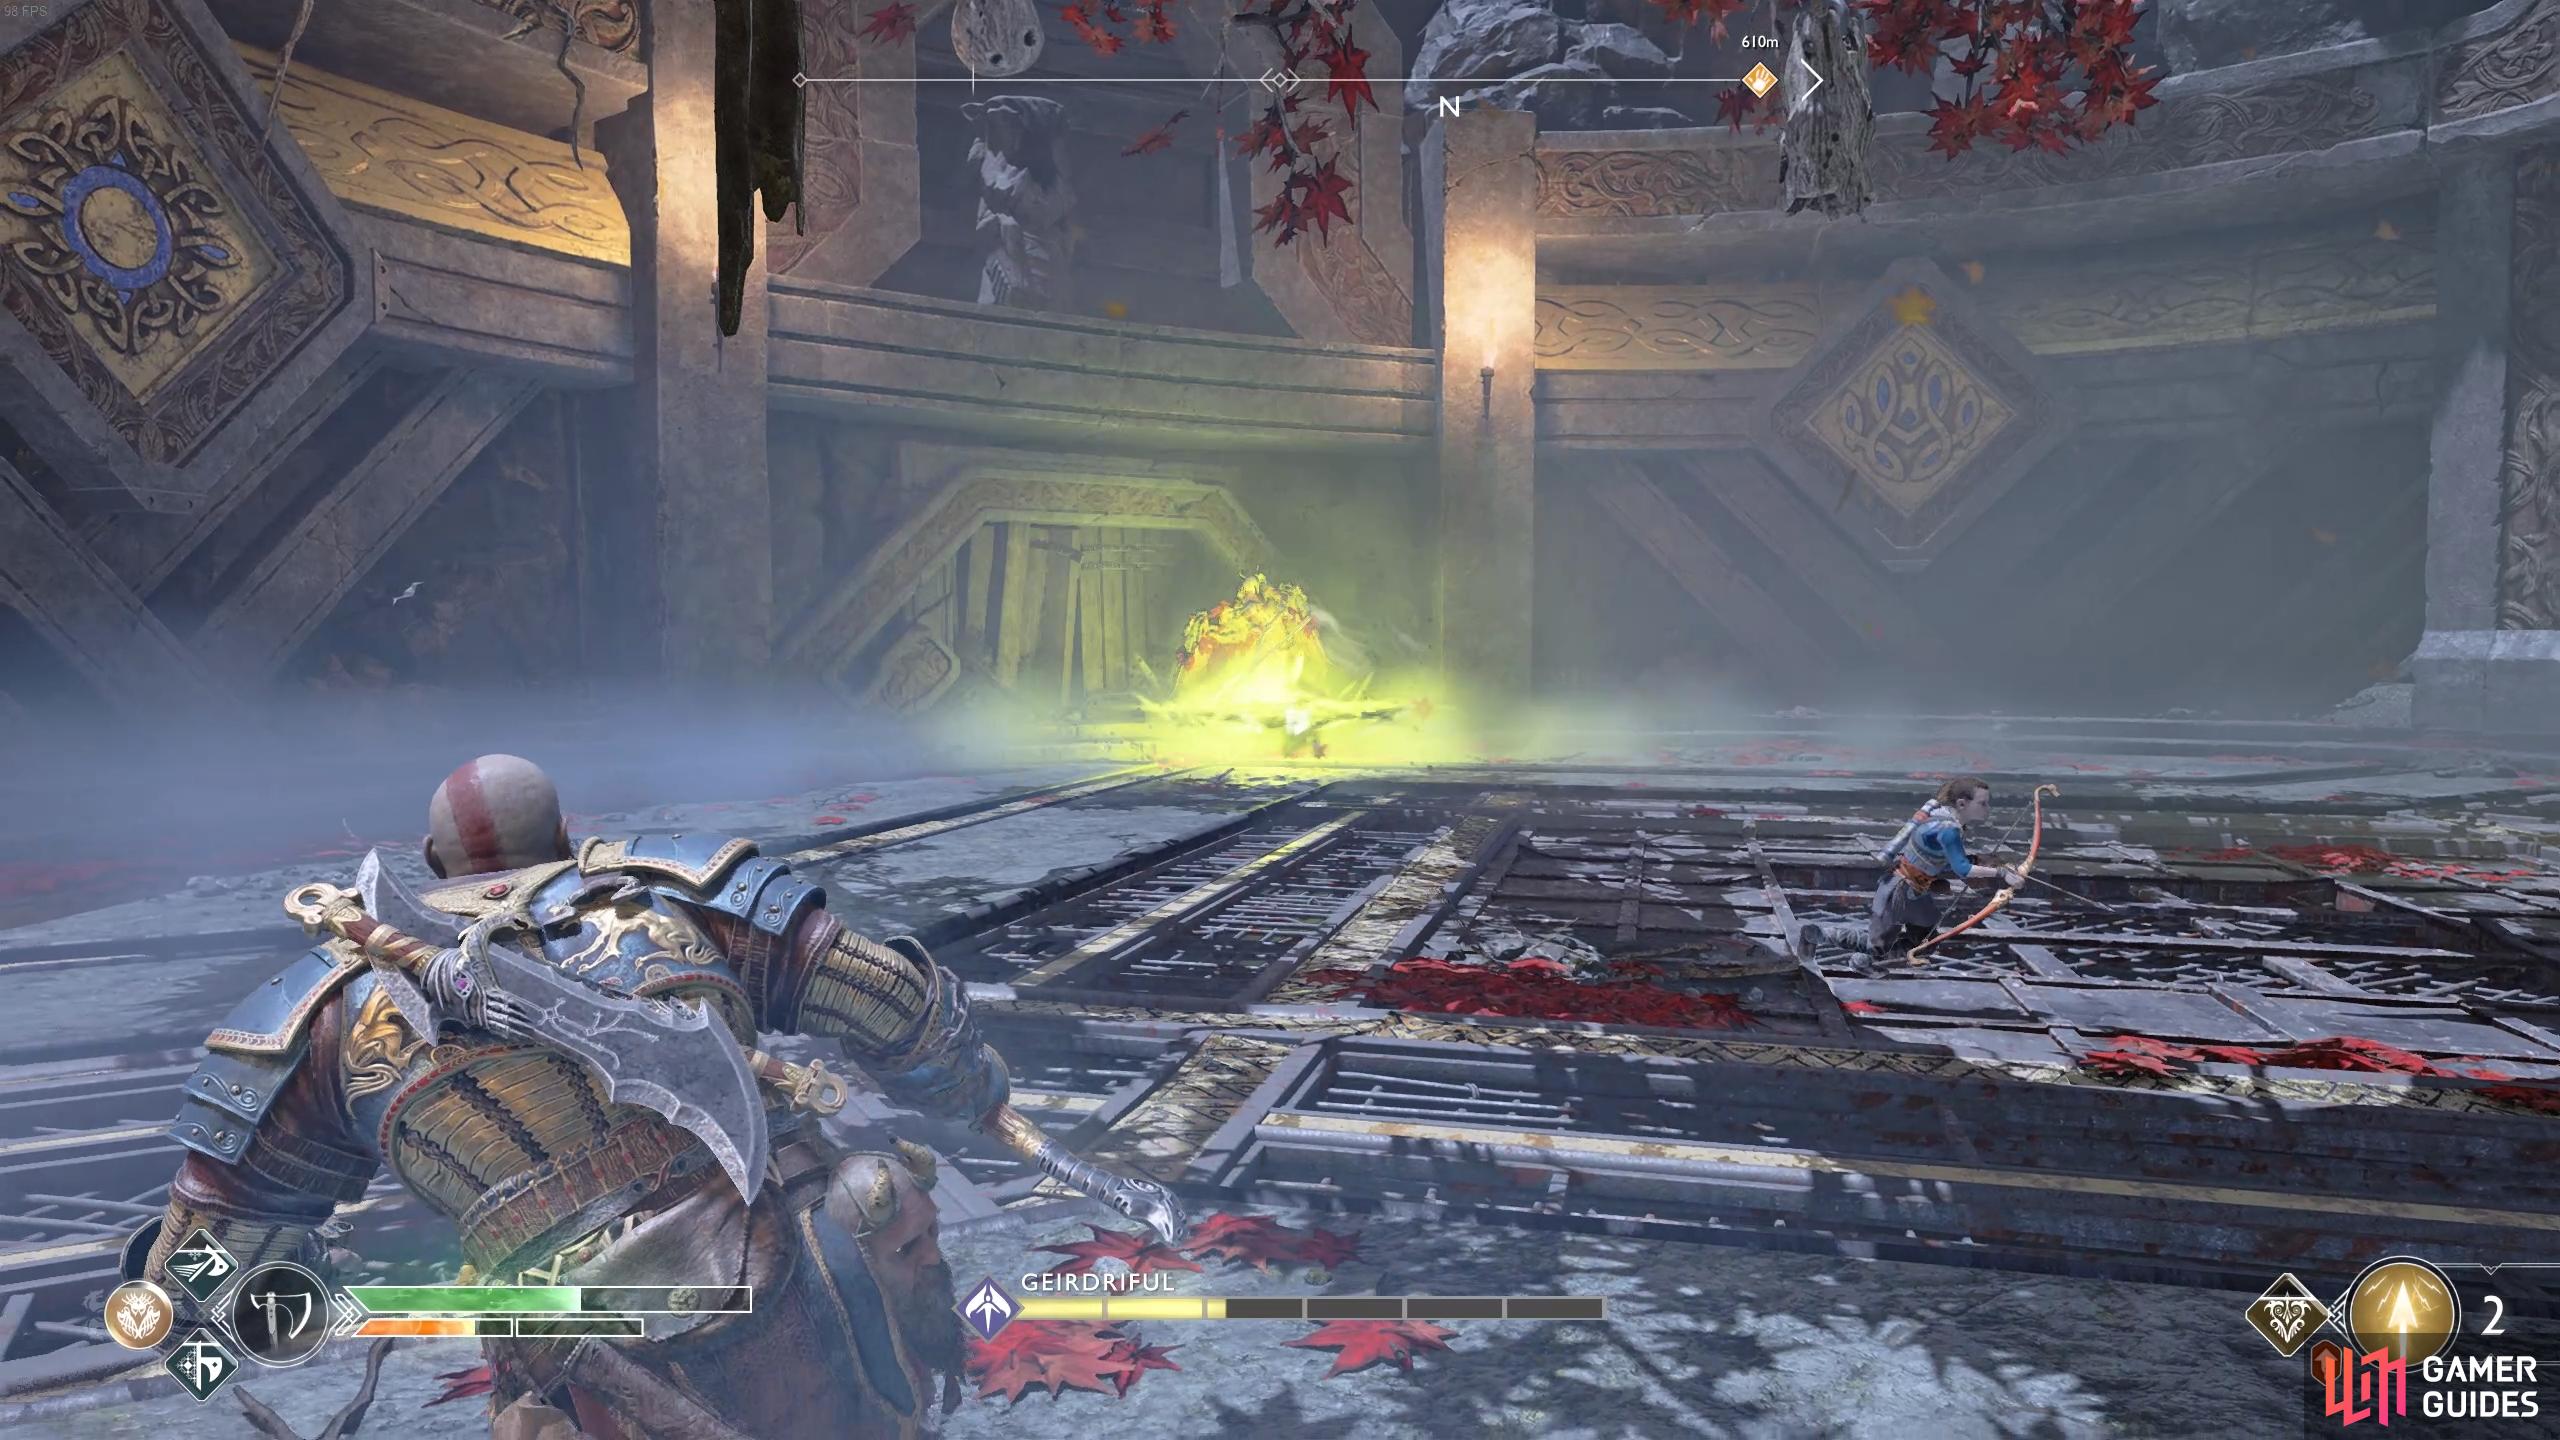
Follow the path to the southwest and through the cave to find the Hidden Chamber from earlier that you can now access. Take the elevator down to the bottom, activate the Mystic Gateway and take the stairs up to find a coffin. Turn the camera to face the stairs you just climbed and you’ll spot a Raven perched above. Climb back down the stairs and open the Hacksilver chest before leaping the gap and heading down the stairs to the left to find a final Hacksilver chest. In the central chamber up top, the Valkyrie Geirdriful awaits.
Defeat Geirdriful
If you’ve already defeated Rota then you should have an easier time with Geirdriful as she has similar attacks as her sister with a few changes.
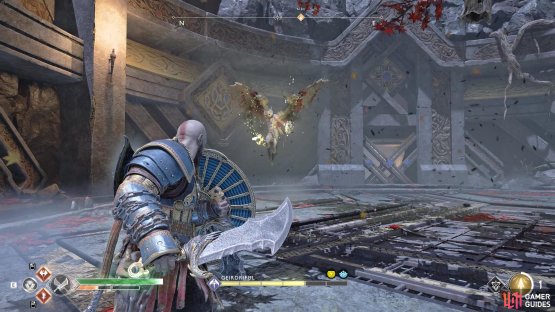
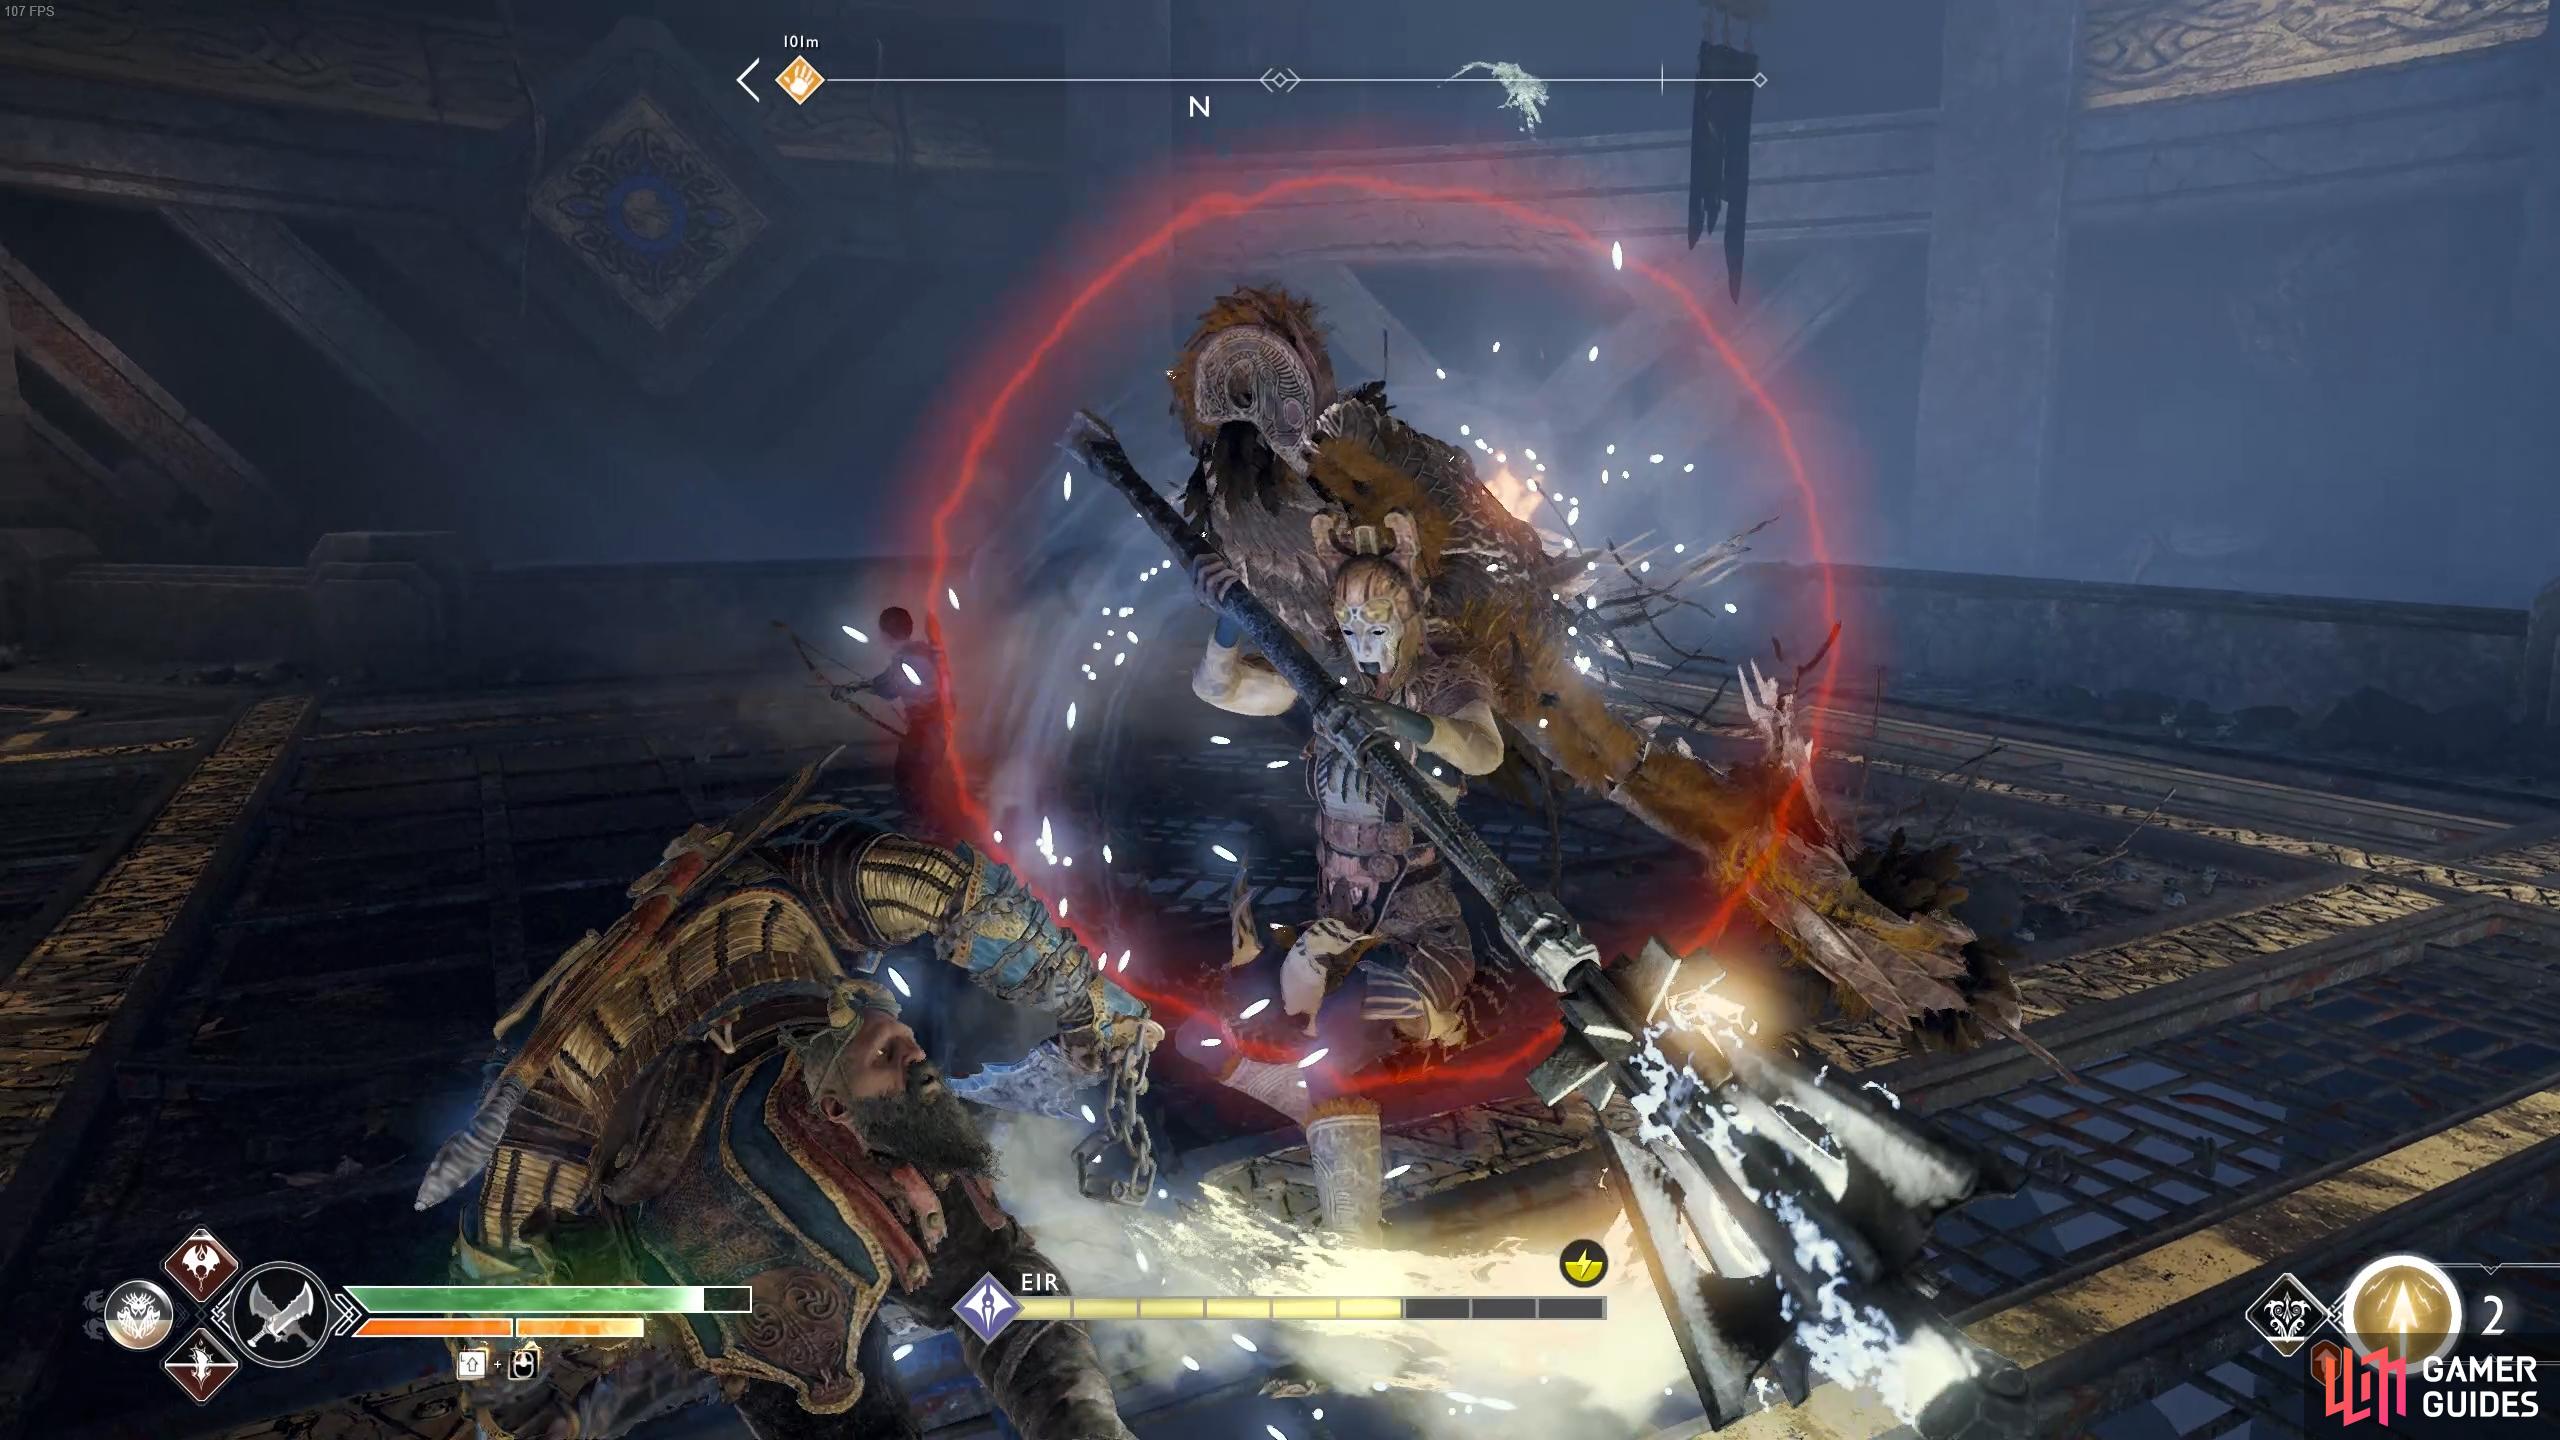
Like all Valkyries, Geirdriful has access to the Wing combo and Scythe attacks and it should be second nature by now how to defend against these. Her signature attack is performed when she rises in the air with a red ring around her, this signifies the beginning of her Shockwave attack where she will blind you if you’re caught in it. You can stun her out of the attack if you hit her with an arrow as she rises, otherwise look away if you can to avoid the attack. If you are caught in it then keep on the move, Geirdriful is mobile and you’ll have no idea where she is.

(1 of 2) You can block or dodge the projectiles which Geirdriful launches from the ground.

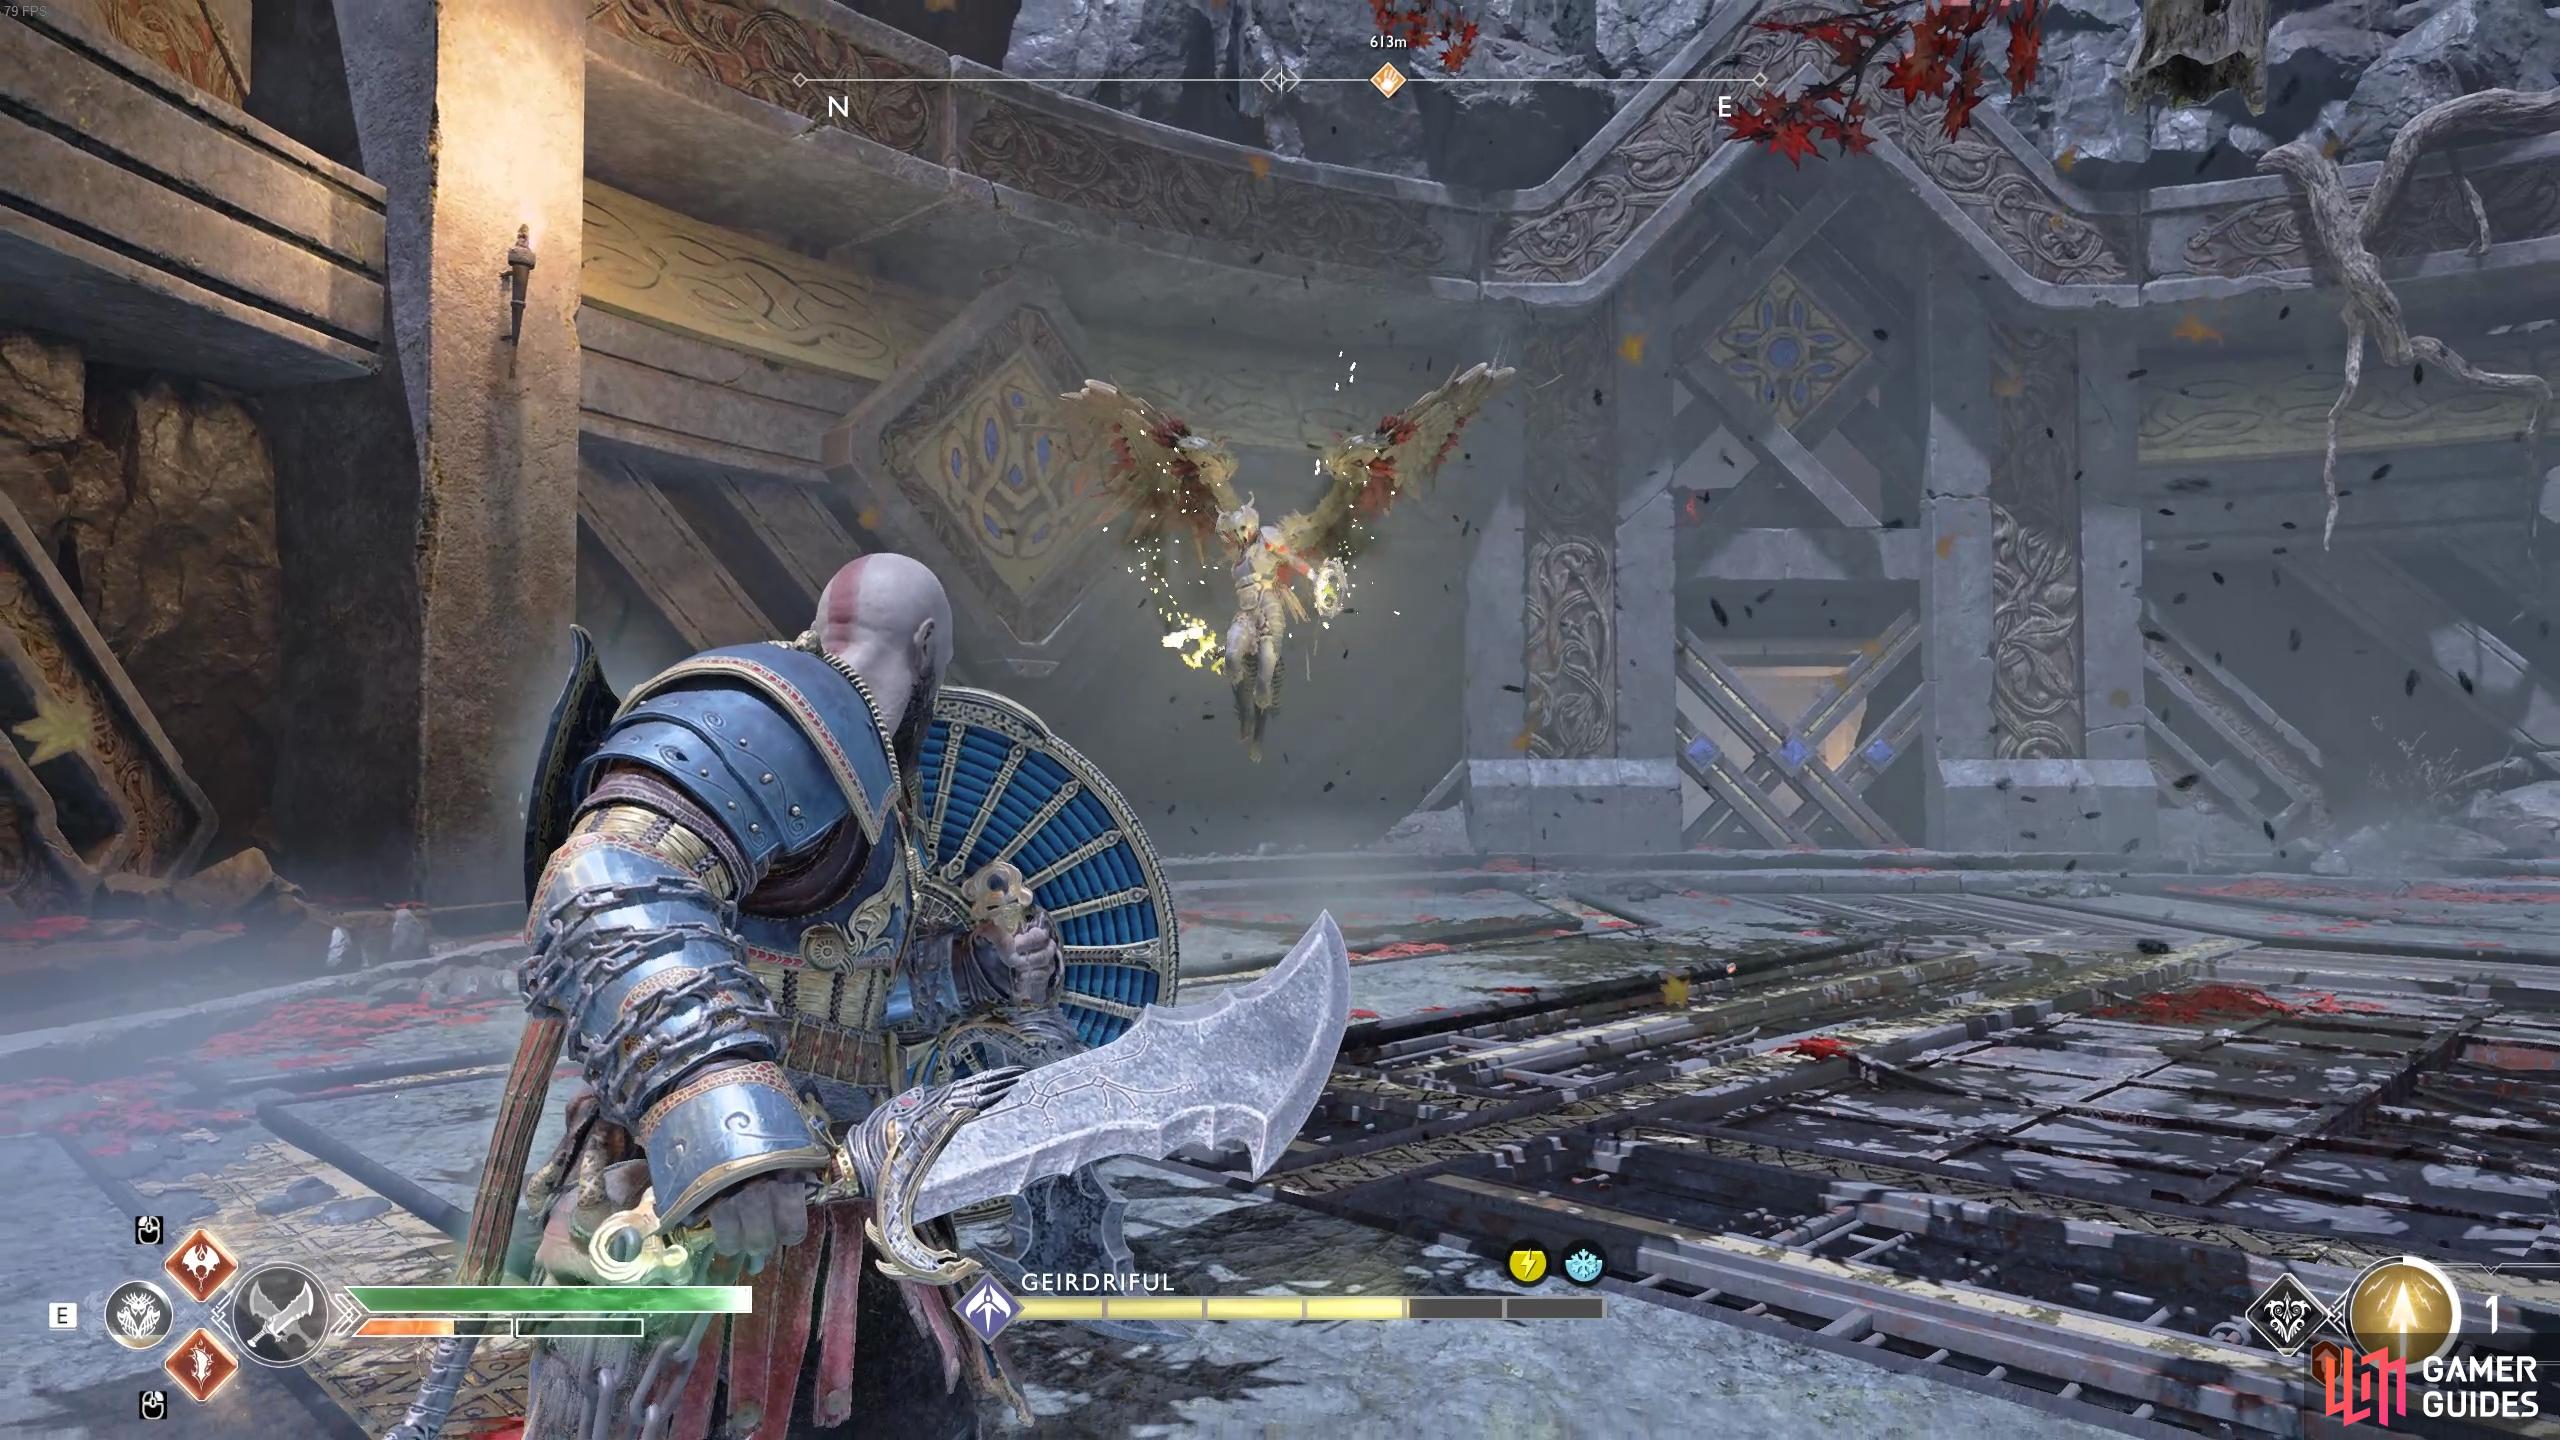
You can block or dodge the projectiles which Geirdriful launches from the ground. (left), You’ll need to block the magical projectiles which Geirdriful fires from the air. (right)
The two variations of Chakram attacks are carried over from previous fights, remember to dodge to the side of the linear, unblockable attack and raise your shield to block the swooping Chakrams. These attacks obviously become very troublesome if you find yourself blinded. She can also dart in close to perform a punch attack, if you’re hit this will cause blindness too.
Her other new attack involves her raking her scythe through the ground to shoot a linear shockwave at you, this is unblockable so dodge to the side. Finally, she has the Dive attack that Rota had with one significant difference, she’ll only perform one dive at a time, this is actually your best opportunity to score some attacks on her.


(1 of 2) Be ready to dodge the incoming dive when you see the red circle, which often comes after the magical projectiles.
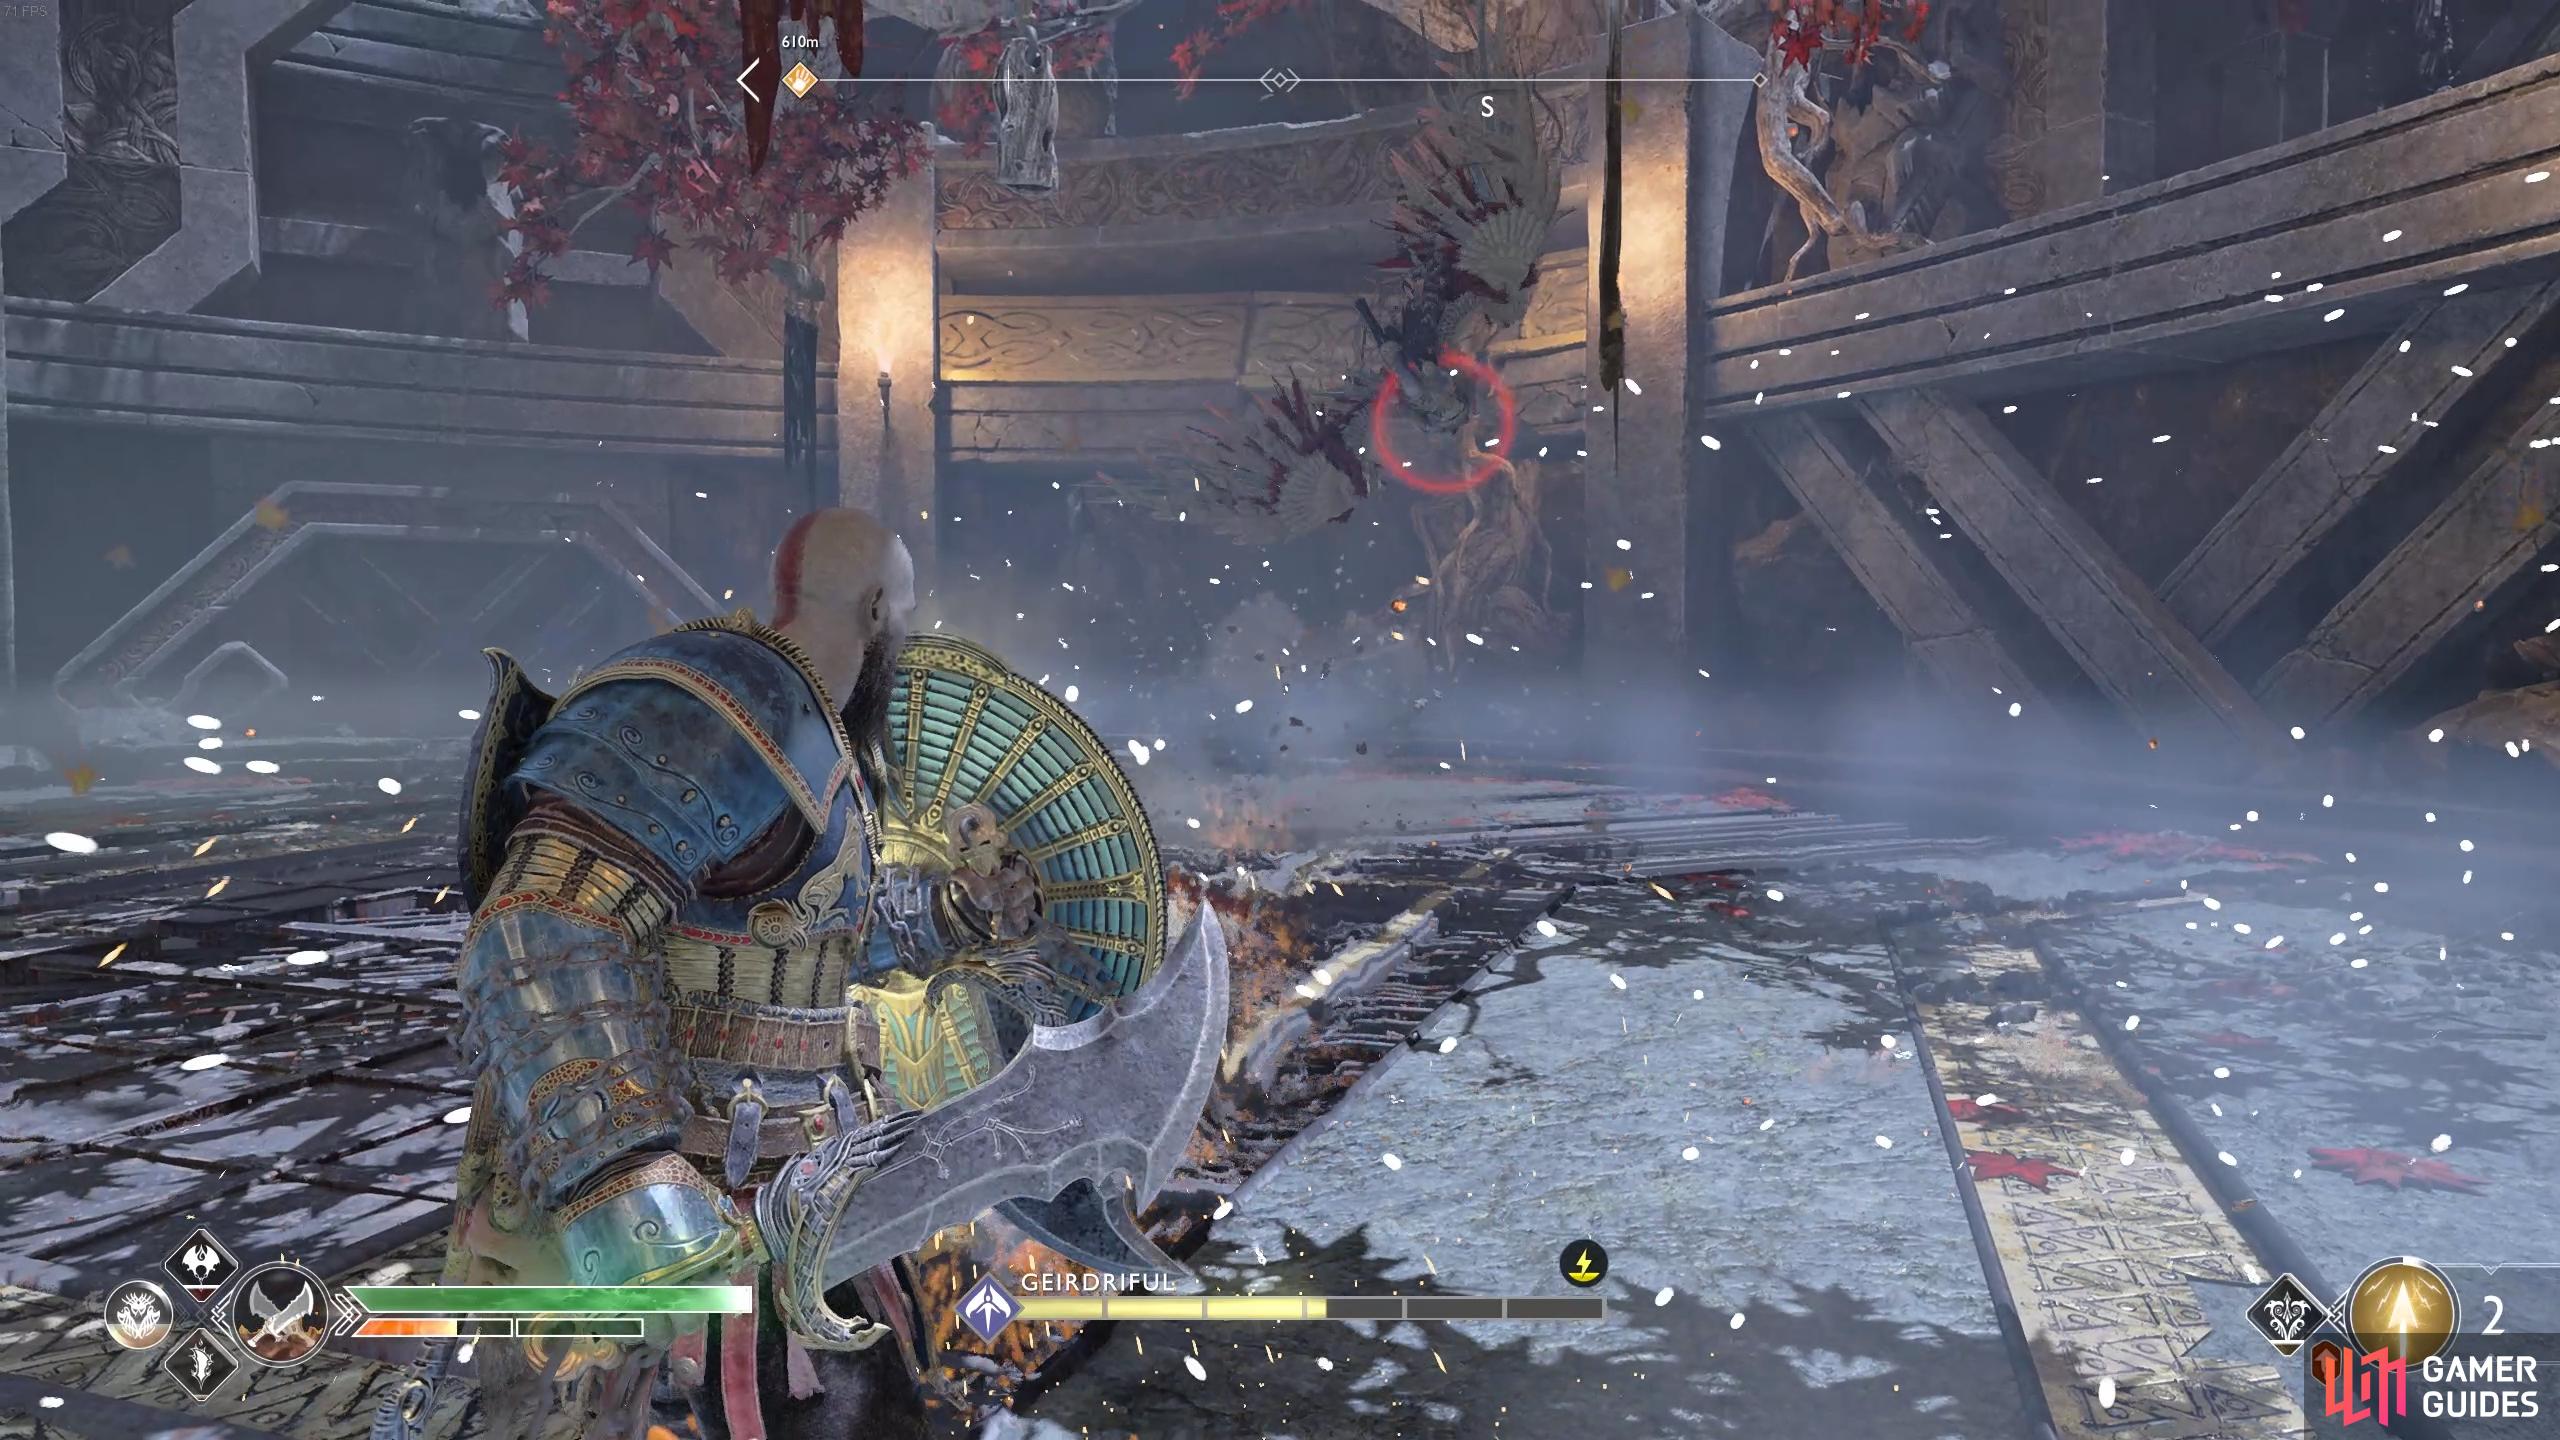
Be ready to dodge the incoming dive when you see the red circle, which often comes after the magical projectiles. (left), Dodge or turn away from the blinding attack. (right)
The battle all boils down to whether you can avoid the Shockwave attack that blinds you, if you can then you’ll have no problem putting her down, she’s an easier encounter than Rota for sure. Like always, pay attention to your Spartan Rage gauge and make use of it should you need it.
Upon her defeat, you’ll obtain Geirdriful’s Helmet and on the ground the Heart of Vanaheim Epic Enchantment along with more Asgardian Steel. Take the elevator back up and leave the chamber, taking the other path and scaling the mountain (optionally return to Sindri to purchase another Resurrection Stone if you used it during the battle).
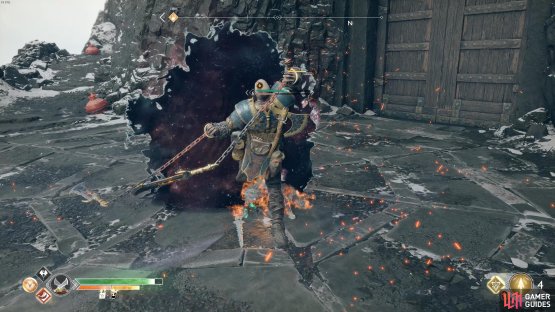
As you step forward, you’ll be introduced to Broods that come swarming out of the portals. These are like the Hel-Broods you encountered back in Helheim and although not a problem on their own, can be quite dangerous in this swarm that attacks you. Equip the Blades of Chaos and make use of the Whirling Chaos skill (hold the  or
or  button down) to dispatch them easily. Once dead, pass through the doors once more and defeat the Nightmares that spawn here. You’ll find a coffin to your right that you can free by burning the brambles with the Blades.
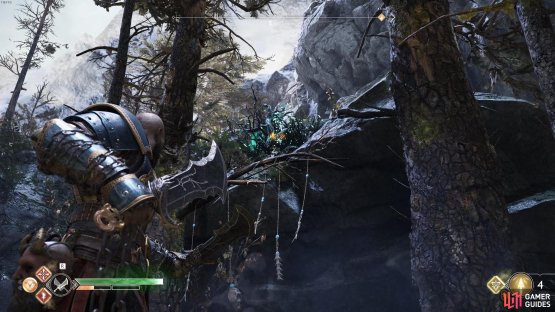
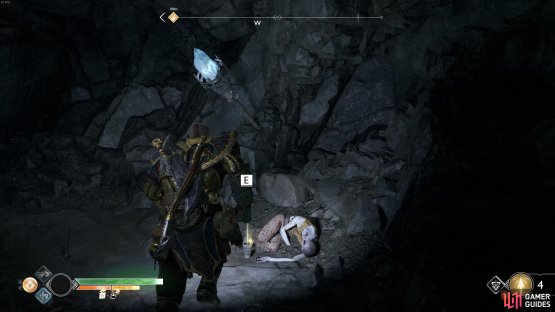
Continue your trek across the long trail and shoot the Shatter Crystal in the distance once you begin climbing the stairs. Leap the gap, open the coffin and then climb the wall, checking the left edge of the cliff to unearth the treasure related to the [Don’t Blink] Treasure Map containing a Glacial Catalyst, the Eye of Fury Legendary Enchantment along with 2 Solid Svartalfheim Steel and 6000 Hacksilver. Once you’re ready, head through the doors and into the mountain once again to confront an injured Modi. There’s no battle this time however as the little god takes matters into his own hands, against his father’s wishes.
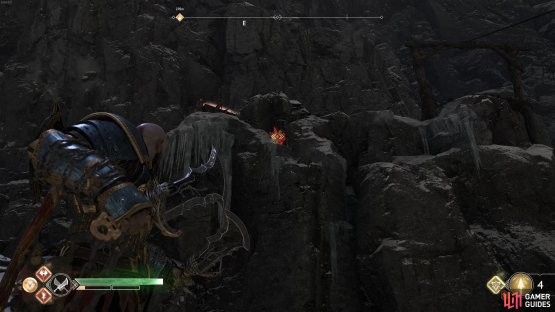

(1 of 2) Shoot the Shatter Crystal as you climb the stairs.
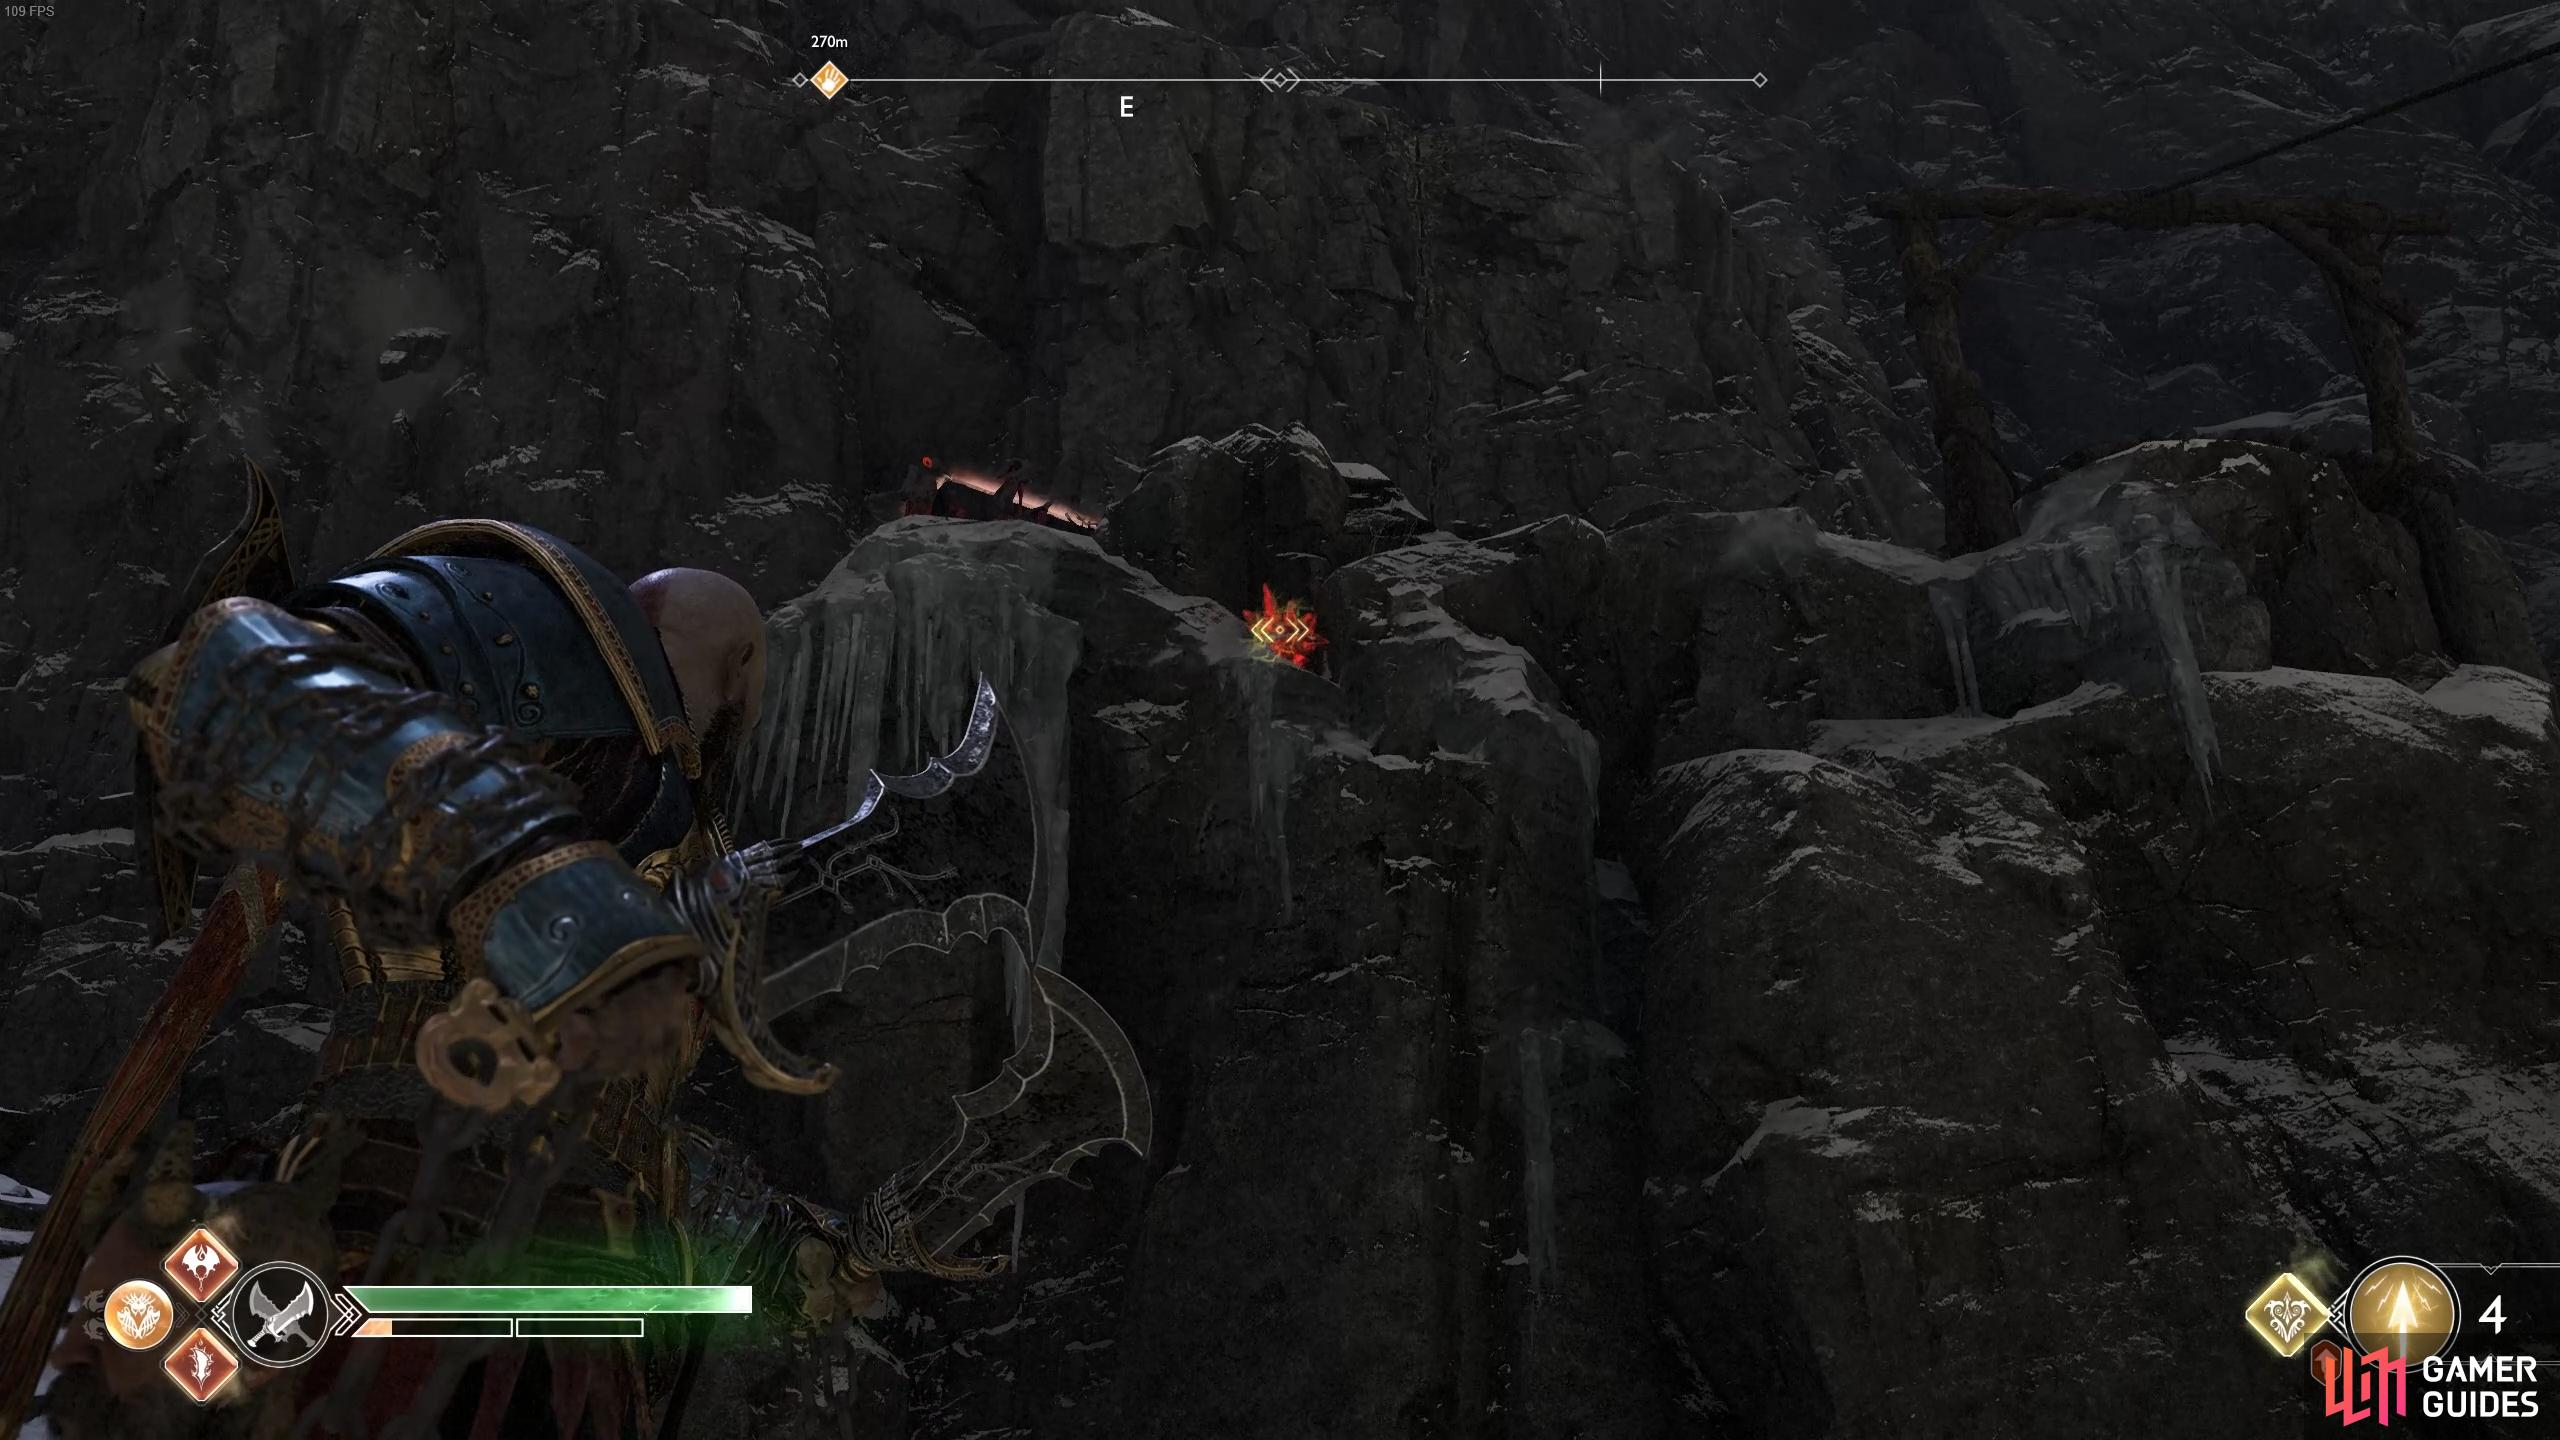
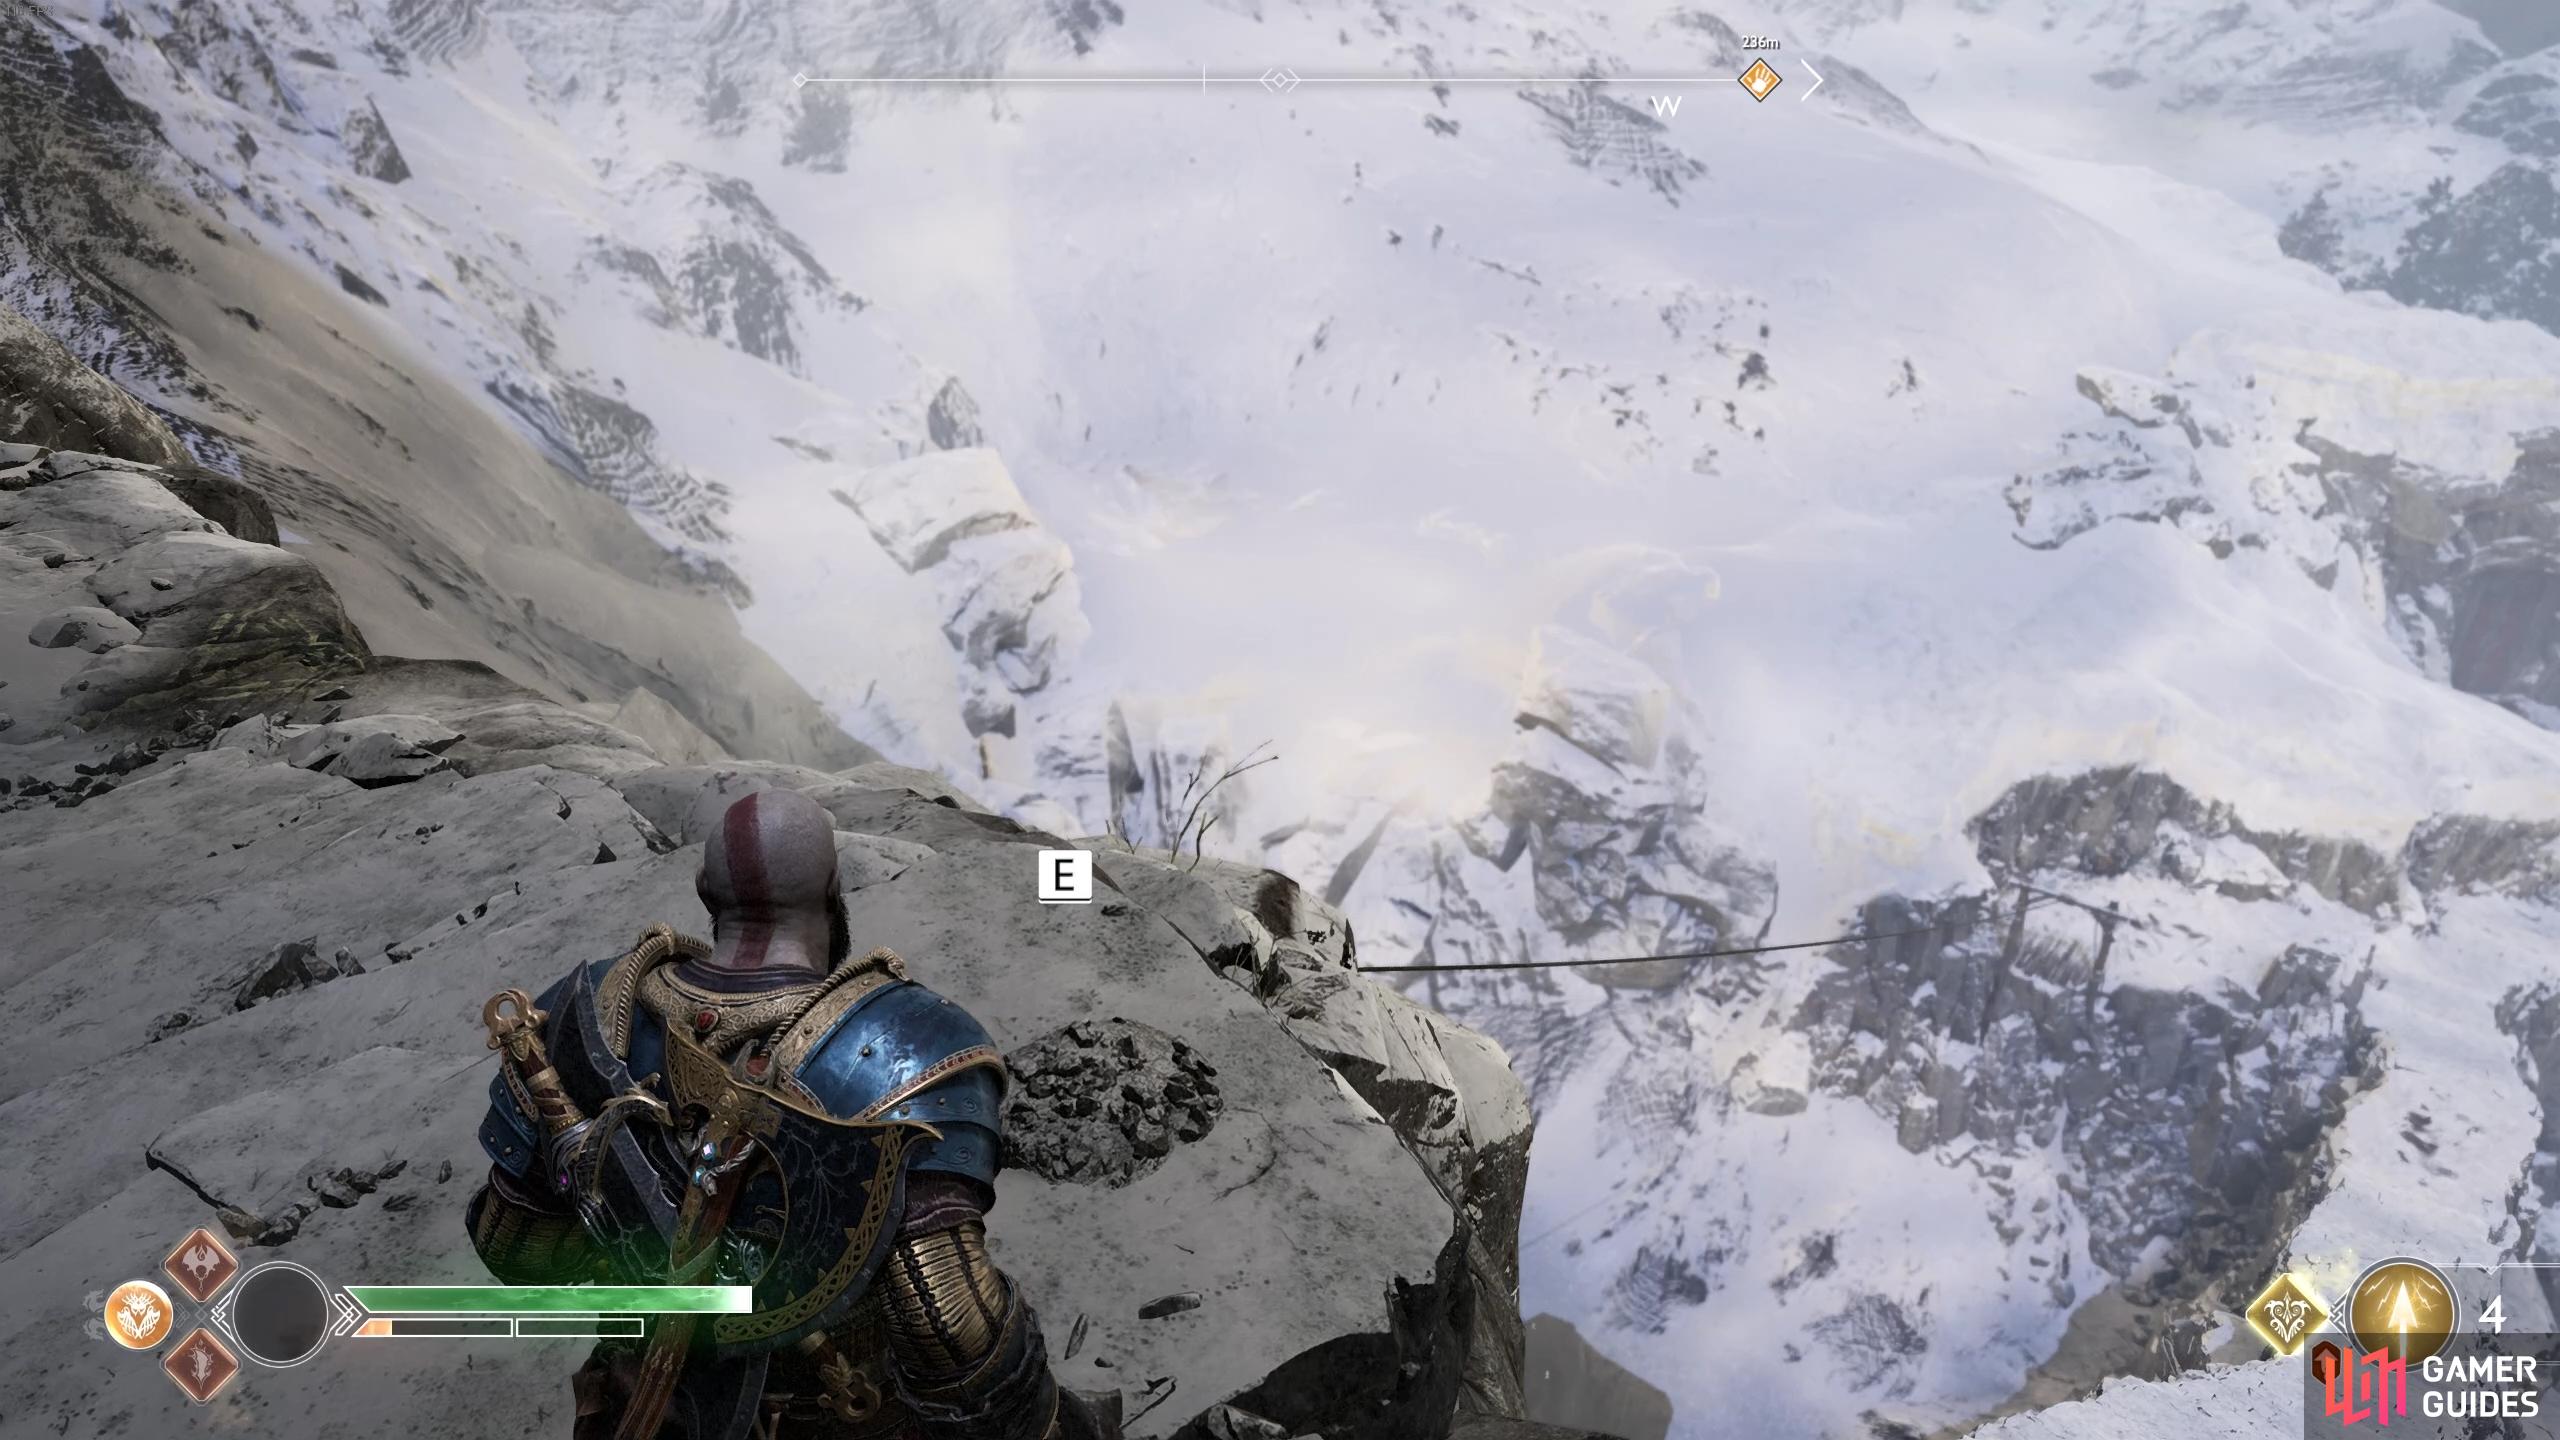
Shoot the Shatter Crystal as you climb the stairs. (left), Find the treasure hoard on the left cliff as you approach the doors. (right)
Head through the passage to the left and shoot the Shatter Crystal to remove the sap from before. Go back to where Modi fell to grab the Light Crystal and bring it this way, placing it in the pedestal to light up the Lore Marker. Defeat the Cursed Tatzelwurms and then climb the chain at the end, following the path to reach the heart of the mountain.
Find a new path up to the summit
Draugrs and Wolves patrol the base of this area, head in and defeat them before heading to the north and destroying the Shatter Crystal on the left wall. Inside you’ll find a coffin and another Artefact belonging to the Bottoms Up quest. Head back to the center and go over to the south wall to find the Hidden Chamber.

(1 of 2) Look to the right of the coffin to find this Artefact.
Look to the right of the coffin to find this Artefact. (left), You’ll find a bunch of goodies at the top of the stairs. (right)
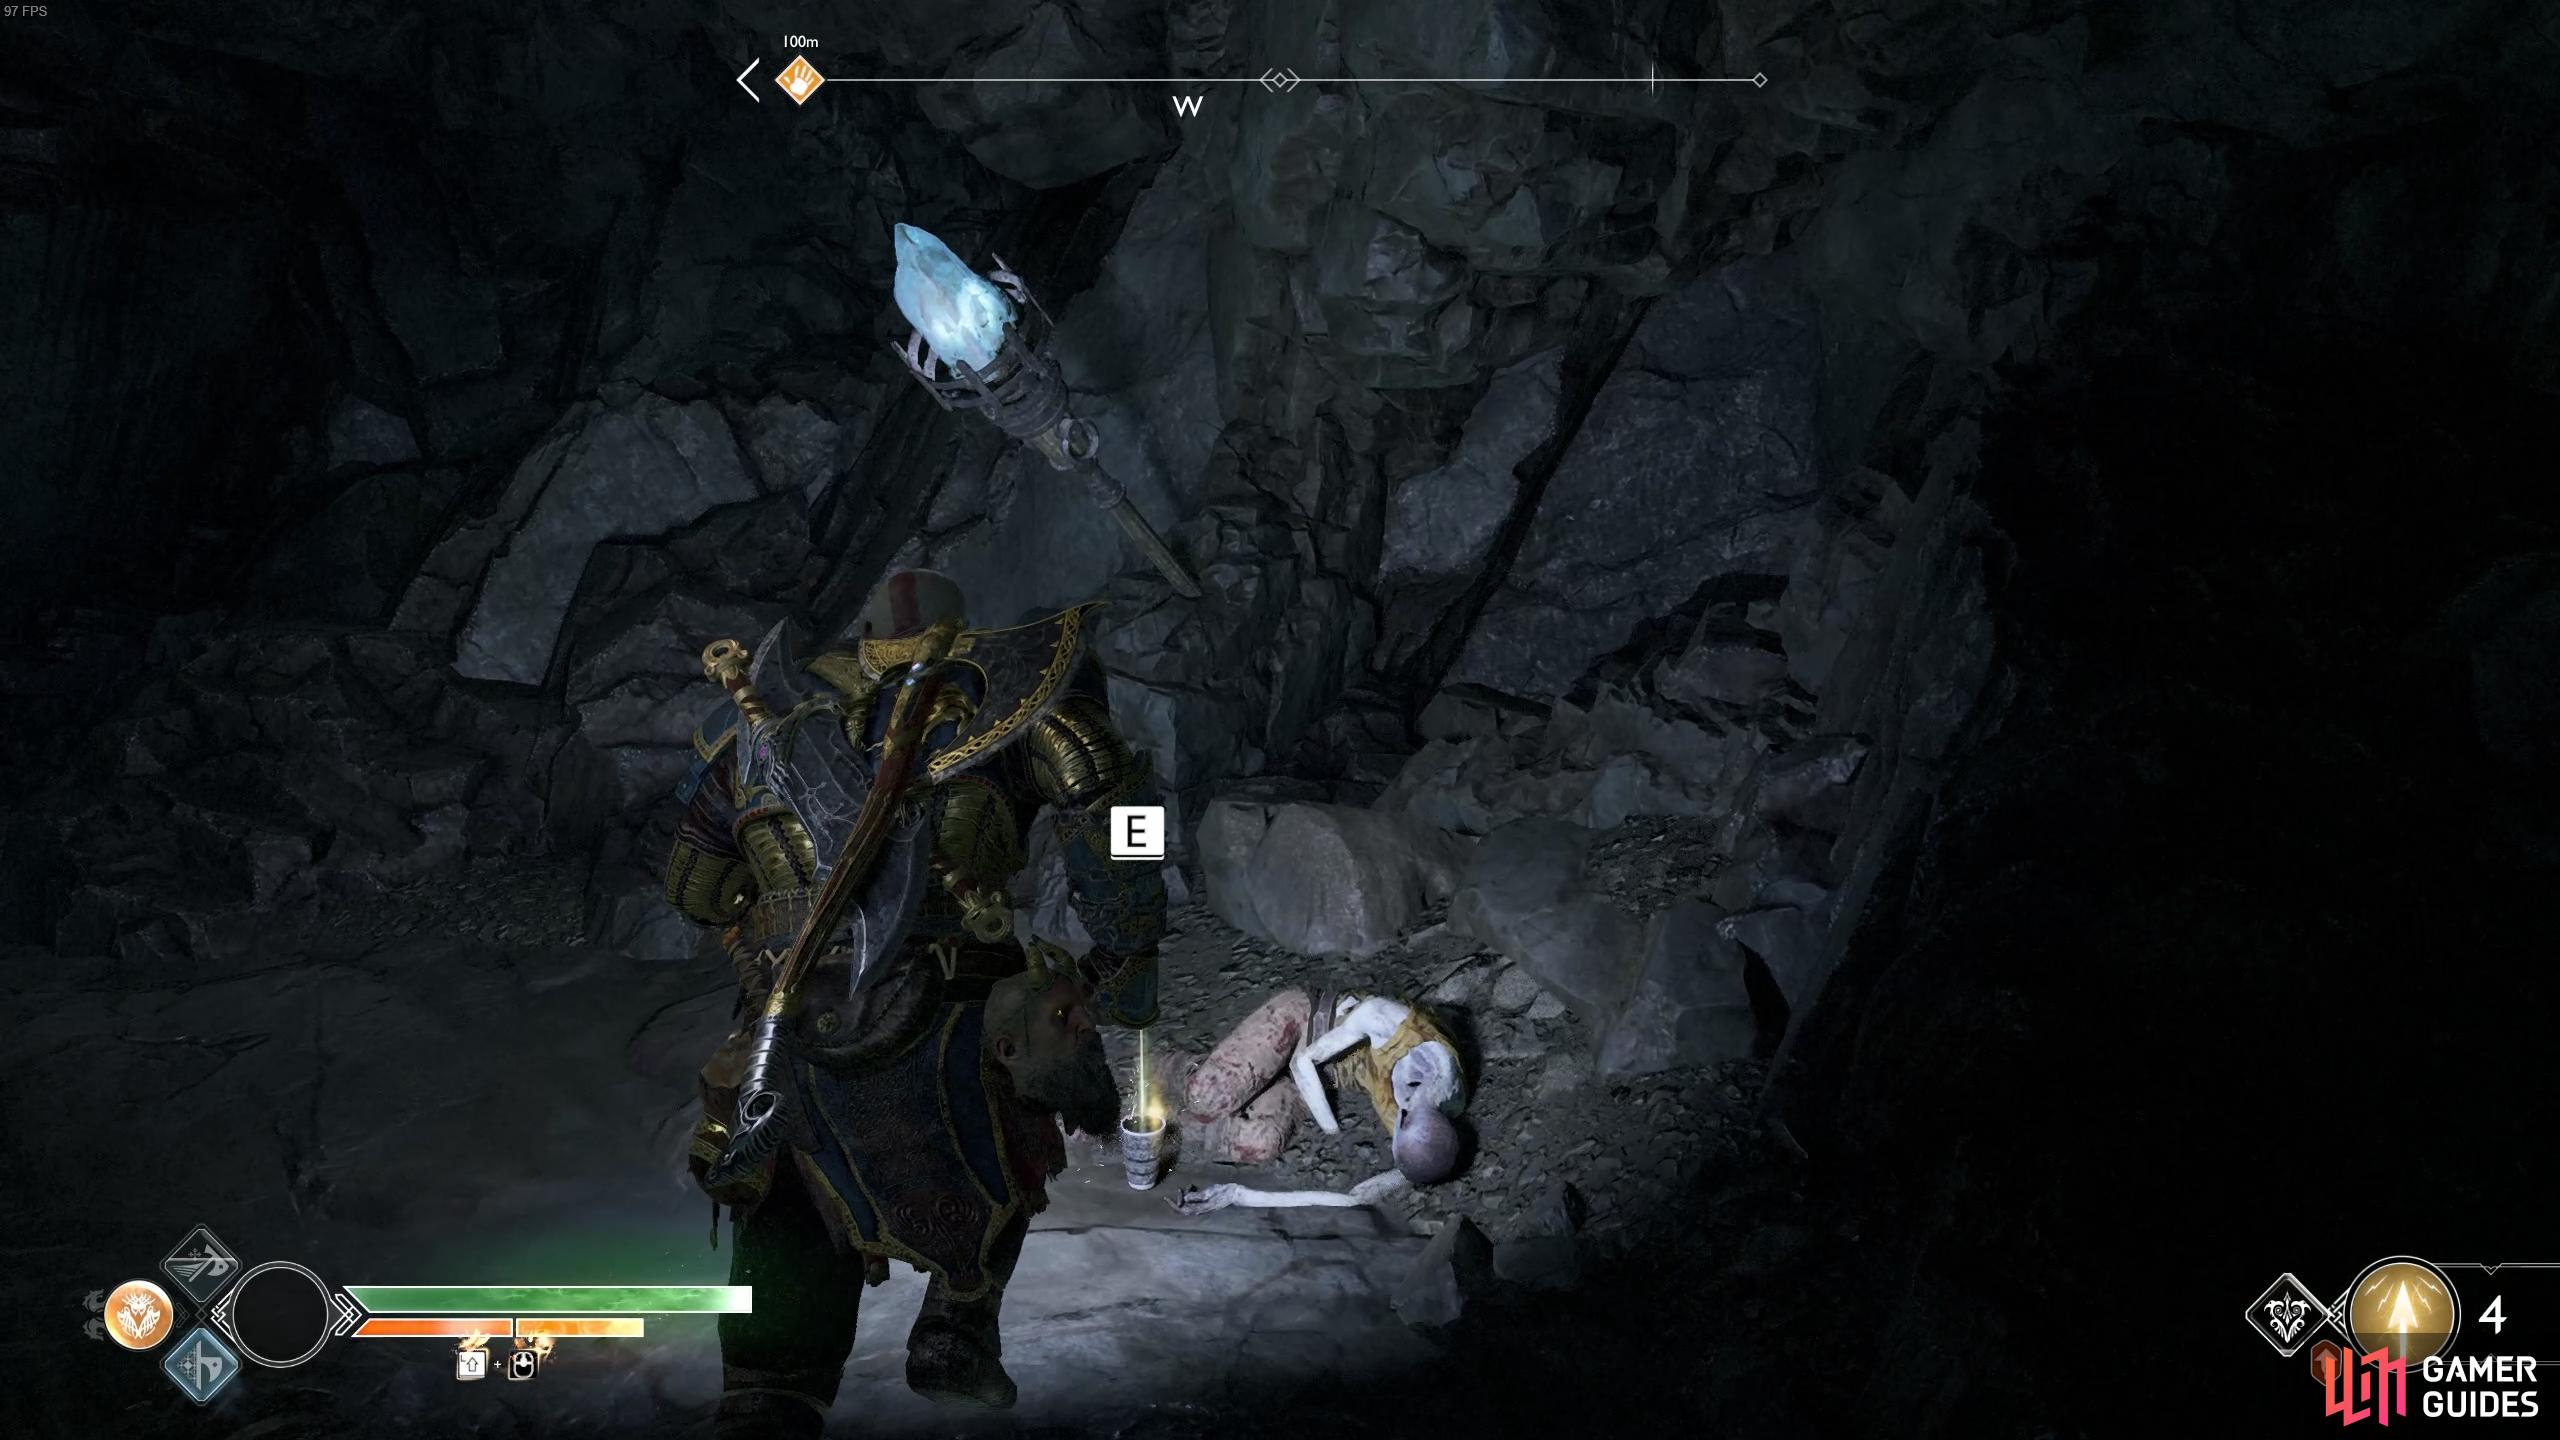
Open it with the Magic Chisel, take the elevator down and activate the Mystic Gateway. Head up the stairs to find a Hacksilver chest, a coffin and a sack of Hacksilver. Head back down the stairs and leap the gap to find another sack of Hacksilver on the left and a Hacksilver chest on the right. The Valkyrie, Eir, sleeps in the central chamber.
Defeat Eir
Eir is your first Valkyrie battle where she wields a weapon different to the scythes of her sisters. Her weapon of choice is a mace and it can be a lot more damaging if you’re caught with it.
Her first new attack will be a dash towards you followed by an overhead mace smash that creates a shockwave on impact, she’ll do this twice so be sure to dodge back to avoid both of them. If you’re struck by it, you’ll be concussed and sustain heavy damage however evading it opens her up for a flurry of attacks.


(1 of 2) You can break this block by double tapping your own block stance or using a runic attack.
You can break this block by double tapping your own block stance or using a runic attack. (left), You’ll need to dodge multiple times when Eir uses a flurry of scythe attacks. (right)
Another new and somewhat interesting attack is her defensive Block. She’ll sit in front of you with her wings closed blocking her from all forms of damage. If you keep attacking her or are in her vicinity then she will open them back up to perform a stab attack. This attack is actually your best opening, once she closes her wings dash in and perform a Block Break (double tap the  button or
  key) to stun her heavily and score some attacks on her.
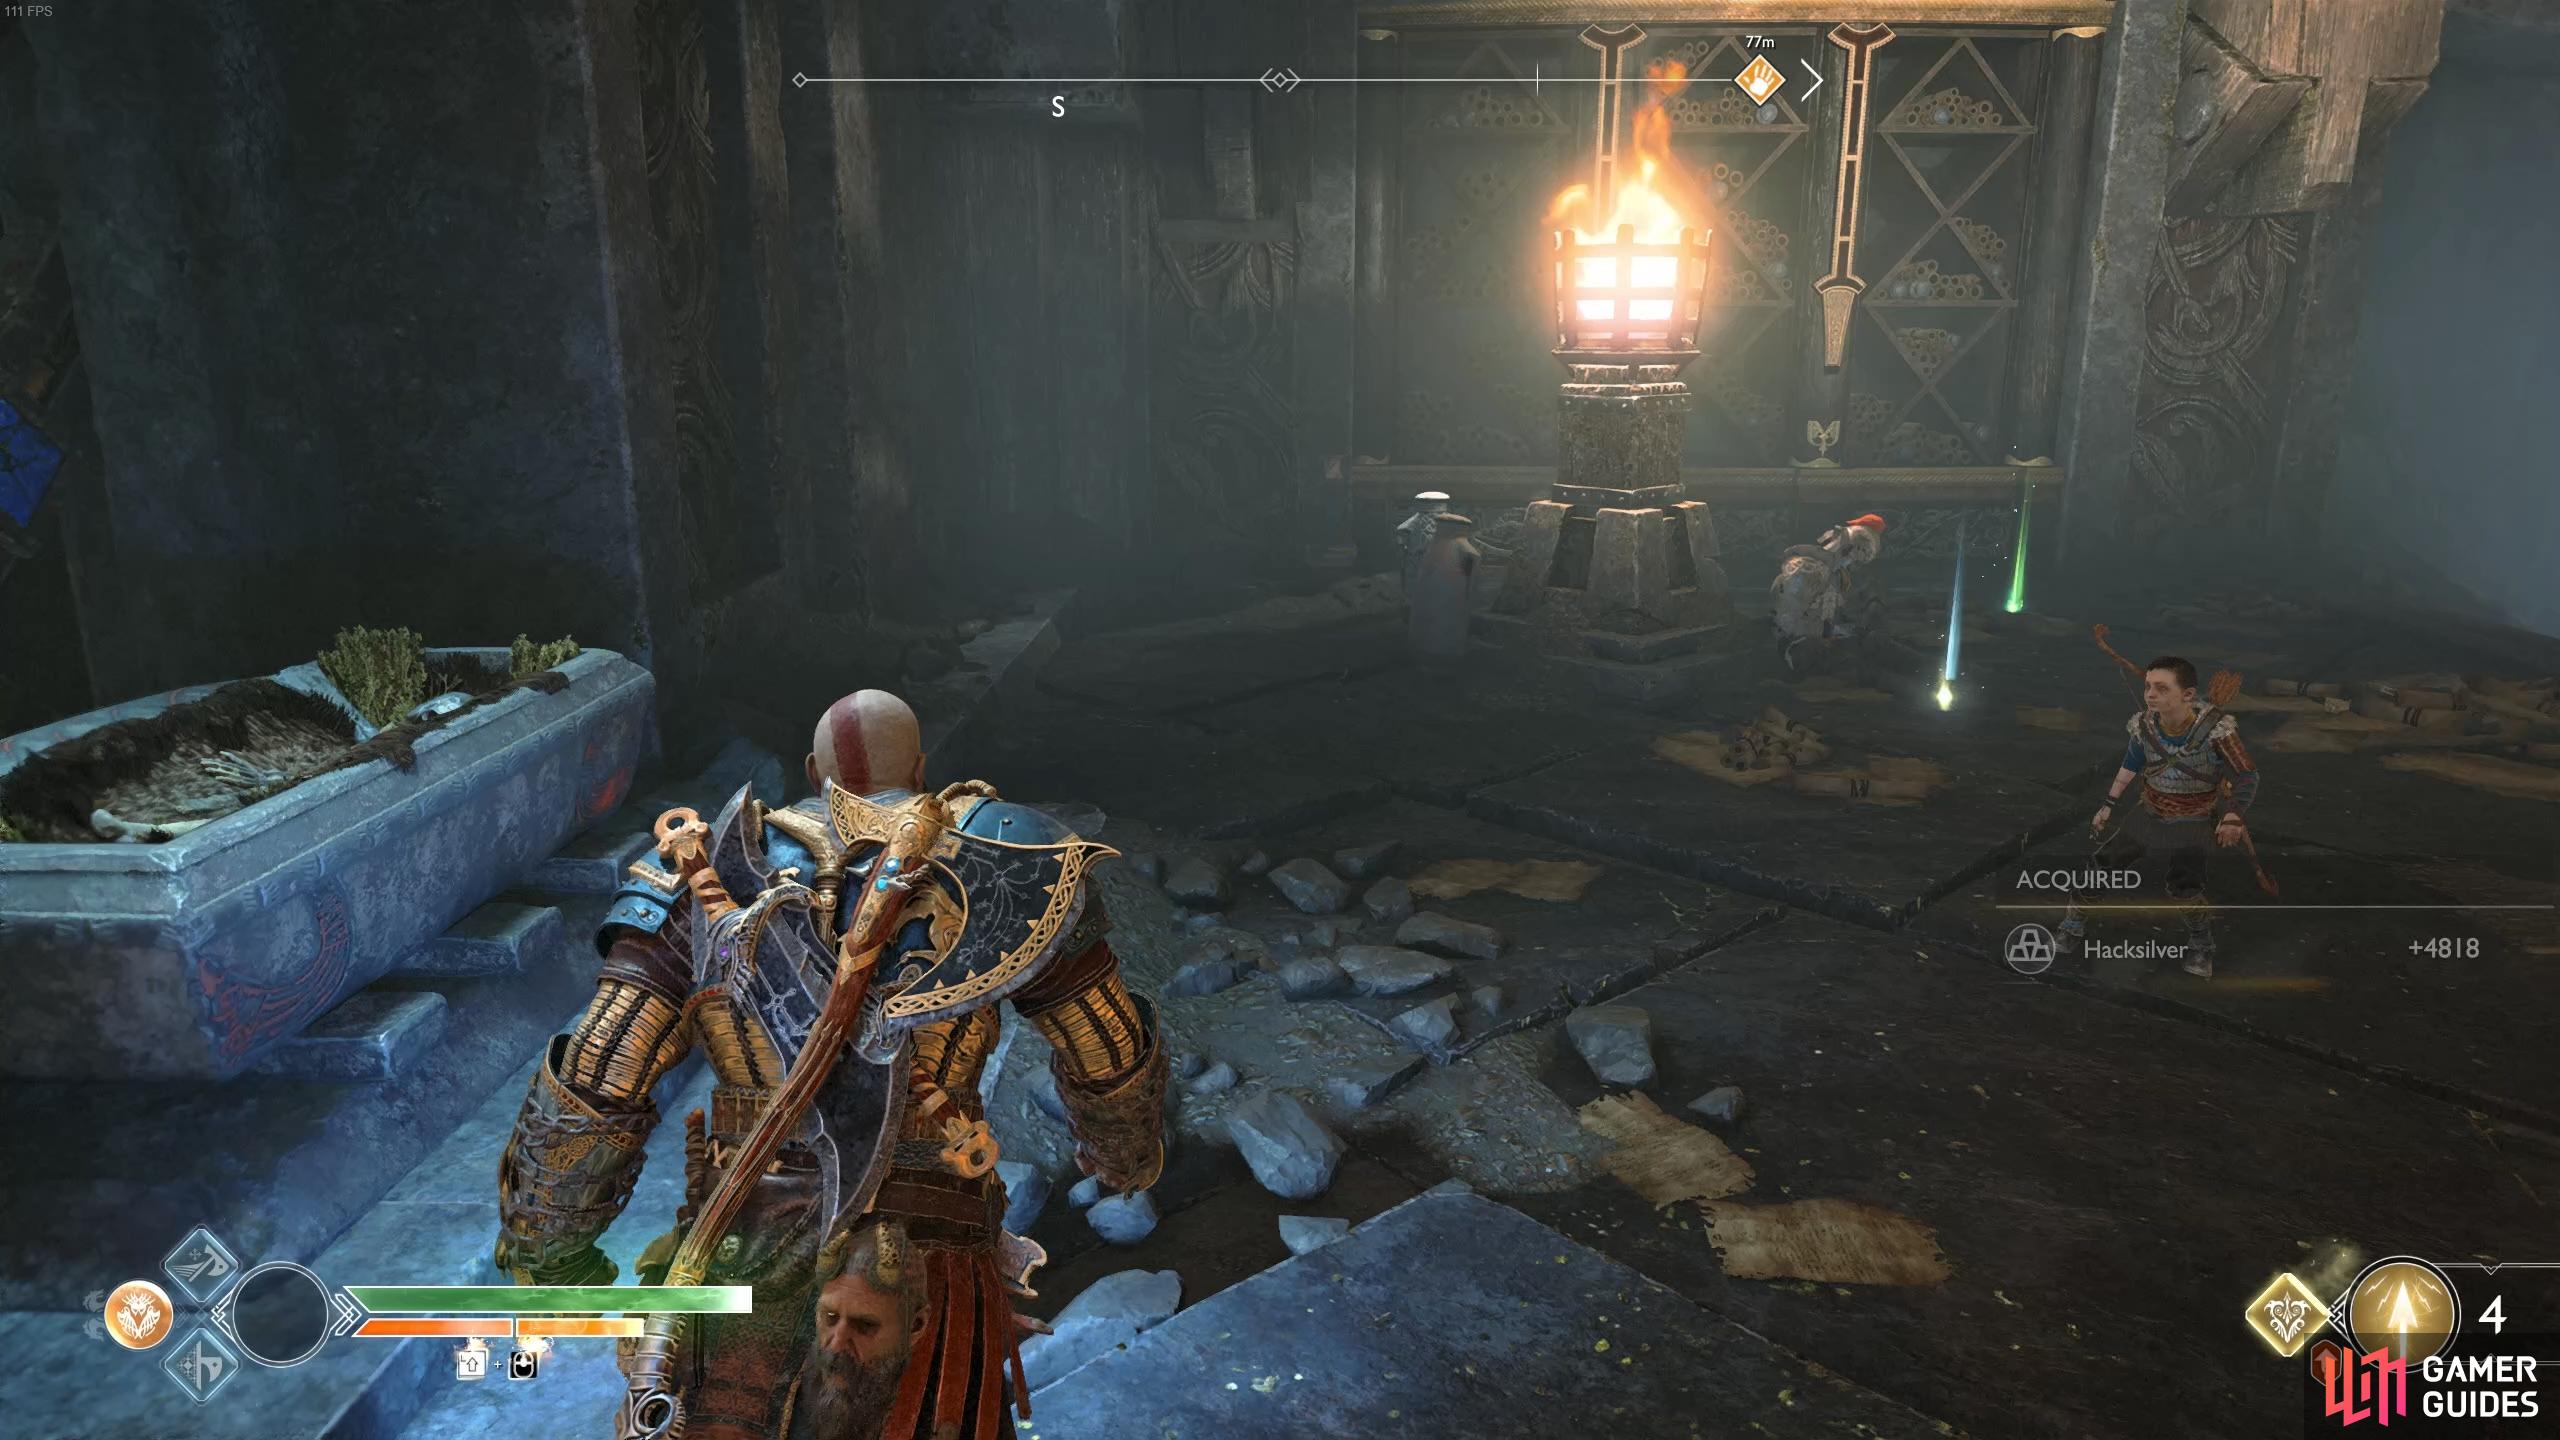
Finally, and most importantly, Eir will rise in the air, raising her mace with a red ring and perform a shockwave attack with the mace. This cannot be blocked or evaded and will deal extremely heavy damage, at times outright killing you. The only way to avoid this attack is to knock her out of it by Atreus’ arrows or with an axe throw so be sure to save some arrows in preparation for this attack.

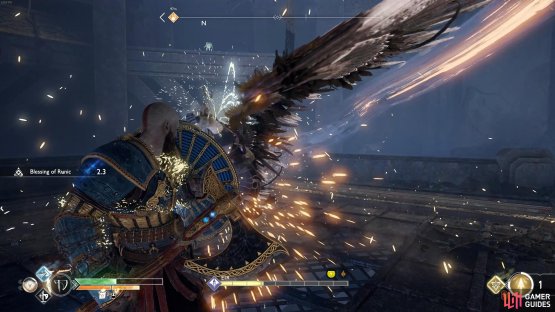
(1 of 2) You’ll need to shoot her when she enters this stance with her wings raised to avoid devastating damage.
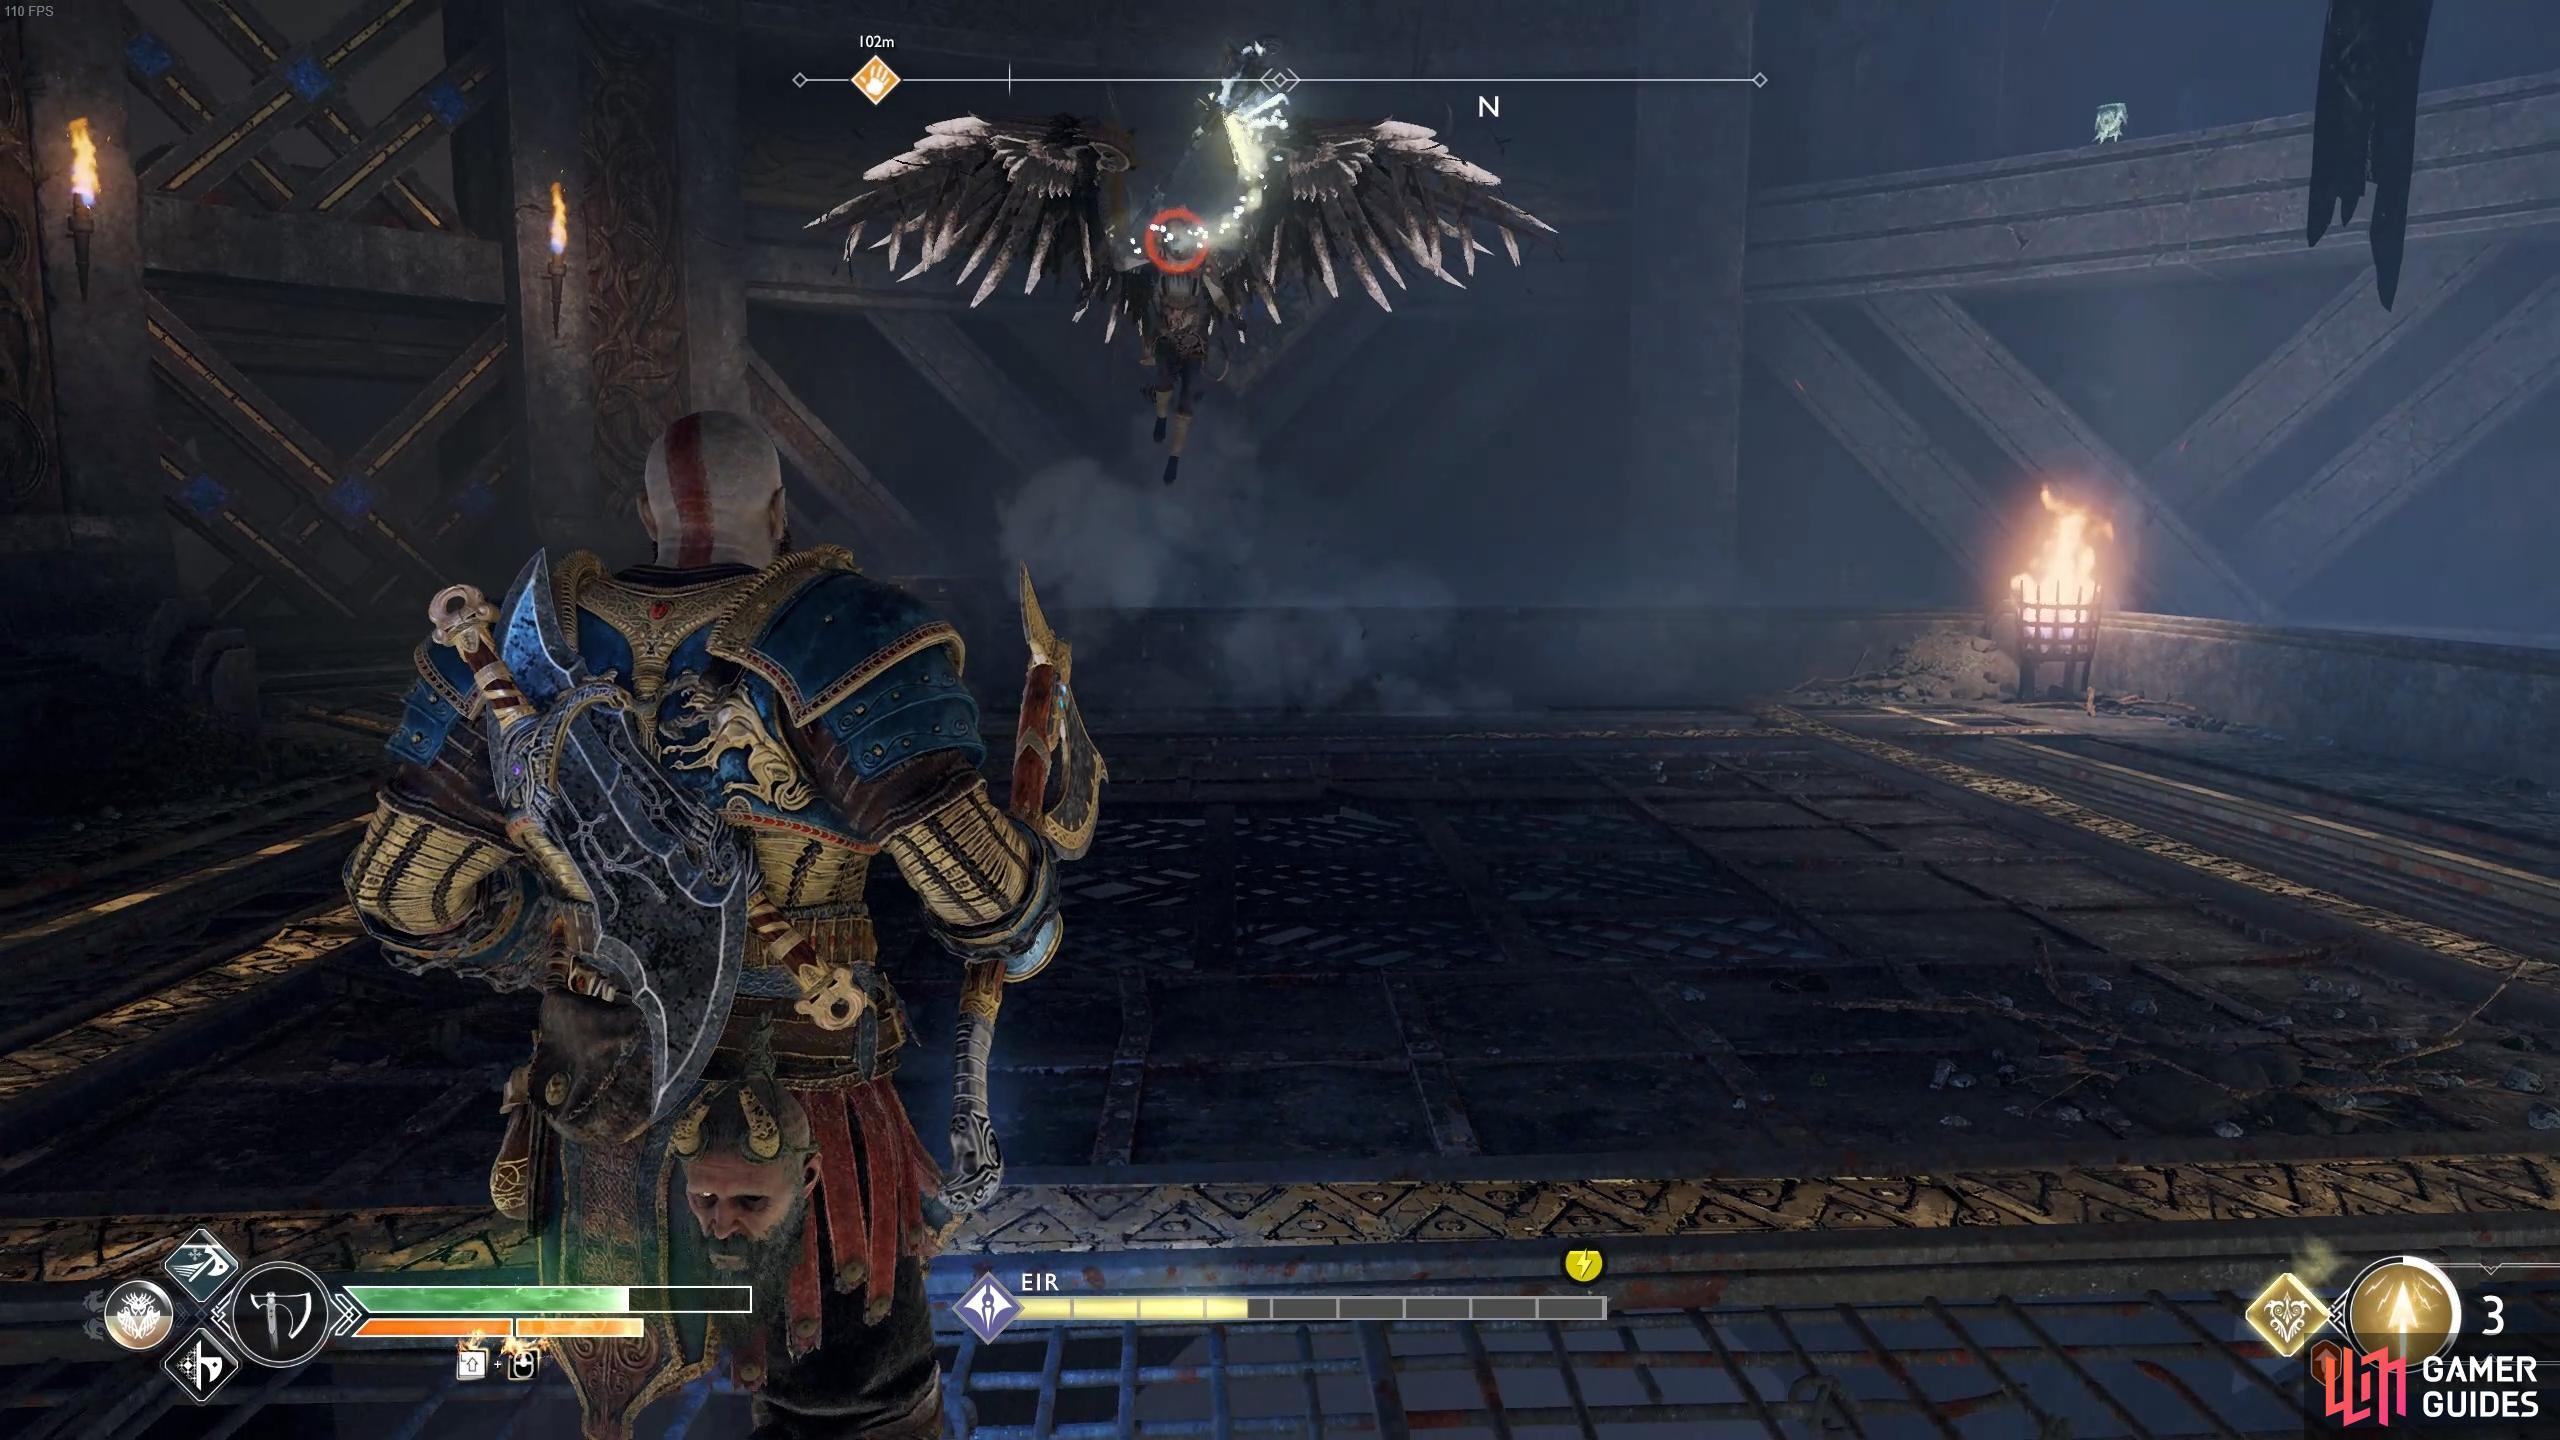

You’ll need to shoot her when she enters this stance with her wings raised to avoid devastating damage. (left), You can block most of the wing combo, but the last attack will be unblockable, marked by a red circle. (right)
Once you can master how to knock her out of that attack, the rest of the battle isn’t too difficult if you take advantage of knocking her out of her block. Take the time to learn how to dodge her mace swings and the rest of the battle is smooth sailing.
Upon her defeat you’ll obtain Eir’s Helmet and then loot the spoils on the ground to obtain the Valkyrie’s Might Epic Axe Pommel, the Eye of the Winged Chosen Epic Enchantment, Perfect Asgardian Steel and 2 Asgardian Steel.
The Pommel is a great choice as soon as you can upgrade it, the perk it offers is useful and it has good stat increases on it. Before you leave and return to the mountain, look above the brazier on the north wall to find a Raven. Back at the heart of the mountain, climb the ledge to the east and burn away the brambles to find a lift you can use, taking you to the upper levels.
Continue towards the summit
At the top, Atreus initiates battle with a group of Draugrs and Nightmares, focus on the Explosive Draugrs first to avoid unnecessary complications. Once they’re dead, head forward and burn away the brambles on the right wall to reveal a wind trap. This one is a bit misleading however as you can actually pick it up. Do so and take it with you back to the west and place it below the ledge leading to the south.

(1 of 2) Pick up and leave the wind trap below this ledge.
Pick up and leave the wind trap below this ledge. (left), Mount the Ogre like usual to defeat this group of enemies easily. (right)
Boost Atreus in the corner so he can drop you the chain down and climb up to the area above. Head forward to find a Lore Marker that offers words about the threat behind the wall. Sure enough, a Fierce Ogre along with Nightmares crash through the wall while Draugrs assault you from behind. Like all Ogres, stun it and mount it to use the brute against the other attackers. Once dead, loot the spoils and return down the chain.
Head through the broken door to the right of the Shatter Crystal and open the Hacksilver chest. To your right is the Winds of Hel, grab it and deposit it in the wind trap you moved near the chain. Climb the chain and then look back down at the wind trap to grab the energy once more. Dash across the platform to the door at the end and deposit the energy to open it. Inside you’ll find a Legendary Chest containing the very useful Hyperion Slam Heavy Runic Attack gem for the Blades.


(1 of 2) Look down and grab the energy from this position.
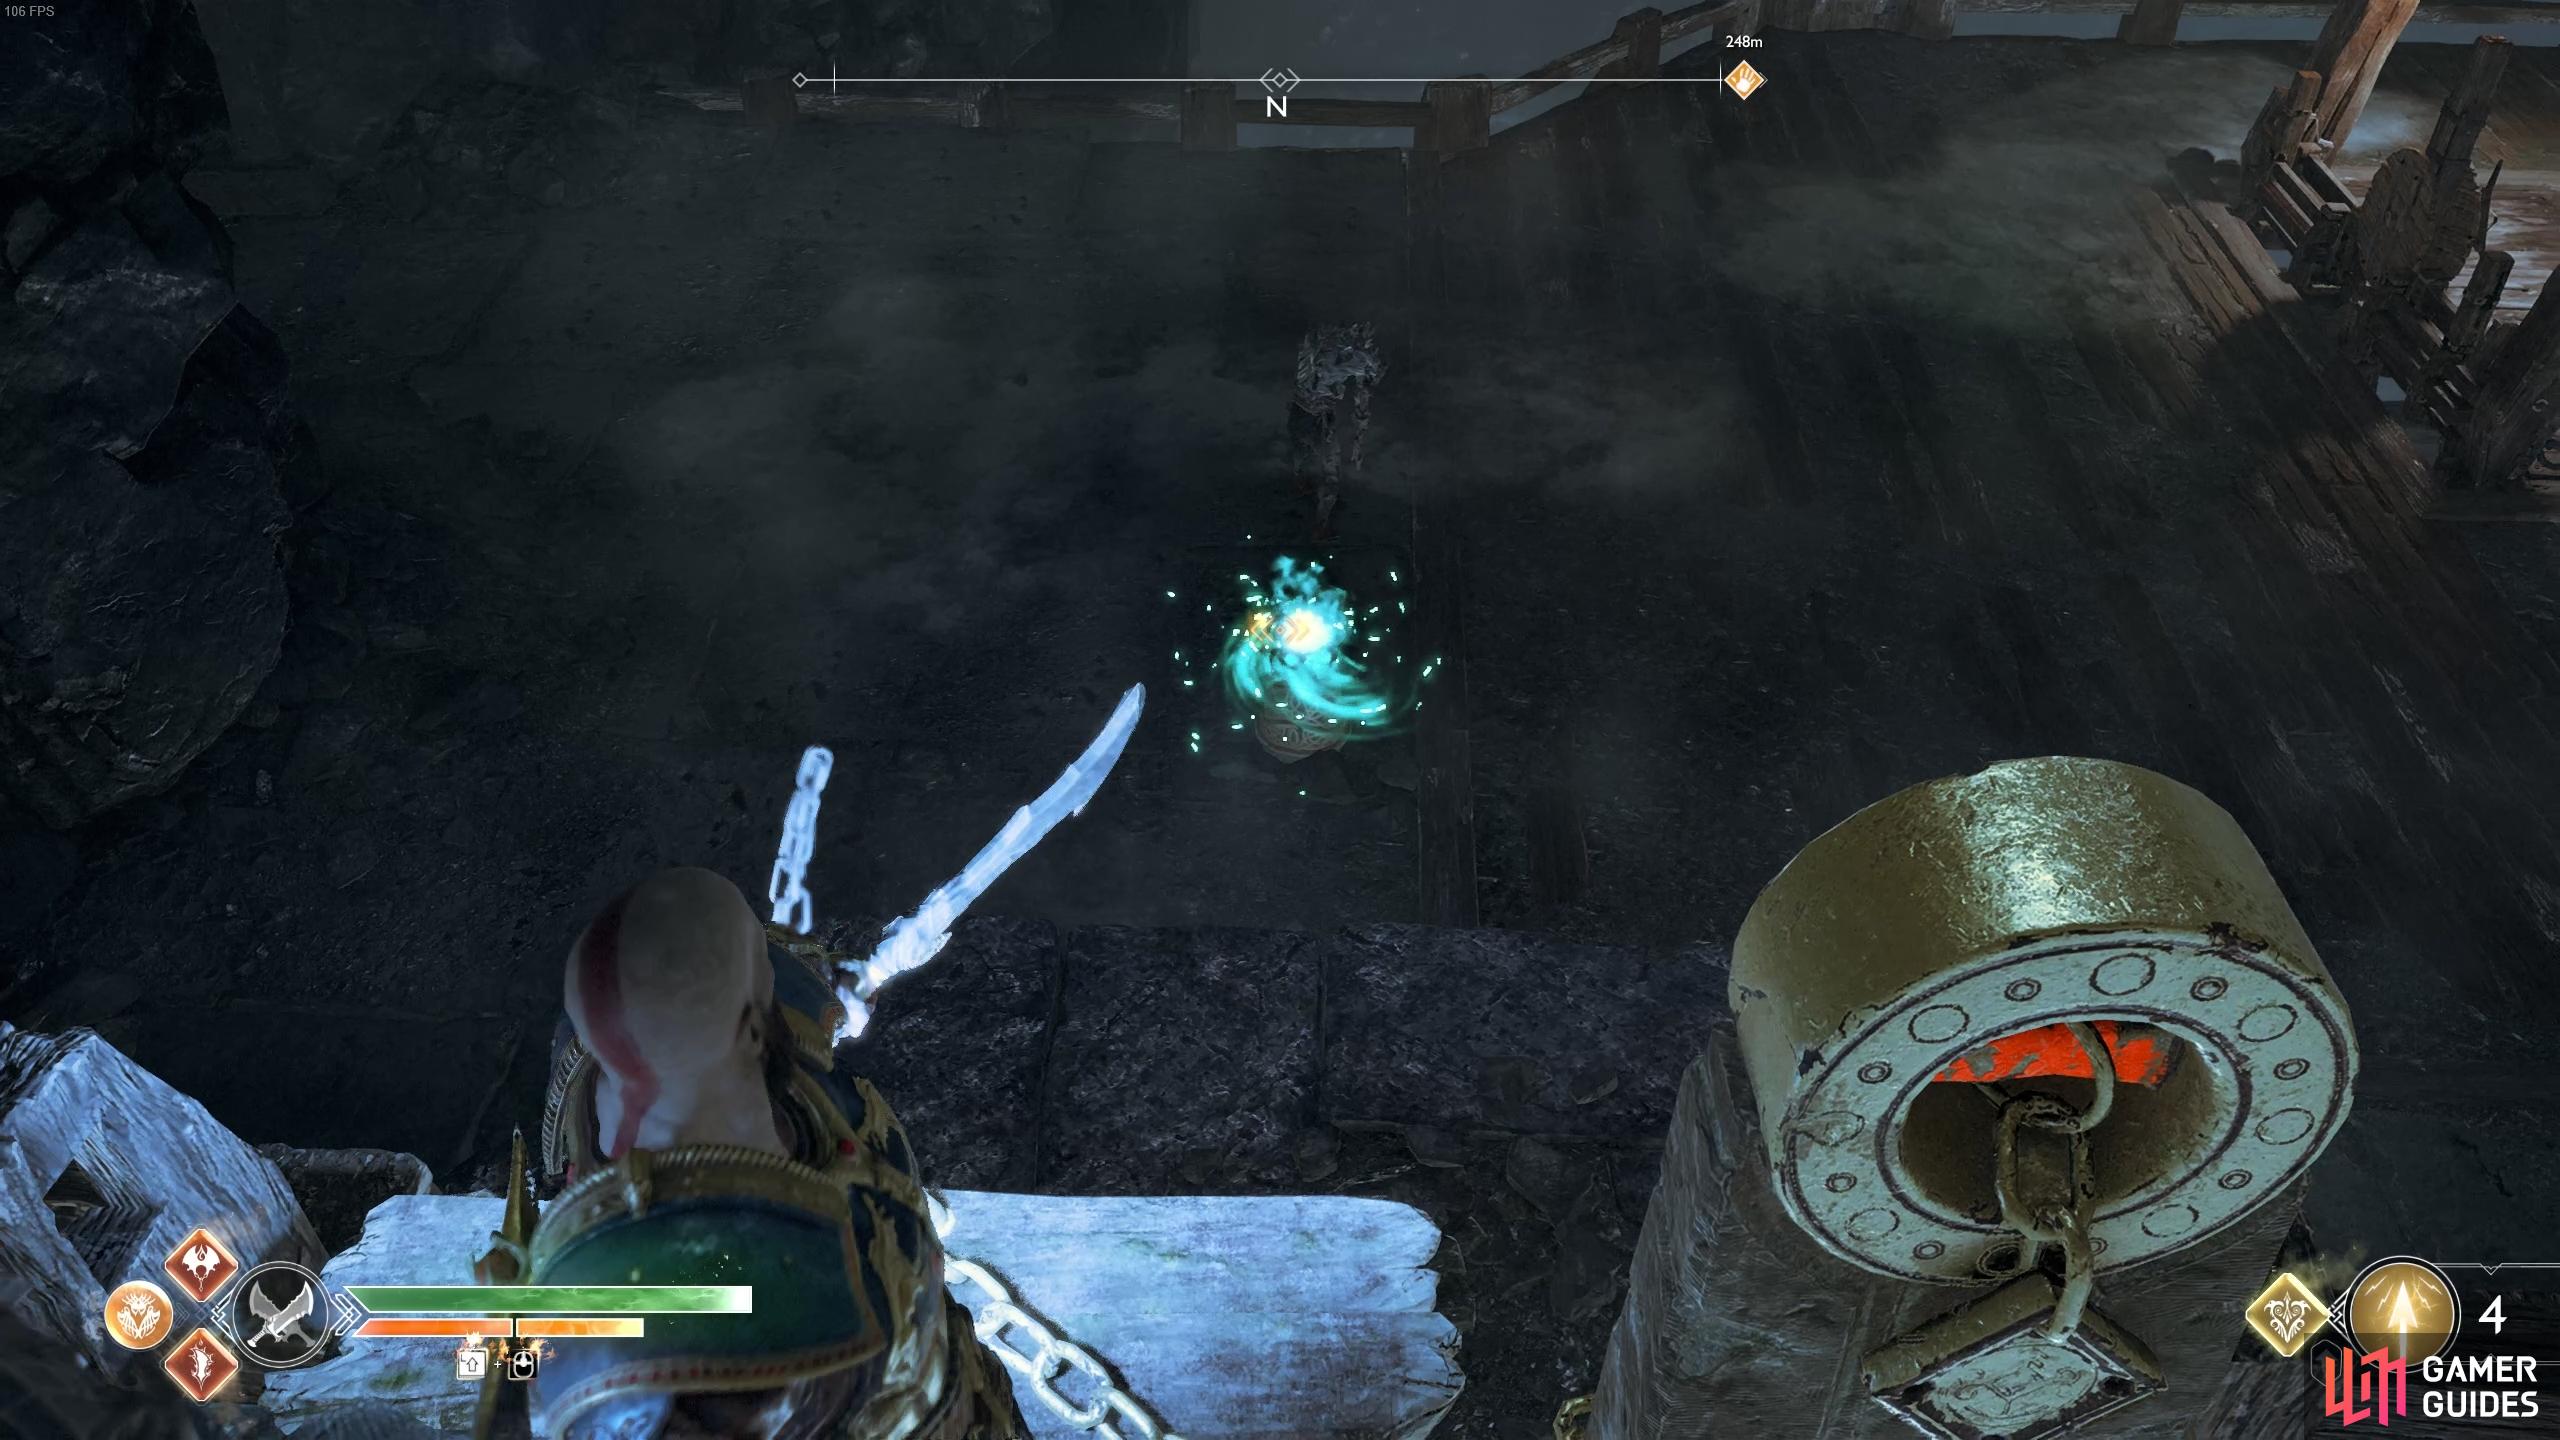
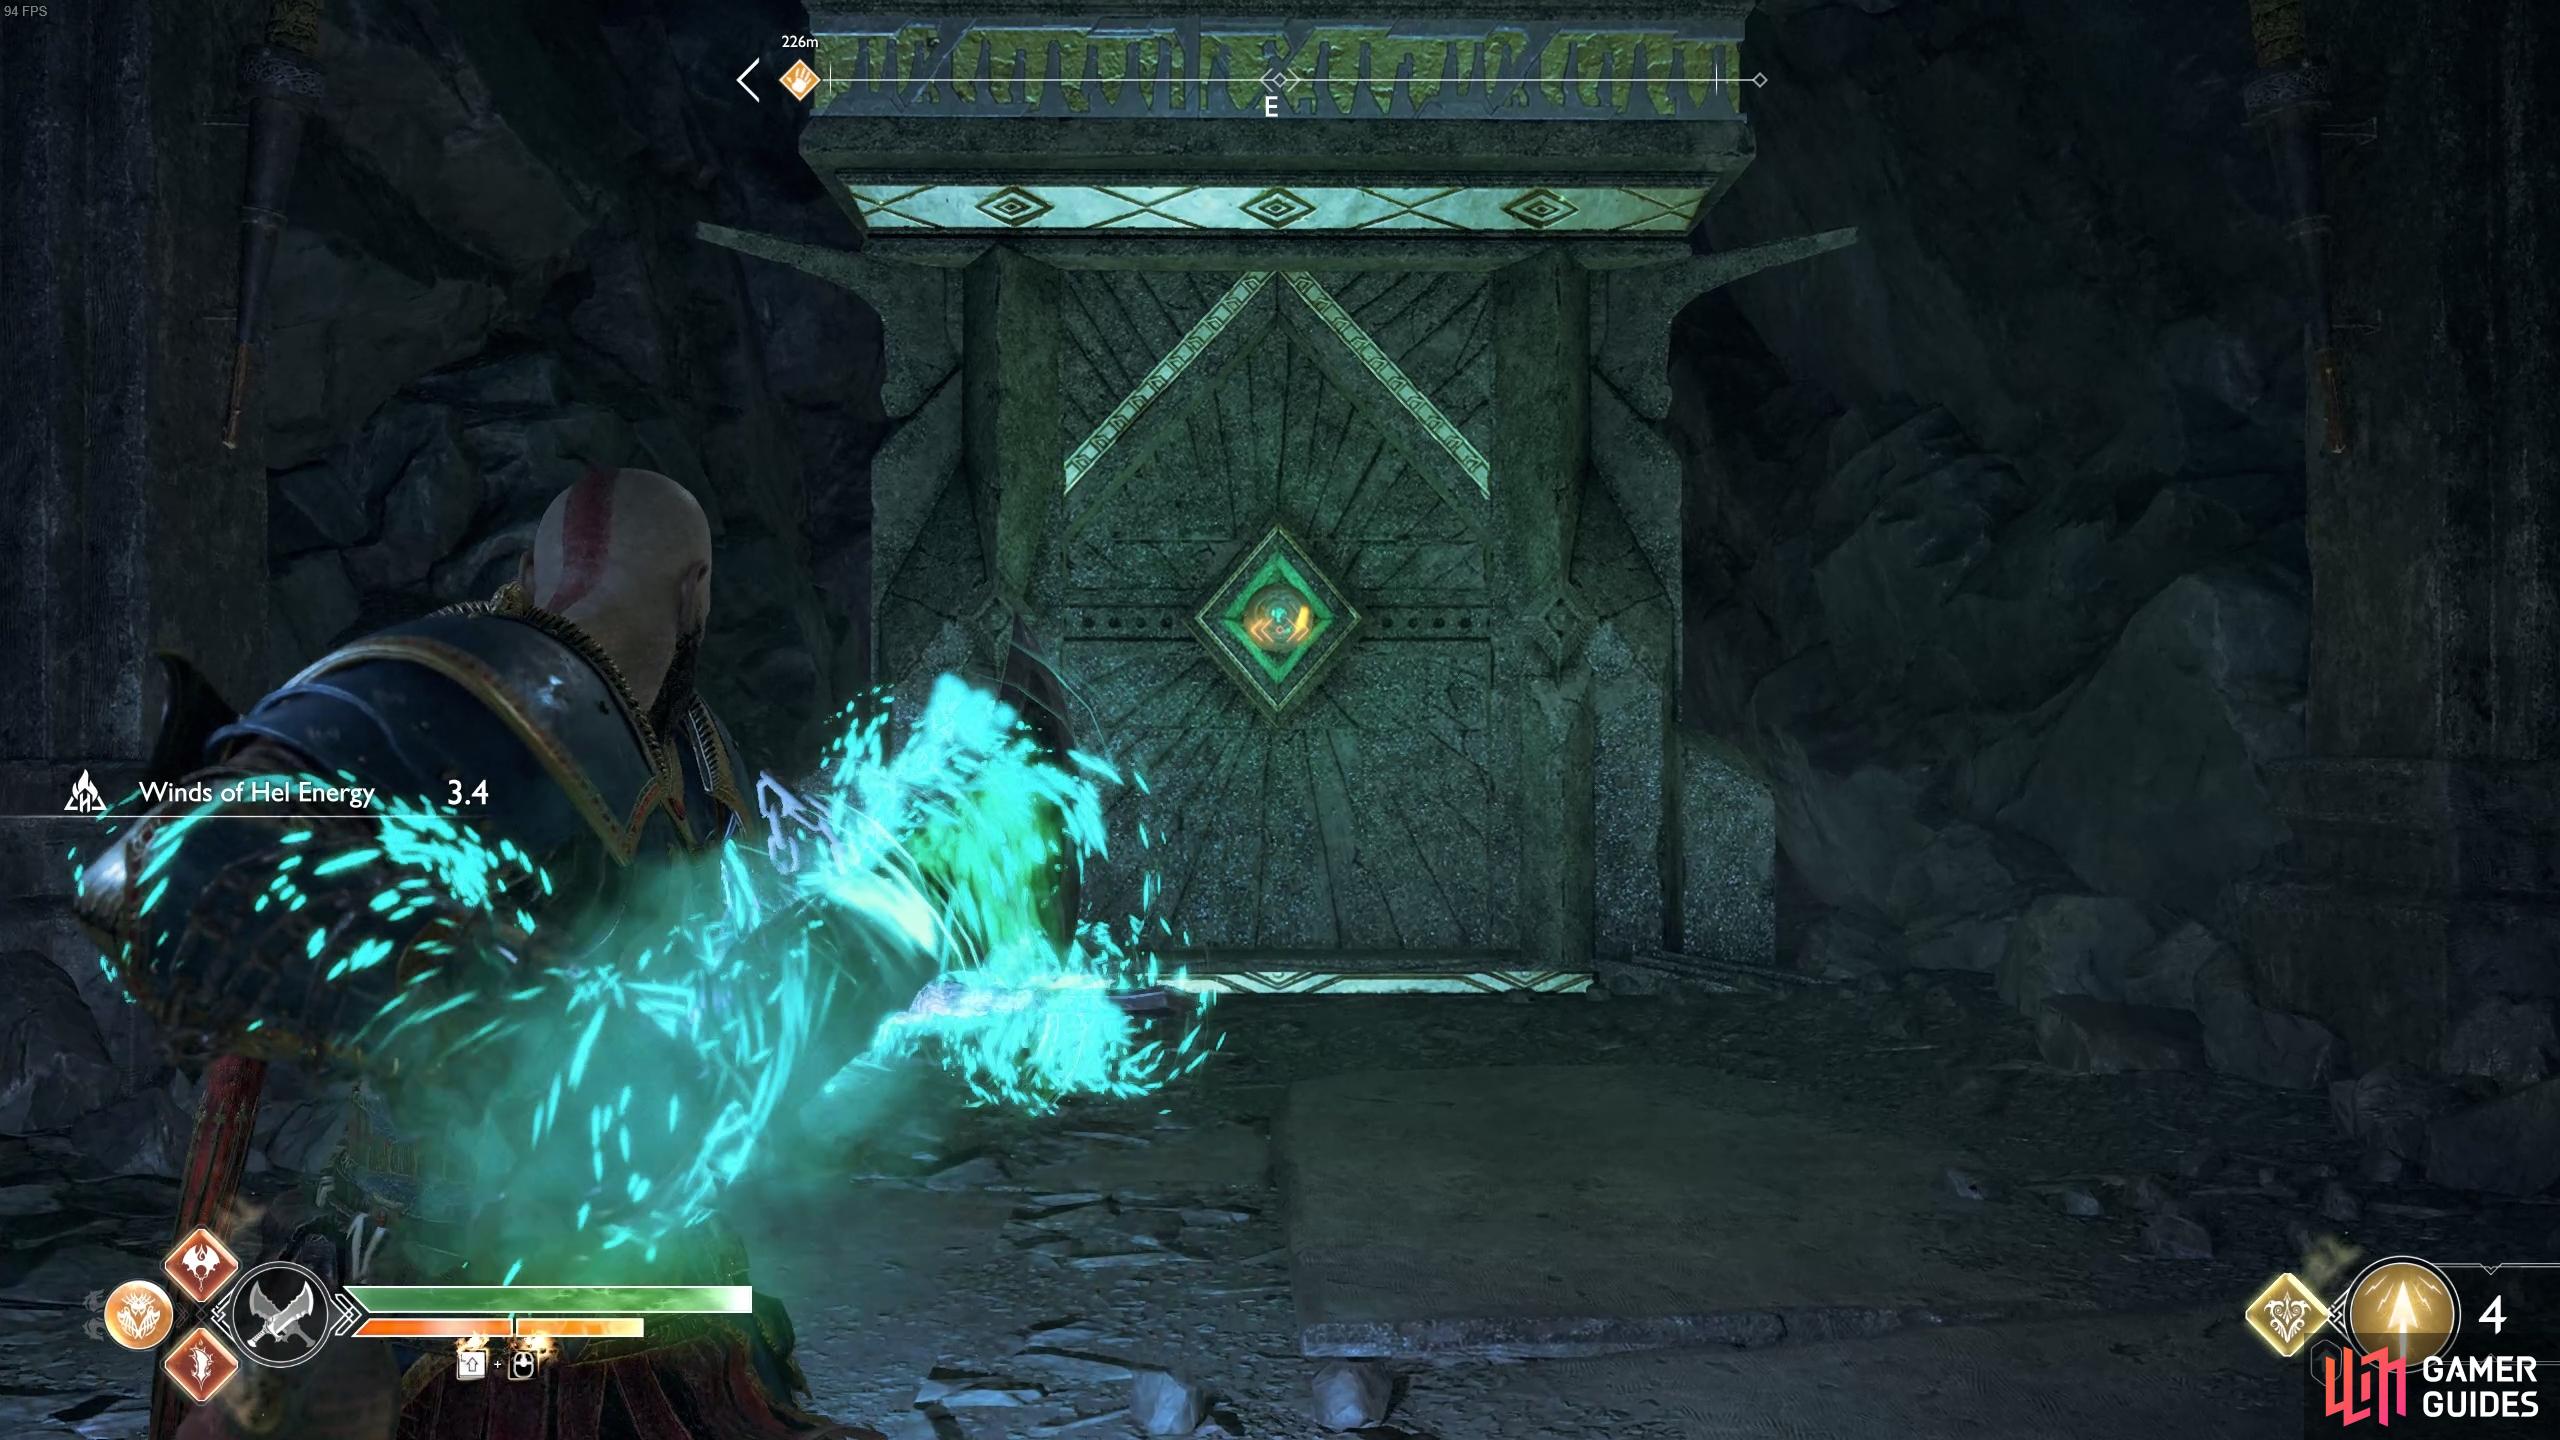
Look down and grab the energy from this position. (left), Dash across and deposit it in the door to gain entry. (right)
Drop back down the ledge and take the path to the northeast and kill the Projectile Draugr that spawns on the left. Head over to where he died to find a sack of Hacksilver and then continue down the path to find the game’s final Treasure Map before crawling through the tunnel.
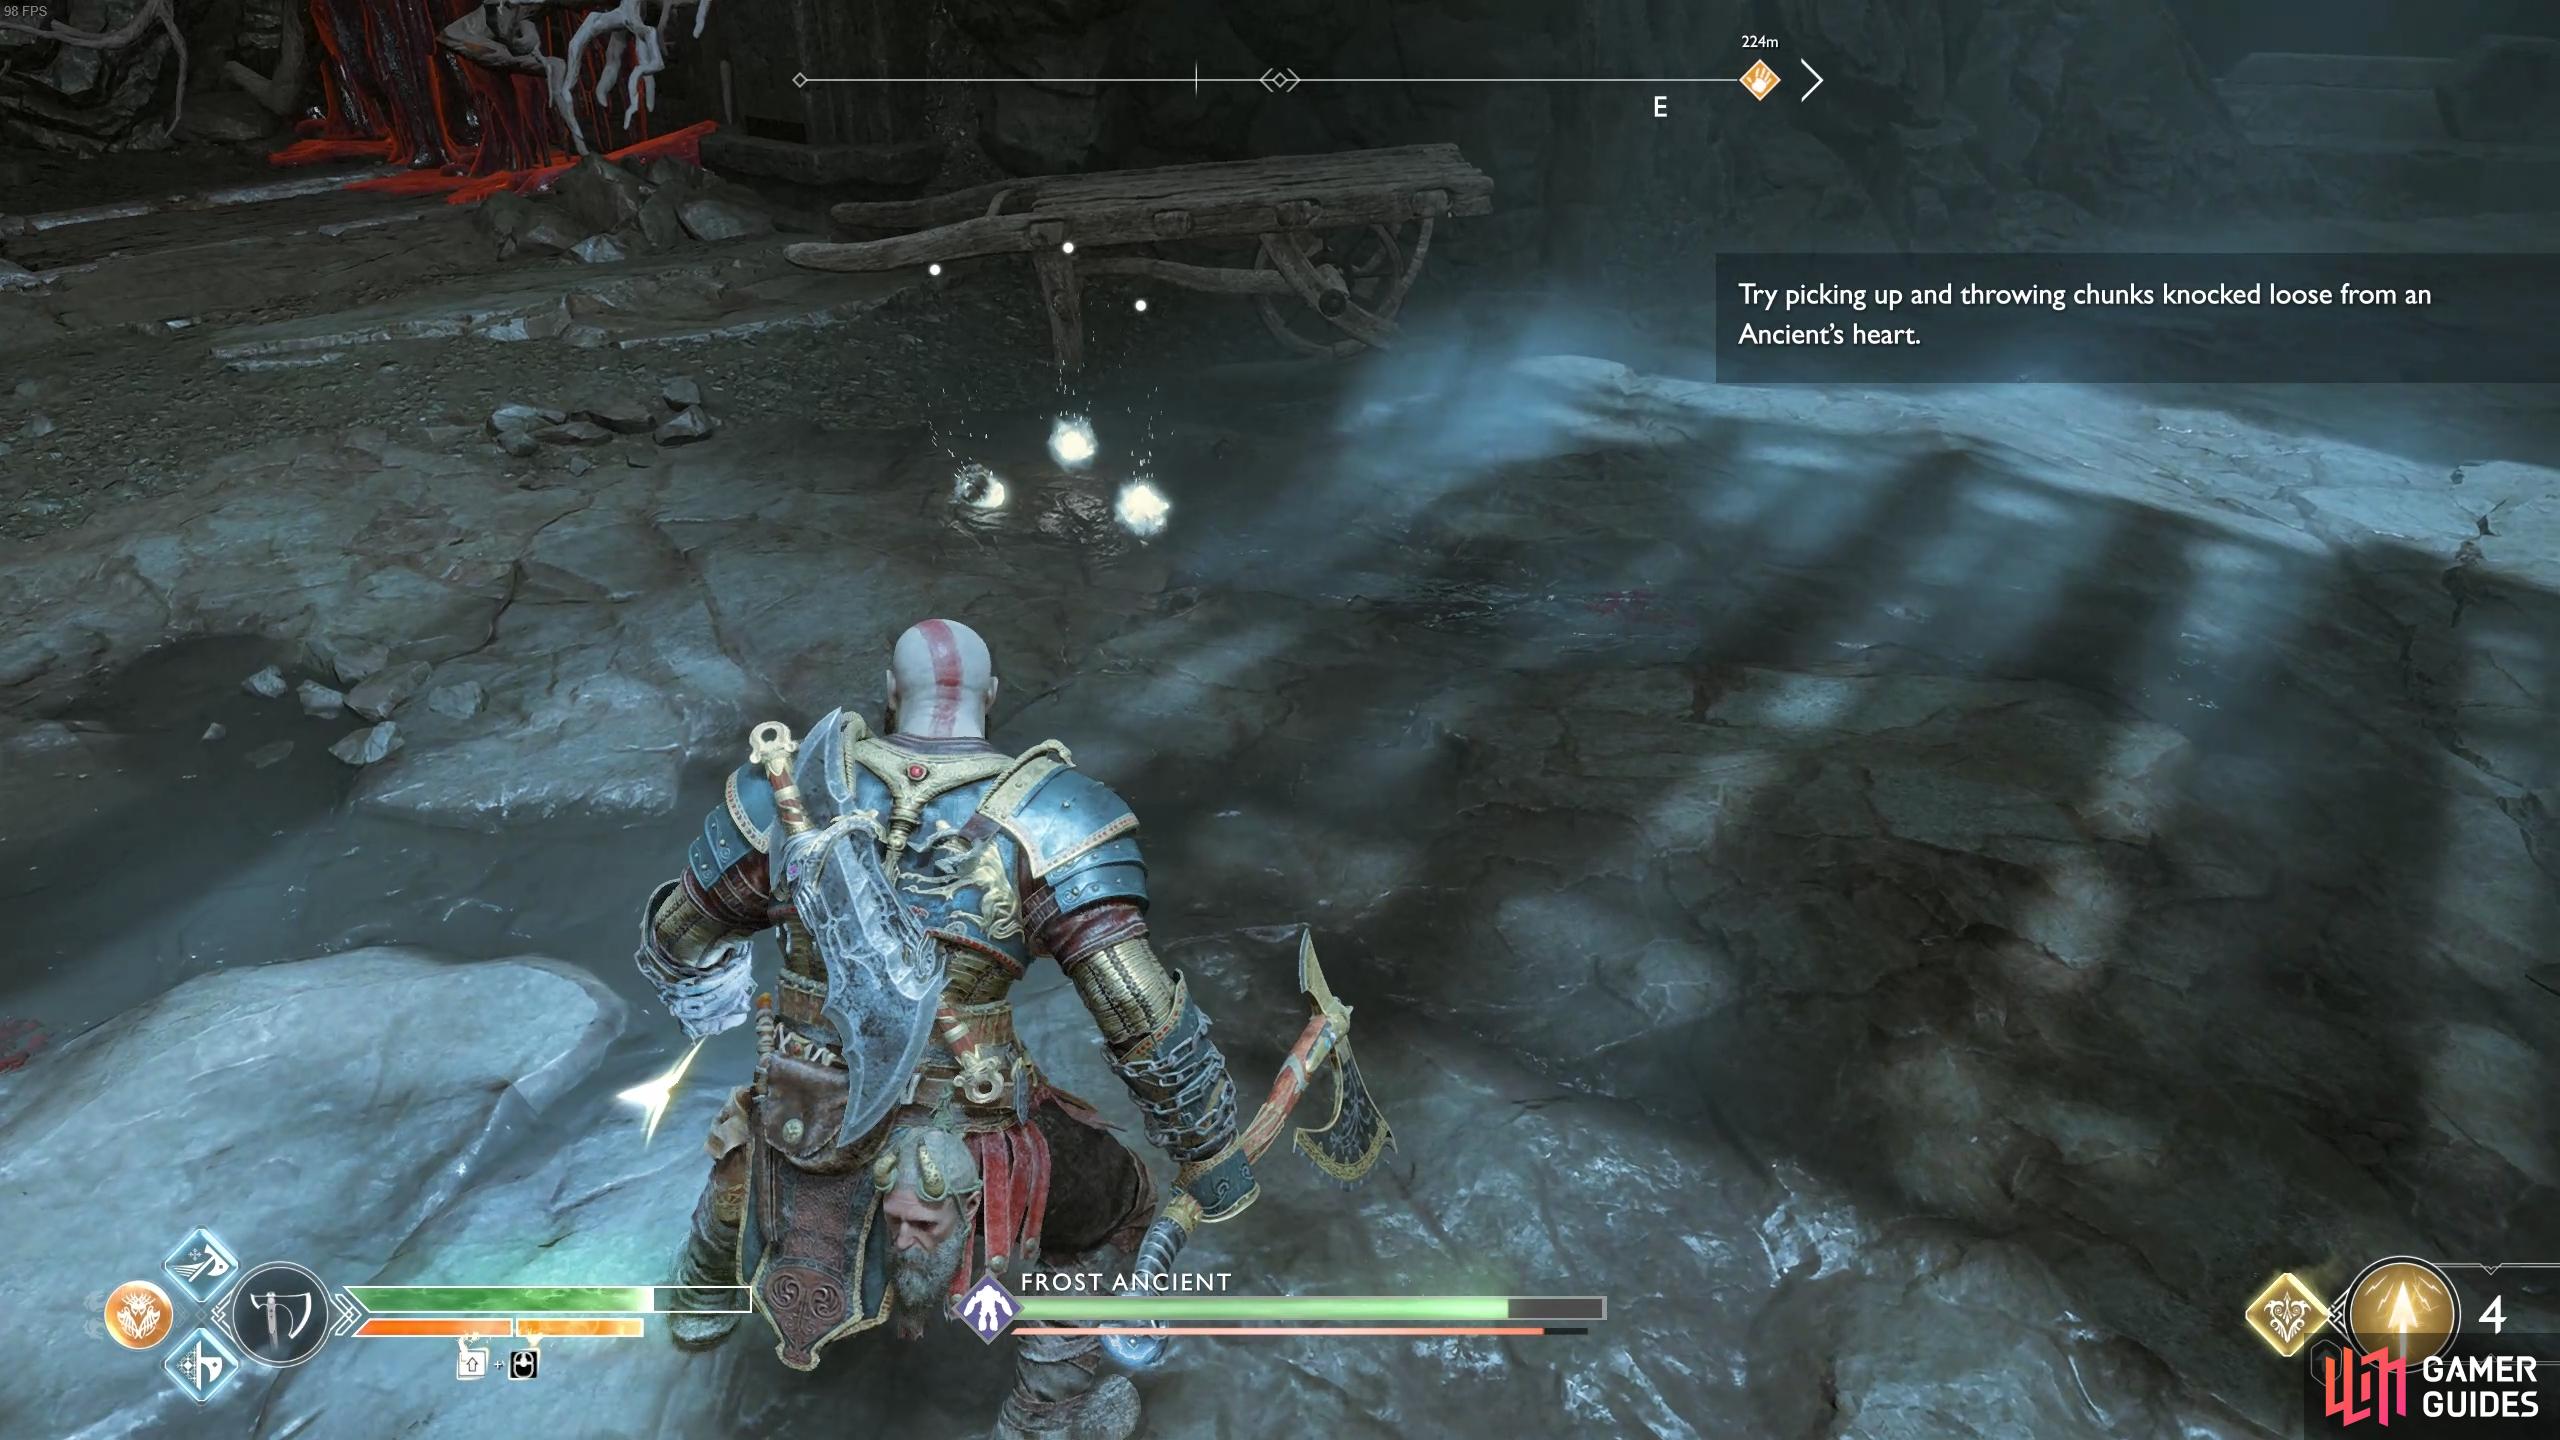
Follow the path to chance upon a pile of rubble, as you may expect, a Frost Ancient lies in wait here, one that Atreus decides to wake. The Frost Ancient is no different to anything you’ve faced before and the tactics remain the same, hit the core when it’s open with axe throws and throw the chunks that fall off back at it for major damage.


(1 of 2) Throw your axe at the core of the ancient to inflict damage and increase its stun gauge.
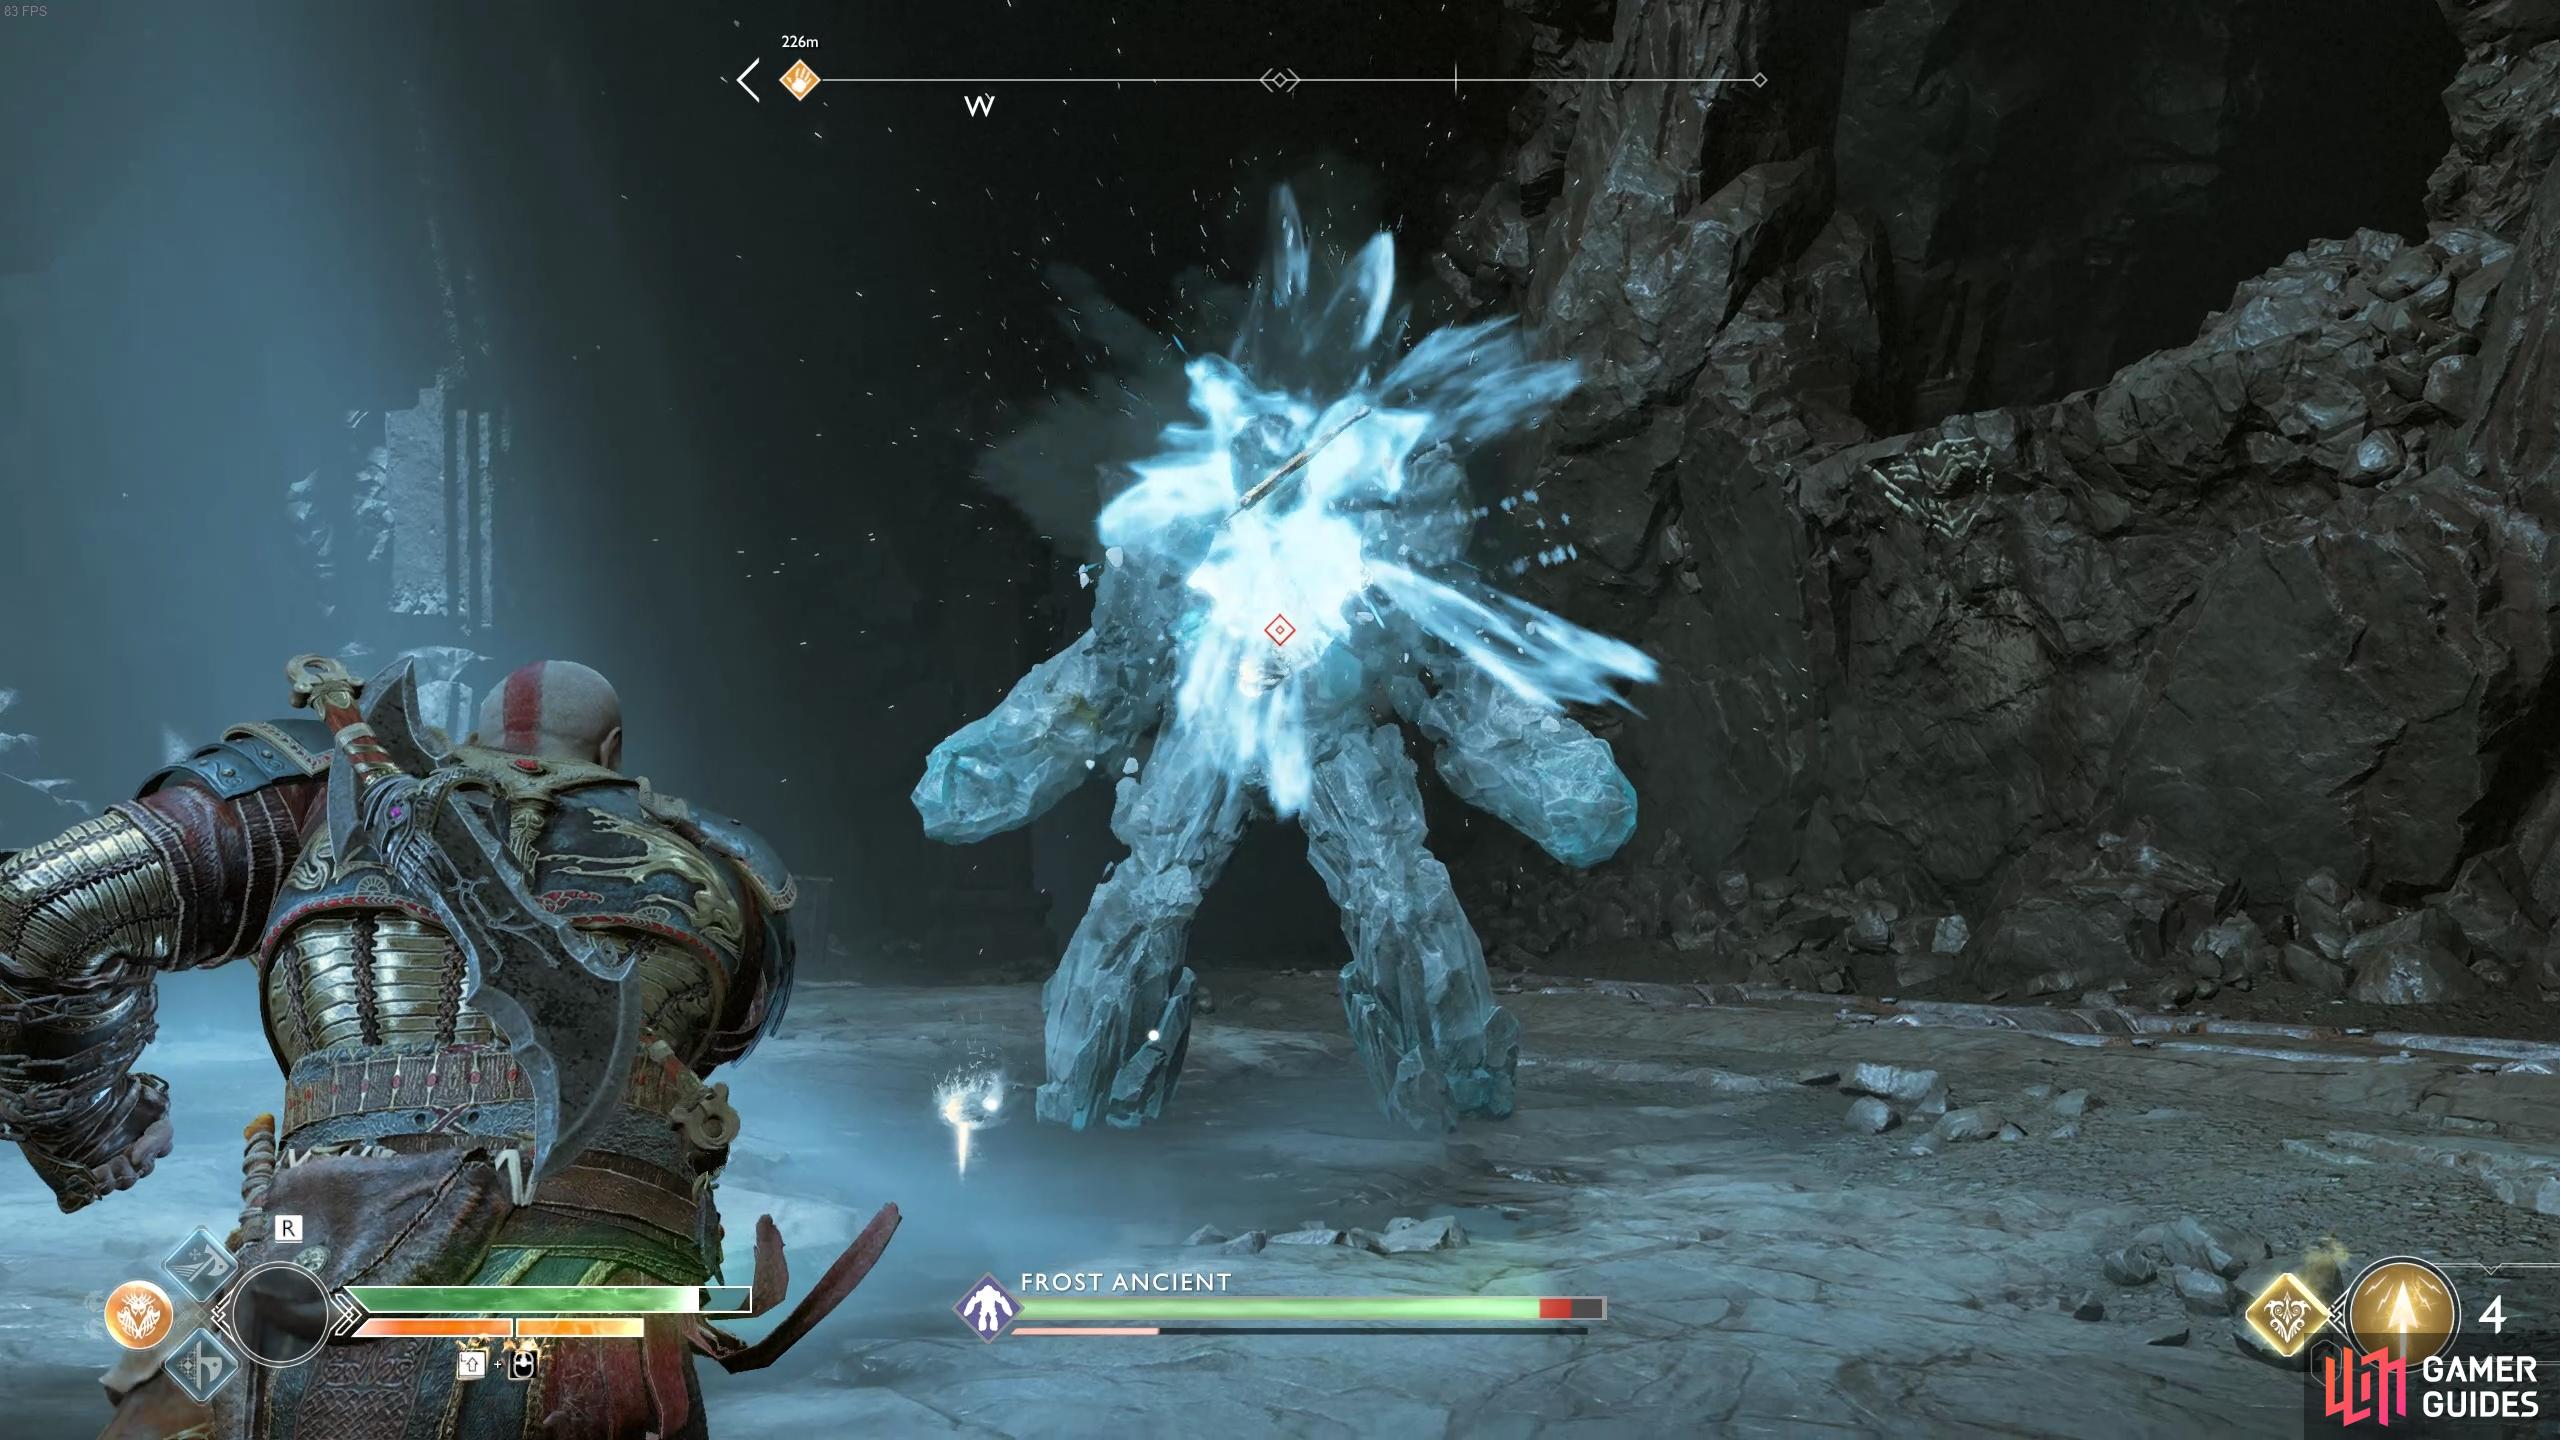
Throw your axe at the core of the ancient to inflict damage and increase its stun gauge. (left), You’ll inflict massive stun damage by throwing pieces of rock from the core at the ancient. (right)
The biggest issue with this battle is you have nowhere to stand for cover at first to avoid the Frost Beam and Explosions. You can however head around the back of the foundations, you can use this as your cover as you act out your strategy. Plunder the spoils after you’re victorious to obtain the usual Ancient loot.
Grab a Shatter Crystal from the nearby world tree stump and throw it at the sap, shooting it to destroy it and reveal a mine cart. Pull this back a little and use it as a ledge to reach the coffin in the alcove to the north to obtain the Mystic War Belt of Clarity. Grab another Shatter Crystal and check along the west wall to find a coffin covered in sap, destroy it and open the coffin for more valuable resources.
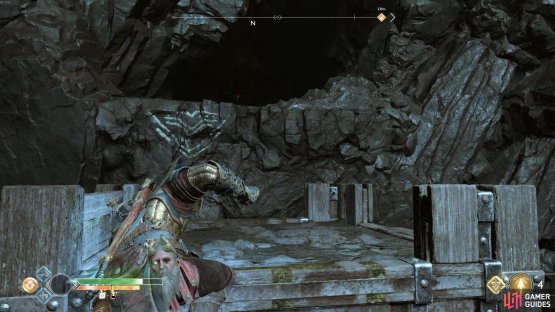
(1 of 2) Pull the mine cart so it sits under the alcove and climb it.

Pull the mine cart so it sits under the alcove and climb it. (left), This should be your final Artefact in the game. (right)
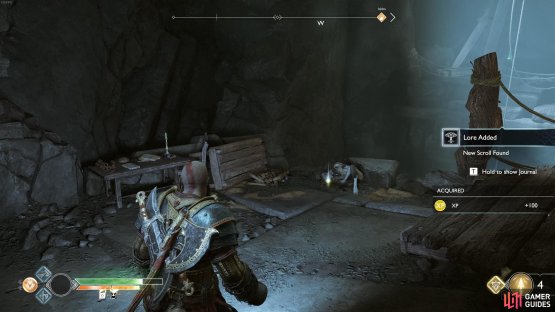
Follow the path to the south and climb the ledge to find a Lore Marker and the final Artefact, if you’ve followed this walkthrough then this will be the final one, thereby unlocking the Curator achievement.
Shimmy across the nearby wall and burn the brambles to find a coffin containing the Mythic Pauldrons of Clarity. Continue forward to find Sindri has set up shop, still reeling from Atreus’ earlier comments. Upgrade the Talon Bow to Level VI and then upgrade any pieces of Týr’s armor set you haven’t maxed out yet. It’s also a good idea to upgrade the Valkyrie’s Might Pommel you got not long ago.
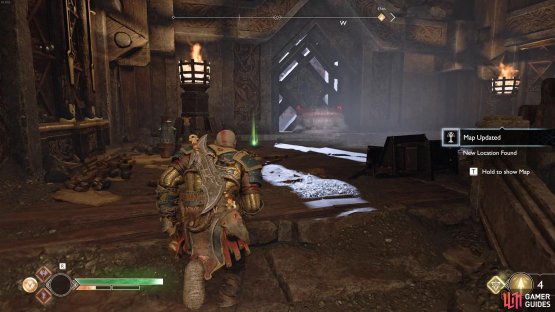
Once you’re ready, open the large doors and proceed onto the summit. Ignore the Realm Tear for now and head over to the Legendary Chest in front of you to obtain the final Niflheim Cipher Piece and complete the language disc to gain entry to Niflheim and unlock the Trilingual achievement.

(1 of 2) Make use of Blade runic attacks to deal with the enemies quickly.

Make use of Blade runic attacks to deal with the enemies quickly. (left), The final Niflheim Cipher Piece awaits in this chest. (right)
The Realm Tear now awaits your attention, be prepared for a difficult battle. You’ll be up against all manner of Hel denizens so equip your Blades of Chaos to deal greater damage. Take note of the bombs situated around the arena too, if any of the enemies approach any be sure to ignite it to deal major damage. Provided you’re at least Level 6 and make use of Runic Attacks and Summons, you shouldn’t have too much difficulty. Inside the Realm Tear you’ll obtain Dust of Realms, Perfect Aspect of the Realm and 10,000 Hacksilver.
Take the only path and burn the brambles to scale the walls behind them up to the top. You’re finally back at the top and the travel gate beckons. Head across the cliff and take a left at the wall to find a coffin covered in Hel’s Brambles containing the Mythic Bracers of Clarity. Return to the wall and burn away the brambles, climbing the wall beyond to the top.
Open the bridge to Jötunheim
Head over to the travel gate and Atreus will draw the rune on the plate. Use the Magic Chisel to carve the rune and finally your destination is in sight, Baldur has other plans however as the fight that follows destroys the travel gate.
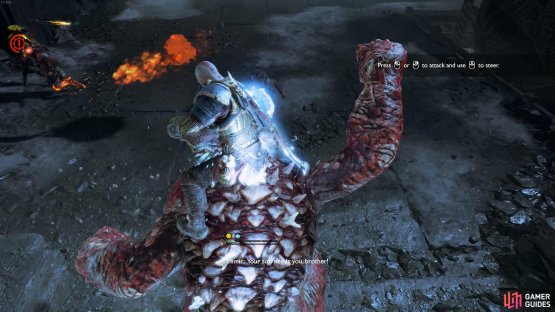
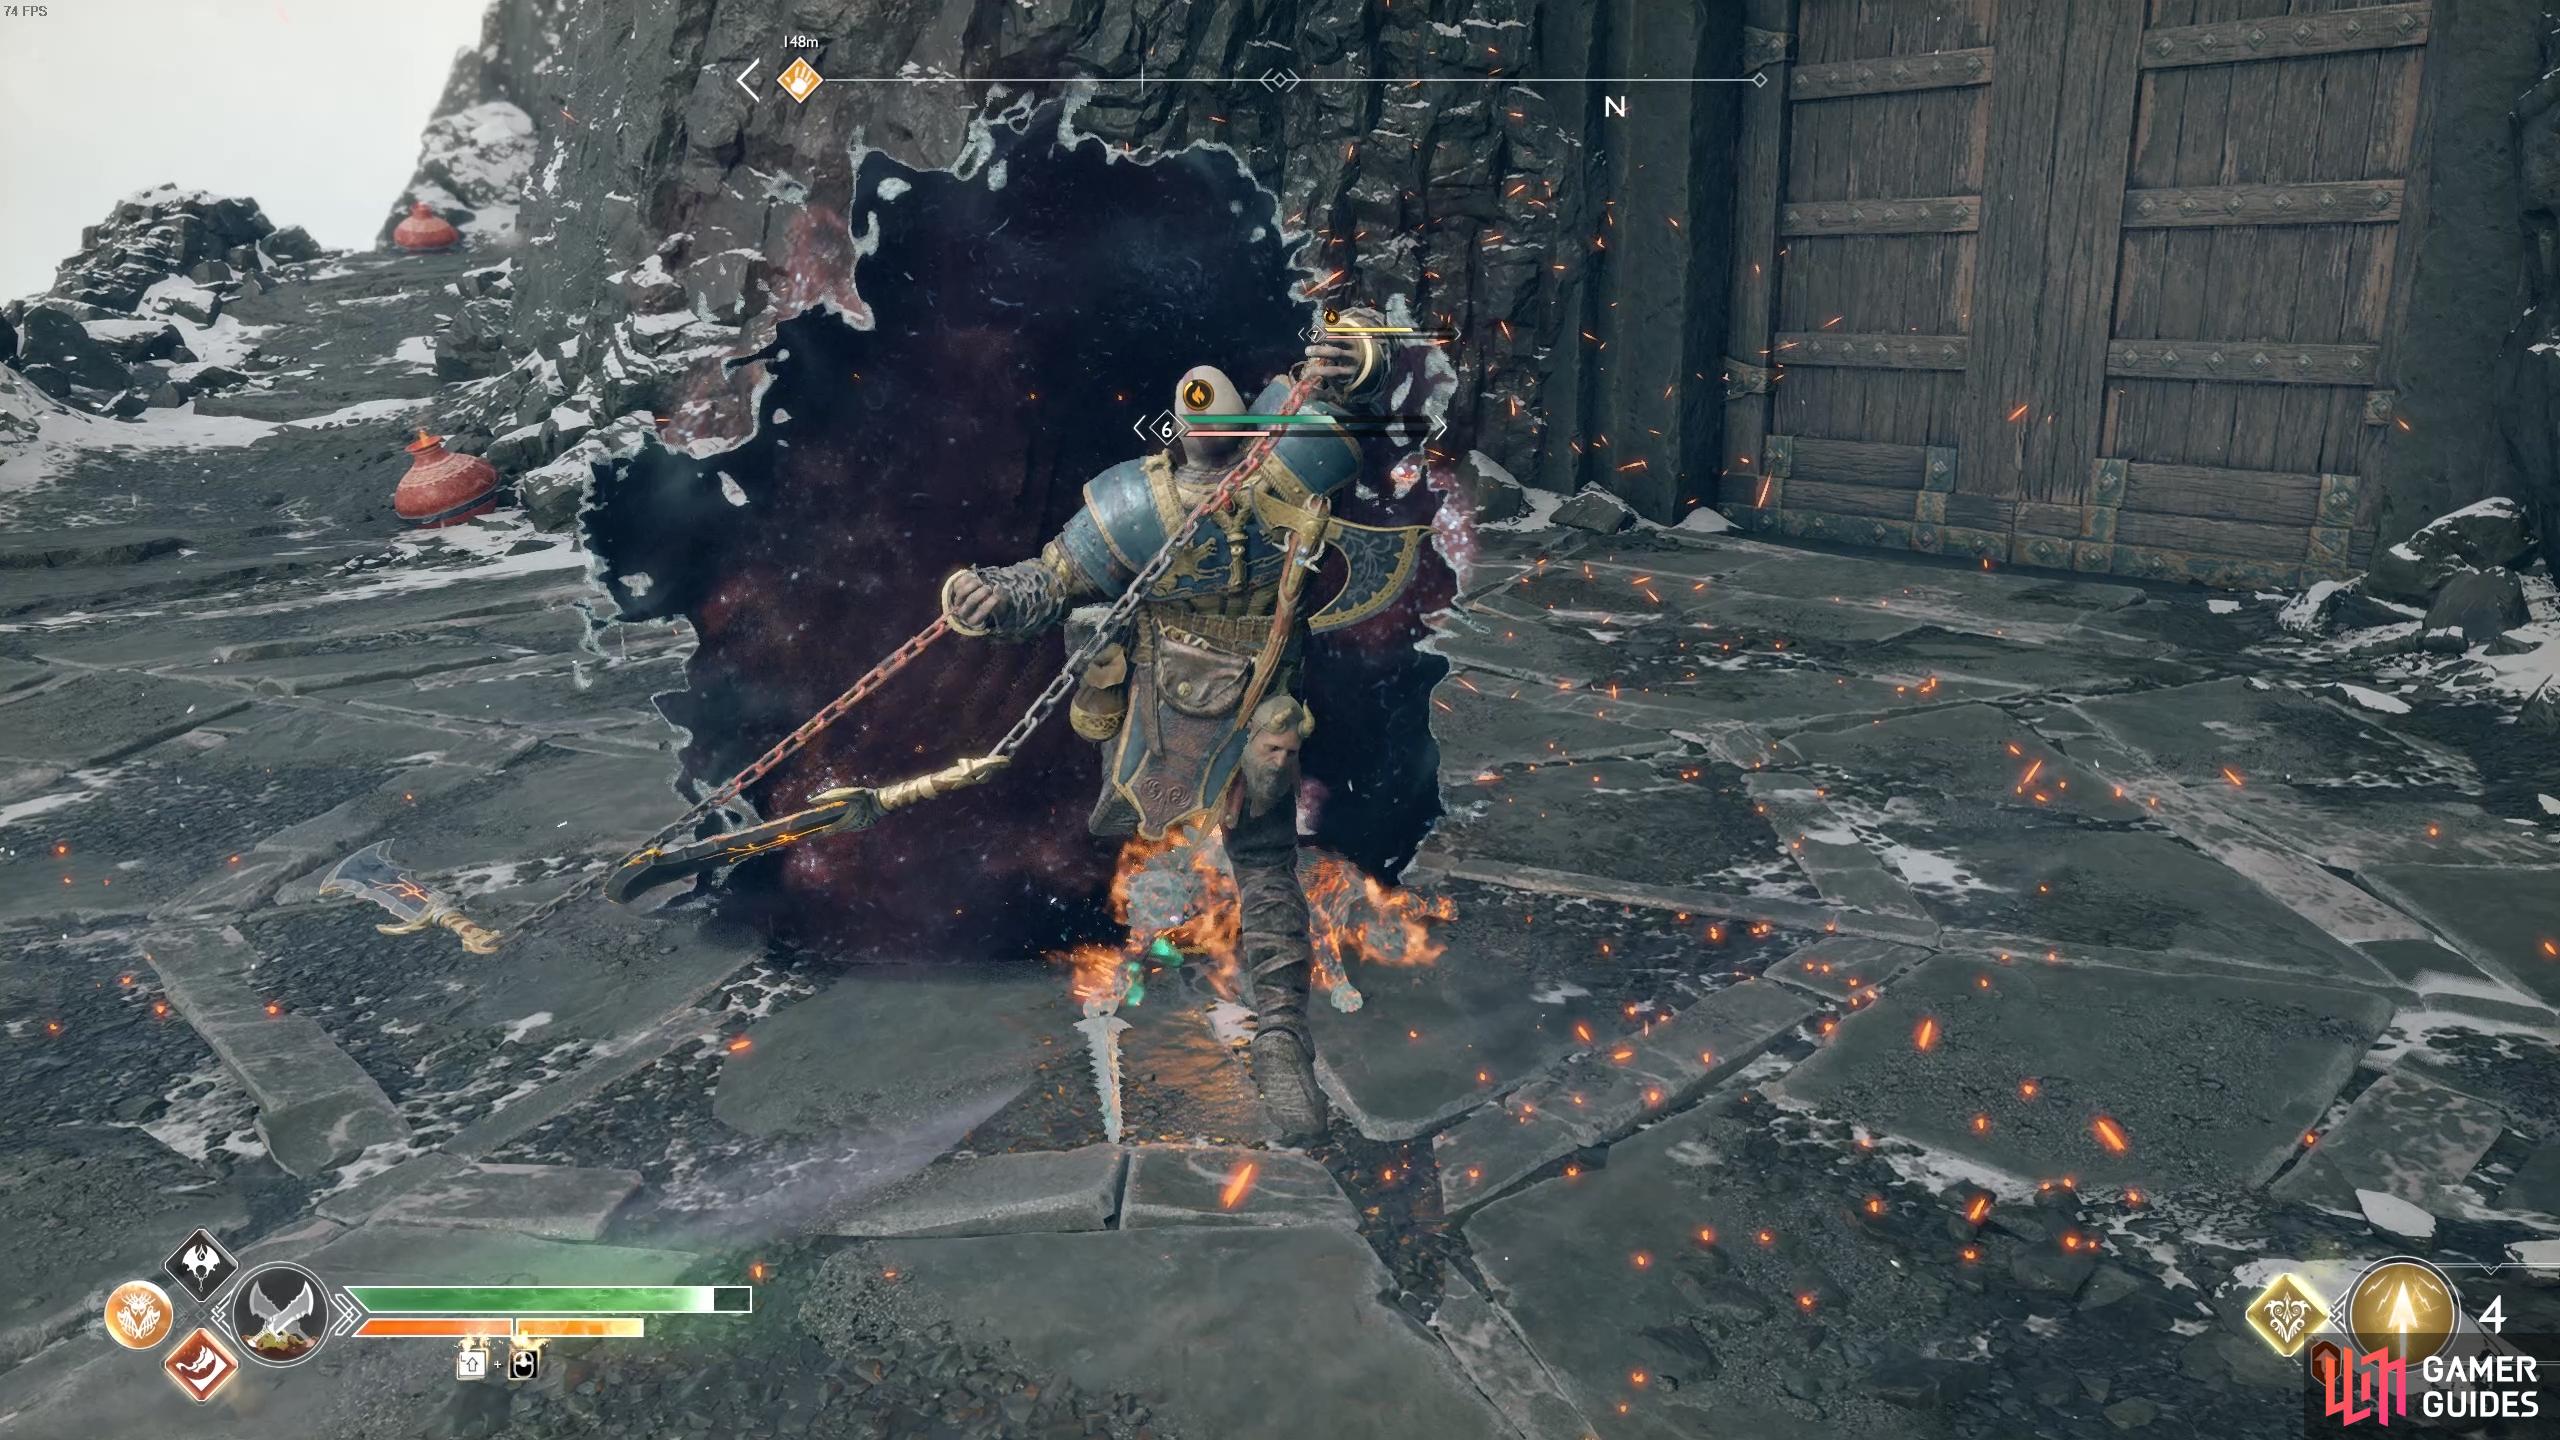
The battle takes to the skies as Baldur attempts to escape on a dragon. The battle is mostly cinematic, the two gods trade punches similar to your first battle with Baldur. Attack with the or button and counter with the button or key when Baldur attempts to attack himself.
As Baldur turns the tables and pins Kratos, hold the button or key to shield yourself from his attacks and use the  /
/  or
or  /
/  keys to dodge to either side to avoid more punches. This will persist until you counter a successful dodge with some punches.
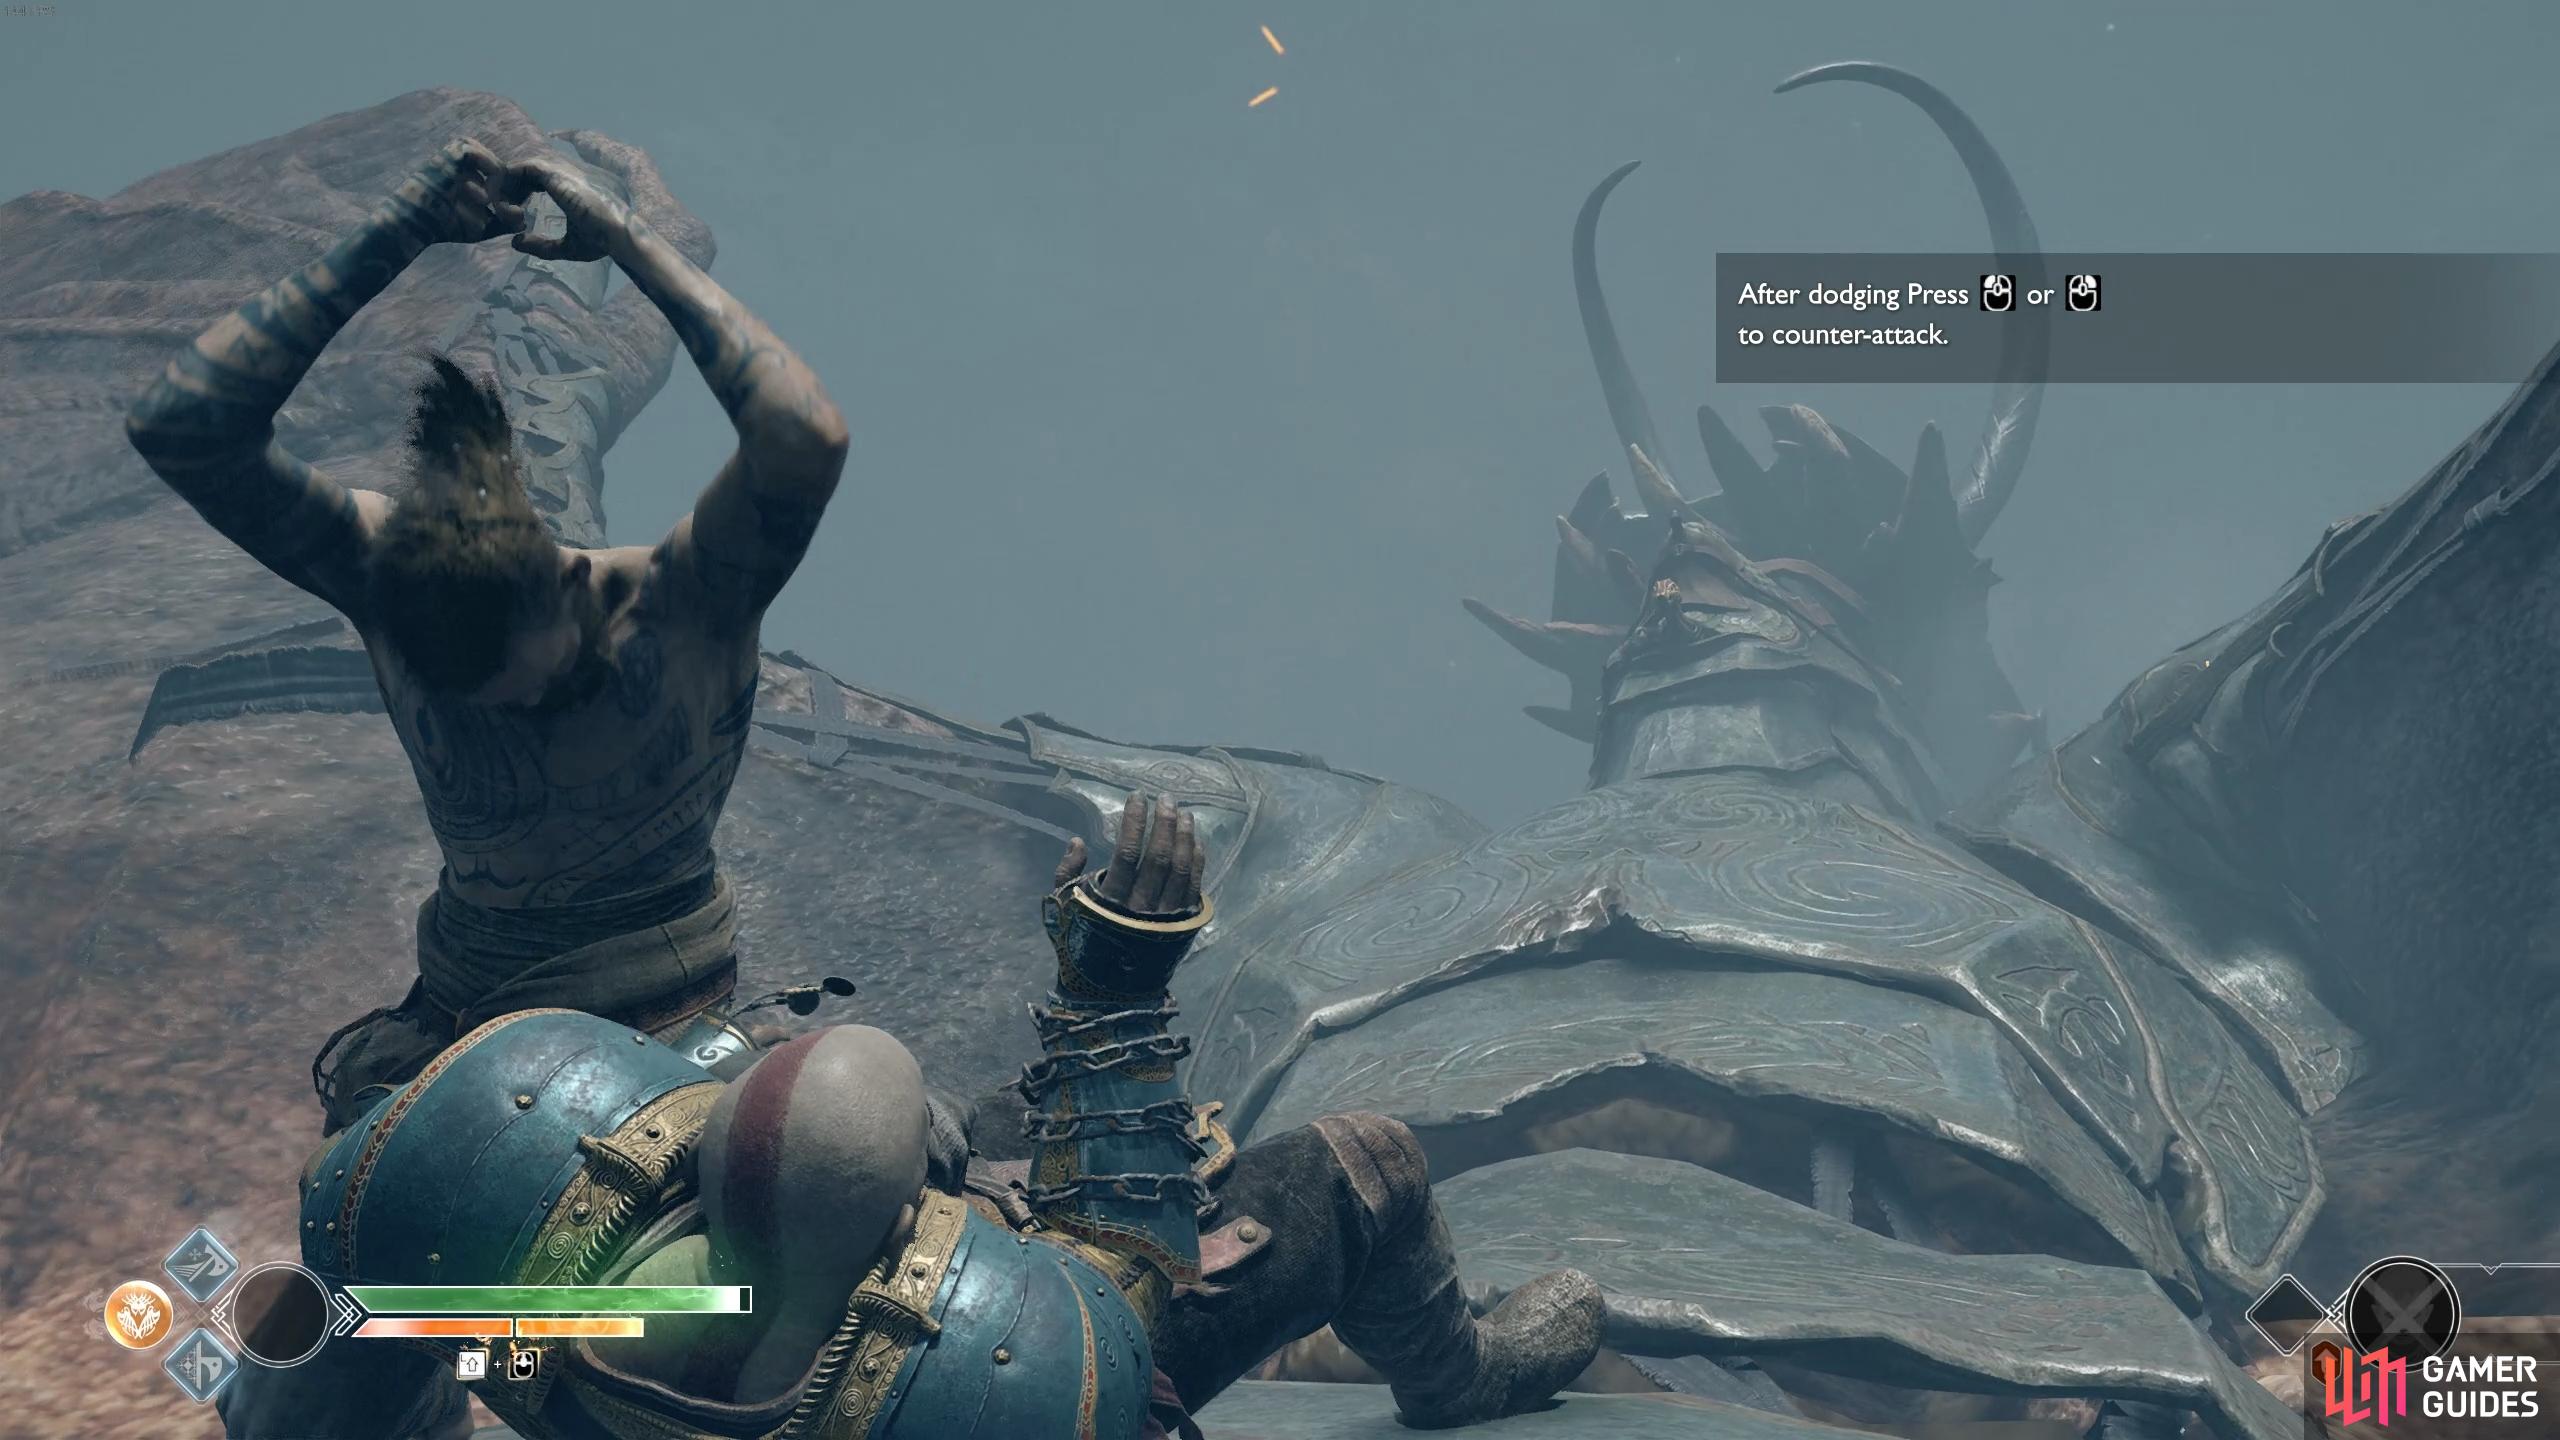
Counter with punches of your own once you dodge successfully.
Once you’ve countered him enough times the battle will continue towards where the stricken Atreus lies, continue to pile on the punches as Baldur is finally knocked off the dragon and Kratos soon follows and lands back on Týr’s Temple bridge, taking off to the Realm Travel Room once he gets to his feet. Baldur’s attempts to travel to Asgard is in vein as Kratos changes the course to Helheim, where everybody ends up stranded. Head over to the rubble and free Atreus from it to conclude this step.
You’ll unlock the Round 2 achievement upon completion of the quest.
No Comments