
The Realm of Fog
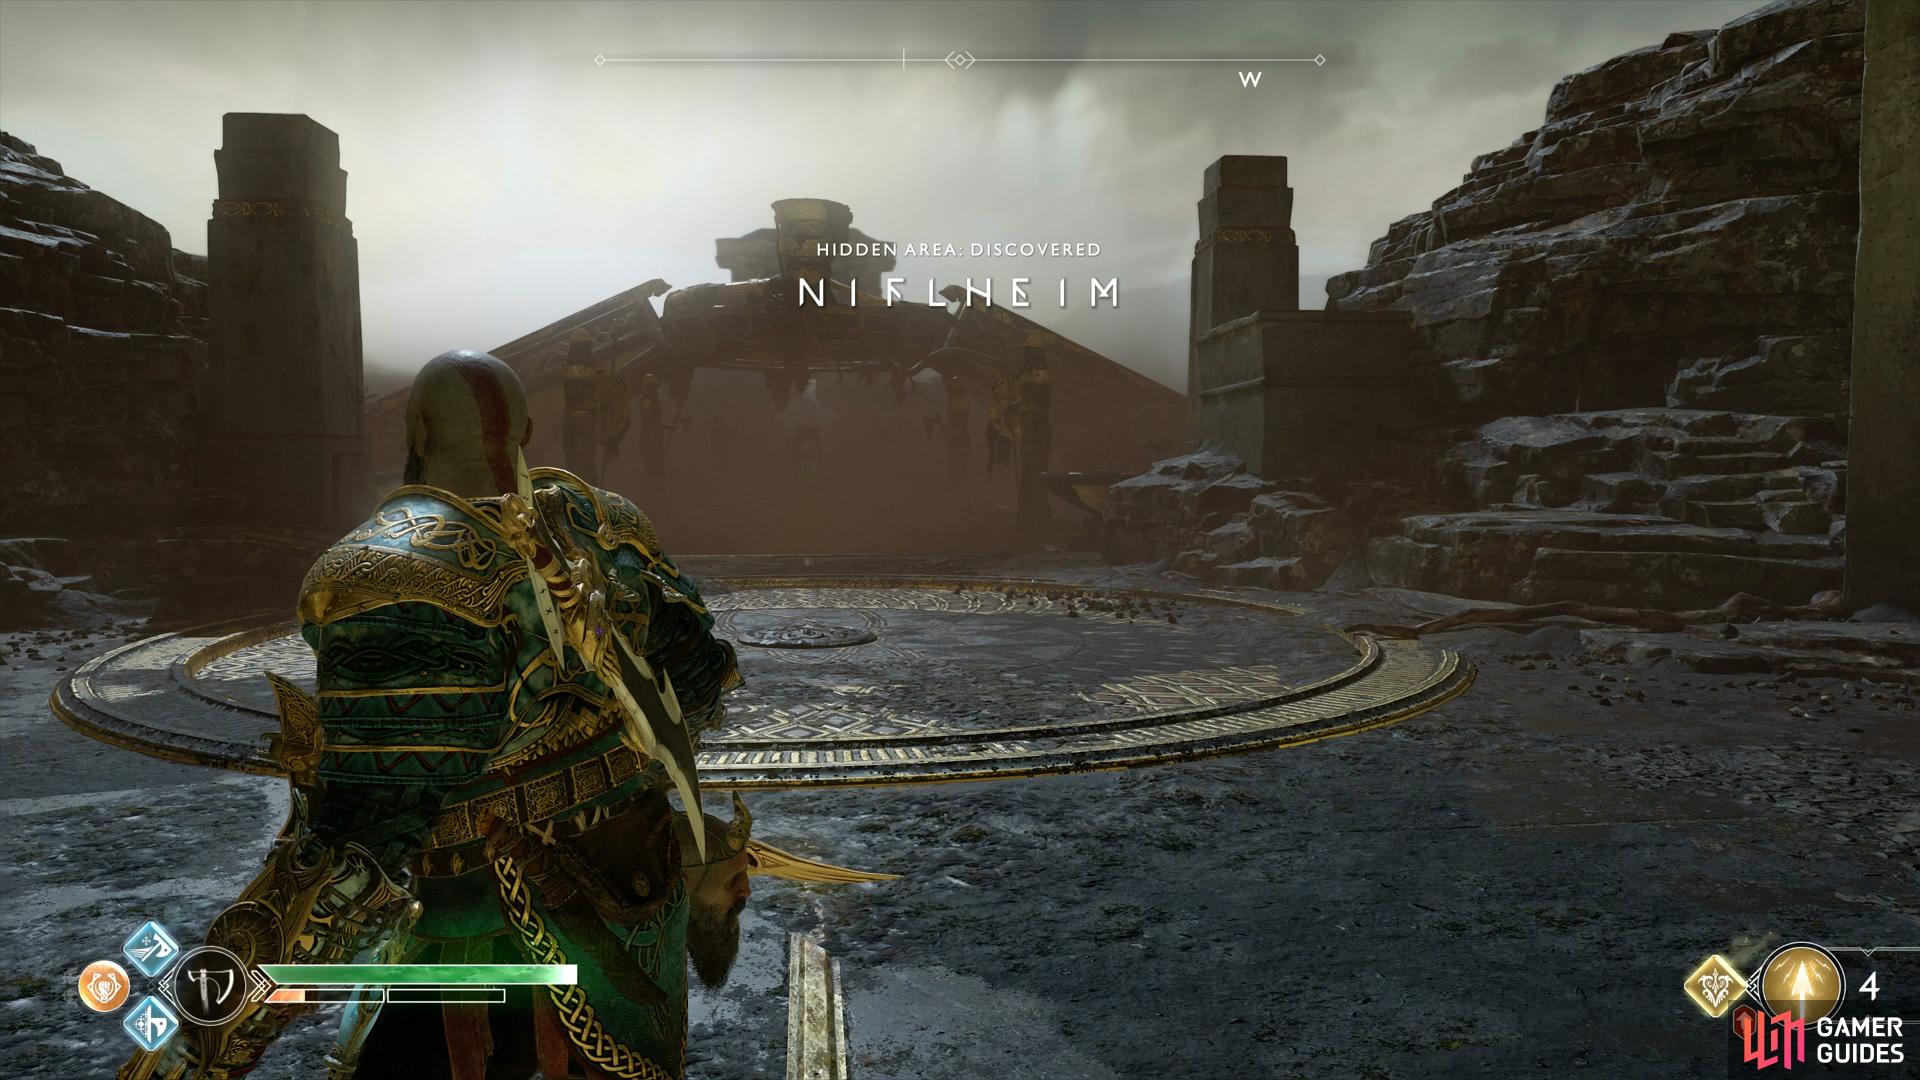
Niflheim, like Muspelheim, is unique in that it offers a challenge not found in the rest of the game. The main process of progressing through Niflheim is by collecting Mist Echoes and other Niflheim exclusive materials found in the maze to upgrade your gear, allowing you to stay in the Cursed Mist longer. The first Favor leads you into the central chamber where you’ll need more resources to unlock the treasures and Realm Tears what will ultimately reward the Trophy. Niflheim has many underlining mechanics that feature throughout its mazes, let’s take a look at them now.
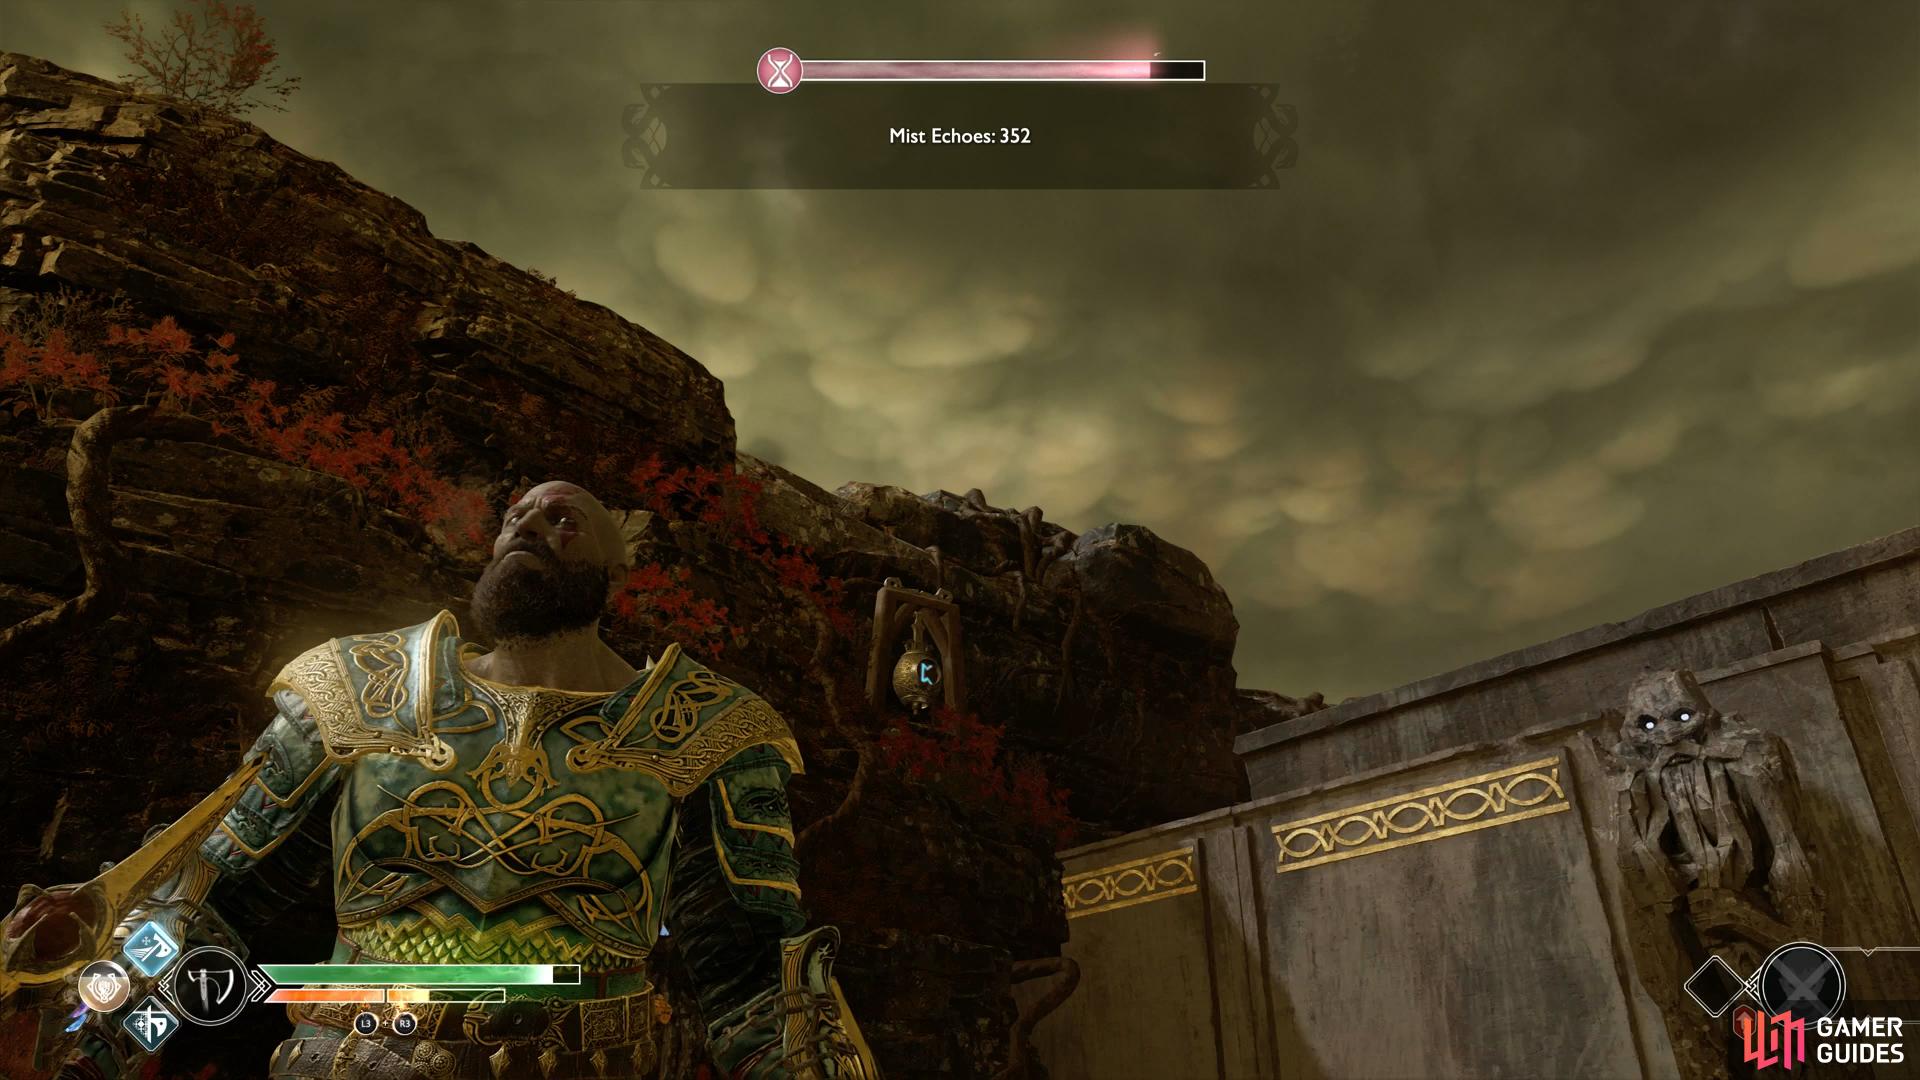
The Cursed Mist
The Cursed Mist is the main hazard in this area, whenever you’re in the area you’ll notice a gauge appear on your screen draining away. When this is empty, you’ll begin taking constant damage until either you fall or exit out of the mist.
How long you can stay in the mist is not set in stone, you can extend the duration from equipment, opening chests and coffers or as a Perk from Enchantments or Talismans. Your initial goal in that case is to craft the armor set, along with crafting the Pommel and an obtaining the Enchantment from the central chamber, this will be discussed in greater detail later. You’ll not only need this to stay in the mists longer but to battle the Valkyrie who rests in the mists herself.
The Currency
Mist Echoes are the primary currency in Niflheim, with the rarer resources of Niflheim Alloy, Haze Weaves and Aesirbanes needed to upgrade Epic equipment. On top of that, you’ll find the very rare Anchor of Fogs in certain Legendary Chests needed to seal the three Realm Tears near the end of the area.
So how do you obtain this currency? Plundering the many chests in the mists is how you obtain it. Throughout the maze you’ll find small chests, coffins and Legendary Chests. These will all contain Mist Echoes along with the rarer resources found in the Legendary Chests and how many you receive will be based on how many chests you’ve opened. This means you’ll want to stay in the mists for as long as possible before you exit and “bank” them.
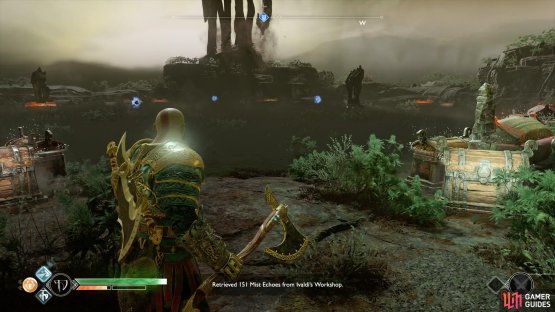
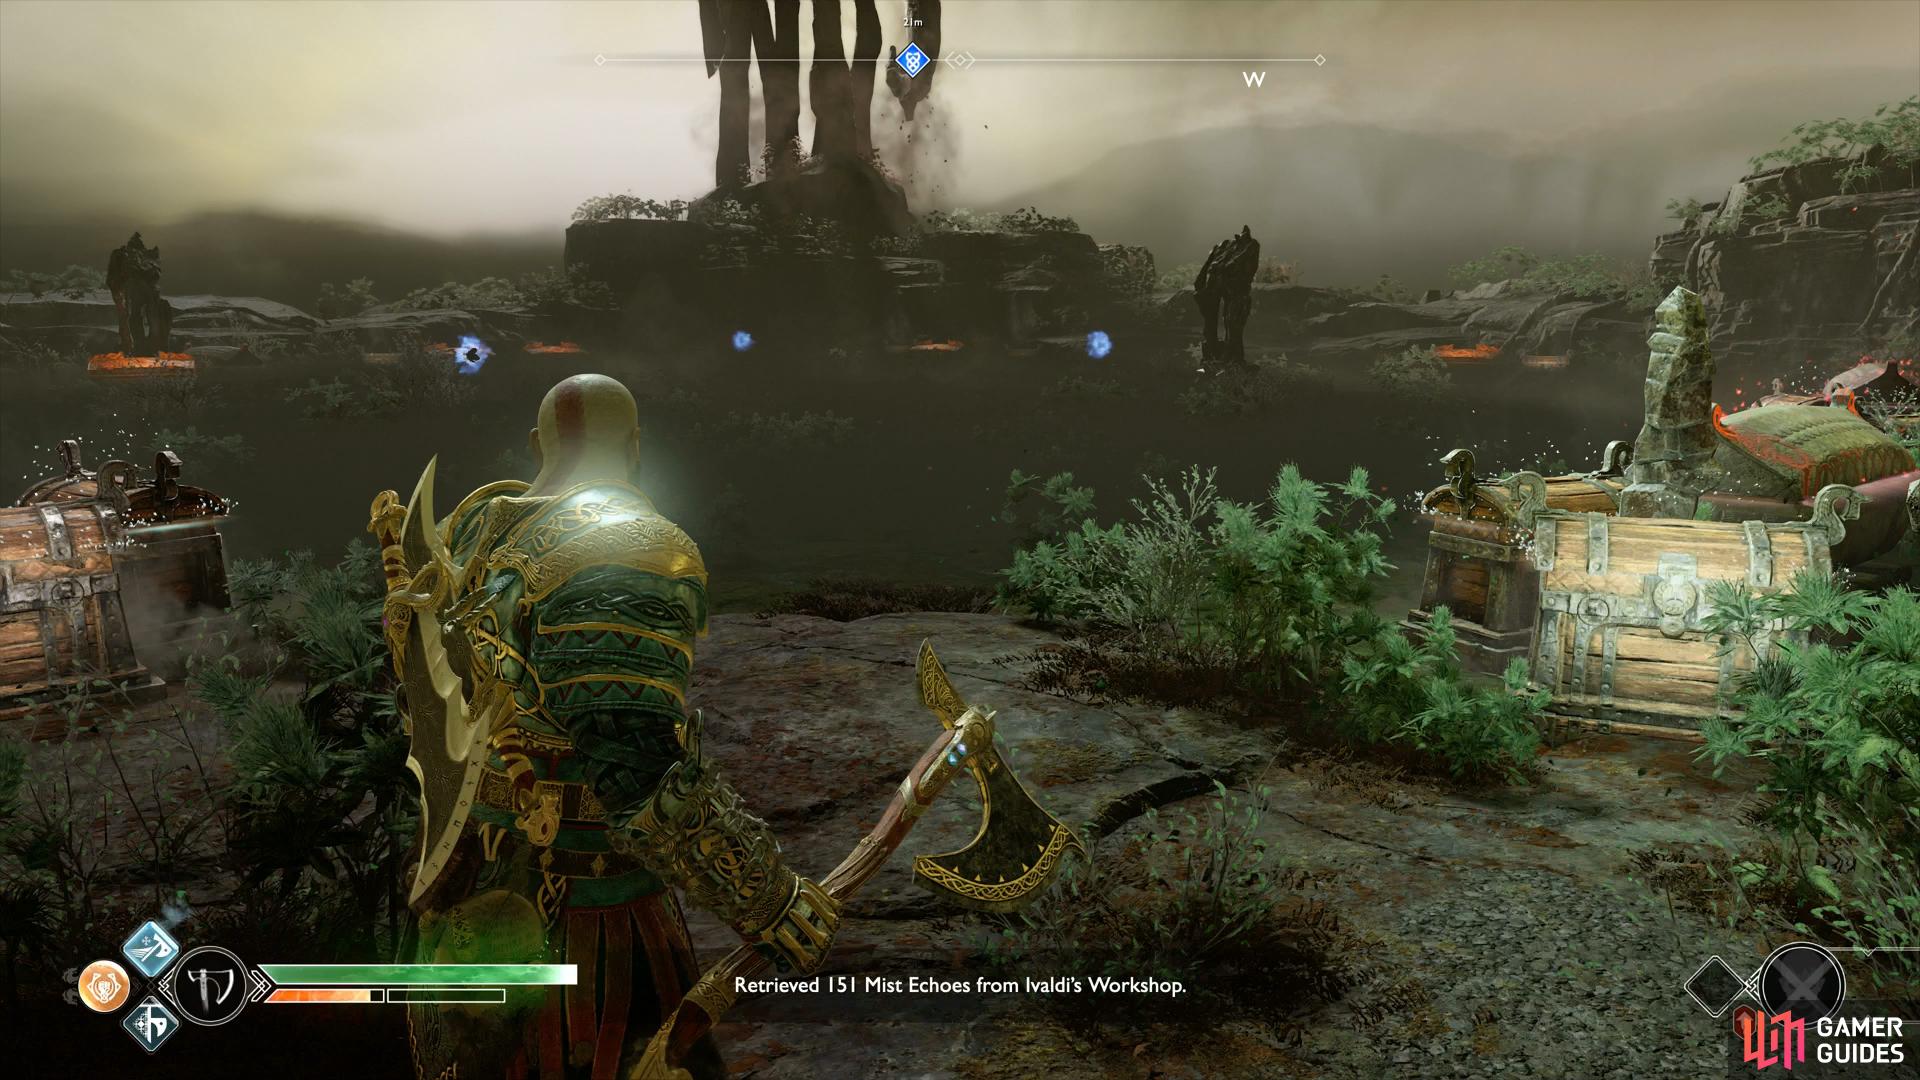
Mist Echoes and other resources are not fully obtained until you escape the mists, a message will pop up informing you that you’ve “obtained” them. This means you’ll need to be careful, do you go for that extra chest but run out of time or get yourself killed? To start off with, you’ll be doing many smaller runs until you have the means to stay in the mists longer.
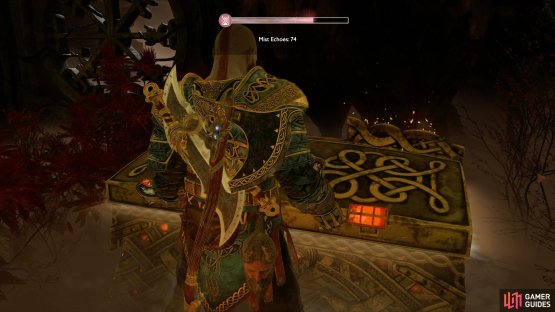
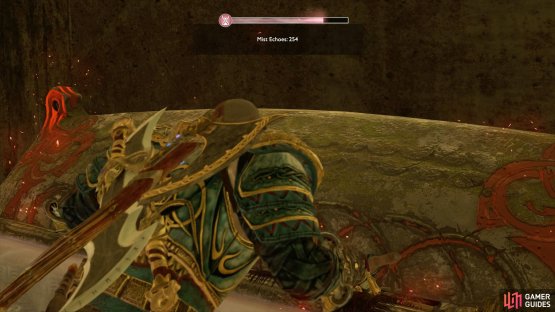
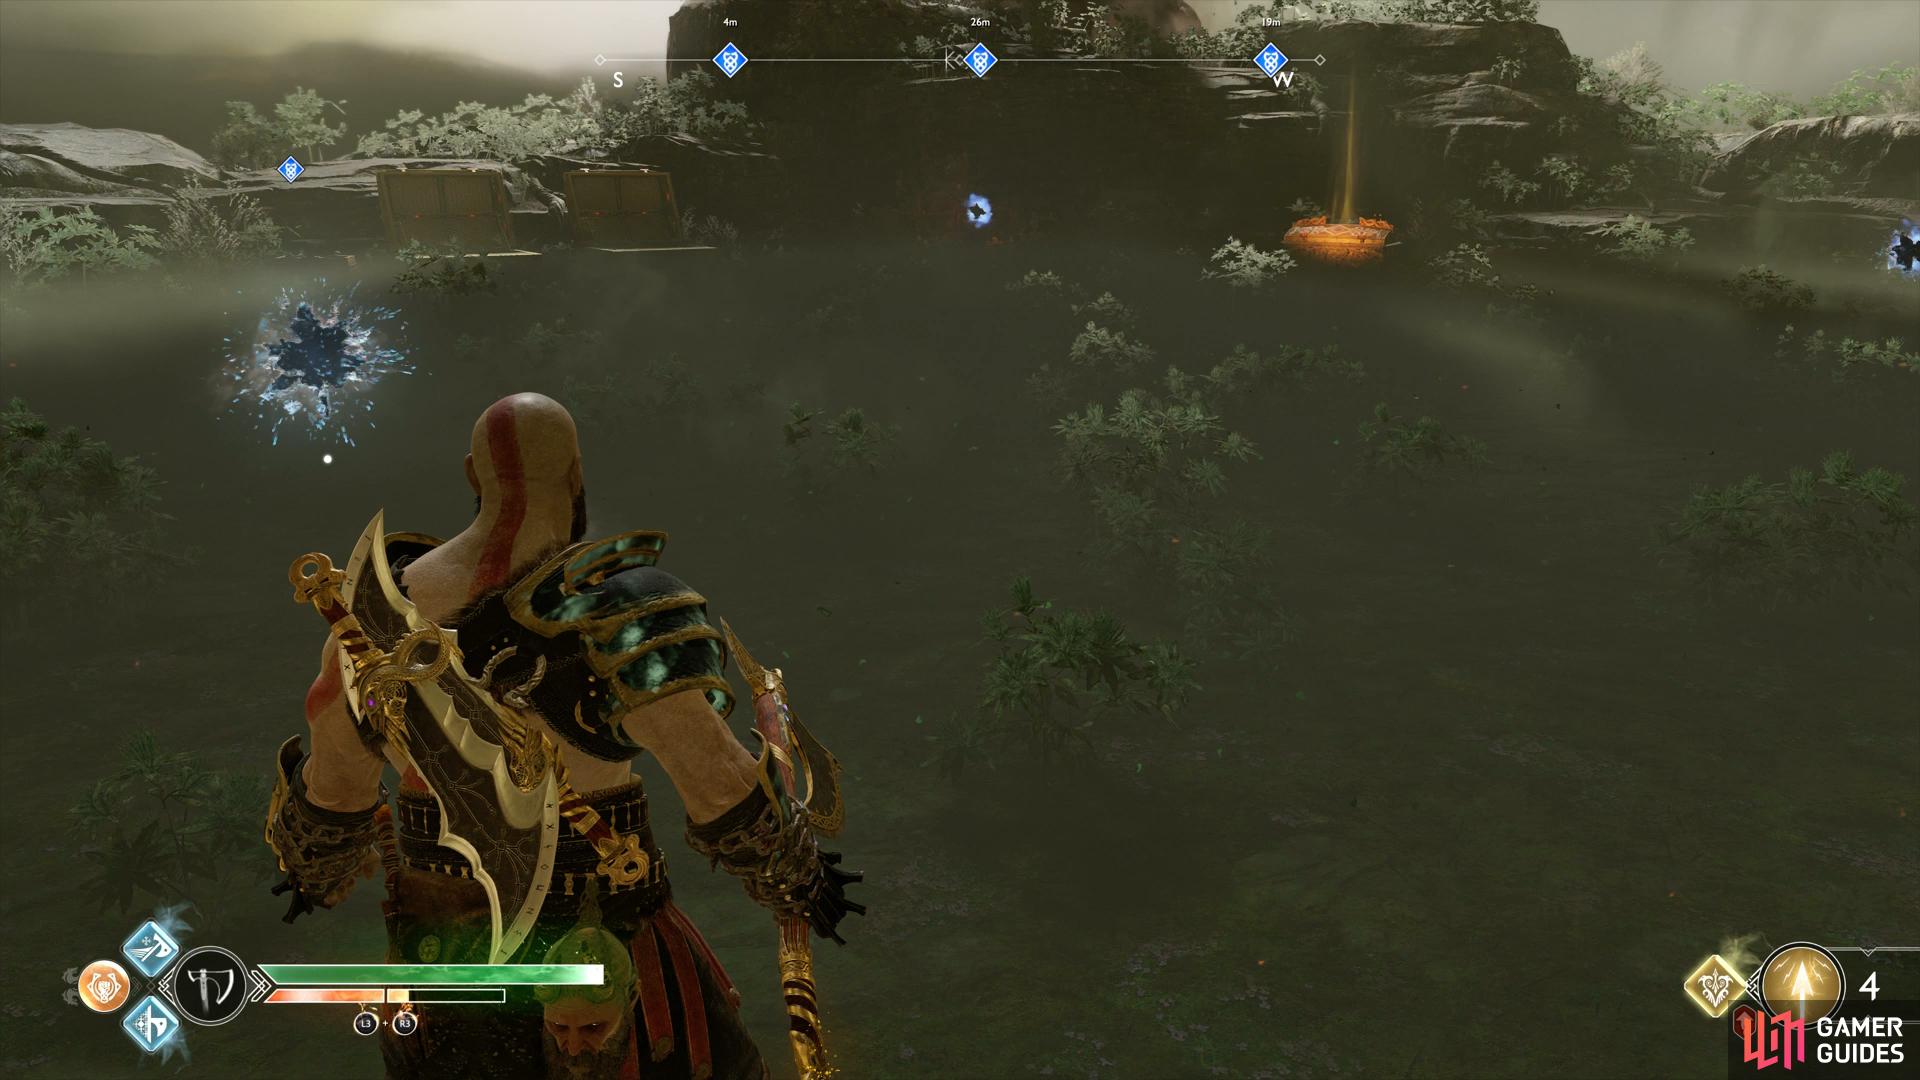
(1 of 2) You’ll find all the resources of Niflheim in all kinds of chests

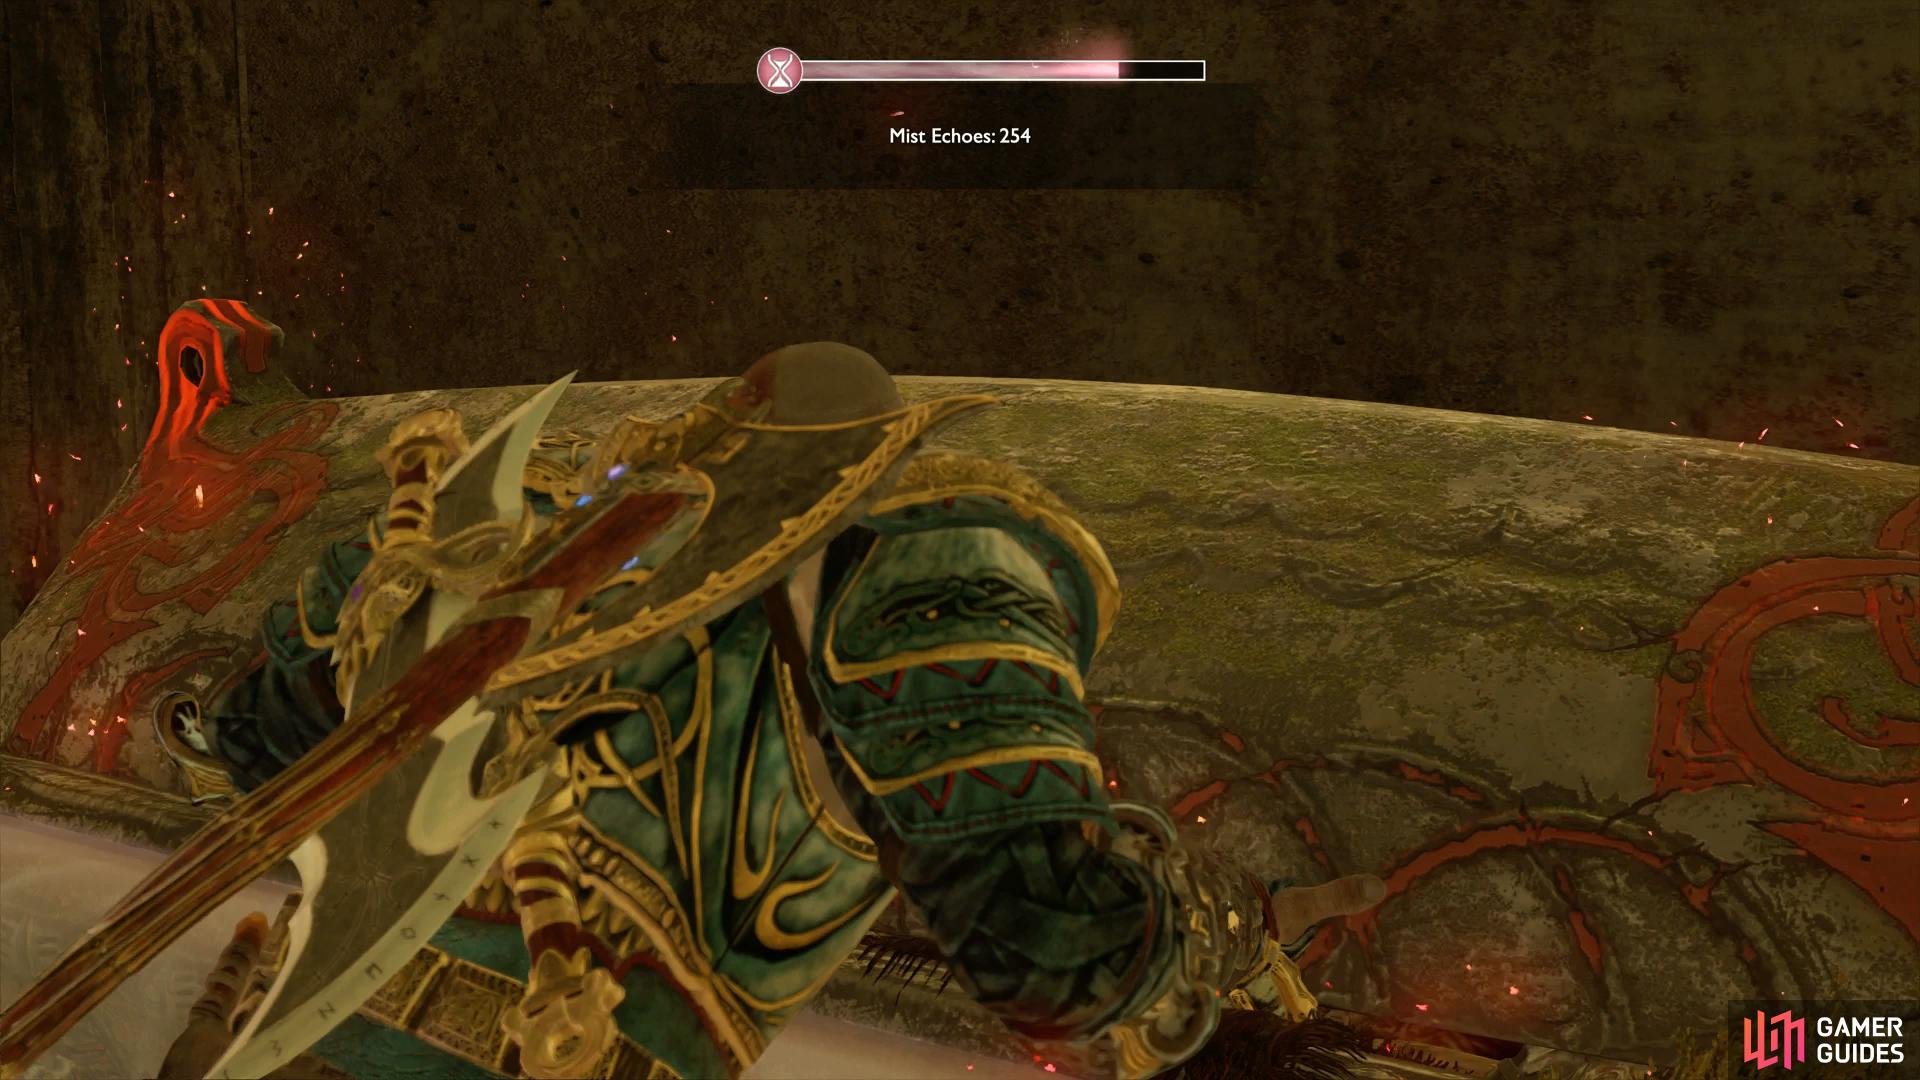
You’ll find all the resources of Niflheim in all kinds of chests (left), not only will you receive the resources but also recover some of your mist gauge. (right)
Finally, you’ll sometimes come across Nornir Chests in the area. These usually contain a large chunk of Mist Echoes or an Enchantment and you’ll find the bells in the same room. There is one exception to this, if you come across a Nornir Chest at the Entrance then you’ll need to search in the larger rooms to find Rune Spinners so it’s a good idea to make a mental note of what Runes are required.
The Area
The area itself is set in stone, think of it as a diamond that has two rooms off to the left and right sides with the Entrance at the bottom of the diamond. You’ll have an entrance which connects back to Sindri or leads to the Central Chamber and you’ll be able to go to either the left or right from there.
The Entrance is where you’ll meet your first group of enemies, down the hill from Sindri’s shop. You’ll be able to find small chests, coffins and Legendary Chests around the edges of the room and then in the middle, a door leading to the Central Chamber. At times a Nornir Chest will sit here, you’ll need to find the Runic Spinners high up on the walls in the other larger rooms so make a note of the Runes before moving on.
The Central Chamber is your first destination and you’ll need to hand Sindri 500 Mist Echoes to gain entry initially. Once inside you’ll not only find the Rusted Armor Sindri is looking for but a whole treasure vault along with three Realm Tears. To “beat” Niflheim, you’ll need to open up everything in this vault. Mist Echoes are needed to open the Legendary Chests along with the addition of the rare Anchor of Fogs to open the Realm Tears, found in the deepest reaches of the maze. You can discover what each chest contains later in this section, use that to plan what to aim for next.

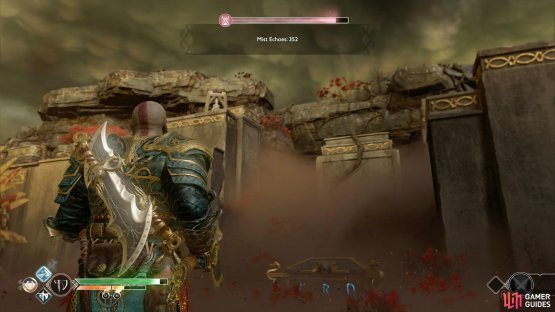
(1 of 2) The Central Chamber is your main goal, loot everything to complete Niflheim

The Central Chamber is your main goal, loot everything to complete Niflheim (left), beware of the traps in the corridors between the rooms. (right)
Taking either a left or right from the entrance leads to a trap corridor. All rooms are connected with these trap corridors featuring spinning blade wheels or crushing blocks. You’ll usually find a coffin or two in the alcoves here and early on you’ll want to get them to prolong your time in the mist.
These corridors will lead to a smaller room that will be free of enemies and sometimes contain a Nornir Chest where you’ll find all the Rune Bells in the same small room you’re in. If you’re short on time then it’s a good idea to leave this, the reward is good but you’ll probably find yourself able to get more smaller chests than this one.
Next up is another large room with enemies again, these perform the same as the Entrance area with the possibility of small chests, coffins and Legendary Chests. The enemies themselves tend to be a little stronger and the chests contain greater rewards but not the rarest resources.
Once again another trap corridor followes these rooms featuring the same possibilites as the first trap corridor. These lead to another set of small rooms with one huge difference this time. You can either proceed further along to the top room of the diamond or take a side path. The side paths, reached by taking a left from the left path or a right from the right path lead to the most challenging rooms.
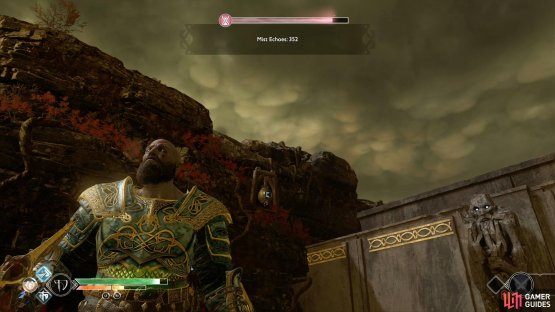
(1 of 2) You may find Nornir Chests in the smaller rooms between corridors

You may find Nornir Chests in the smaller rooms between corridors (left), the Rune Bells can be found in the same room, up high. (right)
The left Side Room leads to the hidden Valkyrie, Hildr, who you won’t be ready for until you have the means to stay in the mists longer. Once you’ve defeated her you’ll find her replaced by a mini boss such as a Fierce Ogre or a Traveller. The Legendary chests in this area has the possibility to reward you with the rarest resources in Niflheim such as the Aesirbane and it’s also the only place you’ll find the Anchor of Fogs. The right room on the right path will always be just a mini boss but will also contain the same rewards.
Finally, the top room of the diamond is similar to the other large rooms just with slightly more enemies and rarer resources from the Legendary Chests. You have a small chance to obtain Aesirbane here although it’s still better to tackle the side rooms.
Essentially, once you can stay in the mists for a longer time, you’ll want to run loops of the area opening the chests for the currency as long as you’re able to. Once you’re able to, the Side rooms with the mini bosses should always be your main priority, remembering to open every chest along the way to increase the rewards you receive.
The Enemies
The enemies themselves are completely randomly generated every time you enter the maze. They do however, follow a certain theme that you can use to your advantage. If you encounter Draugrs at the Entrance than you’ll be fighting mostly Draugrs throughout that run, encounter Revenants and you’ll be fighting a lot of them.
This can however be reset by returning up the hill to Sindri and coming back down. For example, if you have Revenants in the first room then you should consider resetting the enemies, Revenants are probably the toughest enemies you can encounter and not worth the time spent trying to loot the maze.
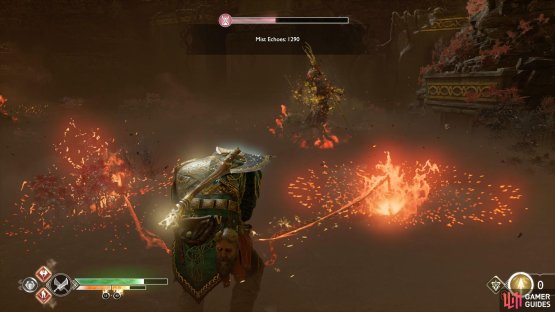

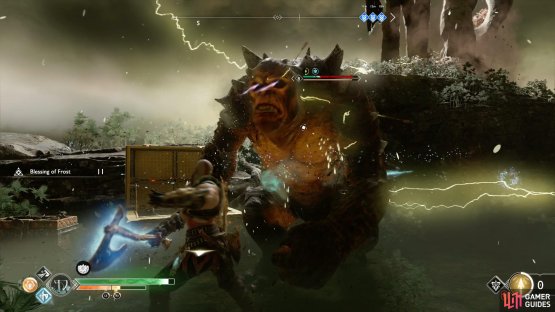
(1 of 2) Revenants make for the most difficult regular enemies
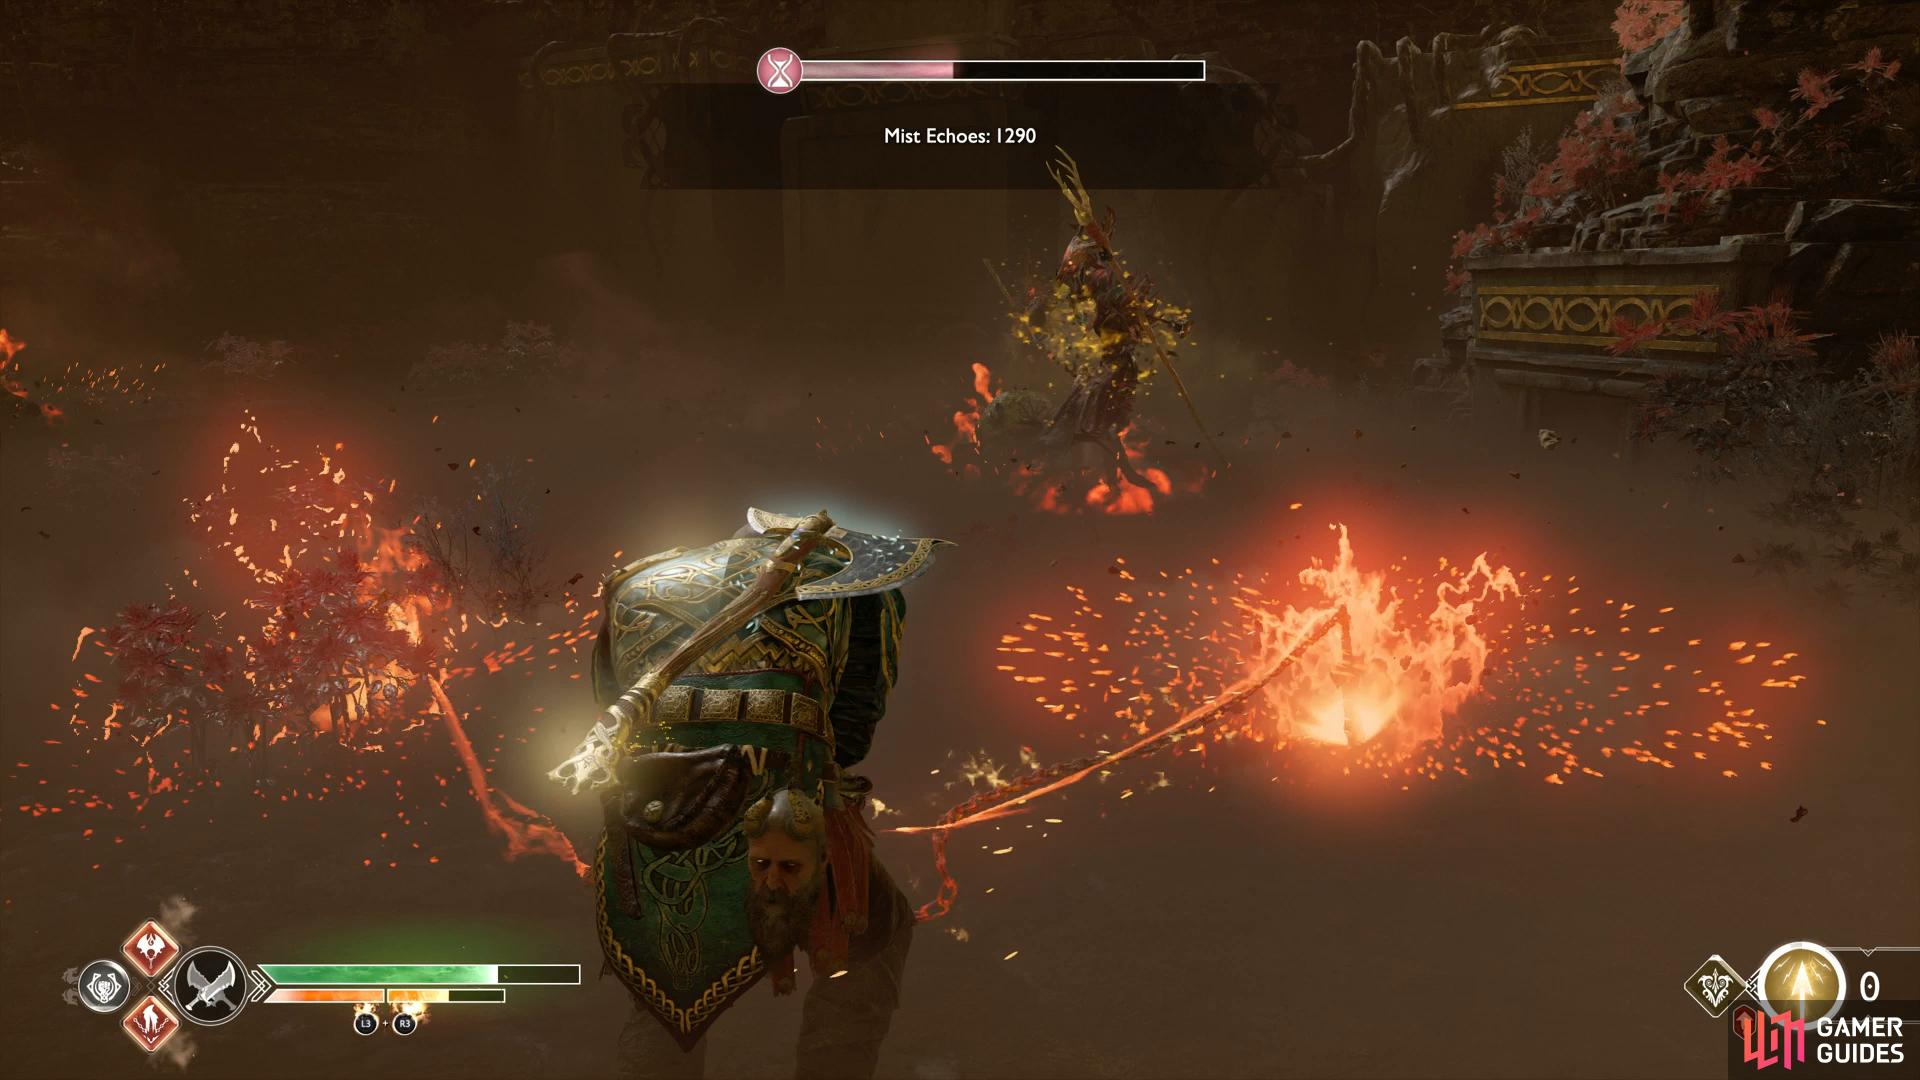
Revenants make for the most difficult regular enemies (left), the Ogre is probably the easiest mini boss, mount him to clear the room with ease. (right)
The mini bosses will always consist of either Fierce Ogres, Travellers or Dark Elf Lords regardless of the theme your current maze has. Be sure to use Spartan Rage or any Runics you may have to take these foes down as quickly as possible.
Finally, the Valkyrie Hildr initially hides out in the left Side Room and is a deadly encounter as it’s essentially a timed battle. Don’t attempt this until you have at least the full armor set, the Pommel and the Enchantment.
With all of this information at hand, the first thing you’ll want to do is complete the Favors for Sindri.
Ivaldi’s Workshop
| Objective | Rewards |
|---|---|
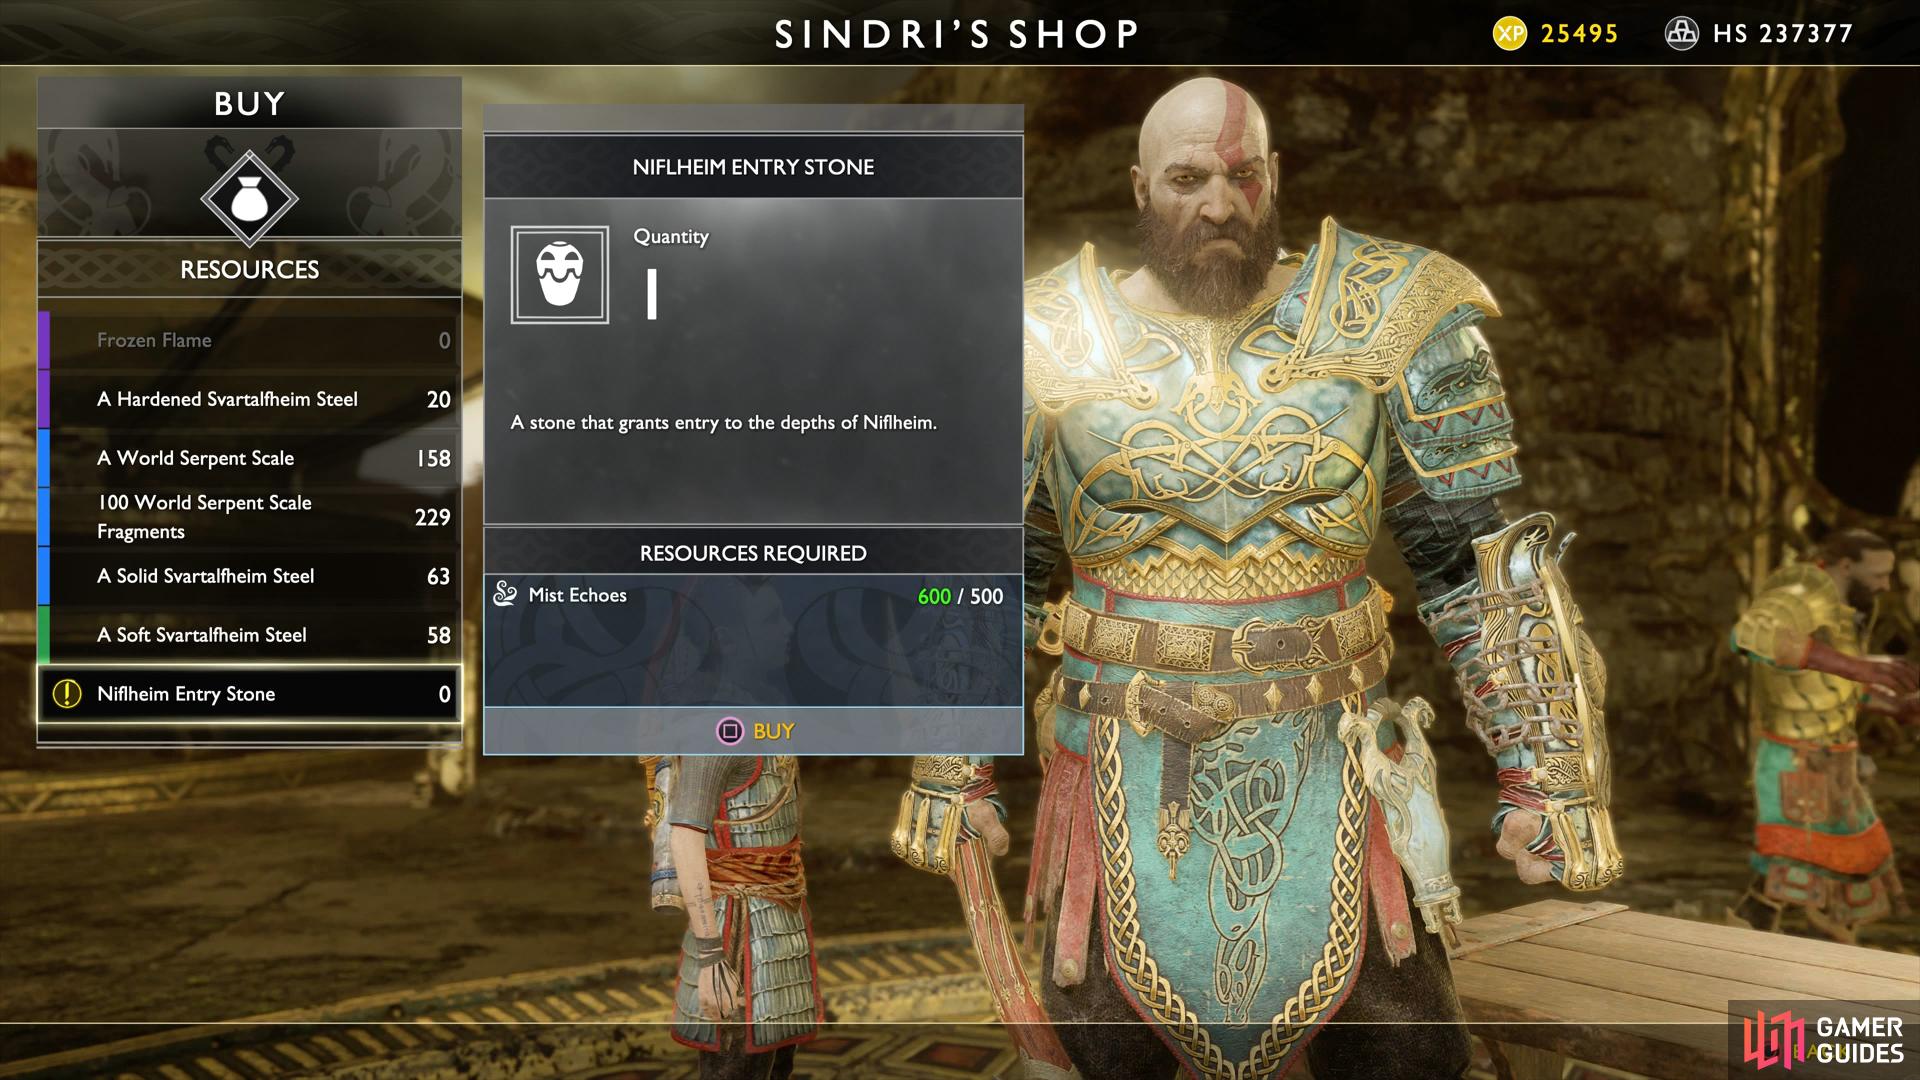
| Retrieve 500 Mist Echoes | 1075 XP, Entry to central chamber |
This is the first task you’ll get and you’ll have no way of staying out in the mist that long. For that reason it’s a good idea to farm the entrance for the Mist Echoes, banking them at the top of the hill after every run. Return to Sindri with the 500 Mist Echoes to buy the Niflheim Entry Stone from him.
With this in hand, head back down to the Entrance once more and clear out the enemies again for more Mist Echoes. Once they’re all defeated, place the Entry Stone on the pedestal and head forward into the central chamber.
Ivaldi’s Protection
| Objective | Rewards |
|---|---|
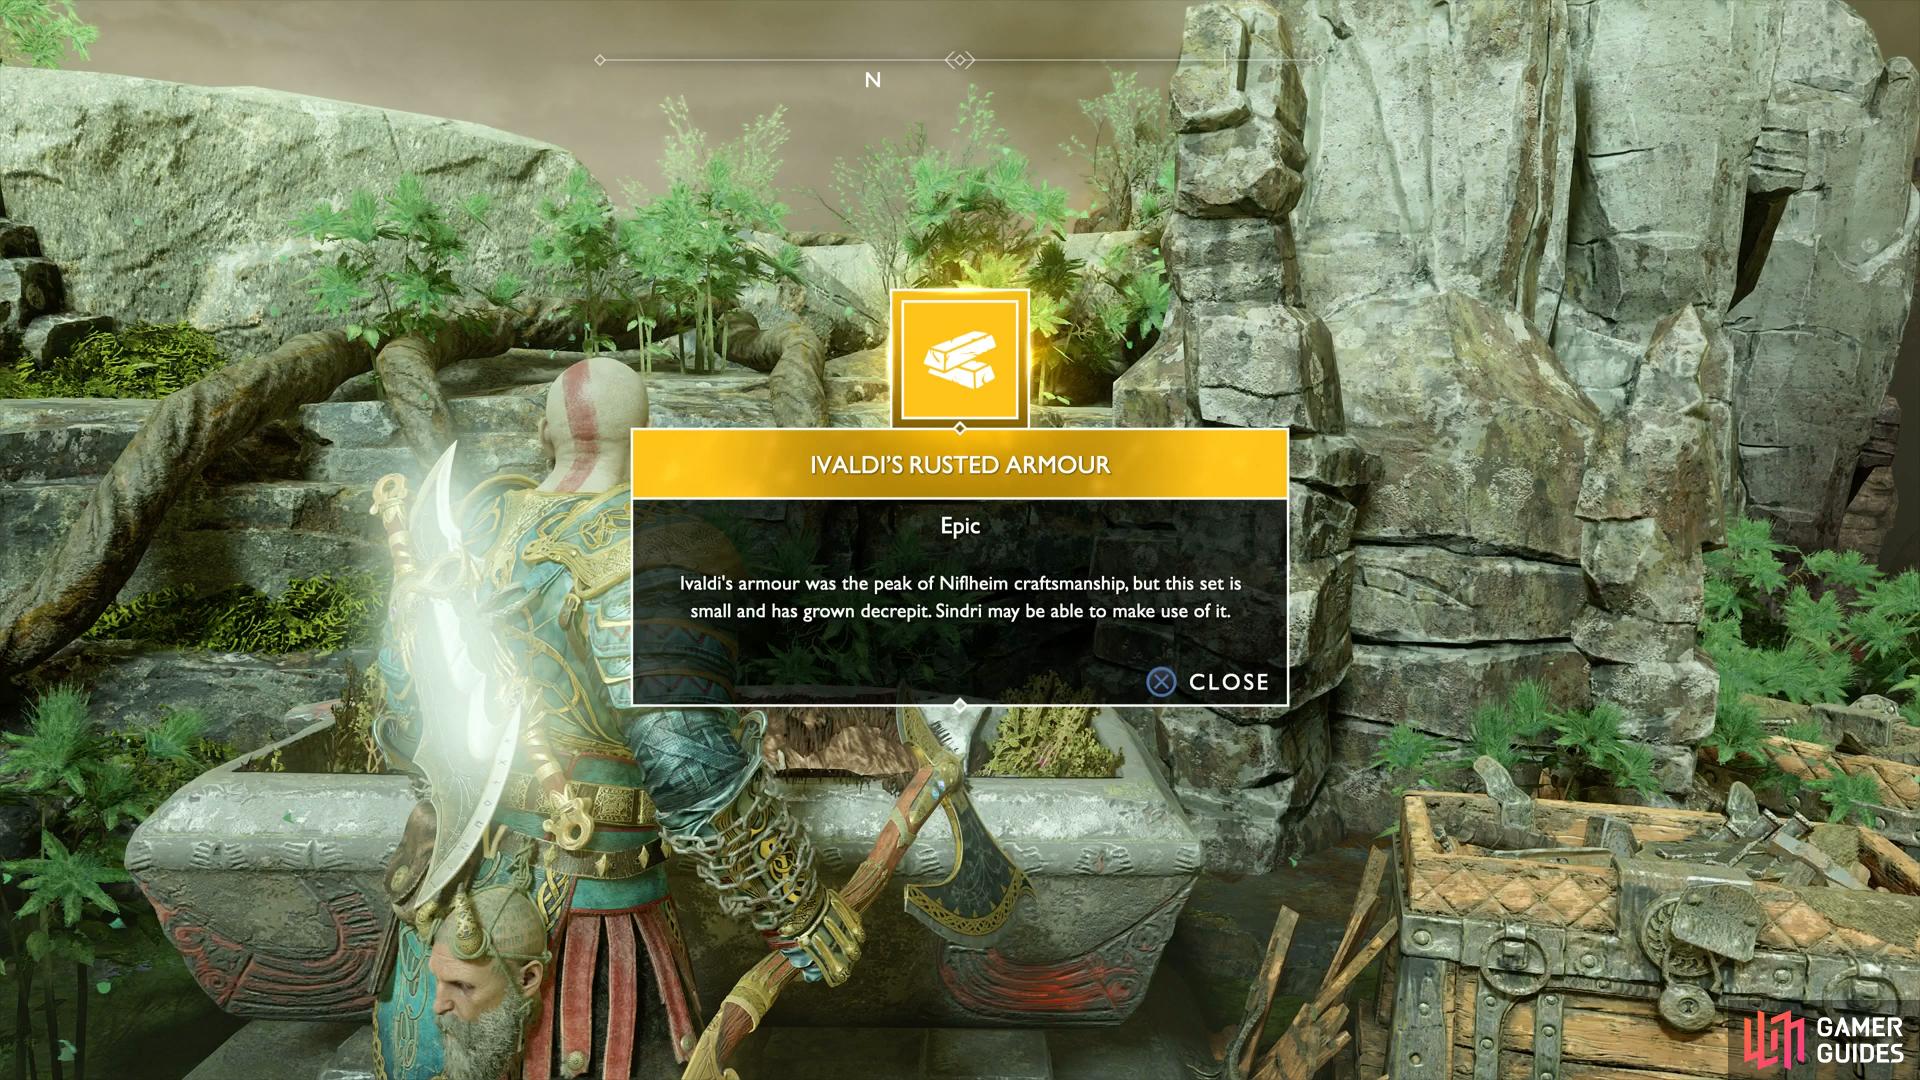
| Search for armor materials | 1075 XP, Niflheim armor recipe |
Head through the path in the central chamber and climb up the ledges. You’ll be out of the mist when you’re up here so you can take your time exploring.
You’ll find yourself in a treasure vault full of Legendary Chests along with three Realm Tears. For now, go around looting all of the small chests and coffins to obtain Ivaldi’s Rusted Armor along with more resources. Hold off on spending any of your Mist Echoes on the Legendary Chests, you’ll want to save them for now.
With the Rusted Armor in hand, make your way back to Sindri and hand it over to complete the Favor and unlock the next.
Ivaldi’s Curse
| Objective | Rewards |
|---|---|
| Seal the three realm tears | 4500 XP |
This is your primary task for the rest of your time in Niflheim. You’ll need to spend time upgrading Kratos so that he can stay in the mists long enough to gather the materials necessary for opening the Realm Tears.
To begin with, craft the Grip of the Maze from Sindri for 1500 Mist Echoes, you should have enough for this but if you don’t, farm the entrance one or two times and come back. Be sure to equip this while you’re in Niflheim, this will allow you to stay in the mists longer and venture out past the Entrance.
Your next goal should be to save up 2500 Mist Echoes to open the Legendary Chest in the central chamber containing the Eye of Niflheim Epic Enchantment, another tool to stay in the mists longer. Finally, work on crafting Ivaldi’s Deadly Mist set, this is not only a great armor set but will also let you stay in the mist longer to open more chests in the central chamber.
Central Chamber Chests
| Mist Echoes | Contents |
|---|---|
| 1000 | Perfect Artifact of the Blight |
| 2500 | Eye of Niflheim Enchantment |
| 5000 | Chilling Mists of Niflheim (Leviathan Axe Upgrade) |
| 7500 | Blightbringer Axe Pommel |
| 7500 | Blightguard Blades of Chaos Pommel |
The most useful items are the Eye of Niflheim followed by the Chilling Mists of Niflheim needed to upgrade the Leviathan Axe. Spend time in Niflheim obtaining these two items along with the Ivaldi’s Deadly Mist set before returning to tackle the Realm Tears.
Once you find yourself with a complete armor set along with the Enchantment and Pommel, it’s a good time to take on the Valkyrie, Hildr so that you can free that room for another shot at an Anchor of Fog. Head to this page to find out more details on how you can best this winged threat.
With the Valkyrie defeated, continue your expeditions into the Cursed Mist to get the necessary Mist Echoes and Anchor of Fogs to take on the three Realm Tears.
Realm Tear #1
| Cost | Reward |
|---|---|
| 10,000 Mist Echoes, 1 Anchor of Fog | Gift of Apollo Heavy Runic Attack |

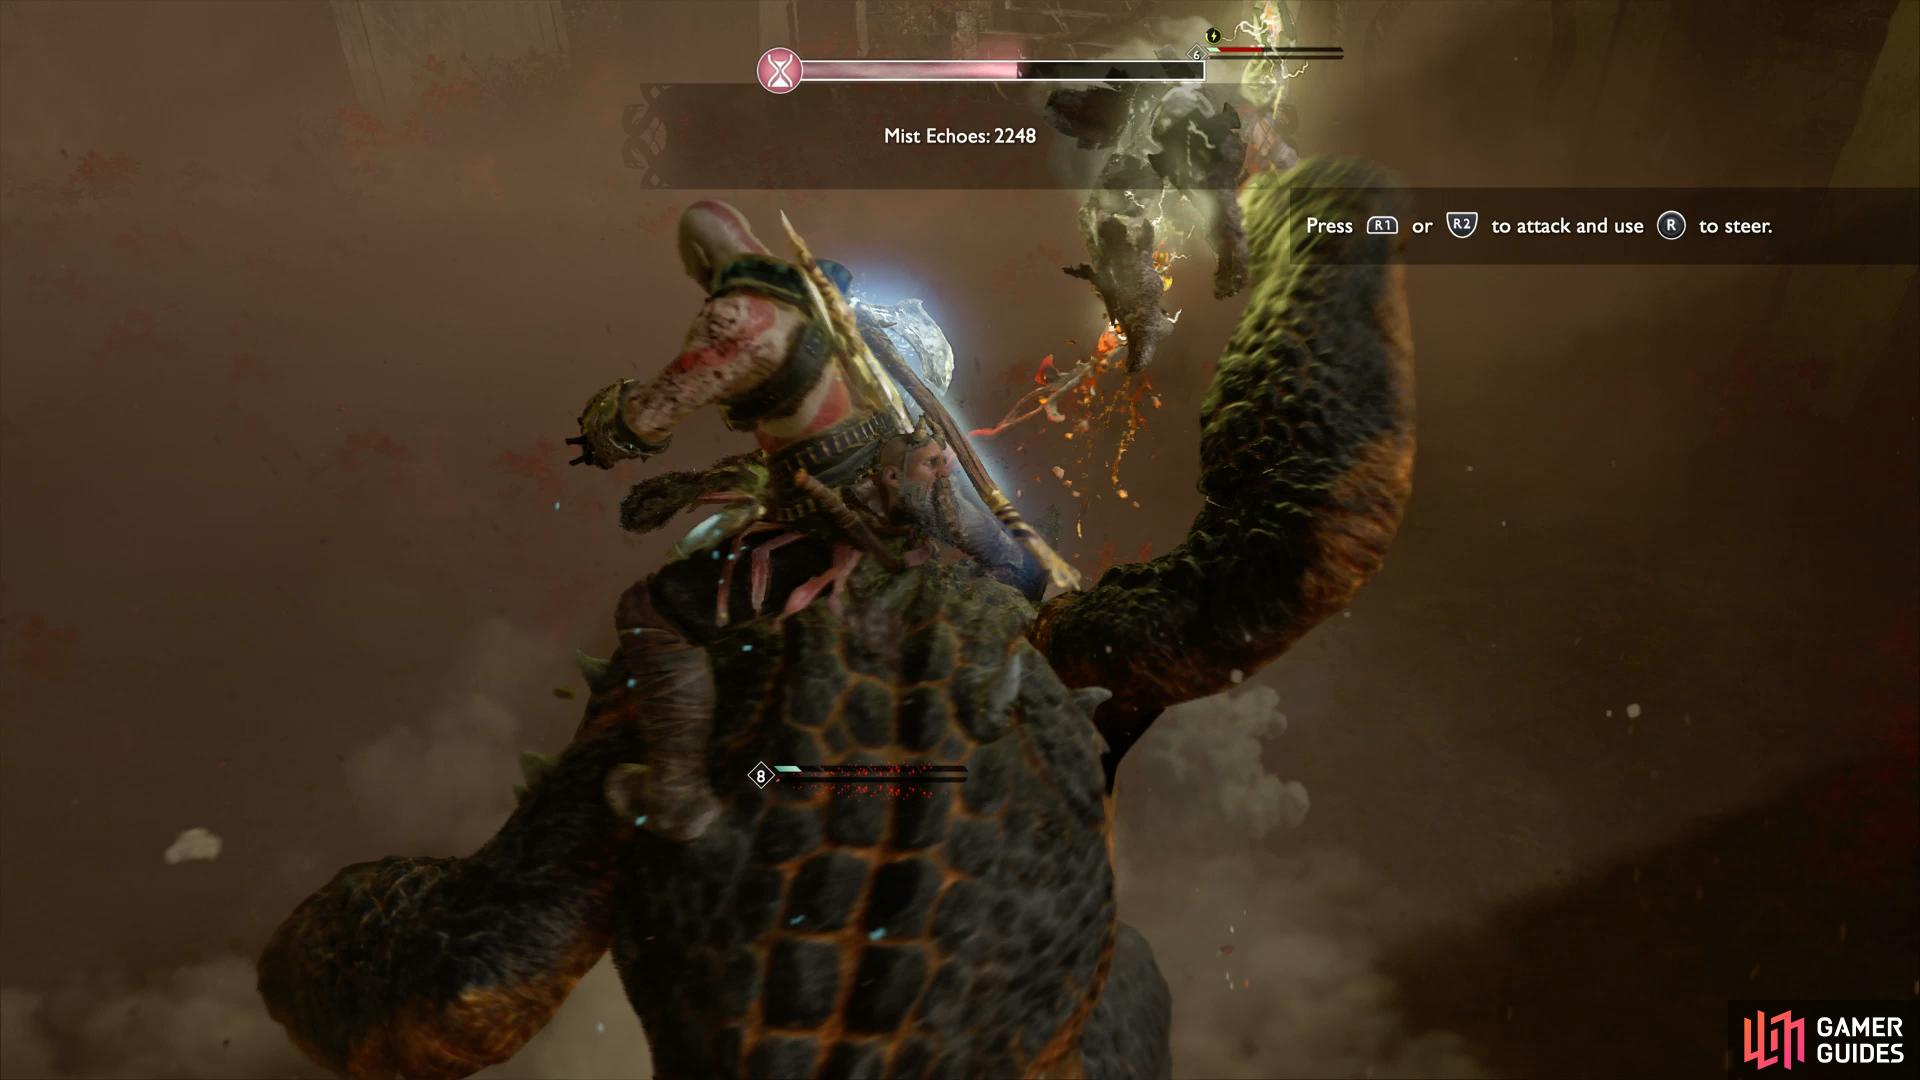
(1 of 2) Ogre’s will be your target for the first Realm Tear
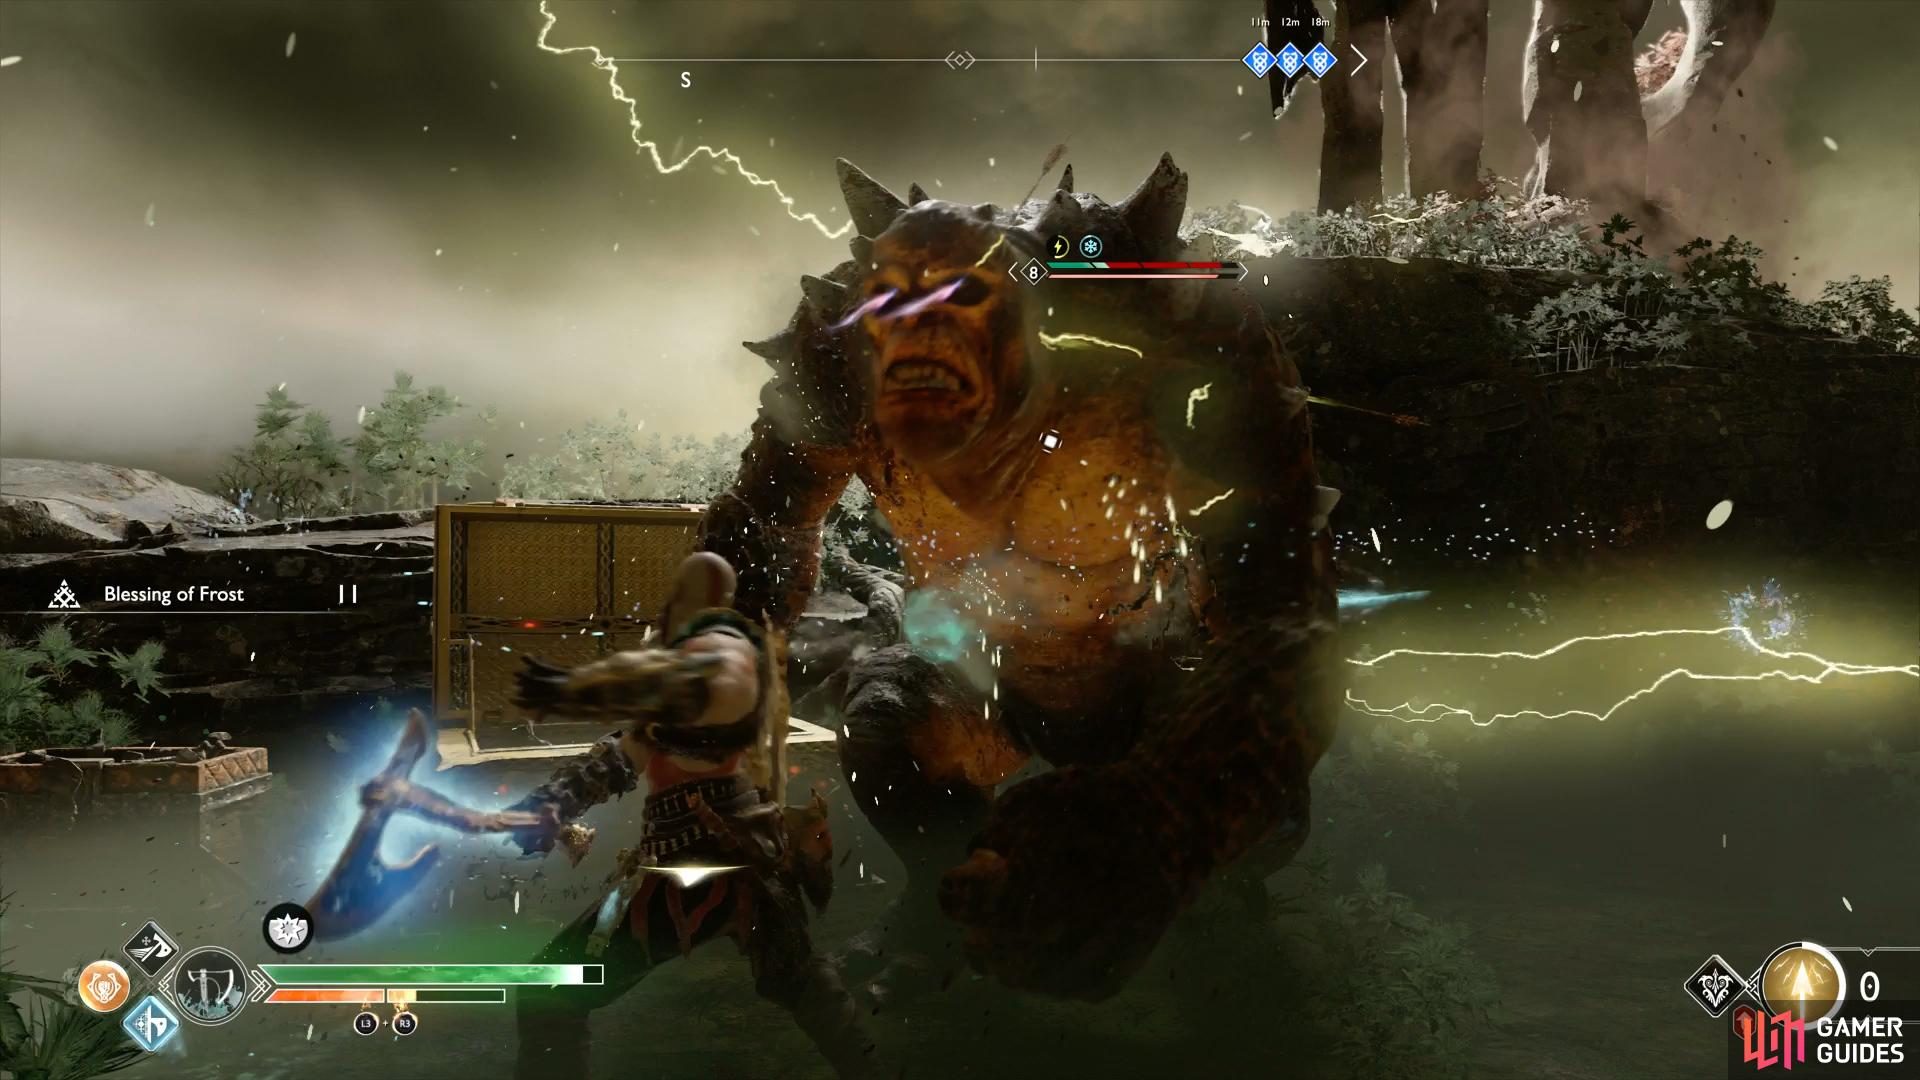
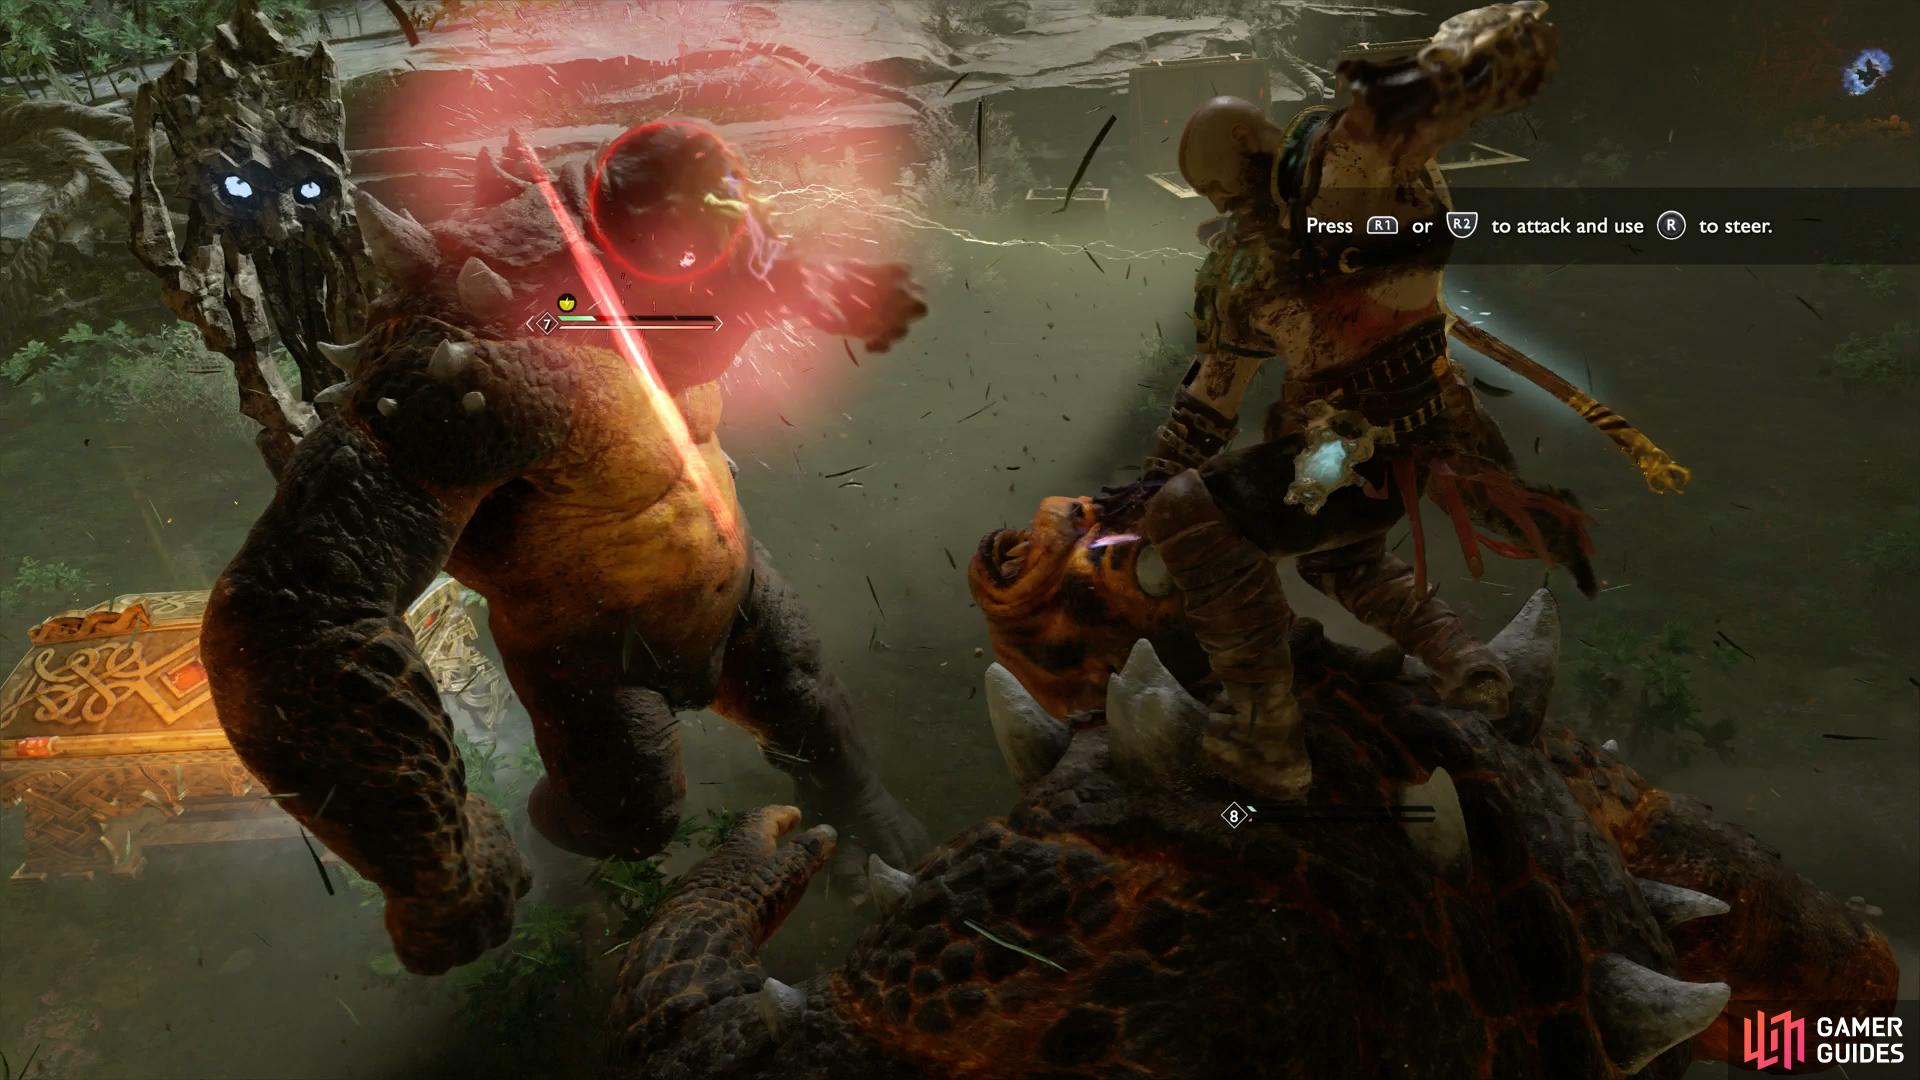
Ogre’s will be your target for the first Realm Tear (left), mount and use the first Ogre to defeat the others. (right)
You’ll be up against three high level Ogres for this battle, a task that shouldn’t be too hard by now. Focus on a single Ogre, building up the stun gauge in order to mount the beast. Use this to attack the other Ogres and repeat the tactic until only one remains. Your reward for this battle is the Gift of Apollo Heavy Runic Attack for the Blades of Chaos. A useful Runic that will heal Kratos with every strike of the Blades while active.
Realm Tear #2
| Cost | Reward |
|---|---|
| 15,000 Mist Echoes, Anchor of Fog | Talisman of Cursed Power |
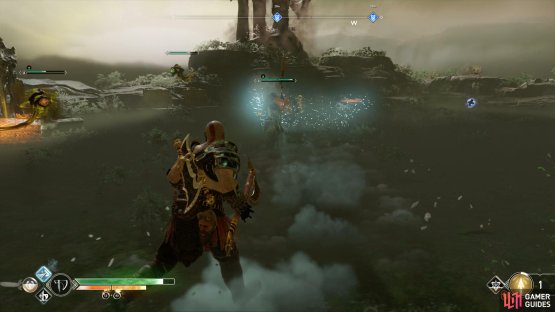

(1 of 2) Take out the Nightmares as they spawn


Take out the Nightmares as they spawn (left), make the Summoner your first target. (right)
This time you’ll be facing off against three high level Revenants, one of which is a Summoner conjuring up high level Nightmares. Direct all your attacks on this foe first before turning your attention to the others. The reward for this grueling battle is the Talisman of Cursed Power, a Talisman that sends out a wave that weakens enemies in the surrounding area.
Realm Tear #3
| Cost | Reward |
|---|---|
| 20,000 Mist Echoes | Mistbourne Axe Pommel |


(1 of 2) The battle concludes when the Soul Devourer is defeated so focus your attacks on it
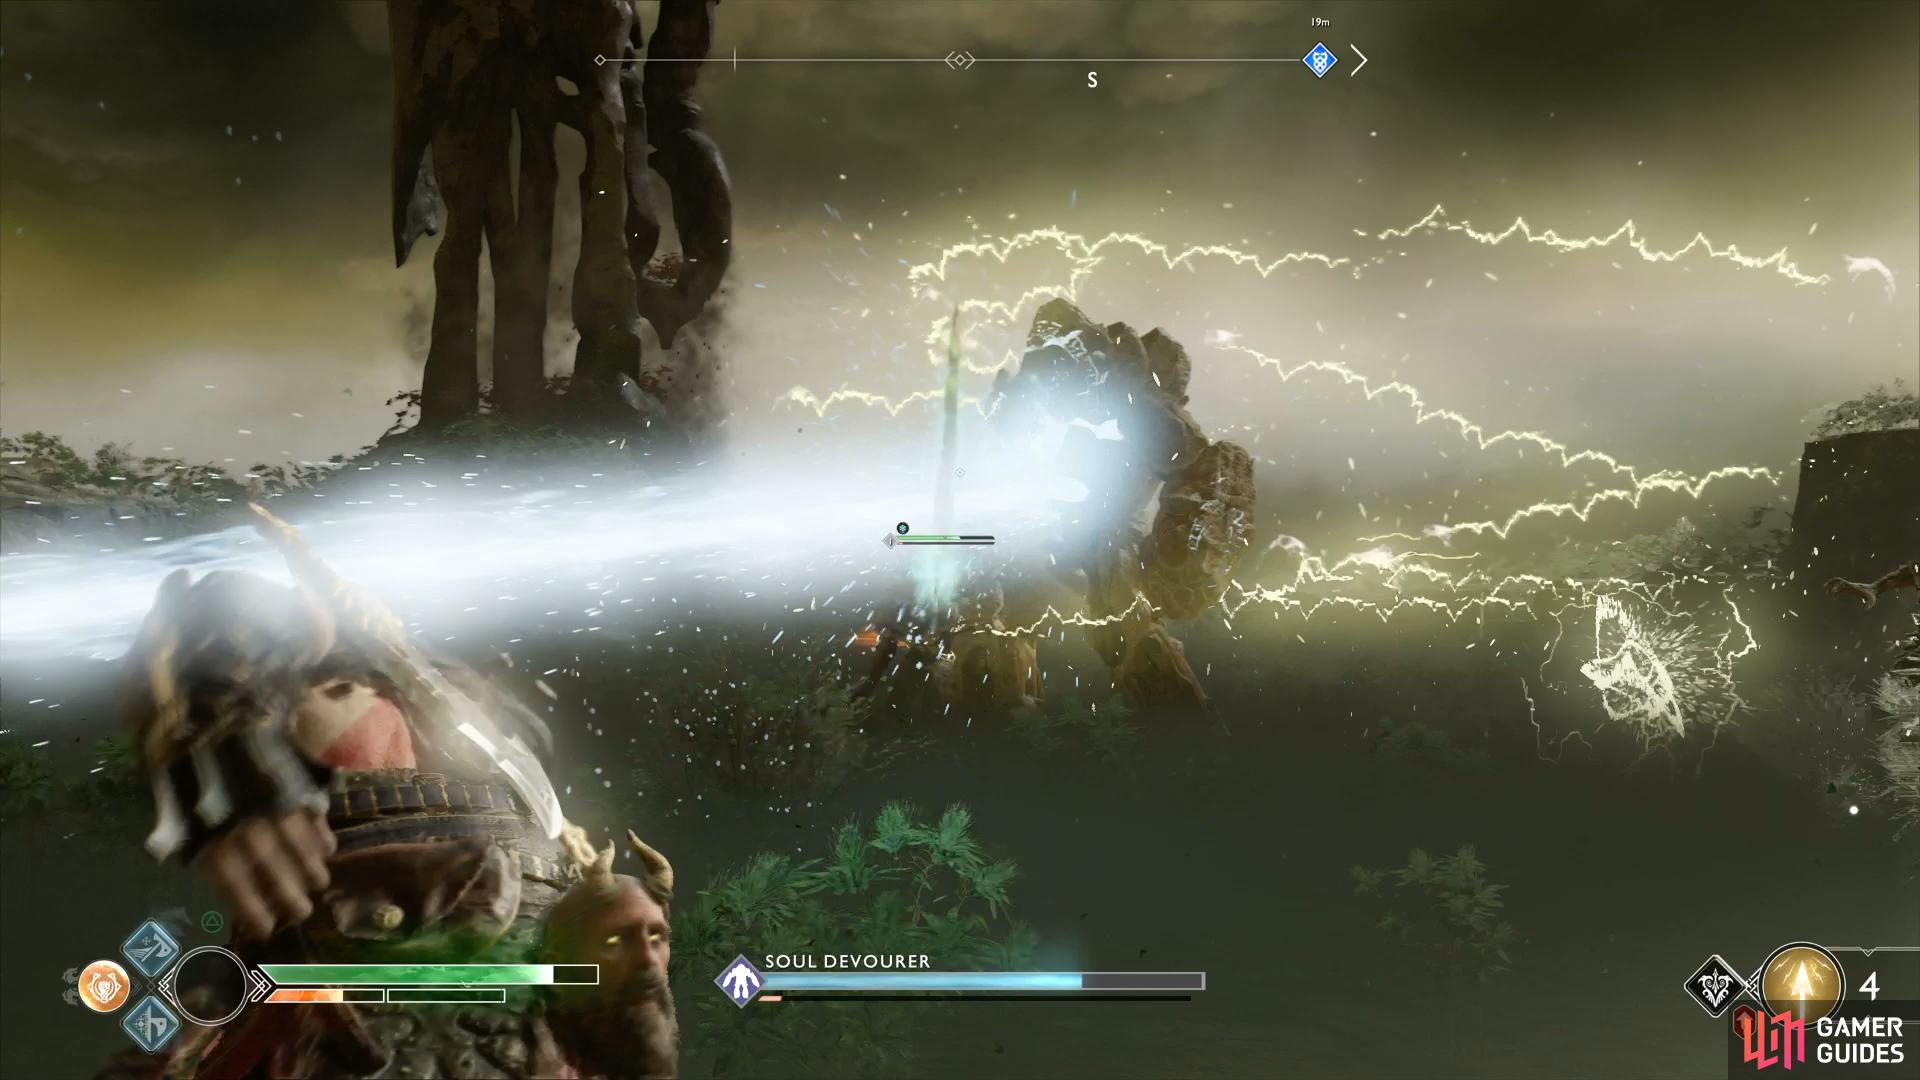
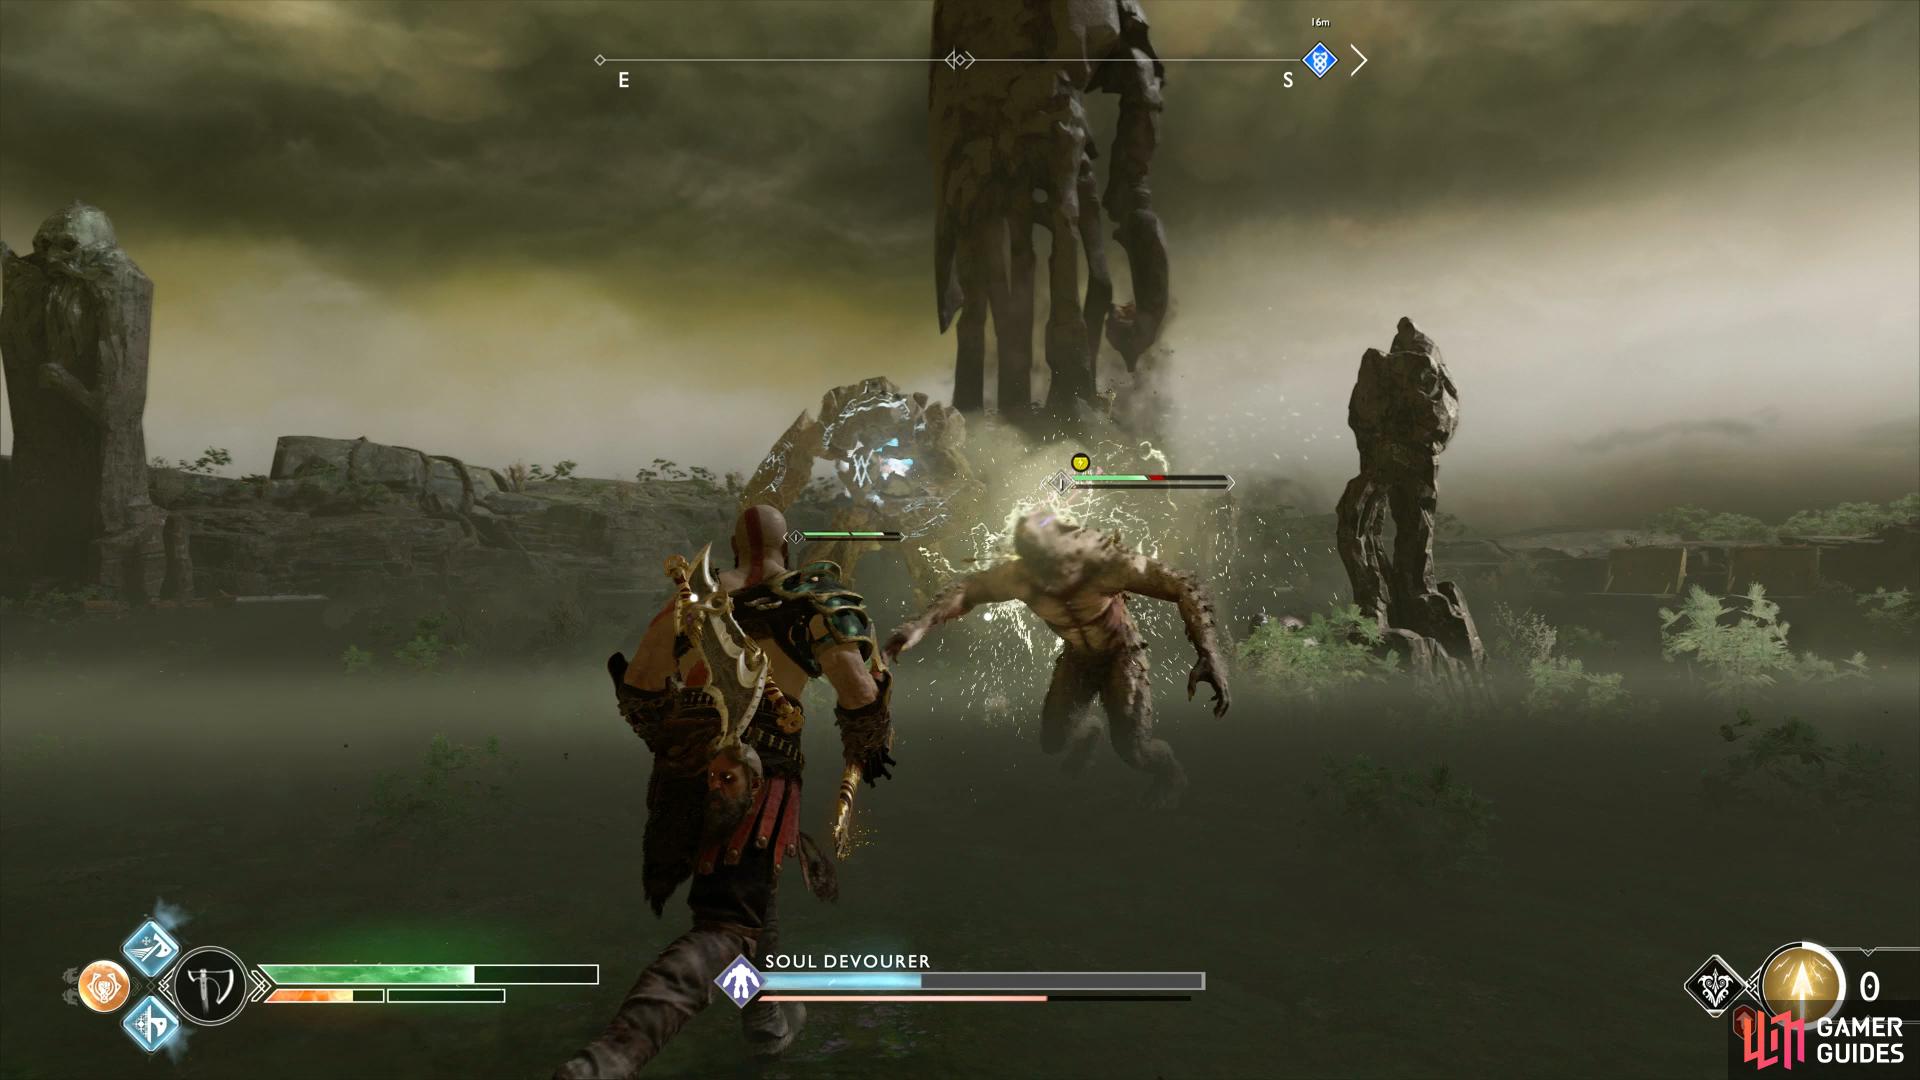
The battle concludes when the Soul Devourer is defeated so focus your attacks on it (left), ignore the Wulvers as they’re just a distraction. (right)
The final Realm Tear has you up against a Soul Devourer that’s flanked by two Wulvers. The Wulvers may seem easy at first but every time you defeat one, another spawns at a higher level all the way up to Level 8 where they’ll stop spawning. For this reason, take down the Soul Devourer, using Spartan Rage when it’s available to kill it quicker. Your reward for this is the excellent Mistbourne Axe Pommel, arguably the best in the game.
If that was your last purchase in the central chamber then unlock the Darkness and Fog achievement, otherwise work on opening all the chests here too. All that’s left to do now is to farm whatever materials you may need and leave Niflheim.
No Comments