
Great Challenge Awaits
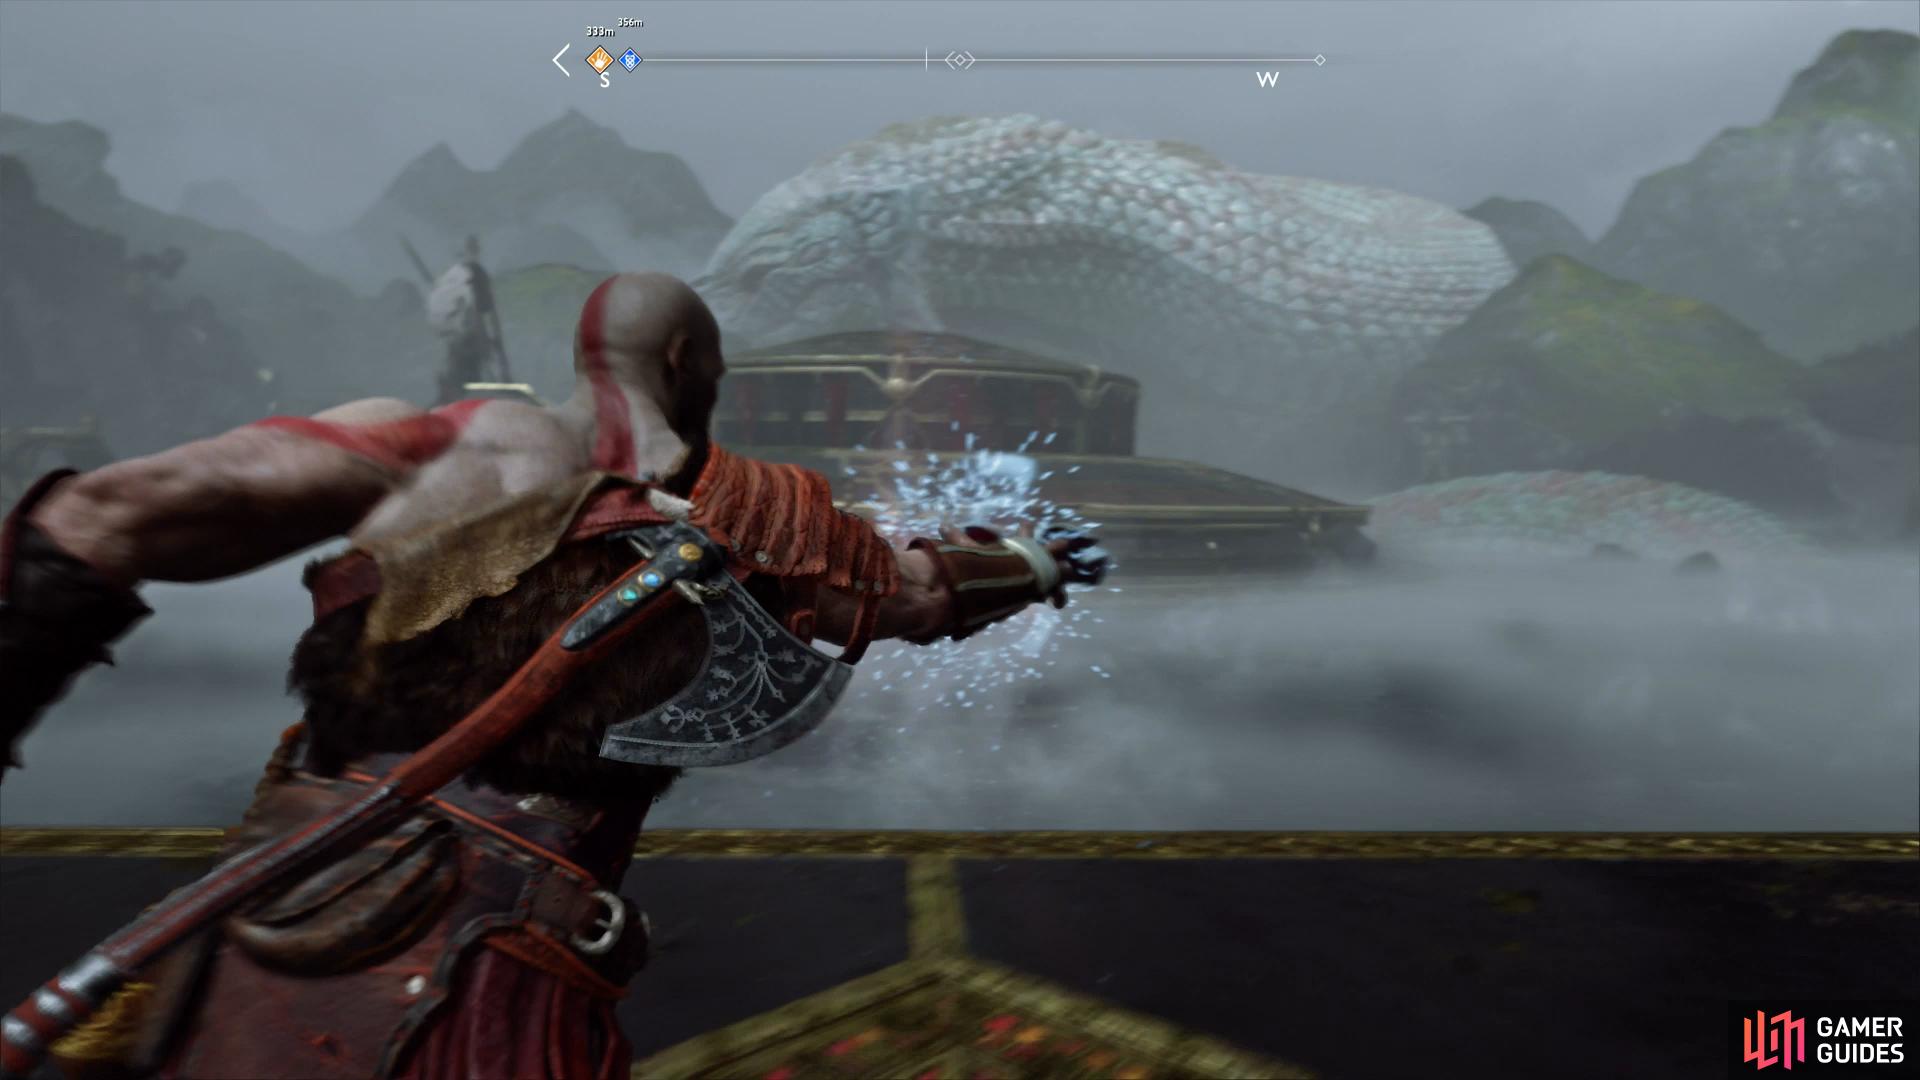
You’ll need to find and close 18 Realm Tears situated around the Norse Realms. These usually involve a difficult battle with high Level enemies so it’s best to tackle the majority of this quest towards the end of your adventure when your stats are higher.
Realm Tear #1
| Location | Reward |
|---|---|
| Alfheim Tower | Dust of Realms, 1500 Hacksilver |
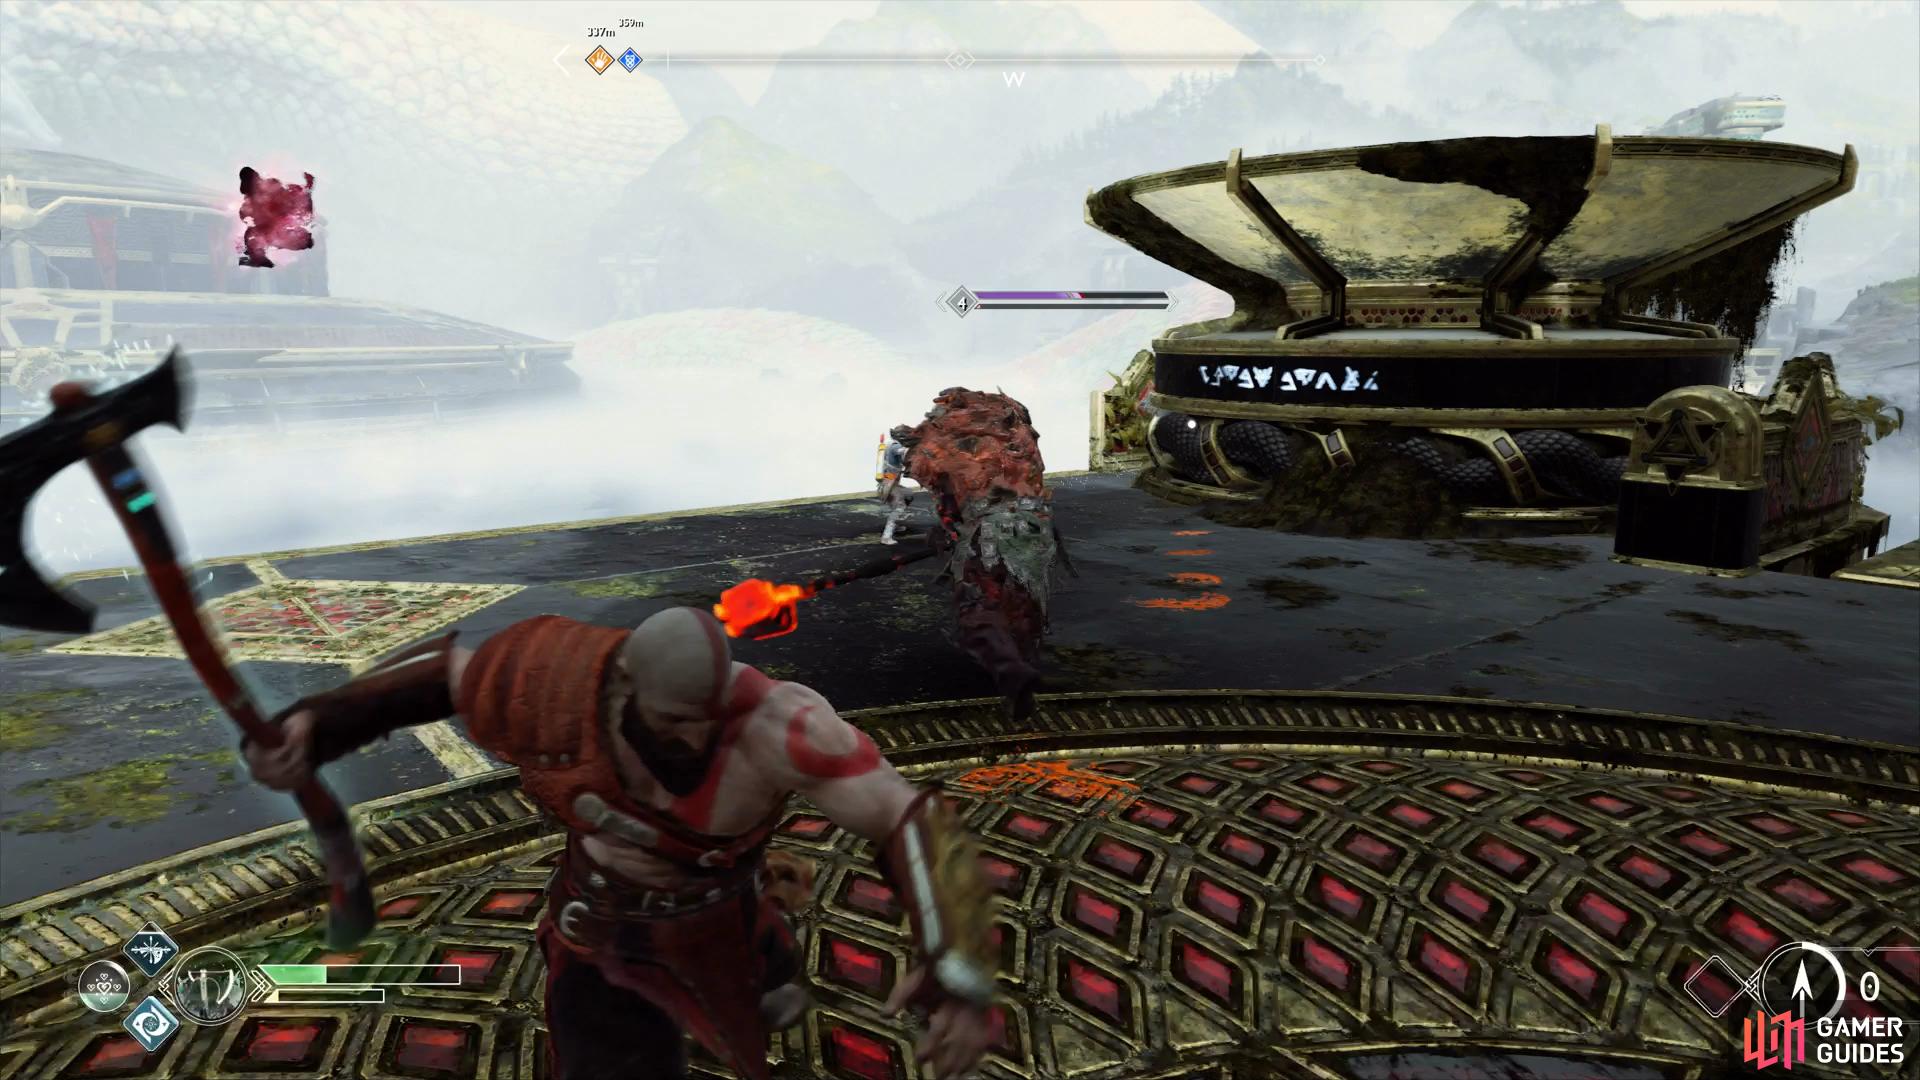
Head to Alfheim Tower, northeast of Týr’s Temple and take the elevator to the top. You’ll be facing off against a group of Level 4 Draugrs, a normal type, a Heavy Type and a Speed type. Bait the Speed type away from the others and defeat it first before killing the normal type. The Heavy is the main concern here, his blows are deadly indeed so use Atreus to gain it’s attention and strike from behind.
Realm Tear #2
| Location | Reward |
|---|---|
| Veithurgard | Dust of Realms, 500 Hacksilver |
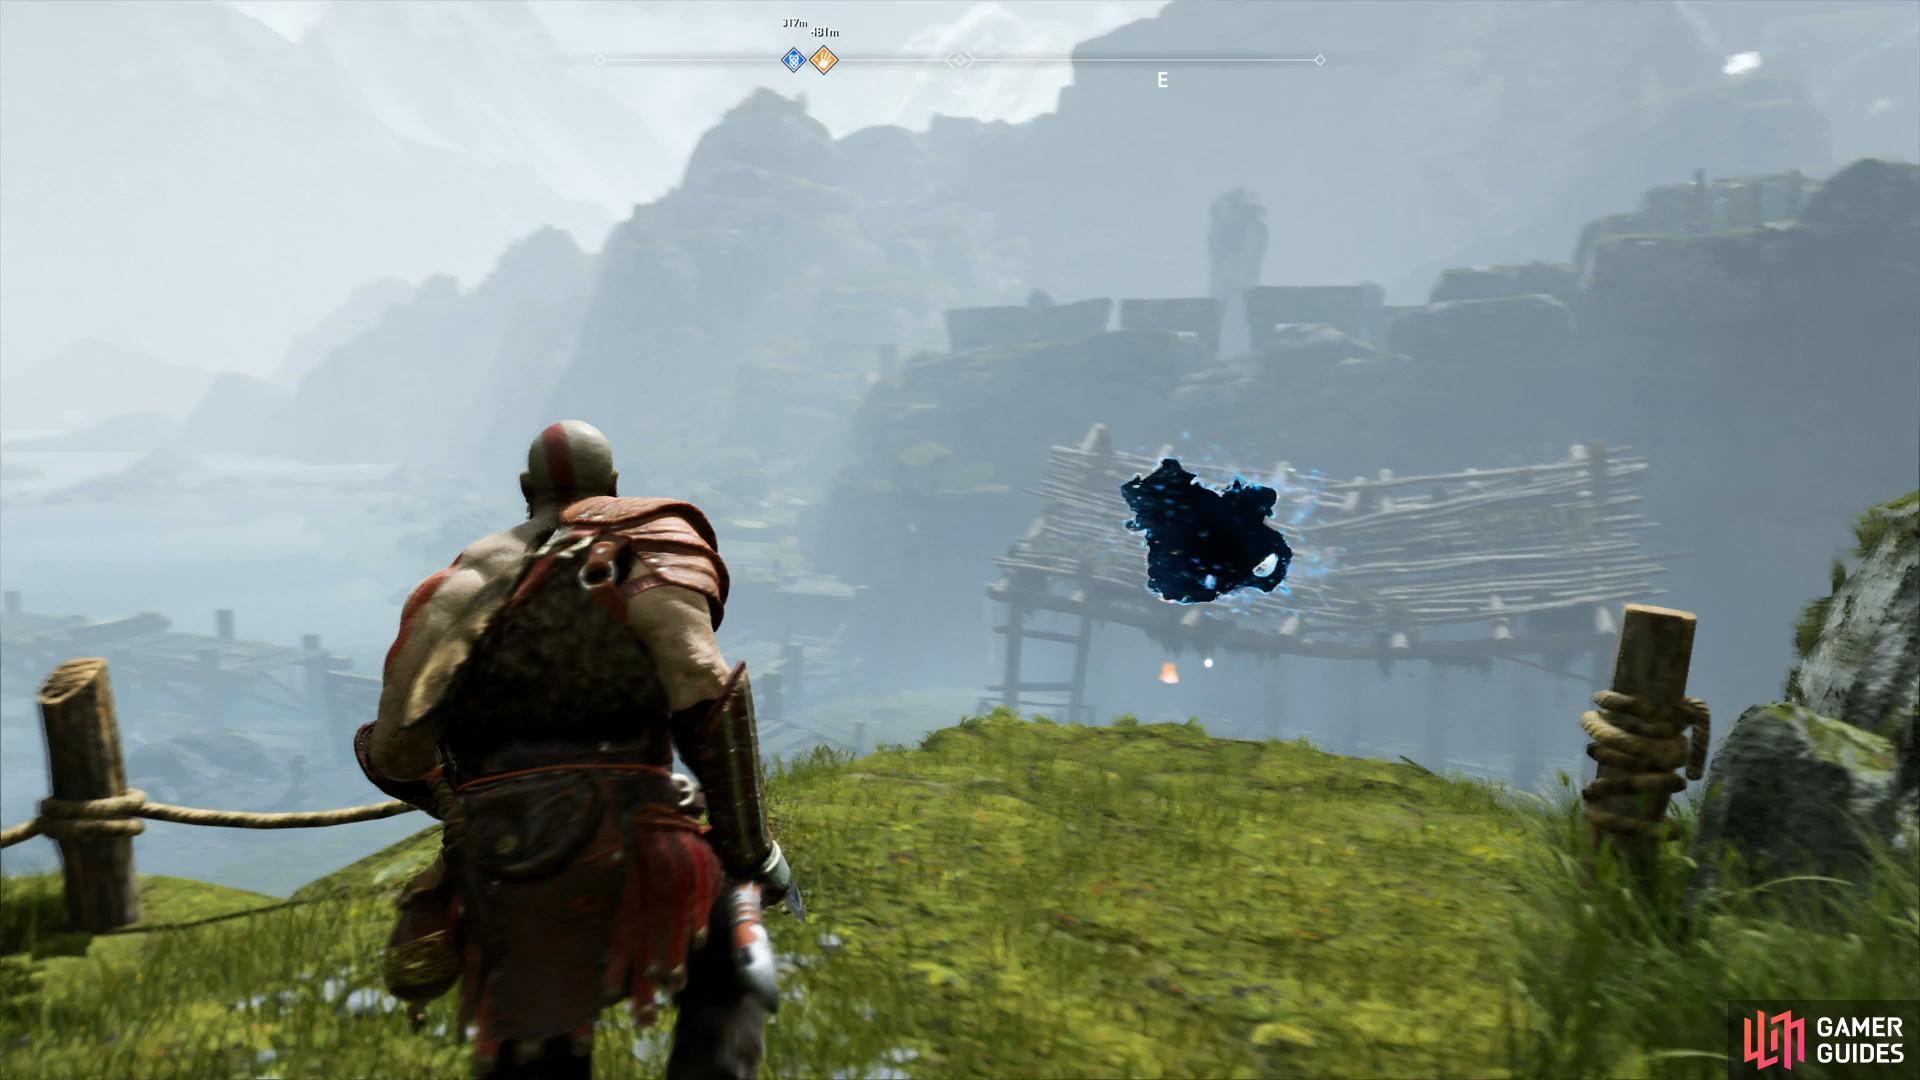
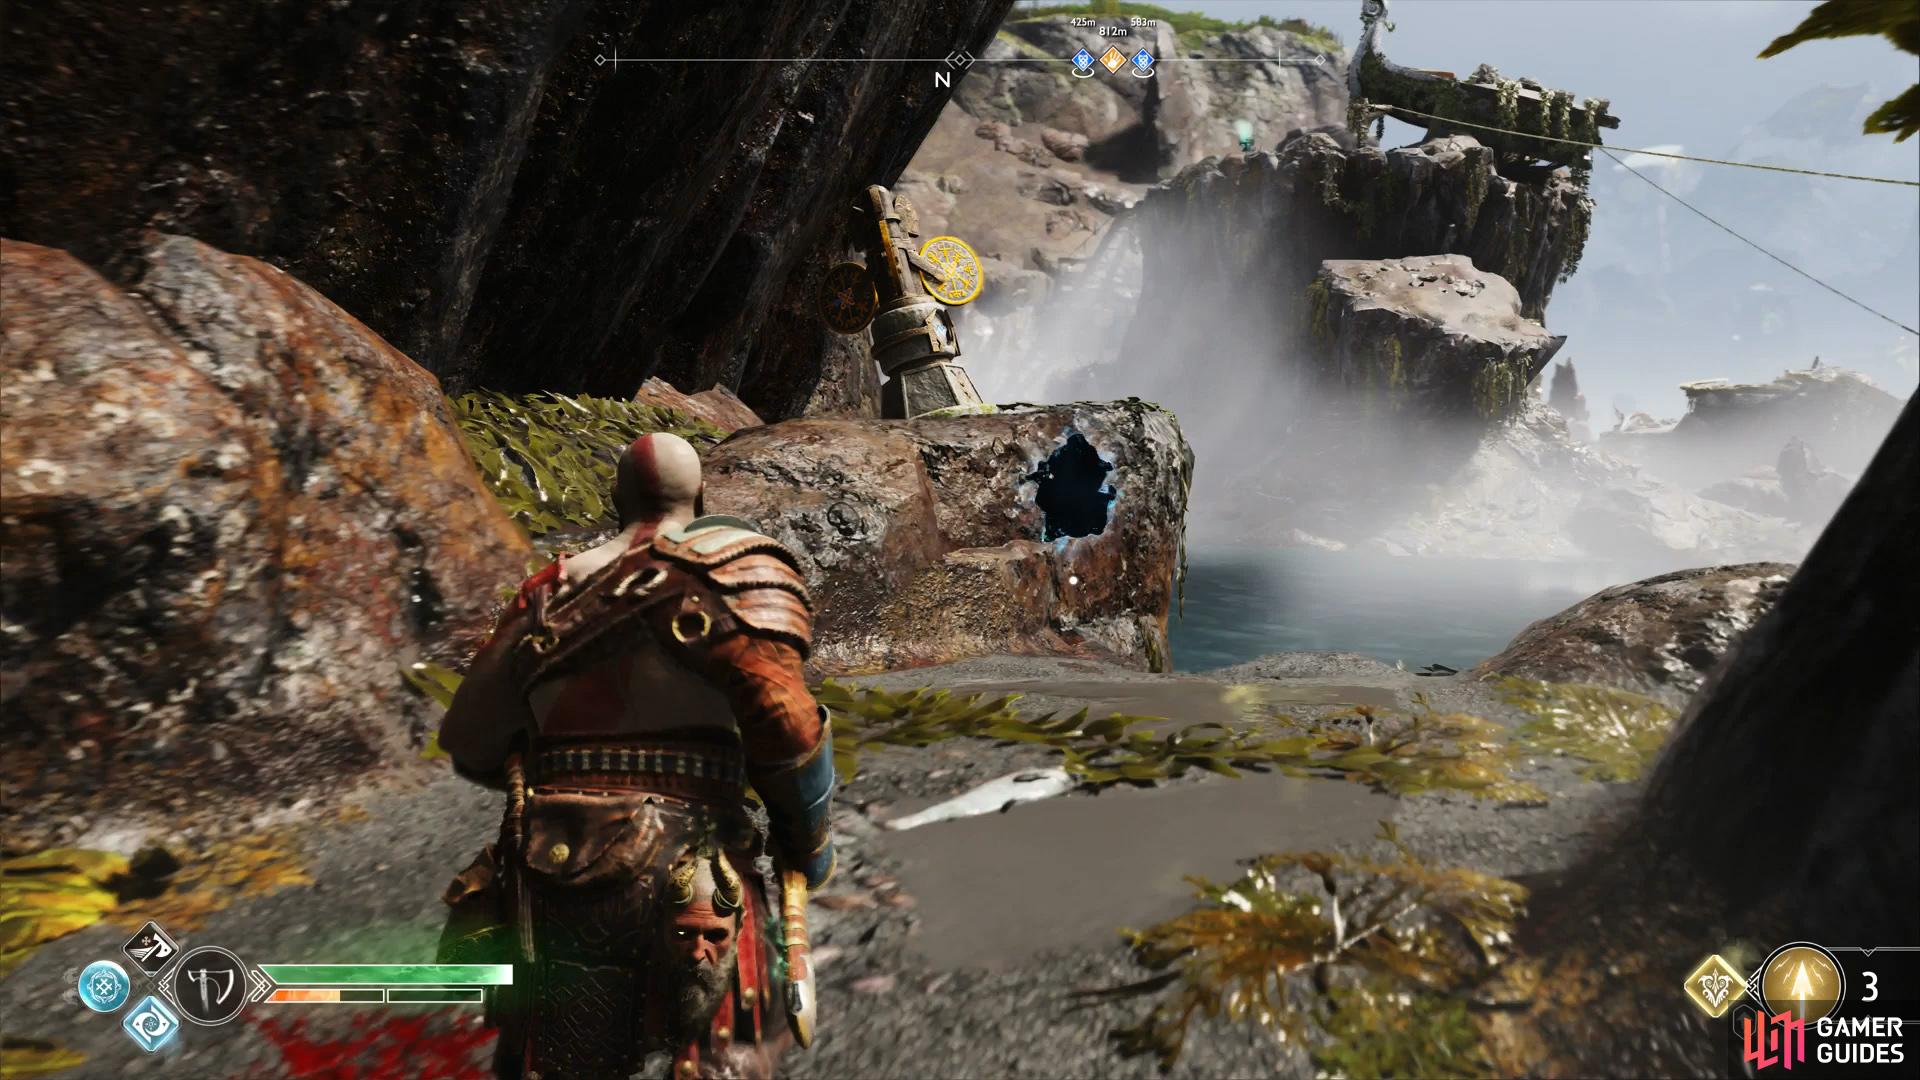
Head to Veithurgard and dock on the beach of the large island to the south. Head right from the boat and jump the log to find a chain you can pull. Pull it all the way and then use the axe to freeze the runic gear in the upper right corner. Follow this wall along to find the now open gate and scale the wall inside to the top. You’ll find the Realm Tear up here, no enemies are inside this one so collect the spoils and close the tear.
Realm Tear #3
Head to Alfheim and dock the boat at Light Elf Sanctuary, southwest of the Lake of Light. Proceed through the fist gate and then take a right and through the second knot gate to find the Realm Tear. You’ll be battling against two Heavy Draugrs, Level 3 and 4 respectively. Make use of the cliff that you’re on and try to knock the enemies over the edge for an easy victory, failing that, make sure you take on one at a time to avoid getting overwhelmed.
Realm Tear #4
Head to Alfheim and dock the boat at Light Elf Shore, northwest of the Lake of Light. Take a left at the beach to find three Light Crystals in the ground, shooting all three of these will materialize the Realm Tear. Level 3 and 4 Speed Draugrs are your enemies this time, try to attack one at a time and utilize skills like Charge of the White Bear to knock them over the cliff for an easy kill.
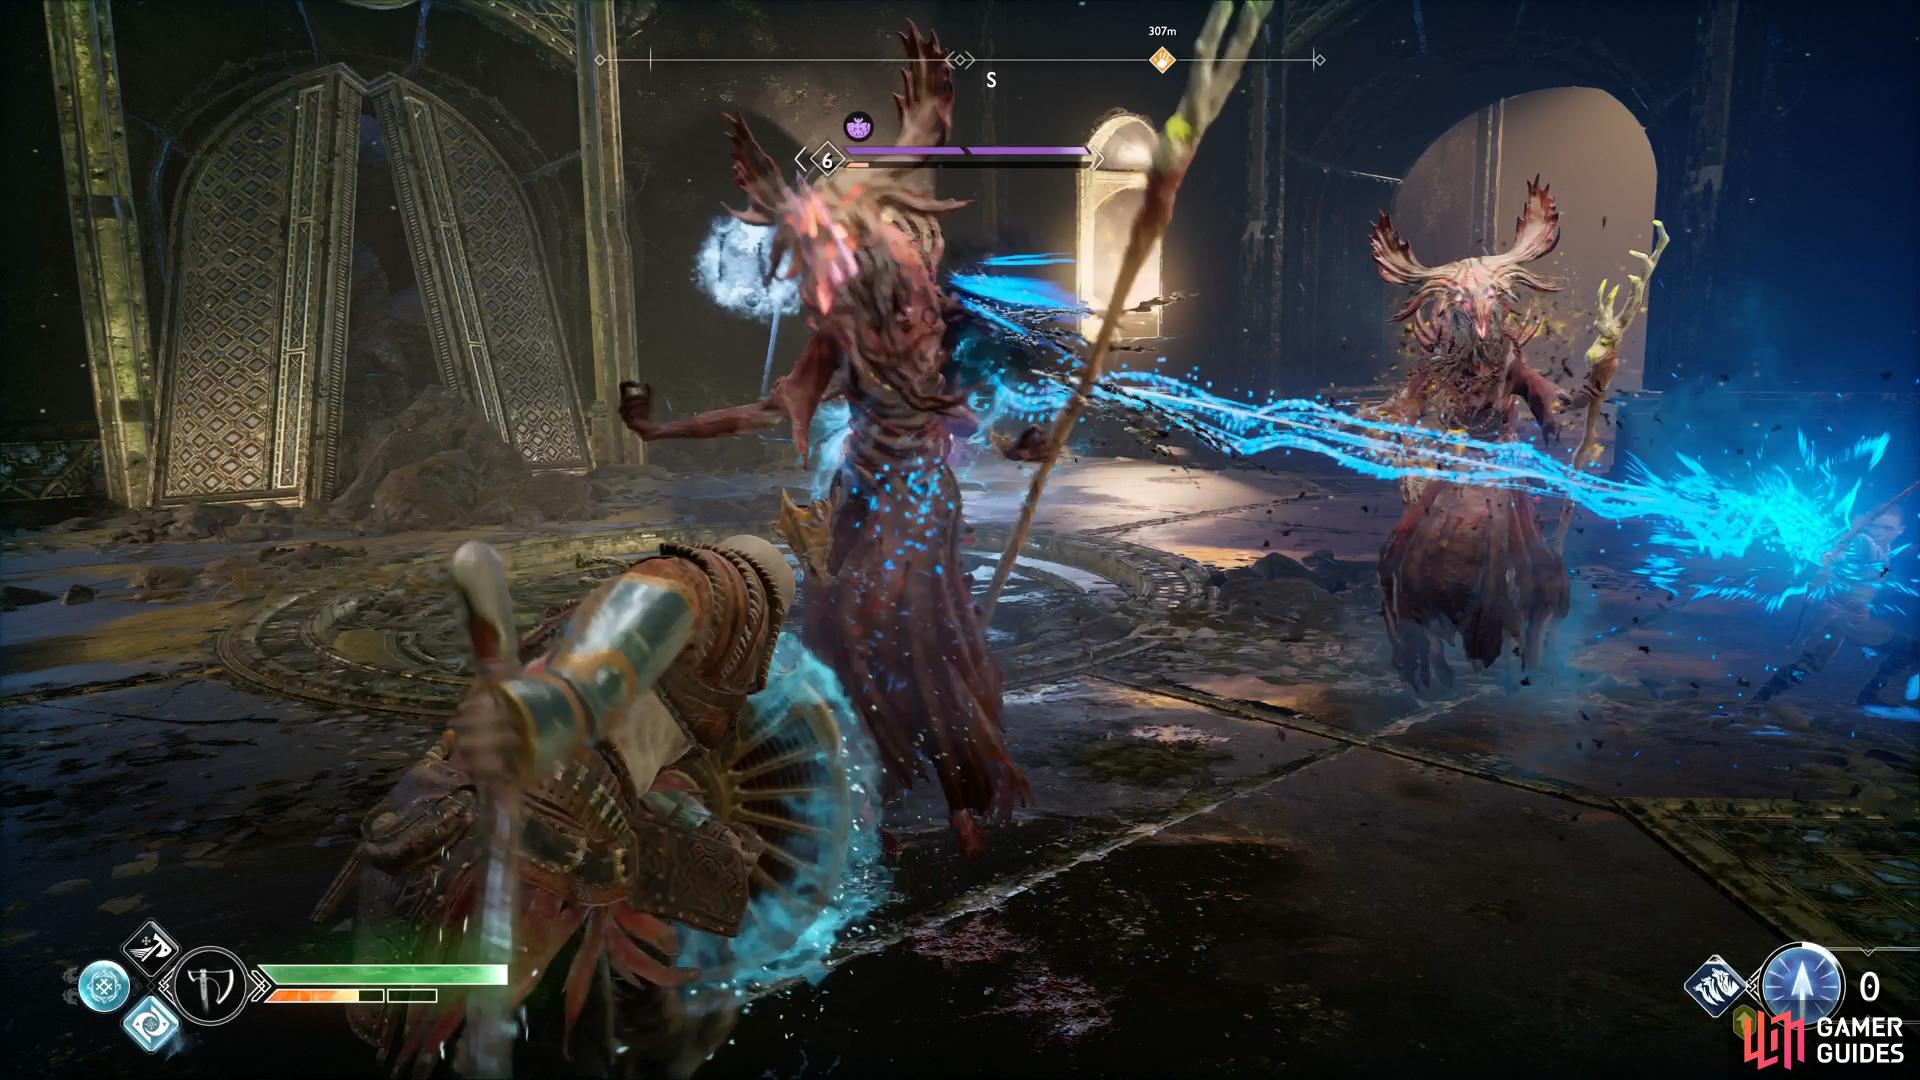
Realm Tear #5
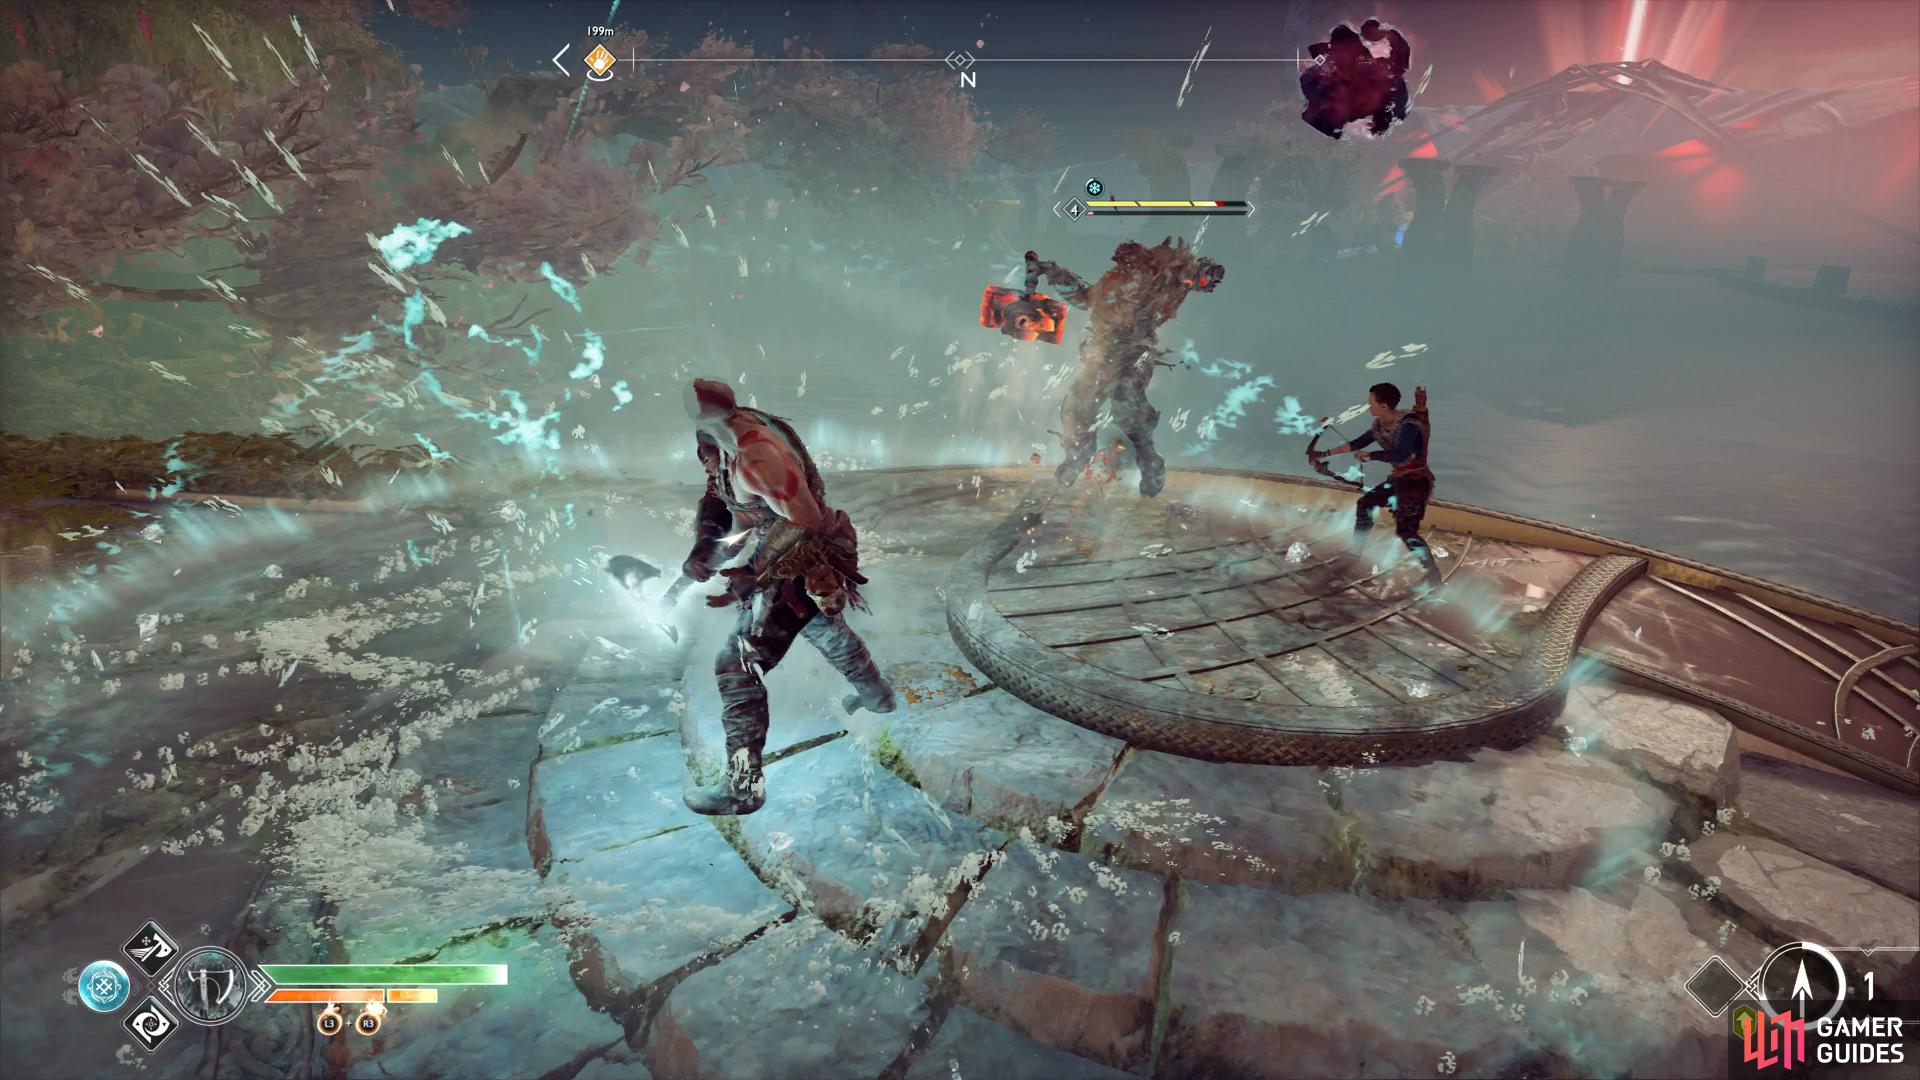
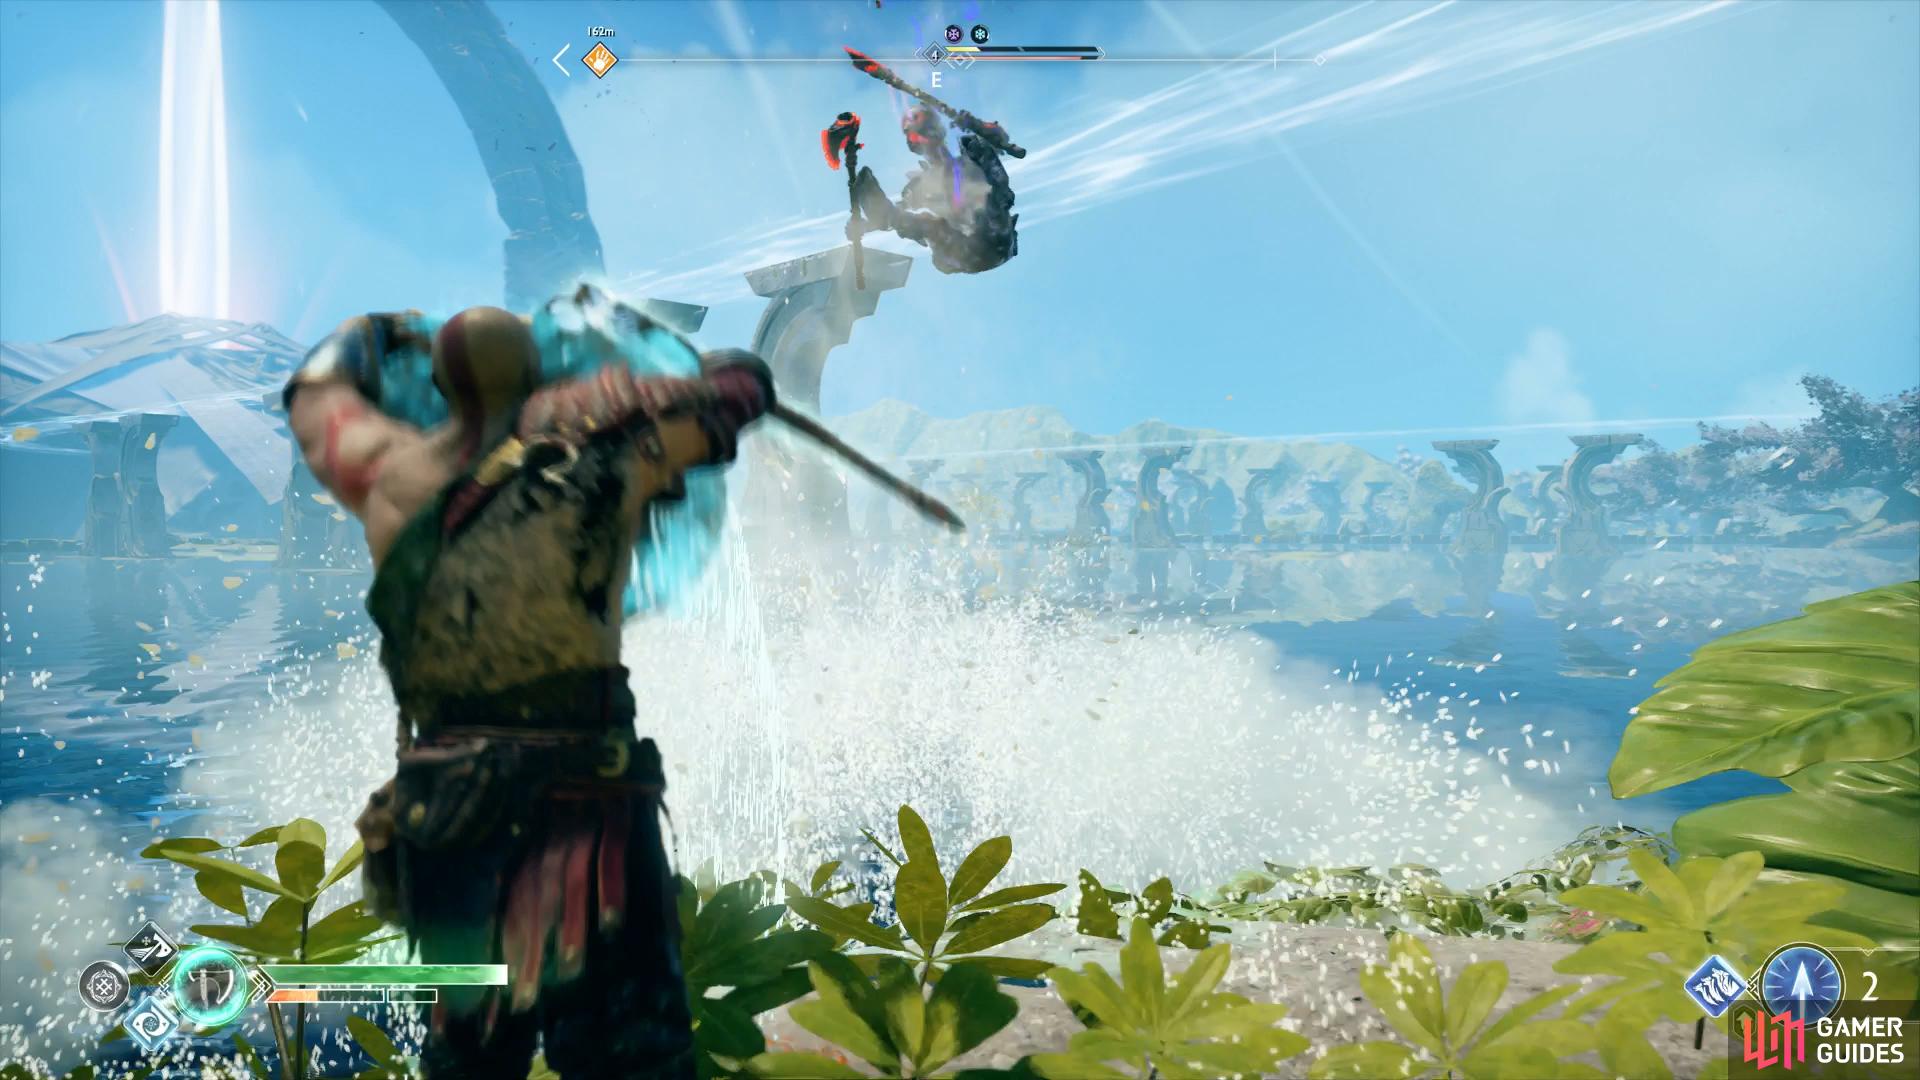
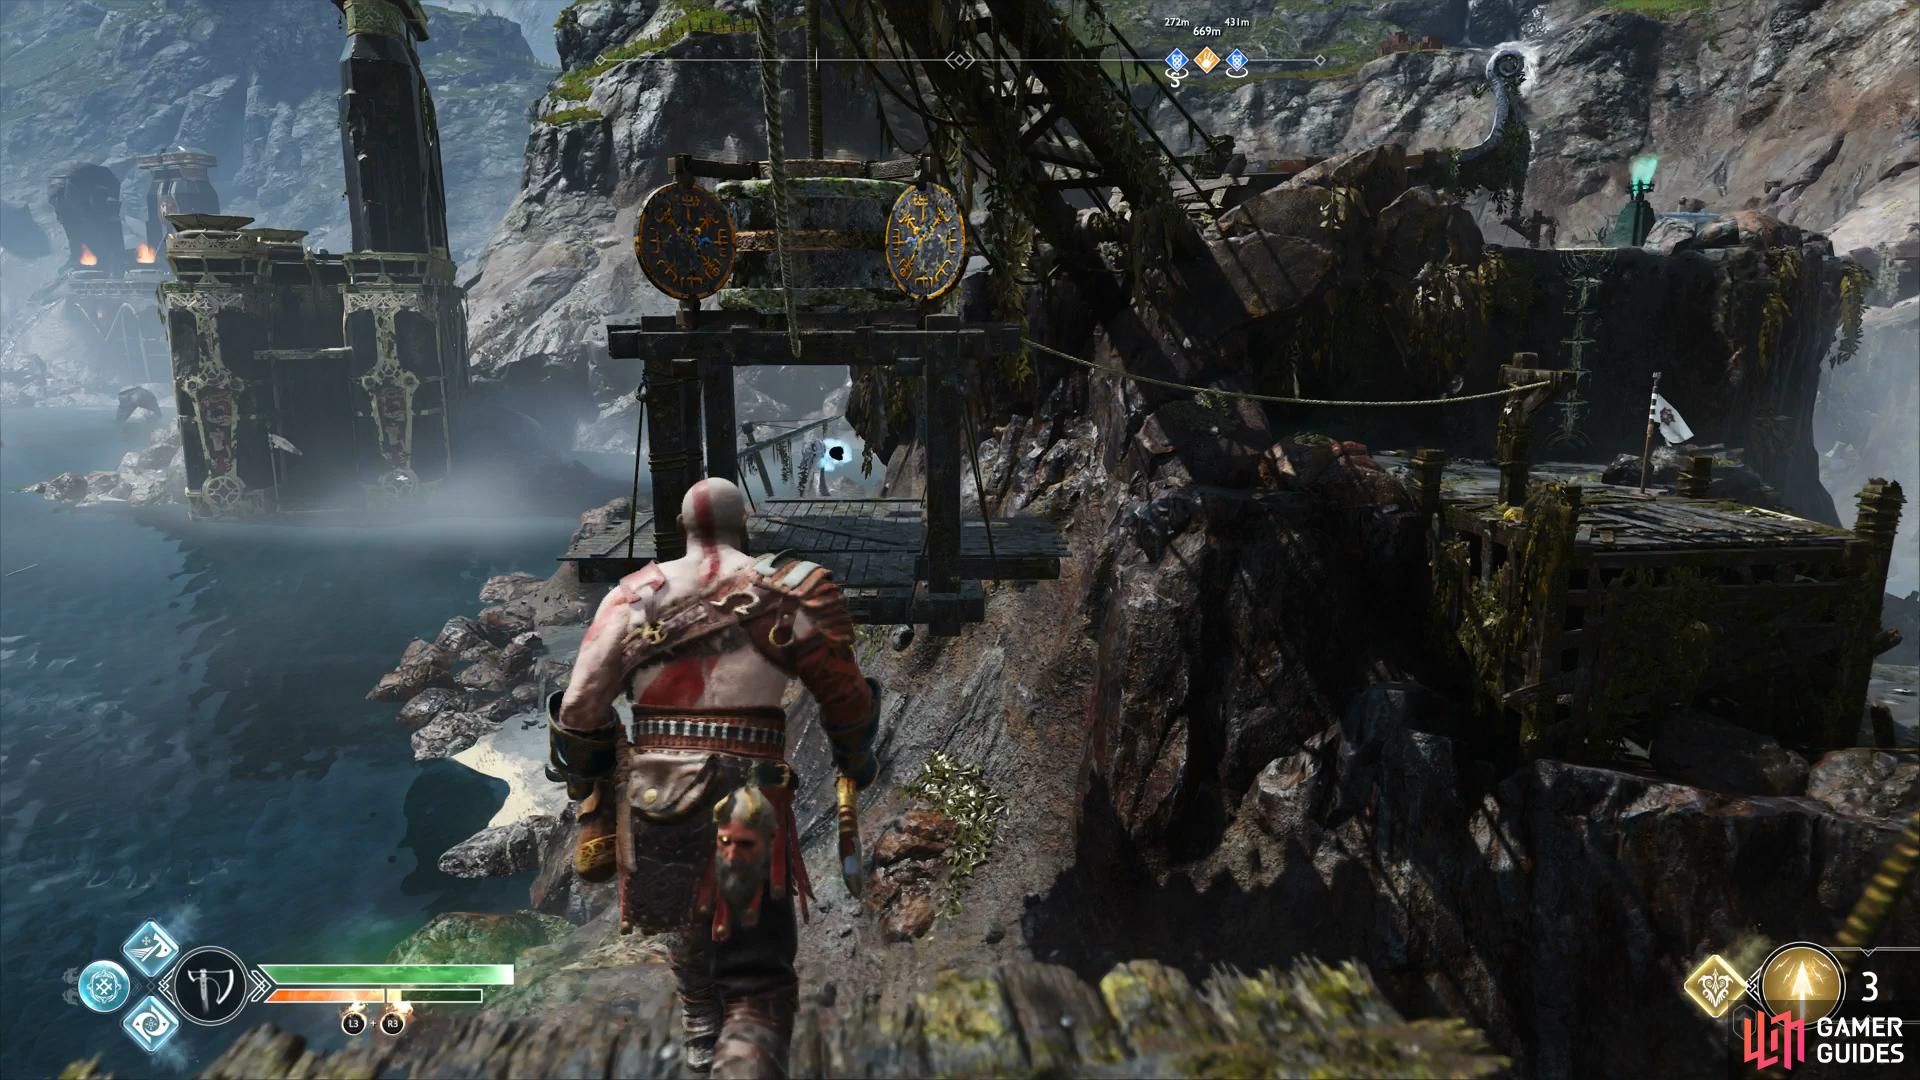
Dock at the beach to the right of the oarsman statues (Council of Valkyries) and head up the ledge to find the Realm Tear. You’ll most likely be under level for this Realm Tear so make sure you go into the battle with a full Spartan Rage gauge. The battle is against a Level 6 Hel-Walker and a Level 6 Hel-Viken so punches are the name of the game here. Unleash Spartan Rage and work on building up that gauge to finish them with a Stun Grab.
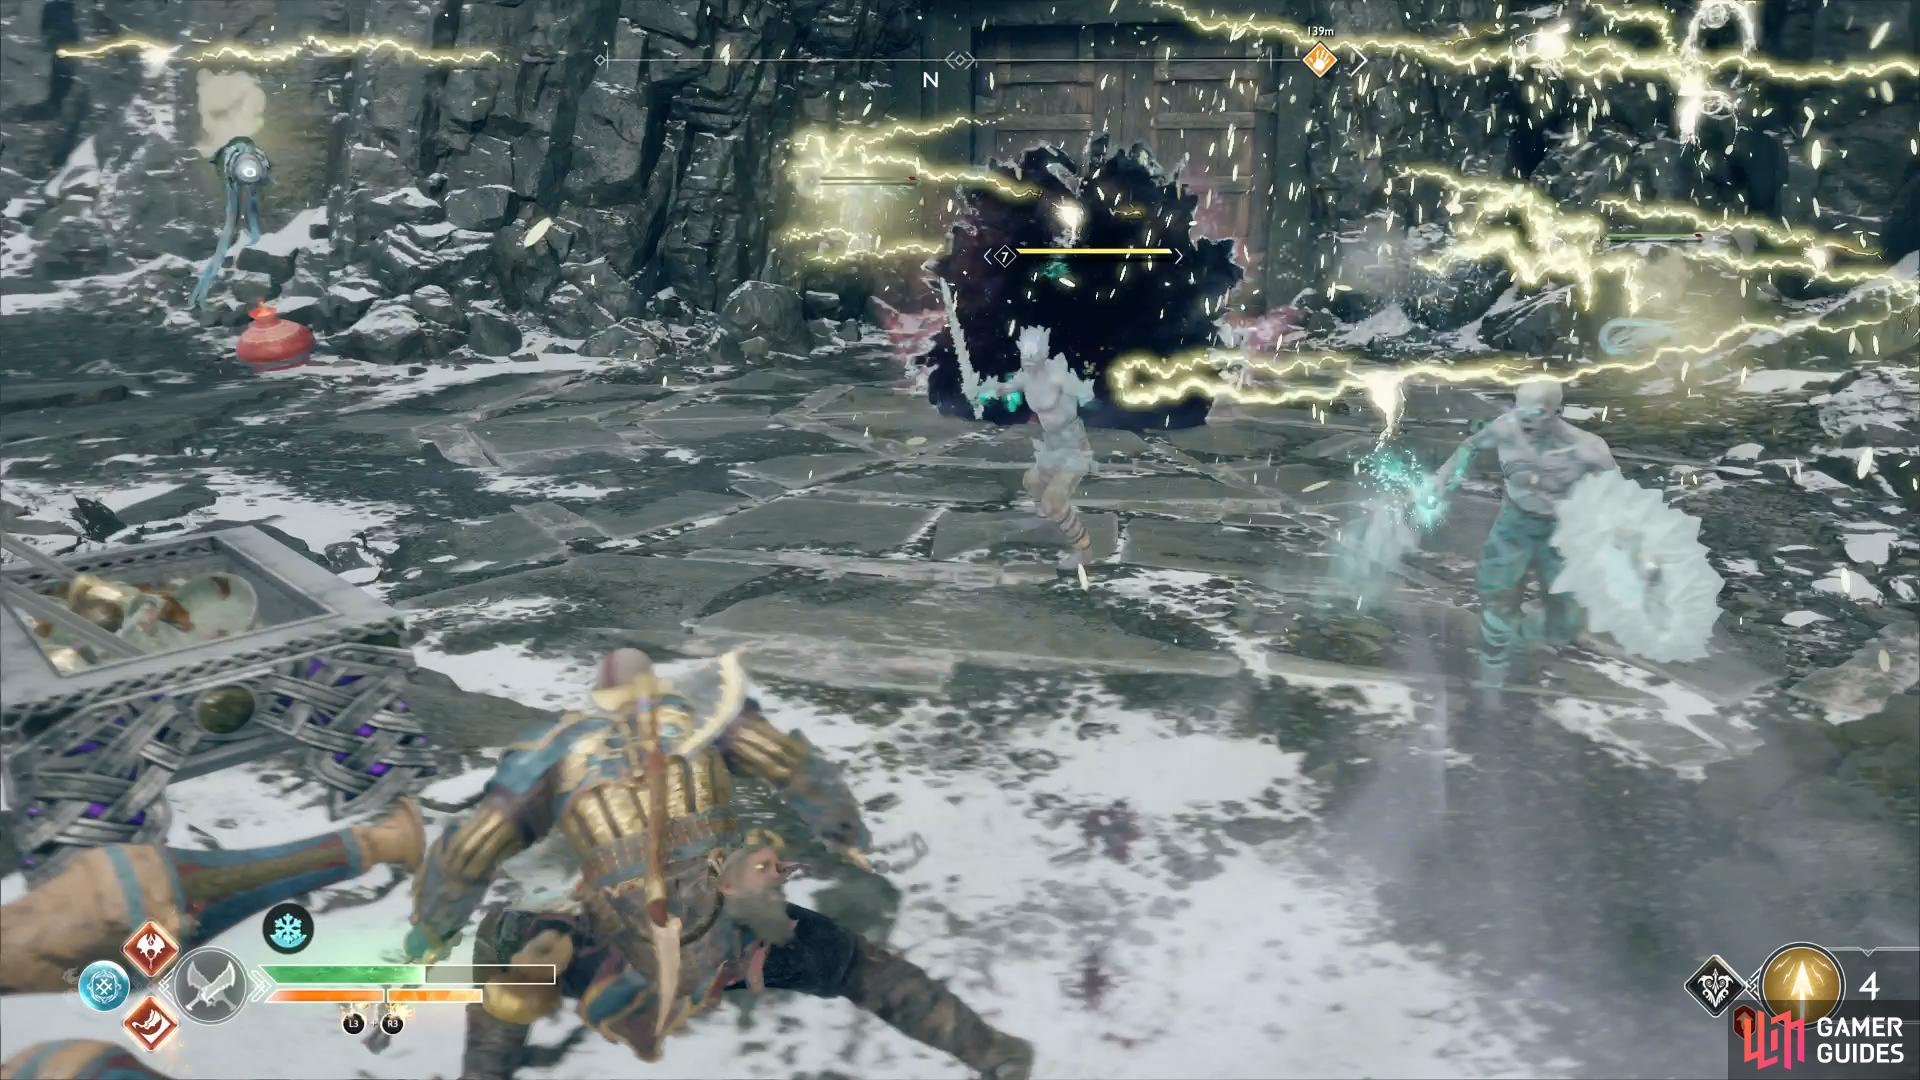
Realm Tear #6
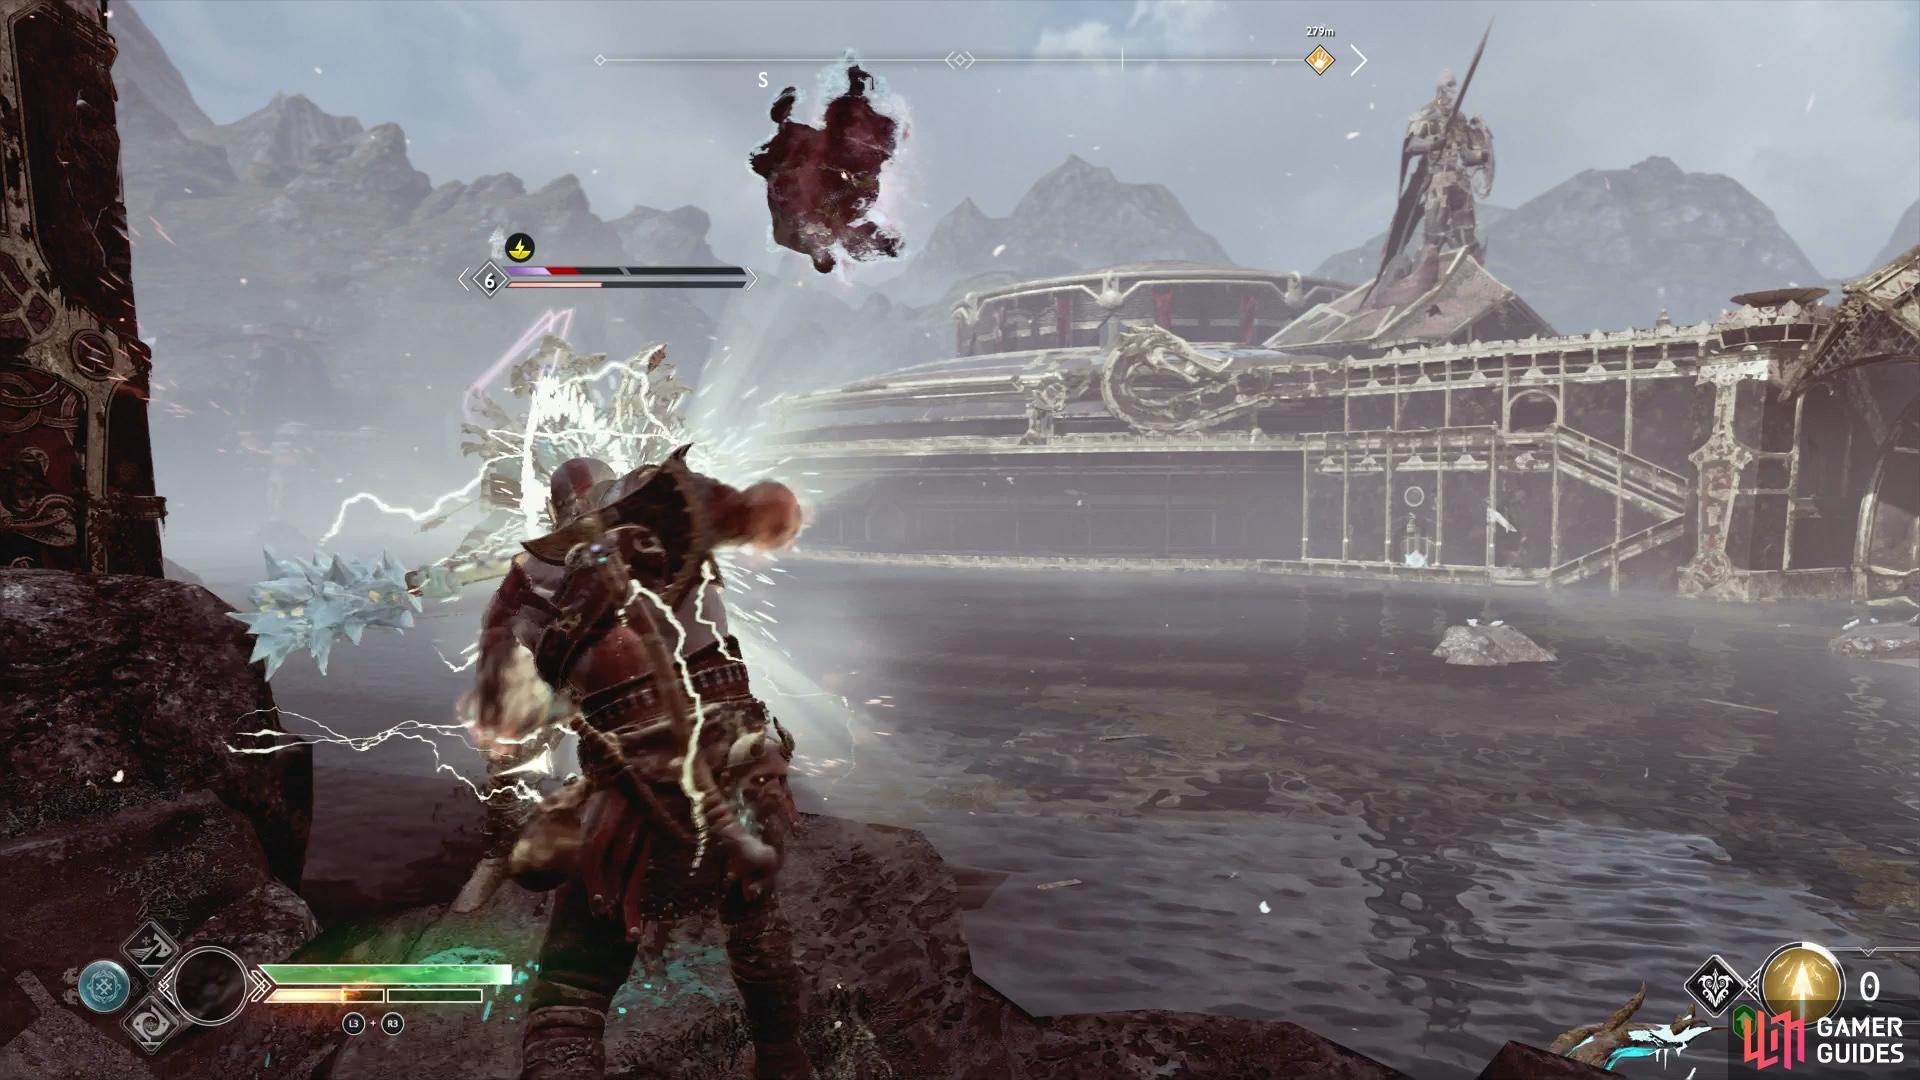
Head to Niflheim Tower found to the southwest of Týr’s Temple and ride the elevator to the top. This is a very difficult battle as you’ll most likely be under level when you first encounter this Realm Tear. The battle is against two Level 6 Heavy Draugrs who will most likely kill you in a hit or two so make sure you have a Resurrection Stone at hand before you begin. Make use of Atreus’ Shock Arrows and Summons and only hit from behind when you can score some free hits before backing off again. It may take a while but this is the safest way to take down these enemies at the first opportunity.
Realm Tear #7
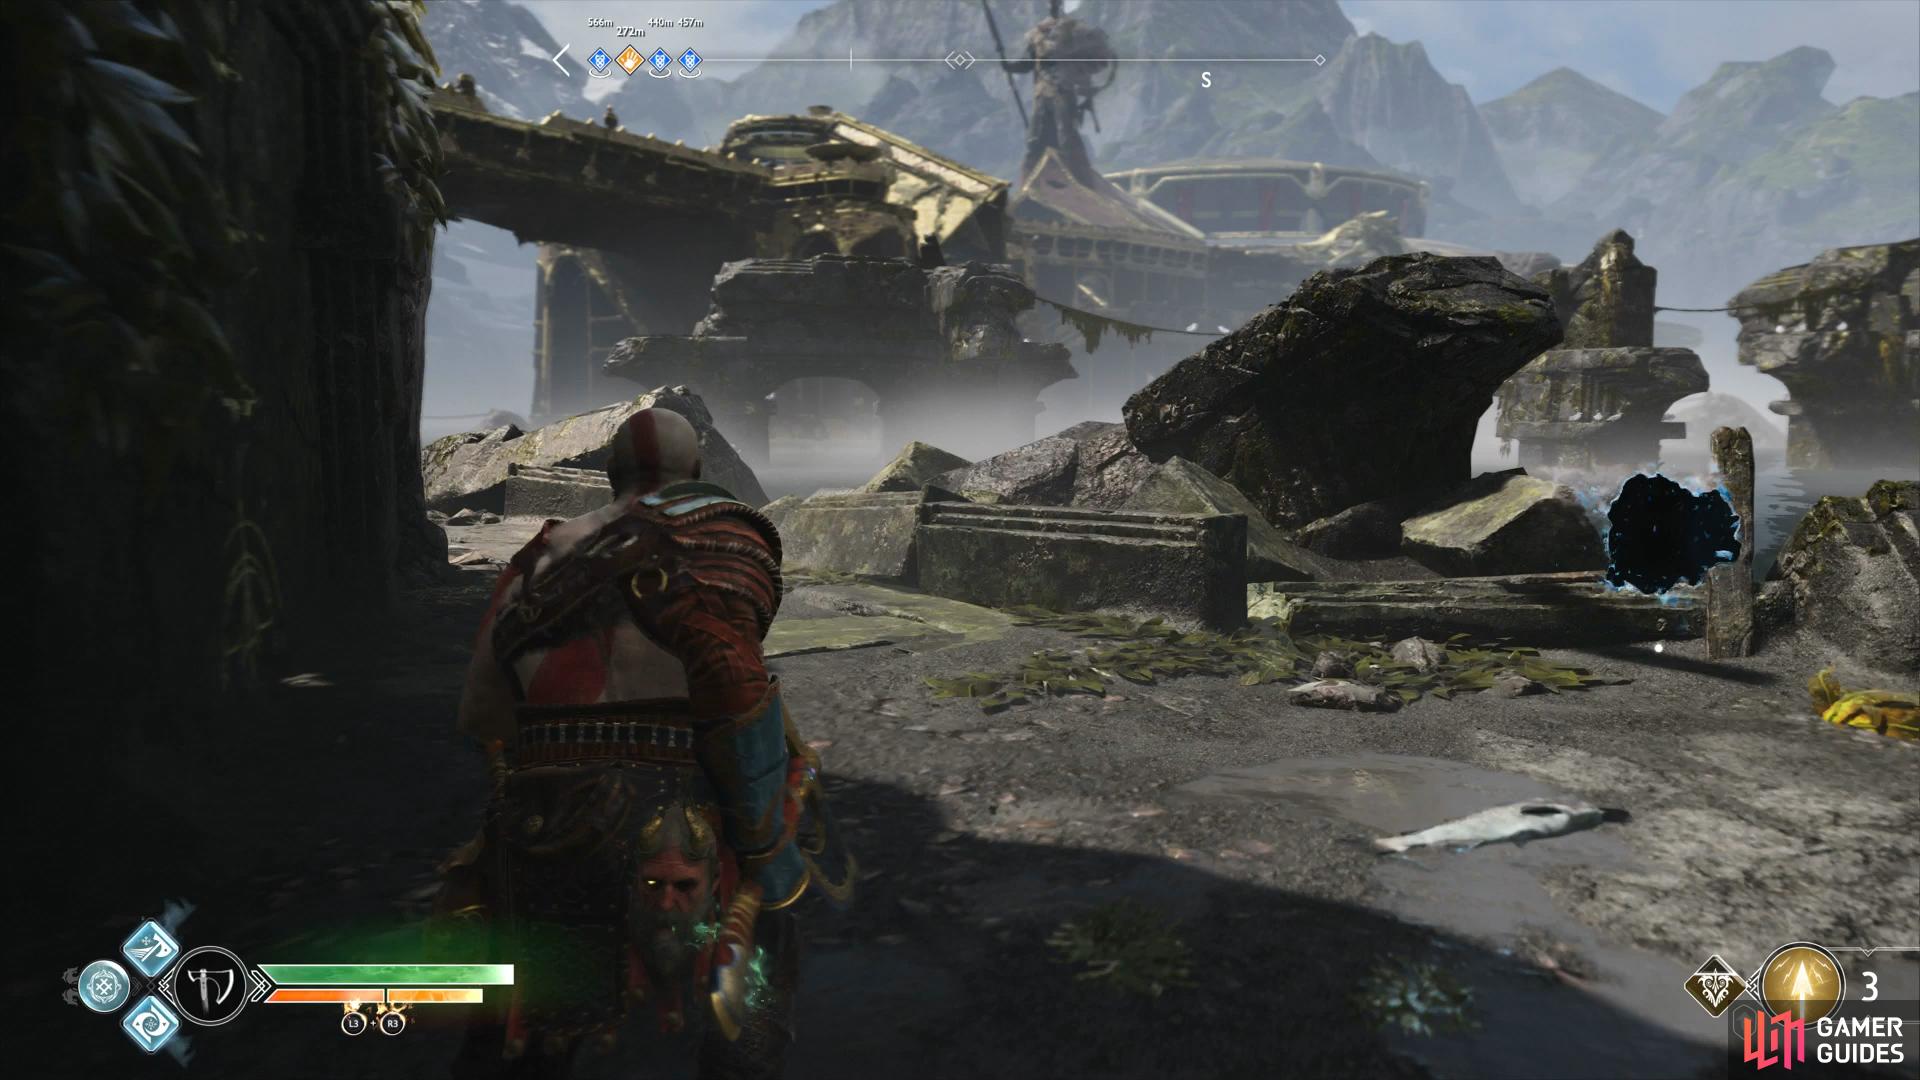
Once the water level has dropped for a second time at the Lake of Nine, travel towards Iron Cove. Where you find the main beach, continue rowing around the rocks and then back in as soon as you can to find a hidden beach. On this short path will be two Wolves and at the end, a battle free Realm Tear.
Realm Tear #8
Return to the Isle of Death once the water level has dropped for the second time at the Lake of Nine and climb the cave to reach the lifts. Lower the first lift and cross over to it, hitting the switch to raise it again and access the second lift. Turn back around to face the first lift and lower it to the same height as the Realm Tear. Take the rope back over to this first lift now and open the enemy free Realm Tear.
Realm Tear #9
You’ll find Light Elf Outpost to the north of the Lake of Nine once the water level has dropped for a second time. Once you’ve created the light bridge to the Nornir Chest, leap the gaps and head to the outer area. Defeat the enemies here and drop to the bottom to find a Realm Tear with no enemies lurking inside.
Realm Tear #10
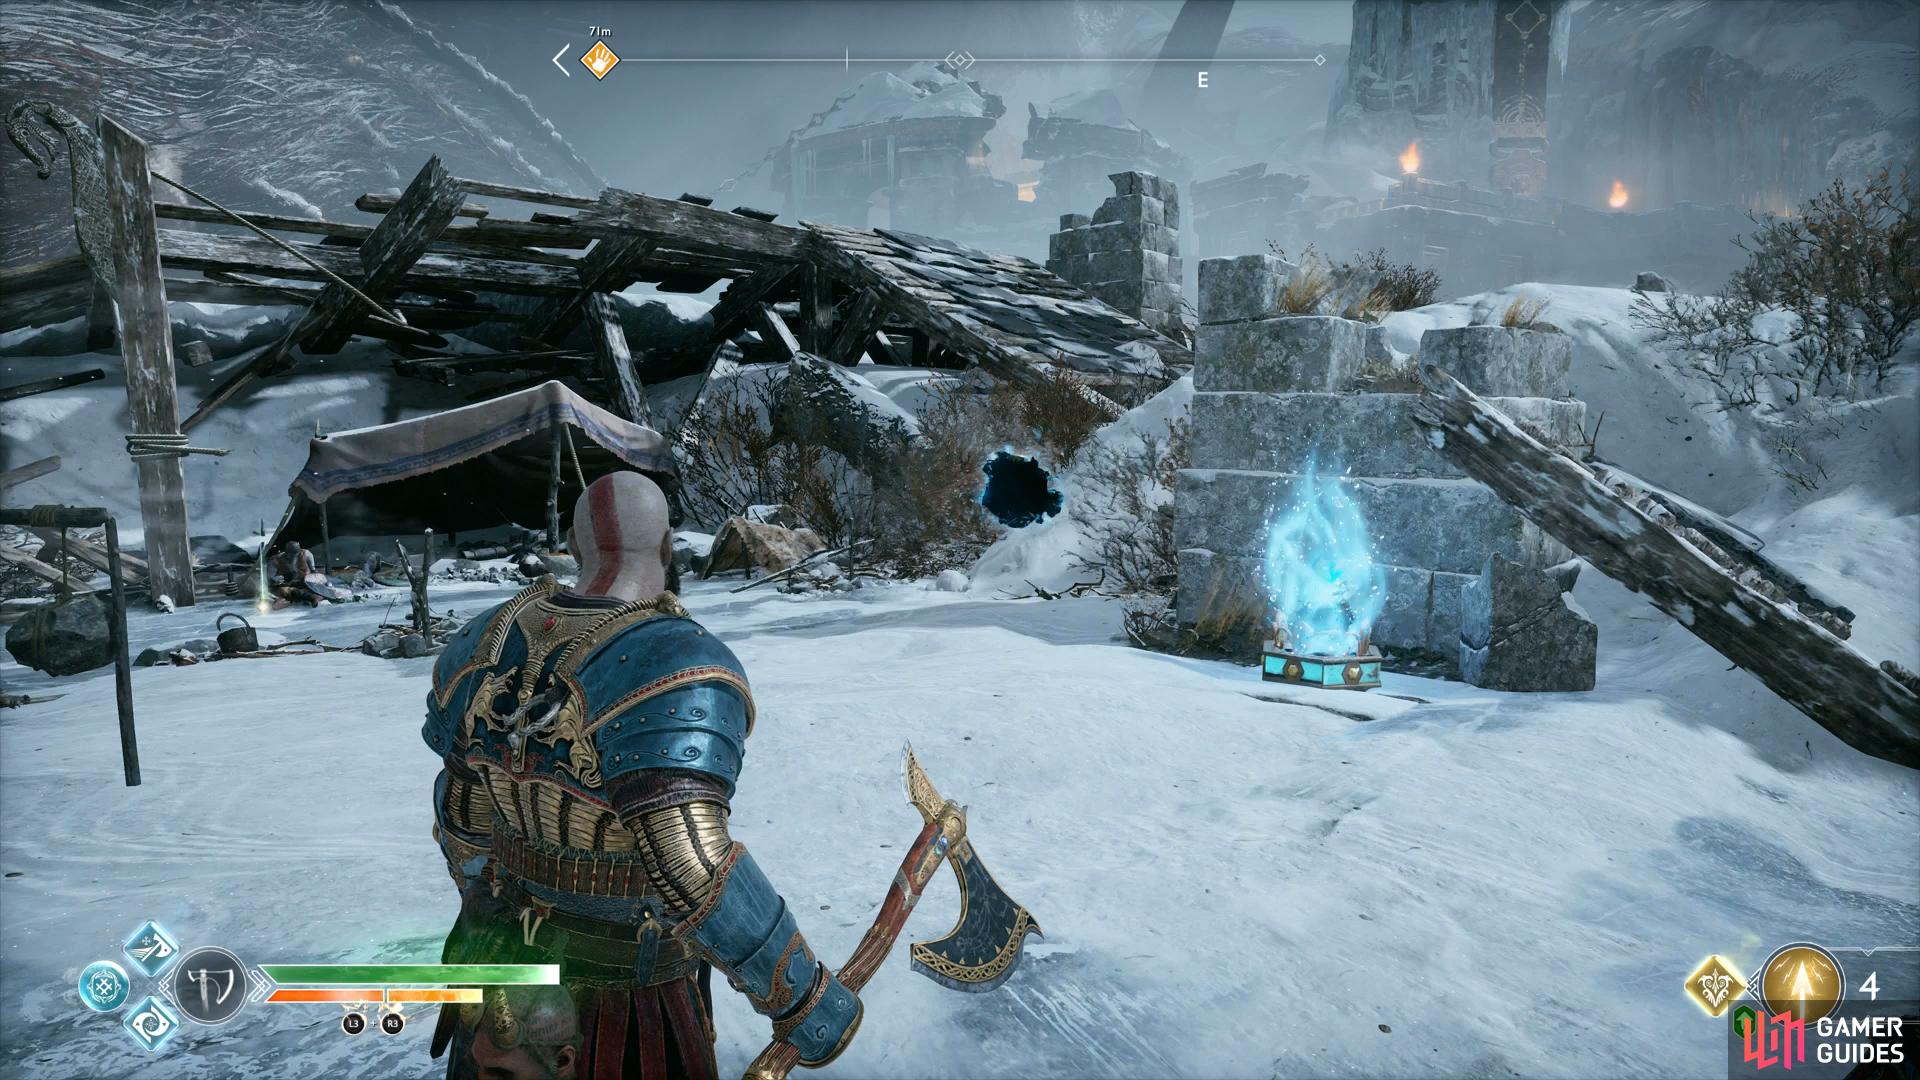
When you reach the Frozen Lake at Thamur’s Corpse and defeat the enemies there, look for a world tree stump on the east side and grab a Shatter Crystal. Take this back south where you’ll find a Lore Marker along with some sap, use the Shatter Crystal to destroy it and dislodge a Light Crystal. Carry this with you back to the northeast and find a pedestal to place it, lighting it in the process to reveal a Realm Tear with no enemies inside.
Realm Tear #11
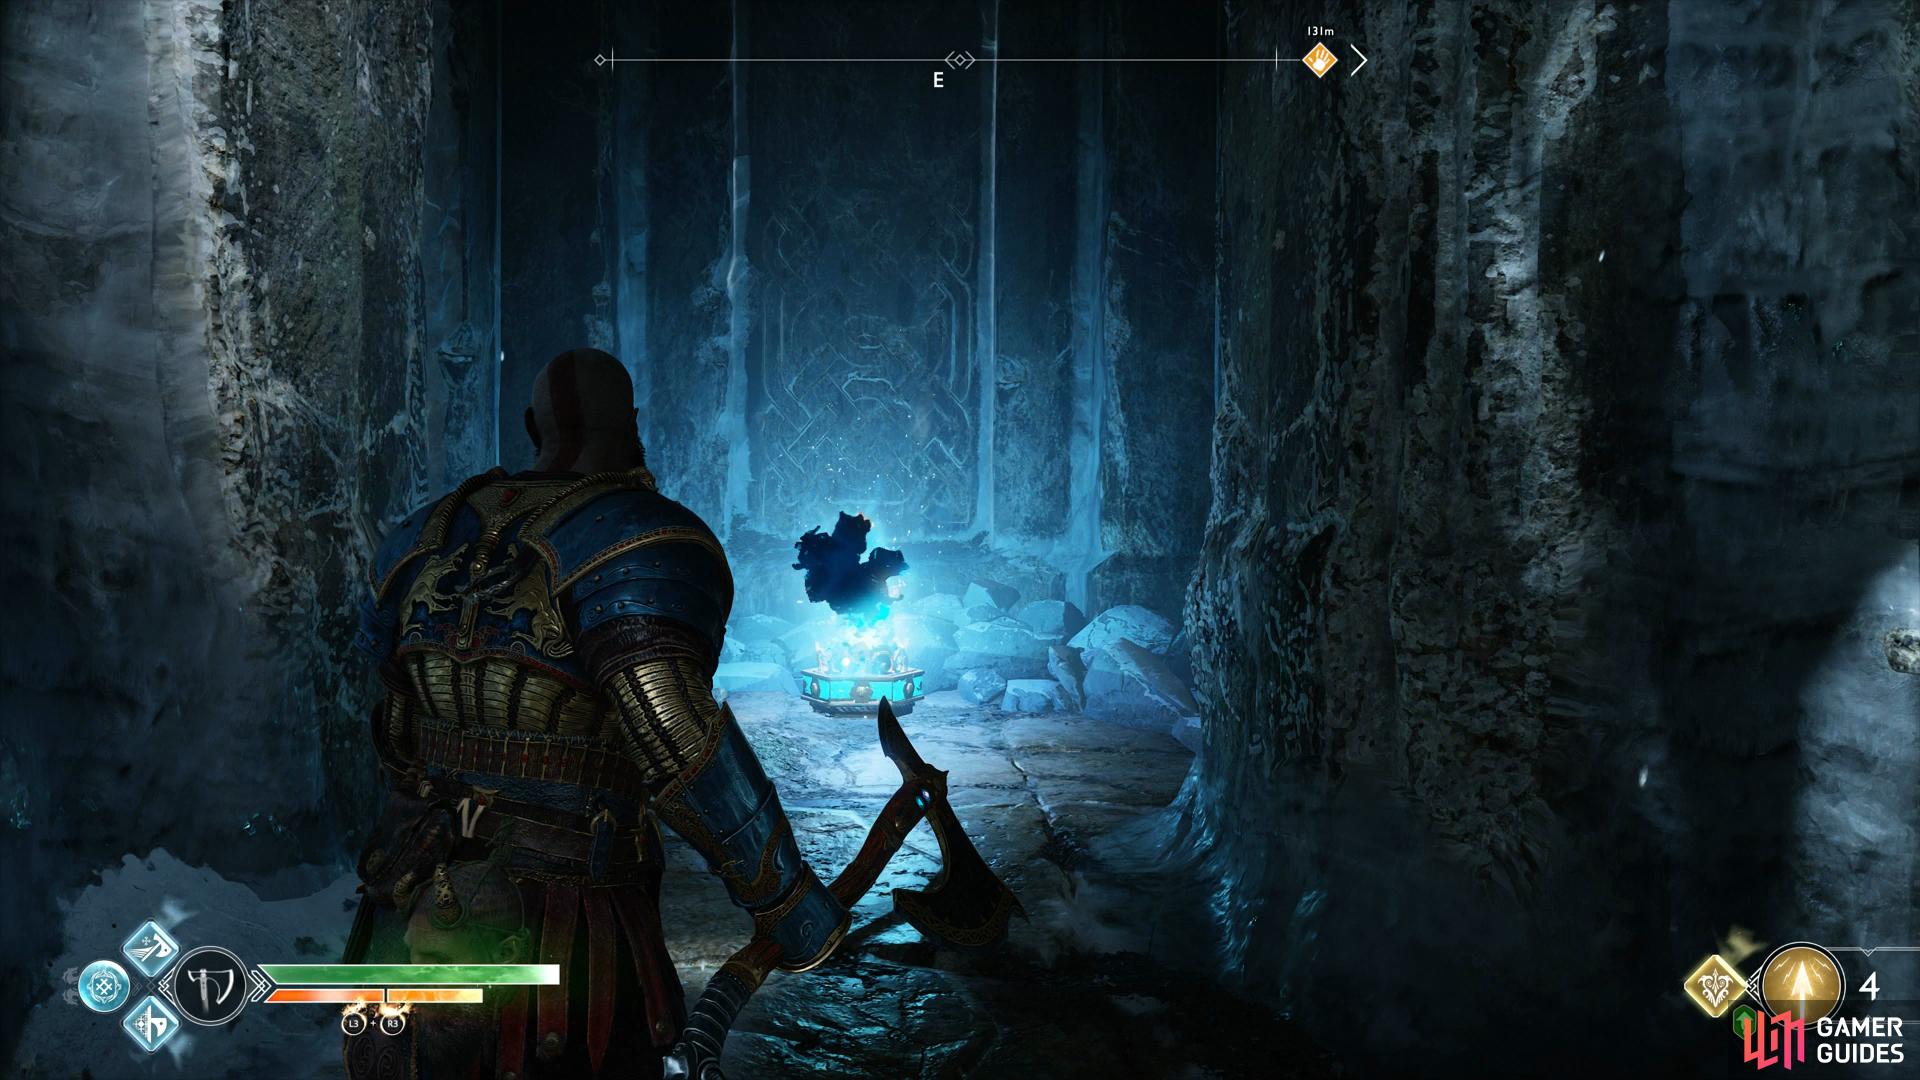
Once you begin heading back through Thamur’s Corpse after acquiring the Magic Chisel, you’ll enter a long passageway. Head along this until you reach a world tree stump where you can grab a Shatter Crystal. Take a piece and look above to find some sap holding a Light Crystal, knock this down and backtrack to a pedestal. Place the Crystal inside and light it to materialize the Realm Tear and acquire the Dust of Realms inside.
Realm Tear #12

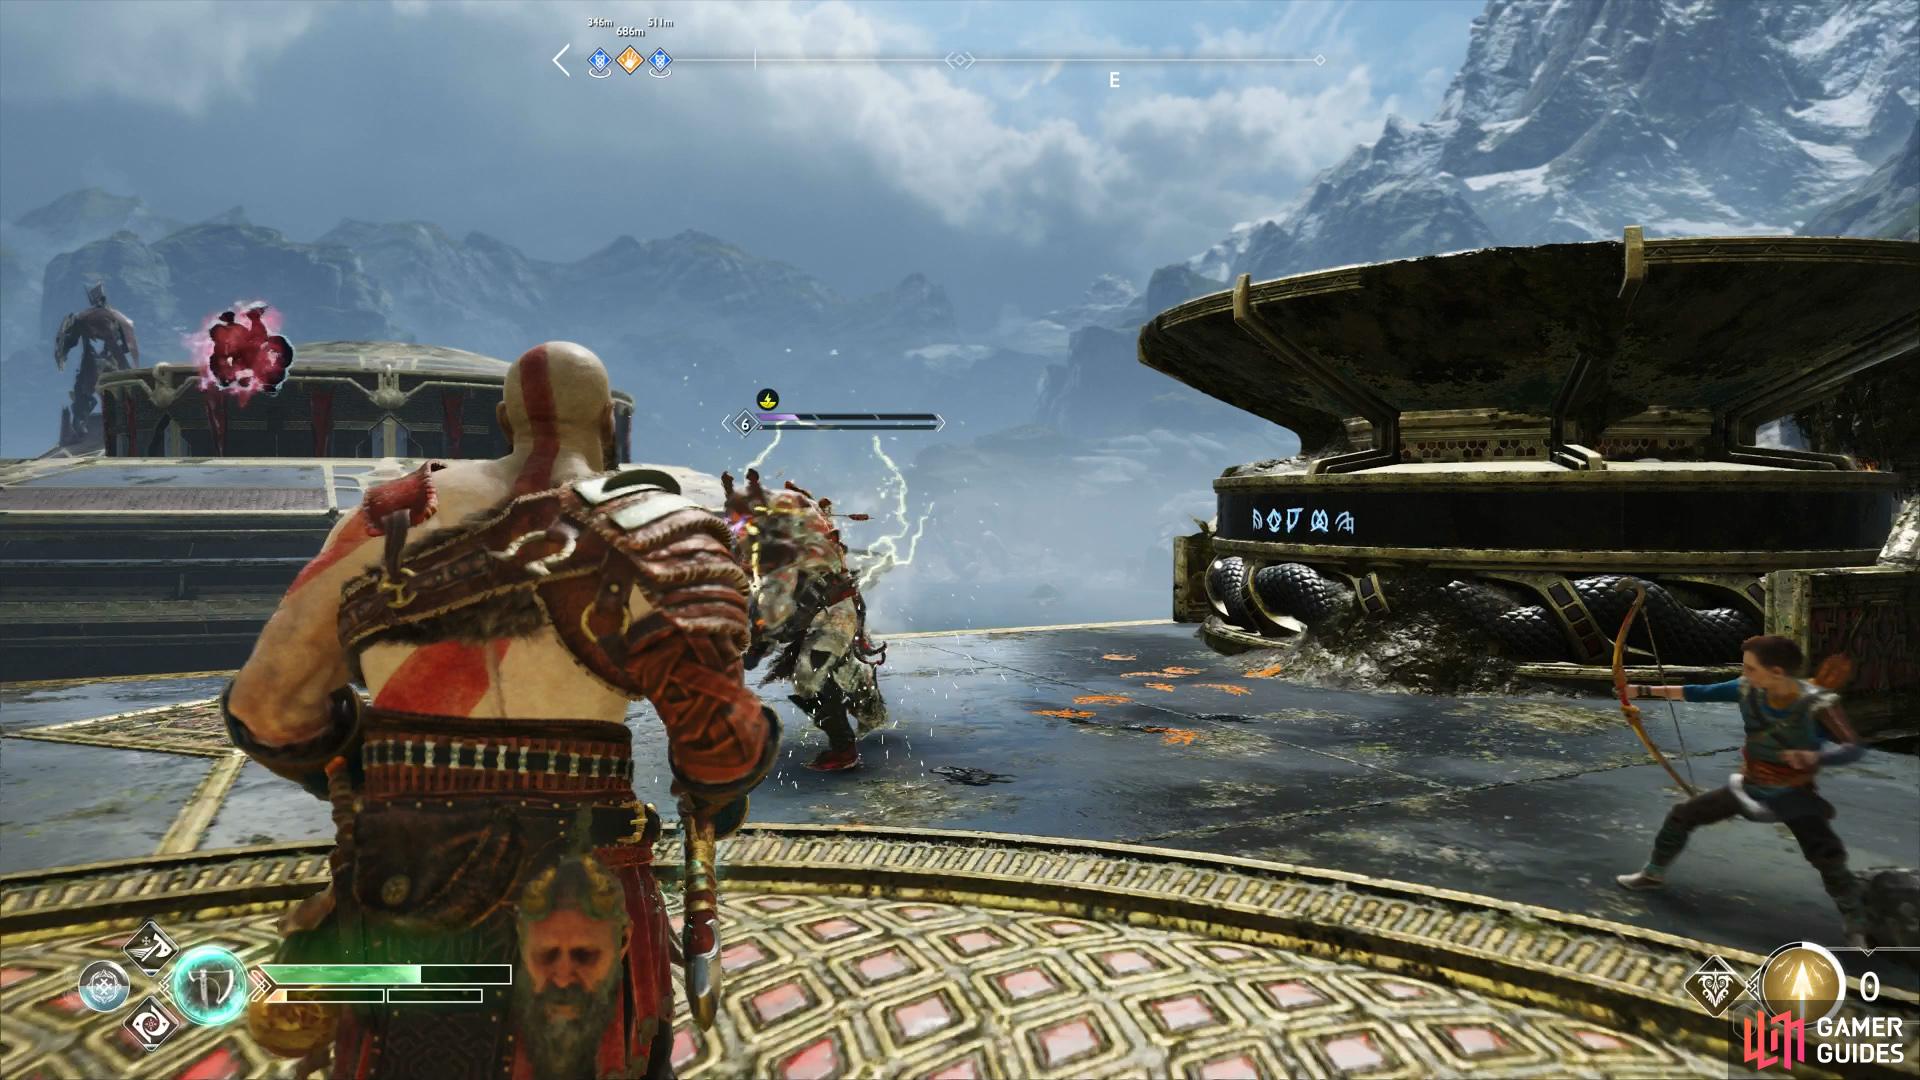
Return to Light Elf Outpost once you’re at least Level 6 and head to the top. Grab the Light Crystal and take it to the central platform at the top, inserting it into the pedestal. Light the Crystal up as well as the two smaller ones either side of it up high to materialize the Realm Tear. The encounter will be against two high Level Hel-Vikens and a Hel-Reaver Guard, make use of Murder of Crows and then use the Blades of Chaos to bring them down. If you’re struggling, it may be a good idea to make use of Spartan Rage.
Realm Tear #13
When using the bridge at Týr’s Temple to cross over to the Foothills, you’ll enter the Vanaheim Tower. Inside the first room you’ll find Light Crystals you can shoot, do so to make the Realm Tear materialize. Don’t attempt this until you’re at least Level 6 as the battle is against two high level Revenants. You’ll want to lock them down with Shock charged Runic Summons and then focus on one at a time.
Realm Tear #14
Once you reach the summit of The Mountain during the Return to the Summit Journey step, you’ll see this Realm Tear, it’s unmissable. This is a tough battle if you’re not at least Level 6 as you’ll be fighting Hel-Reaver Guards and Nightmares, make use of the Blades of Chaos’ Runic Attacks and use Murder of Crows to cause mayhem.
Realm Tear #15
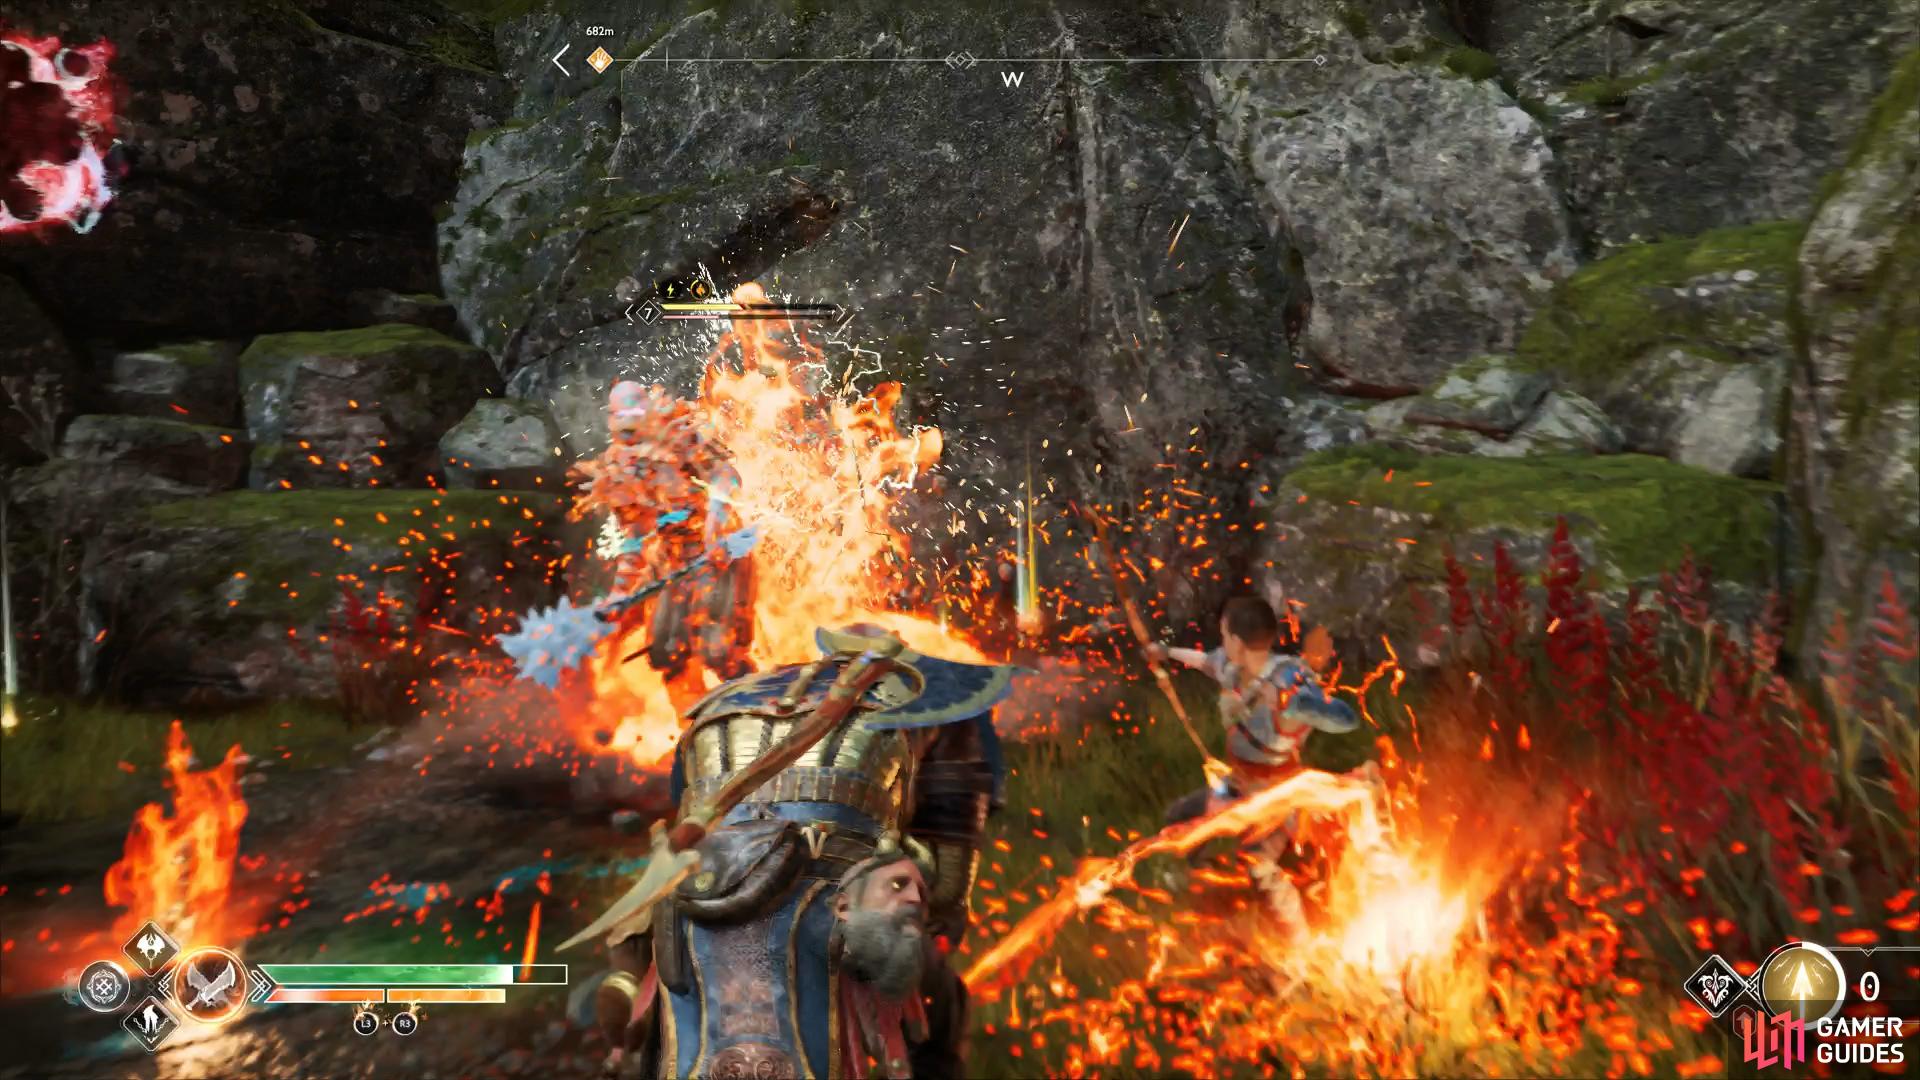
During the Dwarven Favor, Hail to the King, you’ll eventually gain entry to the Stronghold. Pass through it and behind the throne to find stairs leading up. Follow the path all the way to the far end and look to the right to spot this Realm Tear. You’re up against three Hel-Vikens, usually a tricky encounter however you should have obtained Prometheus Flame during your exploration of the area. Make good use of this fully upgraded to take these foes down easily.
Realm Tear #16
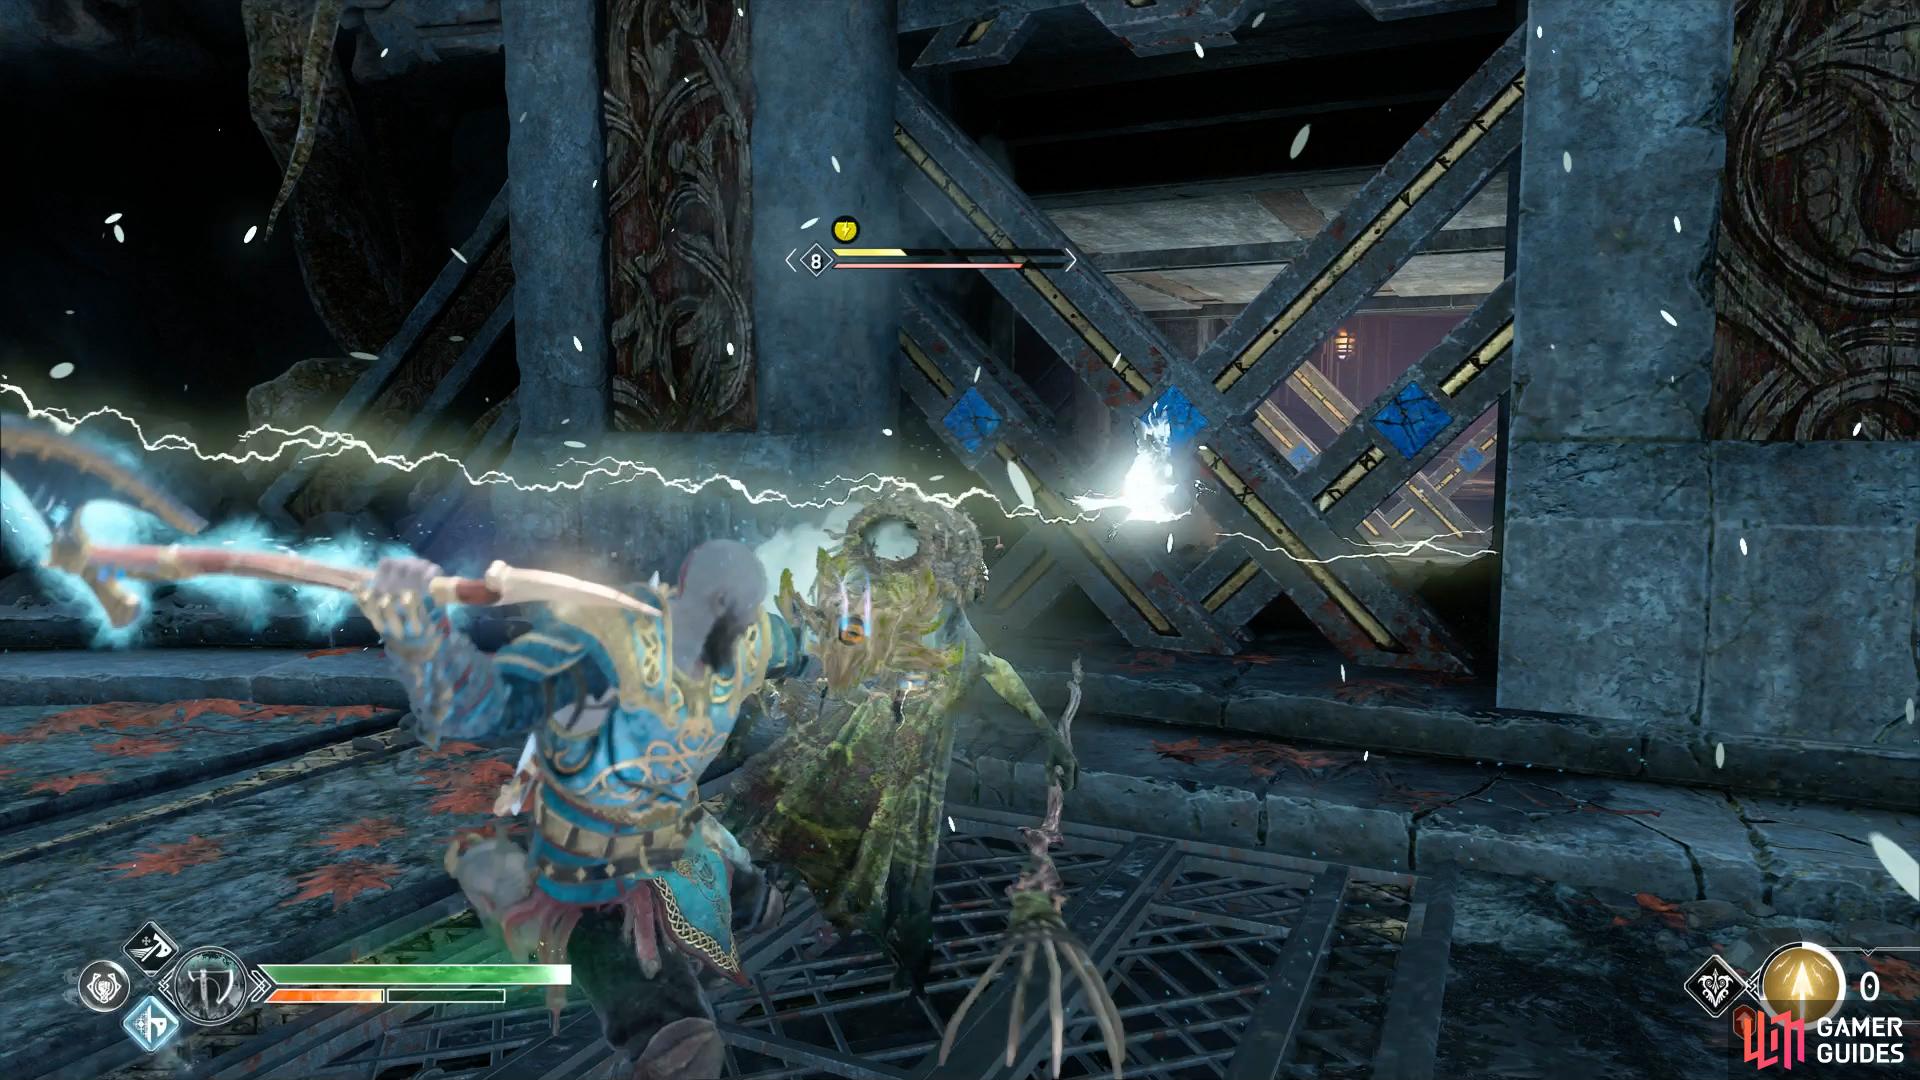
Return to the Wildwoods once you have the Magic Chisel and the Blades of Chaos to enter the Hidden Chamber of Odin. At the bottom, in the central chamber, you’ll find a Realm Tear instead of the usual Valkyrie. You’ll be up against many high level Draugrs and more deadly, a high level Revenant. Focus all your attention on the Revenant, using Runics and the powered up Shattered Gauntlet of Ages to take her down quickly.
Realm Tears #17, 18 and 19

Once you gain access to the optional realm, Niflheim, your primary goal will be to seal the three Realm Tears in the Central Chamber. Head over to the [Niflheim] page to find out more.
No Comments