Between the Realms, God of War.
Explore the realm between realms
With the Unity Stone in hand, exit out of the Realm Travel room and pay a visit to Brok’s shop. Be sure to have a Resurrection Stone on hand and upgrade your equipment as high as possible, you have a great challenge soon approaching. When you’re satisfied, use the Mystic Gateway to enter the realm between realms. Take a right as soon as you can and approach the edge, it’s time for a leap of faith.
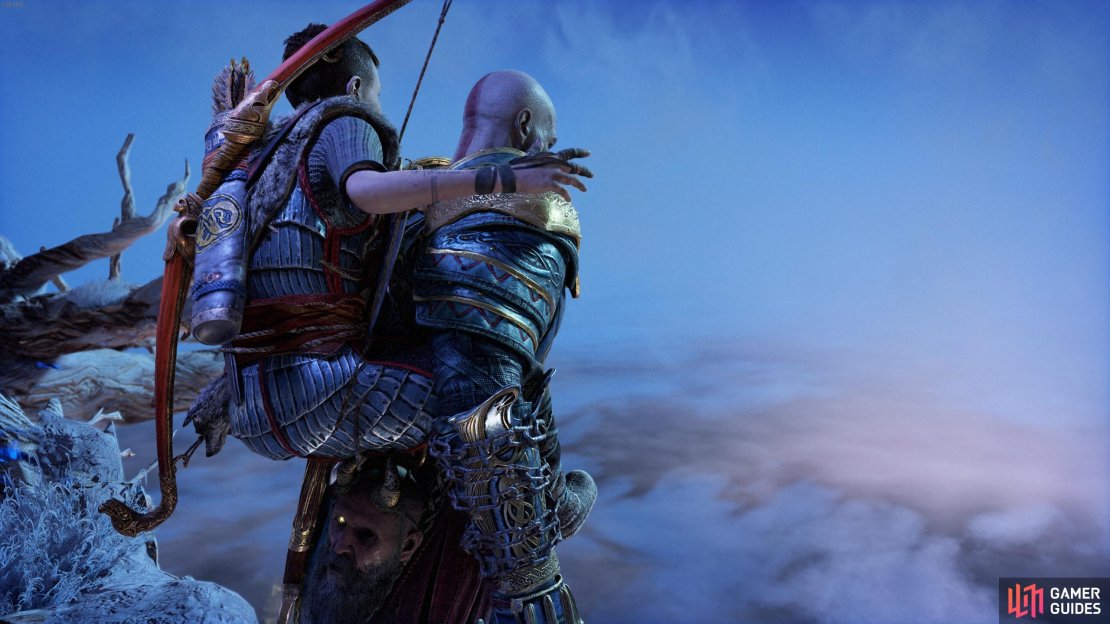
Kratos hurls himself off the precipice and into the great beyond, thankfully his gamble pays off and you reach solid ground. Follow the linear path and enter the Jötunheim Tower at the end of it. Inside you’ll find a pedestal for the Unity Stone, make sure you’re fully prepared because things are about to get hectic.
Survive the gauntlet of realms
You’ll have to survive several waves of enemies as the tower makes its way back up, each one becoming progressively more difficult so make sure you save your Spartan Rage gauge for when you find yourself low on health.
Kill the Broods
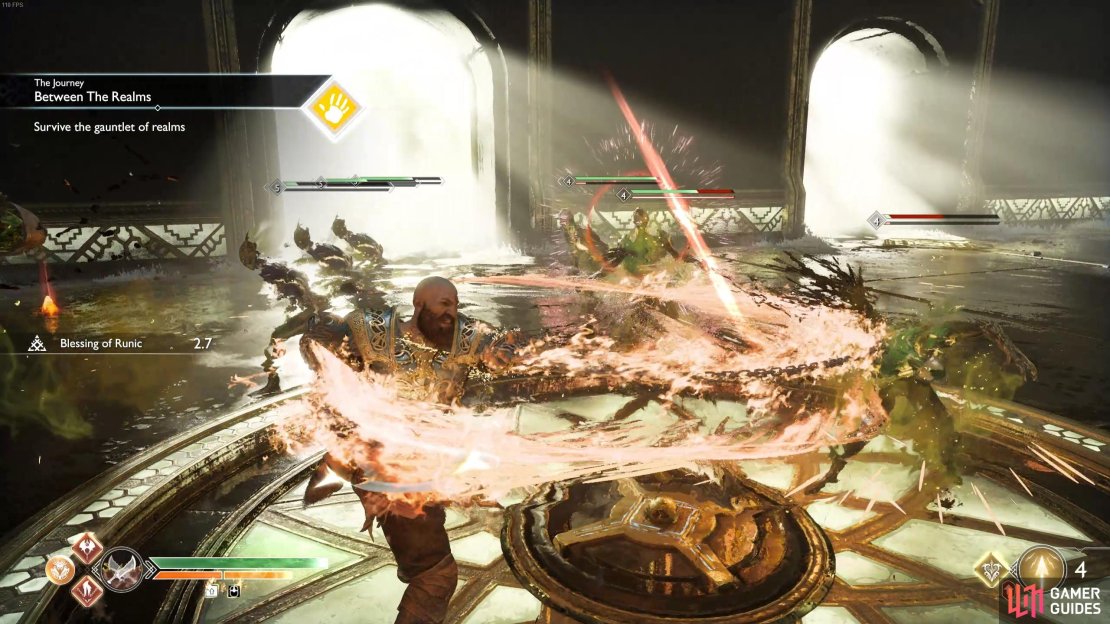
The first wave is against a large group of Broods, these simple enemies are best defeated using area of effect attacks. Holding down the 

Make use of Whirling Chaos to preserve your Runics for later waves.
Kill the Dark Elf Lords
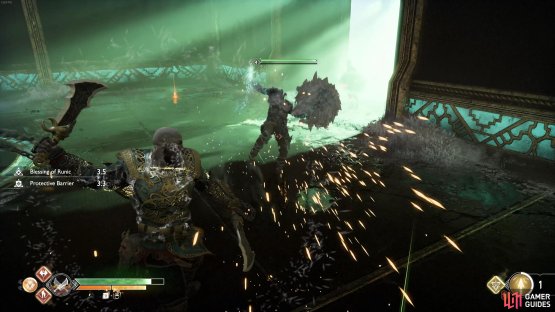
The next wave pits you against a Dark Elf Lord from Alfheim, a tough foe similar in stature to the King you killed back in the realm itself. Be sure to stay on the move as you avoid it’s mines or else you’ll become blinded, making this even more difficult. When the first is almost killed, another will join in along with a Gloom Nightmare, take care of the Nightmare quickly before returning to the last Dark Elf Lord. You may want to consider using Runic Attacks during this battle to try and burn them down quicker (you should be using the Talisman of Unbound Potential to allow you to reset cooldowns here).
(1 of 2) Be sure to kill the Gloom Nightmares as soon as they spawn.
Be sure to kill the Gloom Nightmares as soon as they spawn. (left), You’ll want to make use of Runics against these sturdy foes. (right)
Defeat the Helheim Wave
Quickly gather any healthstones you may need and prepare for the next wave, this time based on the denizens of Helheim. As always when it comes to Helheim, switch to the Blades of Chaos to deliver greater damage. The Hel-Reavers and Guards should pose no problem but the two Hel-Vikens can be particularly nasty, make use of the your Blades of Chaos Runics once they’re available.
(1 of 2) Remember to double tap block to break the defensive stance of enemies with shields.
Remember to double tap block to break the defensive stance of enemies with shields. (left), Use Murder of Crows to paralyze the tougher enemies here. (right)
Defeat the Muspelheim Wave
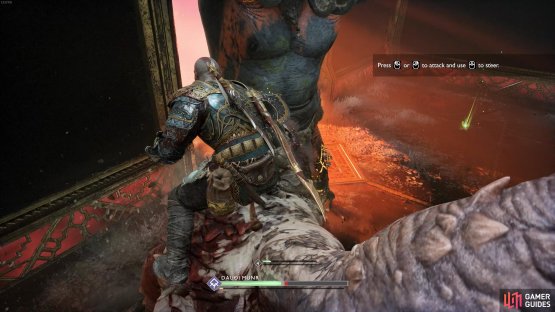
One final wave awaits you, in the realm of Muspelheim so be sure to switch back to the Leviathan Axe. You’ll have to do battle against a Fire Troll and an Ogre, who should be your primary focus. Work on stunning the Ogre while keeping your distance from the Troll, this will allow you to mount it and use it’s attacks to deal heavy damage to the Fire Troll and any Draugrs that may spawn. If the Troll survives the attack, consider using Spartan Rage to finish the job, this is the final wave after all. With the enemies defeated, loot the spoils from the Fire Troll to obtain the Wrath of Artemis Light Runic Attack.
(1 of 2) Use the mounted Ogre to attack the Fire Troll.
Use the mounted Ogre to attack the Fire Troll. (left), You can easily finish off the troll with Spartan Rage or Runic Attacks. (right)
Head toward the doors and open them, it seems you’re back in Midgard and the bridge at Týr’s Temple moves to the tower, the journey’s end is in sight.






No Comments