

The Light of Alfheim 2, God of War.
Find a way out of the temple
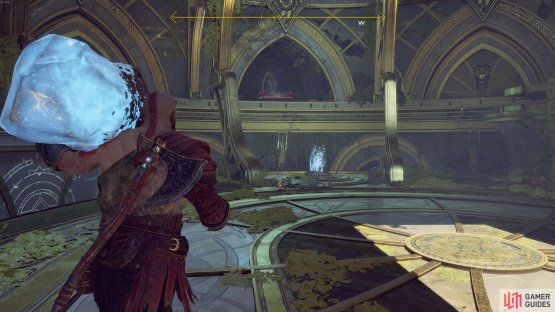
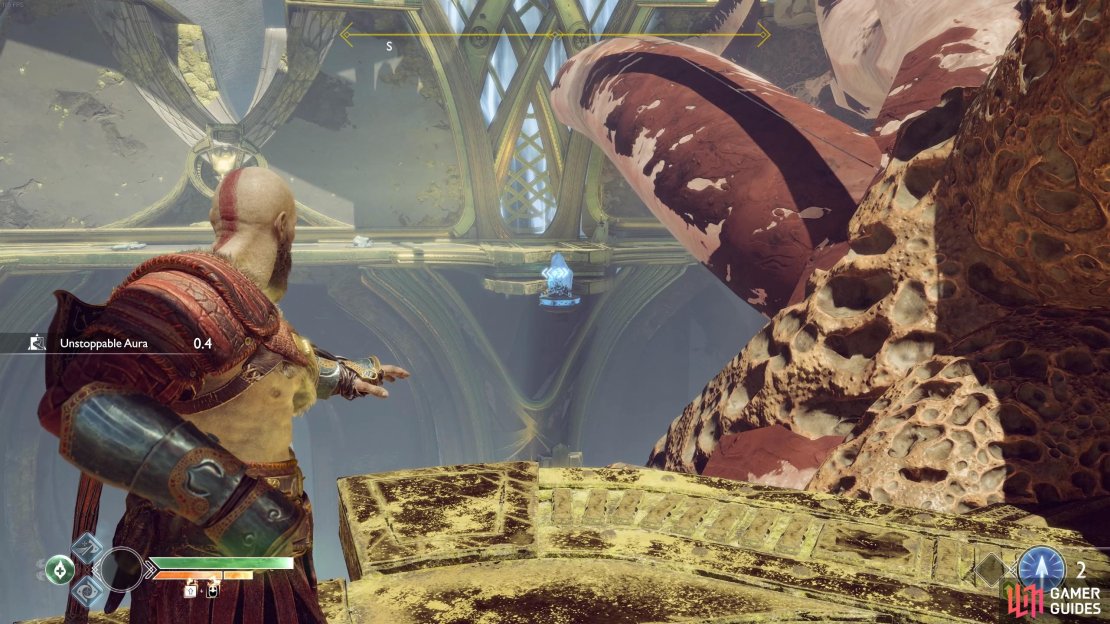
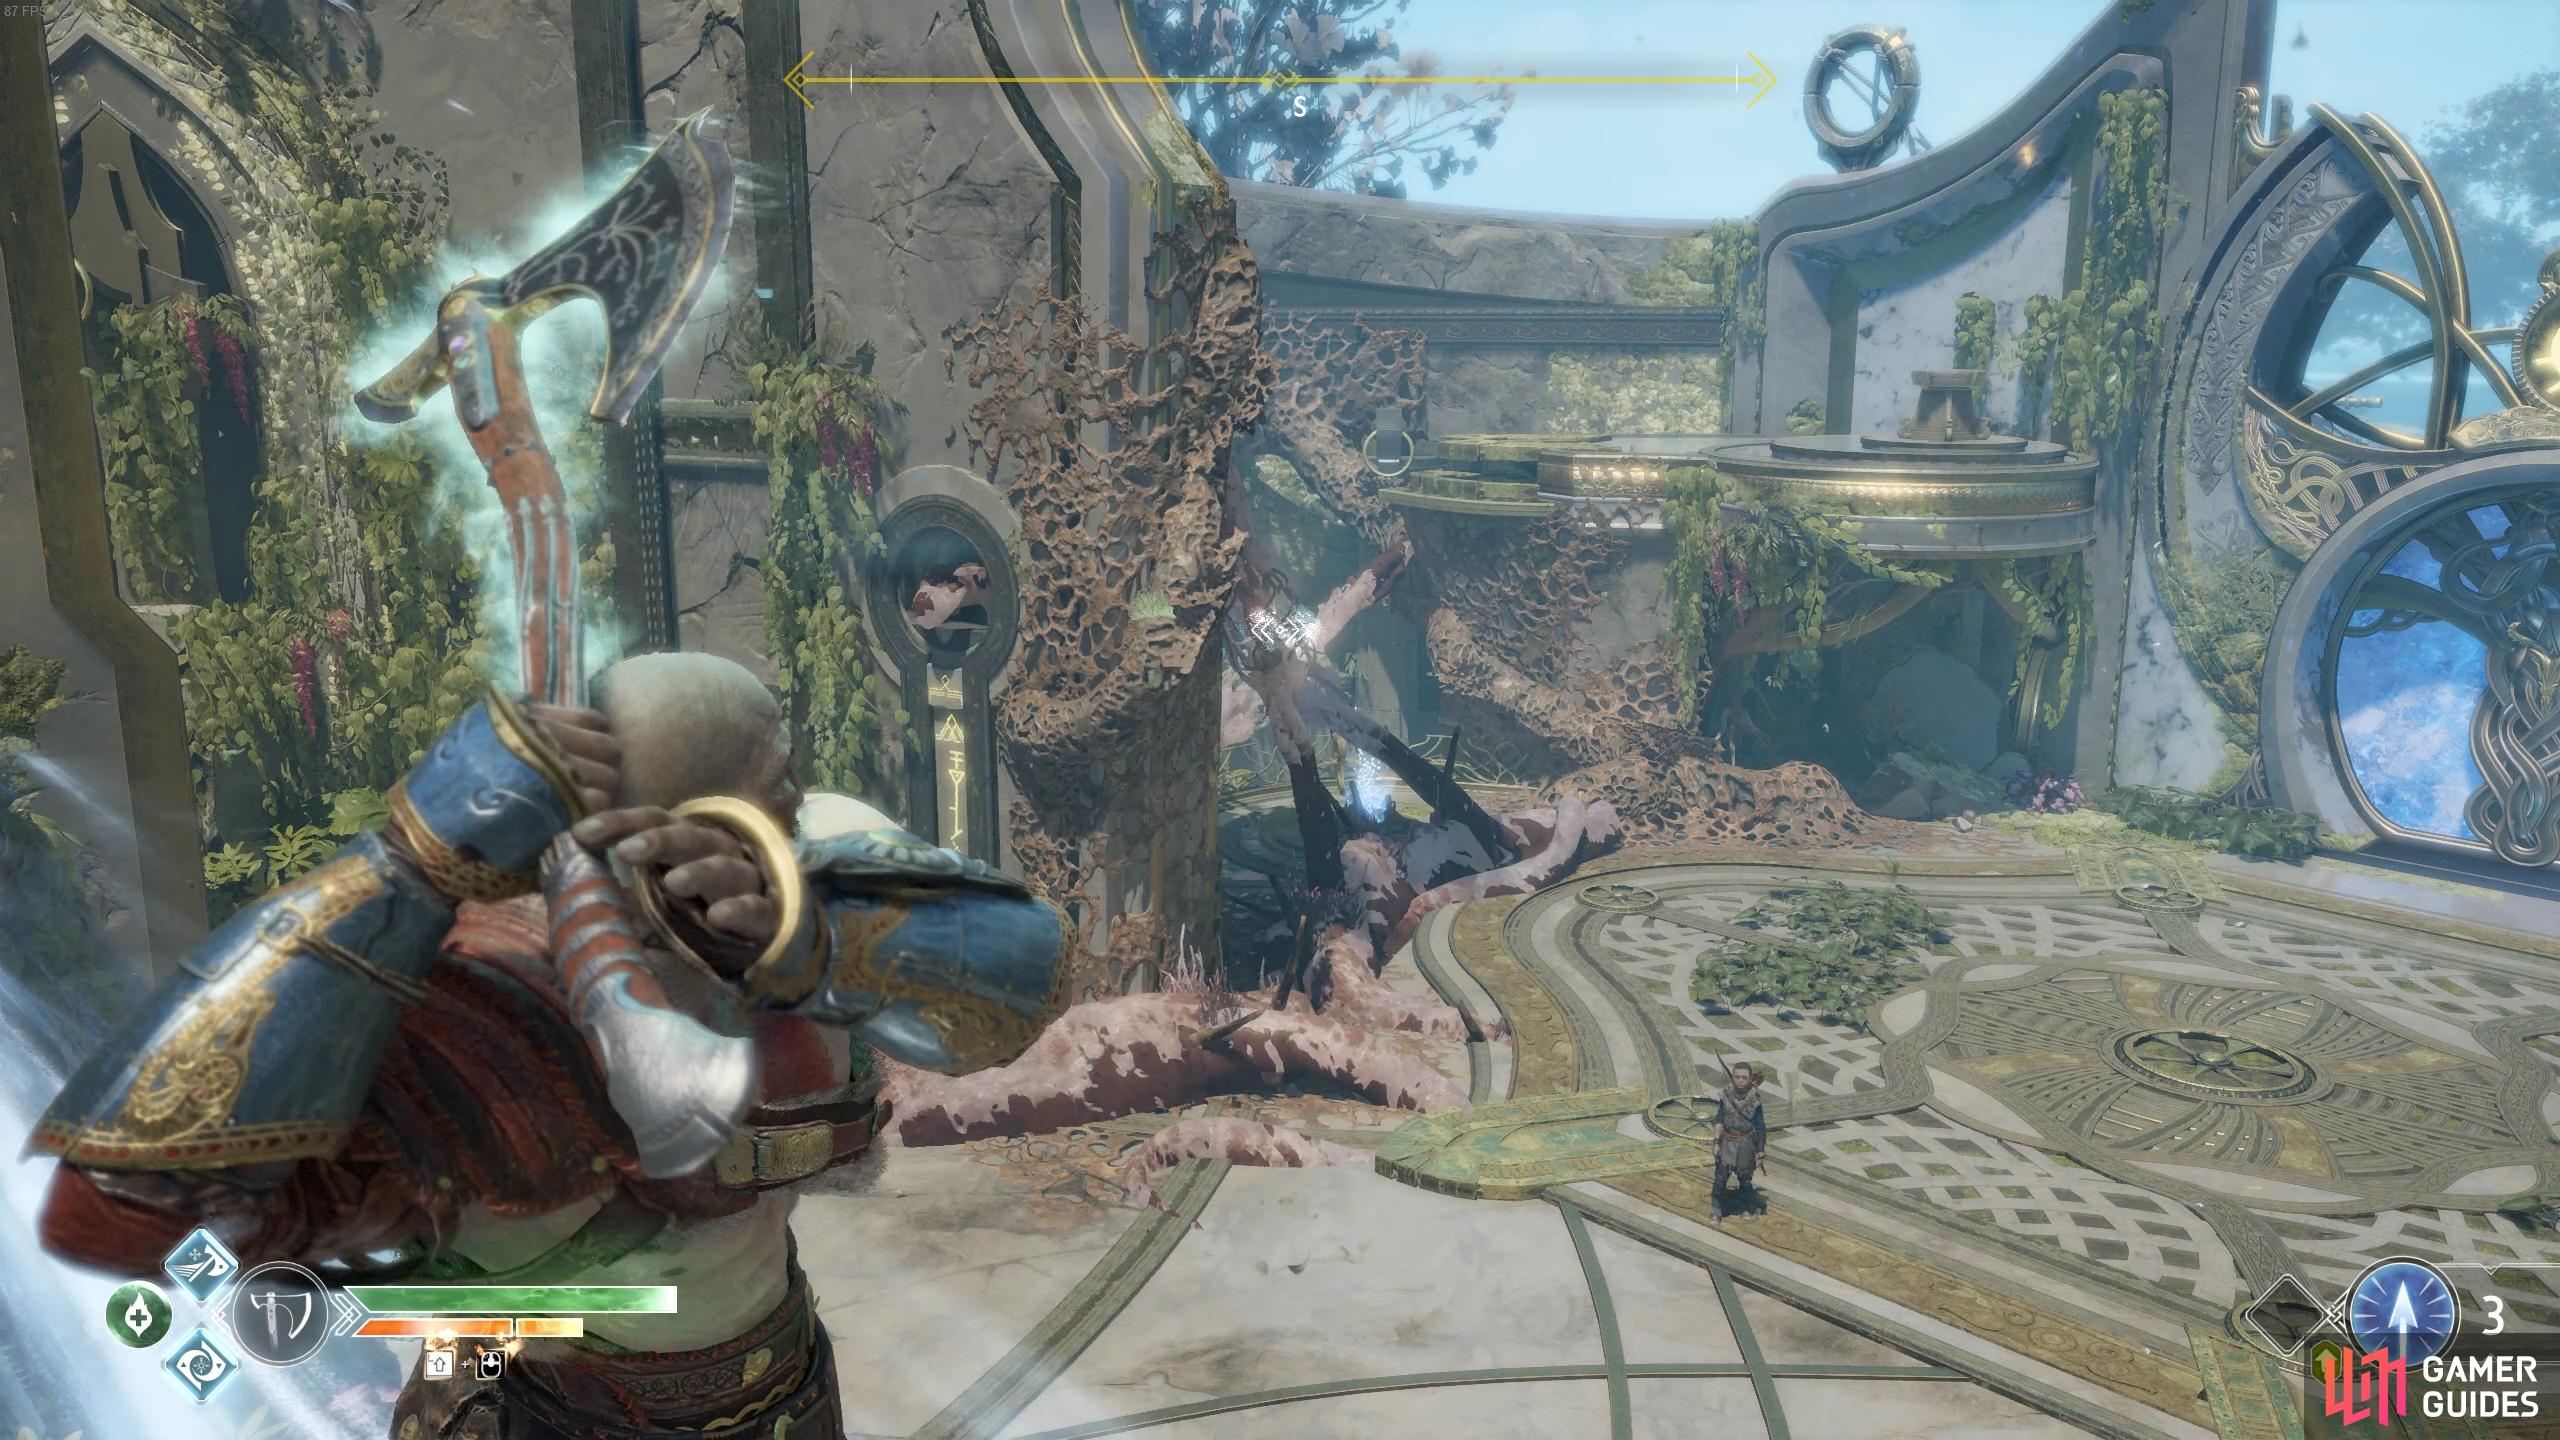
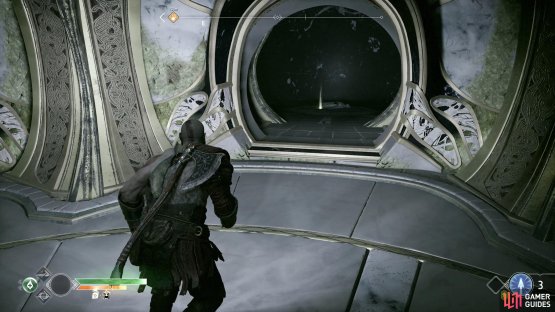
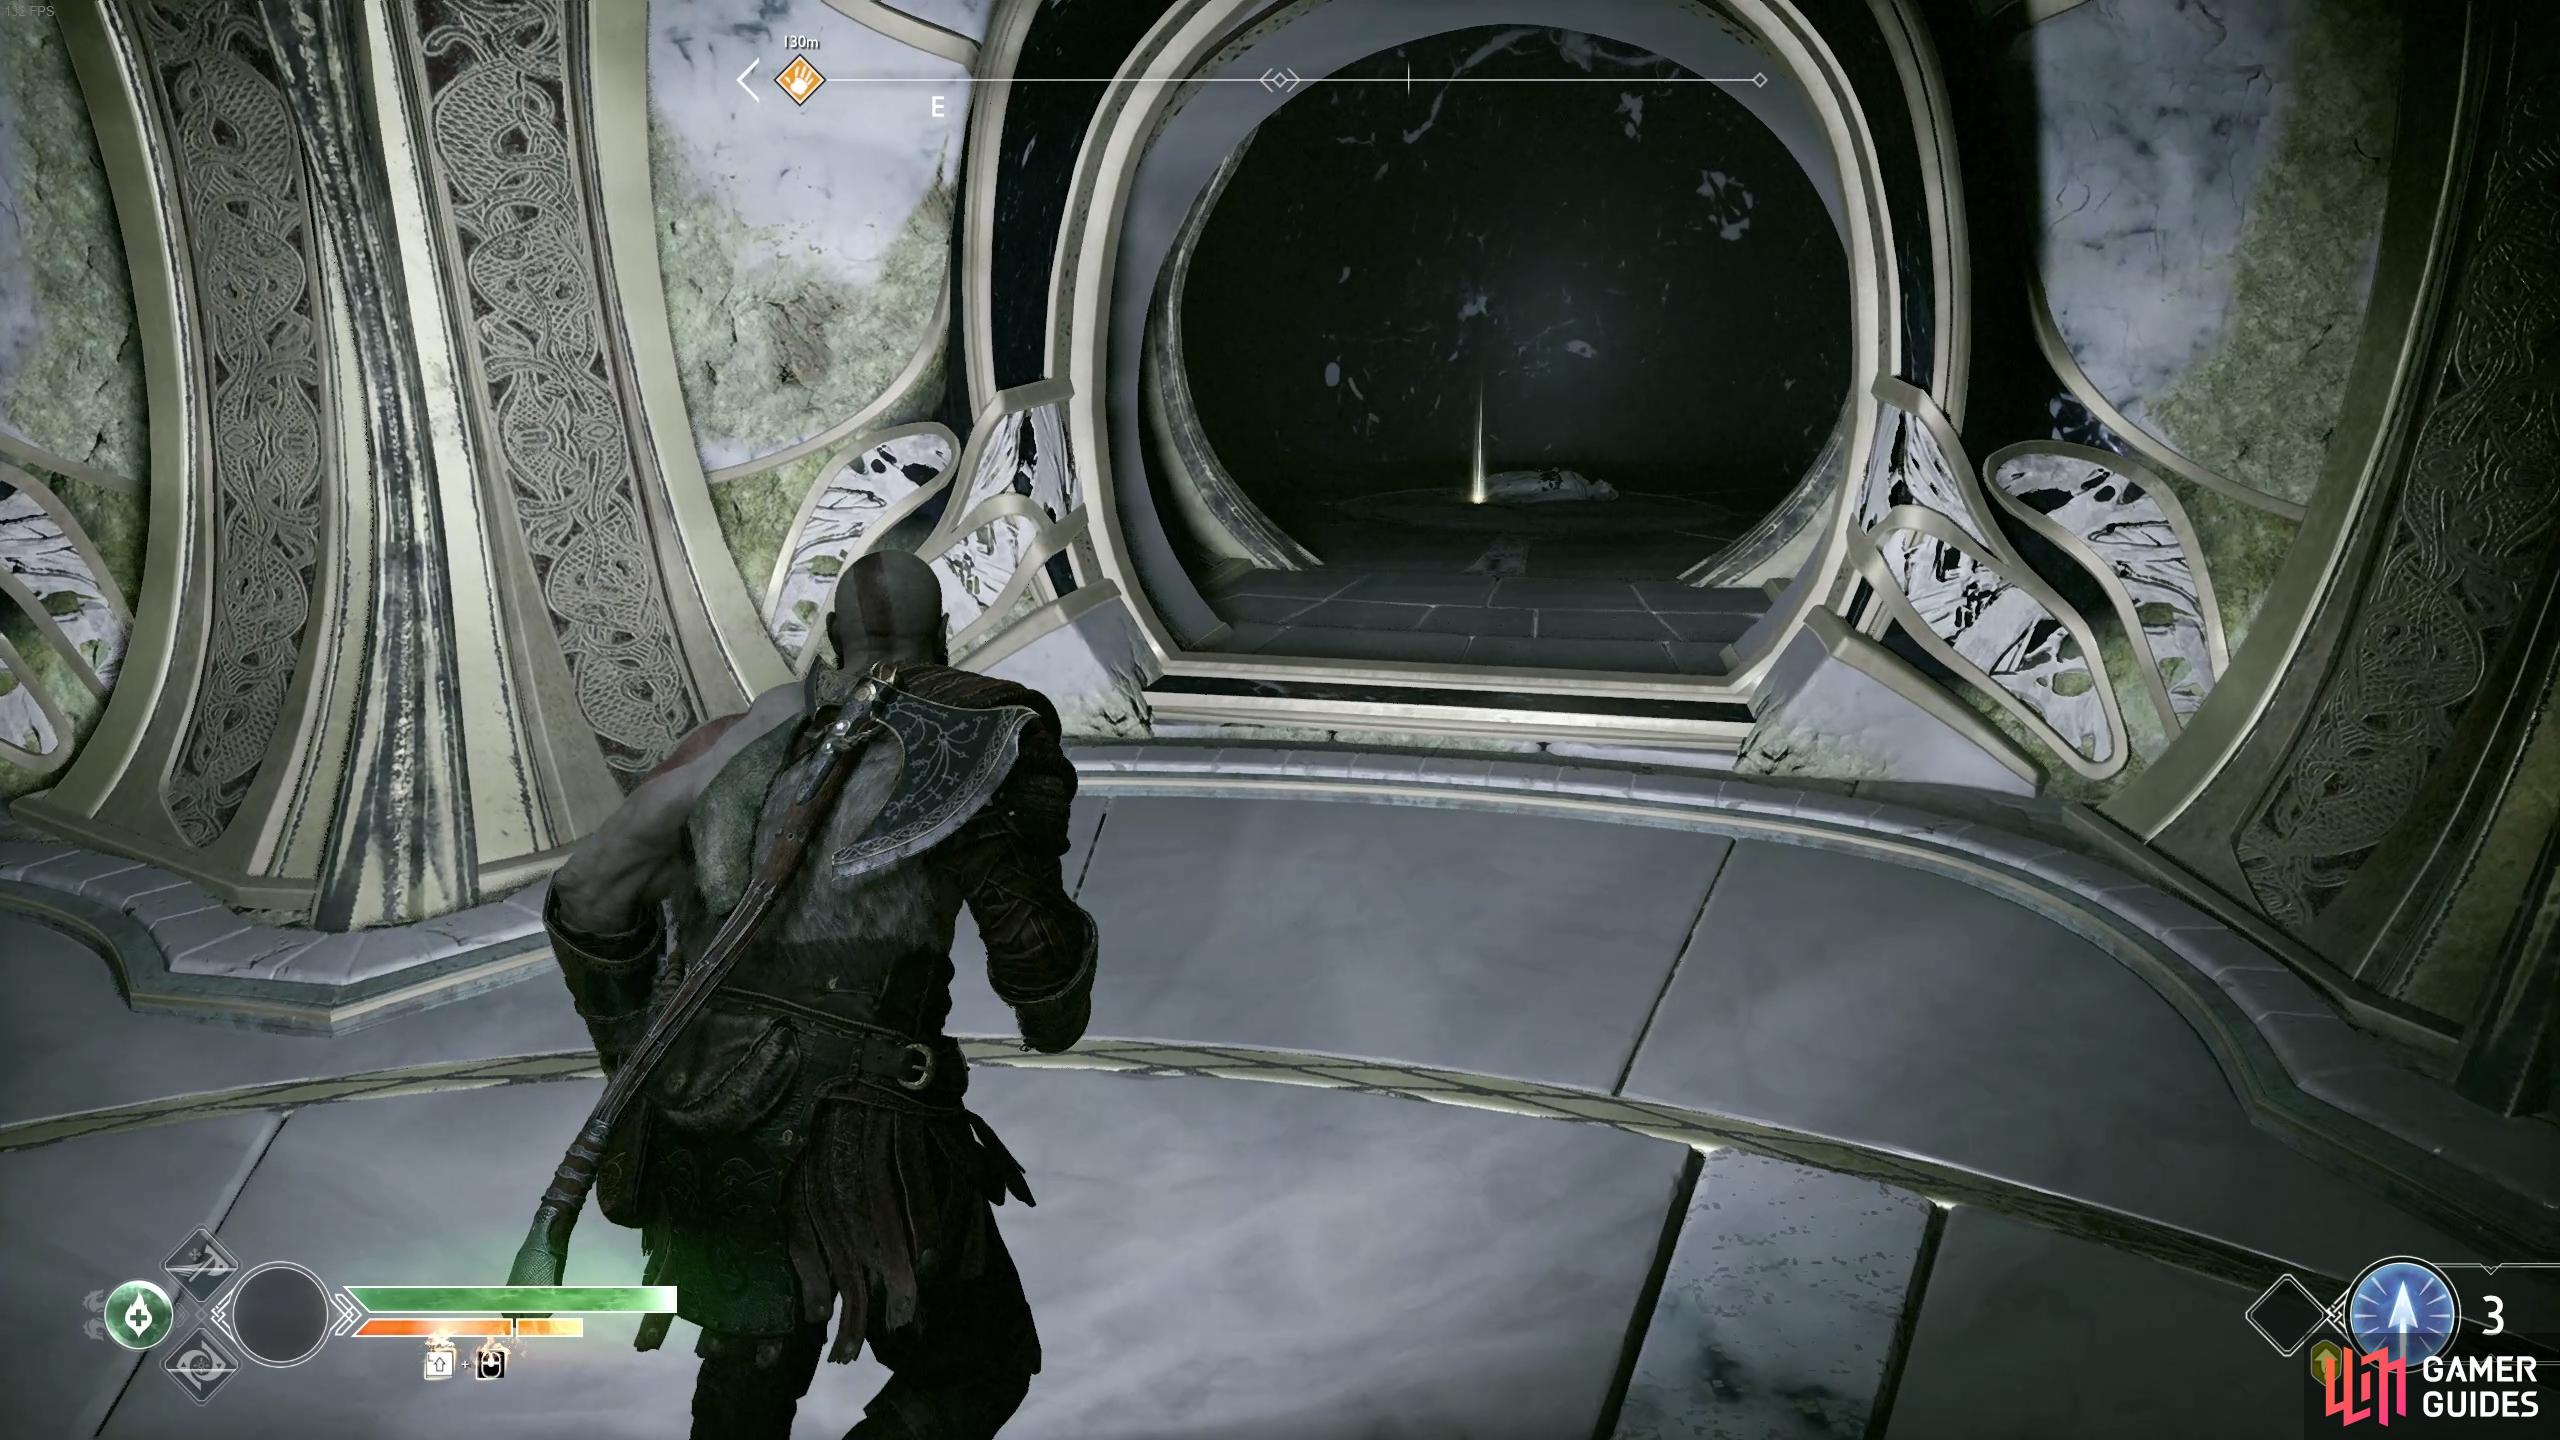
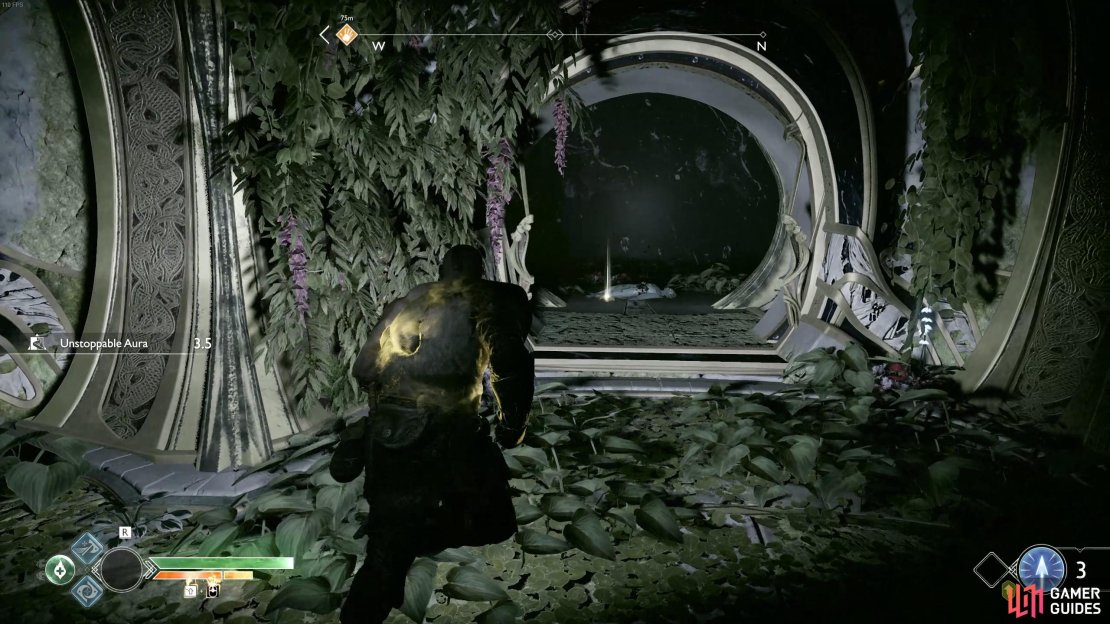
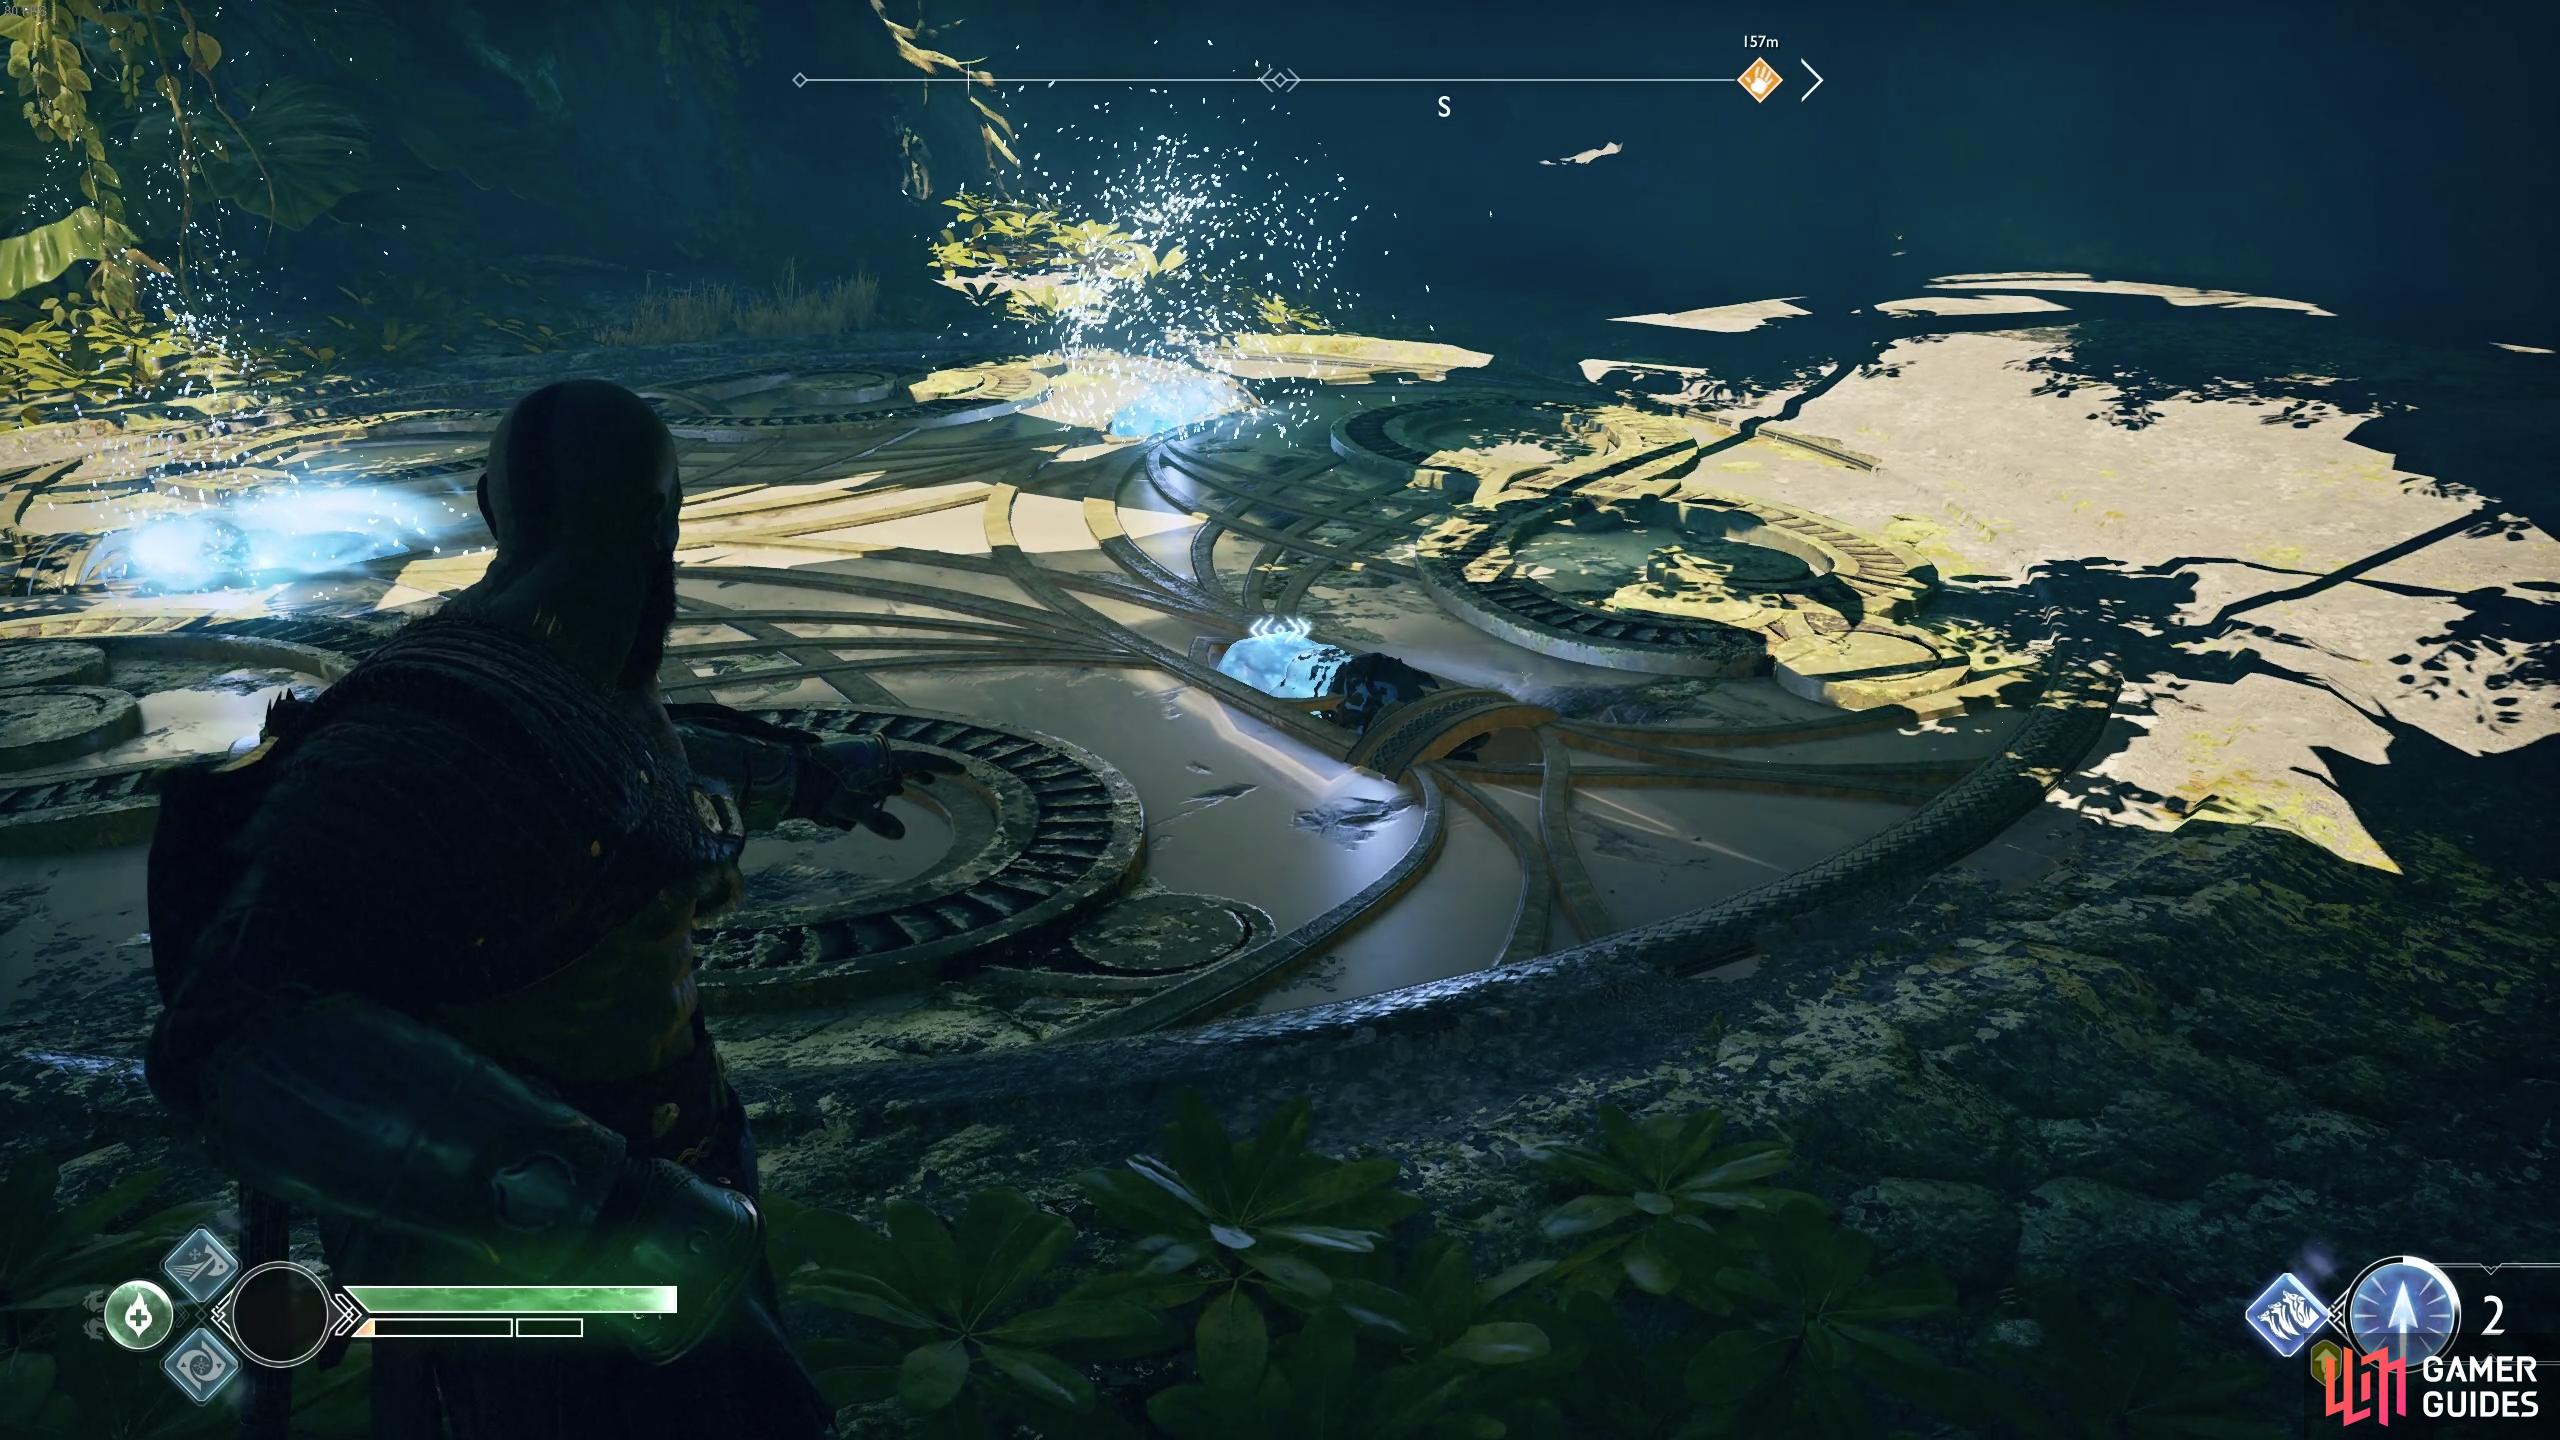
Take aim and guide Atreus’ newly acquired Light Arrow at the blue crystal in front (henceforth named as light crystals) to light it up and erect a light bridge.
Light Arrows will begin to play a large part in your adventure from this point on and they take many uses inside and outside of battle. You may have seen the Light Crystals in many places already, these usually create a bridge for you to utilize but they can also power up objects as well. When you aim with the [L2] button, the reticule will be blue if it can utilize Light Arrows. In combat, Light arrows explode upon impact and can also Weaken enemies, causing their defense to decrease. Take this moment to upgrade Atreus’ skills with all of the Light ones available to him, you should have more than enough XP to do this.
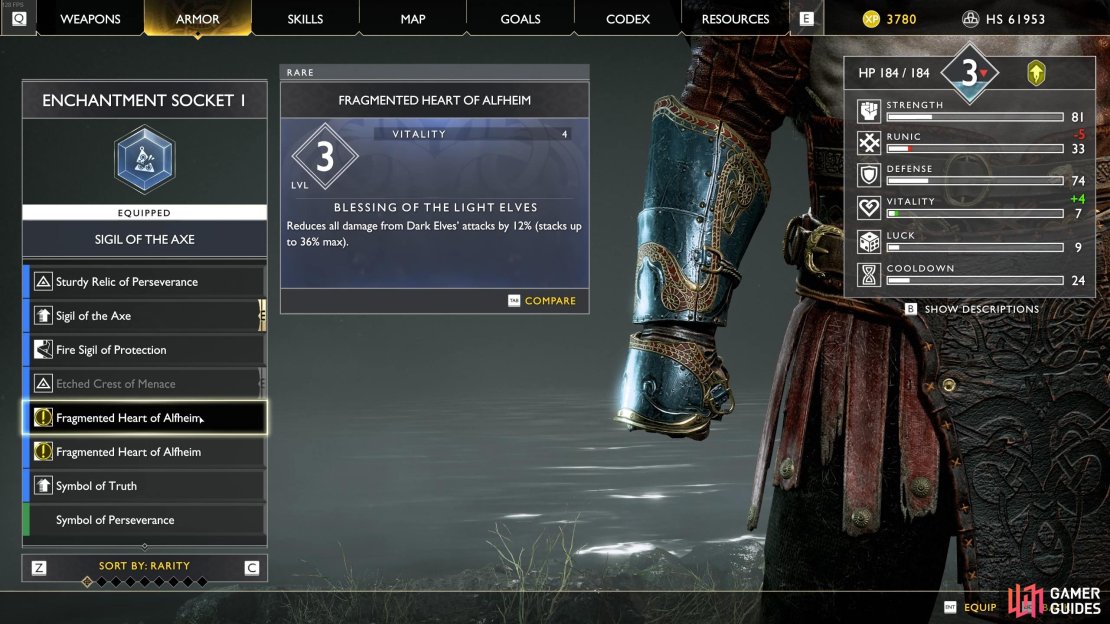
Cross over to the other side using the newly raised bridge and drop down the ledges in front. Drop to the ground and head over to the Light Crystal on the ground and pick it up, placing it in the pedestal to the southwest. Light the crystal and then proceed back up the nearby ledge and onto this light bridge, opening the coffin and obtaining your third Fragmented Heart of Alfheim, equipping this along with the other two will reduce damage from the Dark Elves by 36%.

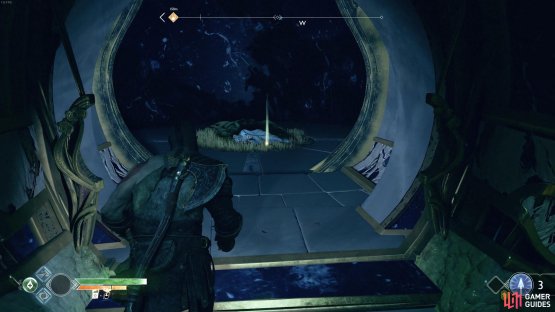
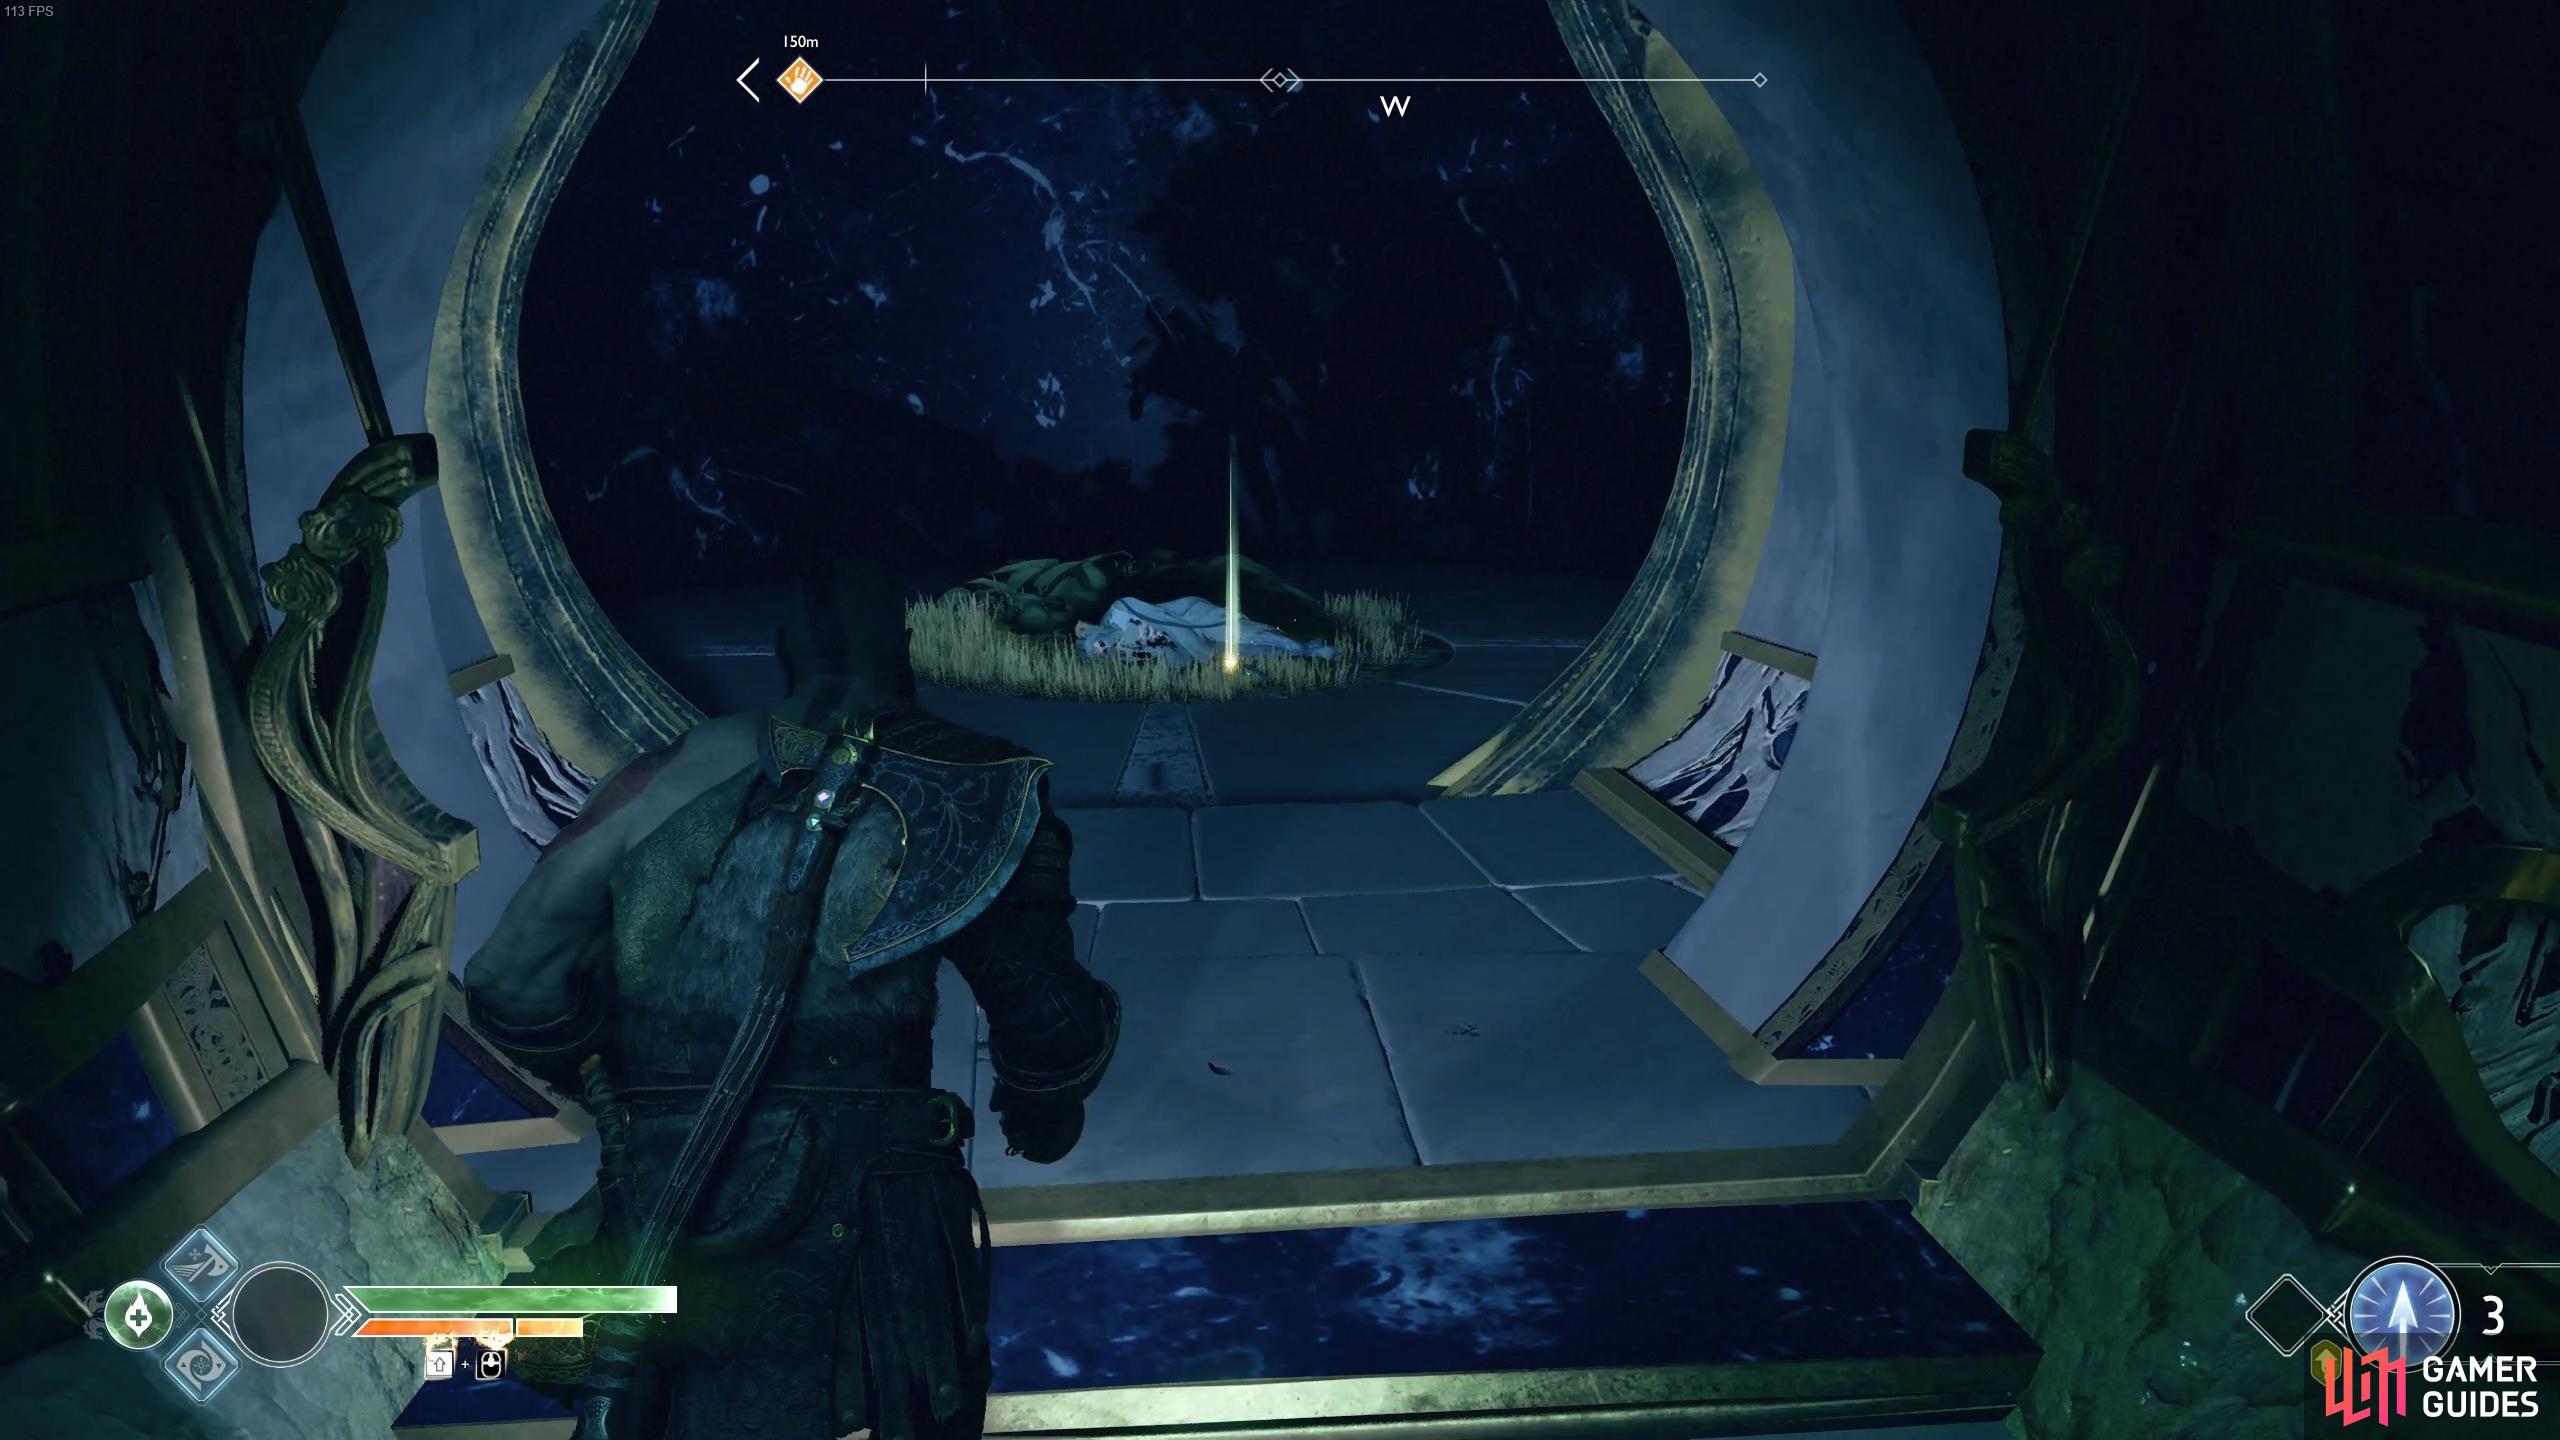
(1 of 2) Place the crystal in the center pedestal to access the coffin above.

Place the crystal in the center pedestal to access the coffin above. (left), A bridge of light will form to the chest once you shoot the pedestal with the crystal in it. (right)
Drop back down and take the crystal out of the pedestal and place it in the only other one, located to the east before lighting it up. Climb the left ledge and cross over to the other side via the light bridge and you’ll need to fight a small group of Gloom Nightmares, take this opportunity to test out the Light Arrows in battle.
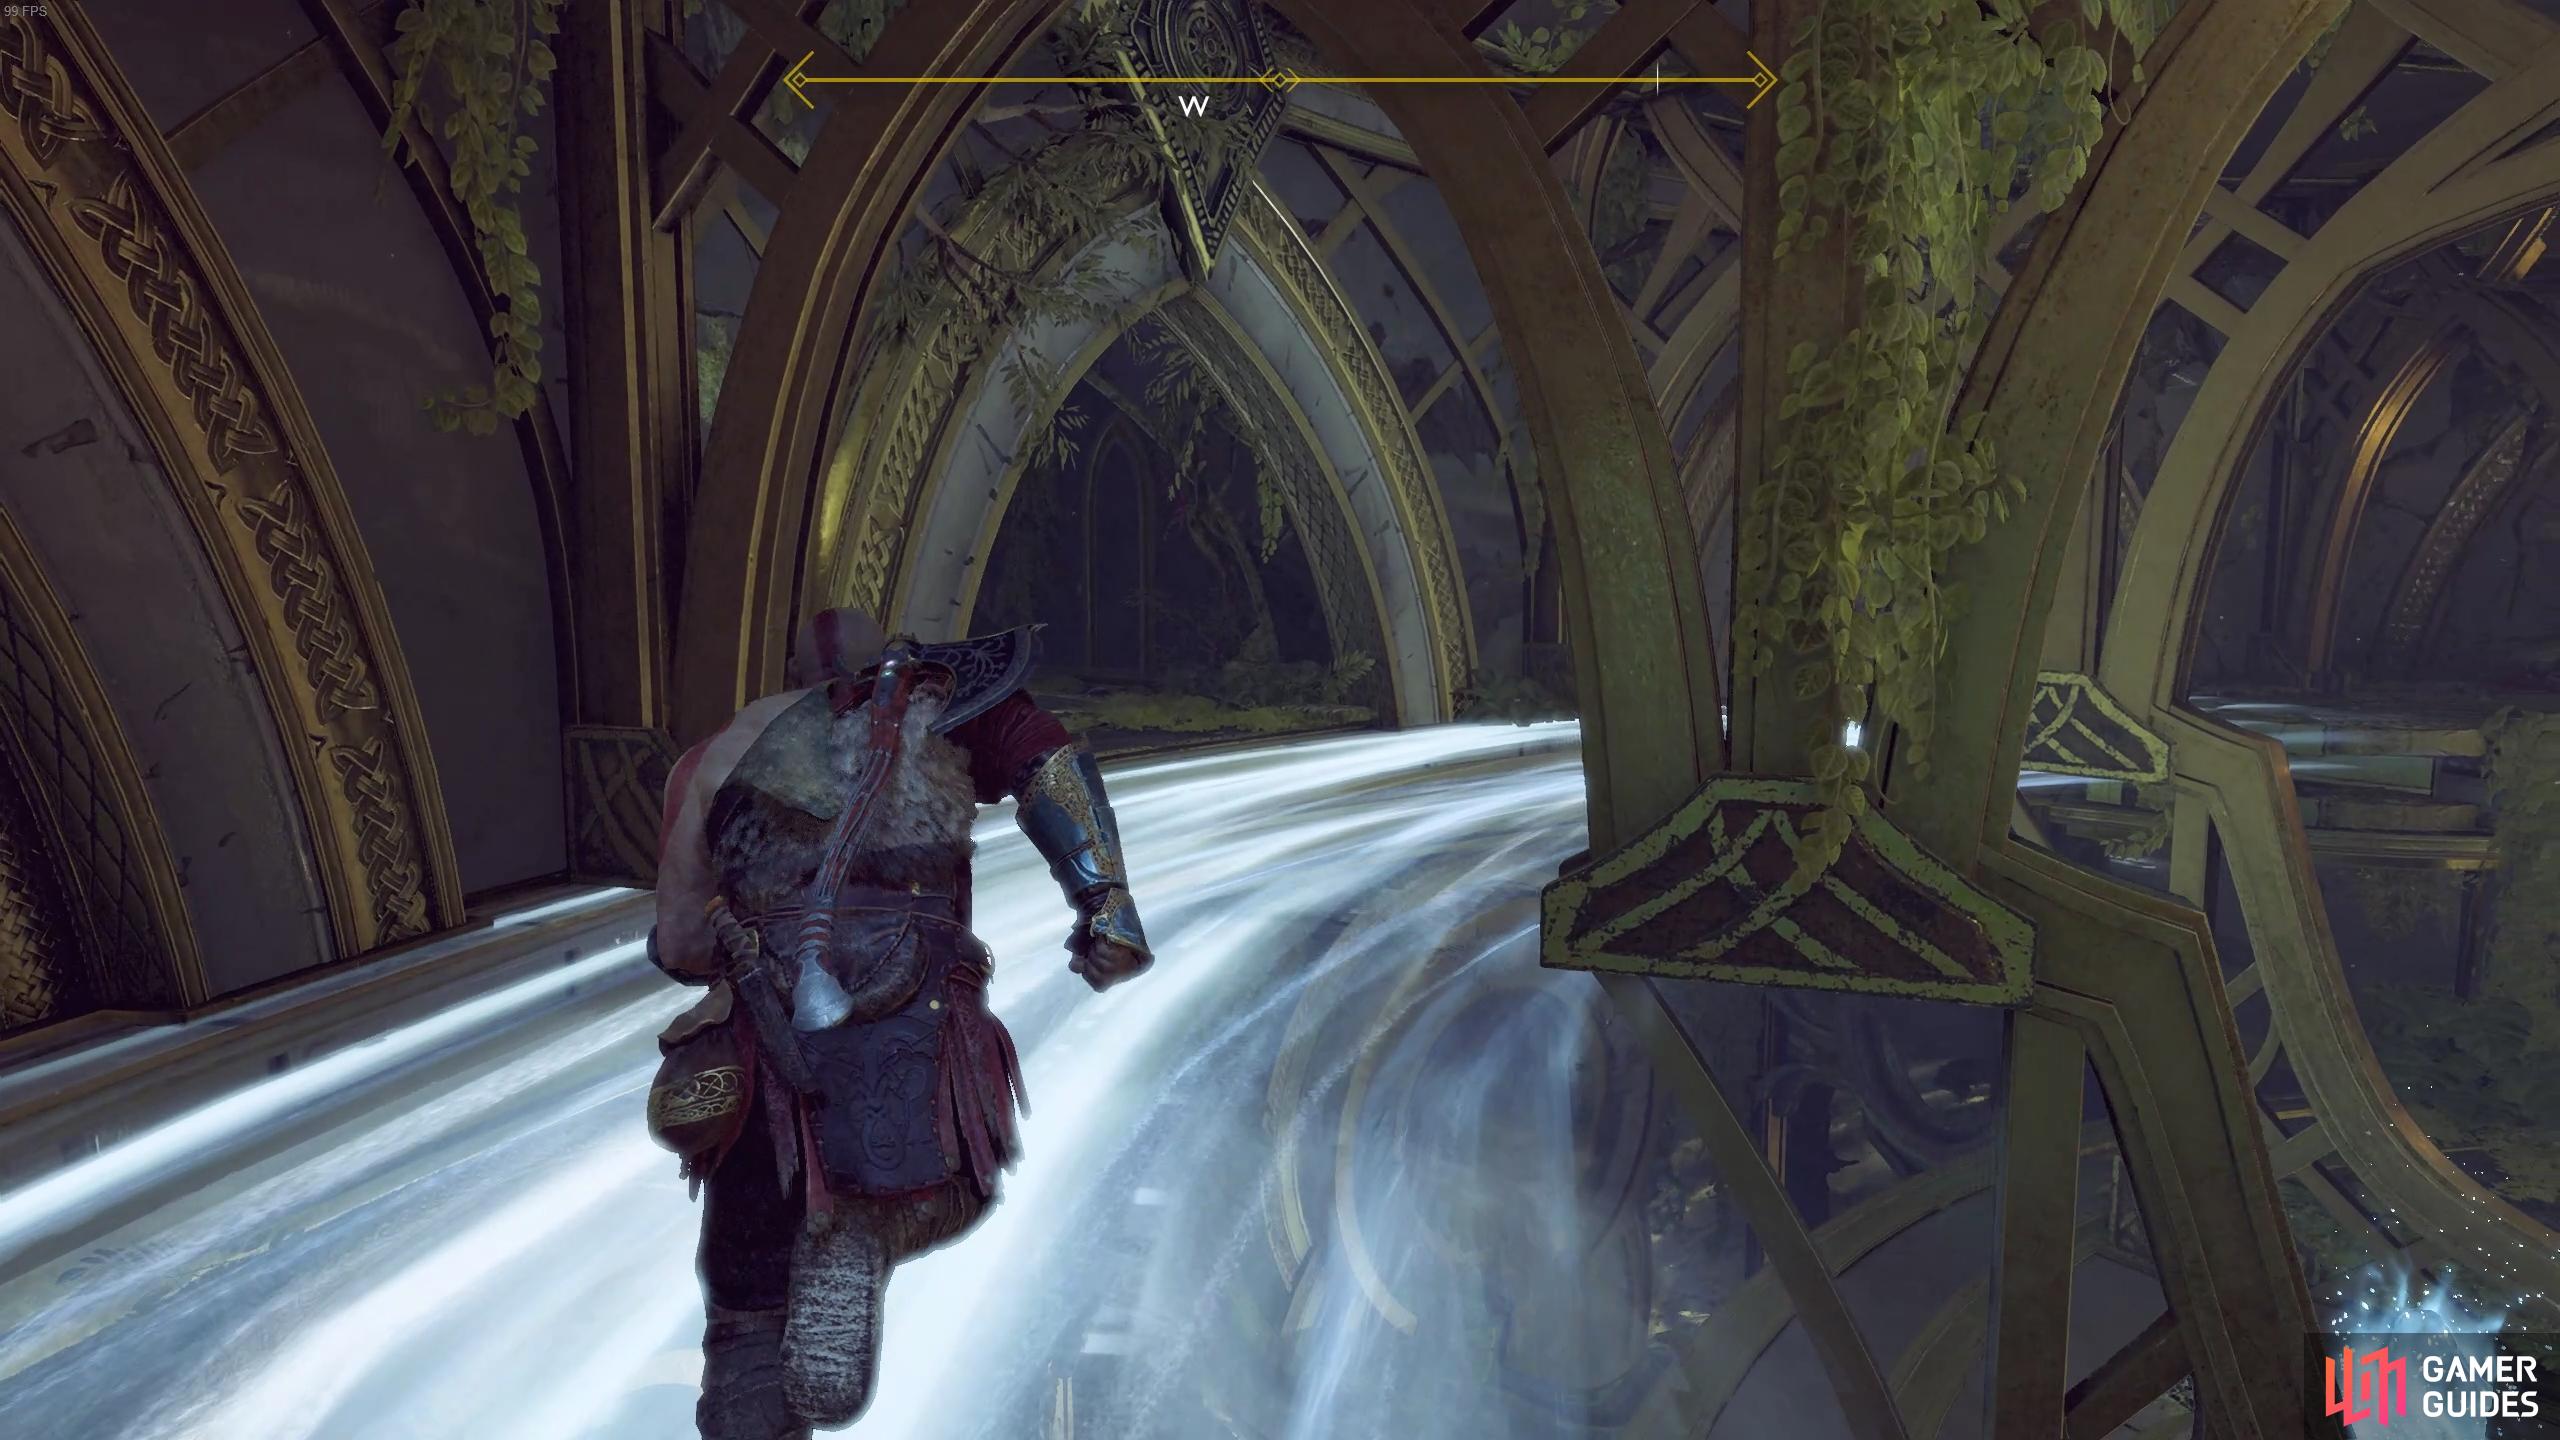
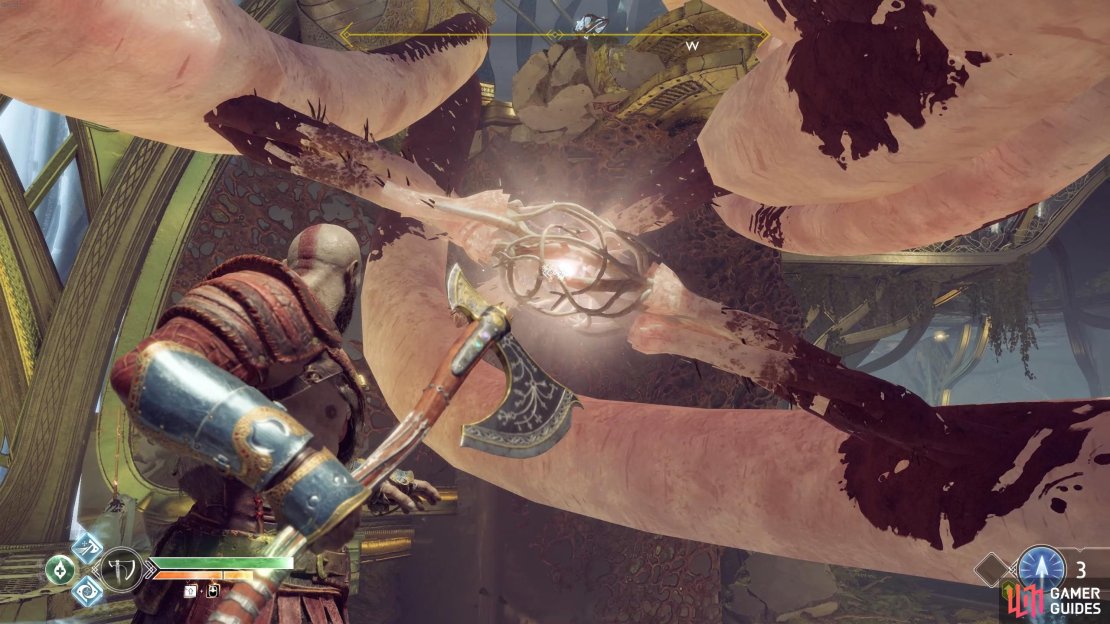
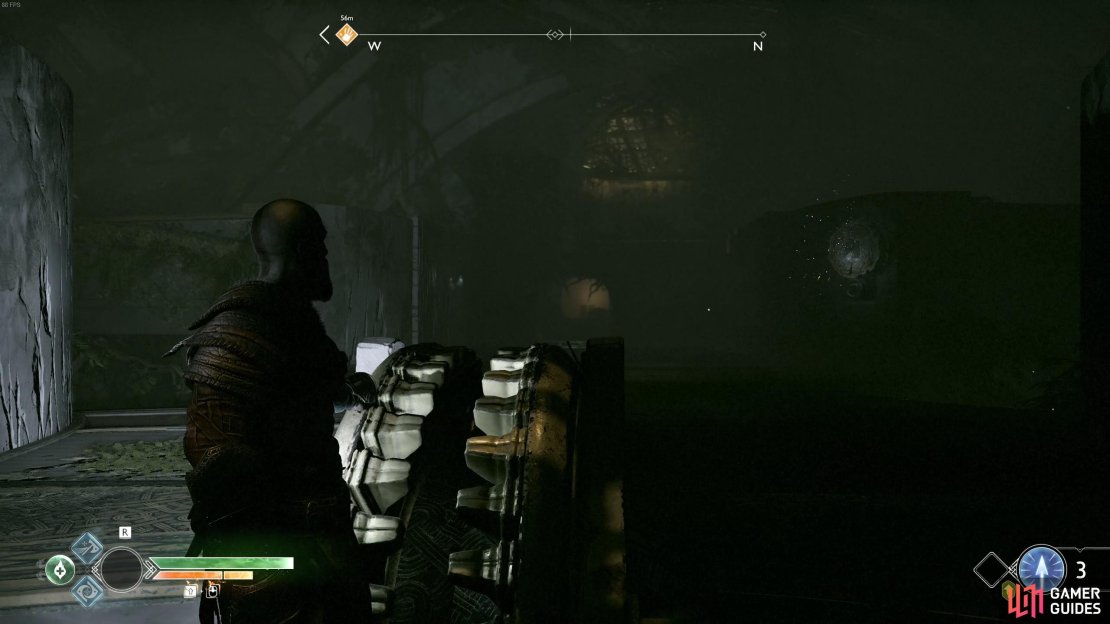
Move to the northern corner of this platform and you’ll spot a knot against the wall, stand in front of this looking out to the north and throw the axe through this knot and into the other one behind to untangle a Hacksilver chest. Head over to the other side and hit the Light Crystal across the other side to erect another bridge. As you pass over this bridge, two Dark Elves will attack you, kill them and pass along the path a little until you spot a Light Crystal below you. Take aim and light it, creating another bridge through the appendages and then step onto it to align the three knots and destroy them, untangling the Light Crystal from before.
(1 of 3) Stand here to line up the two knots blocking a Hacksilver chest.
Continue along this light bridge you’re standing on and destroy the knot on the wall in front, allowing you to scale the wall back to the top. A group of Dark Elves led by a Summoner attacks you, kill the summoner first and the rest should fall easily. Turn to face the now free Light Crystal and shoot it to erect a light bridge over to the other side. Two more Dark Elves attack once you reach the other side and once they’re dead, open the Legendary Chest to obtain the Strike of the Utgard Light Runic Attack gem.
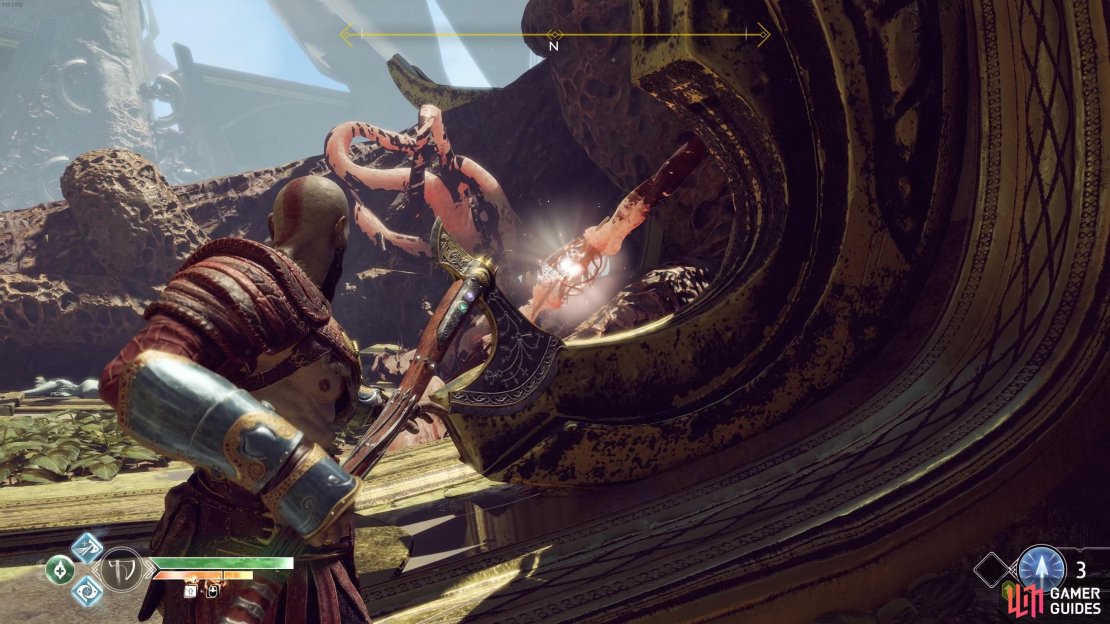
The door ahead is closed by a Light Crystal attached to a chain, throw the axe at the Runic disc in the center of the chain to destroy it, dropping the crystal to the ground and opening the door. Pick up the crystal as you pass through the door and insert it into the nearby pedestal before shooting it to light up the Lore Marker in front of you.

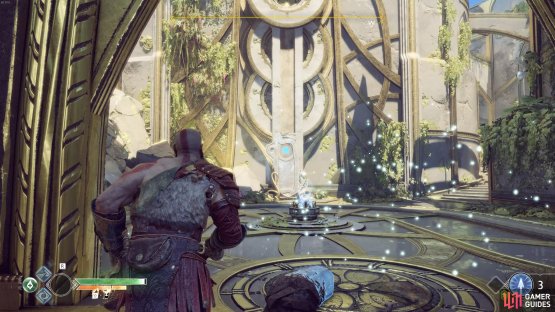
(1 of 2) Strike the runic disc to sever the chain and release the crystal.
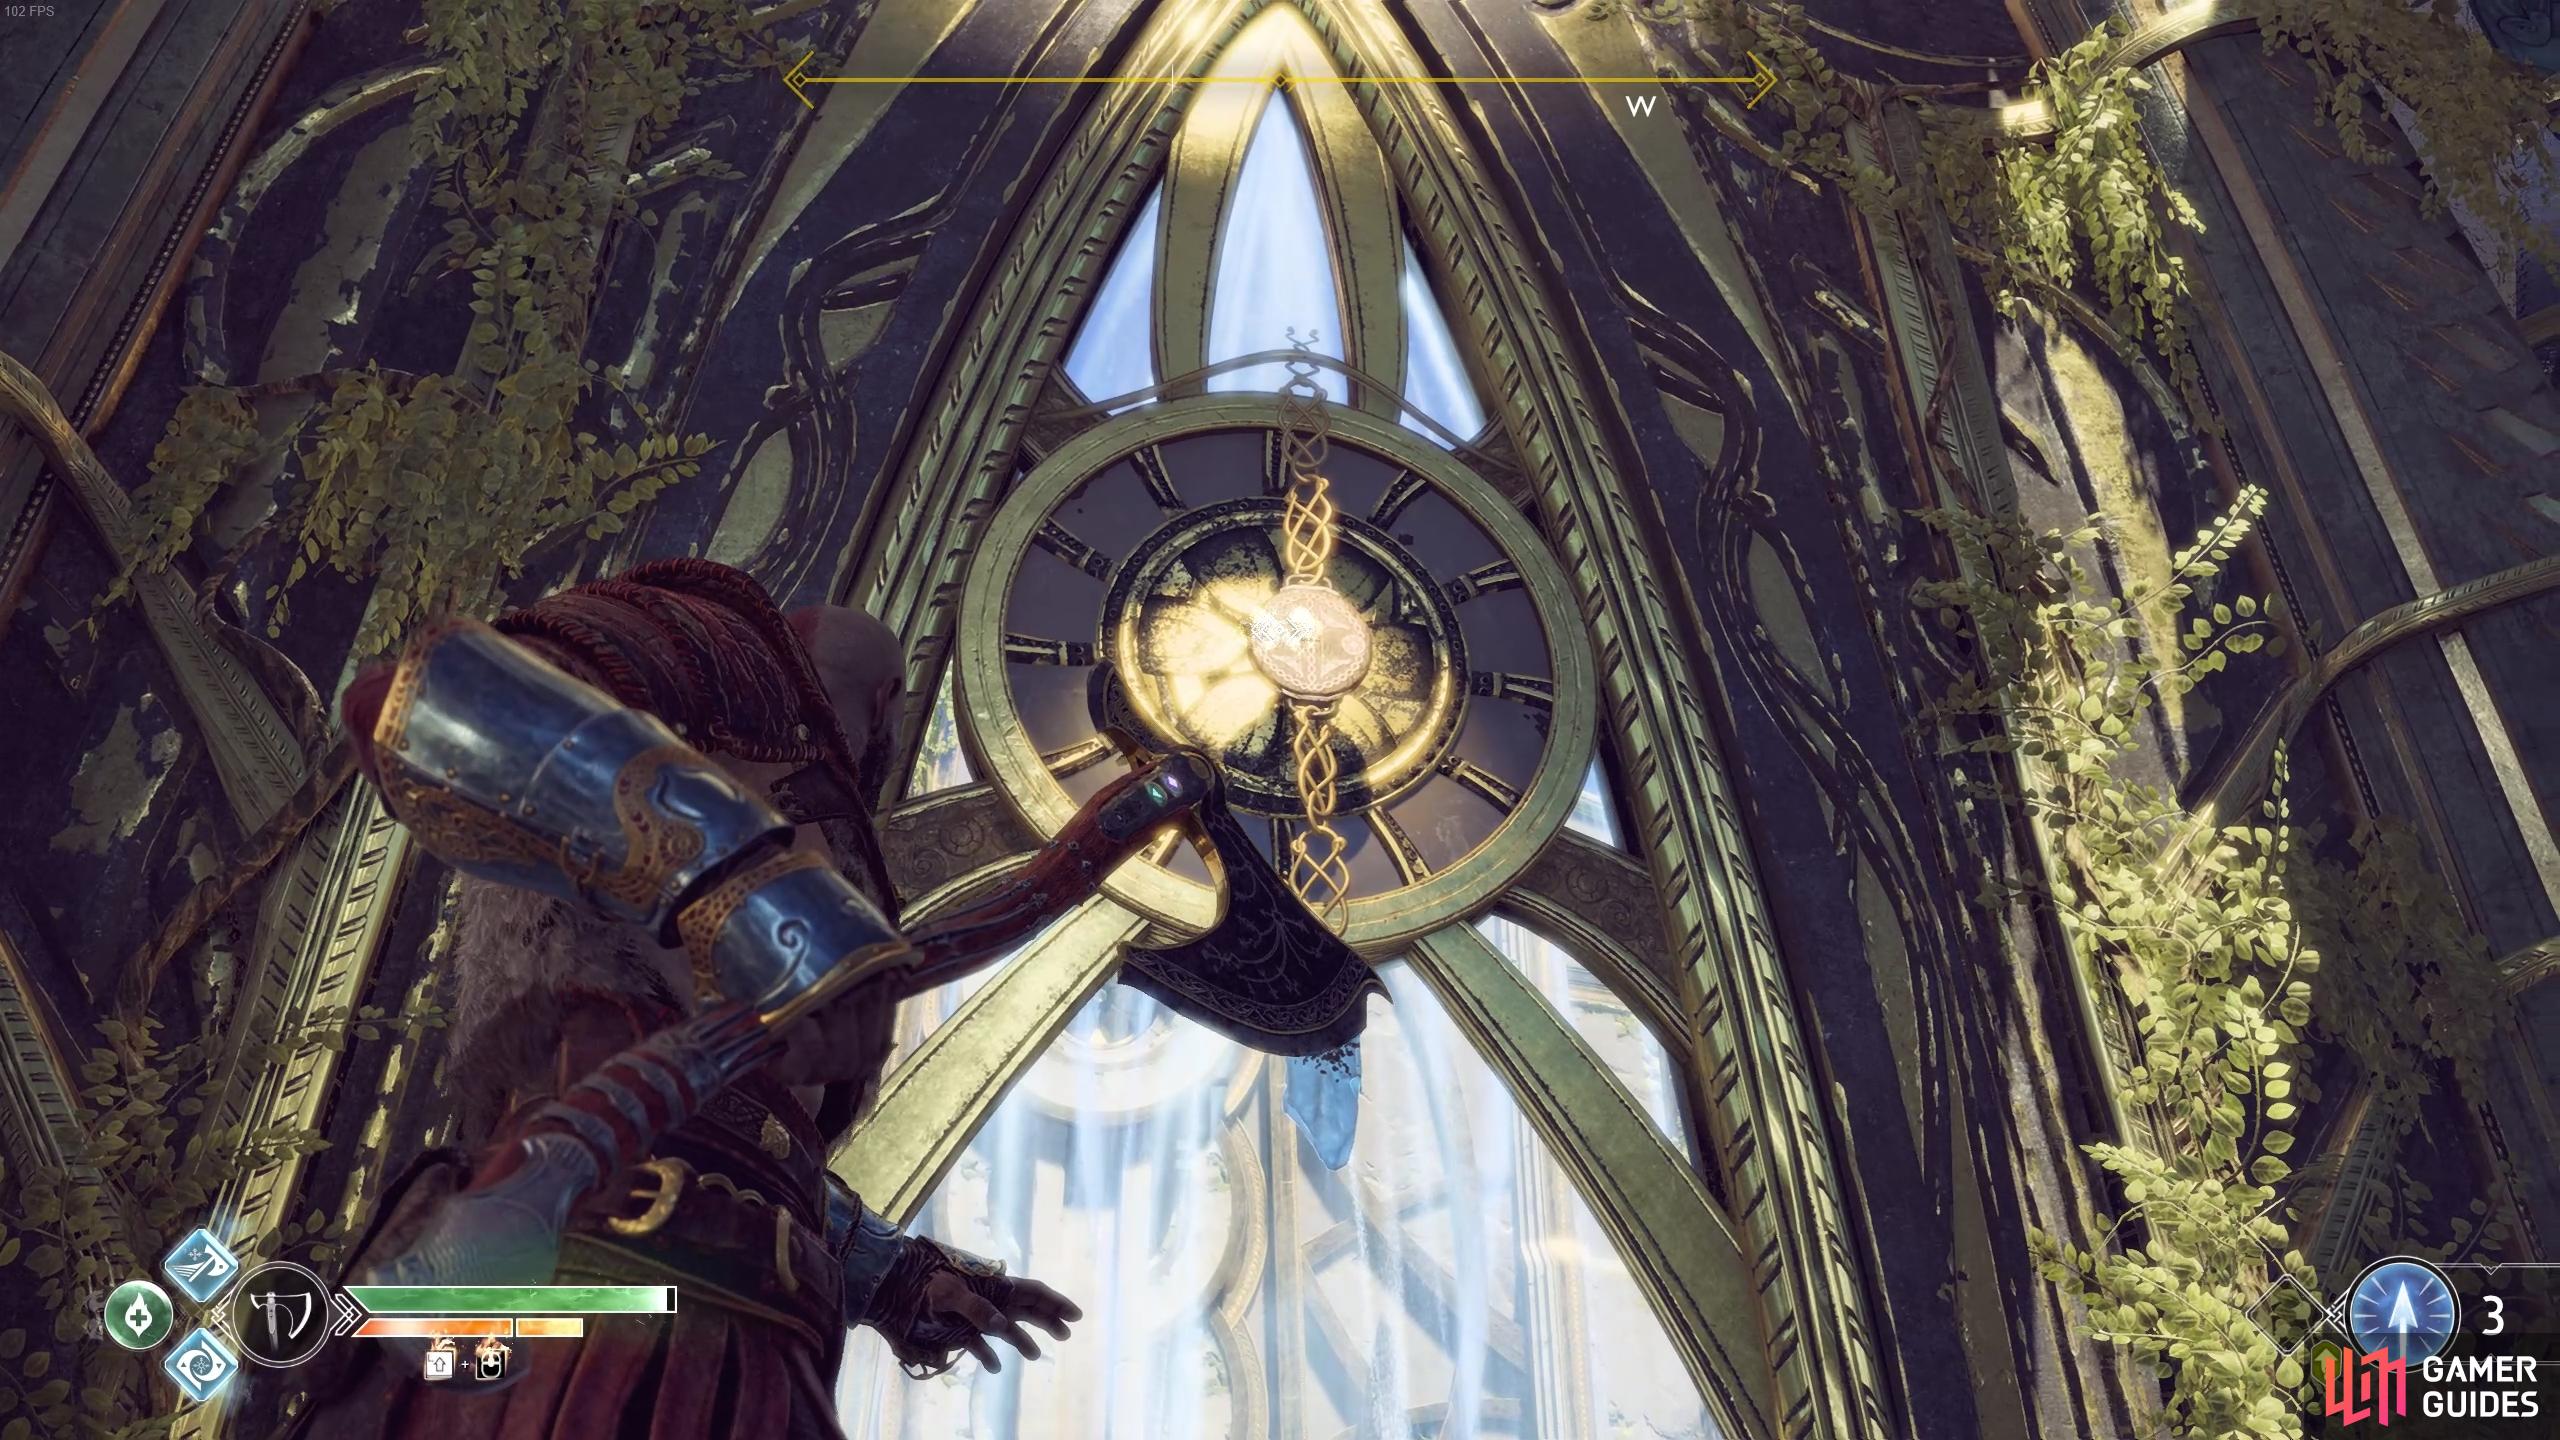

Strike the runic disc to sever the chain and release the crystal. (left), Place this in the nearby pedestal to light up the Lore Marker. (right)
Take the crystal out of the pedestal now and carry it with you up the stairs and insert it into the pedestal at the top. Climb up the ledges to the side and cross the light bridge to the end to find a corpse with a small sack of Hacksilver. You’ll have noticed you passed by a Nornir Chest, this is another timed bell puzzle. You’ll want to stand to the southeast of the room that houses the chest and look outside to spot a bell. In front of you is a window into the room with the Nornir Chest and you’ll be able to spot the other two bells, one of which is at the far end. The final bell can be seen through the same window by taking a step to your left and looking above the chest itself. Throw the axe at the bell behind you first before hitting the other two through the window to unlock the chest and obtain another Horn of Blood Mead.
If you’re struggling with the Nornir chest, see the gif below.
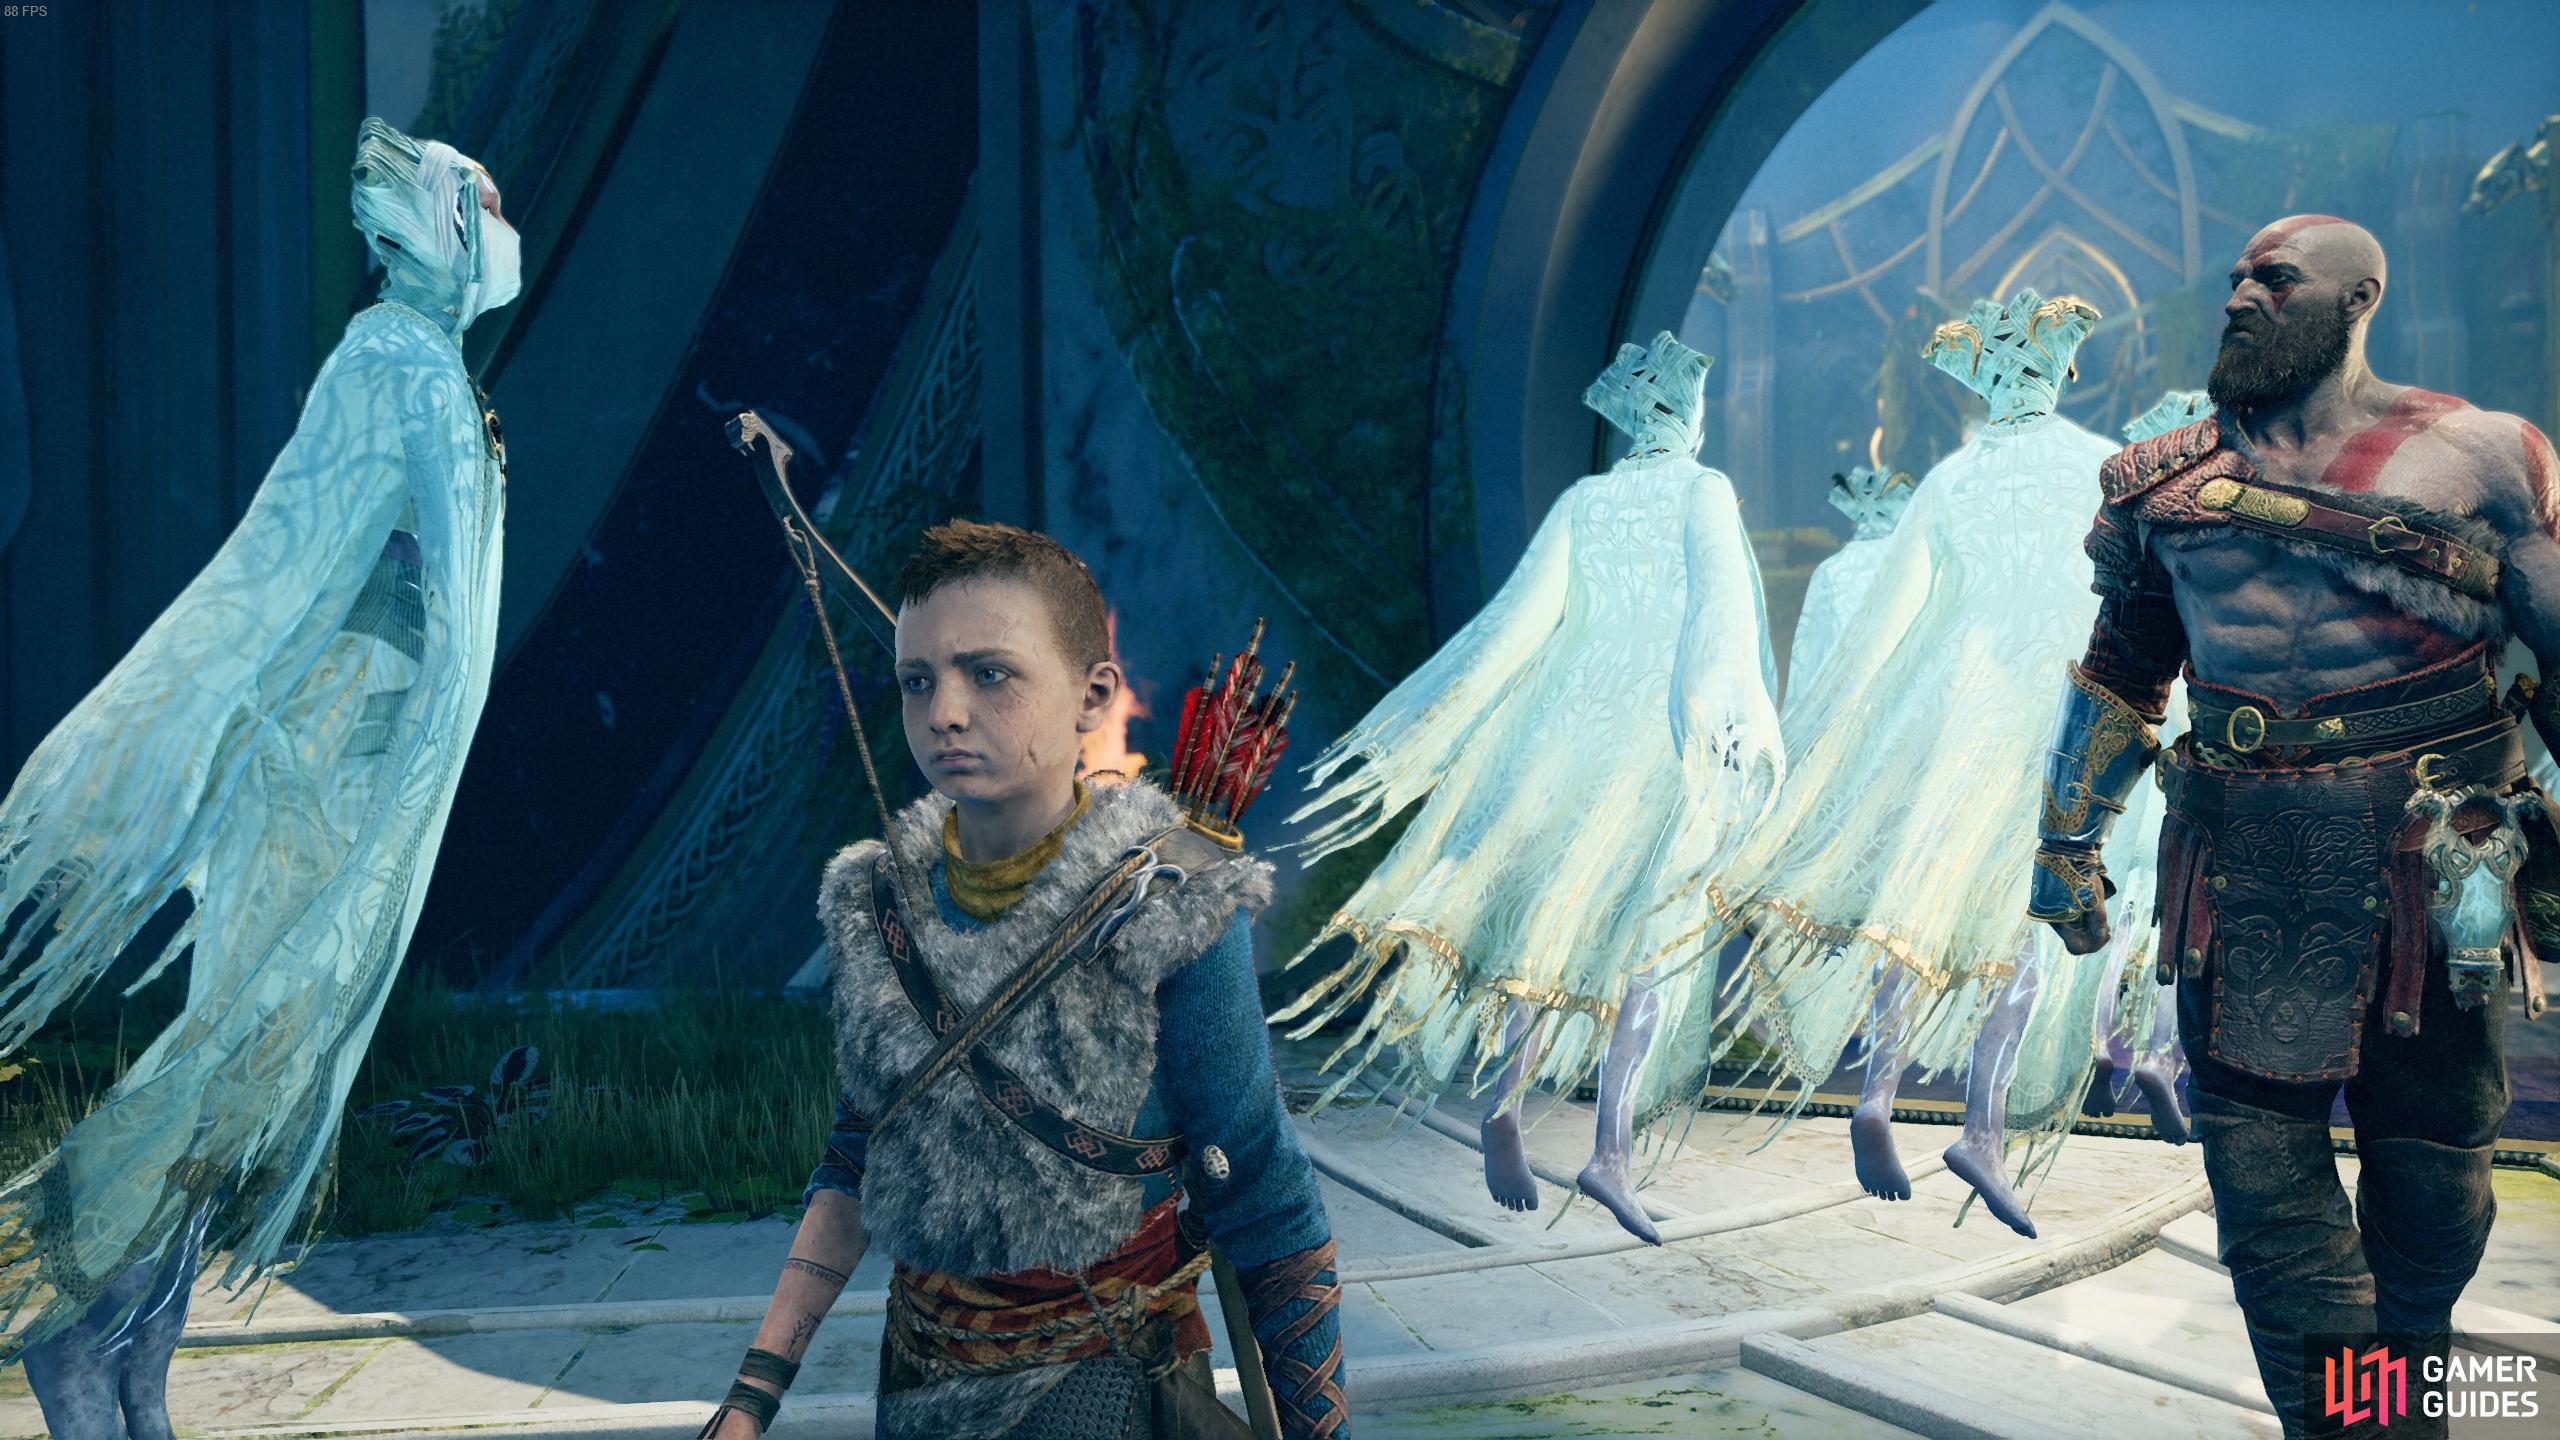
Step onto the light bridge now and move to the right a little before looking down to the platform ahead. You’ll see a group of knots that you’ve aligned, throw the axe and destroy them before dropping down. Pick the crystal up from the pedestal and install it in the new pedestal you just revealed before having Atreus light it up. Head behind the wall to boost Atreus up and have him head to the sand bowl by the door, you’ll need to look at the rune above the door to give Atreus the words he needs. With the door unlocked, open it to allow the Light Elves to return to their sanctuary, thereby unlocking the Feels Like Home achievement.
Stand on the light bridge to align the knots and free the next pedestal.
Return to the boat
Take the path back down to Sindri and speak with him to hear the tale of Fafnir before requesting that you fetch him a whetstone from his storeroom and begin the [Fafnir’s Hoard] Favor. Purchase anything else you may need from him and then proceed back across the light bridge as the Horned Dark Elf makes another appearance. Unfortunately the boat isn’t here so take the nearby lift back down to the trench below.
As you step off the lift, you’ll notice that the area is engulfed in darkness and the previously locked cells are now open. In this first room you’ll find a cell with a Hacksilver chest and another with the next Artefact. Once you’re ready, open the door the south and you’ll see the roof of the trench closing, leaving the entire area in darkness. Step forward and two Poison Revenants will attack, remember to make use of Atreus’ arrows to pin them down and then strike with your fists to stun them and kill them with a Stun Grab.

(1 of 2) Look to the right once you exit the lift to find this Artefact.
Look to the right once you exit the lift to find this Artefact. (left), Try to keep the two Revenants apart. (right)
Turn to the southeast and head towards the door, killing the Heavy Draugr in the process before shooting the Light Crystal across the gap and take the bridge over to the next room. You’ll spot a Light Crystal hanging overhead, look at the top of the chain to find a runic disc you can shoot to drop it to the ground. This will, however, open the light locked cells in front of you and you’ll have to deal with a group of Draugr. You’ll find the next Artefact in the middle cell, pick it up and then head over to the crystal on the floor, picking it up in the process.
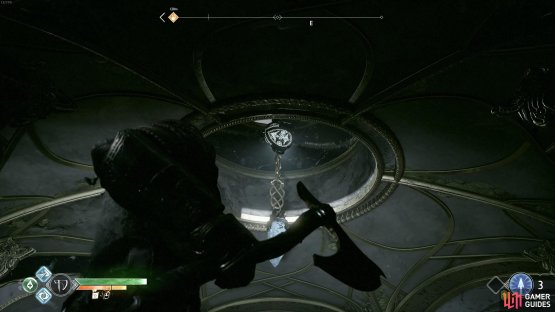
(1 of 2) Look into the air to find a runic disc to strike.

Look into the air to find a runic disc to strike. (left), The next Artefact is in one of the open cells. (right)
Head over to the room directly opposite of this one, to the northwest, and drop the crystal to shoot another Light Crystal across the gap. Pick the crystal back up and head into the next room, killing the Draugr and placing it into the pedestal before shooting it.
You’ll light up the runes around you and there’s a Nornir door in front of you with two runes on the left of the door and two to the right. You’ll need to match the runes on the door by hitting the discs to the left and right of you but you’ll need to be quick as these are on a timer, resetting to their original positions if you’re not quick enough. Begin by hitting both discs to your left three times to the right, the first disc to the right of the door right twice before hitting the final disc to the right three times. This will open the door and inside you’ll find a coffin containing Runic Scaled Spaulders.
If you’re struggling with the puzzle, see the gif below.
Pick up the crystal on the pedestal one final time and cross over the bridge to reach the center platform once more. Look to your right to see another pedestal on a lower path, place the crystal in here to create another light bridge to the other side once shot.
Head over to the wheel on the side and lower the platform to the bottom before throwing the axe at the runic gear to lock it in place. Proceed forward and into the cells beyond to find them now open and the final Artefact on a corpse within one of them. Return through the previous passageway and recall the axe to raise the platform back to the top.
(1 of 3) Spin the wheel to reach the passageway that you encountered earlier.
You can now proceed toward the Sand Bowl in front of you, checking the right room’s cells to find a small sack of Hacksilver. Before you interact with the Sand Bowl, be sure that you have all three Fragmented Heart of Alfheim enchantments slotted into your gear. Have Atreus inspect the Sand Bowl, the Horned Dark Elf finally shows his face once more and this time he’s here for revenge.
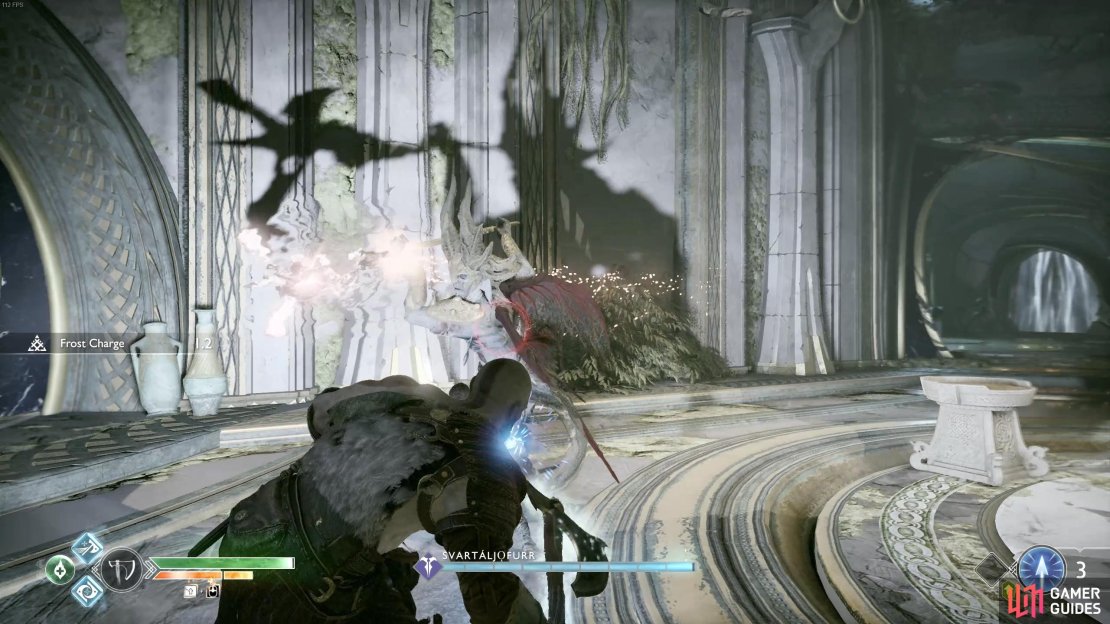
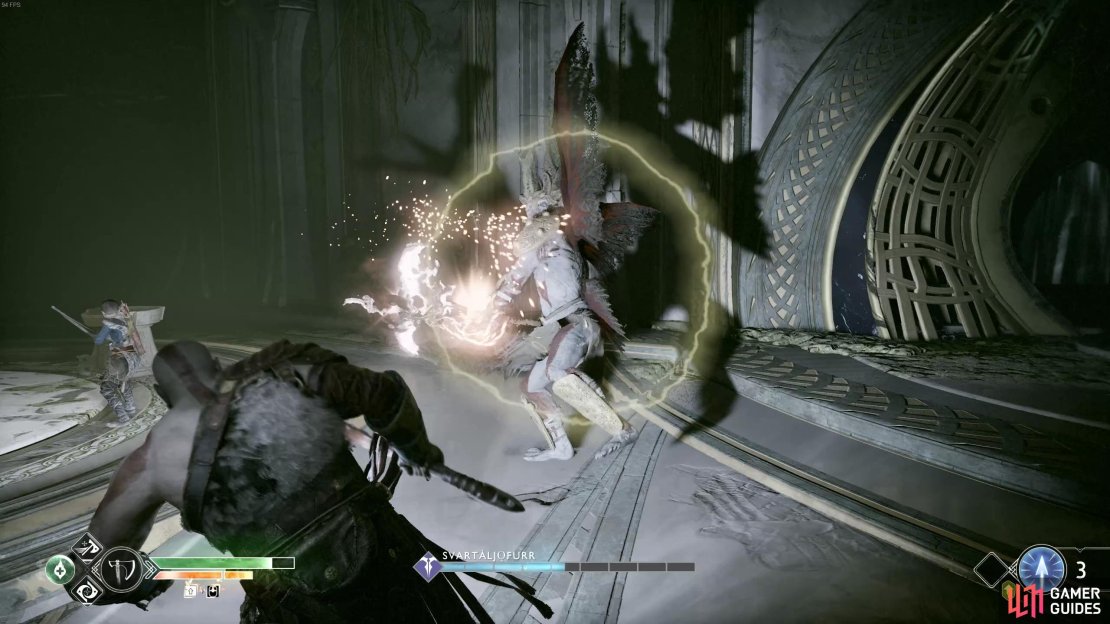
Svartáljǫfurr - Dark Elf King Boss Fight
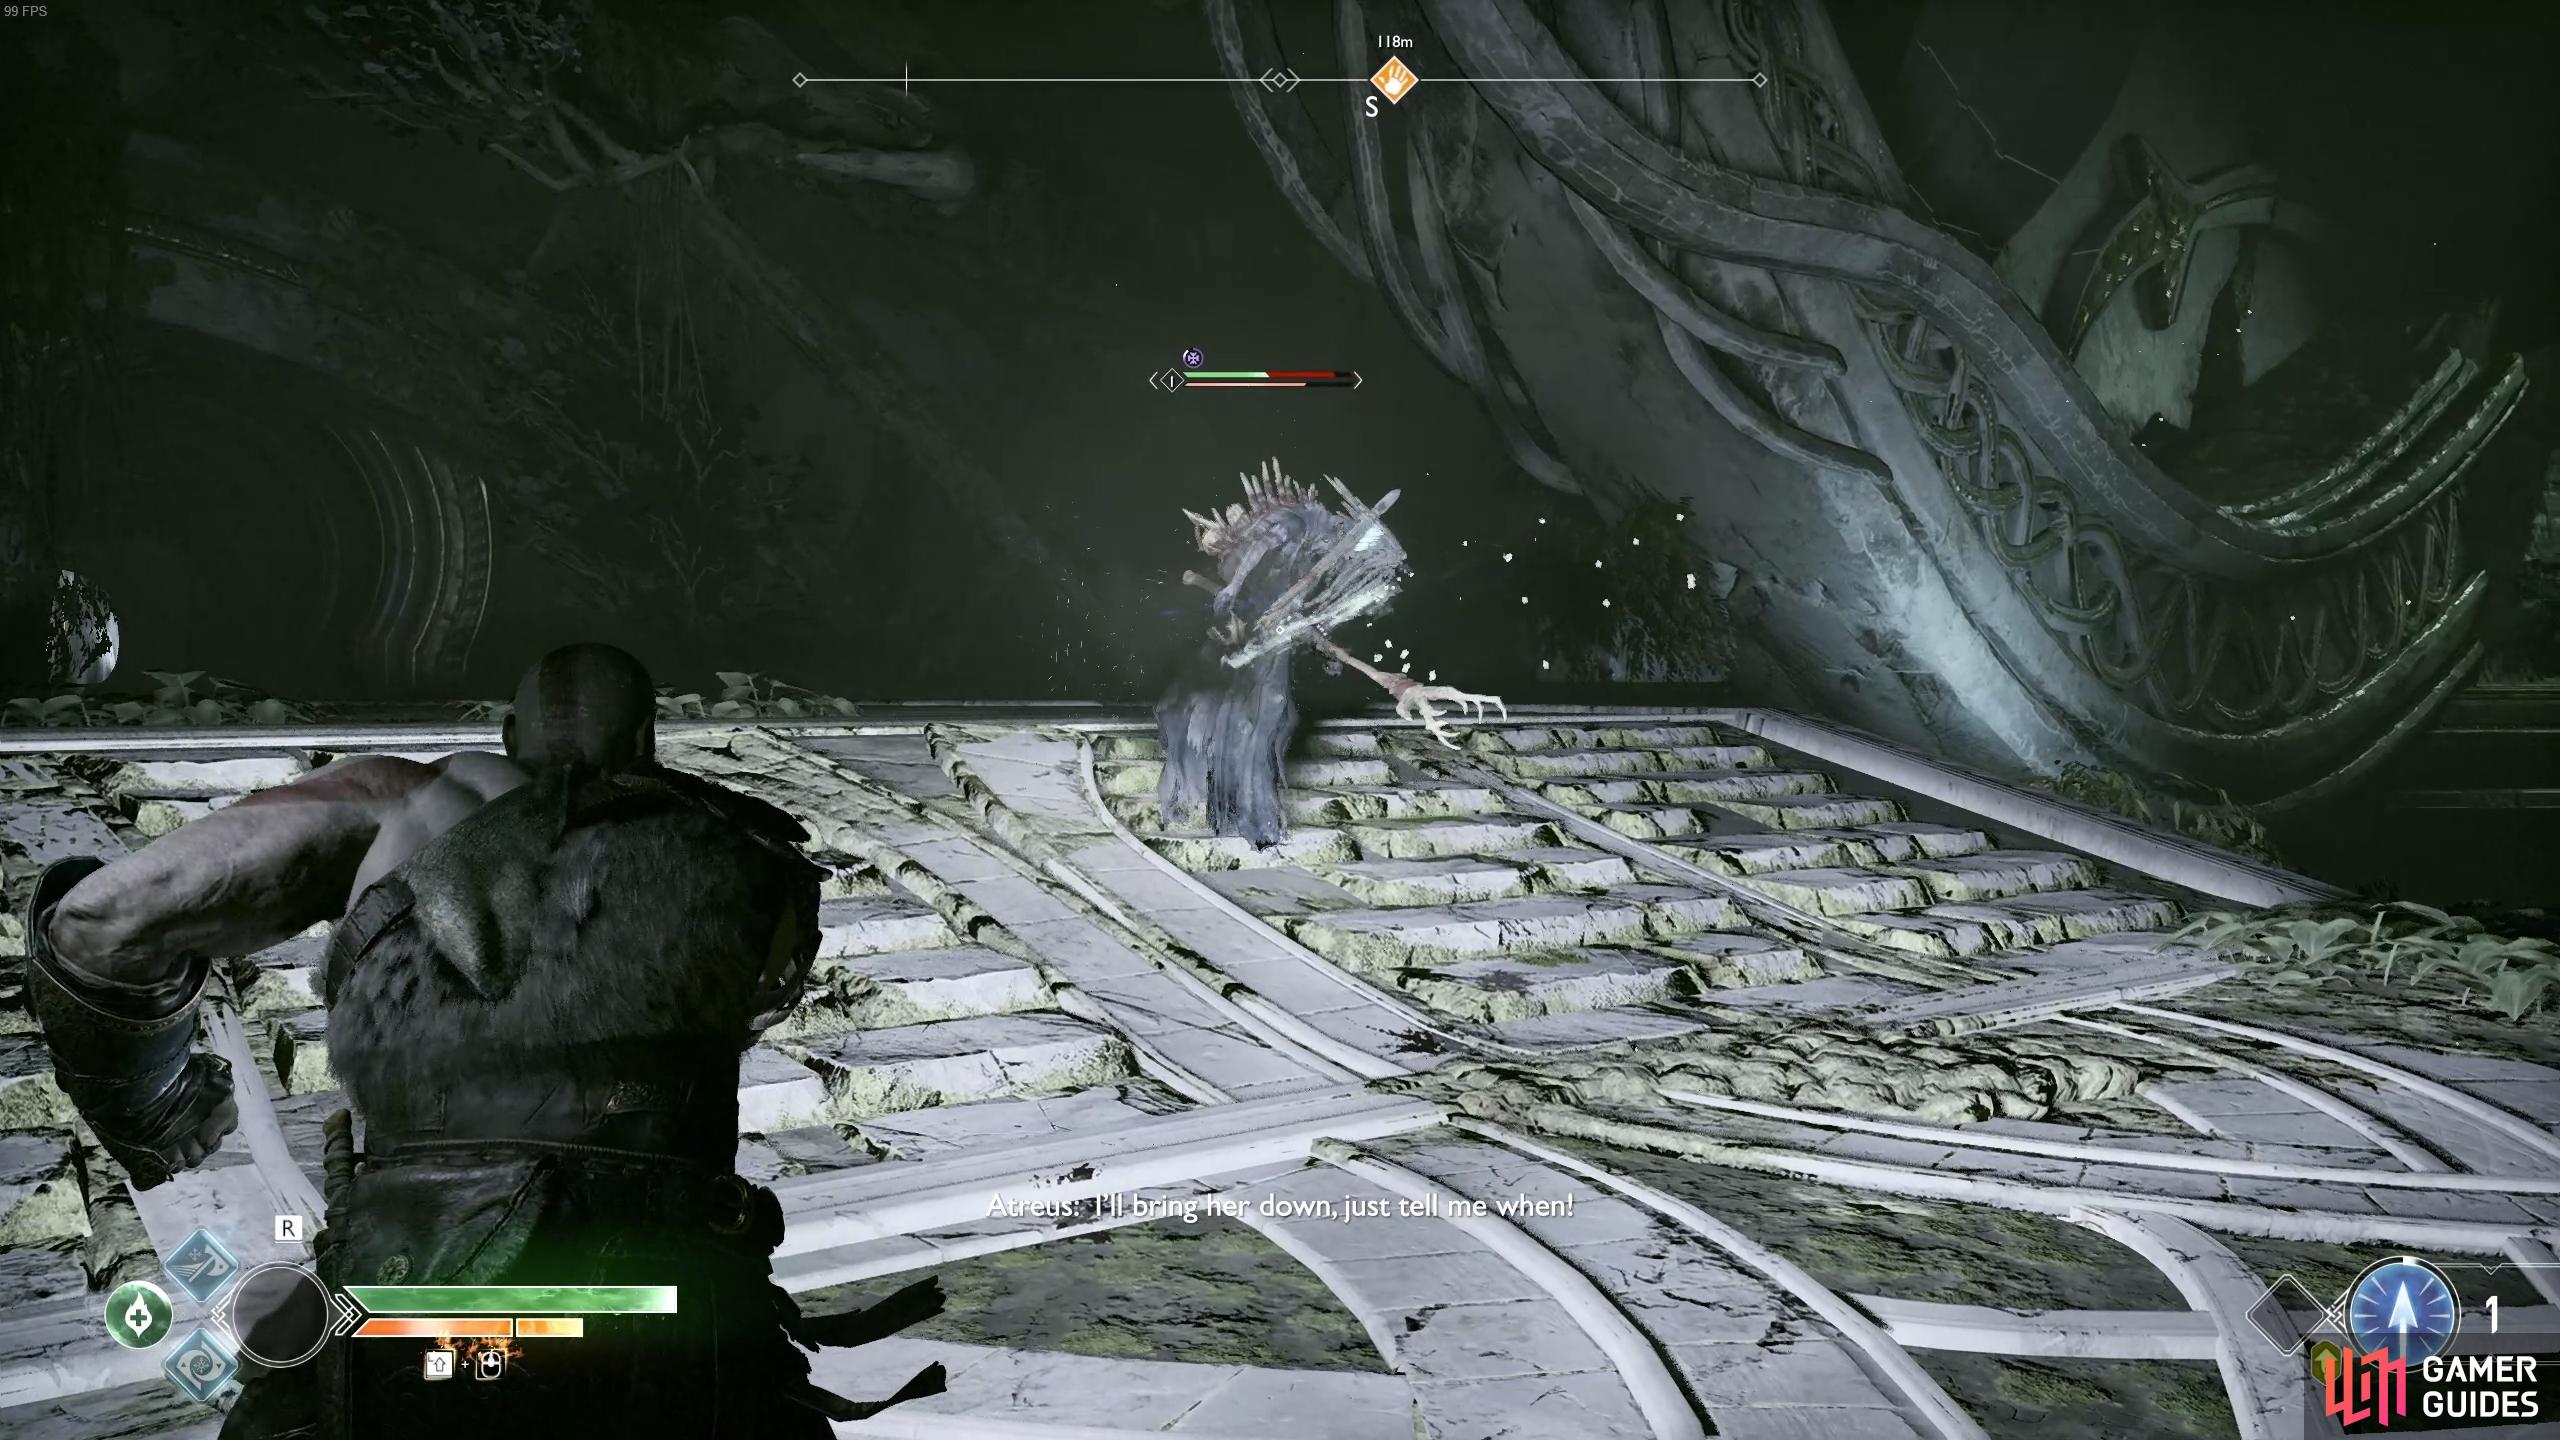
The Dark Elf King is a lot more formidable than his common soldiers and has a deadly assortment of skills to use against you. You’ll notice that he’s a lot quicker than regular Dark Elves, darting all over the place before closing in with his trident. His basic melee attacks hit hard and unless you evade or Parry, will break your guard leaving you open to the follow up attack and cause blindness at the same time.
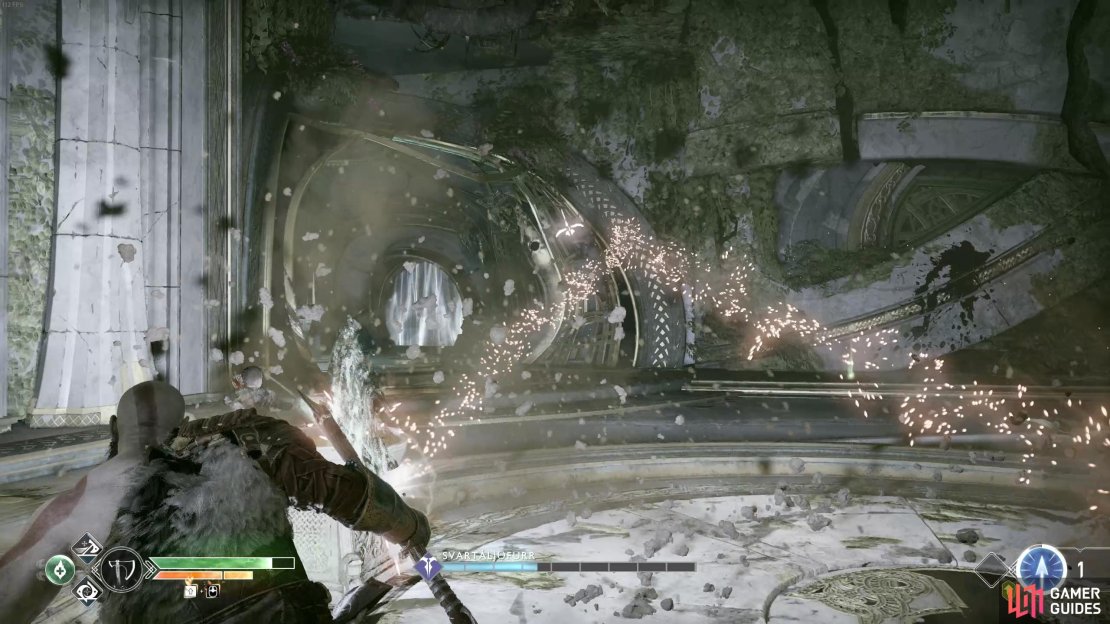
Once you deplete some of his health, he’ll take to shooting three explosives at you that, once detonated, cause blindness making it even harder to spot where he flies around to you. If you see these explosives, dodge away from them at all costs, pay attention to the arrows around Kratos at all times. Finally, near death, the Dark Elf will add a dive attack to his arsenal, this is easy to spot and can be evaded with a dodge roll, leaving him open for a counter as he recovers.
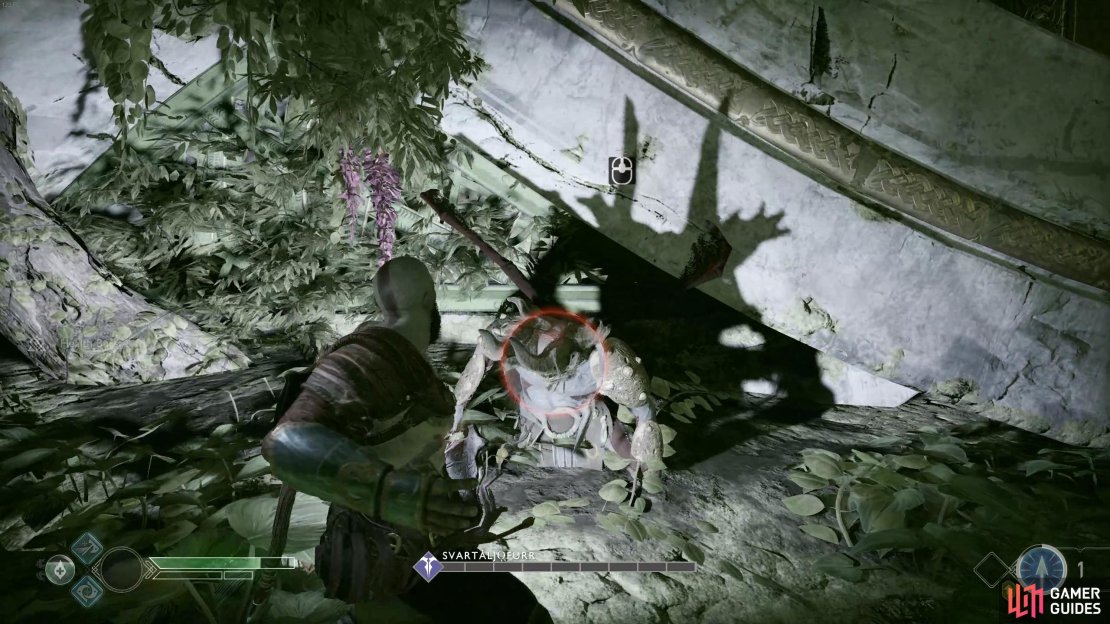
You’ll need to be patient and wait for openings, going too aggressive will lead to an early grave. Wait for his melee attacks and either evade them or Parry to create an opening for yourself. This is a great time to use an Ivaldi’s Anvil should it be off Cooldown. Remember that Charge of the White Bear has invincibility frames and if you think you’re in a position that you can’t avoid damage, use the skill to get yourself out of danger and cause some damage at the same time. Atreus’ Light Arrows can stagger him, creating opportunities to attack too and don’t be afraid to use Spartan Rage should you need it.
The trickiest part of this battle is the explosives, they can be difficult to evade and if you’re hit by them, you’ll be blinded. In this situation go on the defensive and keep your shield up, trying to evade what attacks you can while waiting for your vision to return. Keep up the assault and use your runic attacks once the opportunity arises and you’ll defeat Svartáljǫfurr once and for all with a Stun Grab.
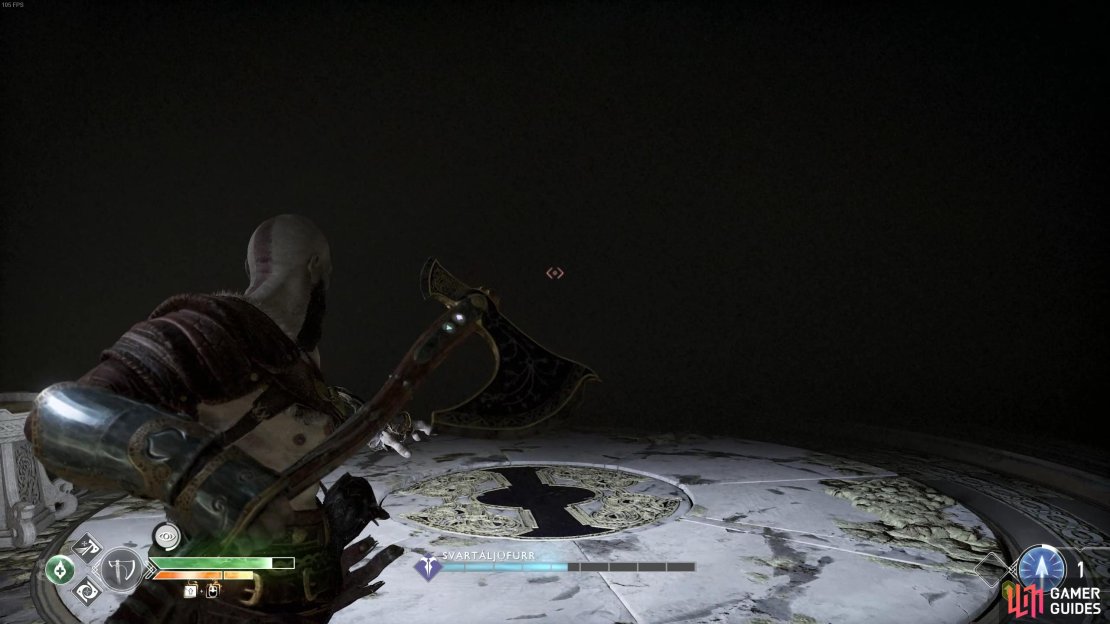
Loot the spoils from Svartáljǫfurr upon his death to receive and Enchantment and your first Runic Summon Wrath of the Wolf.
You can remove any of the Fragmented Heart of Alfheims from your sockets for more useful Enchantments now that the primary threat is defeated here, you should have got a useful one from Svartáljǫfurr himself. Once you’re ready, have Atreus use the Sand Bowl to leave the trench and return to the surface.
Return to Týr’s Temple
Before we head back to Týr’s Temple there’s one last thing to do in Alfheim for now. Take the boat back to Light Elf Shore to the northwest and dock the boat at the beach. Head inside the cave to the left of the beach and look on the ground to see three Light Crystals. Shoot all three of these to materialize a Realm Tear in the center.
You’ll have to defeat two Level 4 Dual Wield Draugrs, a fearsome duo indeed. Make use of Atreus’ new Runic Summon and then attempt to push the Draugrs off the side of the cliff, Charge of the White Bear is excellent for this once it’s upgraded to Level 3. If you used the Summon in battle, you’ll also unlock a new Labor to work on. Close the Realm Tear once the enemies are defeated to obtain Pure Essence of Realms, Dust of Realms and 1500 Hacksilver.

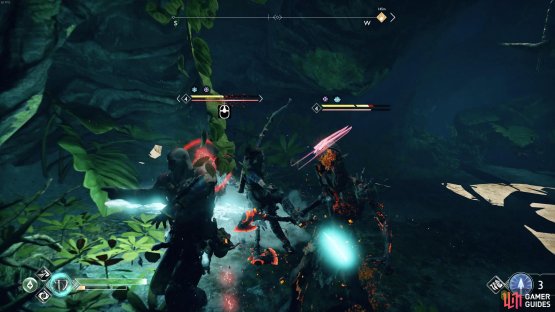
(1 of 2) Light the crystals on the ground to materialize the Realm Tear.

Light the crystals on the ground to materialize the Realm Tear. (left), Try to stun the Draugr as soon as possible to finish them off quickly. (right)
There’s nothing left to do here for now so return to the boat and row back through the river pass and dock on the beach near Sindri’s shop. Follow the path back across the bridge and enter the Realm Travel Room once more. Head to the center platform and use the Bifröst to return to Midgard.
As you exit the Realm Travel Room, Brok will add another Mark of the Dwarves to your Leviathan Axe, increasing it’s Runic some more. Brok has also added more wares to his shop, let’s take a look at the options available to you.
Your first course of action should be to look at the new armor available for Atreus, there’s an upgrade for whatever armor you have him wearing at the moment, in the case of this walkthrough, the Superior Runic Vestment should be your choice. Brok also has the Defender’s set and the Metal-Plated set, upgrades on the Defense and Strength based sets. Purchase the Metal-Plated Shoulder Guard and Metal-Plated Waist Guard remembering to sell your Artefacts and unwanted armor for more Hacksilver should you need it. Don’t forget to remove the old Enchantments from your old armor before you sell it and reattach them to the new pieces of armor.
Go back through the tower
Although you have Sindri’s request to handle, forego this for now as you’ll be doing a lot more side content shortly and it’s better to handle all of it at that point. Leave Brok’s Shop and head across the bridge to the tower at the back, a group of Speed Draugrs await here, utilize your area of effect abilities from your Runic Summon and Ivaldi’s Anvil to make quick work of these before proceeding through the doors.
Return to the mountain
In this first room, you can now hit the two Light Crystals with the Light Arrows, doing this will cause a Realm Tear to materialize. Do not open this at this point, the enemies are a pair of Poison Revenants, one Level 6 and another Level 7, these will kill you in one hit at this stage of your journey.
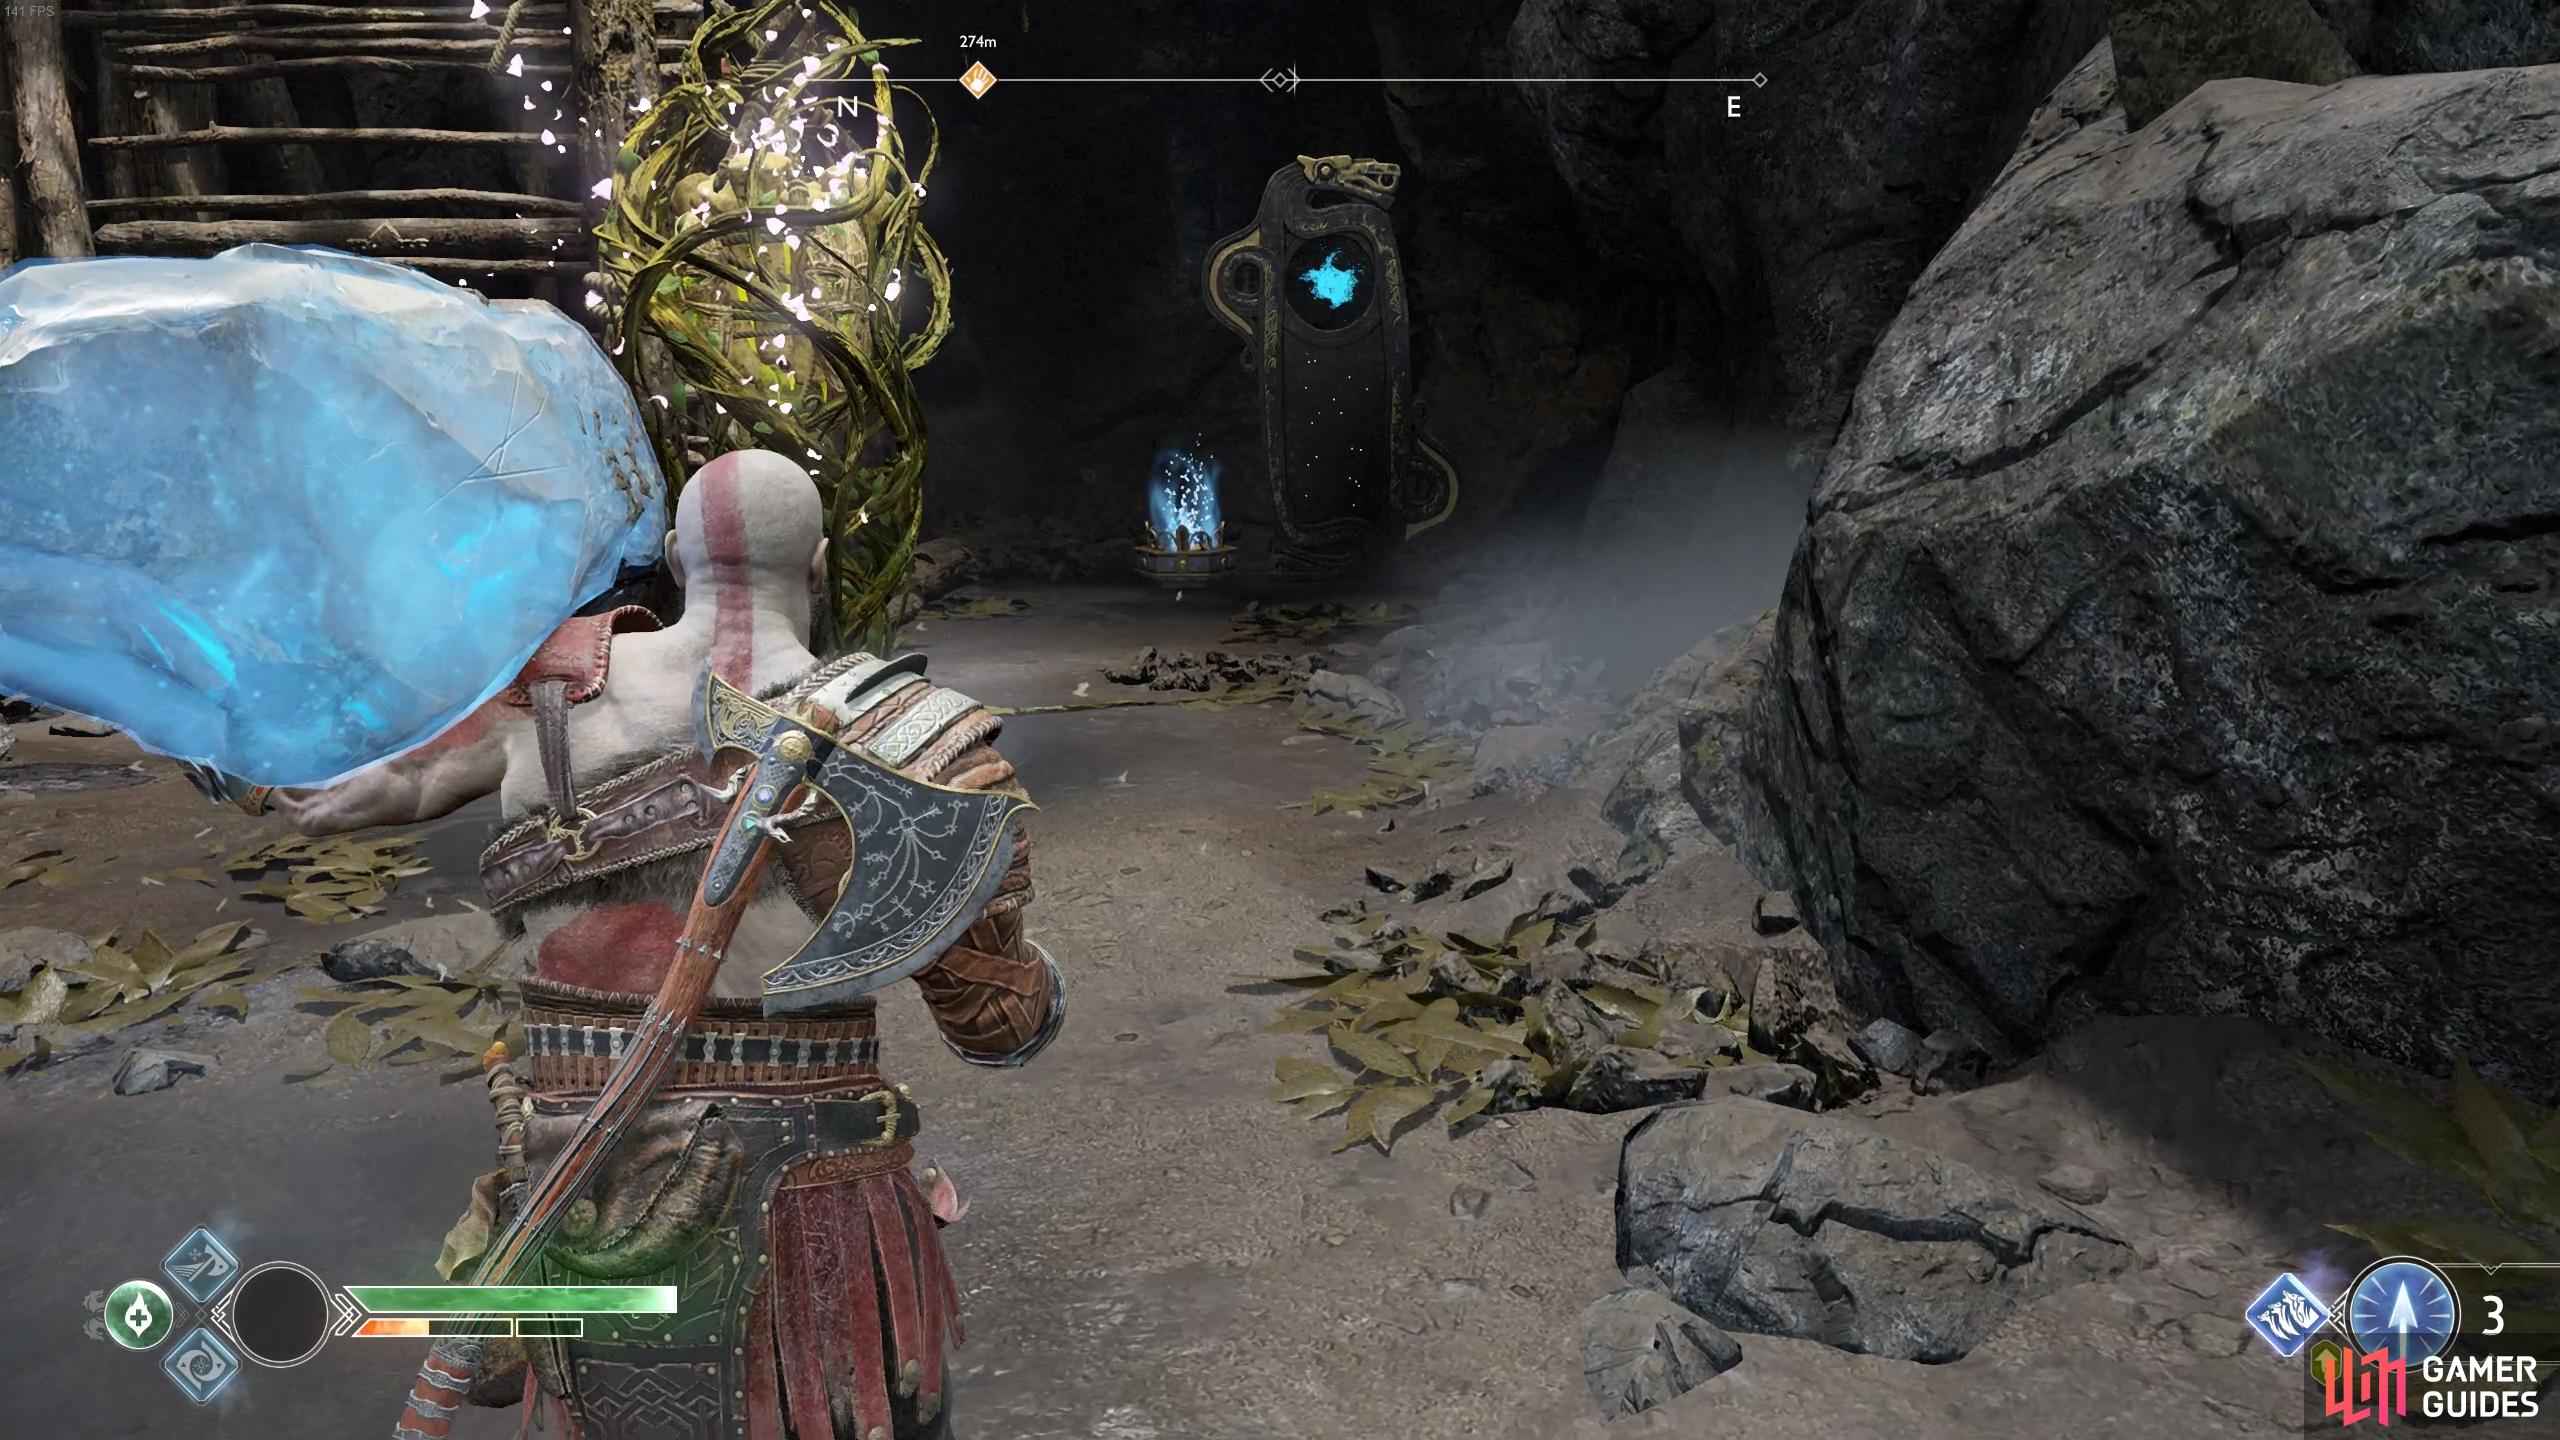
Place the crystal in the room on the pedestal to reveal the lore.
Instead, head back through the cave until you drop down a ledge. Turn to face the way you dropped to find a Light Crystal on the ground, pick it up and place it in the nearby pedestal, shooting it to light up the Lore Marker. You can now climb the wooden wall to the side of this and drop down to the ledge, opening the door at the far end.
Once you proceed toward the lift, a pack of Wolves attack, a mixture of Levels 1-3, dispatch them and then board the lift, taking it to the mountain base. Disembark from the lift and follow the path toward the Black Breath, dispelling it using the Light of Alfheim as you head up to the mountain entrance.
No Comments