Unfinished Business
| Objectives | Rewards |
|---|---|
| Explore the islands of the lake | Common Pommel, 1 Corrupted Remnant, 1880 XP |
This is a Favor that spans the majority of the game however you can tackle a large portion of it the first time the water level lowers in the Lake of Nine. For the first part of this Favor, you’ll need to release four spirits from their misery by lighting braziers out on the islands.
Iron Cove
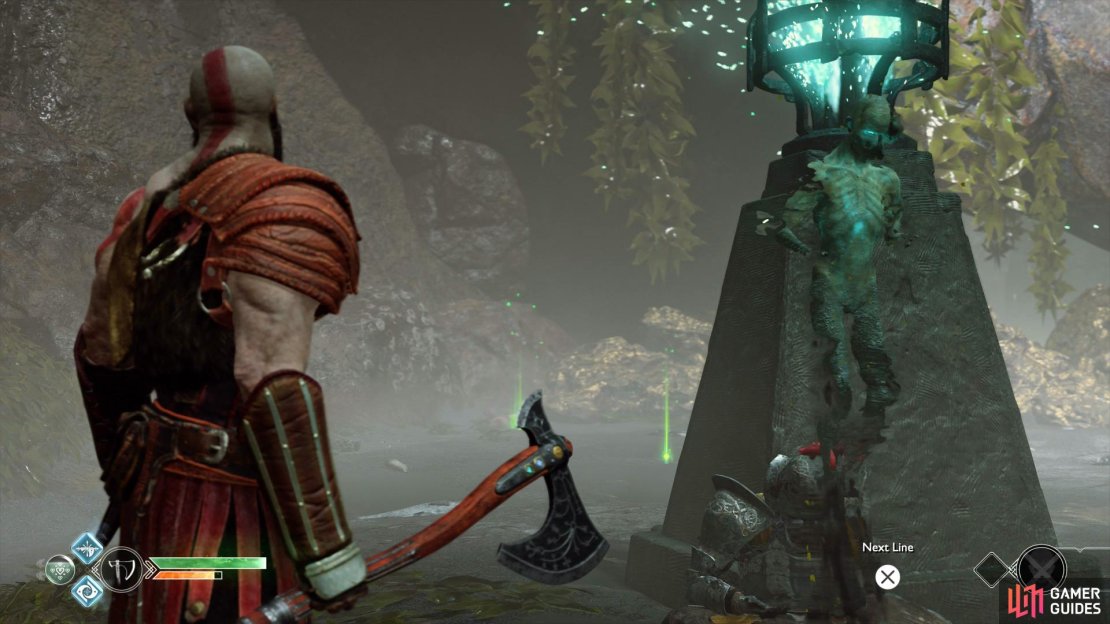
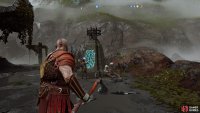
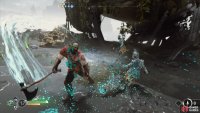
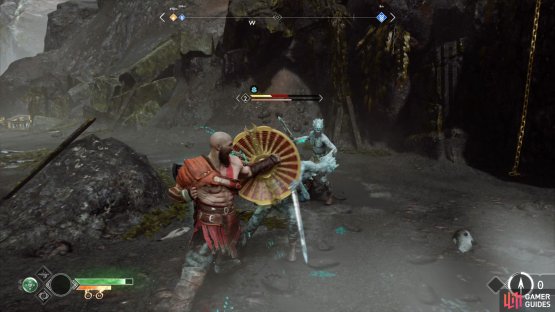
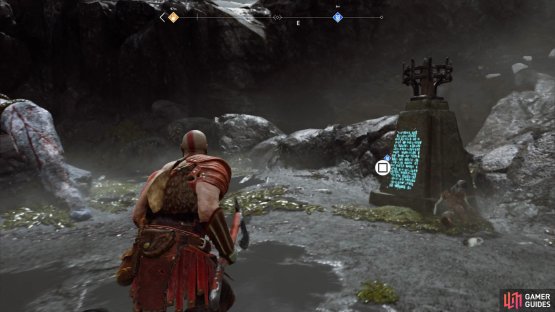
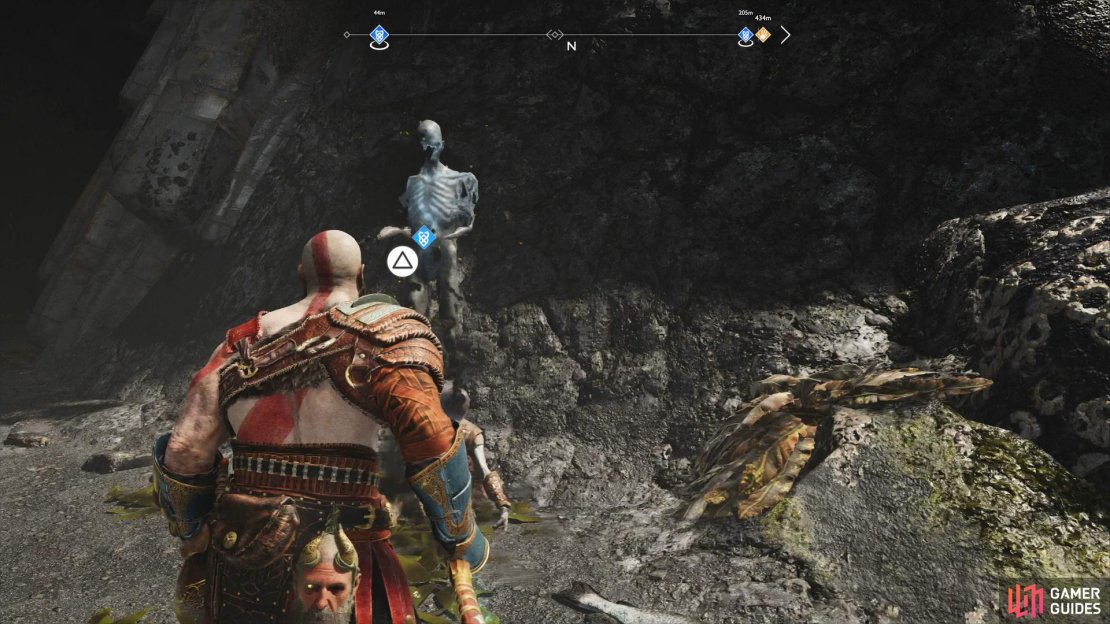
You’ll find the first brazier here and begin the Favor in earnest after you light it. Having Atreus read the runes causes the brazier to light up, attracting Nightmares and Shadows to your location. Focus on the Nightmares before the Shadows to make this easier and when set upon by Shadows with shields, use your fists (or Trip them with the axe) to stun and kill them, watching out for their post death explosion.
(1 of 2) Light the first brazier and prepare for a battle with Shadows and Nightmares.
Light the first brazier and prepare for a battle with Shadows and Nightmares. (left), use your fists to knock back the Shadows with shields (right)
With the area clear, talk to the now present spirit to hear his plea and accept the Favor, he’ll reward you with the very useful Versatile Warrior’s Handle for your troubles.
Isle of Death
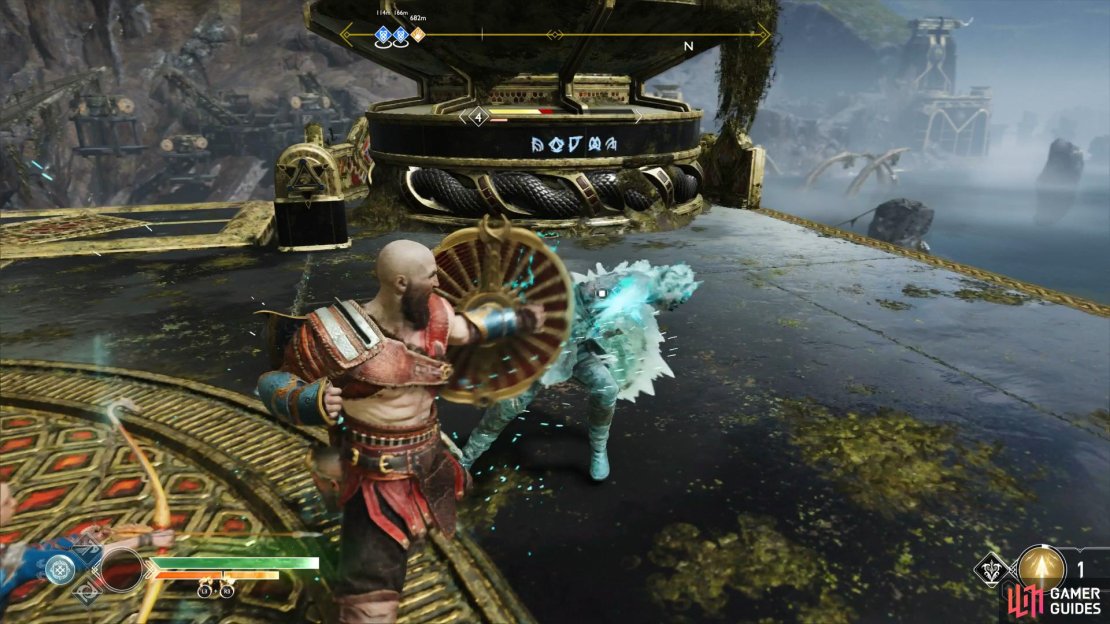
The next brazier is located on a tall island to the northwest of the Iron Cover, the Isle of Death. Climb to the top of the island to find the brazier which upon being lit, will spawn a pack of Hel-Shadow Scouts.
These enemies will fling Frost magic at you and can also hide behind icy walls that they conjure up. If this happens, use Atreus’ arrows to hit them when they peek above. You’ll be free to use the Leviathan Axe here, these enemies don’t have the armor that will cause your axe to deflect. The first group of enemies contains four to dispatch followed by a further two after their defeat.
(1 of 2) The brazier is unmissable on the east side of this island
The brazier is unmissable on the east side of this island (left), these Hel-Shadow Scouts shouldn’t pose too much of a problem. (right)
Talk to the spirit that appears following your victory to discover his only wish was to talk to someone again, something that you just fulfilled. Your reward for this task is a Corrupted Remnant, a legendary resource used to upgrade the pommel you received from the first spirit.
Forgotten Caverns
The next brazier stands on the beach at the Forgotten Caverns, reached by travelling in between the World Serpent to the northeast of Týr’s Temple. When you dock the boat, defeat the Draugrs first and then light the brazier to the right.
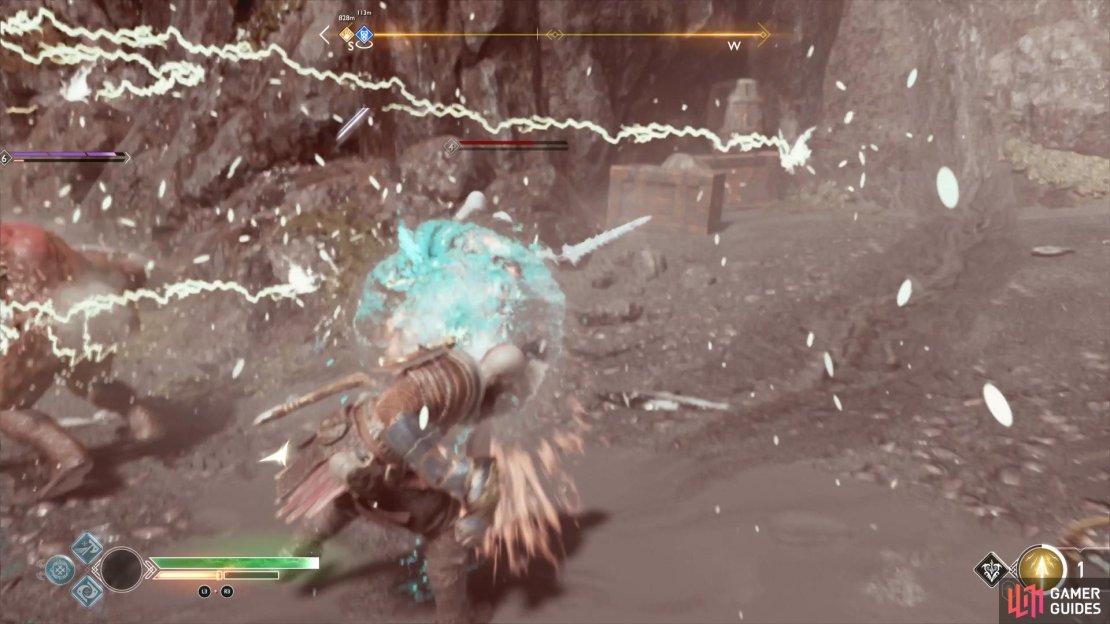
You’ll be fighting a group of three Hel-Reaver’s to begin with, none of which have armor to begin with. Dispatch these using the Leviathan Axe before switching to your fists once the two Hel-Reaver Lords spawn. Using your fists and Atreus’ arrows should open them up for a Stun Grab allowing you to finish them off easily.
(1 of 2) Turn to the right after you dock to find this brazier
Turn to the right after you dock to find this brazier (left), resort to your fists once the Hel-Reaver Lords spawn. (right)
With the brazier now lit, head over to the spirit and talk to him discover his wish was purely vengeance, a task you’ve already completed. Your reward for this particular spirit is another Corrupted Remnant to upgrade the pommel once more.
Cliffs of the Raven
The final stop for this part of the Wayward Spirits Favor is the Cliff of the Raven, found south of the east dock from Týr’s Temple. You’ll find the brazier directly in front of you once you’ve docked and be prepared for a tough battle.
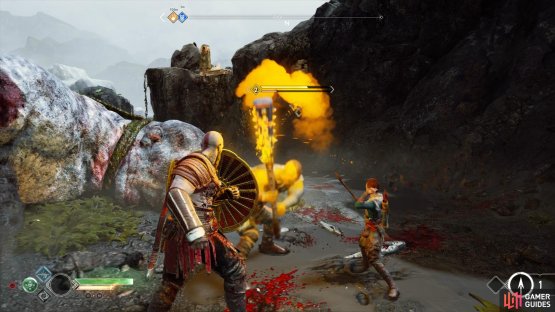
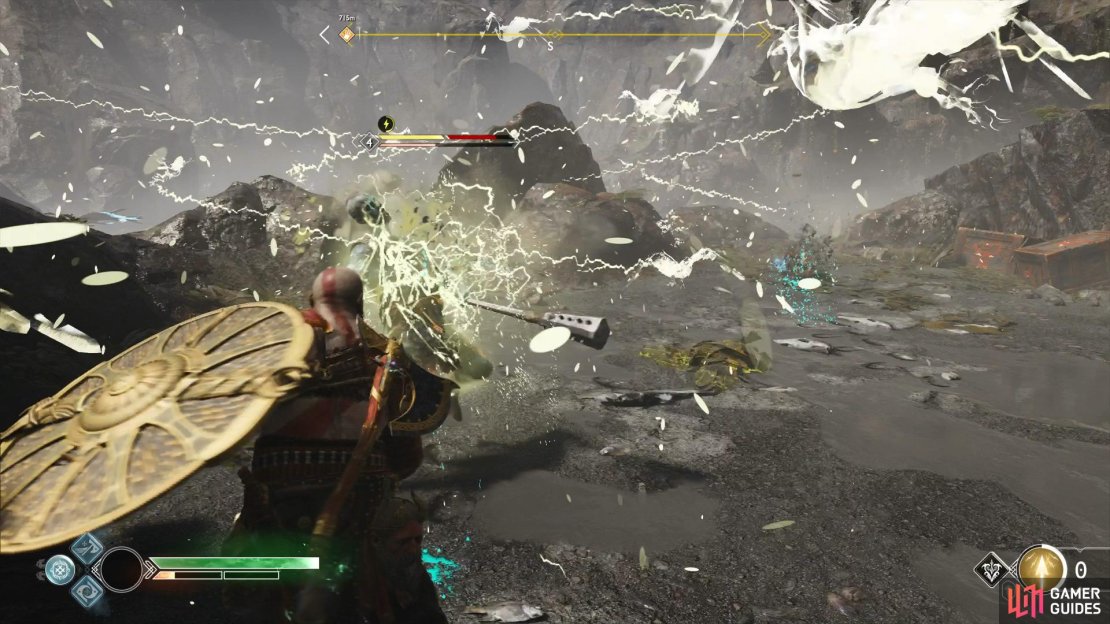
You will fight two Cursed Tatzelwurms, poisonous variants of the regular Tatzelwurms and a new enemy, the Viken. These brutes wield a huge mace and use it to do a series of ground pounds, if you see the attack ring appear, evade away and try to get behind it. They’re susceptible to attack after their combo ends so use that opportunity to begin your assault.
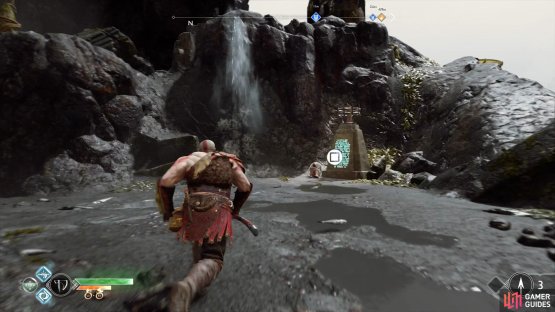
(1 of 2) This brazier is in the center of this island
This brazier is in the center of this island (left), beware the Viken, his ground pounds are deadly. (right)
The brazier now lit, speak to the final spirit and hear his tale to receive your final reward for this part of the Favor, the final Corrupted Remnant allowing you to upgrade the pommel to it’s max Level.
Hammer Fall
| Objectives | Rewards |
|---|---|
| Destroy the statue of Thor | Týr’s Lost Gauntlets Recipe, Týr’s Offering, 1880 XP |
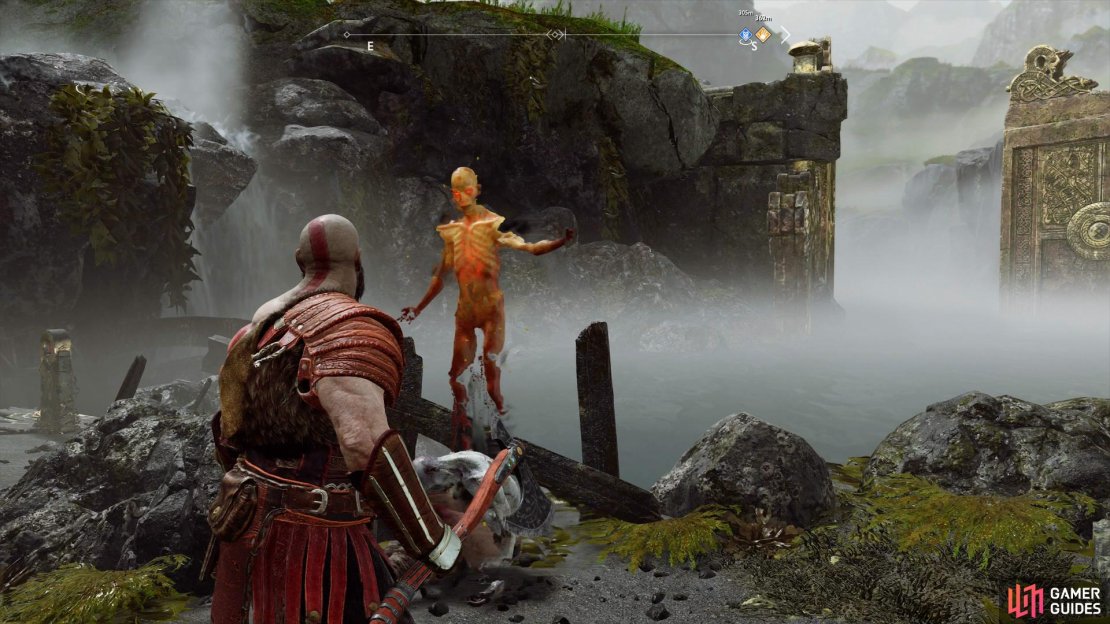
Head to the Stone Falls, northeast from Týr’s Temple and dock the boat at the beach. Head through the open gate, defeating the enemies and then head to the right to find a restless spirit. He pleads to you to help avenege his mother, killed by Thor himself, and tells you of a statue found through the grand doors behind him.
Once you reach the main lake, sail to the smaller northern island to find the statue of Thor. Once you dock at the beach, head toward the cave in front but be prepared, there’s a Level 5 dual wielding Draugr in there. It’s a difficult battle but keep your shield up while maintaining distance and defeat it, making use of your Runic Attacks and Atreus’ arrows, chipping in with axe throws when the opportunity arises. The danger doesn’t end there however, you’ll be assaulted by a Heavy Draugr from behind, now is a good time to make use of Spartan Rage if you have it allowing you to push the Draugr back and create more openings. Once both the enemies are dead, you’re free to explore this small island trouble free, begin by opening the Hacksilver chest in this cave.
(1 of 2) You can pin this enemy back with arrows and axe throws
You can pin this enemy back with arrows and axe throws (left), beware of the Heavy that attacks from behind after. (right)
Exit the cave and climb the ledge to the east, look into the sky and you’ll see the next Raven circling around the statue, take aim and put it down. Continue around to the back of the island and you’ll discover three graves, search the ground in front of the middle one to unearth a Grip of Tanngiost.
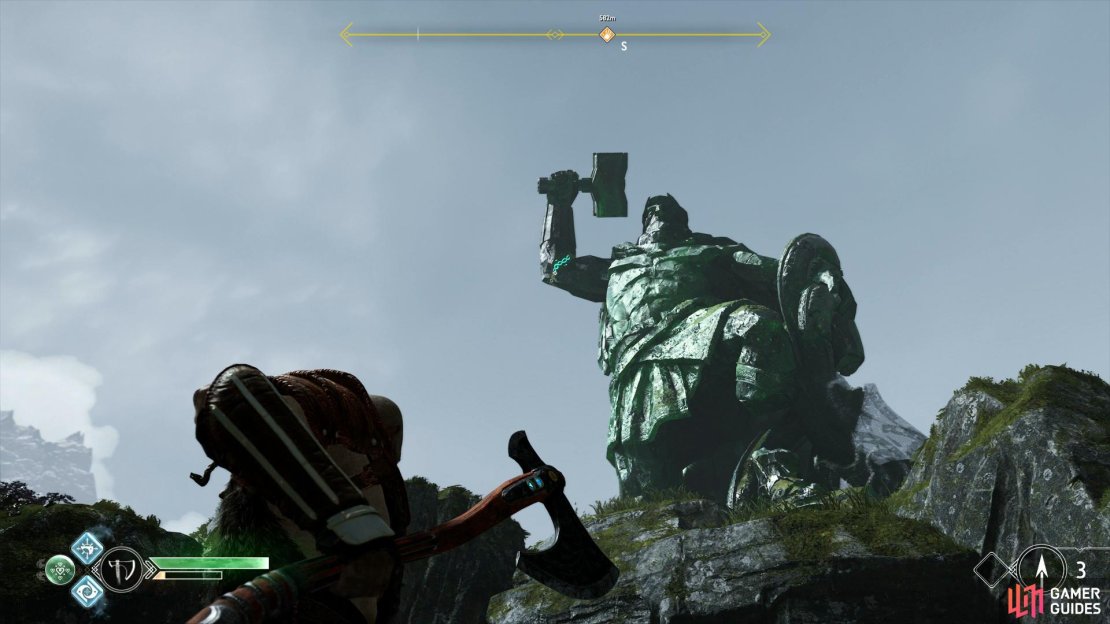
If you look up at the statue from this location, you may notice runic markings at certain places, these are spots where the statue is weak. Throw the axe at all of the locations with this marking to bring the statue down, you can hit three pieces from your current location. To reach the last two spots you’ll have to return to where you climbed the ledge, hitting the back of the statue’s leg and the back itself. With all of these parts destroyed, the statue crumbles to nothing and your task is complete.
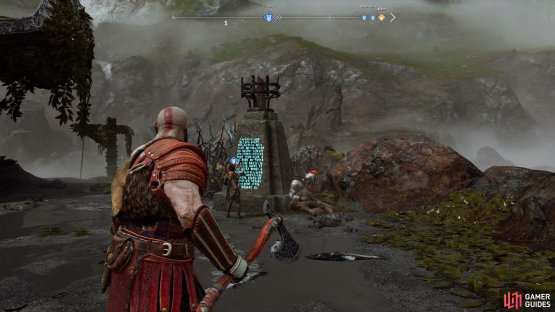
The runic markings indicate where the statue is vulnerable.
When you return to the spirit at the Stone Falls and deliver the news, you’ll receive Týr’s Lost Gauntlets Recipe, a Týr’s Offering and 1880 XP.
Dead Freight
| Objectives | Rewards |
|---|---|
| Kill the Hel-Walker Crew [3] | Týr’s Cuirass Recipe, Týr’s Offering, 1880 XP |
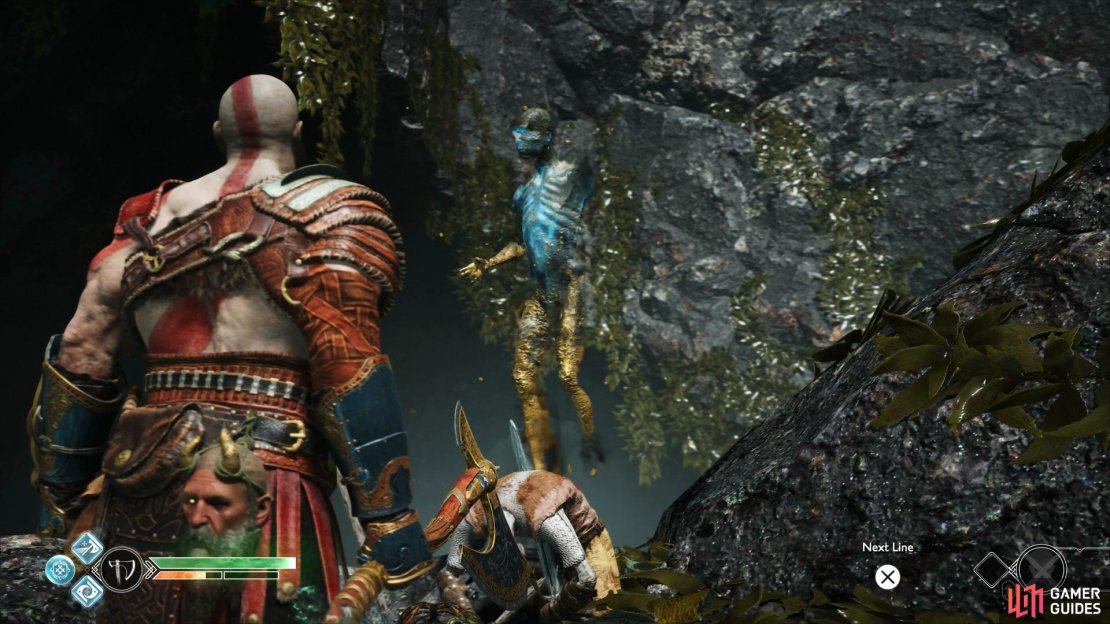
When the water level drops for the second time at the Lake of Nine, travel back to the Forgotten Caverns and speak to the Spirit on the beach. He asks if you can help lay his crew, who have now become Hel-Walkers, to rest.
Crew #1
The first crew can be found on Niflheim Tower, take the boat there and use the elevator to reach the top. The main adversary here is the Hel-Reaver with the shield, you’ll need to use Shield Bashes yourself to break through.
Crew #2
The second crew can be found on the Iron Cove and consists of your regular Hel-Reavers, two of which can fire projectiles. The biggest issue with this crew is the fact that if you’re revisiting Iron Cove, then you may have the presence of high level Wulvers. If this is the case, activate Spartan Rage, take out the crew with punches and then dash back to the boat to escape.
Crew #3
The final crew can be found on the Isle of Death, in the open area at the back. The main advesary is the Hel-Viken but you can focus on him alone if you use a Shock charged Murder of Crows to pin the others down.
Once all three crews have been put down, return to the Spirit at the Forgotten Caverns to deliver the news and receive your reward.
The Anatomy of Hope
| Objectives | Rewards |
|---|---|
| Recover Gullveig’s Bones [3] | Týr’s Waist Armor Recipe, Týr Offering, 1880 XP |
When the water level has dropped for the second time at the Lake of Nine, you’ll need to travel to Thamur’s Corpse in order to find the Magic Chisel. To reach the area, you will pass through the Mason’s Channel, found to the north of the Lake. There’s a small beach you can dock at here and you’ll see the spirit in front of you. Speak to him as he tells you the tale of his beloved Gullveig who he wishes to raise from the dead, something that piques Atreus’ interest. He asks of Kratos and Atreus to track down three bones and bring them back to him to complete the ritual.
Bone #1
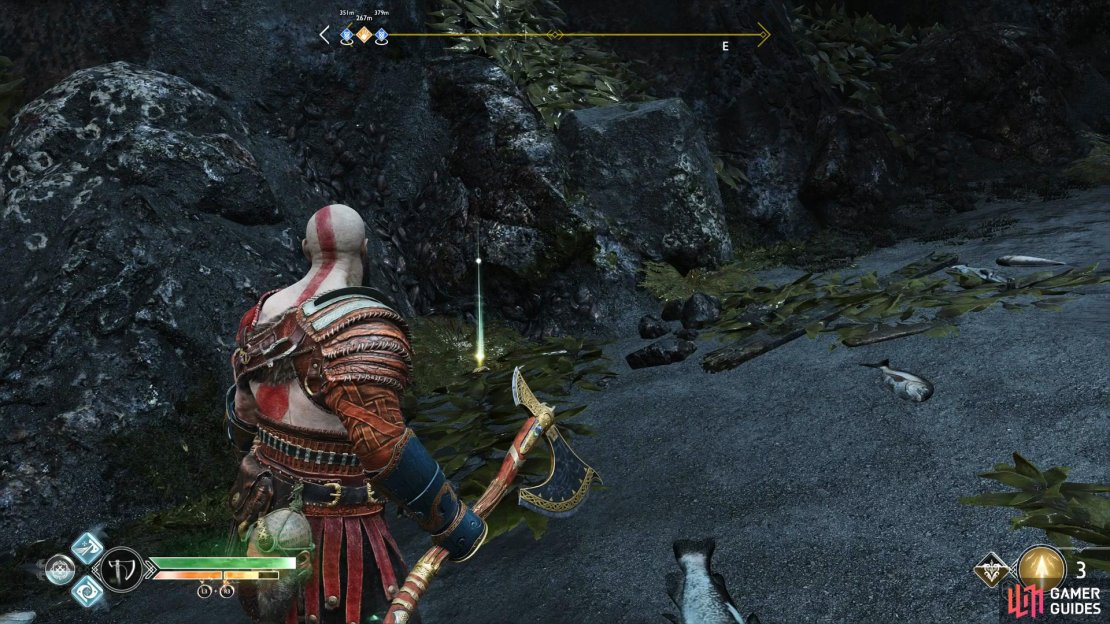
Row the boat to where the Oarsman statues are leading to the Mason’s Channel and dock at the beach to the east. Climb the ledge and look to the left to find the first of Gullveig’s bones.
Bone #2
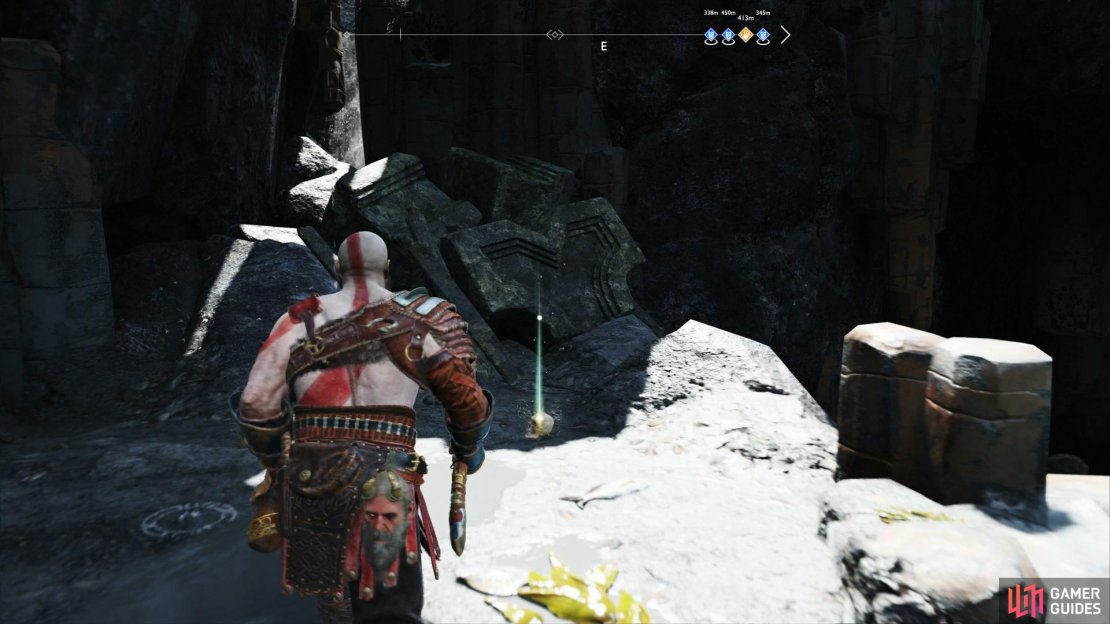
Take the boat to the Forgotten Caverns and head into the cave. You’ll find a wall that you can scale, do so and leap the gaps to reach the top and stop before you climb outside. Instead, head to the right of the final wall you can scale to find this bone.
Bone #3
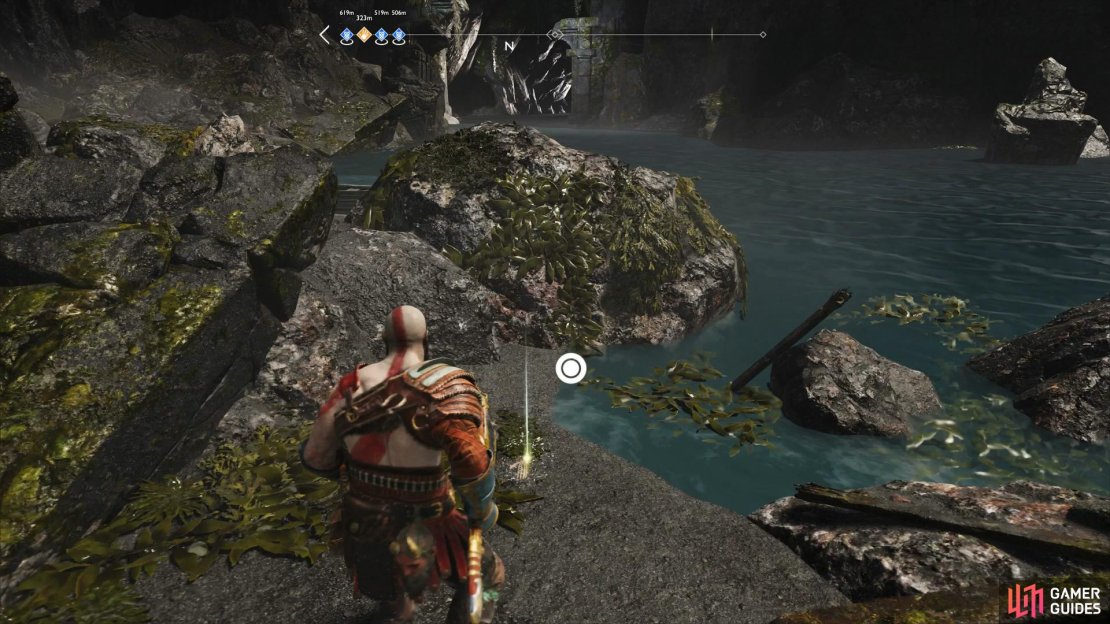
Head to the Ruins of the Ancient found in the northwest of the Lake of Nine. There’s a Soul Devourer patrolling the beach but it won’t attack unless you harm it first. The bone itself can be found in the north corner of the beach.
Defeat Gullveig
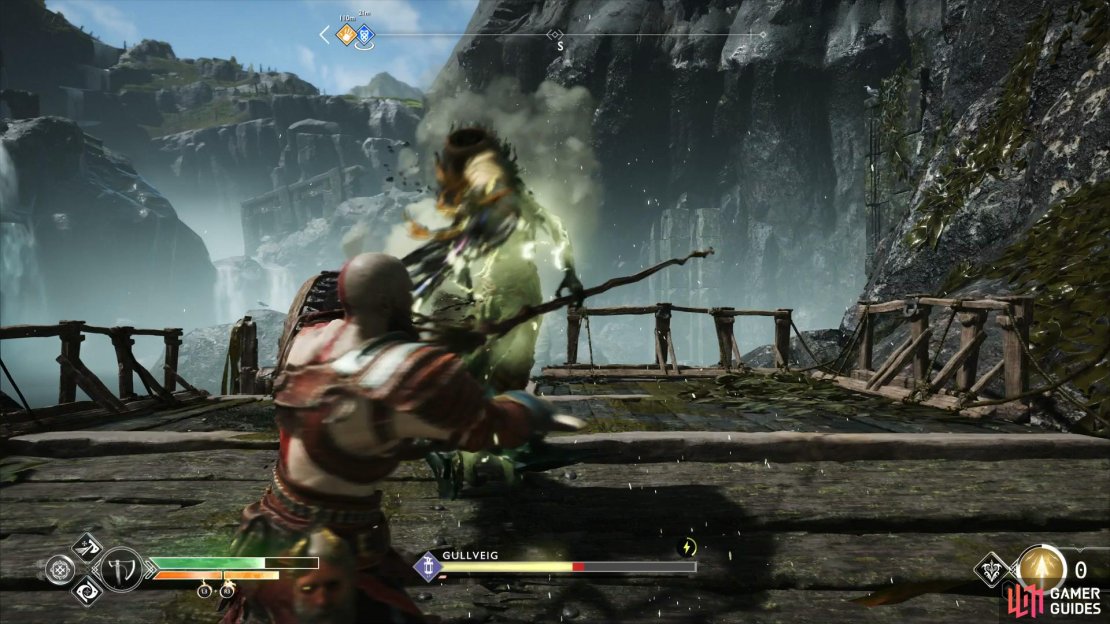
Bringing all the bones back to the Spirit proves to be a mistake as it reanimates Gullveig, a deadly Poison Revenant. Employ the usual tactics against Poison Revenants, using Shock Arrows to pin her down and decimate her with axe attacks.
Time Heals All
| Objective | Rewards |
|---|---|
| Return to Fafnir’s Storeroom | Týr’s Shard, 3290 XP |
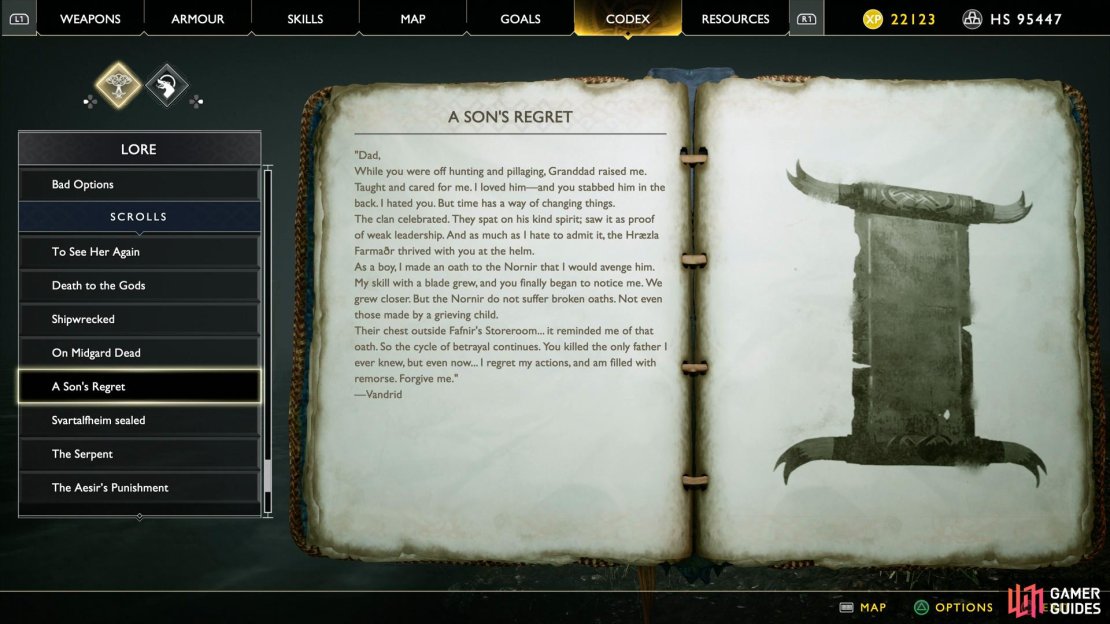
During your visit of the Northri Stronghold as part of the Family Business Favor for Sindri, you’ll come across the remains of a Spirit from Fáfnir’s Storeroom that stole the Whetstone. As you take the exit out, you’ll find a Lore Scroll written by him detailing his regrets. Simply take this Lore Scroll back to the Spirit in the final room of Fáfnir’s Storeroom and give it to the spirit to finish the Favor.







No Comments