

Jotunheim in Reach, God of War.
Realm Travel to Jötunheim
You find yourself back in Midgard with the Temple looming ahead. Be sure to light the brazier here before heading across the bridge and into the Realm Travel room. Inside, head over and lock in Jötunheim, it seems there’s one final failsafe from Týr as the travel crystal is missing. Mimir can use his eyes however one is missing, perhaps the Huldra brothers may know something.
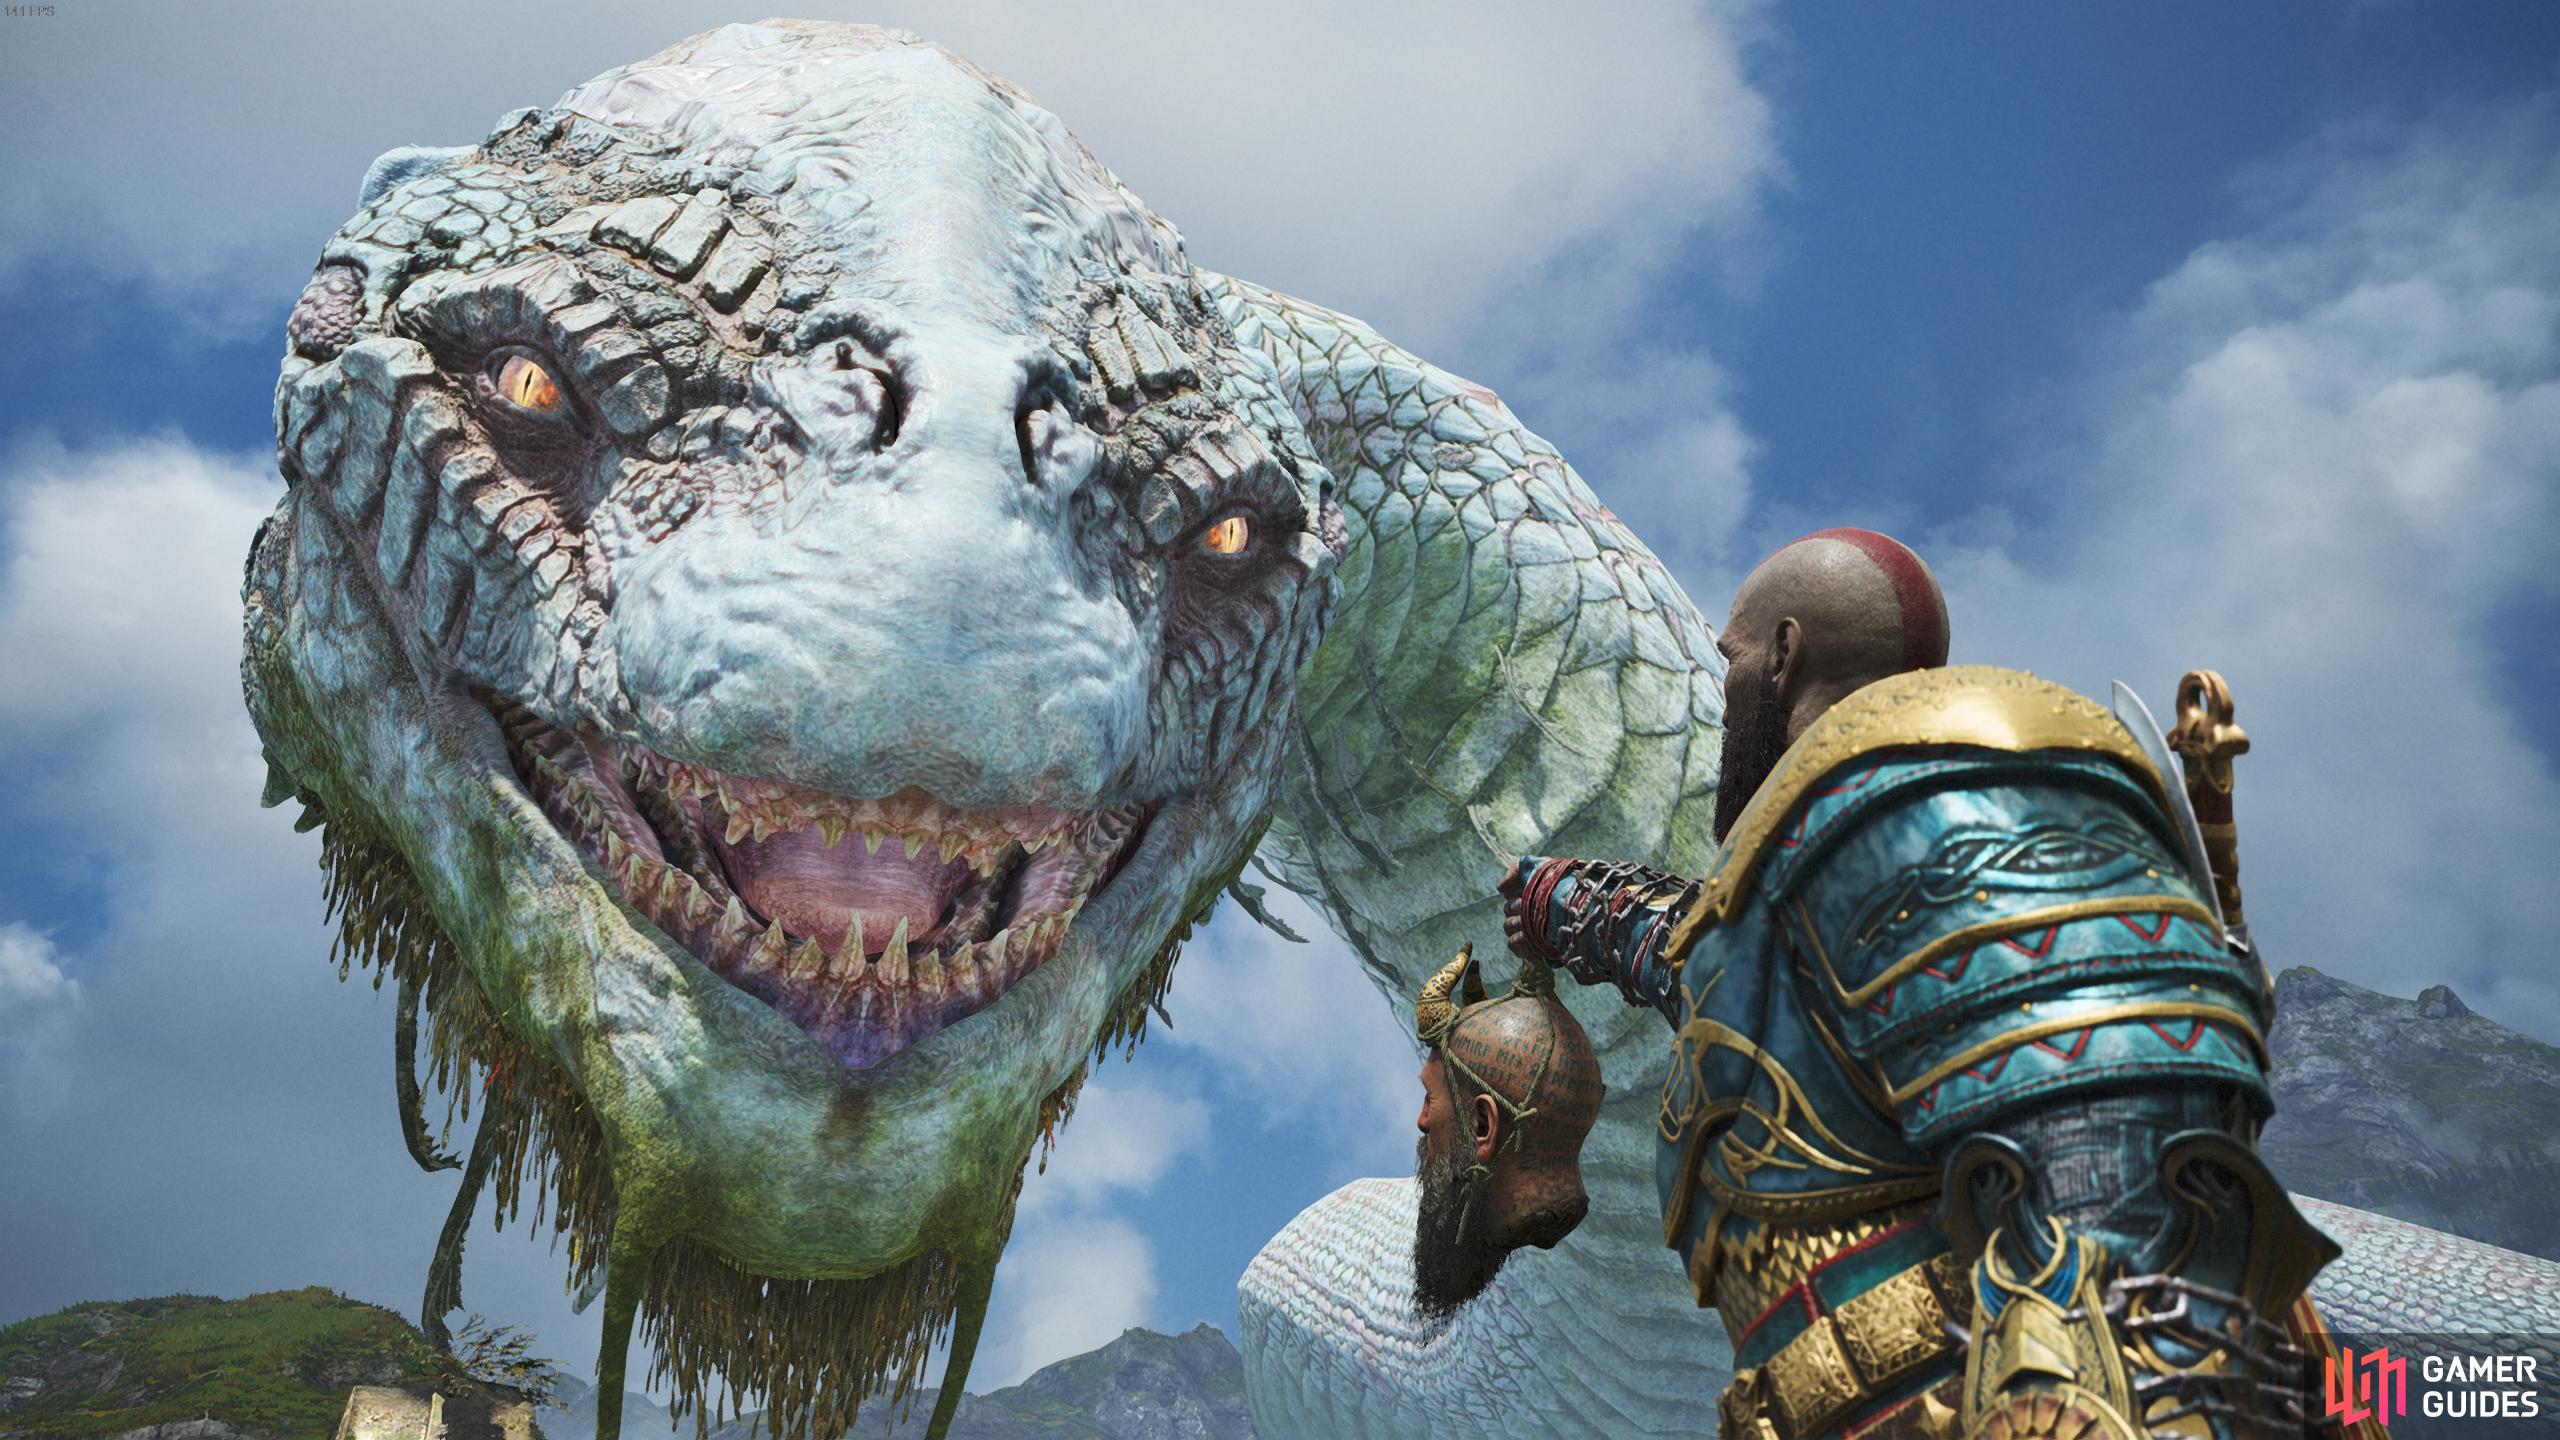
Head over and speak to them, it appears the statue of Thor that the World Serpent consumed a while back may have a hidden compartment in it. The only problem is, the World Serpent swallowed it so the only course of action is to have a discussion with it.
As Mimir warns you, if there’s anything you wish to do, now is the time to do it and he’s not wrong. Speaking to the World Serpent sets in motion the events leading to the end of your journey. You’re free to resume exploring Midgard and the other realms once the journey is over and nothing is missable, in fact, a lot of the remaining content is best left for the post game for several reasons. You’ll need to be at your strongest to take on the game’s ultimate challenges, as such, this will trivialize the final encounter and render it rather anticlimactic. This guide will tackle all of this in the post game however if you’re eager to complete as much as possible now, visit these sections for more details:
Valkyries
Muspelheim
Niflheim
When you’re ready, head out the door and over to the switch, turning it to reach the horn. The World Serpent believes the statue still lies in its stomach and as such, has agreed to let you row into it to claim it.
Boat into the Serpent’s mouth
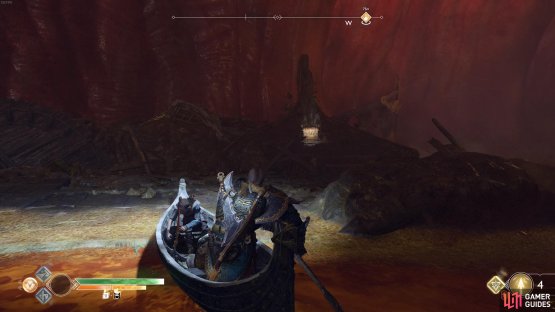
Use the switch to head back down and get onto the boat at the west dock. The Serpent’s gaping mouth lies in front of you, hold your breath and begin the row into its mouth.
How to Find Mimir’s Eye
All alone in the darkness, continue to row north and dock at the small makeshift beach to your left to find a Hacksilver chest. Return to the boat and take it down to the only other dock where the remains of the statue rest.
(1 of 2) Dock at the beach on the left first to find a lone Hacksilver chest.


Dock at the beach on the left first to find a lone Hacksilver chest. (left), Spin the board on the right until the platform hits the left wall. (right)
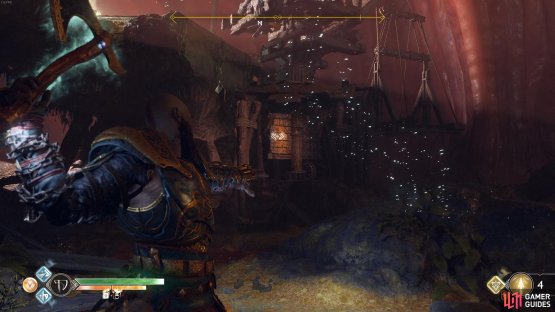
Breaking the boards to your left reveals a wall that you can scale but first, look to the right to spot a spinning board. Toss the axe at it and continue to do so until the platform rotates as far as it can before freezing it in place with the runic gear below the board.
Climb the wall to your left to jump to the platform you just rotated. Recall the axe and the platform will return to its original position, allowing you to climb the wall ahead where a Legendary Chest containing Mimir’s Eye. Before dropping back down, leap across the gap to another Legendary Chest containing a Niflheim Cipher Piece if you haven’t completed the disc yet or a random Enchantment.


(1 of 2) Don’t forget the other Legendary Chest up here.
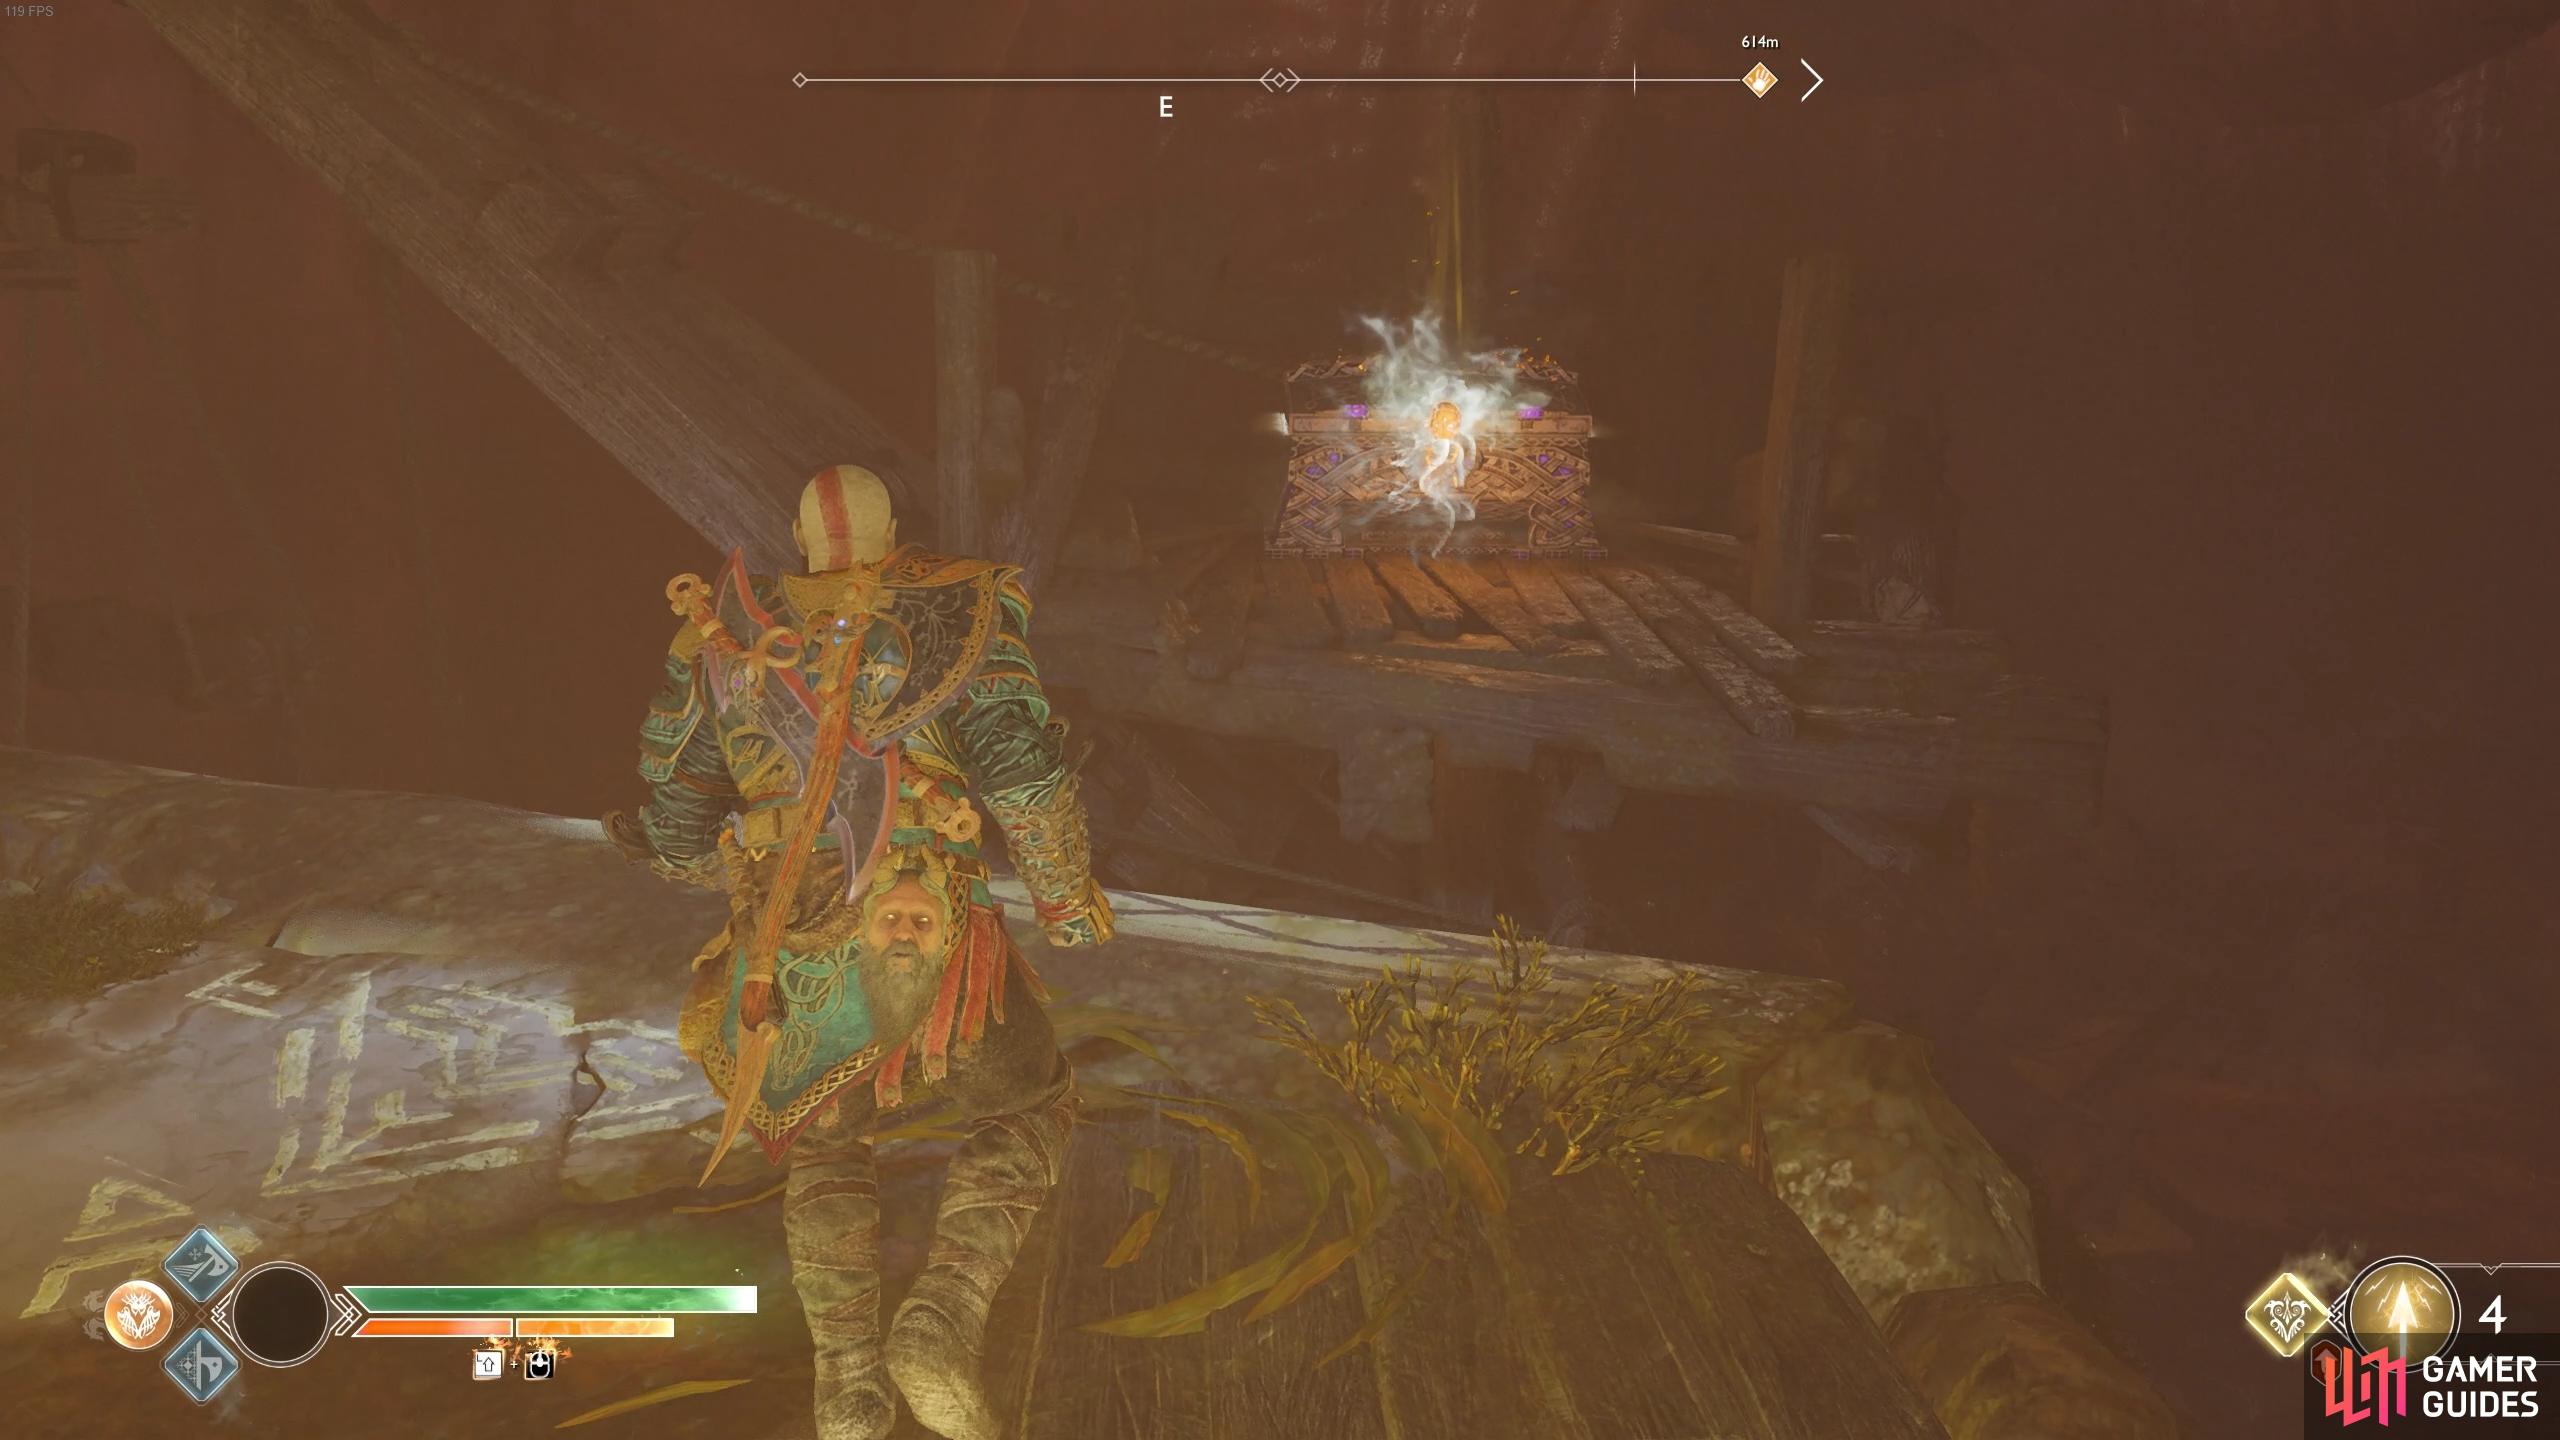

Don’t forget the other Legendary Chest up here. (left), Use the zipline to get back to the boat. (right)
Leap back across the gap and take the zipline down to the bottom, returning to the boat. As you row the boat back up the Serpent, a sudden tremor knocks you aside. The tremors continue as you row closer to the mouth and the third and final tremor sends you hurtling out of the Serpent and back onto land. Freya makes a sudden appearance along with an old enemy, the final encounter is about to begin.
How to Defeat Baldur

Baldur Boss Fight, God of War.
The first phase against Baldur mostly plays out the same as your first encounter with him back at Kratos’ house. He’ll perform dashes towards you while trying to pummel you, all of these can be easily blocked or parried allowing for some easy attacks. What’s different this time is Freya will constantly envelop both Kratos and Baldur in her vines to prevent the duo from attacking each other. Rapidly press the  button or
  key to escape and resume attacking Baldur. Continue this until Baldur signals the end of the first phase by hurling a boulder at his interfering mother.
(1 of 3) Baldur’s melee combo is the same as from the beginning of the game.
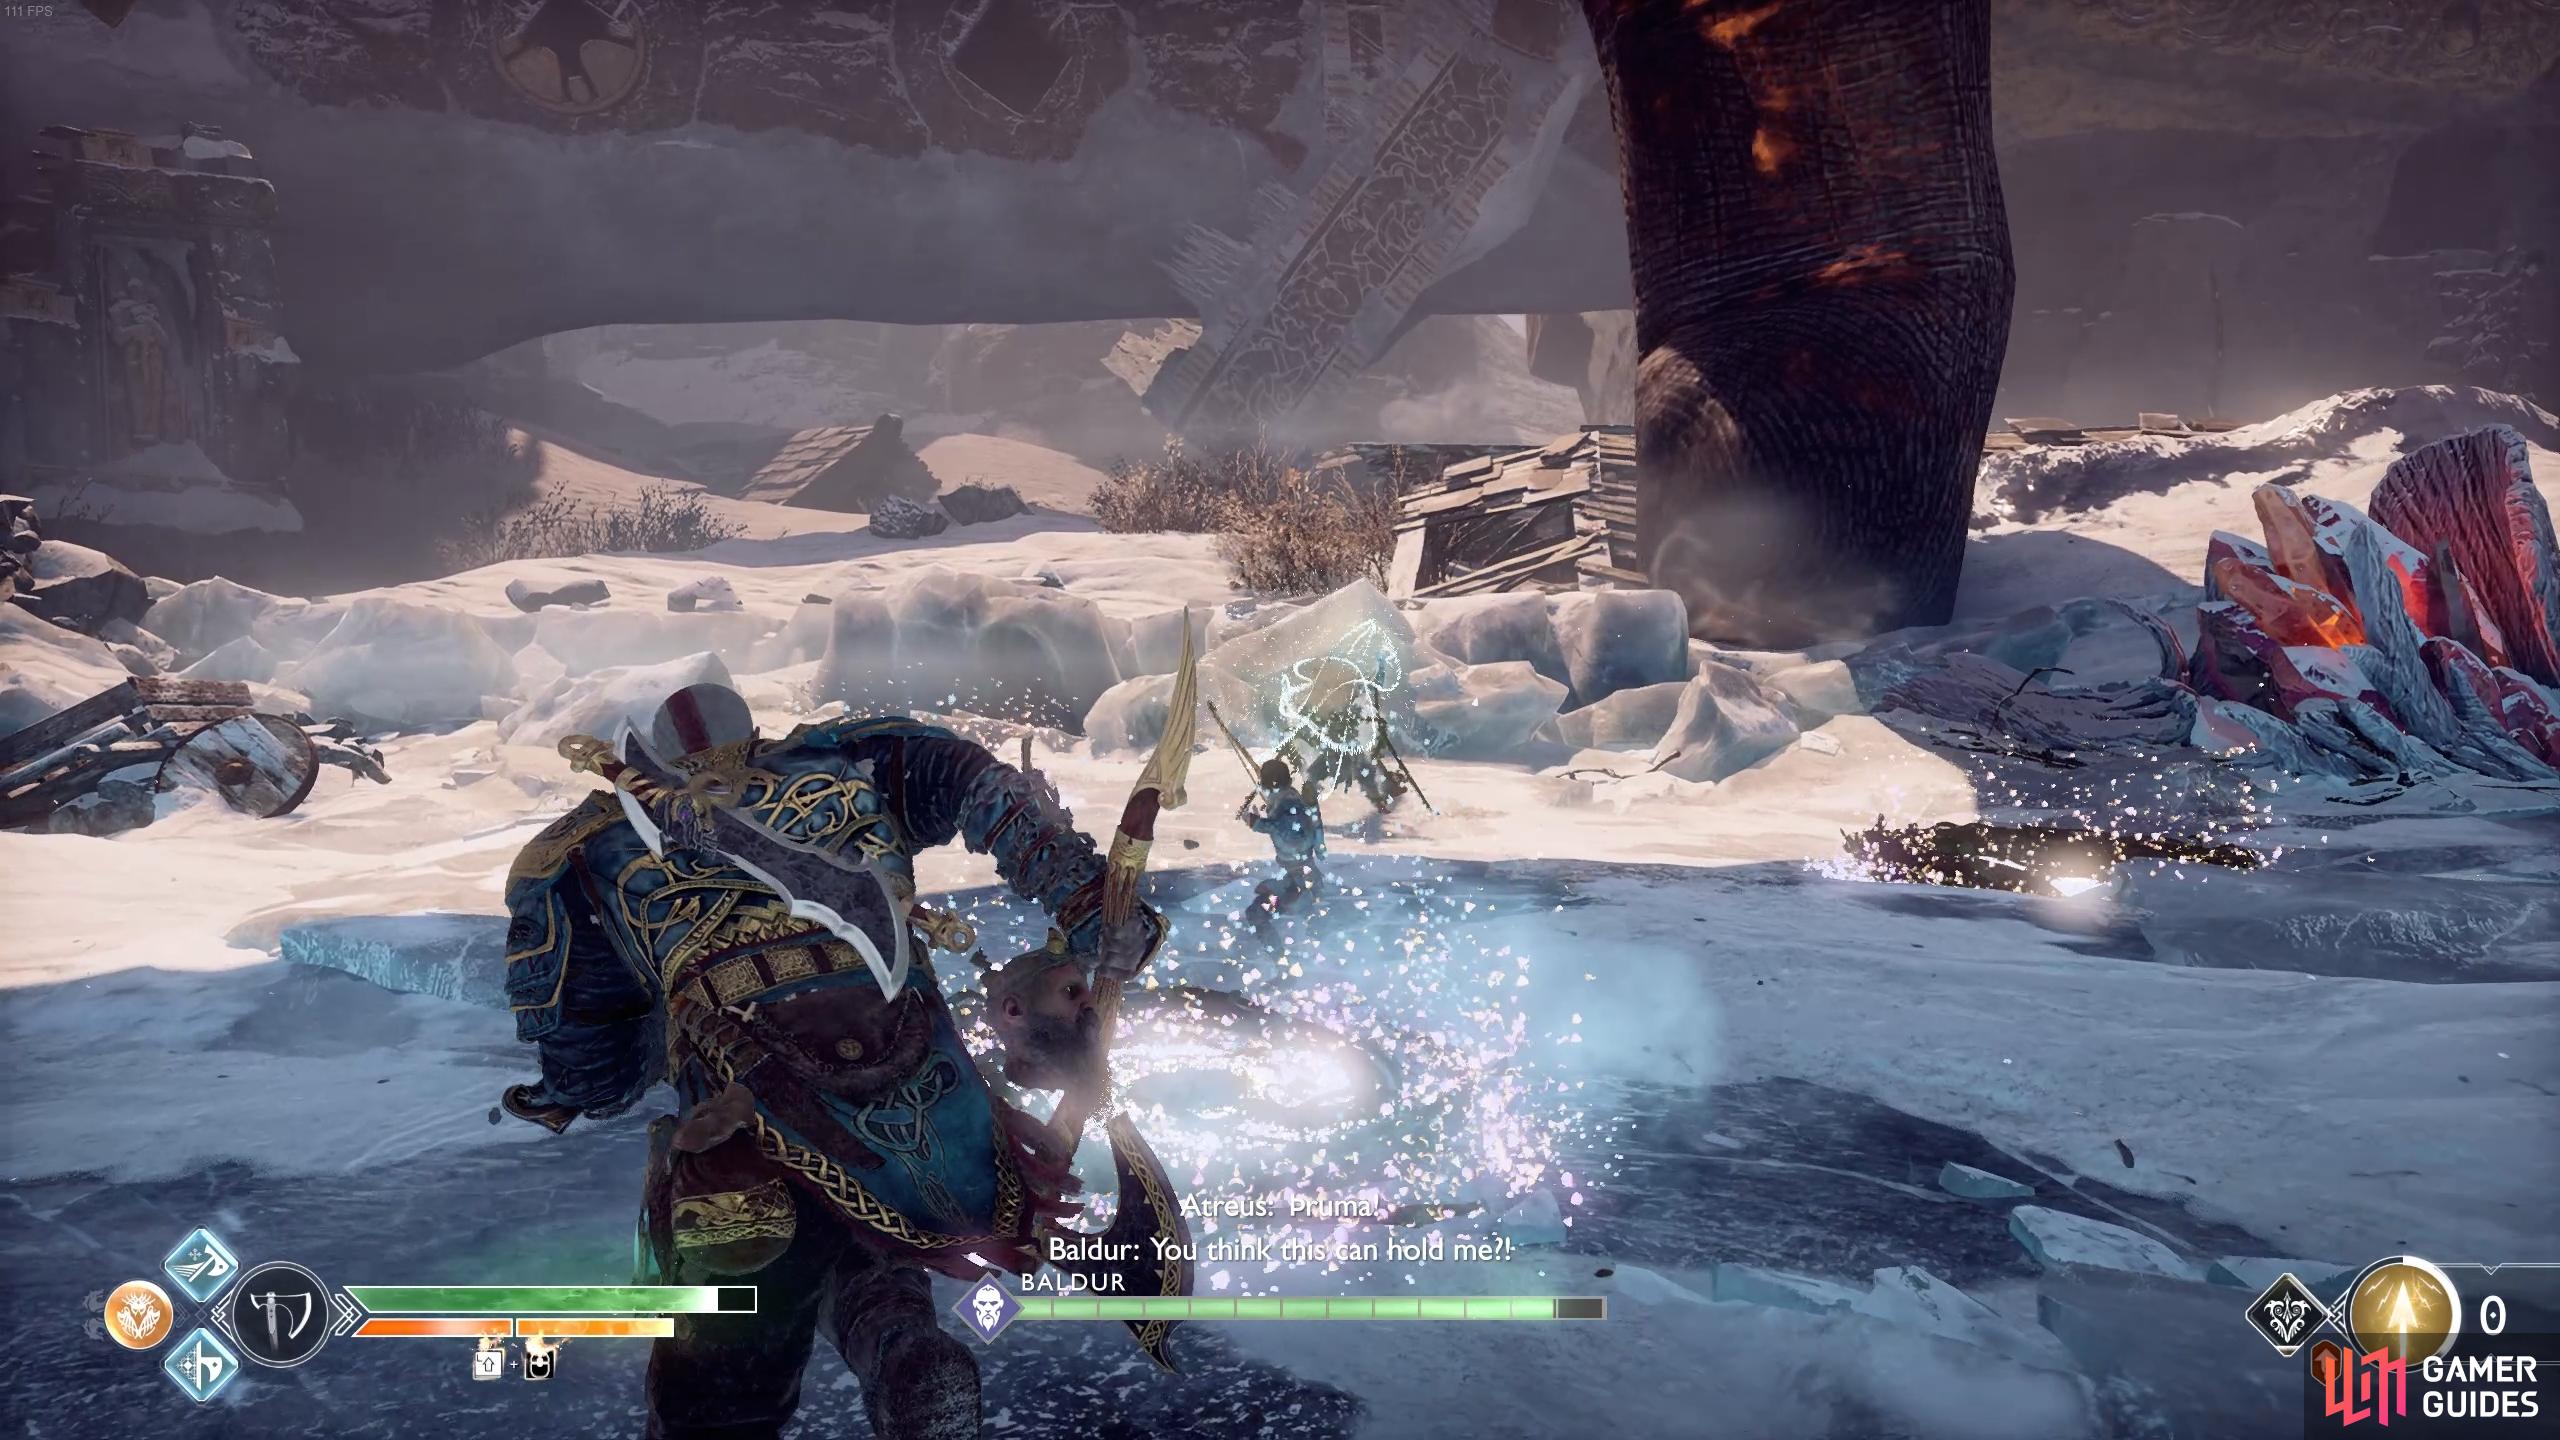
As Freya attempts to tie the duo down again, only Kratos is caught up in it and Baldur prepares to kill both father and son. Atreus’ selfless act of protecting his father causes Baldur to bleed, it appears the quiver strap that Kratos repaired with the mistletoe arrow has broken Baldur’s invulnerability. Freya decides to step in again, this time inhabiting the body of the fallen Thamur and whisking Kratos away. Once you land in the Frozen Lake, rotate Kratos to stop the onrushing Baldur.
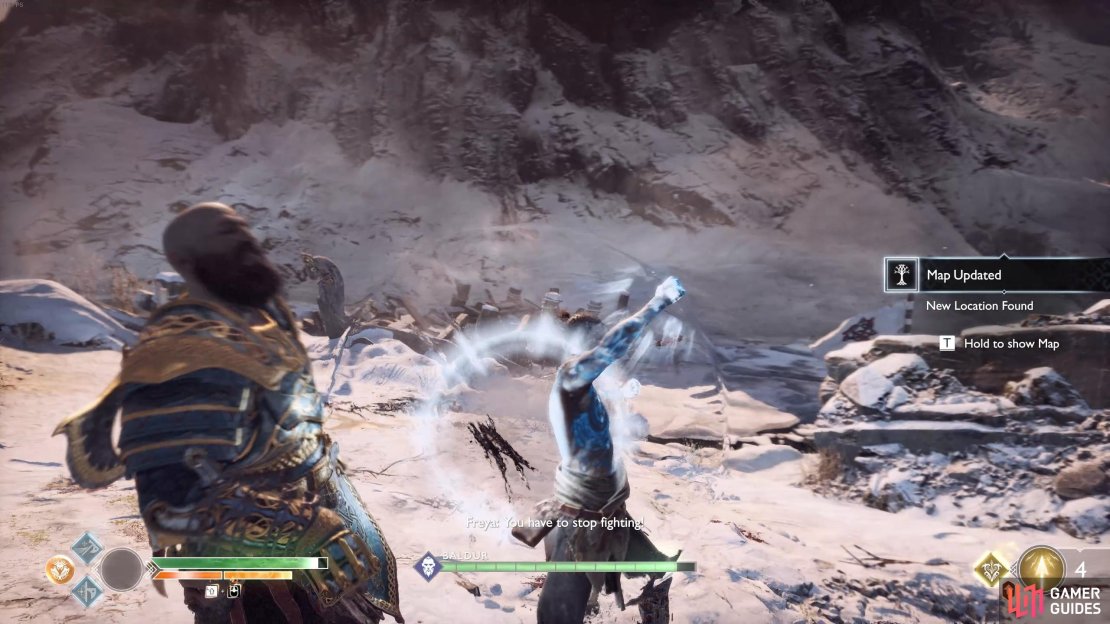
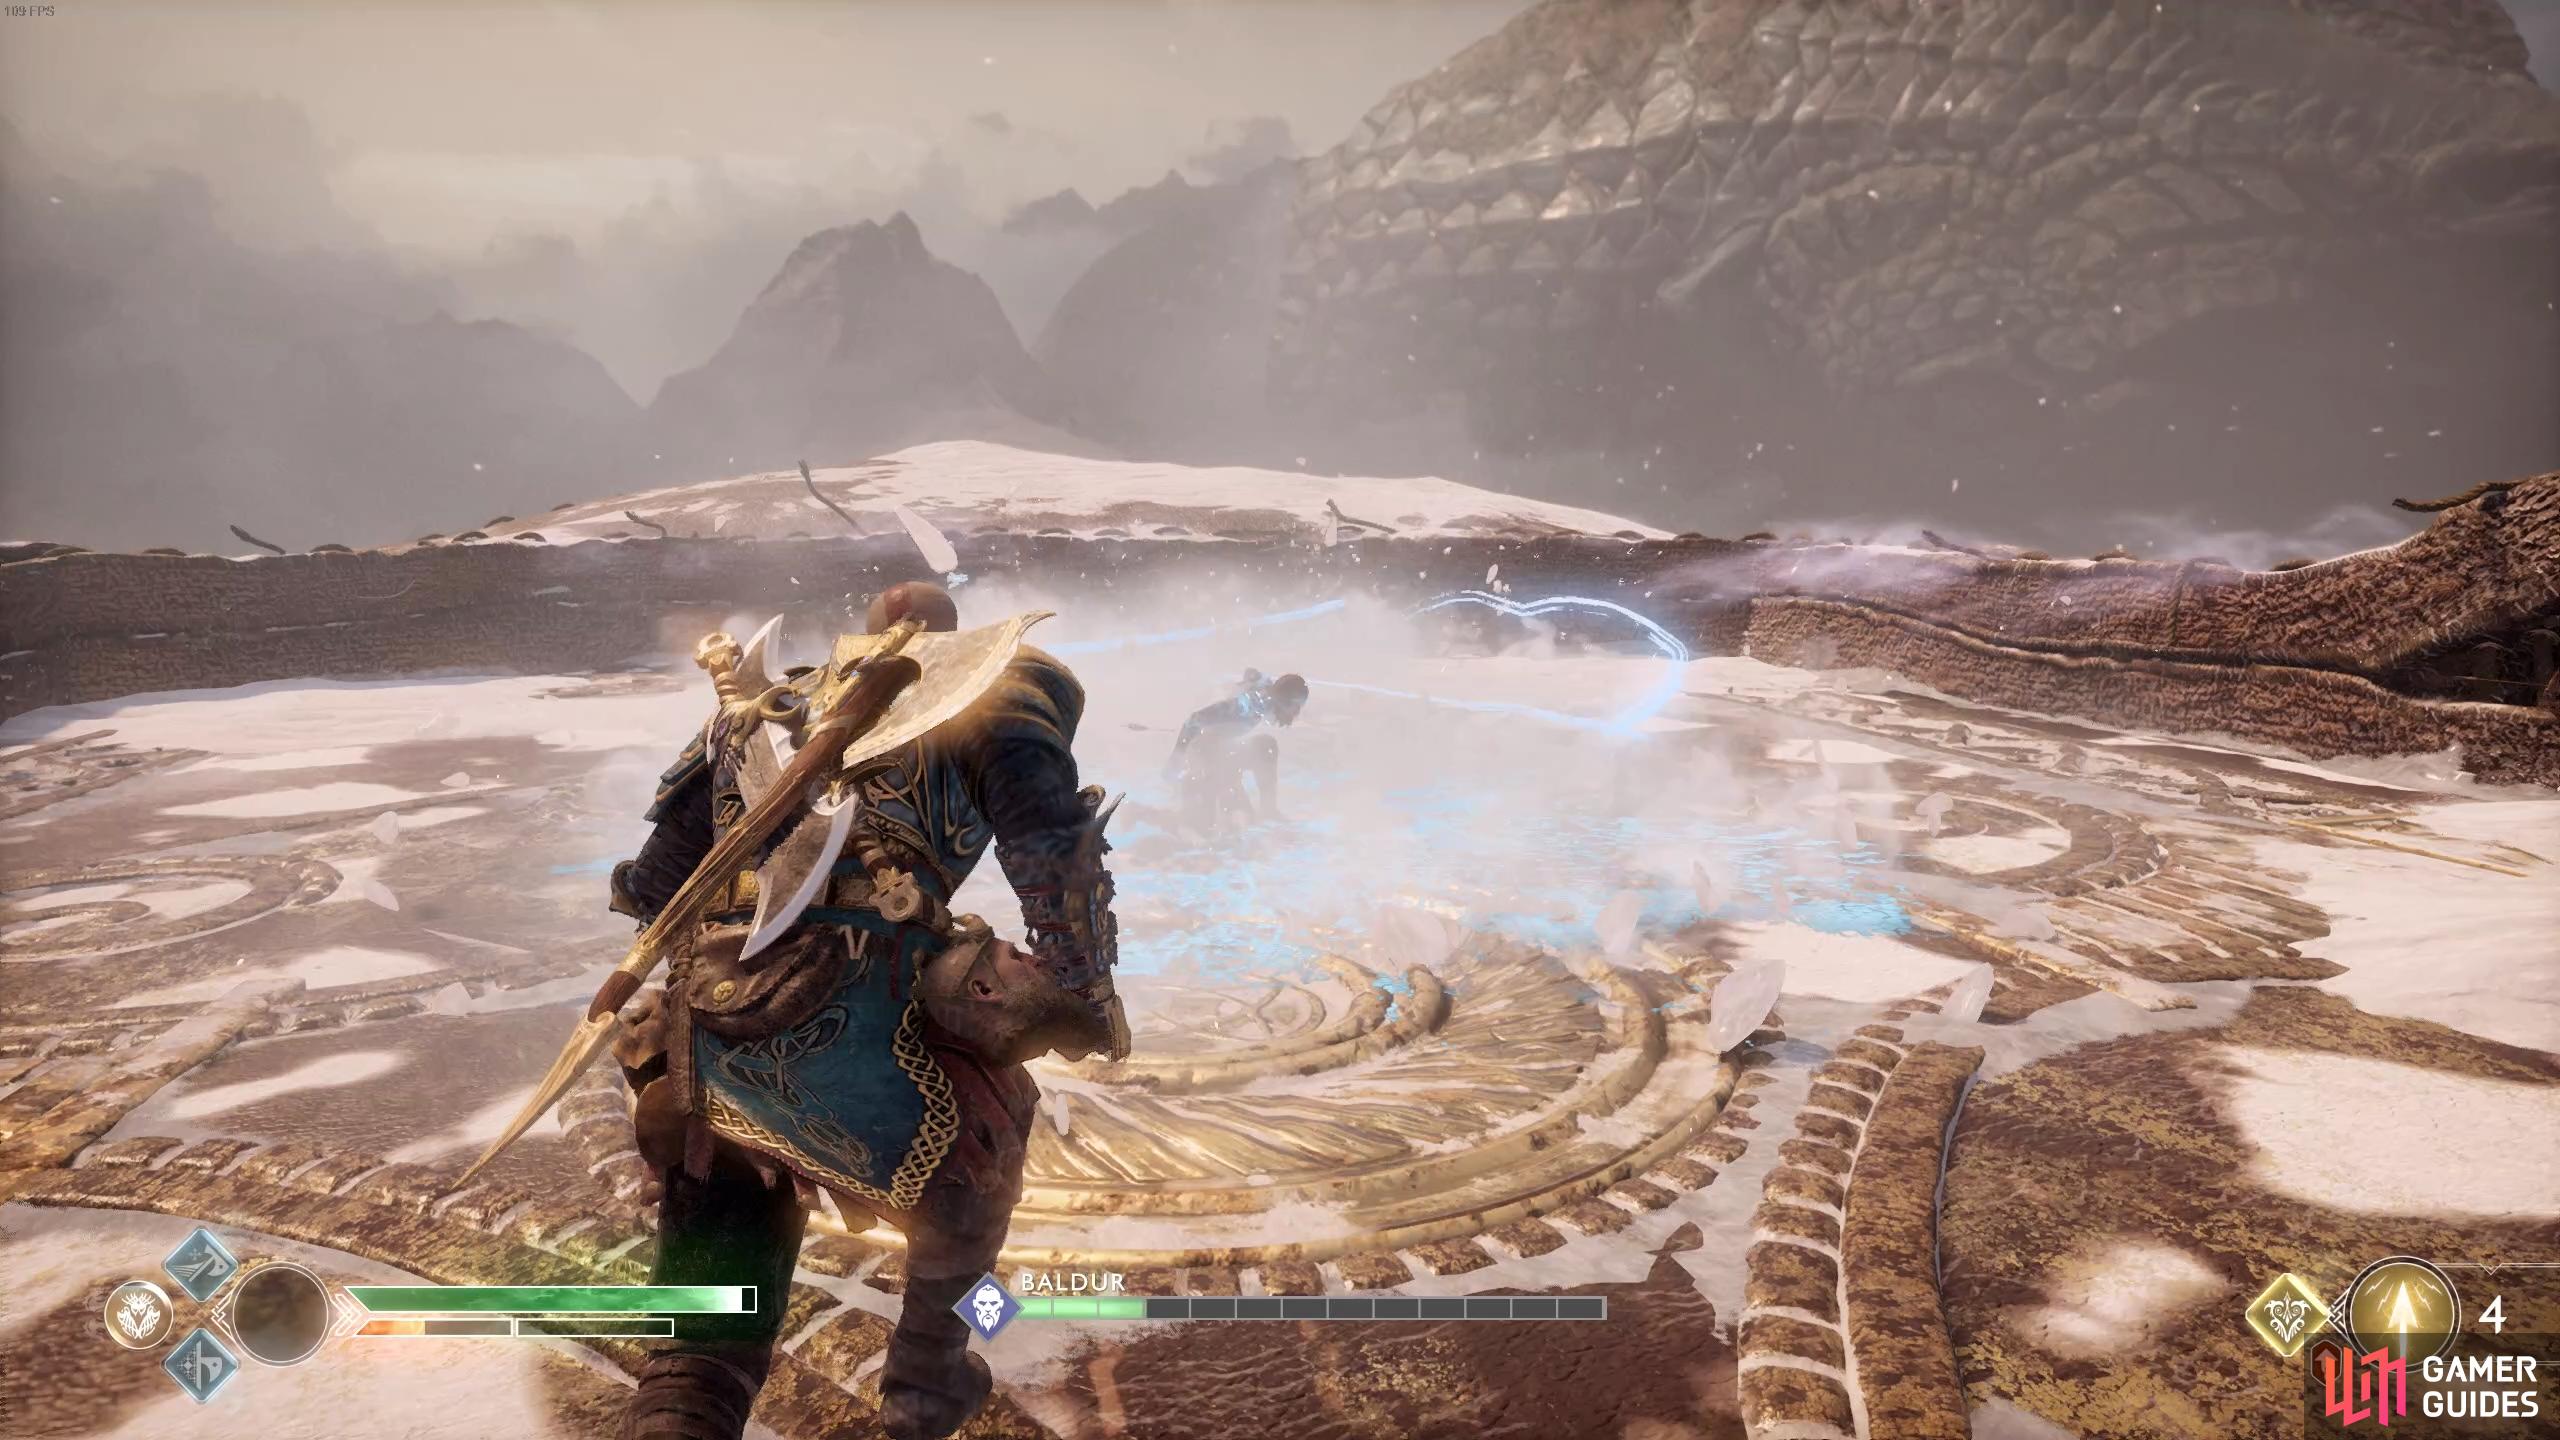
The second phase, and the true fight now begins, Baldur is a lot faster than his previous encounters but all of his attacks can still be blocked and parried and his punches remain the same. Freya will conjure up a Frost Shockwave that will shoot toward the two of you, block these when they approach and continue your assault until Baldur loses a little health. Baldur will suffer an attack to his shoulder and will retaliate by infusing himself with Frost.

(1 of 2) Although quicker in this phase, you can still block a lot of Baldur’s melee combos.

Although quicker in this phase, you can still block a lot of Baldur’s melee combos. (left), Keep your shield up to block Freya’s Frost Shockwave. (right)
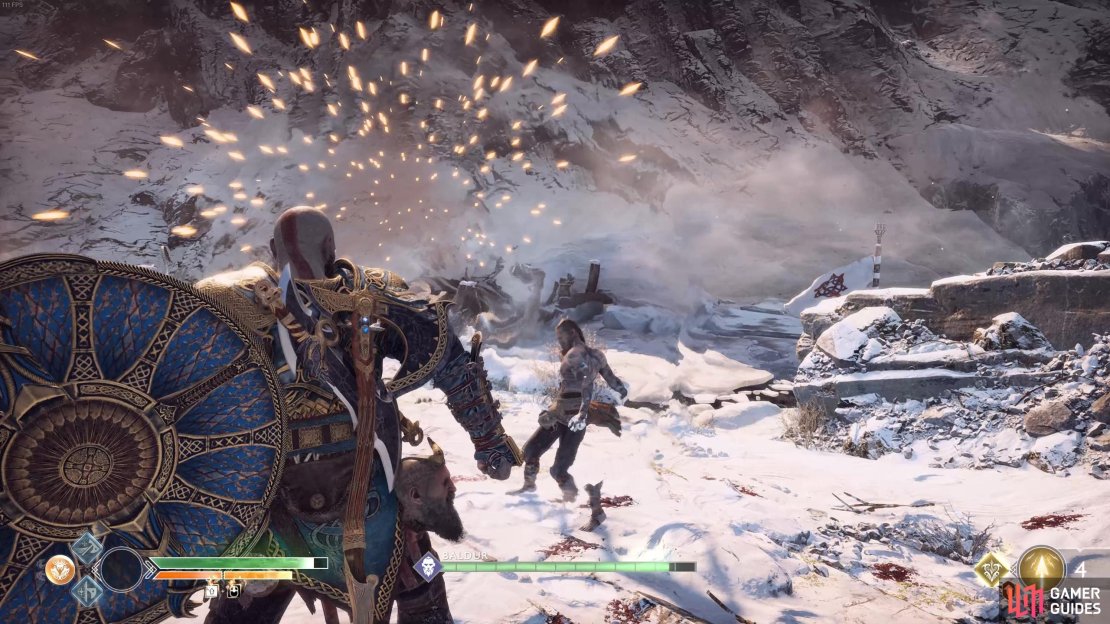
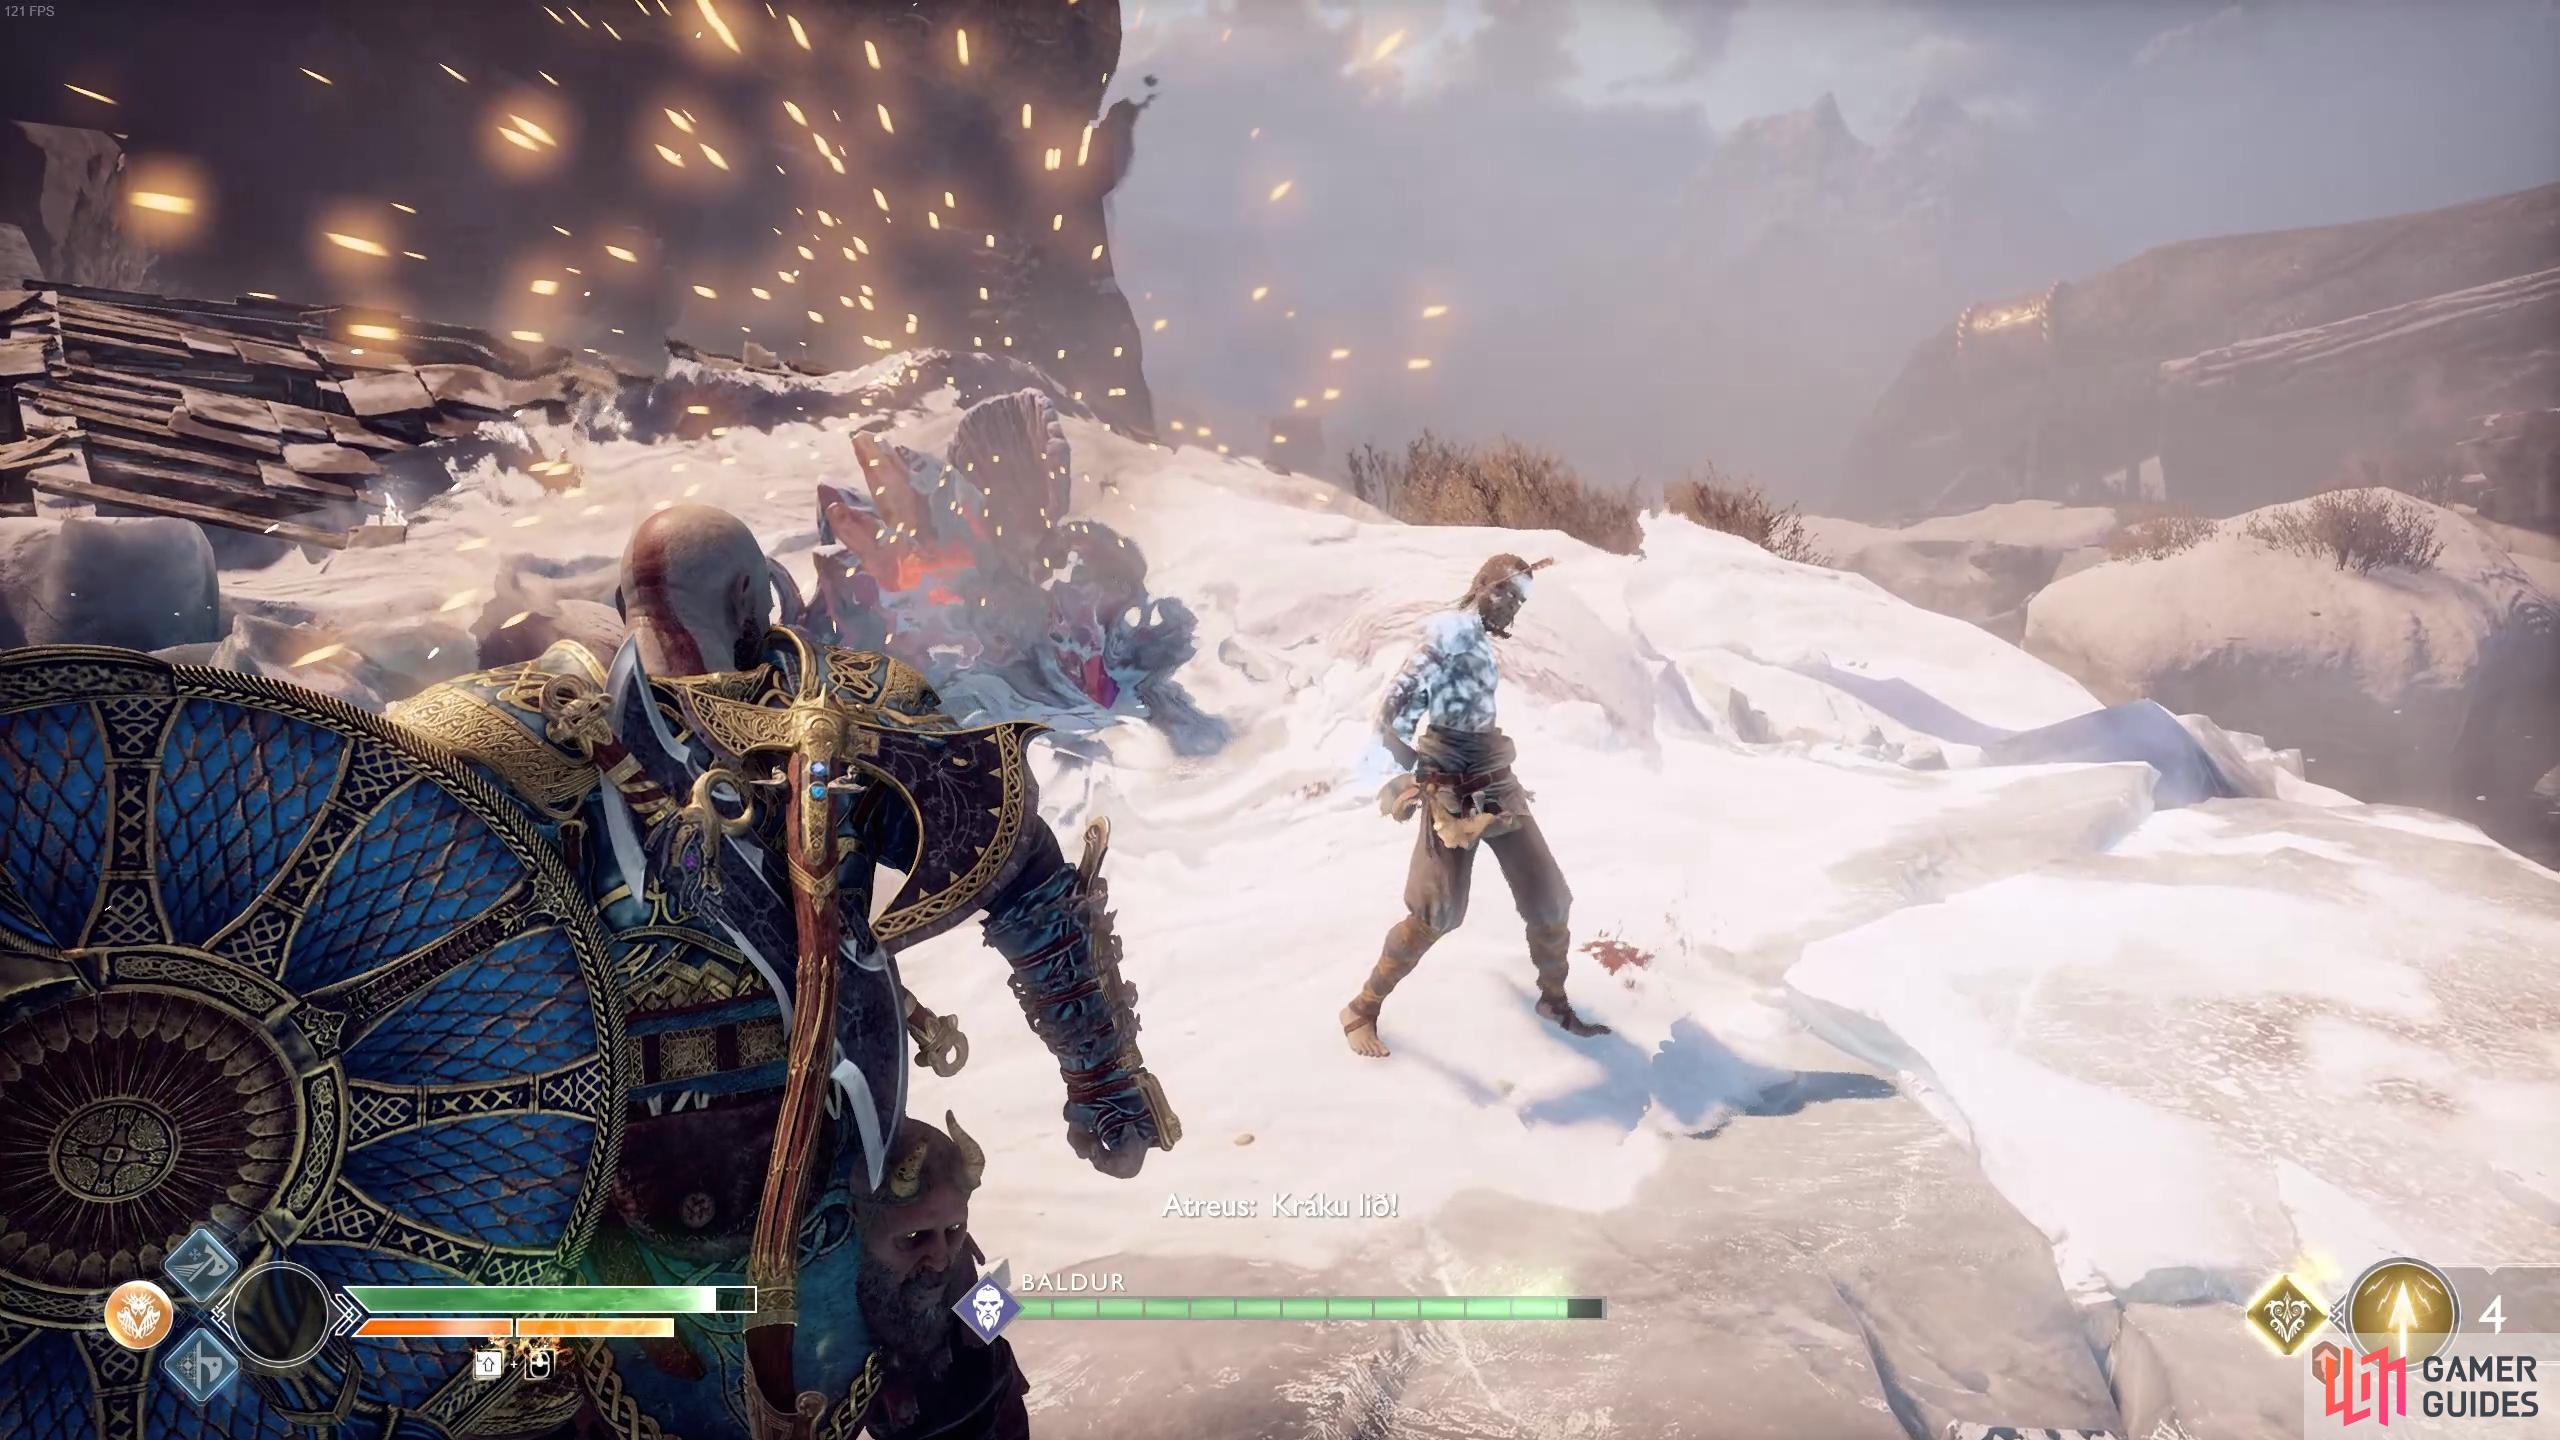
The third phase is where it gets interesting as you’ll need to change over to the Blades of Chaos in order to do sufficient damage to him. His first new attack is the ability to throw Ice Shards at you from range, these can be easily dodged or blocked and shouldn’t pose much threat. What should pose a threat is when he slams his fists into the ground, causing Frost fissures to shoot toward you, dodge roll out of the way of this.

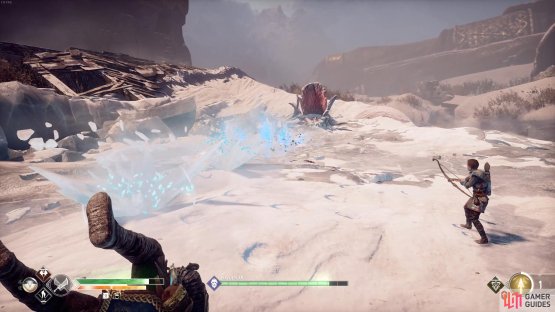
(1 of 2) The Ice Shards can be blocked or cast back at Baldur.
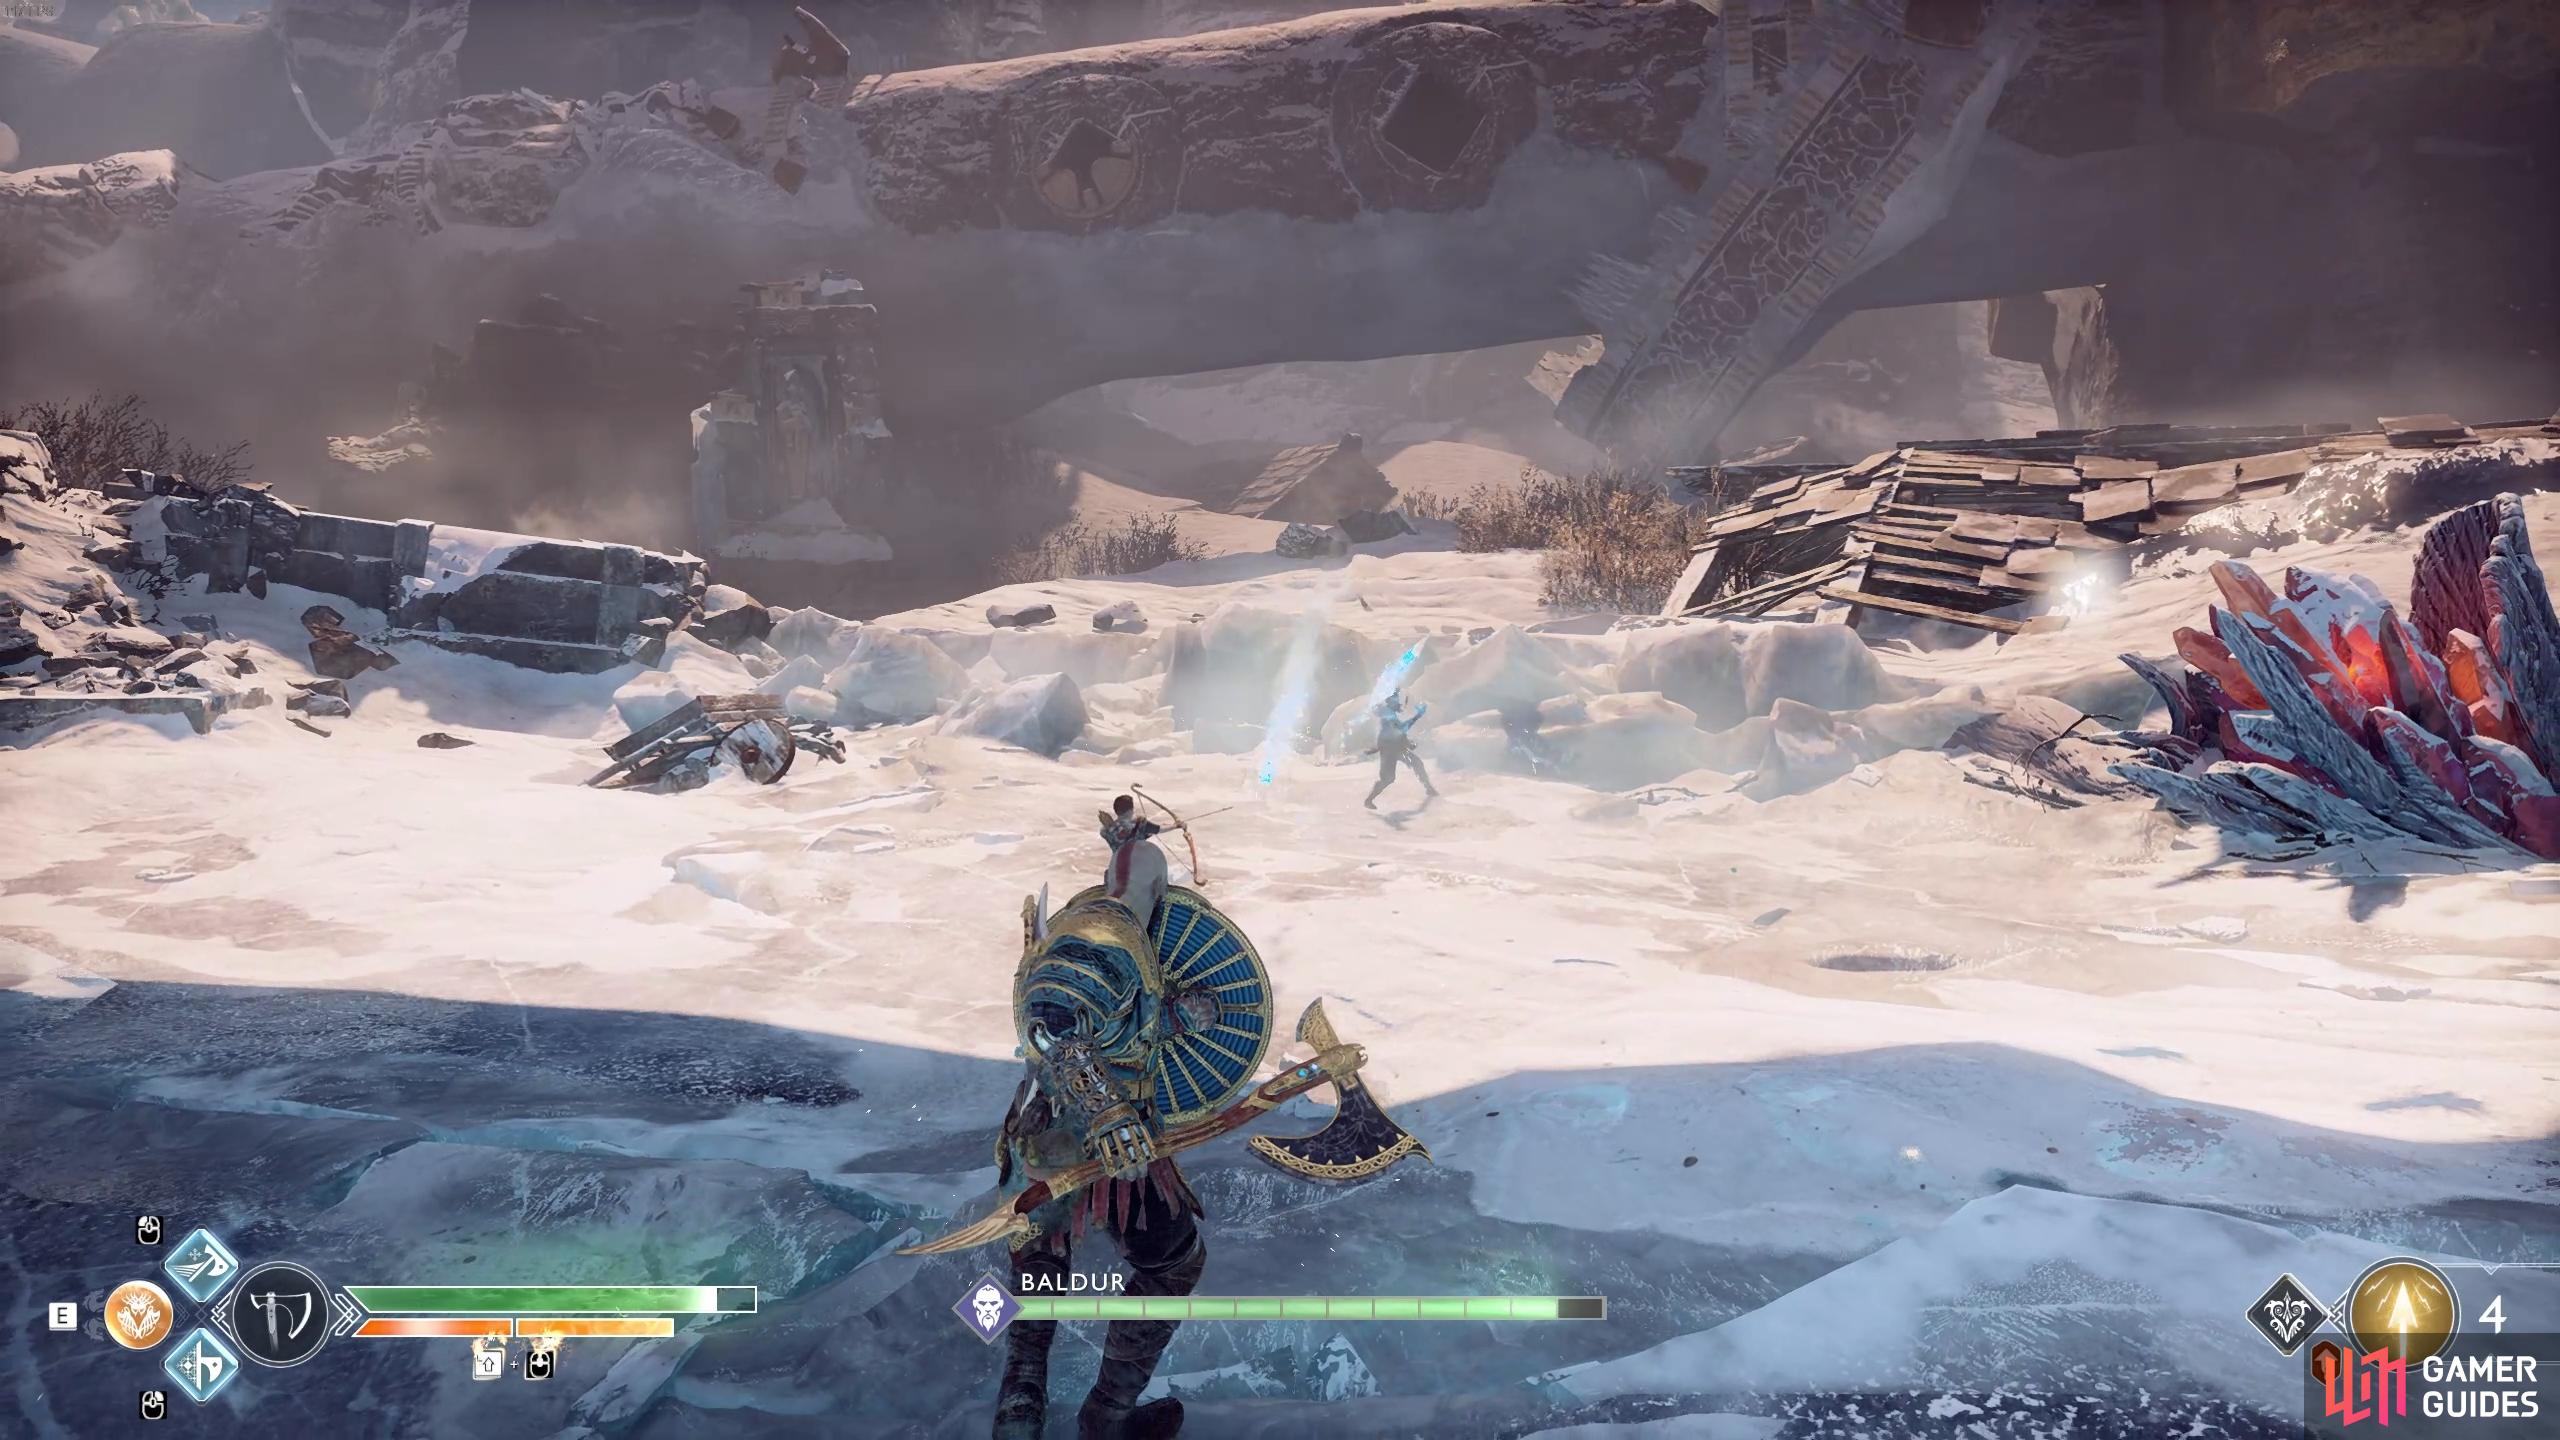
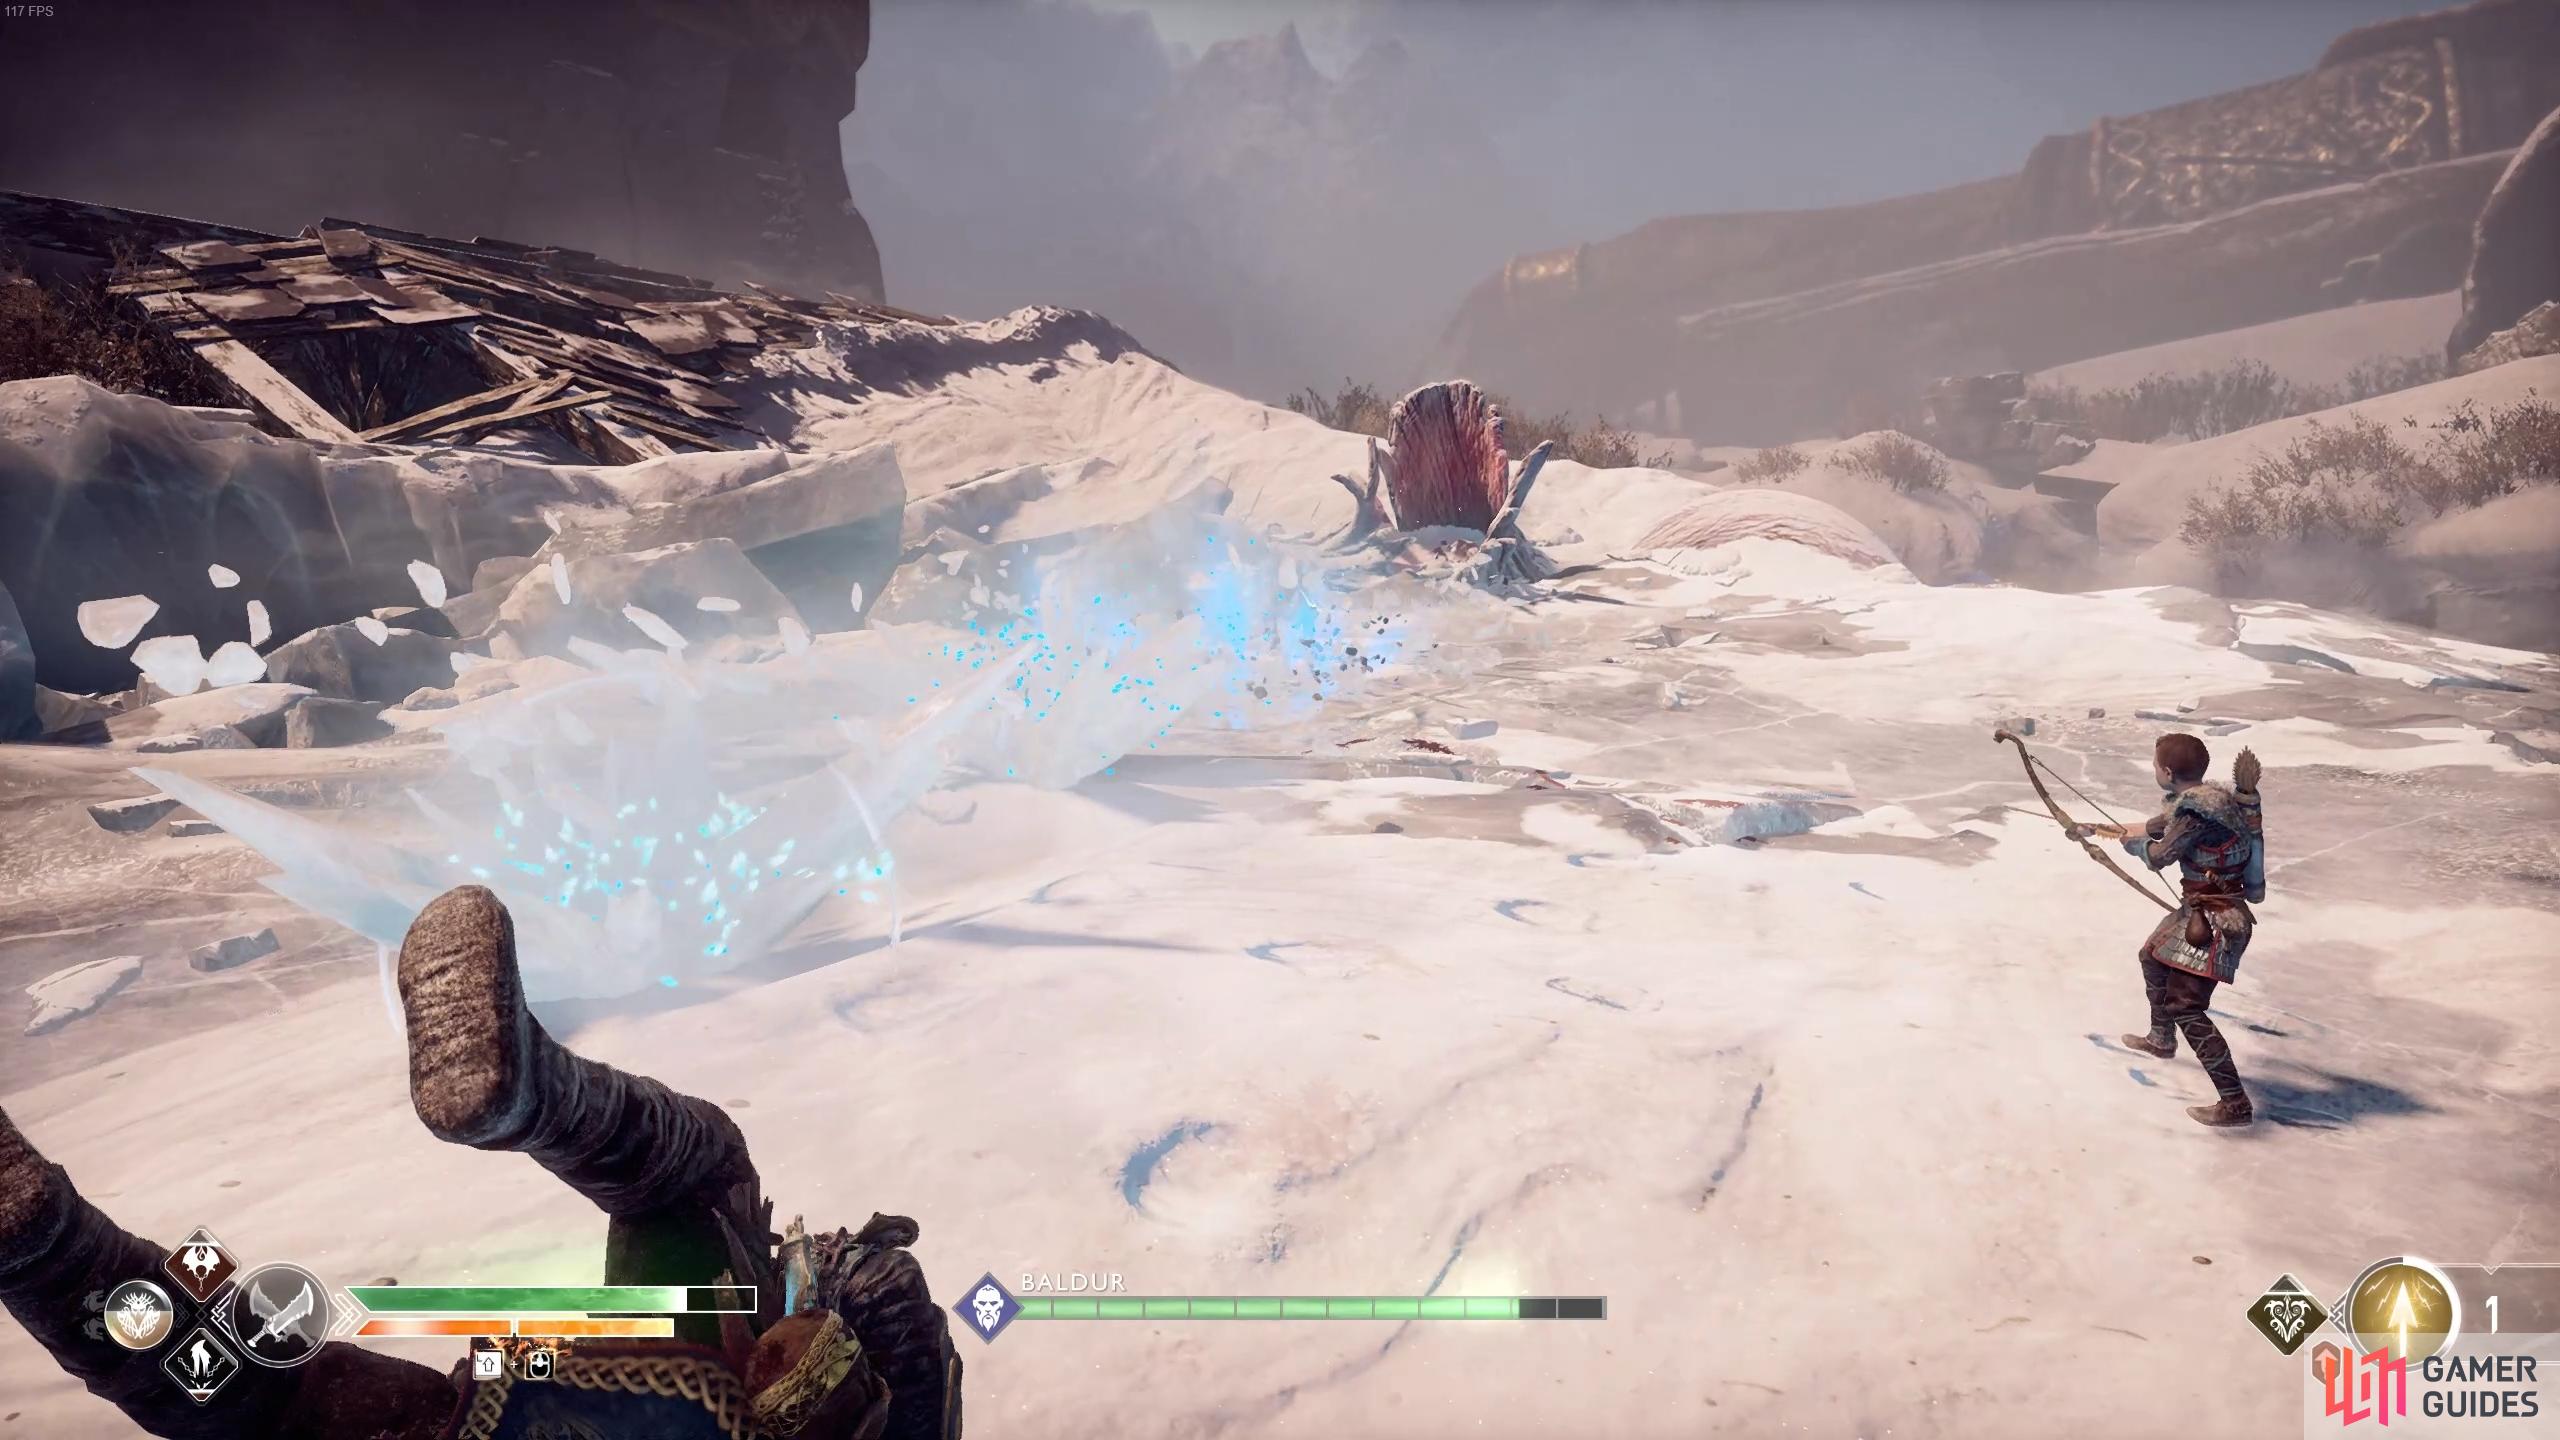
The Ice Shards can be blocked or cast back at Baldur. (left), The Ice Fissures however should be dodge rolled. (right)
On top of that, Baldur adds a sliding kick to his melee combos that will cause an Ice explosion on impact, this can all be blocked with the shield and even parried if you’re timing is perfect. Baldur isn’t your only concern, you’ll have to keep an eye on Freya too as she’ll cause vines to shoot up from the ground and tangle anyone standing in the mystical circles. Finally, she’ll continue to perform the Frost Shockwave. During this phase, make use of blocking a lot and use the Blades of Chaos Runics when available, they deal significant damage to Baldur. After Baldur loses close to half his health, Kratos will deal more fatal attacks and launch Baldur into the wall, triggering an angry reaction from Freya.

(1 of 2) Keep the shield up after the kick to block the Frost explosion.

Keep the shield up after the kick to block the Frost explosion. (left), Freya’s Vines can be spotted by the mystical circles on the ground. (right)
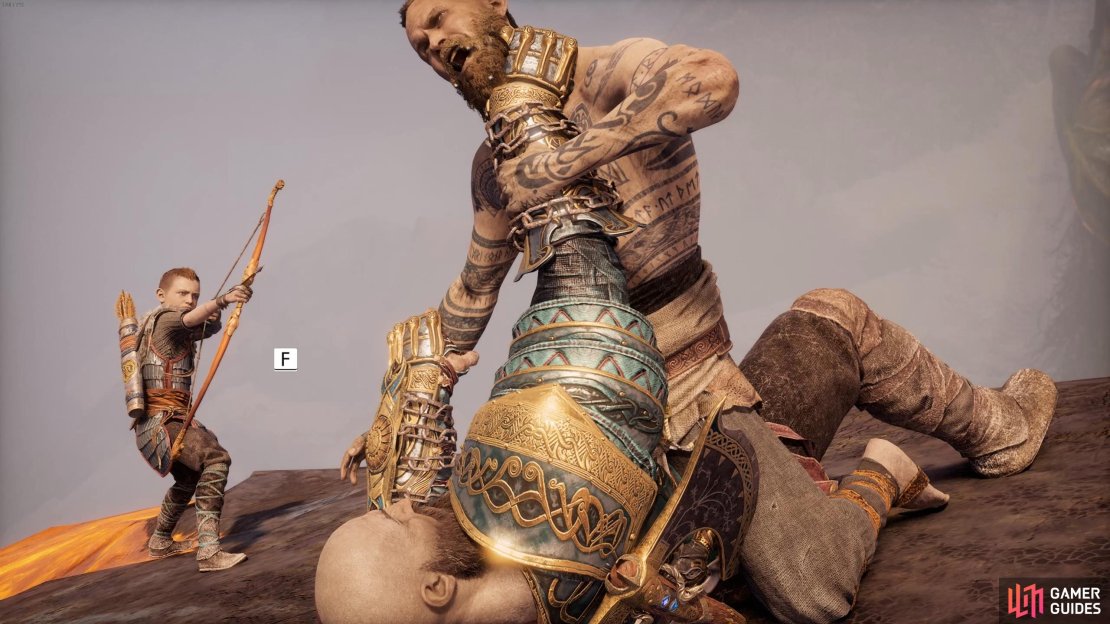
Freya slams down her hand and attempts to block you, lift the hand and have Atreus shoot the Shatter Crystal just as Baldur runs past, knocking both of you down to the canyon below.
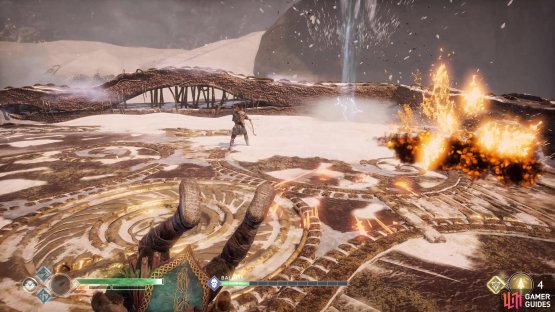
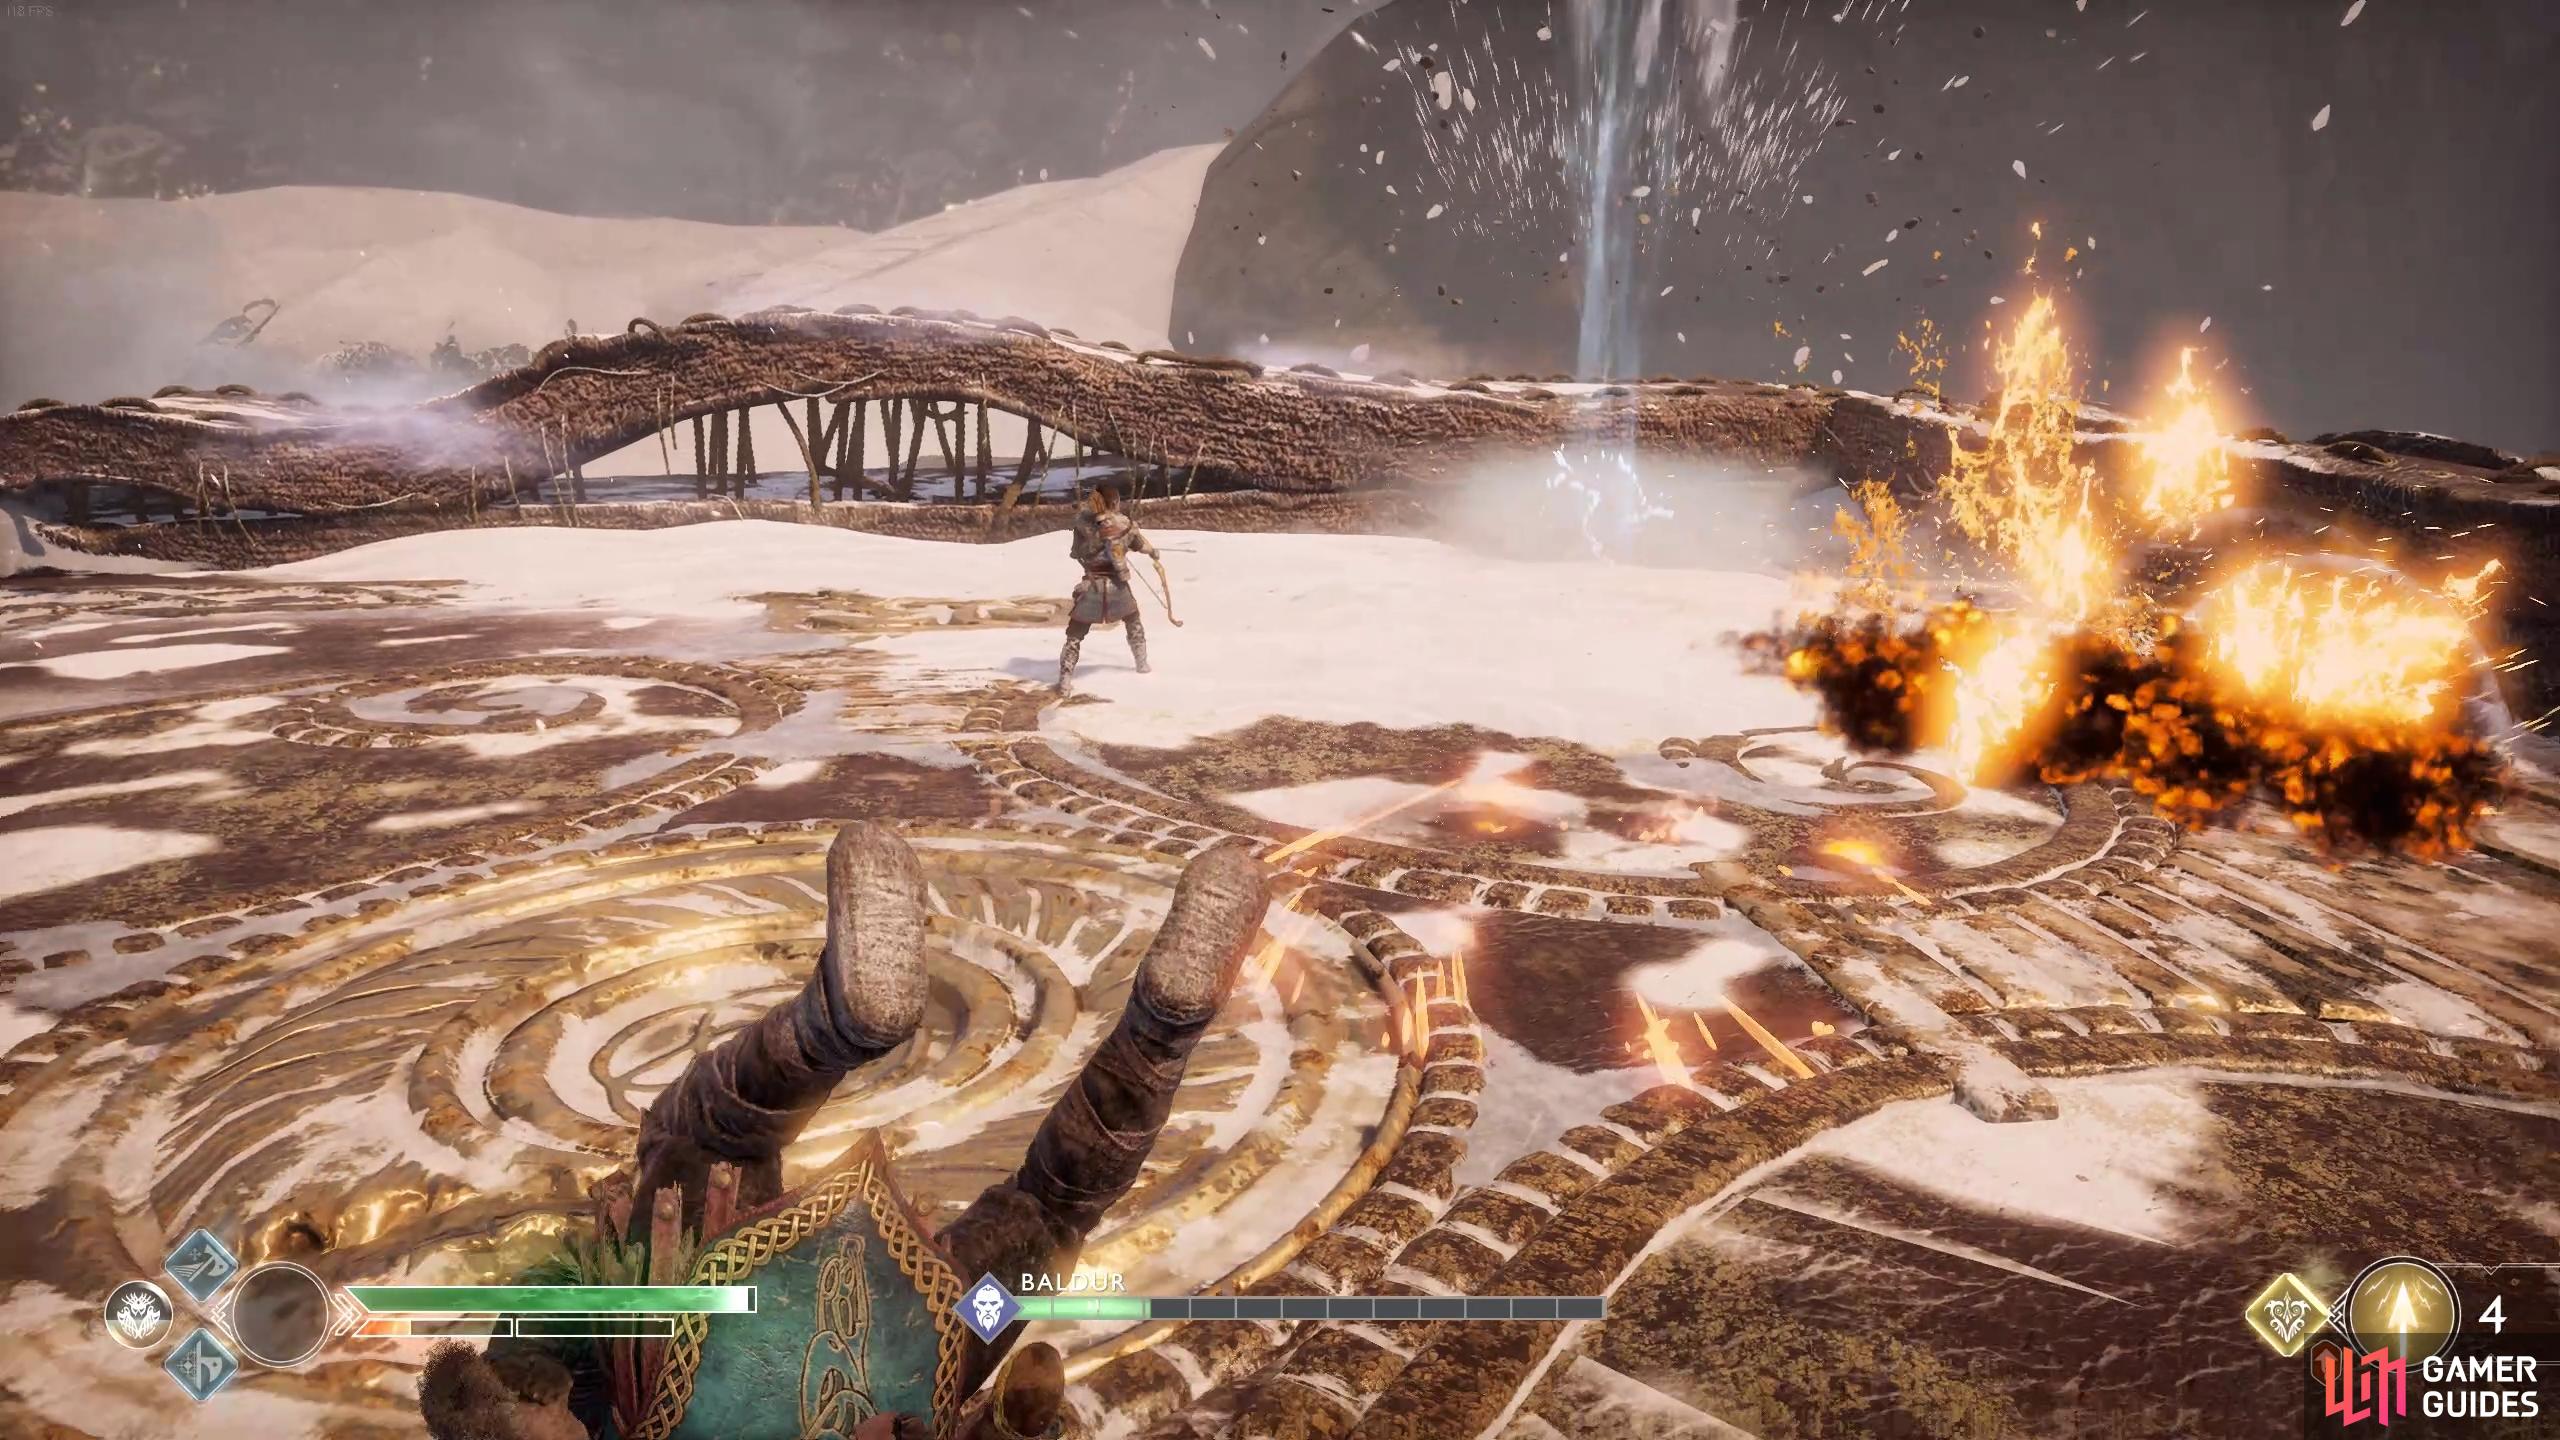
The fourth phase begins now with a Fire infused Baldur and as you may expect, the Leviathan Axe will be necessary to deal greater damage. Baldur is a lot deadlier during this phase and his whole moveset changes. His first new attack causes him to launch into the air with a circle of flames indicating where he lands, creating smaller explosions around him upon impact. Look for the flame circle and get away to avoid major damage. From range, Baldur will hurl Fireballs at you, this is no different to the Ice Shards from the previous phase and should be simply blocked.
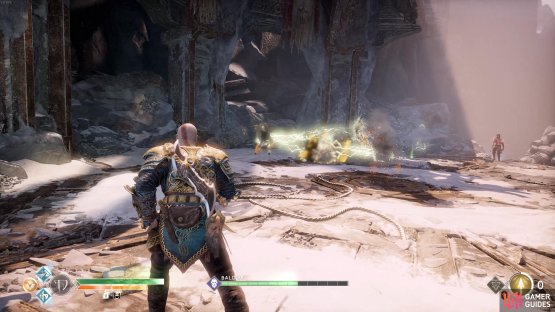
(1 of 2) You can kill the Broods quickly with a few Shock Arrows.

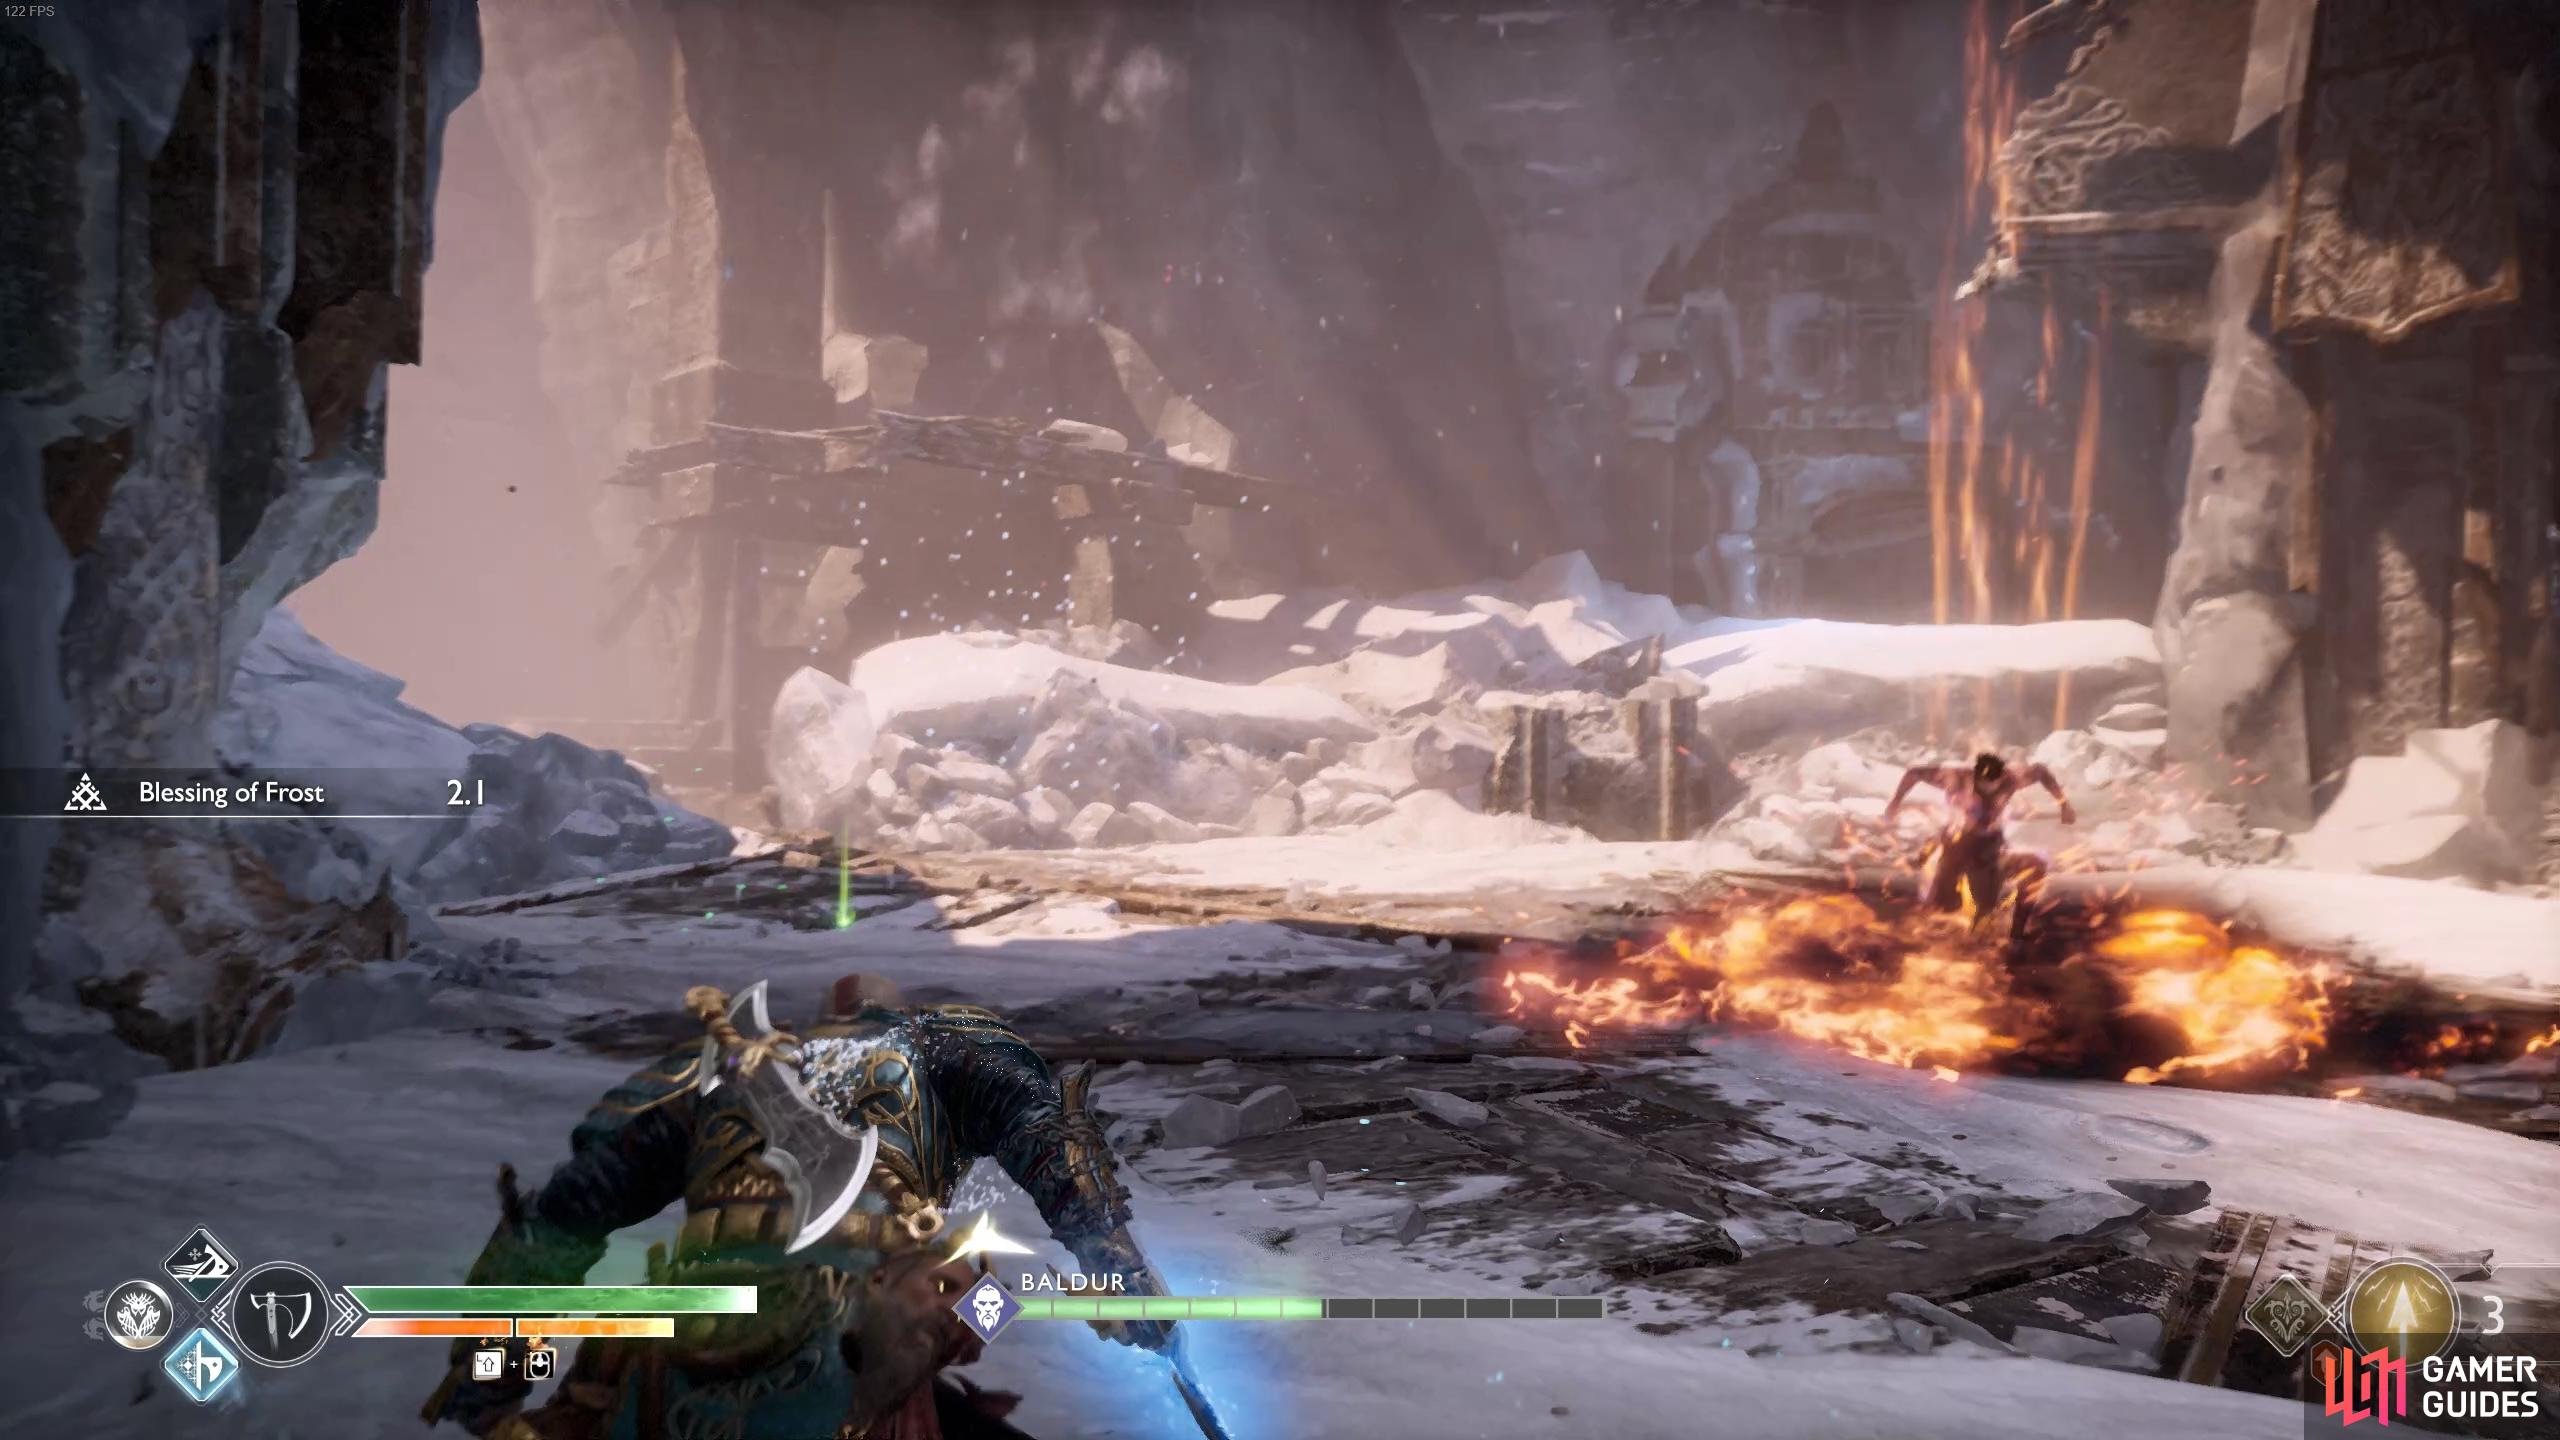
You can kill the Broods quickly with a few Shock Arrows. (left), Watch for the fire circle to indicate where Baldur will land, an explosion follows the impact. (right)
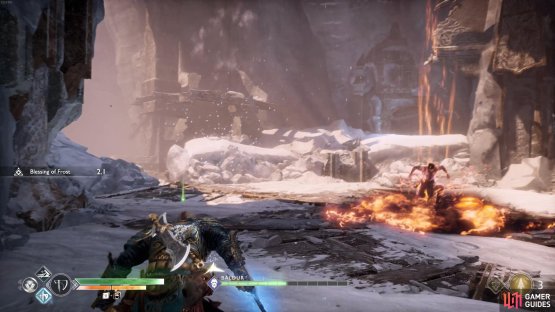
This time when Baldur hits the ground with his fists, a Flaming Eruption will shoot across the ground with a slight tracking property, be sure to keep moving to avoid it. Finally, Freya will summon a swarm of Broods to assault you, be on the move and use area of effect Runics to try and whittle them down, Baldur is your main priority. If you have Blessings of the Frost then you should be able to deal major damage to Baldur, make use of it whenever it’s available. Once his health drops down to it’s final third, Kratos deals another fatal blow to Baldur’s other shoulder.
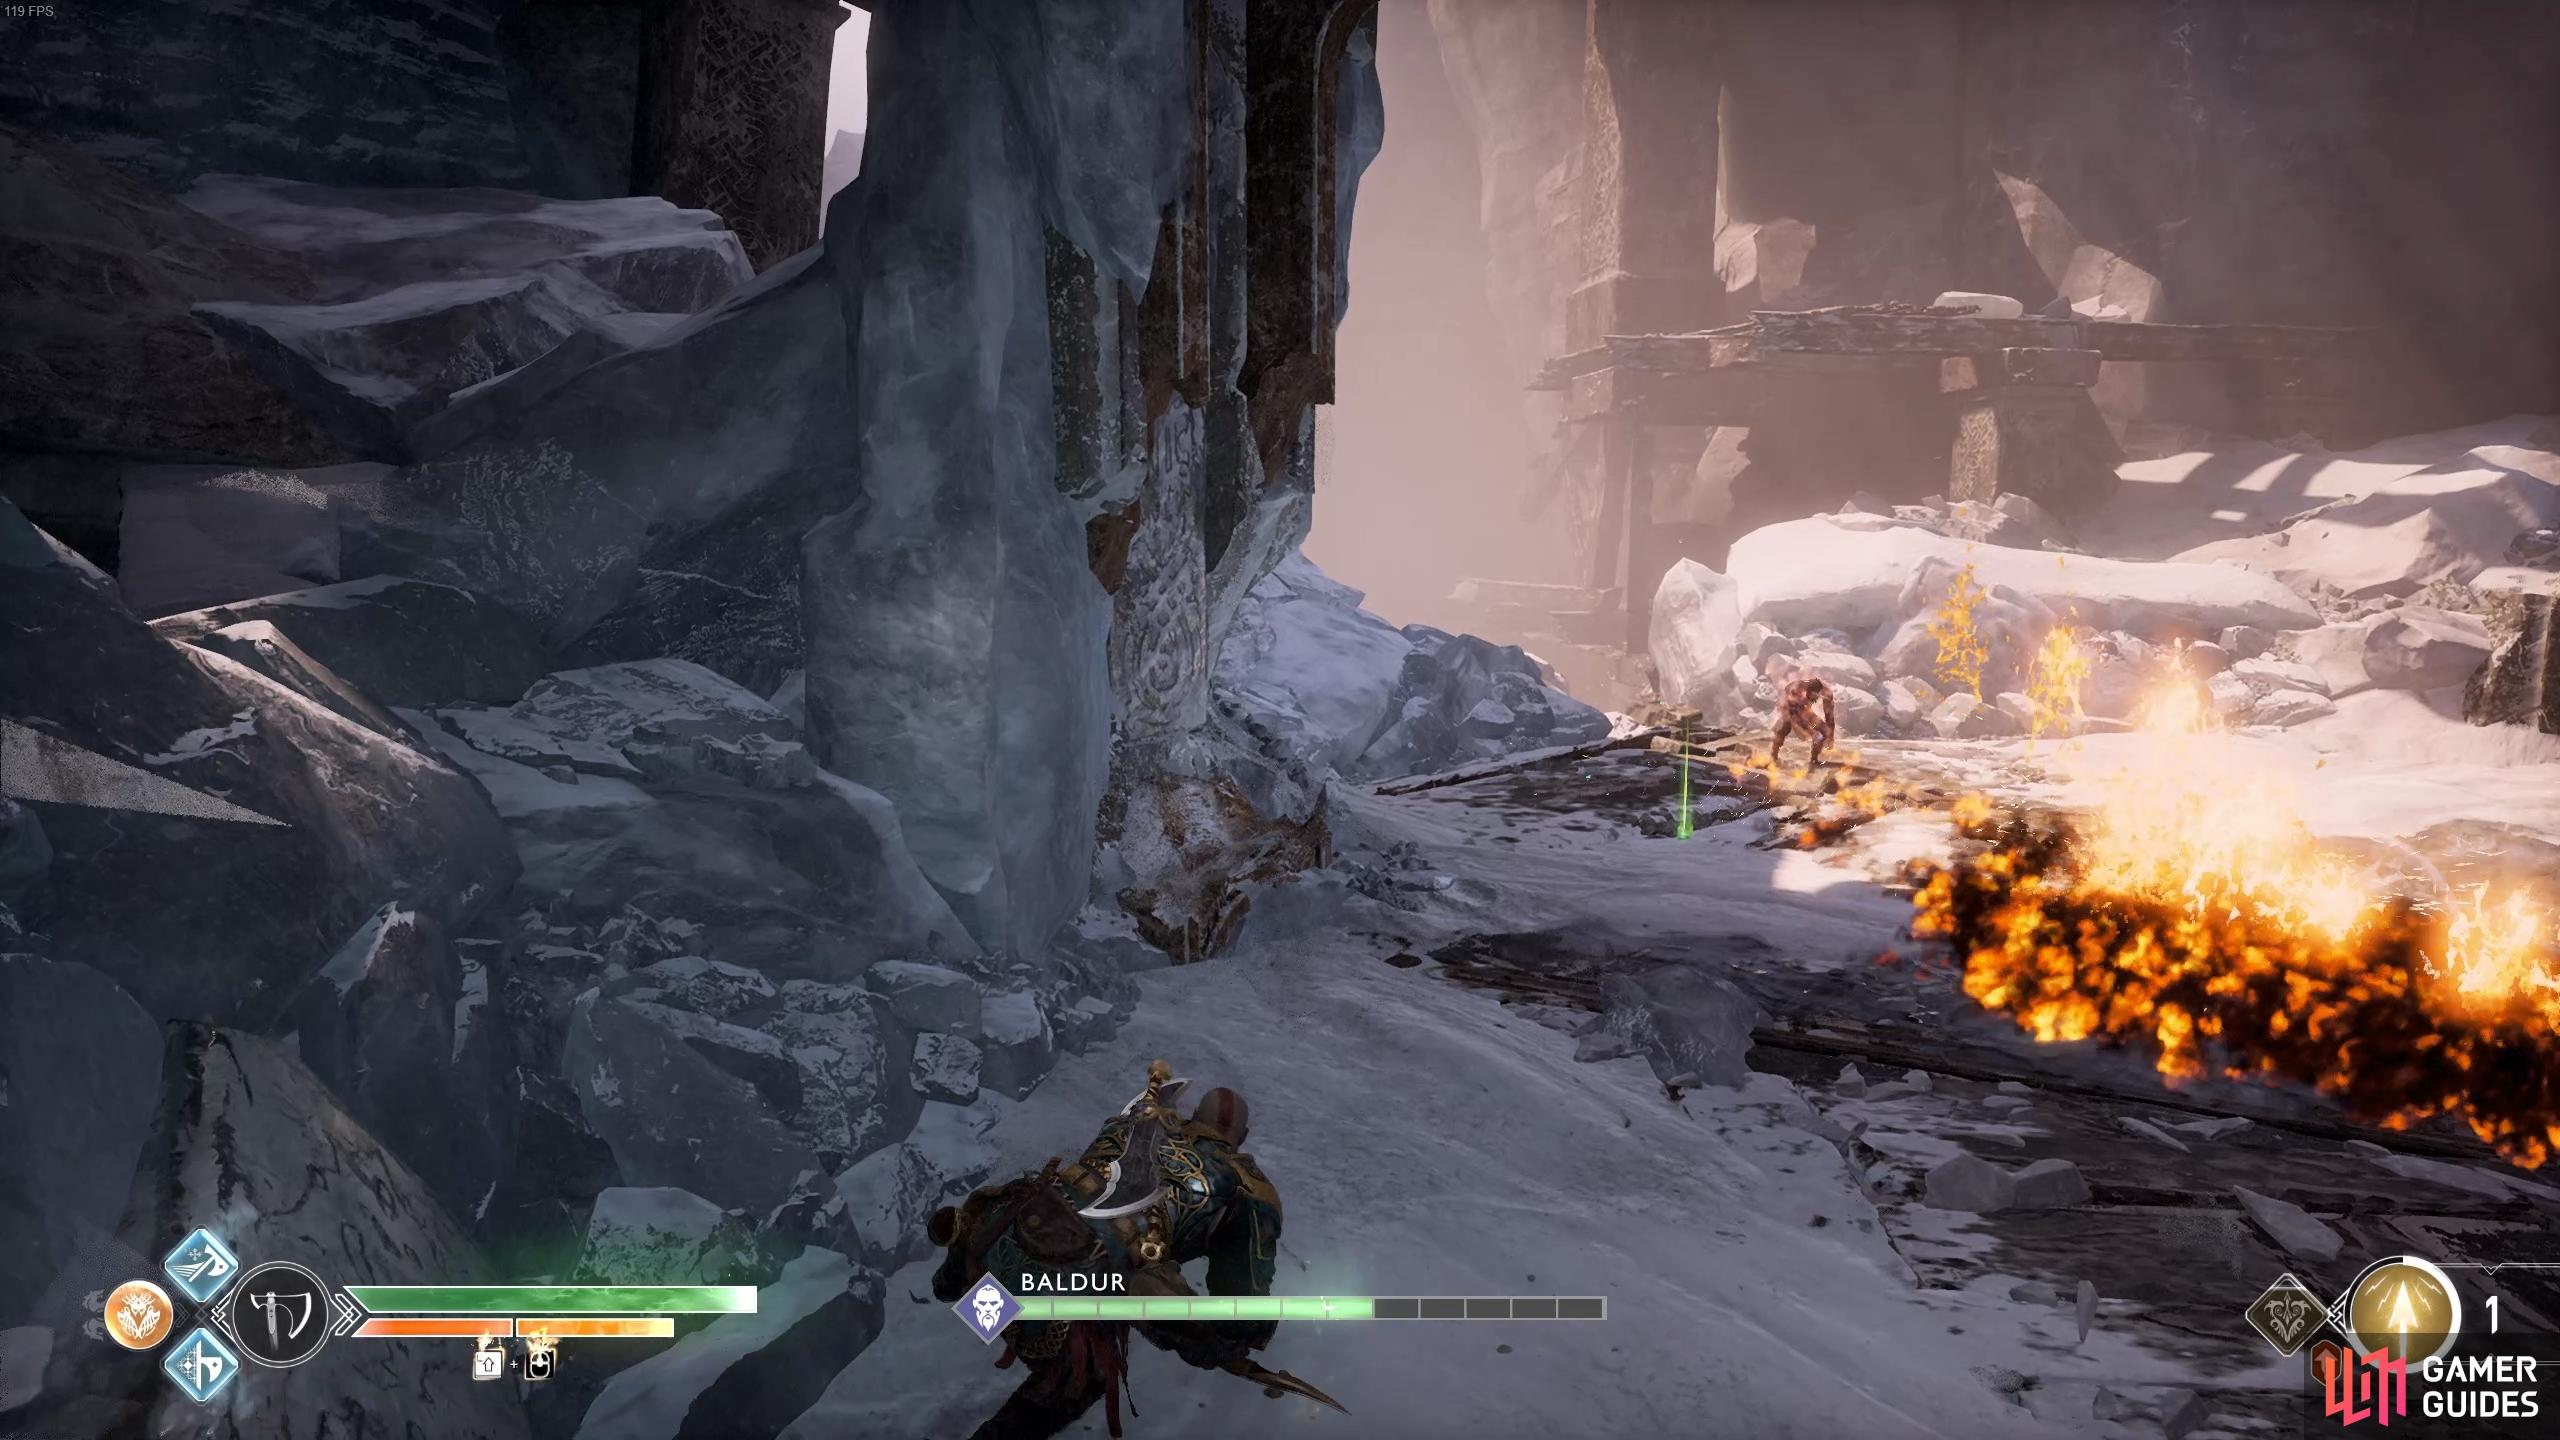
The Fire Fissure causes an eruption that tracks your position.
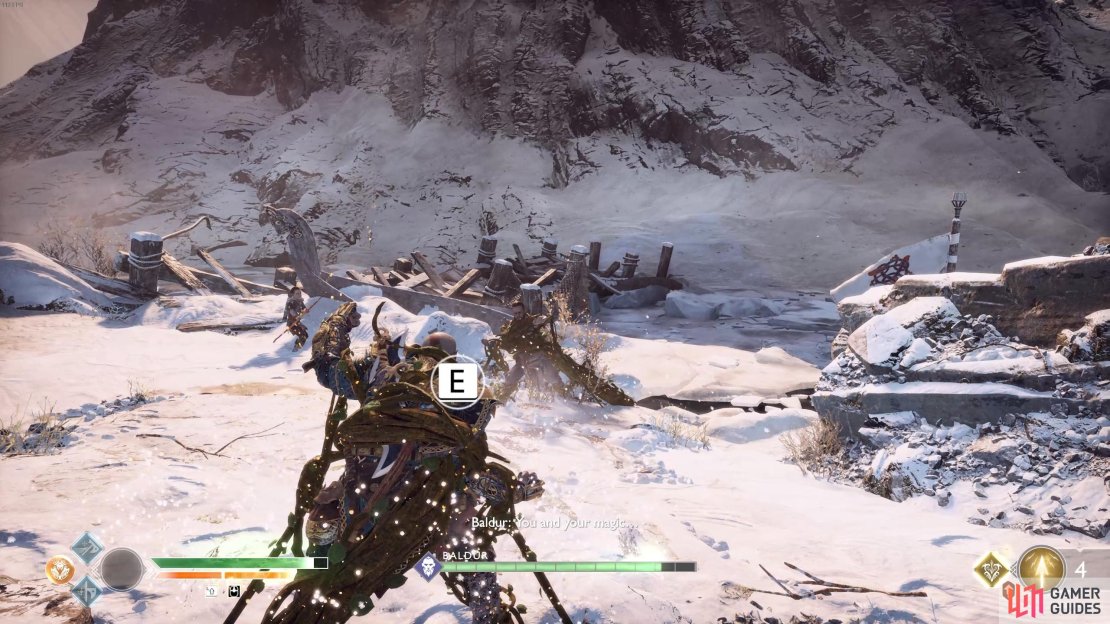
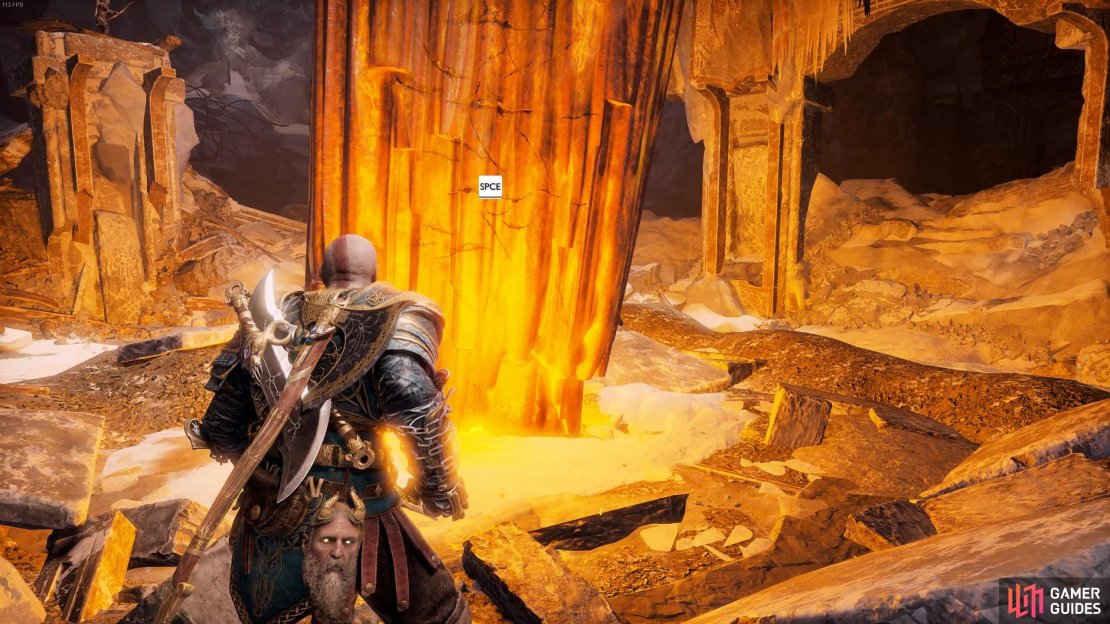
This act prompts Freya to slam down the Chisel from Thamur’s Corpse into the ground, angering Baldur who takes off up the Chisel to reach her, grab any healthstones you need and give chase. At the top, the fight develops into one that resembles your earlier tussle on the back of the dragon. Block the punches and counter where possible, making use of Atreus to shoot arrows whenever the  button or
  key prompt appears. As the fight escalates and you fall down lower, have Atreus choke Baldur however Baldur flips the tables. Activate Spartan Rage when the prompt appears to knock Baldur back and begin the final phase.
(1 of 3) Take off after Baldur up the Chisel.
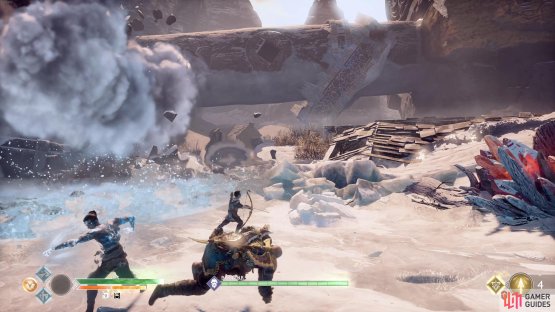
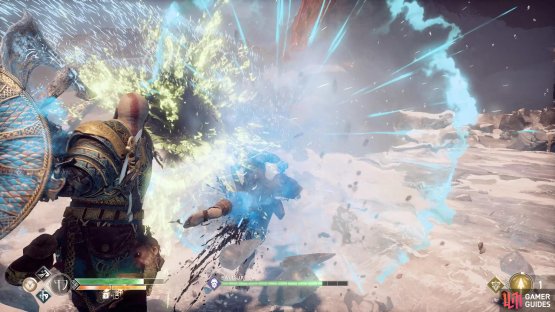
Baldur only gains one new attack for this final phase, he can launch himself in the air for either a Frost or Fire slam, leaving fields of Frost or Fire in it’s aftermath. Not only that, he can perform this up to three times, make sure you dodge away from any fields of Frost or Fire he may have left on the ground.
You begin this final phase in Spartan Rage, giving you the chance to deliver major damage from the get go. Baldur will shift his form between the Frost and Fire forms at will, look at his skin color to determine which form he’s in, blue for Frost and red for Fire. Change your weapons and Runics according to his weakness and continue to attack him, using Spartan Rage if you need it.

(1 of 2) You’ll need to avoid more frequent frost and fire waves in this last phase.
You’ll need to avoid more frequent frost and fire waves in this last phase. (left), You’ll be briefly slowed if you enter the frost circles, try to avoid this. (right)
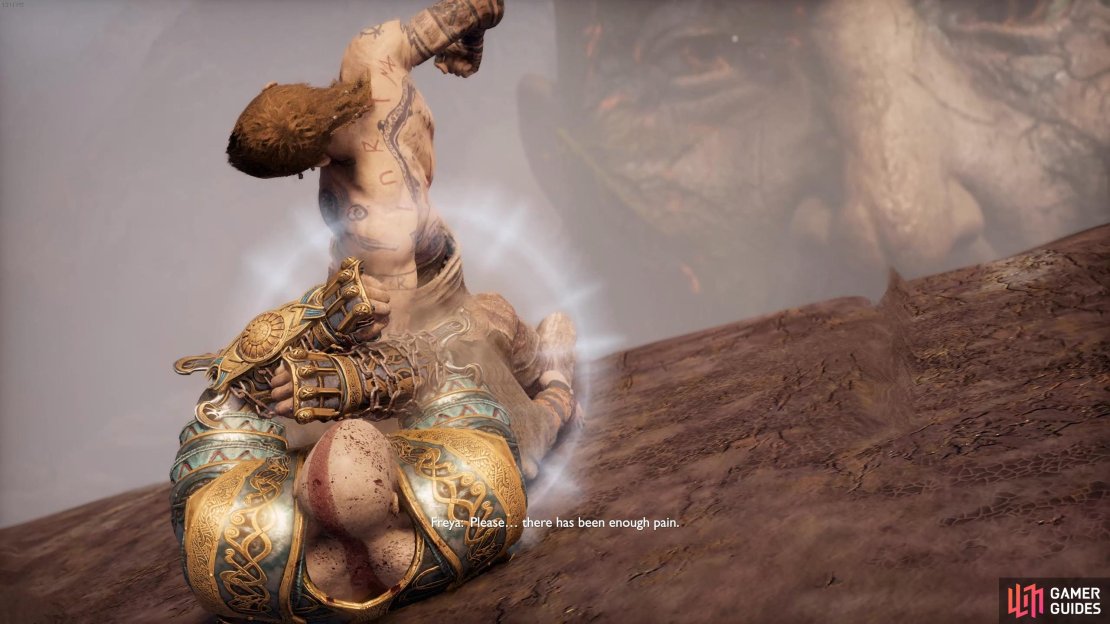
As Baldur approaches the end of his health bar, an event will trigger launching a final flurry of attacks between Kratos and Atreus, hit the prompts that appear on the screen to end the fight. Watch the events that unfold following the battle, the actions that follow will be sure to have ramifications far into the future.
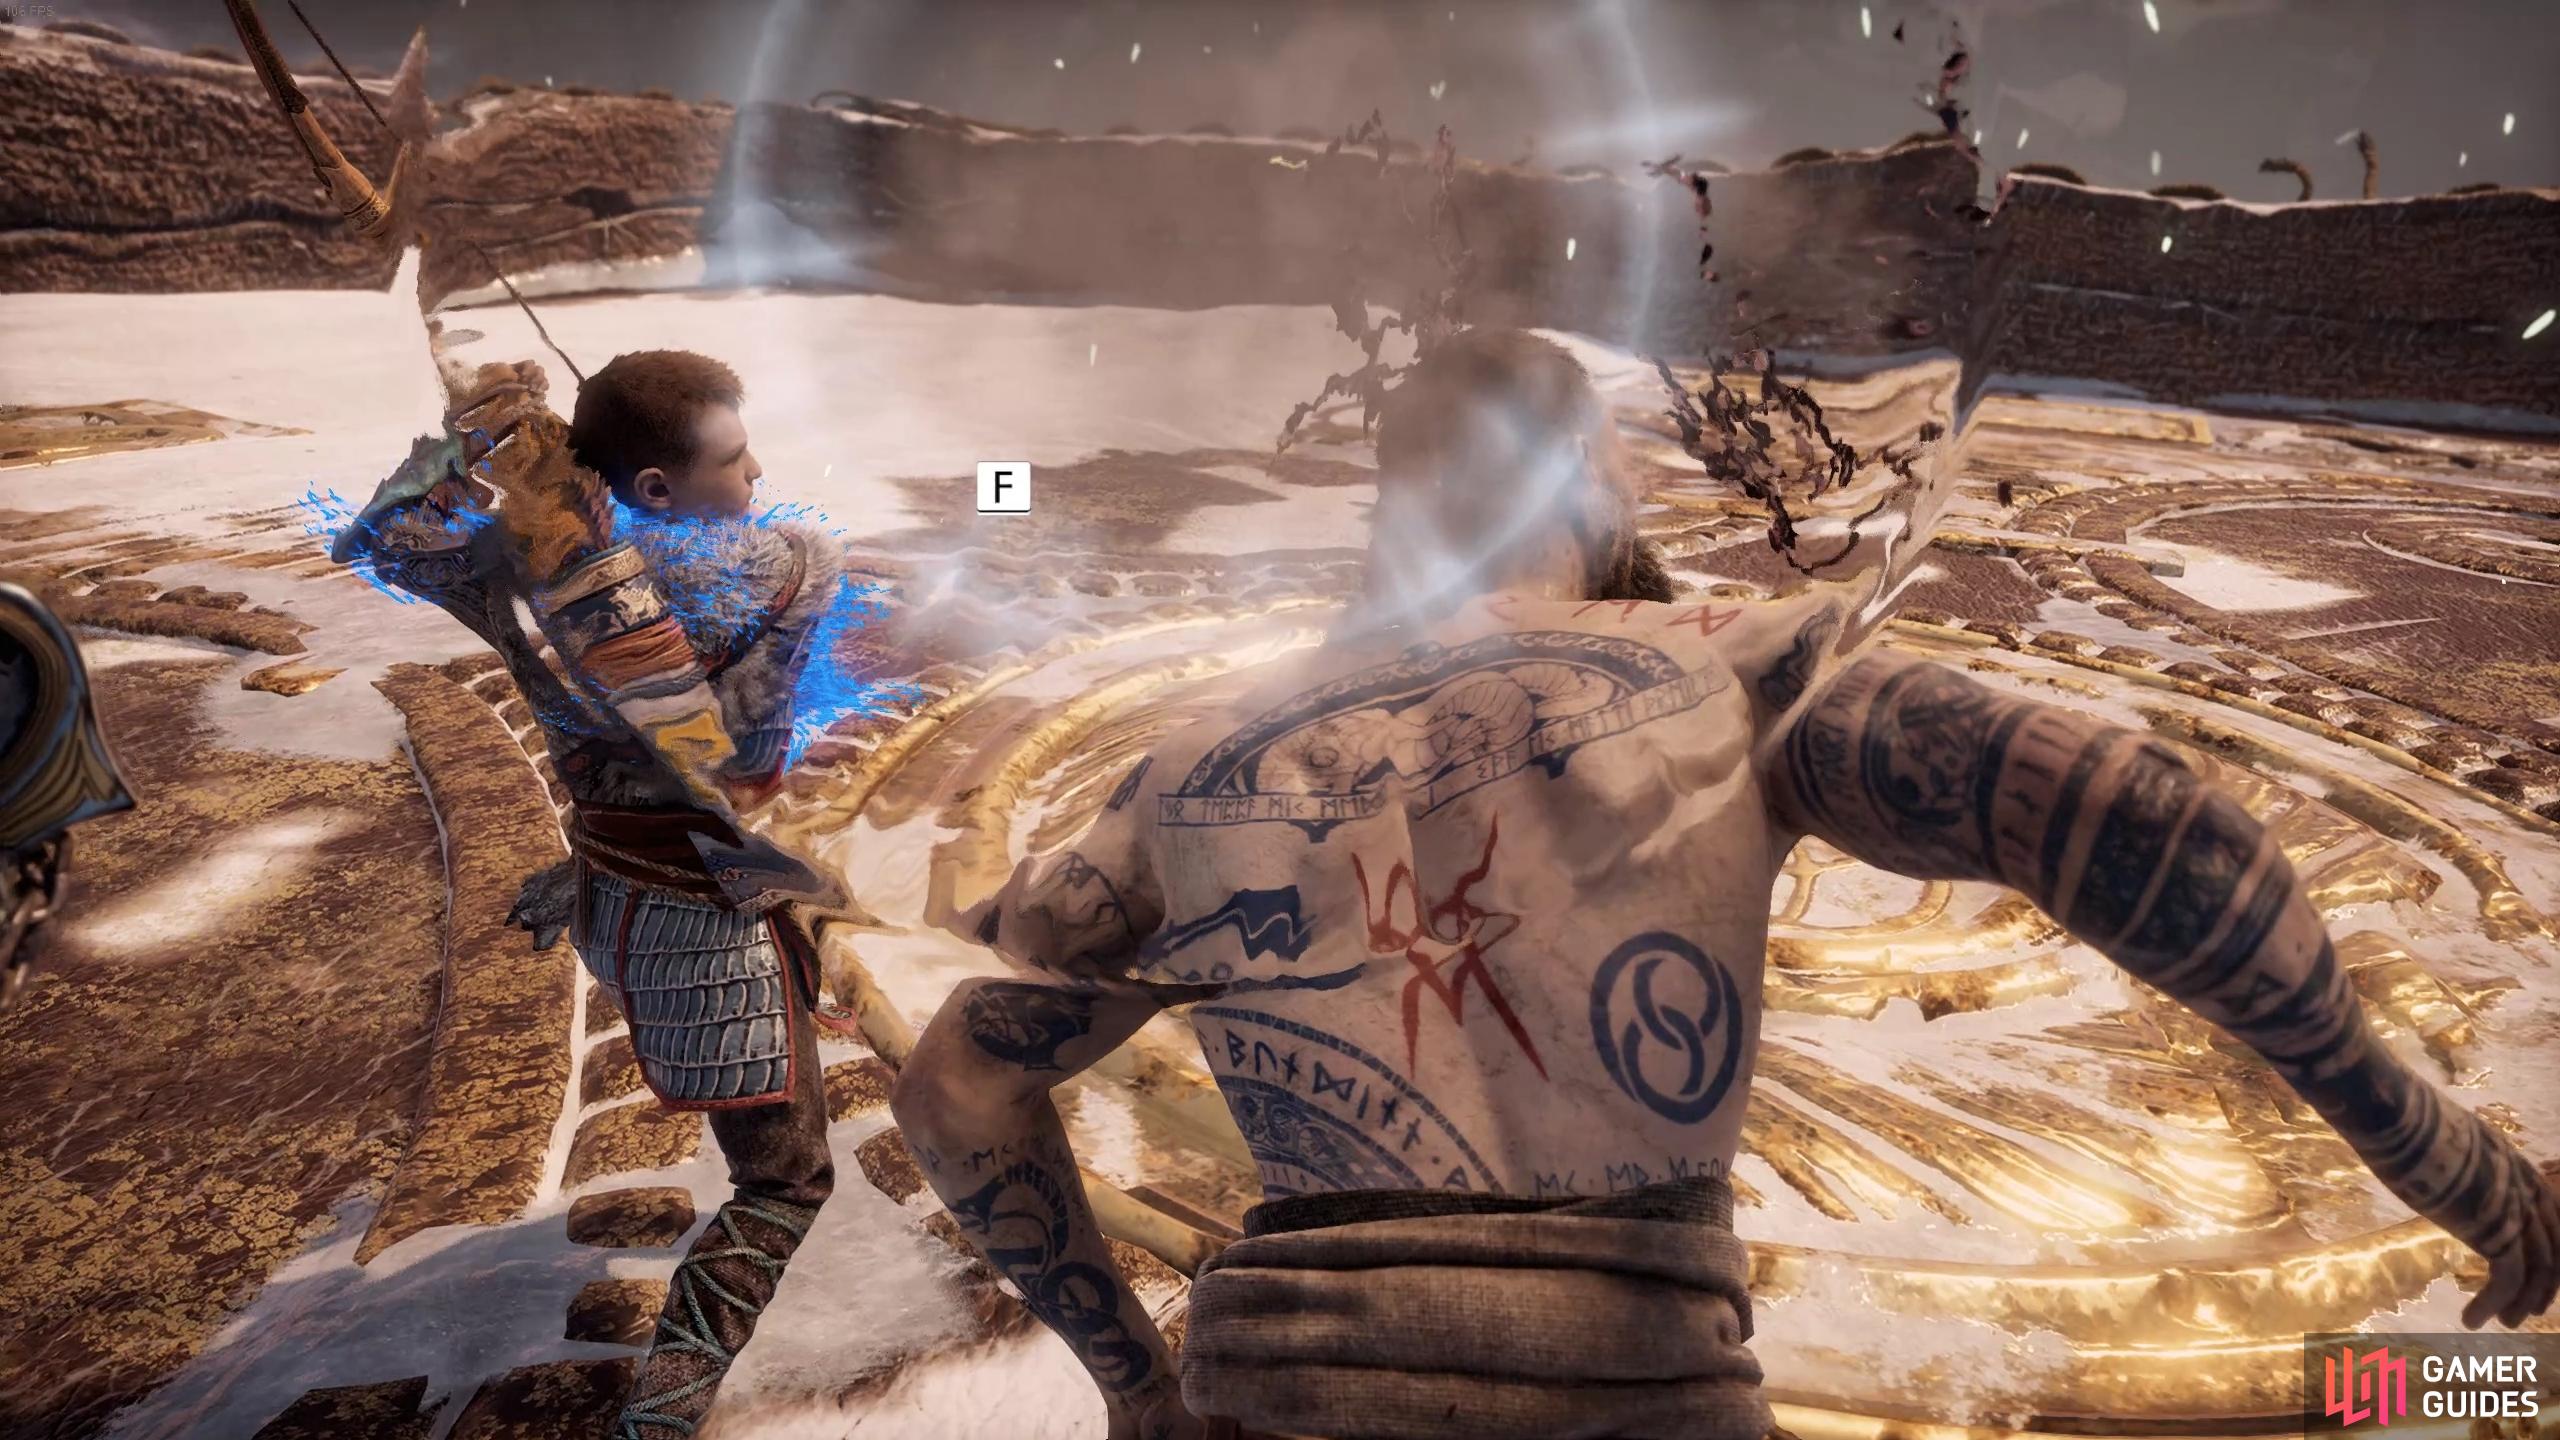
Follow the prompts to finish the fight.
You’ll unlock the Twilight Beckons achievement upon completion of the quest.
No Comments