

The Winds of Hell, God of War.
Freya’s Cave
With Atreus back in your care and possessing the Winds of Hel, it’s a good time to go and revisit some areas you couldn’t earlier. To make this even easier, you now have access to the full Mystic Gateway network making travel quicker than ever.
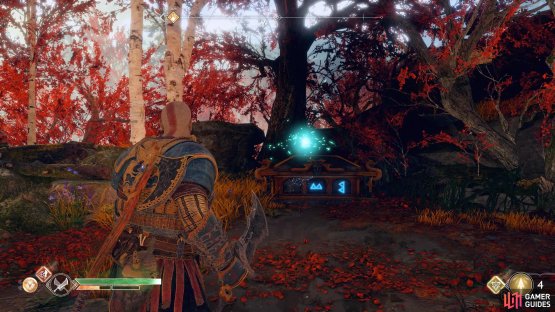
Freya’s Cave is as good a place as any to begin exploring. Head over to where you found the well entrance and grab the Winds of Hel from the wind trap on the open door. Run back the way you came and deposit it on the wind trap near the ramp up to the house. Absorb the energy again and this time take the southwest passageway to the bottom and deposit the energy in the trap just over the block you pushed into the water during your first visit.
If you’re struggling with the wind traps, see the gif below.
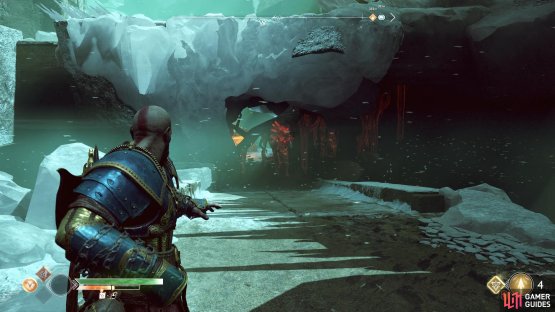
Leave the energy here for the time being and head across the Light Bridge and up the ledge. The Hidden Chamber of Odin is here, head inside and ride the elevator down to the bottom. Activate the Mystic Gateway and head up the stairs to find a coffin. Leap the first gap and take the stairs down to the left to find two Hacksilver chests. Your next Valkyrie, Kara, lies in wait in the central chamber in here and is a difficult foe. Don’t even attempt this unless Kratos is at least Level 6 and you have a Resurrection Stone on you.
Defeat Kara
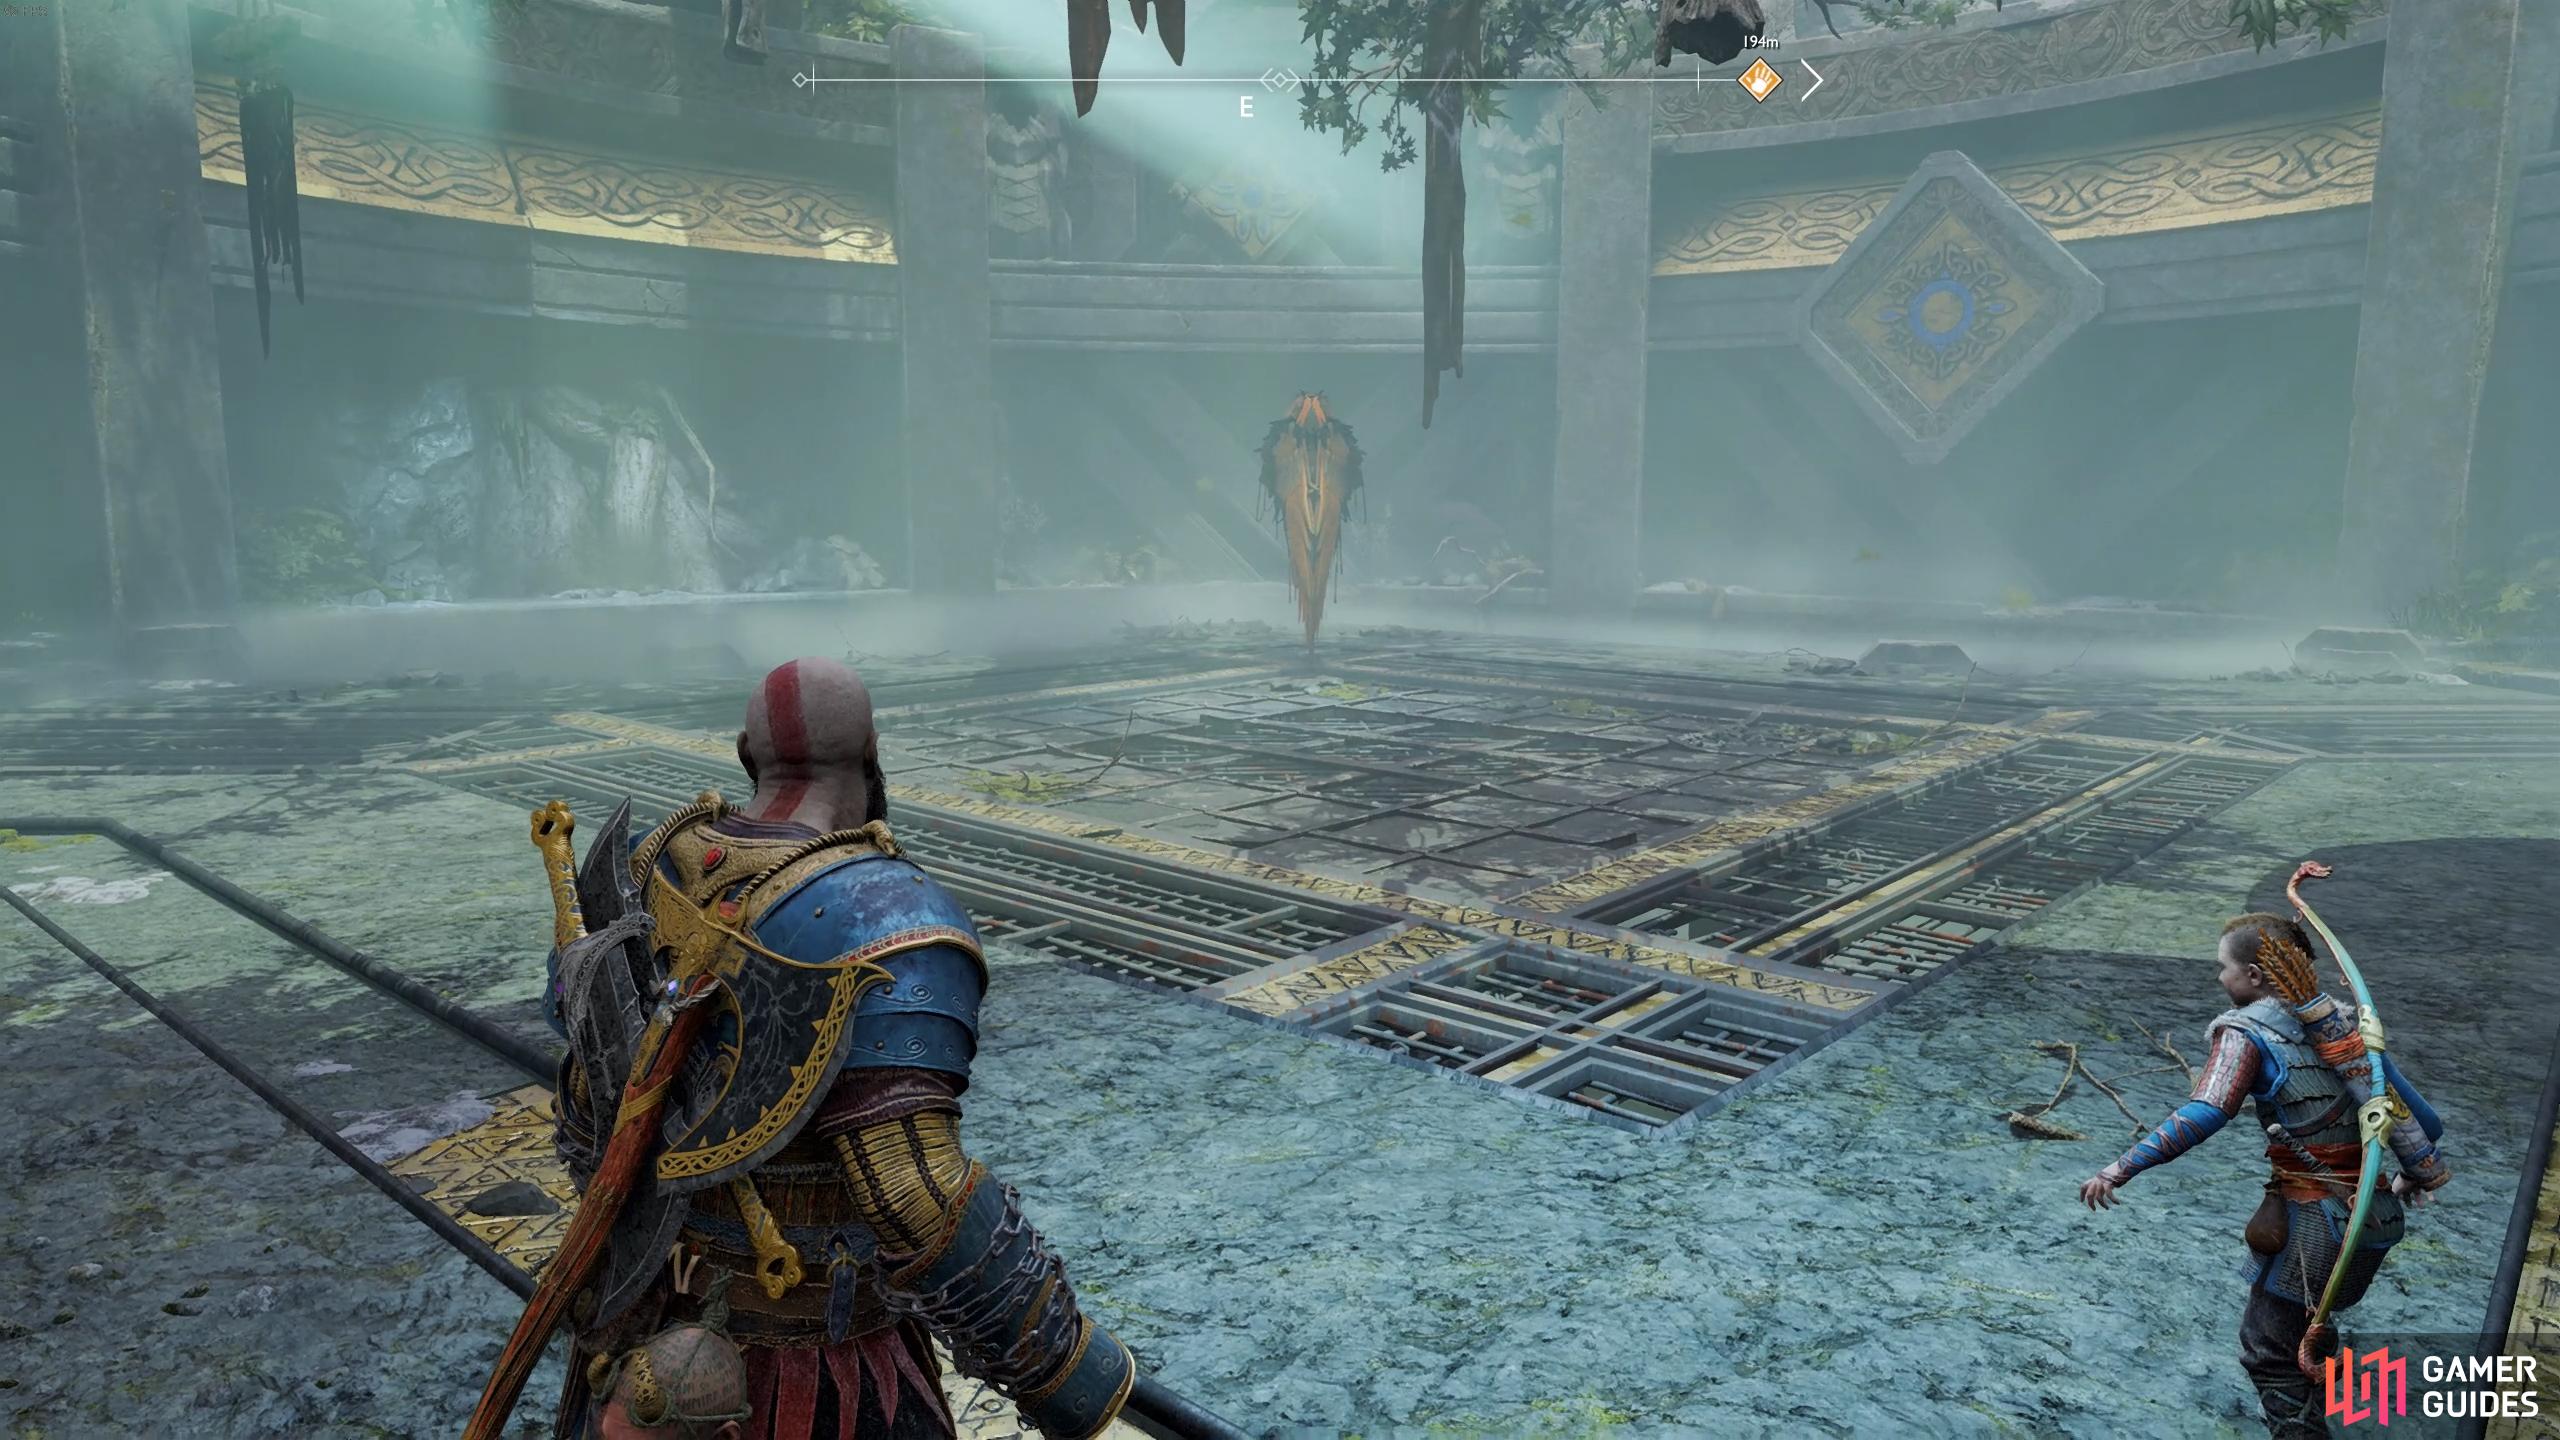
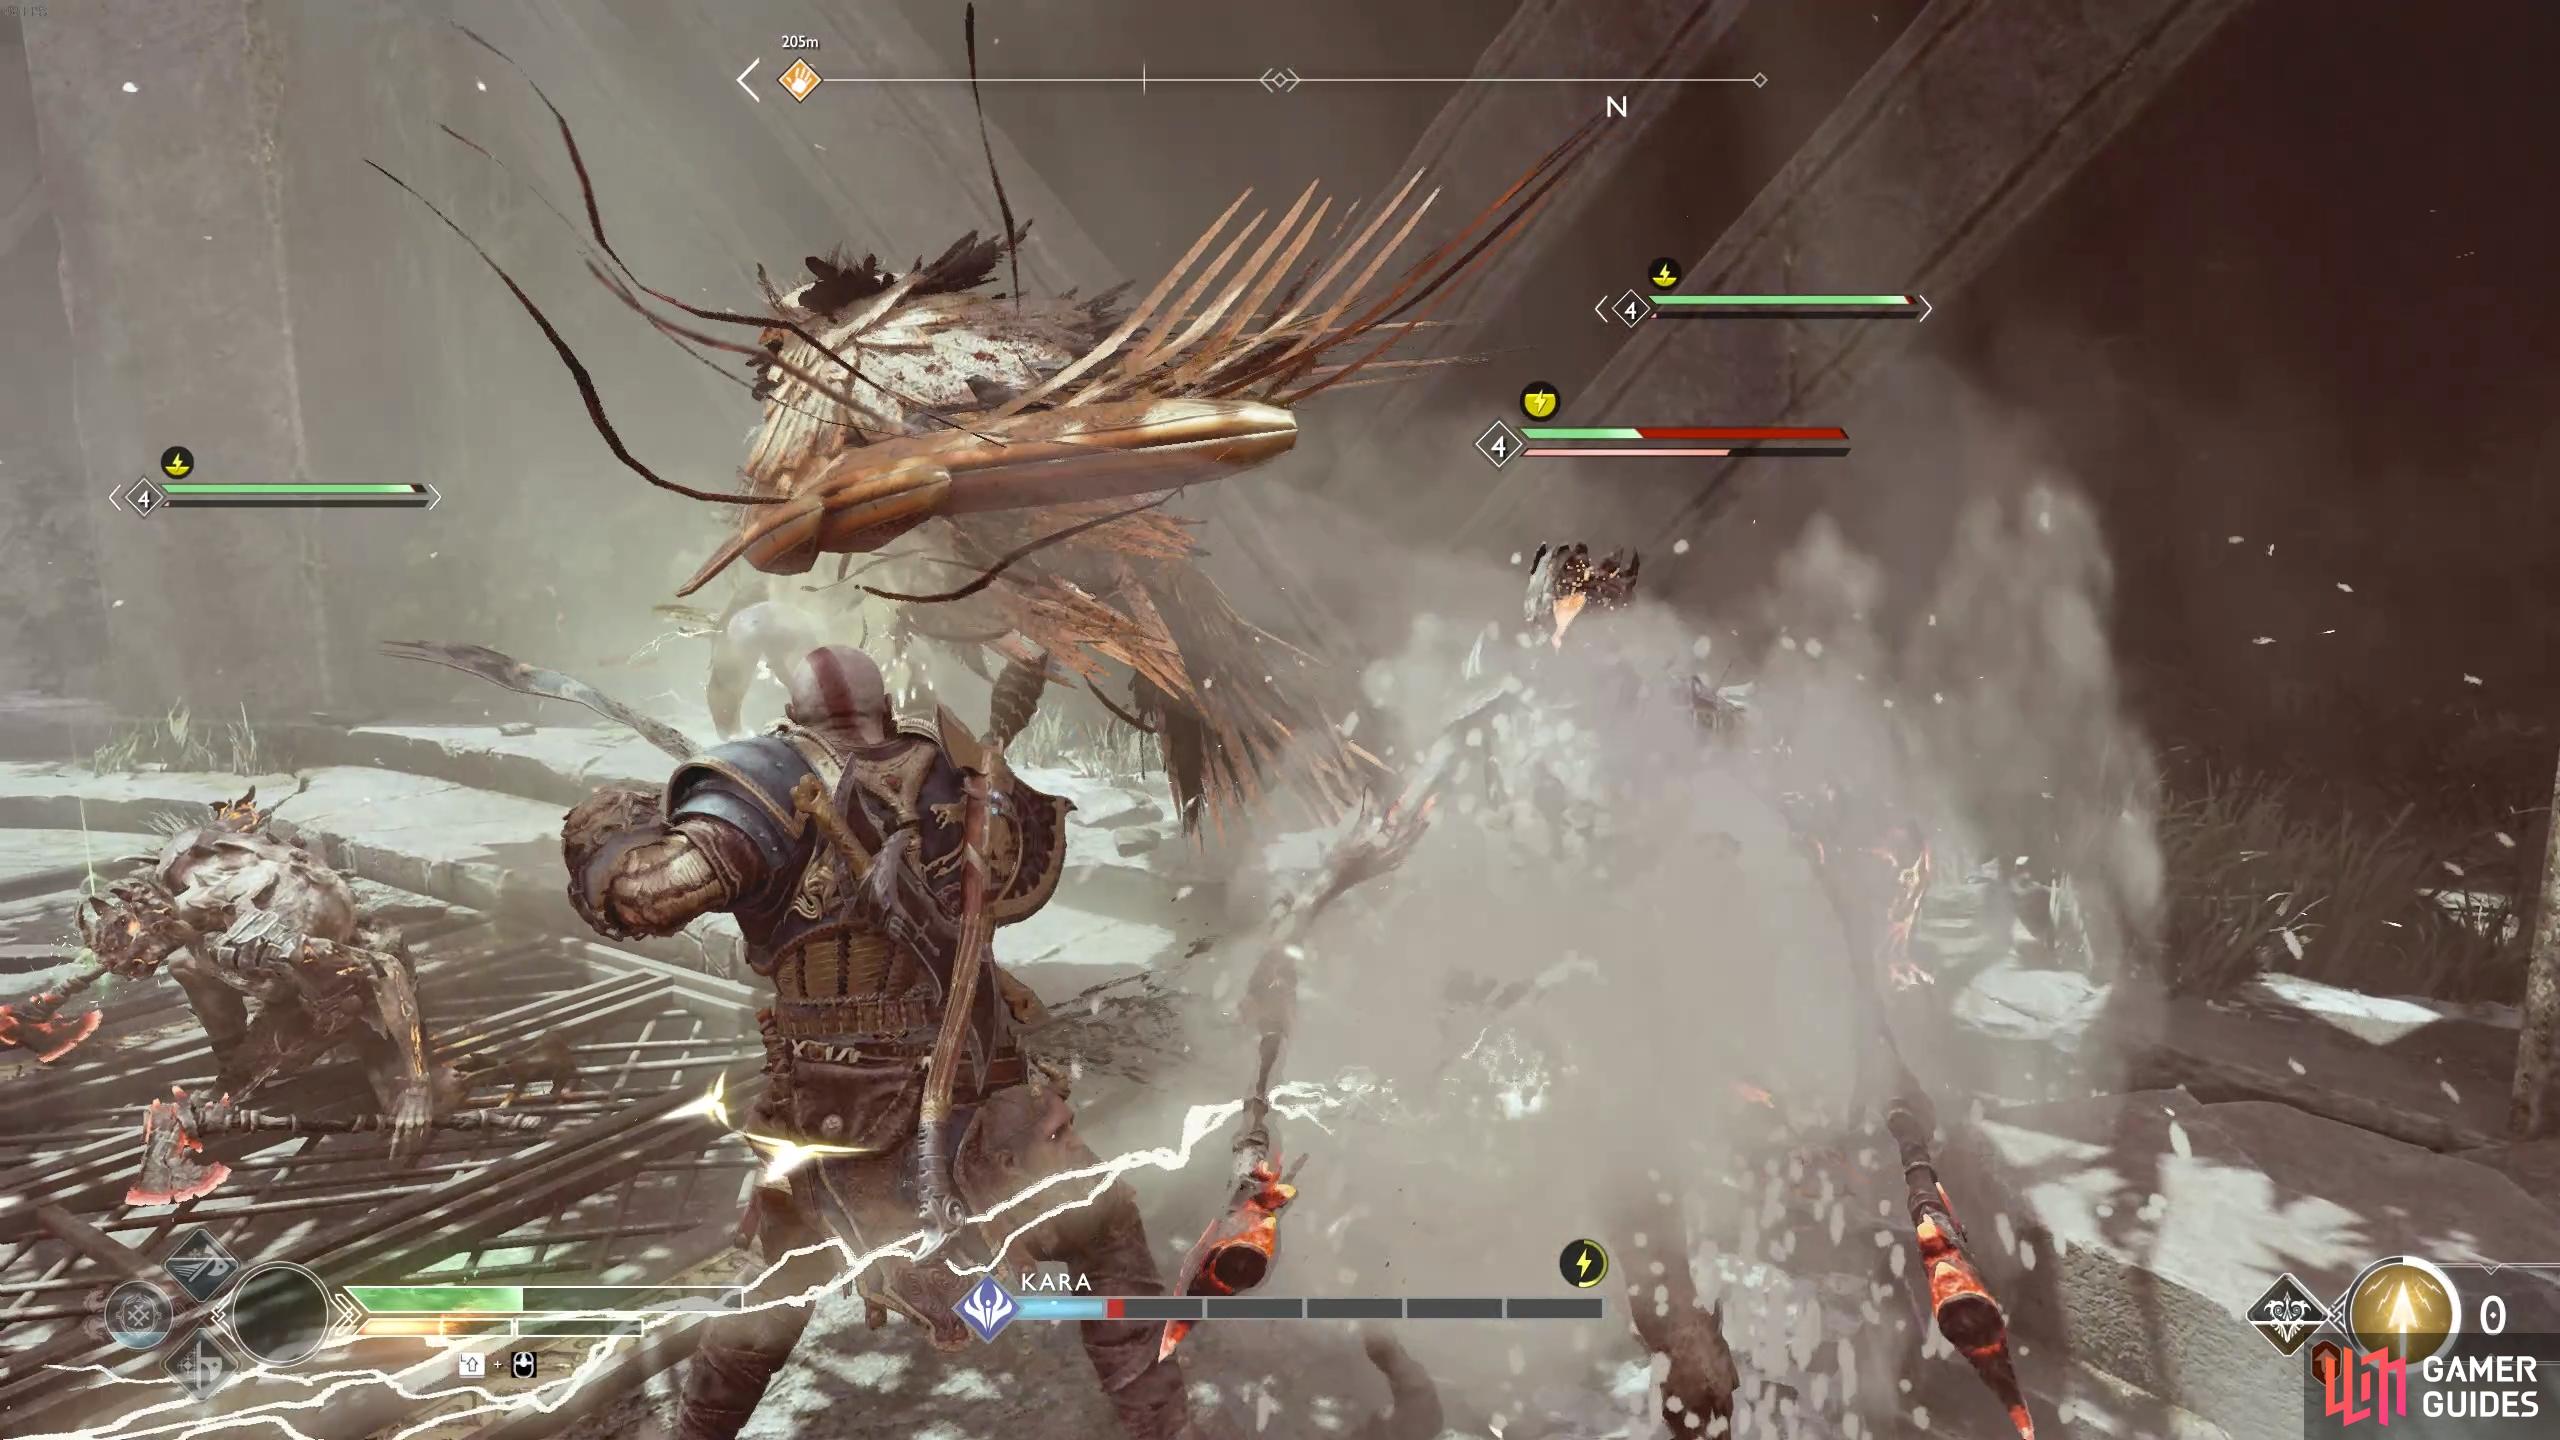
Kara, God of War.
Before starting the battle, you’ll want to make sure you have Blessings of the Frost (found in Thamur’s Corpse) equipped to the Leviathan Axe and Cyclone of Chaos (found in Helheim) to the Blades of Chaos. Make sure you’re using Shock Arrows with Atreus and have Murder of the Crows equipped and fully upgraded. Finally, a fully upgraded Talisman of Unbound Potential is handy too, you’ll want to be utilizing your Runic’s a lot as you may have guessed, this Valkyrie is a summoner and crowd control will be vital.
Kara herself isn’t the main threat here, it’s the additional Draugrs she’ll summon throughout the battle. She will always have Draugrs summoned so you’ll need to manage them both. Note that the arena does have an edge that you can knock the enemies into if need be.
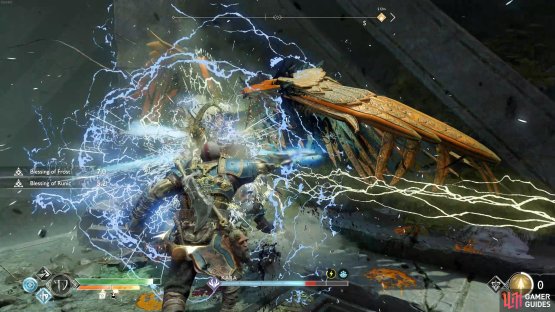
(1 of 2) Blessings of the Frost adds huge damage to her.


Blessings of the Frost adds huge damage to her. (left), When Kara raises her wings, she’s about to execute a Chakram or dive attack. (right)
She carries over the Wing combo and Scythe Lunge attacks from Gunnr (as do most Valkyries) however note that her Wing Combo doesn’t feature the punch after the second swing so you can block the entire attack. The Scythe Lunge should be dodge rolled to the side and used as an opportunity to attack.
If you see her rise in the air, check to see what color the indicator is as she’s about to perform a Chakram throw at you. If the ring is red then the attack is unblockable, she’ll throw the Chakrams in a straight line which is easy to dodge if you have enough distance. If there is no indicator then she will throw them in a swooping motion that tracks you, you’ll need to raise your shield and block it in this case.
The biggest issue with this battle is the summoned Draugrs, they’ll always be there and you really need to keep your eye on Kara to be able to avoid her attacks. This is where the Runic Attacks come in to play, whenever there is more than two Draugrs summoned, use the Murder of Crows to lock them all down. The Cyclone of Chaos is fantastic for crowd control and will most likely take the enemies down quickly.


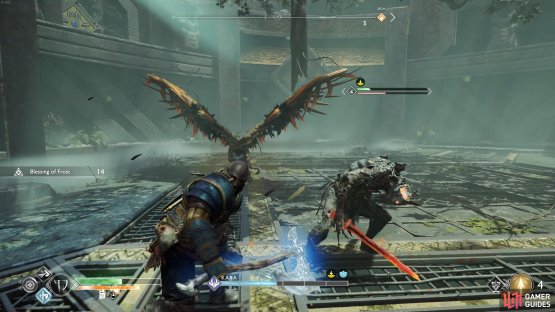
(1 of 2) Use Spartan Rage to pummel her in the corner.
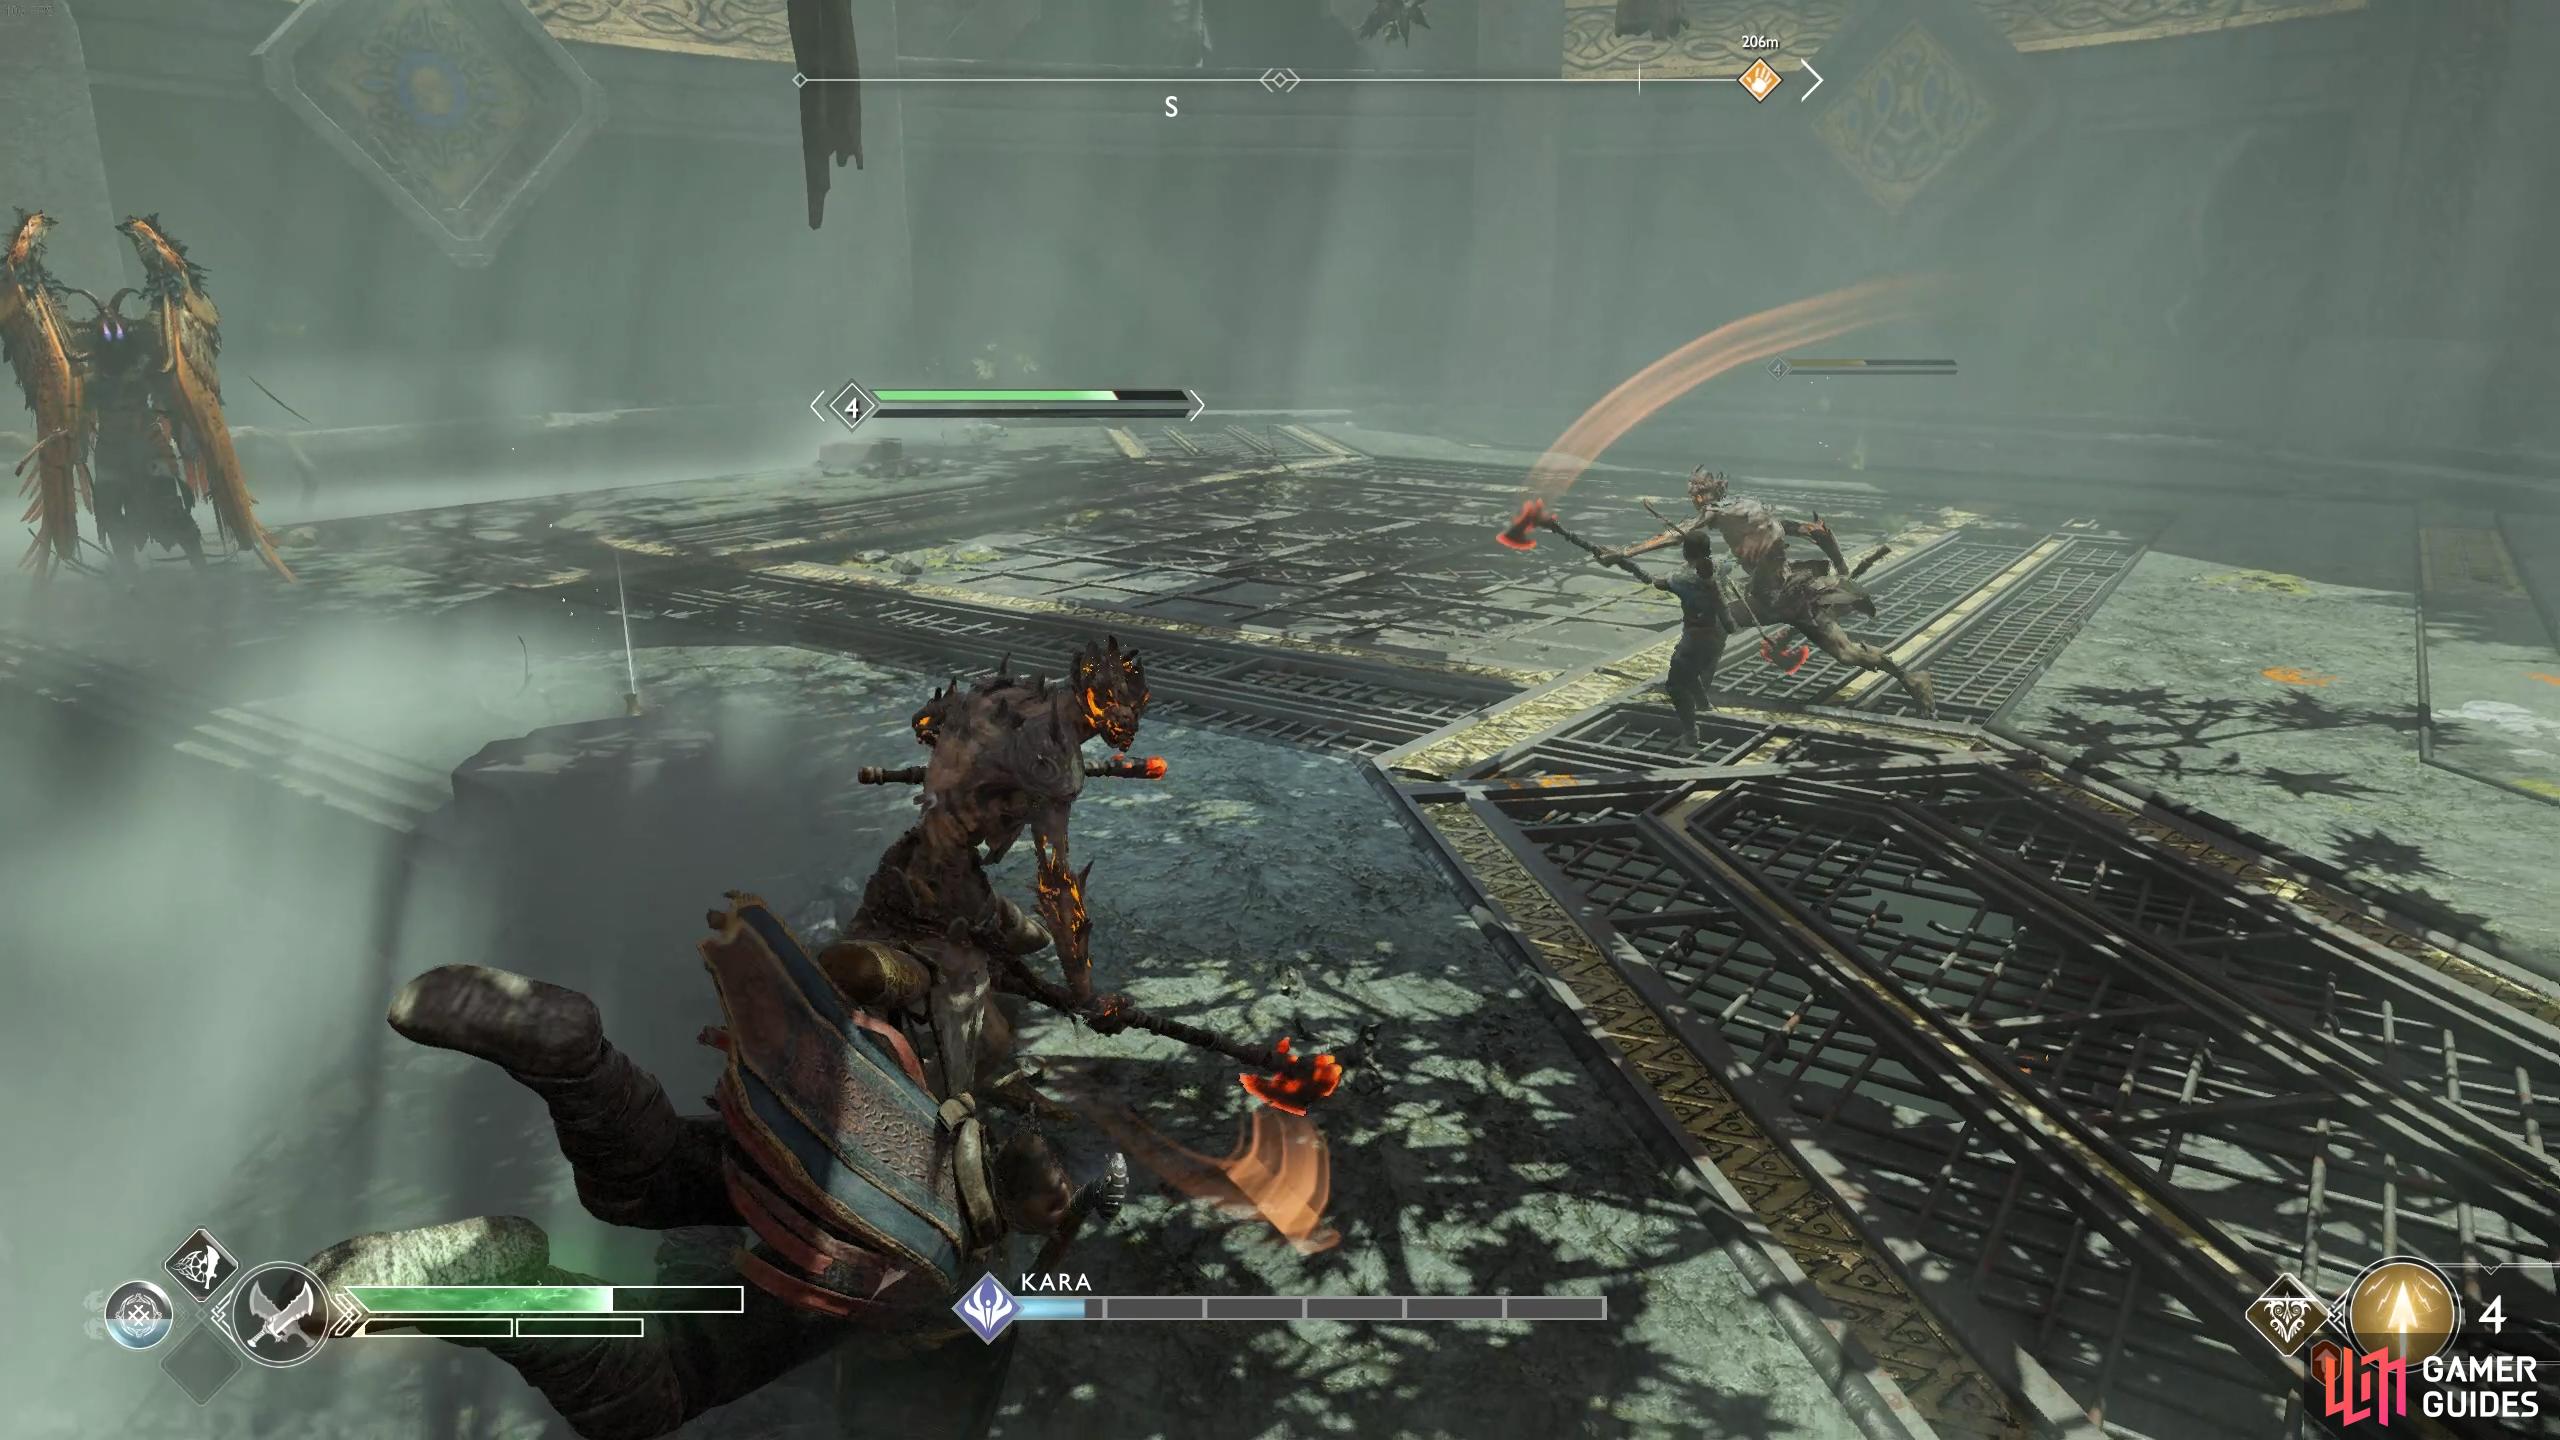
Use Spartan Rage to pummel her in the corner. (left), Try to keep track of Kara while you kill the Draugrs. (right)
Save your Blessings of the Frost and Charge of the White Bear for Kara, these will inflict huge damage on her and with the Talisman of Unbound Potential equipped, you can reset the cooldown and go again. Don’t forget about Spartan Rage, this can really turn the tide in your favor especially if you have a Berserker’s Resurrection Stone in reserve. Like always, use it as a health regen tool first but once activated, focus on Kara exclusively.
This will be a tough and chaotic battle but at Level 6 you should be high enough to take her out. Keep locked onto her at all times and manage your Runic Attacks well to take her down. Upon her death you’ll obtain Kara’s Helmet, loot the spoils on the ground to obtain the Talisman of the Realms, the Heart of Midgard Legendary Enchantment along with Asgardian Steel x2.
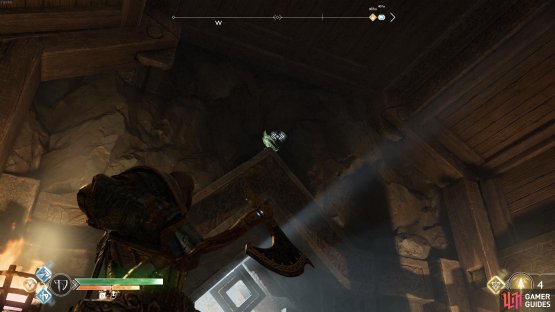
If you don’t use many Runic Attacks then it may be worthwhile to equip this new Talisman however do note that you’ll need rare materials better used for other pieces of equipment first to upgrade it. Before you leave the chamber, look up to the south wall to spot the final Raven for the River Pass.
Return to Freya’s Cave
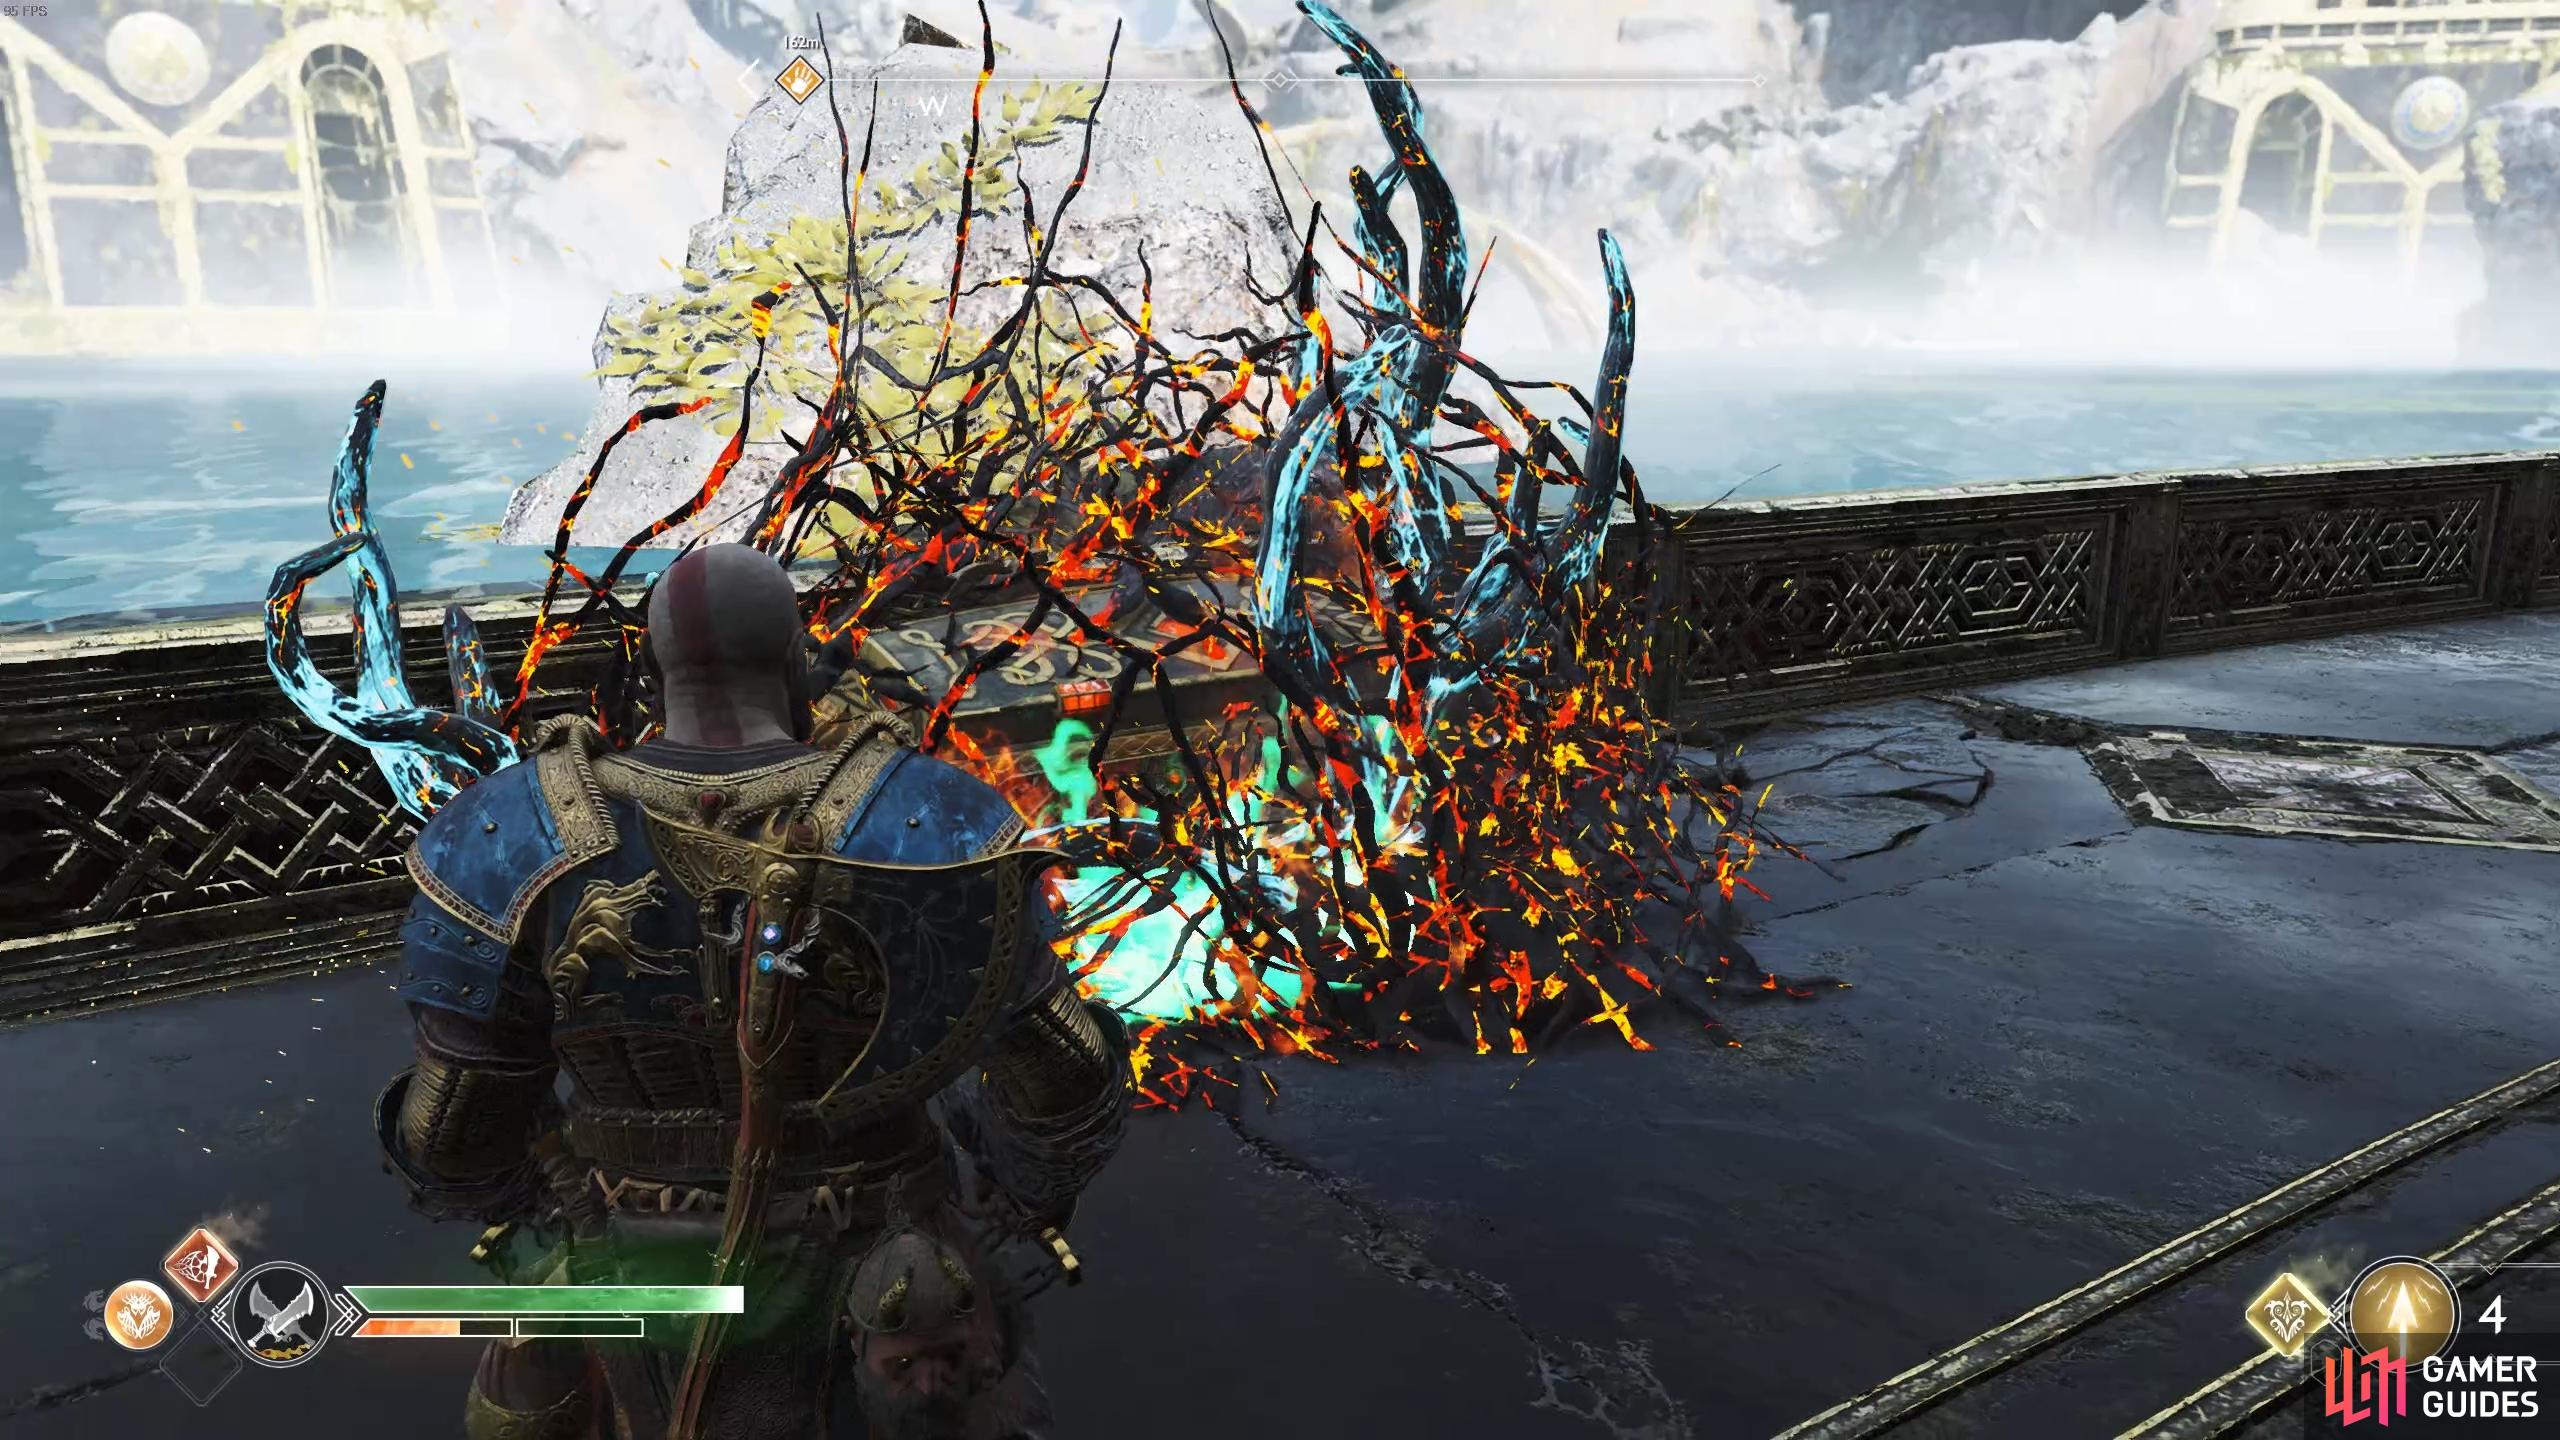
Return to Freya’s cave and take a right where you’ll find some Hel’s Brambles you can burn away. Turn to the west now to find the Winds of Hel you deposited earlier and activate it, storing it in the wind trap above the brambles you just burned. Drop down and pull the cart so that the block sits in the middle of the two walkways, test it by seeing if you can jump to the other side. Return up the ledge and activate the Winds of Hel one final time, dashing along the platform and leaping over to the other side to find the final wind trap. This will unlock a door with a Legendary Chest sitting inside containing the Rampage of the Furies Light Runic Attack gem for the Blades.


(1 of 2) Move the cart to the middle of the two walkways.
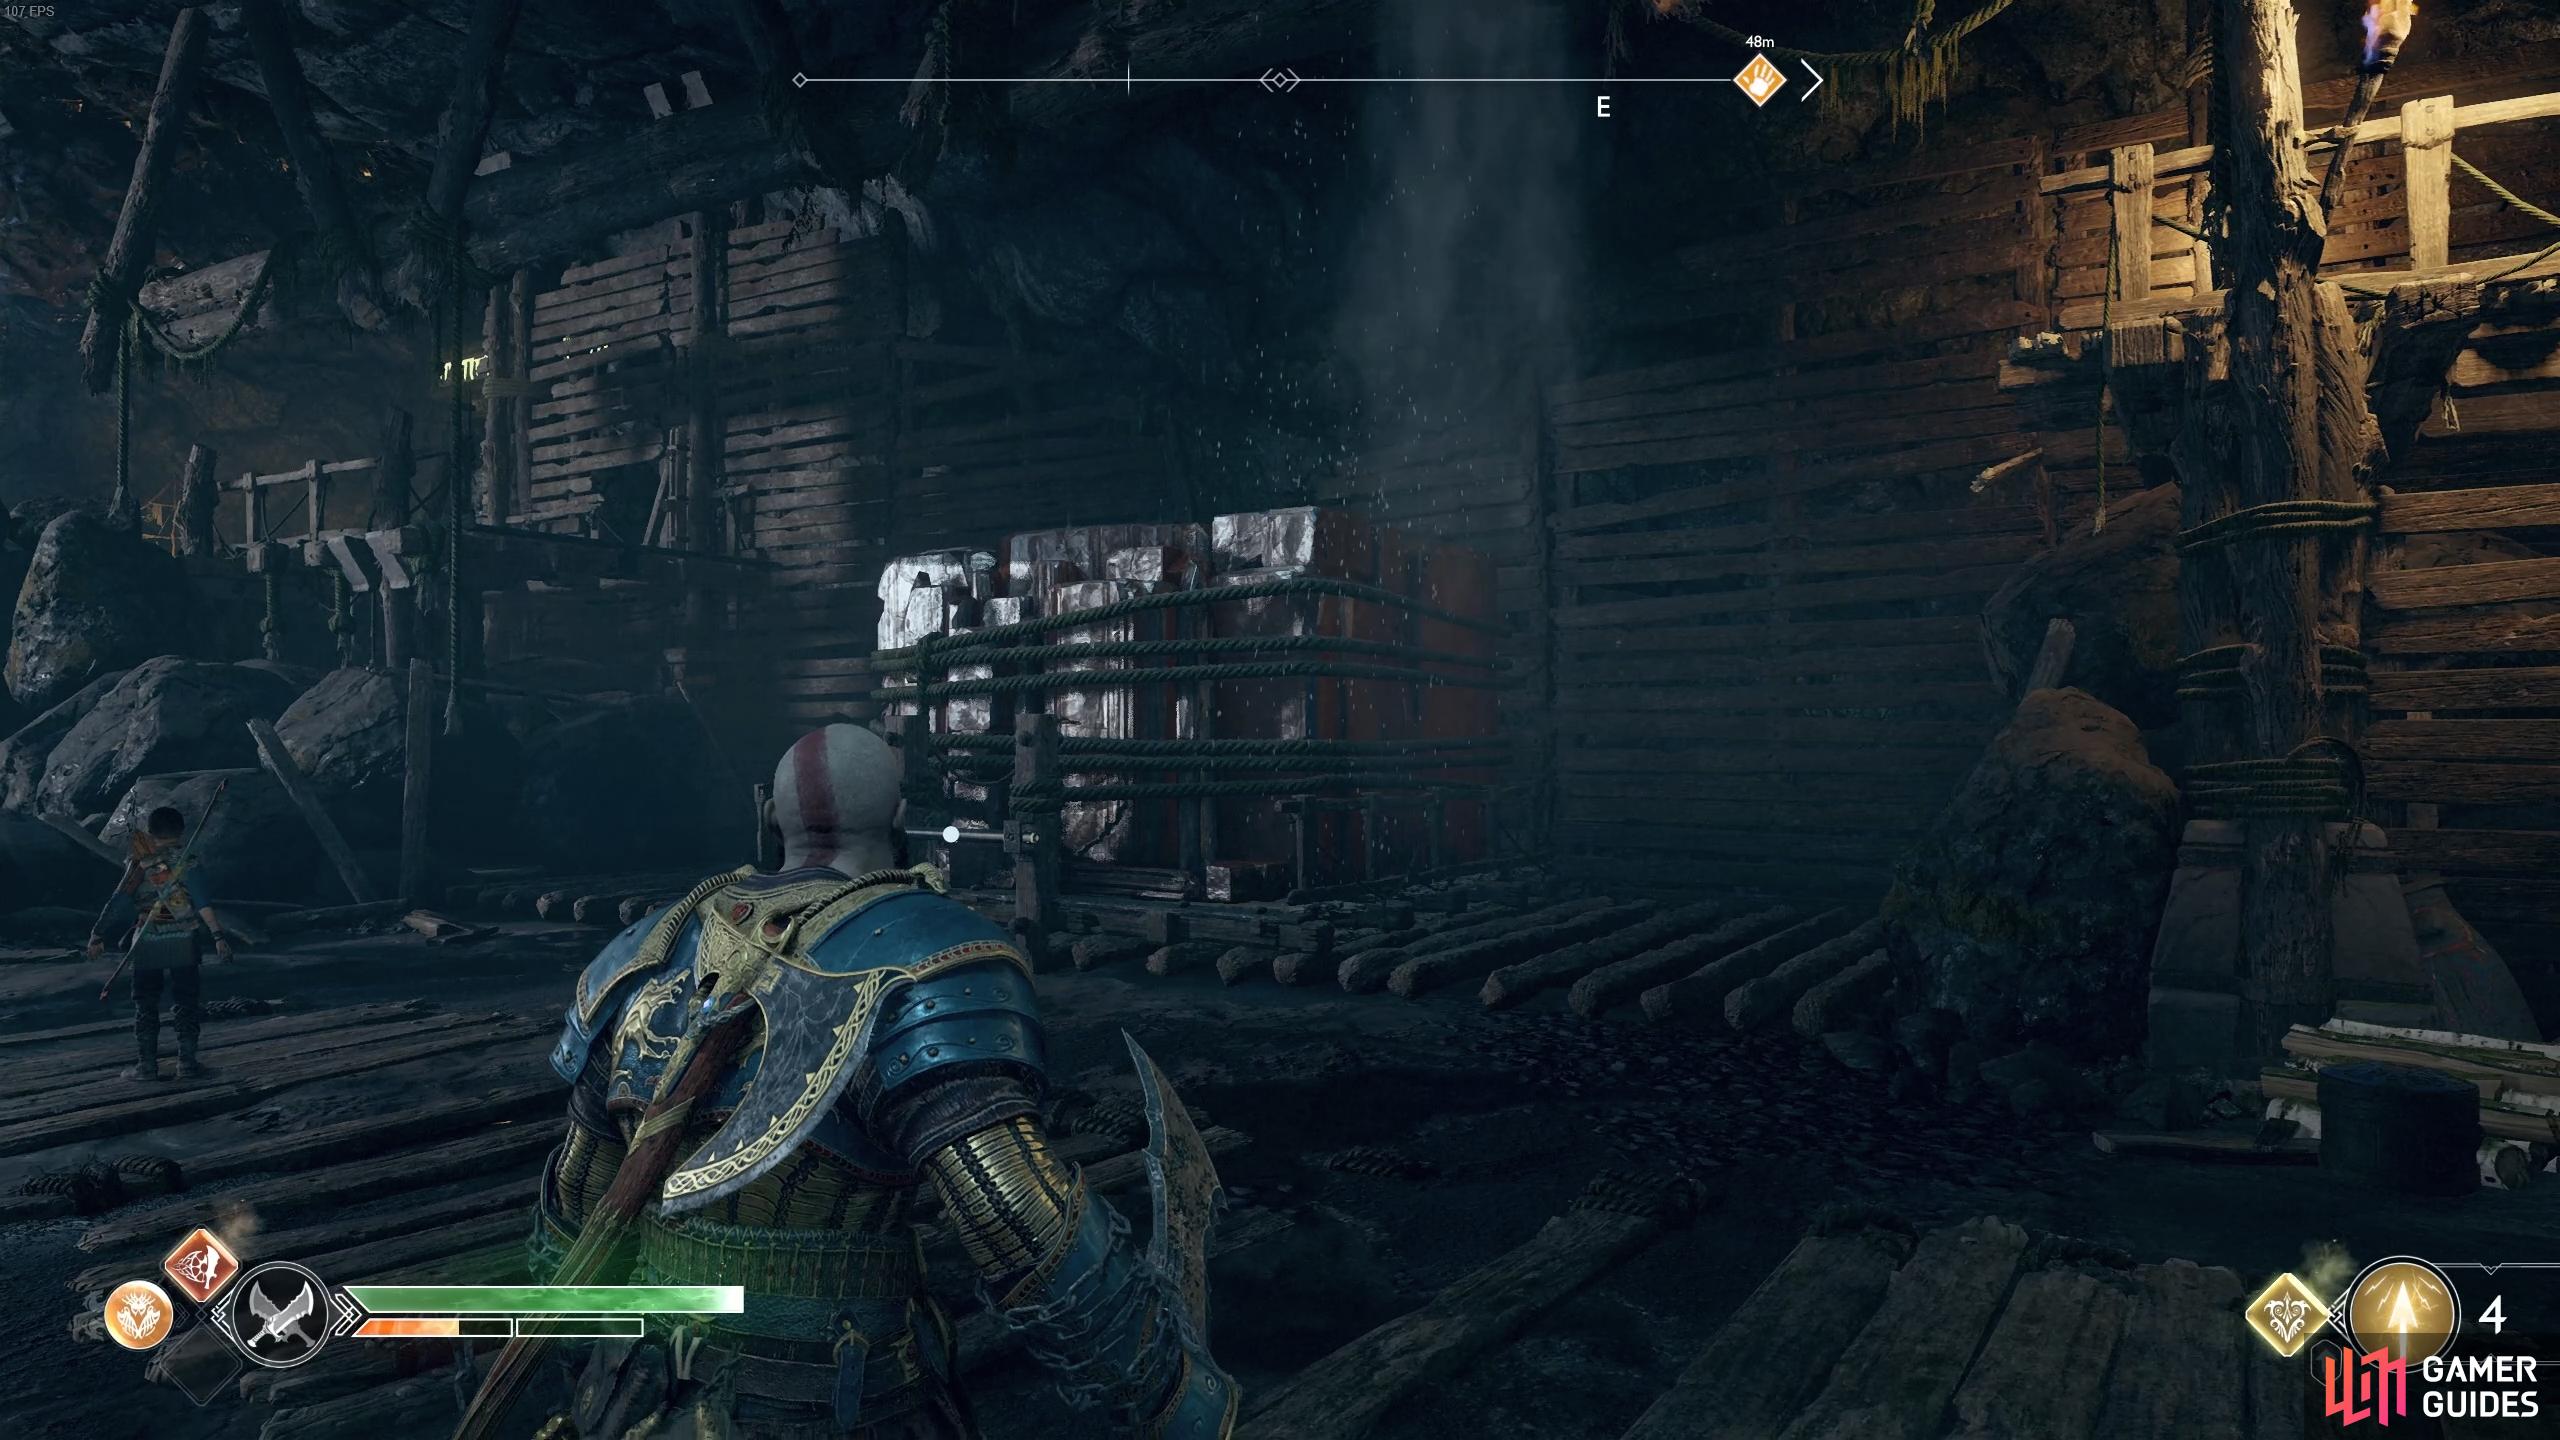
Move the cart to the middle of the two walkways. (left), Activate the energy one final time and deposit it in the door at the end of the walkway. (right)
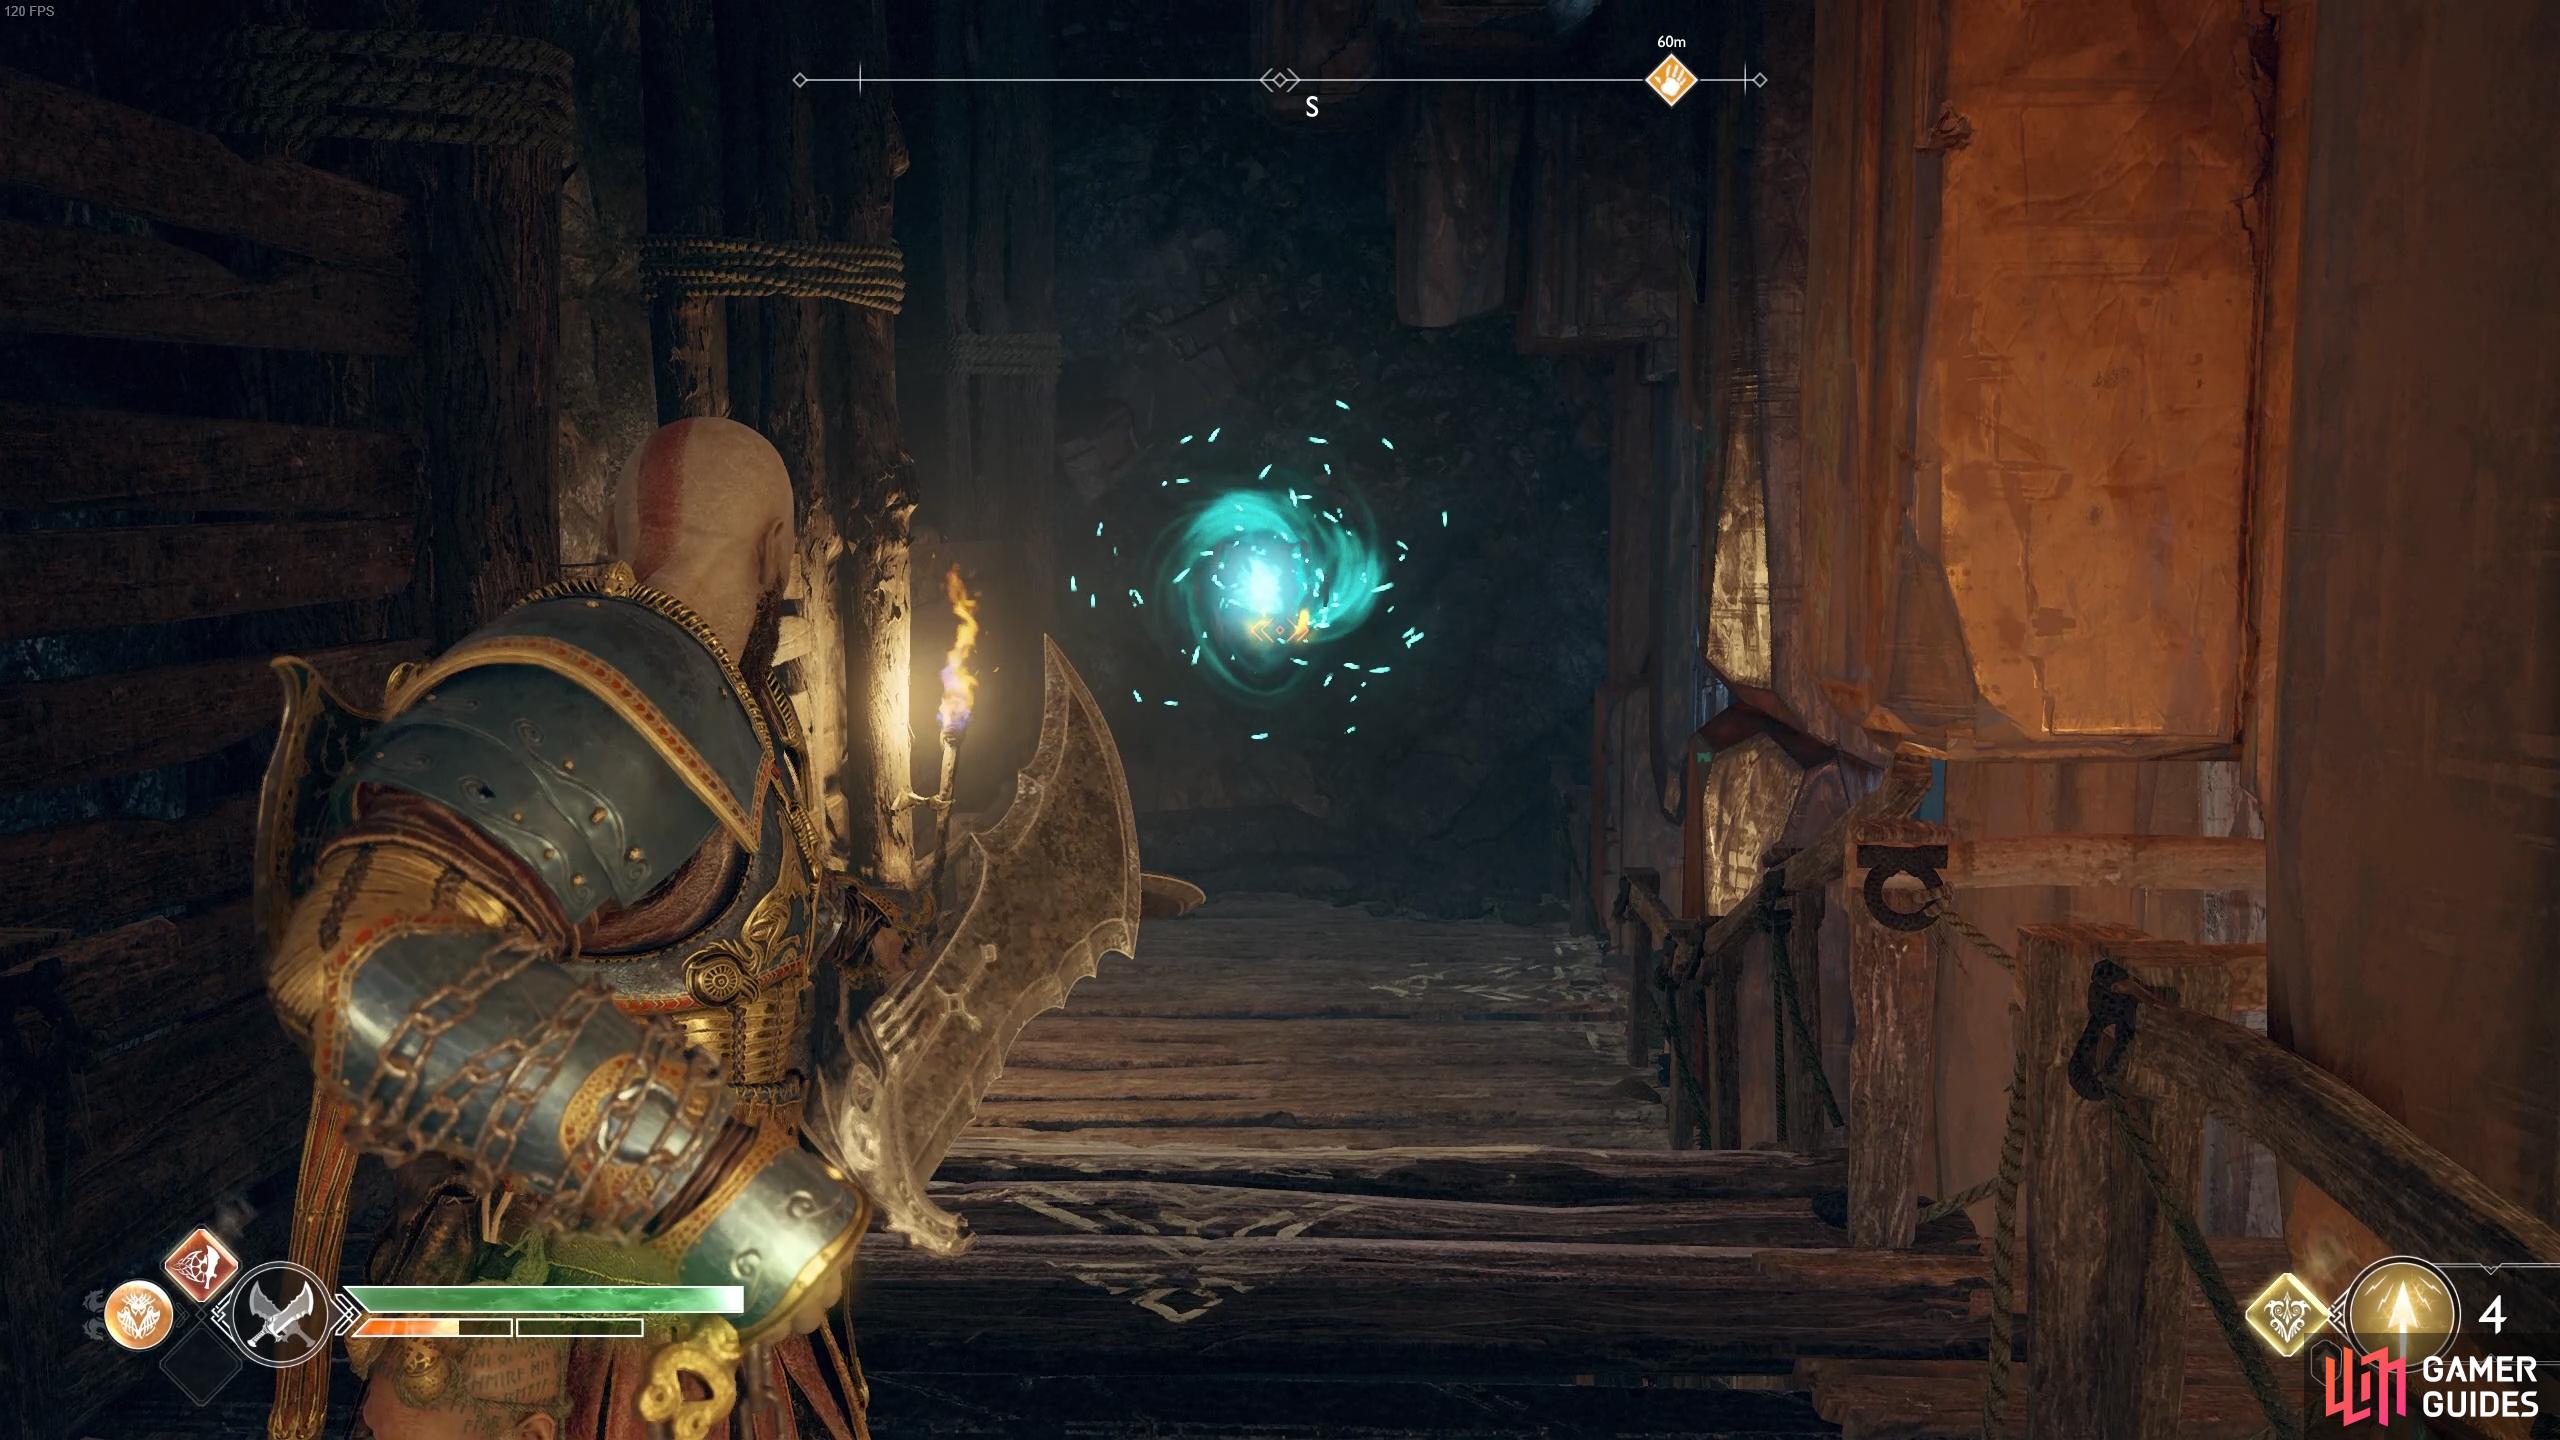
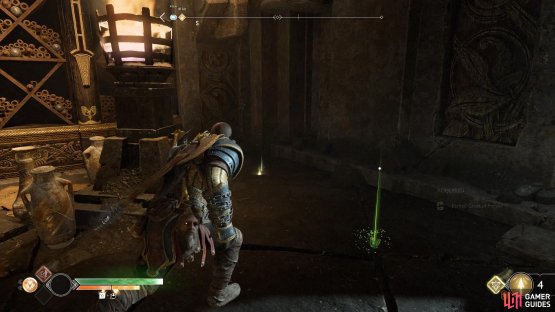
You’ve plucked all there is to loot in the cave now so retrace your steps and use the well you climbed earlier to reach the sanctuary outside Freya’s house. Run down the path and out into the clearing, heading over to the stones you raised earlier. On the side of this is a wind trap that you can activate, do so and store it on the other wind trap on the east side of this structure.
Take the chain up to the path where the inactive Nornir Chest sits and follow the path to the end. Activate the Winds of Hel and carry it with you back down the path and deposit it in the wind trap to the right. This will power up the object and change the Runes displayed on it however you don’t yet know which Runes you need. Grab the energy once more and deposit it in the wind trap sitting above the Nornir Chest, this will light up the Runes.

(1 of 2) Deposit the winds on this side of the structure to reach it from the top.


Deposit the winds on this side of the structure to reach it from the top. (left), When you deposit it above the chest you can see what Runes you need. (right)
You’ll find a multi Spinner above the other object you activated a moment ago. Begin by hitting the top disc to the right once and then the bottom right disc to the right once. This will light the first two Runes on the chest. For the final Rune, activate the energy back near the Nornir Chest and store it back in the other object to begin rotating the Runes. Pull the energy back out once the Rune looks like a mountain, with the peaks pointing to the top (or see the image below). You can now deposit this energy back into the Nornir Chest and open it to obtain an Iðunn Apple if your health isn’t maxed already, otherwise this will contain a random Enchantment.
If you’re struggling with the runic chest, see the gif below for the remainder of the puzzle:
You’ve fully explored the River Pass at this point so make your way back down the well and ride the elevator down to the bottom. The boat has washed ashore due to somebody calling the World Serpent earlier, head over to it to begin a scene where Kratos finally tells Atreus who he really is.
Row the boat back to Týr’s Temple but hold of on visiting the vault for now, instead follow the path around to the back where you’ll find some Hel’s Brambles. Burn them away and open the Legendary Chest to obtain the Weightless War Handles. Head back to Brok’s Shop and buy a Resurrection Stone if you need it, there are new armor sets available to craft however if you already have an upgraded Týr’s armor set then forget these for now.


(1 of 2) You’ll find brambles to burn at the back of Týr’s Temple.

You’ll find brambles to burn at the back of Týr’s Temple. (left), and another at the Isle of Death. (right)
Use the Mystic Gateway to travel to the Isle of Death first. Climb up to the top and burn away the brambles to find a Legendary Chest containing the Explosive Grips of Fire. Next up, use the Mystic Gateway to travel to Ruins of the Ancients and take the boat docked there over to Light Elf Outpost.
You’ll have to defeat three high Level Hel-Reavers, something that should be within your capabilities if Kratos is at Level 6 or higher. Once they’re defeated, use the Chisel on the seal to find a coffin with some useful resources. Head up to the top of the Outpost to where you revealed the Realm Tear earlier. The encounter will be against two high Level Hel-Vikens and a Hel-Reaver Guard, make use of Murder of Crows and then use the Blades of Chaos to bring them down. If you’re struggling, it may be a good idea to make use of Spartan Rage. Inside the Realm Tear you’ll obtain Dust of Realms, a Perfect Symbol of the Realm and 10,000 Hacksilver. Perfect Symbol of the Realm is an Epic Enchantment that reduces the cost of your Rage attacks by 15%, be sure to equip it right away.


(1 of 2) Try to trap the Hel-Vikens in the corner and use Runic Attacks to take them down.
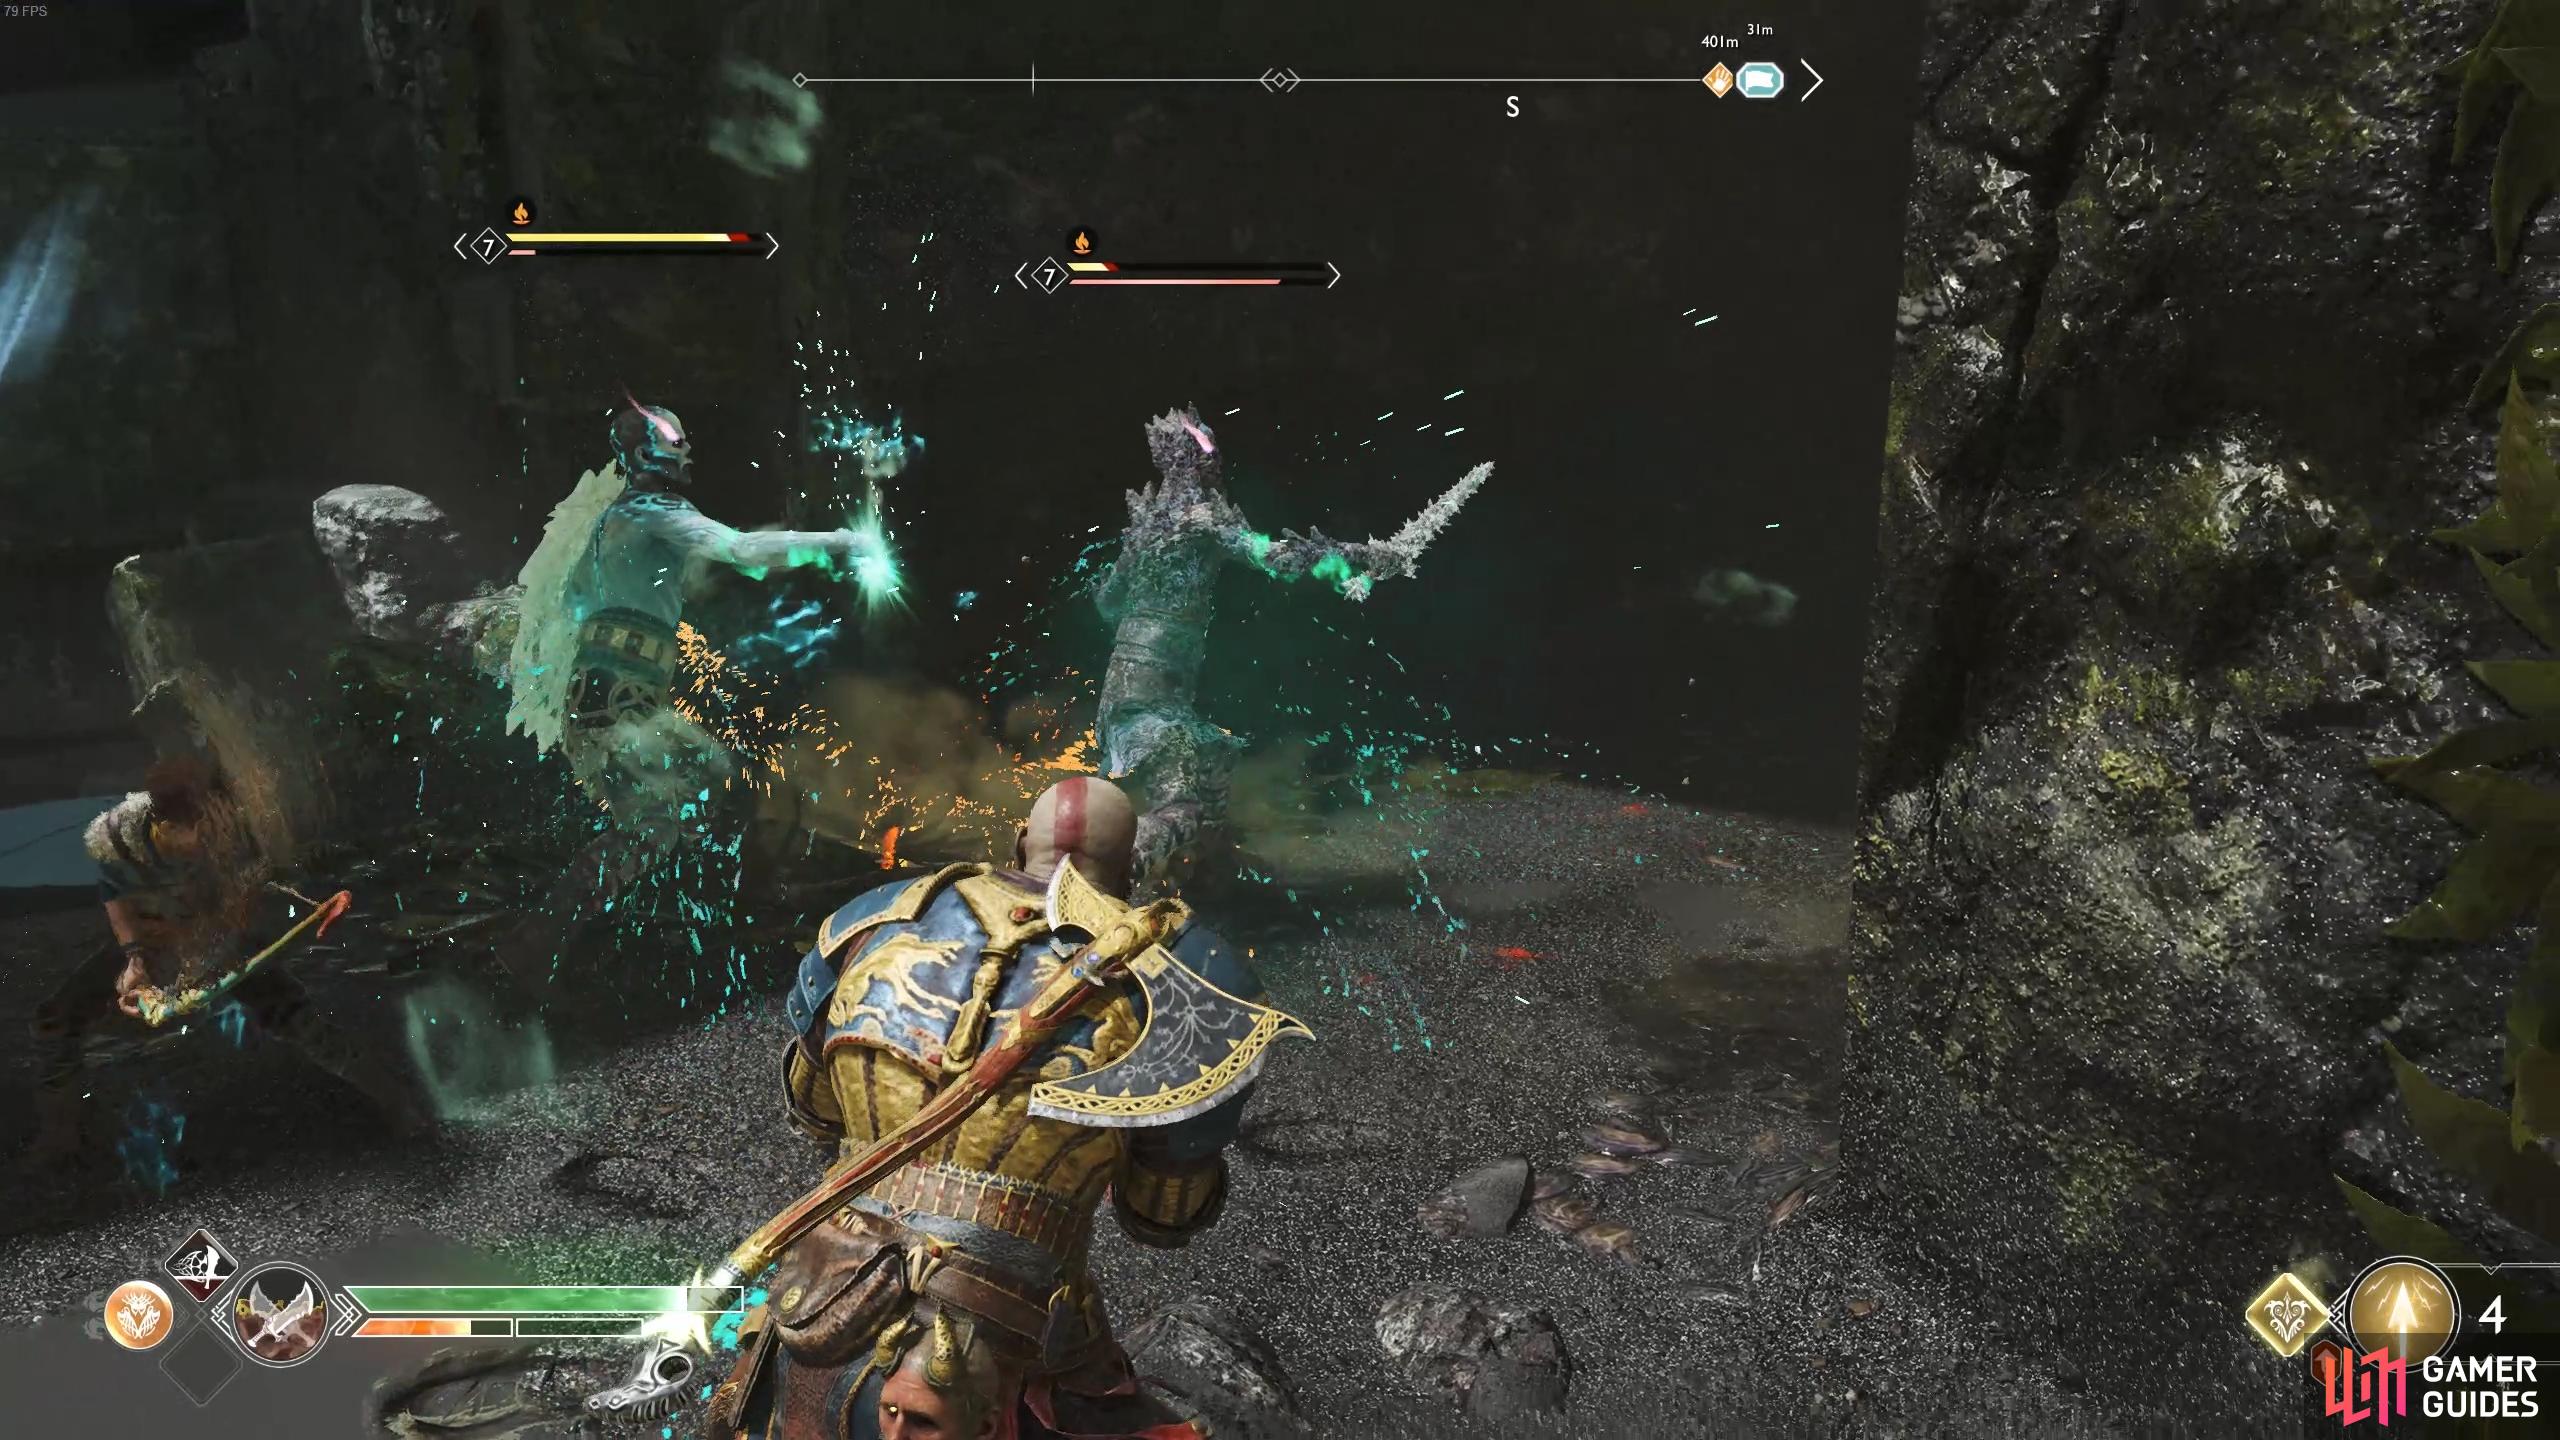
Try to trap the Hel-Vikens in the corner and use Runic Attacks to take them down. (left), Search just in front of the boat to find the treasure. (right)
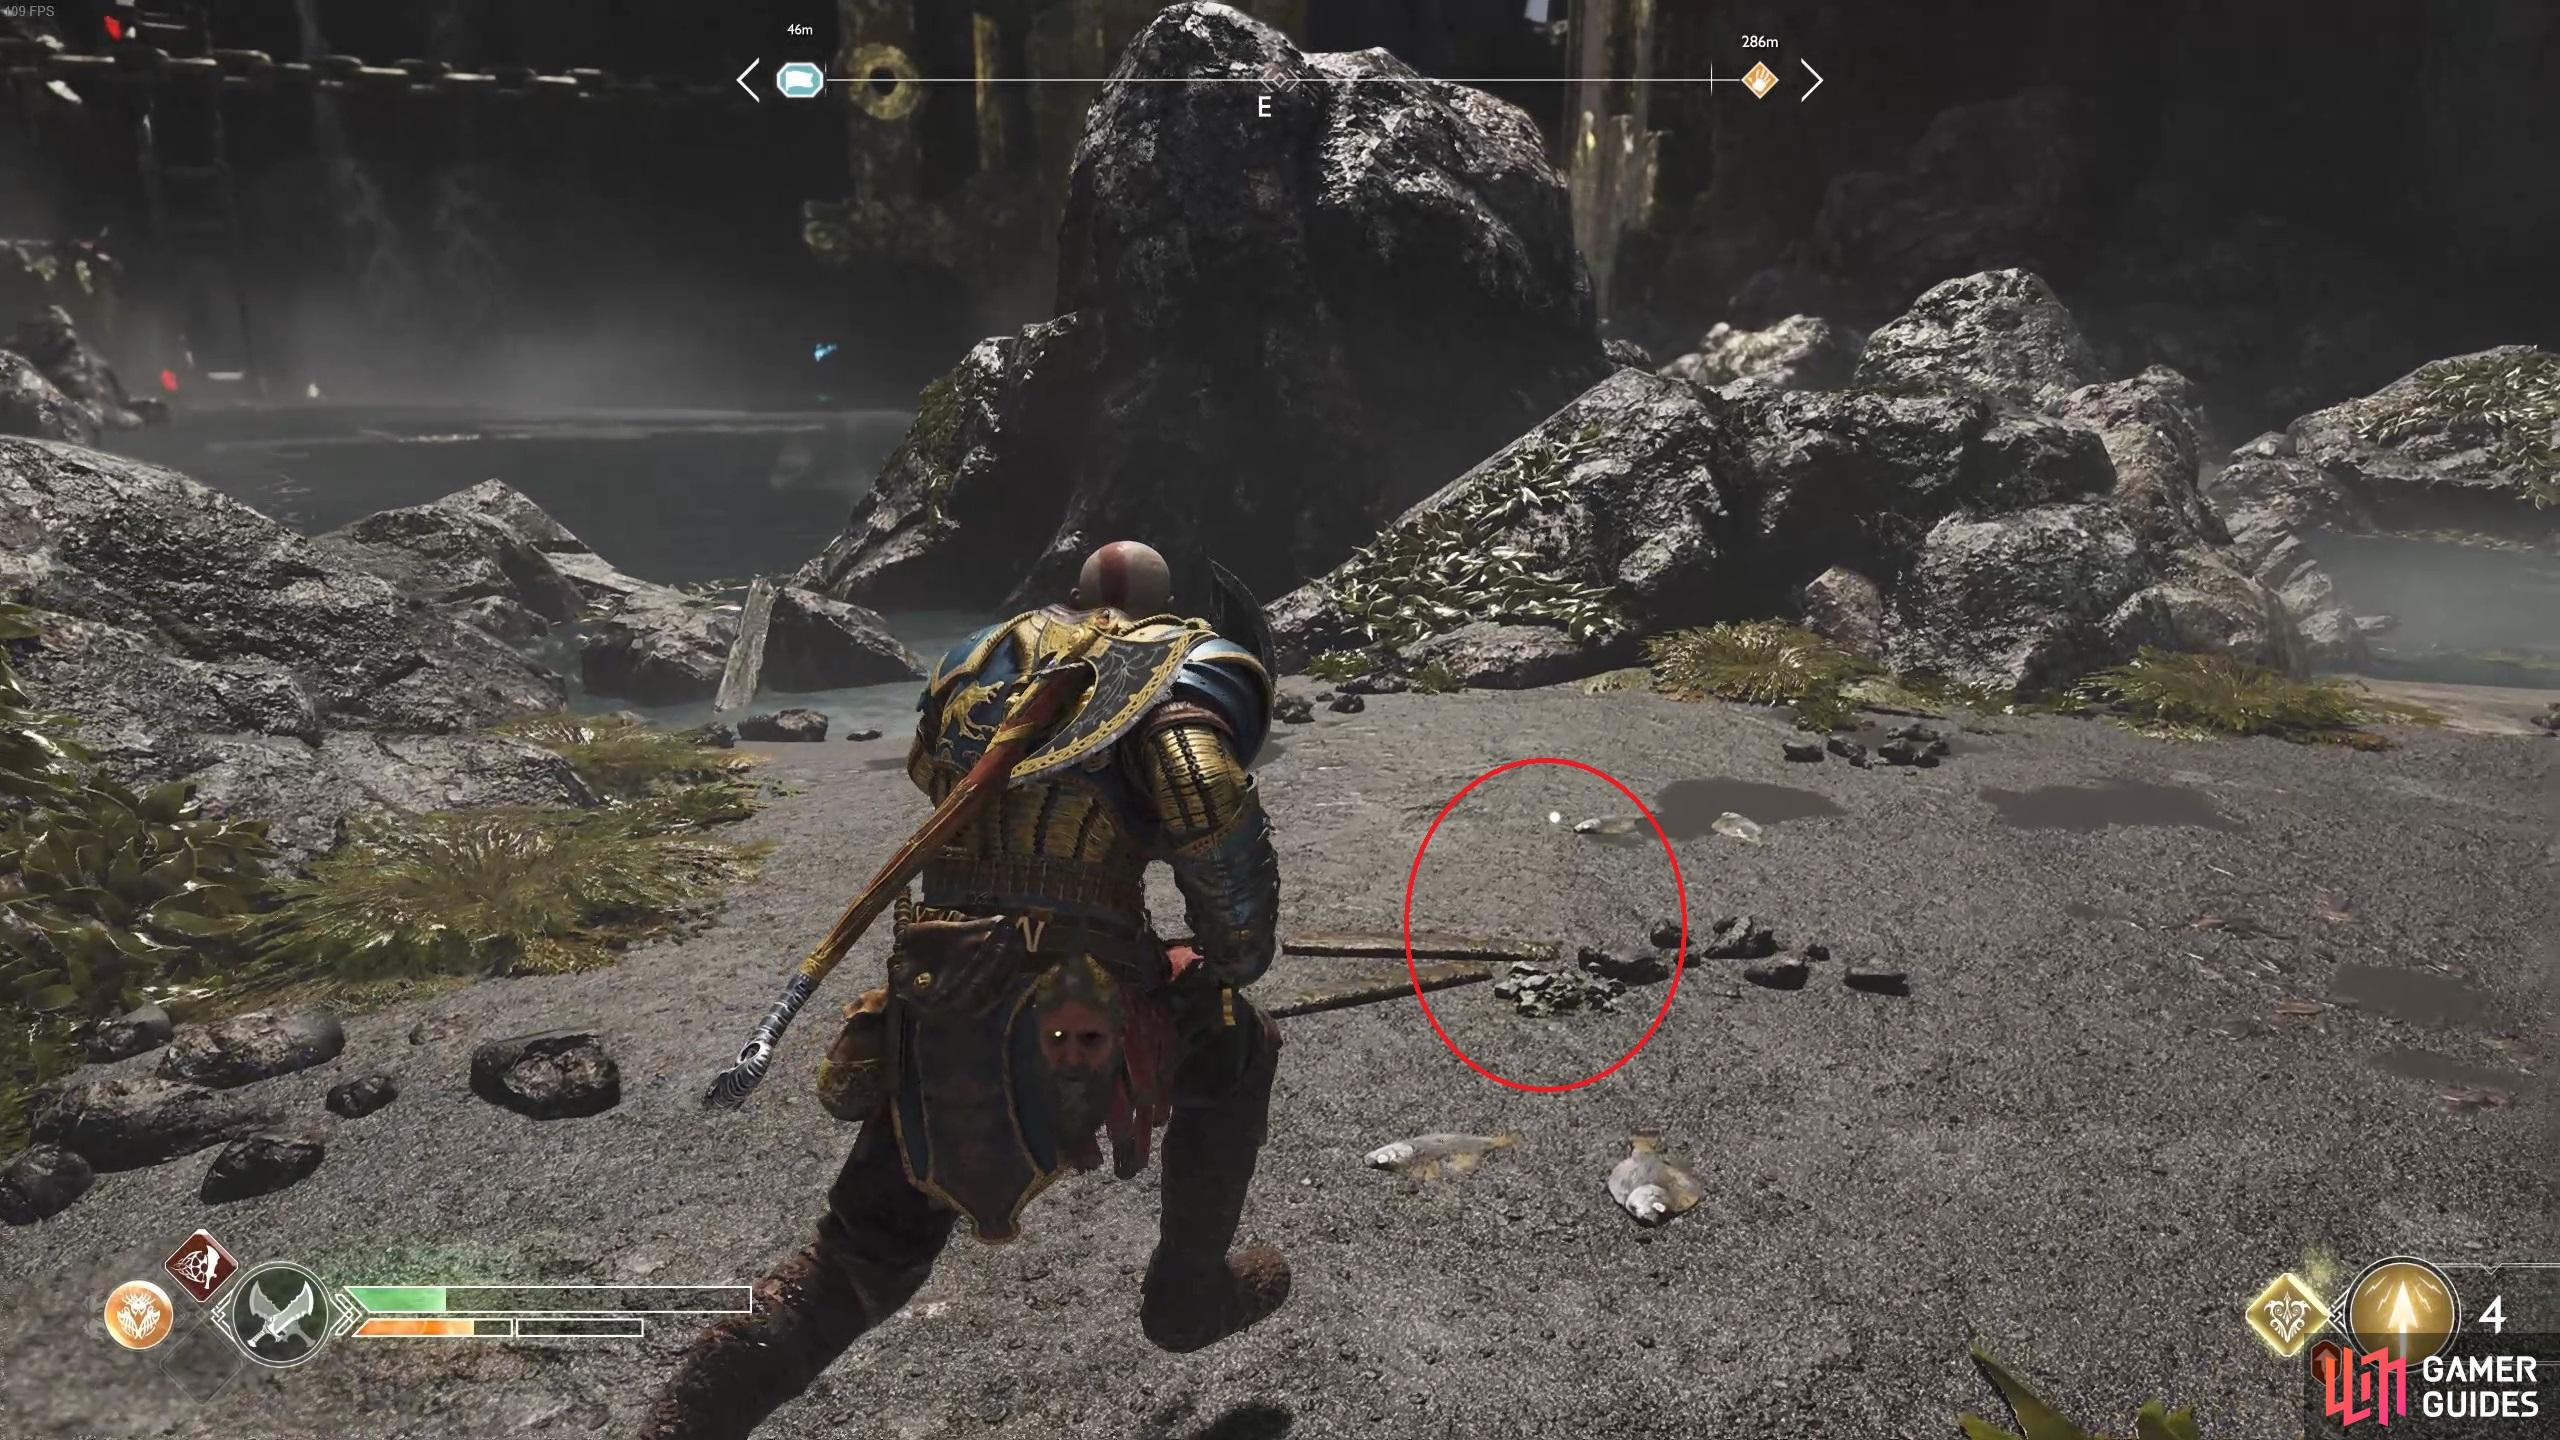
Return to the bottom and take the boat back over to Buri’s Storeroom. Dock the boat on the southeastern side (near the wheel) and defeat any enemies that may have respawned on the beach. Once they’re defeated, search the ground just in front of the boat to find the dig spot for the Creation Island Treasure Map containing an Eternal Frost, a Common Enchantment, 5 Aegir’s Gold, 7 World Serpent Scale Fragments and 6000 Hacksilver. Before you leave the beach, head over to the brambles in the corner and burn them away to find a Legendary Chest containing the Rage of the Titans Light Runic Attack gem for the Blades.
There’s nothing left to do on the Lake of Nine for now so return to Brok’s Shop and use the Realm Travel Room to travel to Helheim once more.
Helheim Revisited
Head along the bridge defeating the enemies along the way, remembering to stick with the Blades of Chaos in Helheim. Once you go through the tunnel, defeat the enemies that spawn and then climb the ledge in front of you. Shoot the Shatter Crystal to the right to find a coffin and a Hacksilver chest along with a Raven just above.

(1 of 2) Destroy the first Shatter Crystal to find a Raven.


Destroy the first Shatter Crystal to find a Raven. (left), The second Shatter Crystal leads to a Legendary Chest. (right)
Kick the chain down to your left and climb down it to find another Shatter Crystal. Shoot it to find a Legendary Chest containing The Charm of Infinite Storms, an epic Talisman that conjures a Frost storm around Kratos. Climb back up the chain and drop down the ledge, following the path north and up the next ledge. The final Shatter Crystal is here, shoot it to find a Raven, an Artefact to the right and the final Hidden Chamber entrance.
(1 of 2) The third Shatter Crystal reveals a Raven.

The third Shatter Crystal reveals a Raven. (left), Along with an Artefact and a Hidden Chamber. (right)
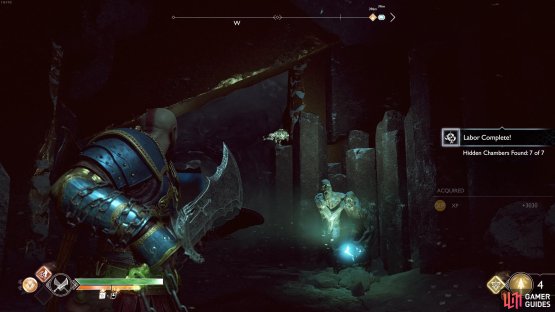
Head inside and ride the elevator down to the bottom, activating the Mystic Gateway in the process. Take the stairs up to find a coffin and then look above it to find the final Raven of Helheim. Search behind the brazier to find the final Artefact of the Family Heirloom quest. The next Valkyrie battle, Rota, sleeps in the central chamber and is a very tough battle. If you feel you’re ready to attempt it and have a Resurrection Stone on you read on.
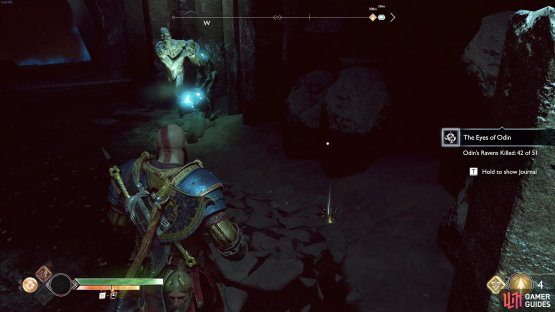
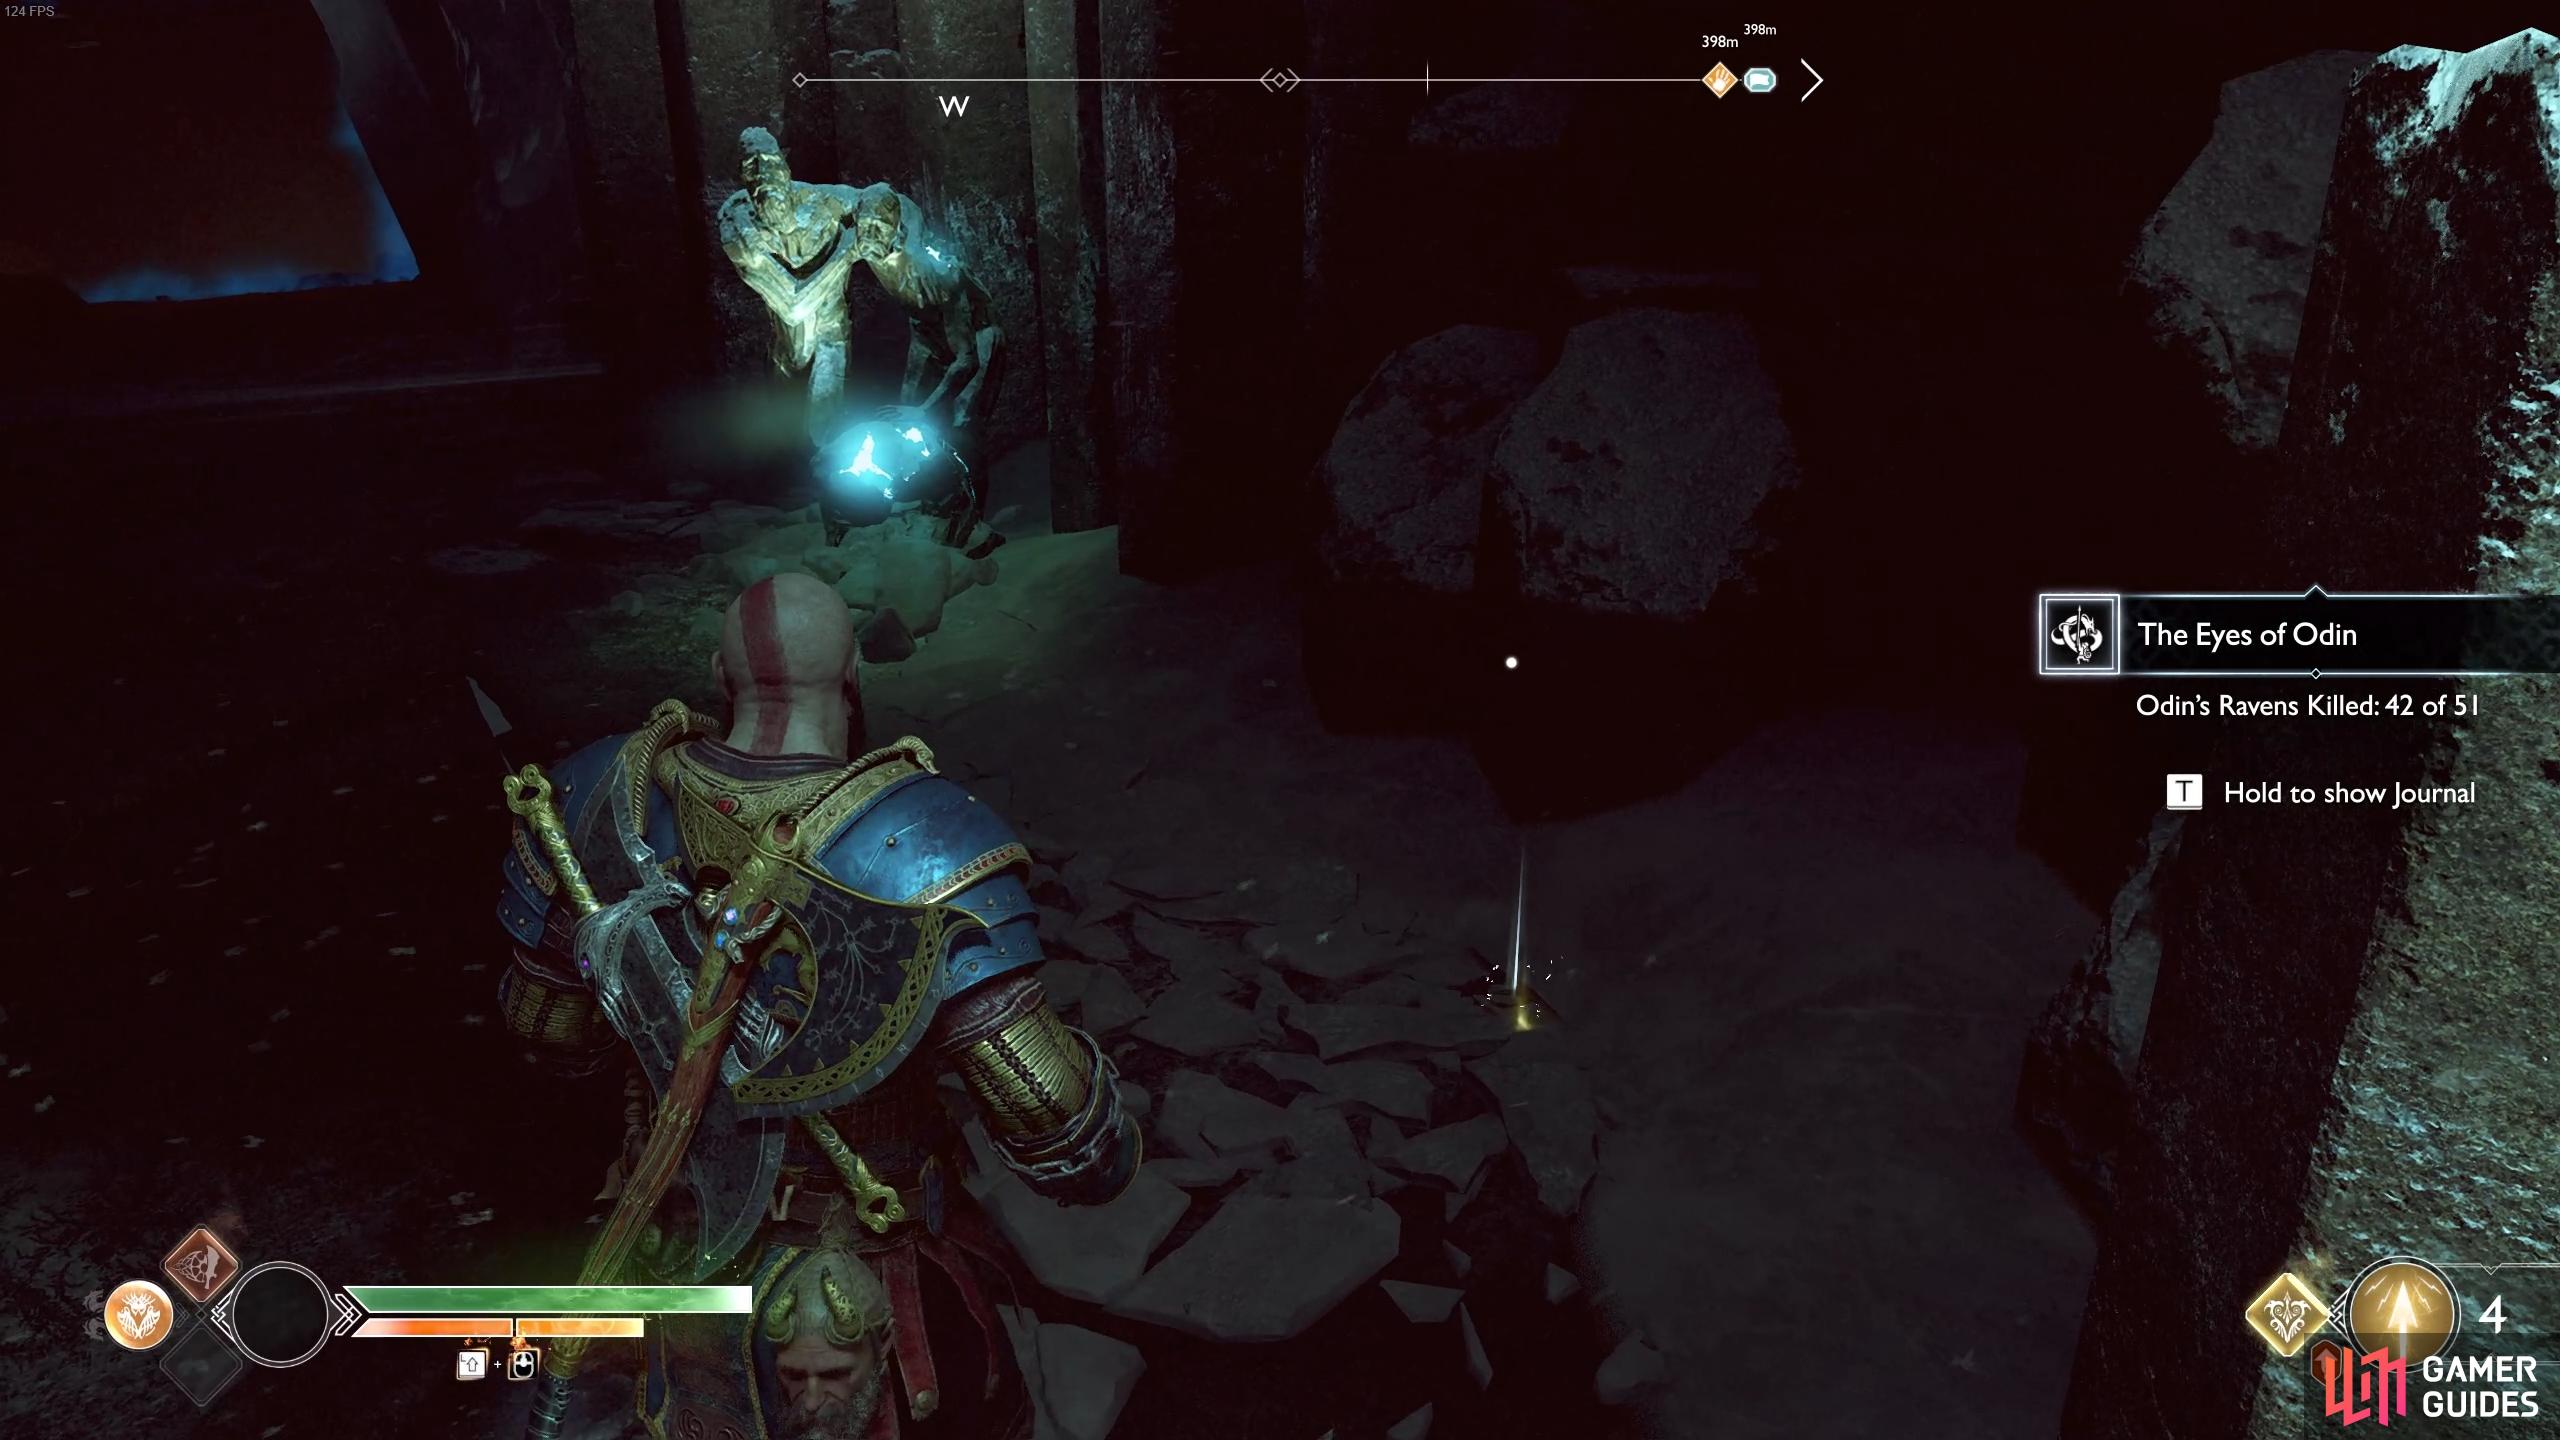
(1 of 2) The final Artefact is behind the brazier.


The final Artefact is behind the brazier. (left), The final Raven is above the coffin in the Hidden Chamber. (right)
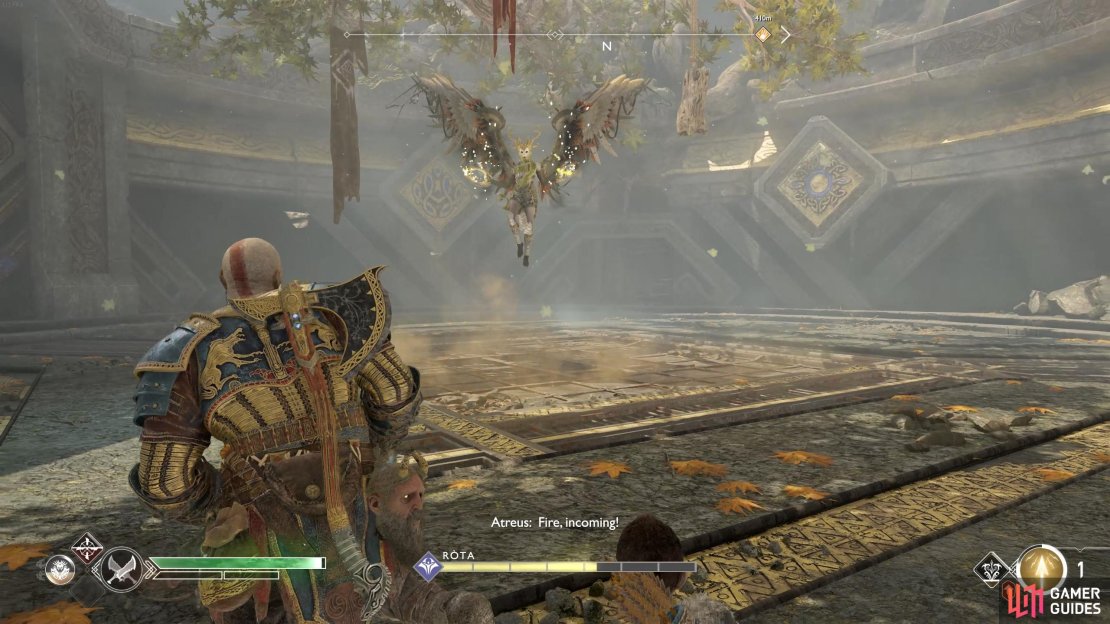
Defeat Rota
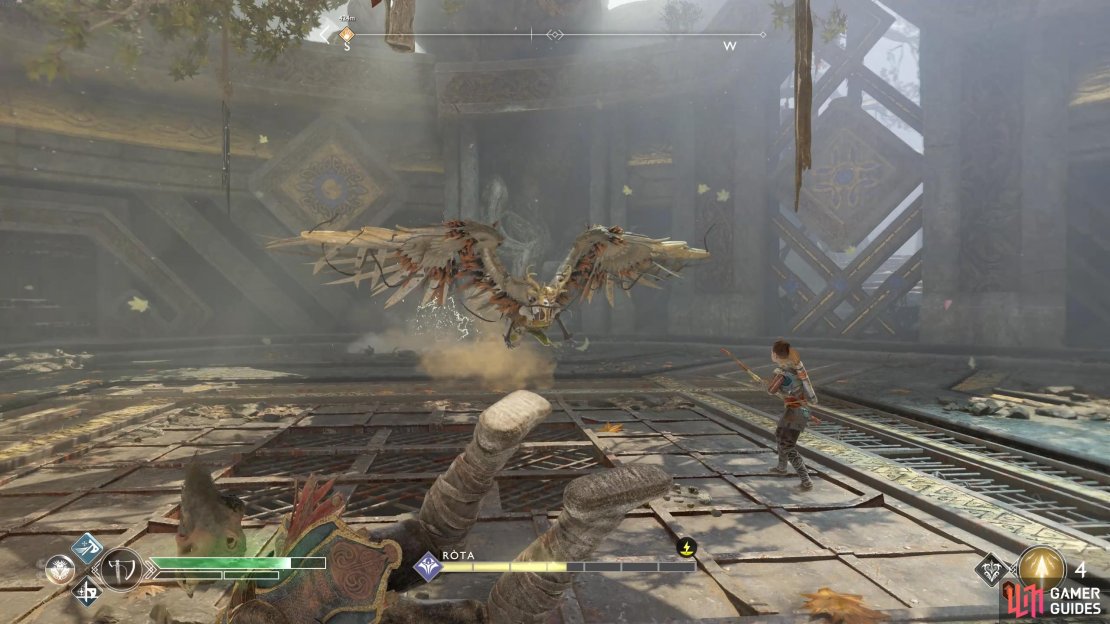
Rota is unlike any Valkyrie you’ve faced yet, while she does possess the Wing combo from the past two encounters and the Chakram attack from Kara, she also has nasty new additions to her repertoire.
Rota will rise in the air and a red circle will appear around her, be prepared to dodge roll when you see this. She will dive across the room towards you and if she makes contact, will grab you and slam you into the ground dealing heavy damage. You can dodge this with a simple dodge roll to the side but beware as she may do a series of three dives at a time. Once she’s finished, it’s the perfect time to score some free hits on her as she will take a while to recover.
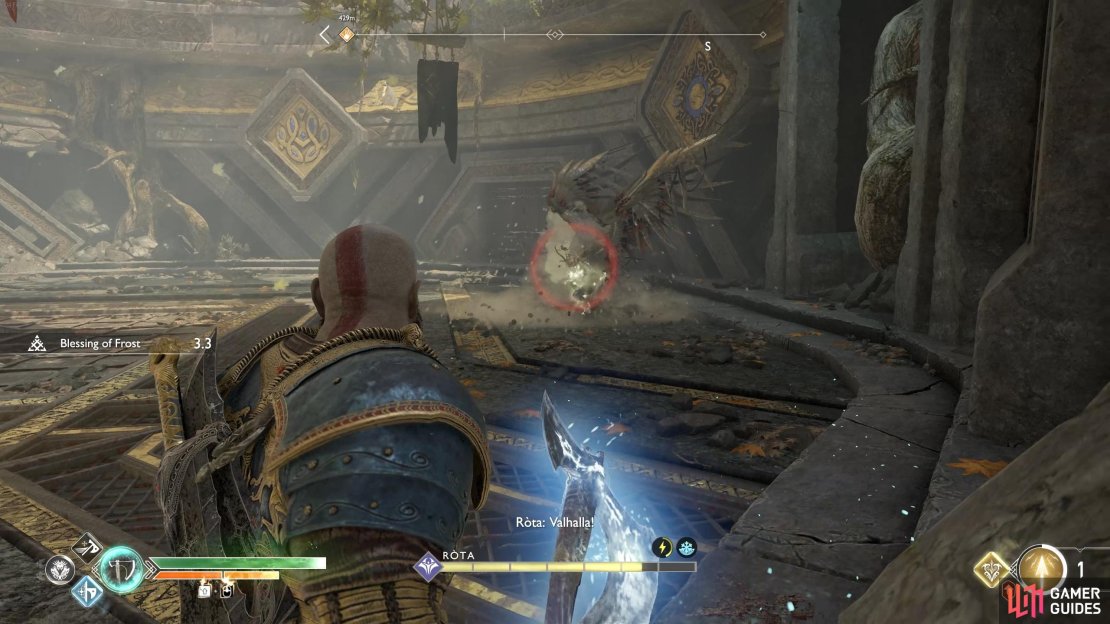
(1 of 3) Pay attention to red circles and be ready to dodge when you see them.
The other new attack and perhaps the most deadly that the Valkyries possess is the Heel Stomp. Listen carefully for the tell as she will scream “Valhalla!“m signifying the start of the attack. At this point she quickly rises into the air and will then land where you’re standing after a split second, if you don’t immediately dodge roll to the side you’ll be caught and suffer heavy damage. The Valkyrie will begin kicking you and you’ll need to hit the  button or
  key to counter and escape. Even worse is the fact that if she happens to drain all your health during this attack then you will be unable to use a Resurrection Stone so be sure to avoid this attack at all costs.
See the gif below for a demonstration of how to block the magical projectiles, dodge the dives, and use runic attacks to interrupt Rota’s basic attacks:
The battle all comes down to whether you can avoid these two nasty attacks as the rest of the battle you should be used to by now after facing the other Valkyries. Like always, make use of Spartan Rage as a health regen tool and you should take her down. It may take a few attempts to get the timing down for the Heel Stomp and Dive attacks but once you learn them, it’ll become second nature.
The gif below demonstrates the correct timing to dodge the stomp attack:
Upon her defeat you’ll obtain Rota’s Helmet and then loot the spoils on the ground to obtain Asgard’s Shard of Existence, an Epic Enchantment that will allow you to create a buff by holding the  button or
  button for several sections. A block after this is active will create an explosive knockback, very useful indeed. You’ll also find more Asgardian Steel and the Grips of the Valkyrie, very useful grips for the Blades of Chaos once upgraded.
With the Valkyrie defeated, you’ve done all there is to do in Helheim for now and with it, the majority of optional content for now (leave the rest of the Valkyries for now). Travel out of Helheim via the Realm Travel room and back in Midgard, take the steps down at the Temple to reach the vault door from earlier.
No Comments