
| Favor Giver | Rewards |
|---|---|
| Sindri, Alfheim Temple | Talisman Of Betrayal, 3290 XP |
Head to Fáfnir’s Storeroom
You’ll need to row down Fáfnir’s Ravine, found to the west of the Lake of Nine in order to reach the Storeroom. As you row down the stream, dock at the beach and take the elevator up. Step off the elevator and then look at the beams above it to find a Raven.
Pick up the sack of Hacksilver as you delve deeper into the Storeroom and break the boards to your left to find a Hacksilver chest. Crawl under the rocks in front of you and shoot the Light Crystal to create a light bridge. Pick up the sack of Hacksilver as you cross this bridge and you’ll discover Sindri has set up shop.
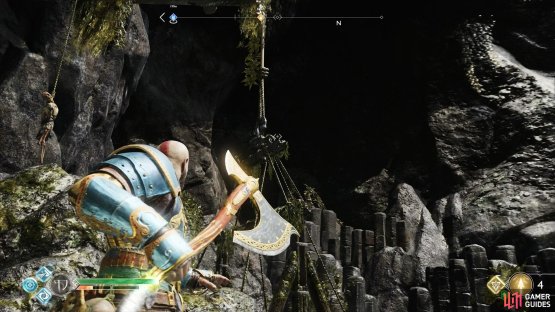

(1 of 2) The first Raven is perched on top of the elevator you took up

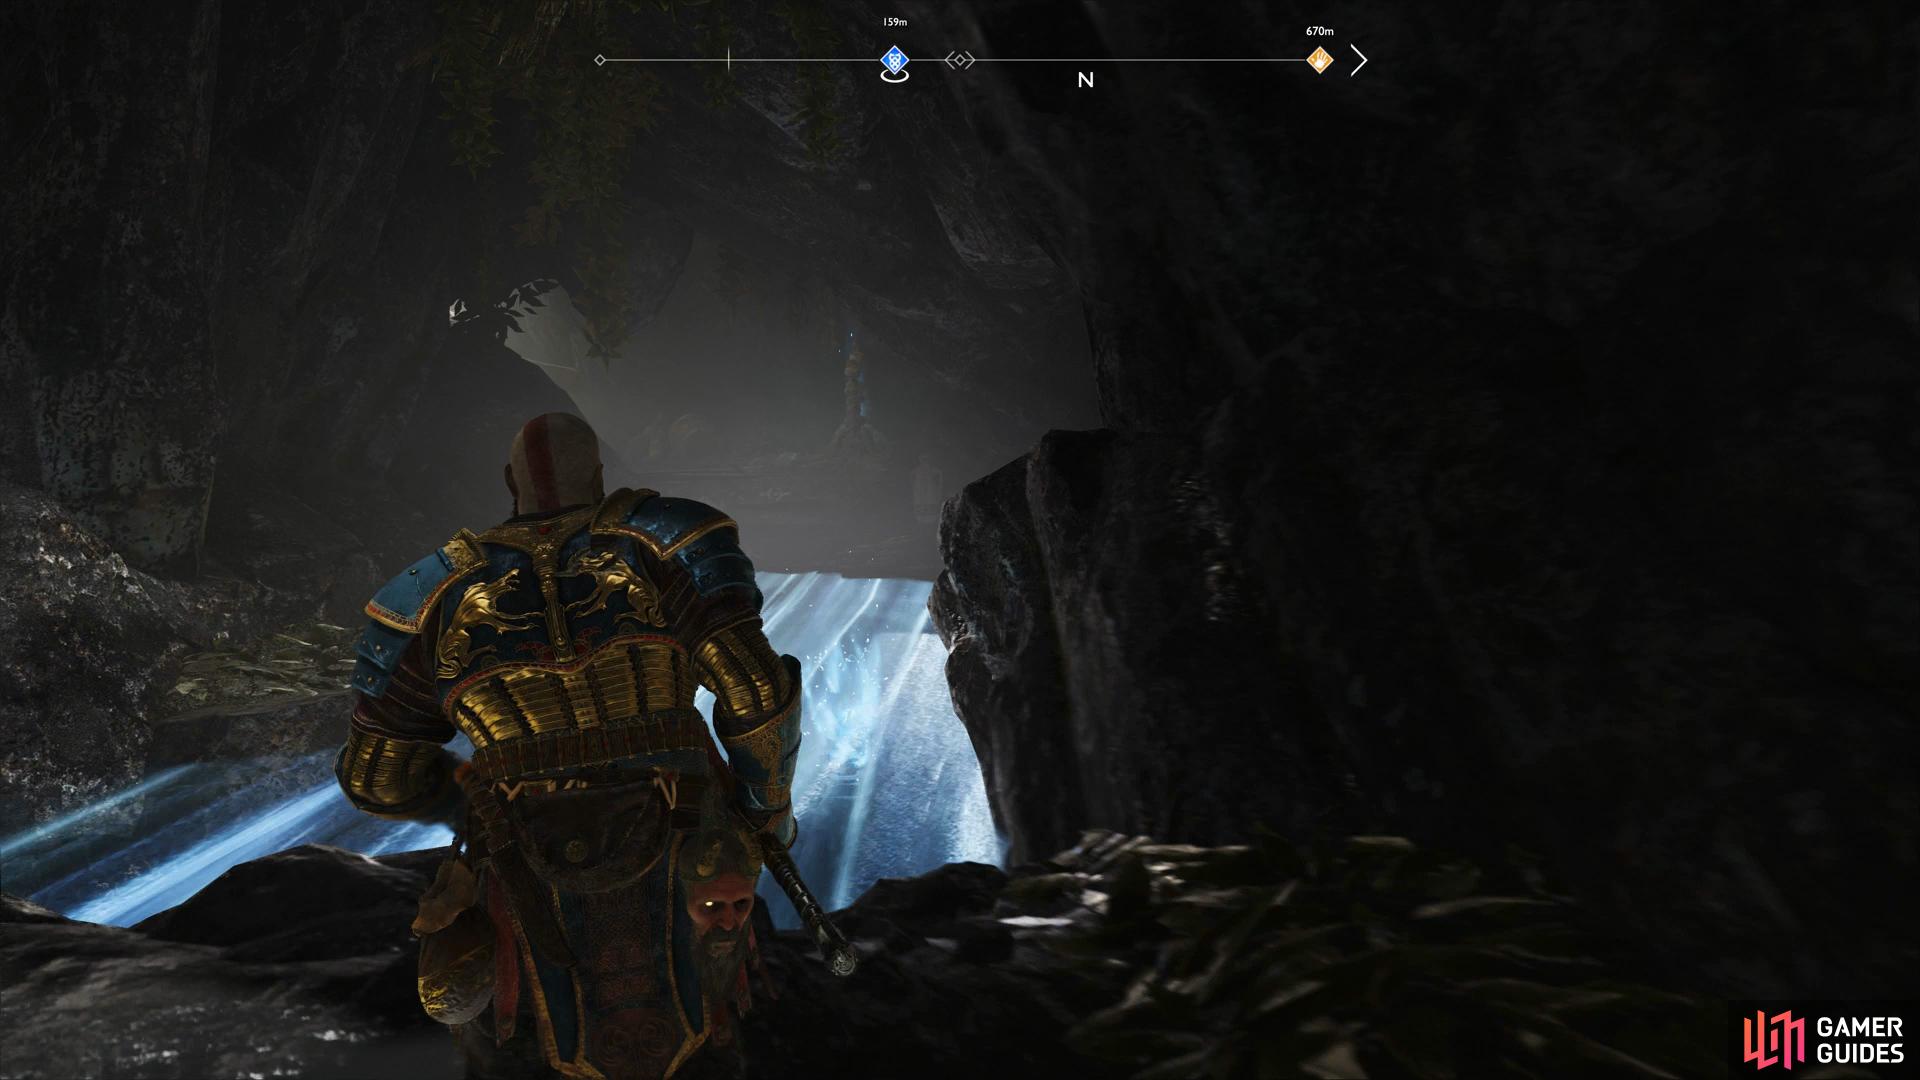
The first Raven is perched on top of the elevator you took up (left), shoot the Light Crystal to create a bridge over the gap. (right)
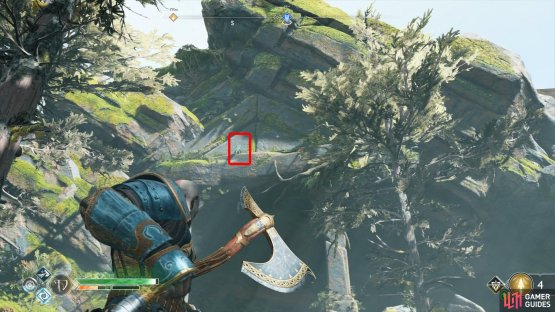
Make use of the Shop with any necessary upgrades and be sure to have a Resurrection Stone with you. Once your business is concluded, look up and to the left of the shop to spot the next Raven flying about and proceed forward. As you pass under the rocks and into the clearing, you’ll spot the next Raven perched on the branch by the waterfall. When you’re ready, climb the ledge into the larger clearing of the forest and a group of Draugrs will attack.
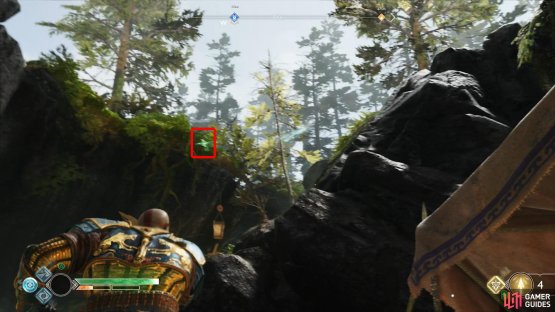

(1 of 2) Look above Sindri’s Shop to find the second Raven

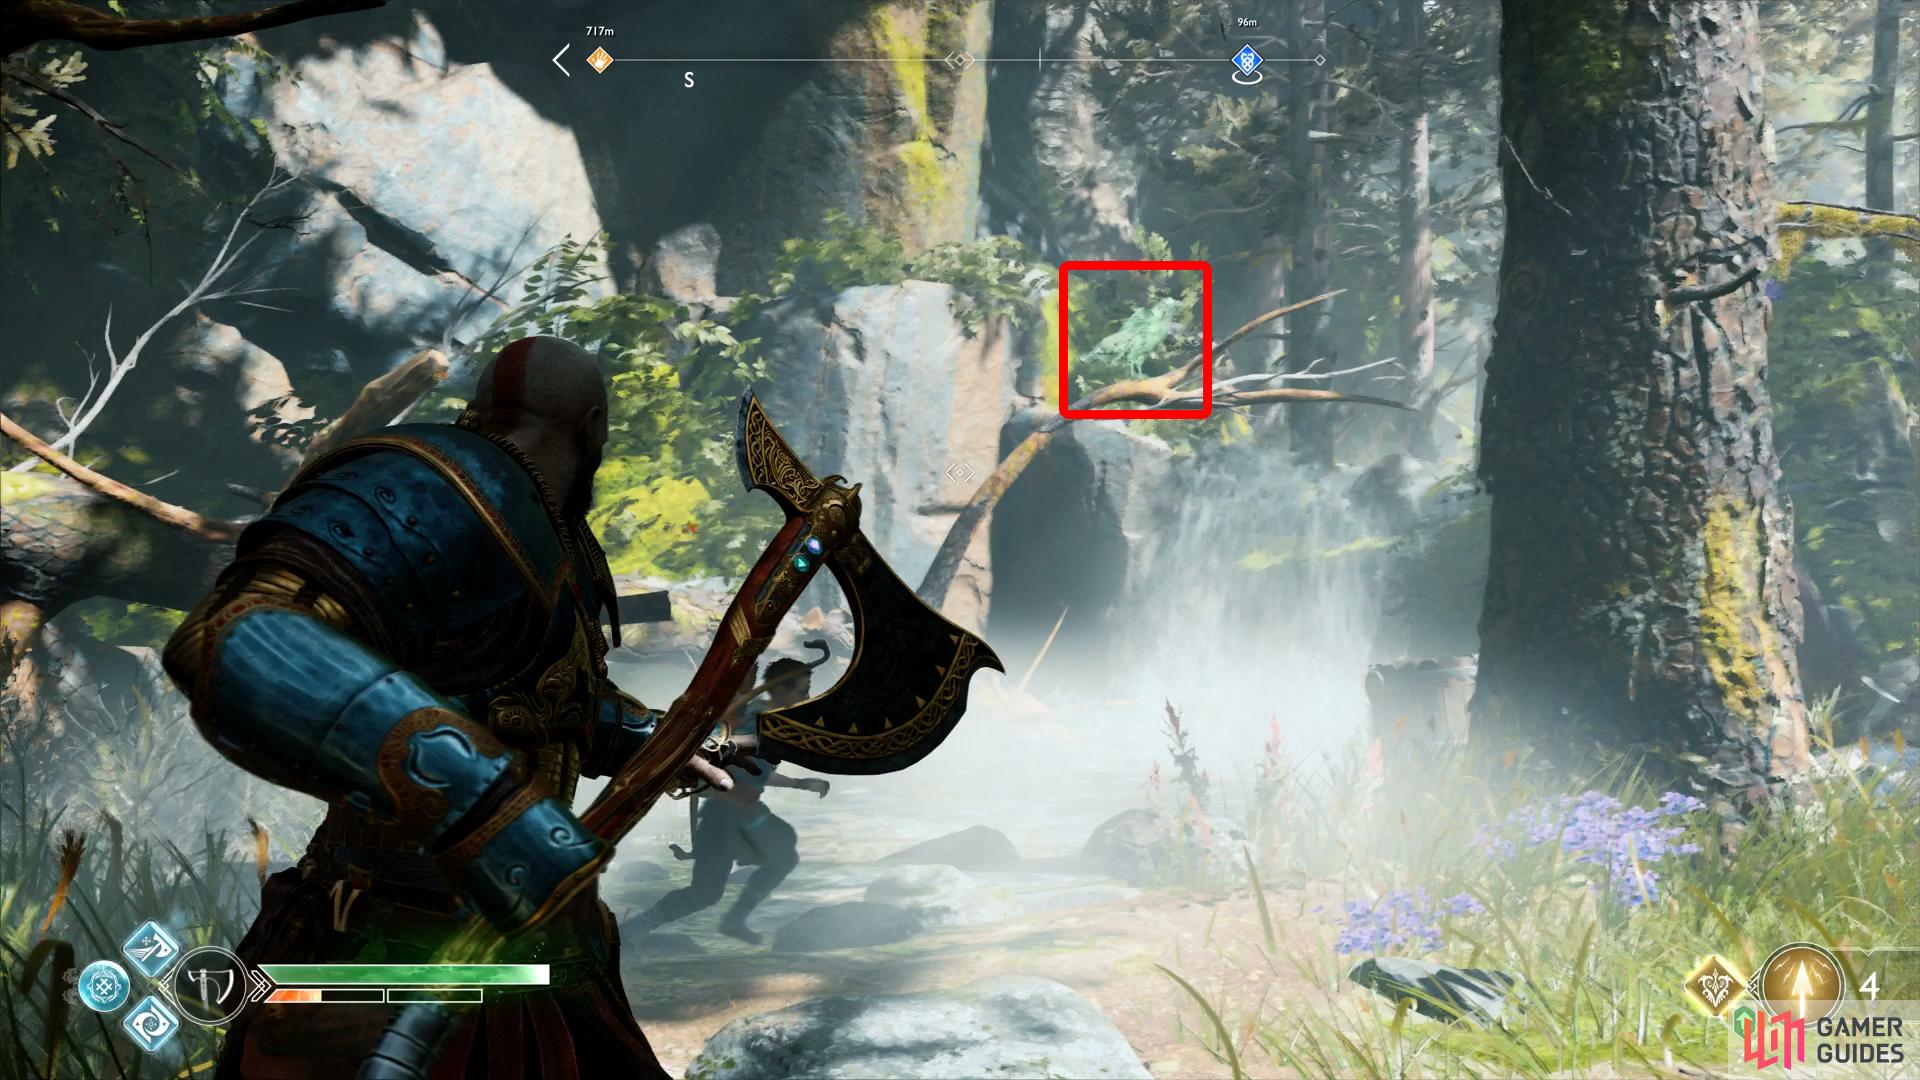
Look above Sindri’s Shop to find the second Raven (left), whilst the third is sitting on a branch just in front of the waterfall up ahead. (right)
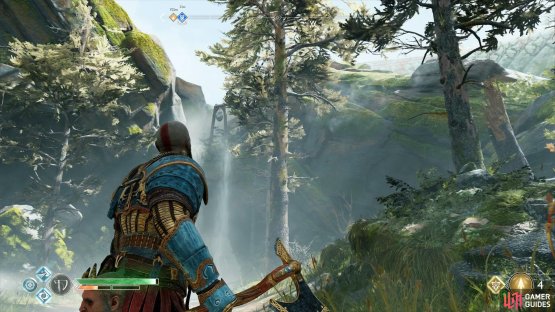
Begin the battle with a cast of the Murder of Crows Summon to disruput all the enemies and then focus on the Projectile Draugrs first before taking on the Draugrs closer to you. With the enemies dead, head toward the waterfall and look above the south entrance to spot another sneaky Raven.
Next up, you’ll notice that a Nornir Chest sits in this clearing and you’ll need to deal with a timed bell puzzle. Two Rune bells hang above the Nornir Chest while the other hangs above the waterfall. Stand in the stream in the middle so that you can see all three bells and begin by throwing the axe at the bell above the waterfall, quickly turning to hit the two near the Nornir Chest after. Return to the unlocked chest to obtain another Horn of Blood Mead.
(1 of 2) The next Raven is on top of the sealed entrance
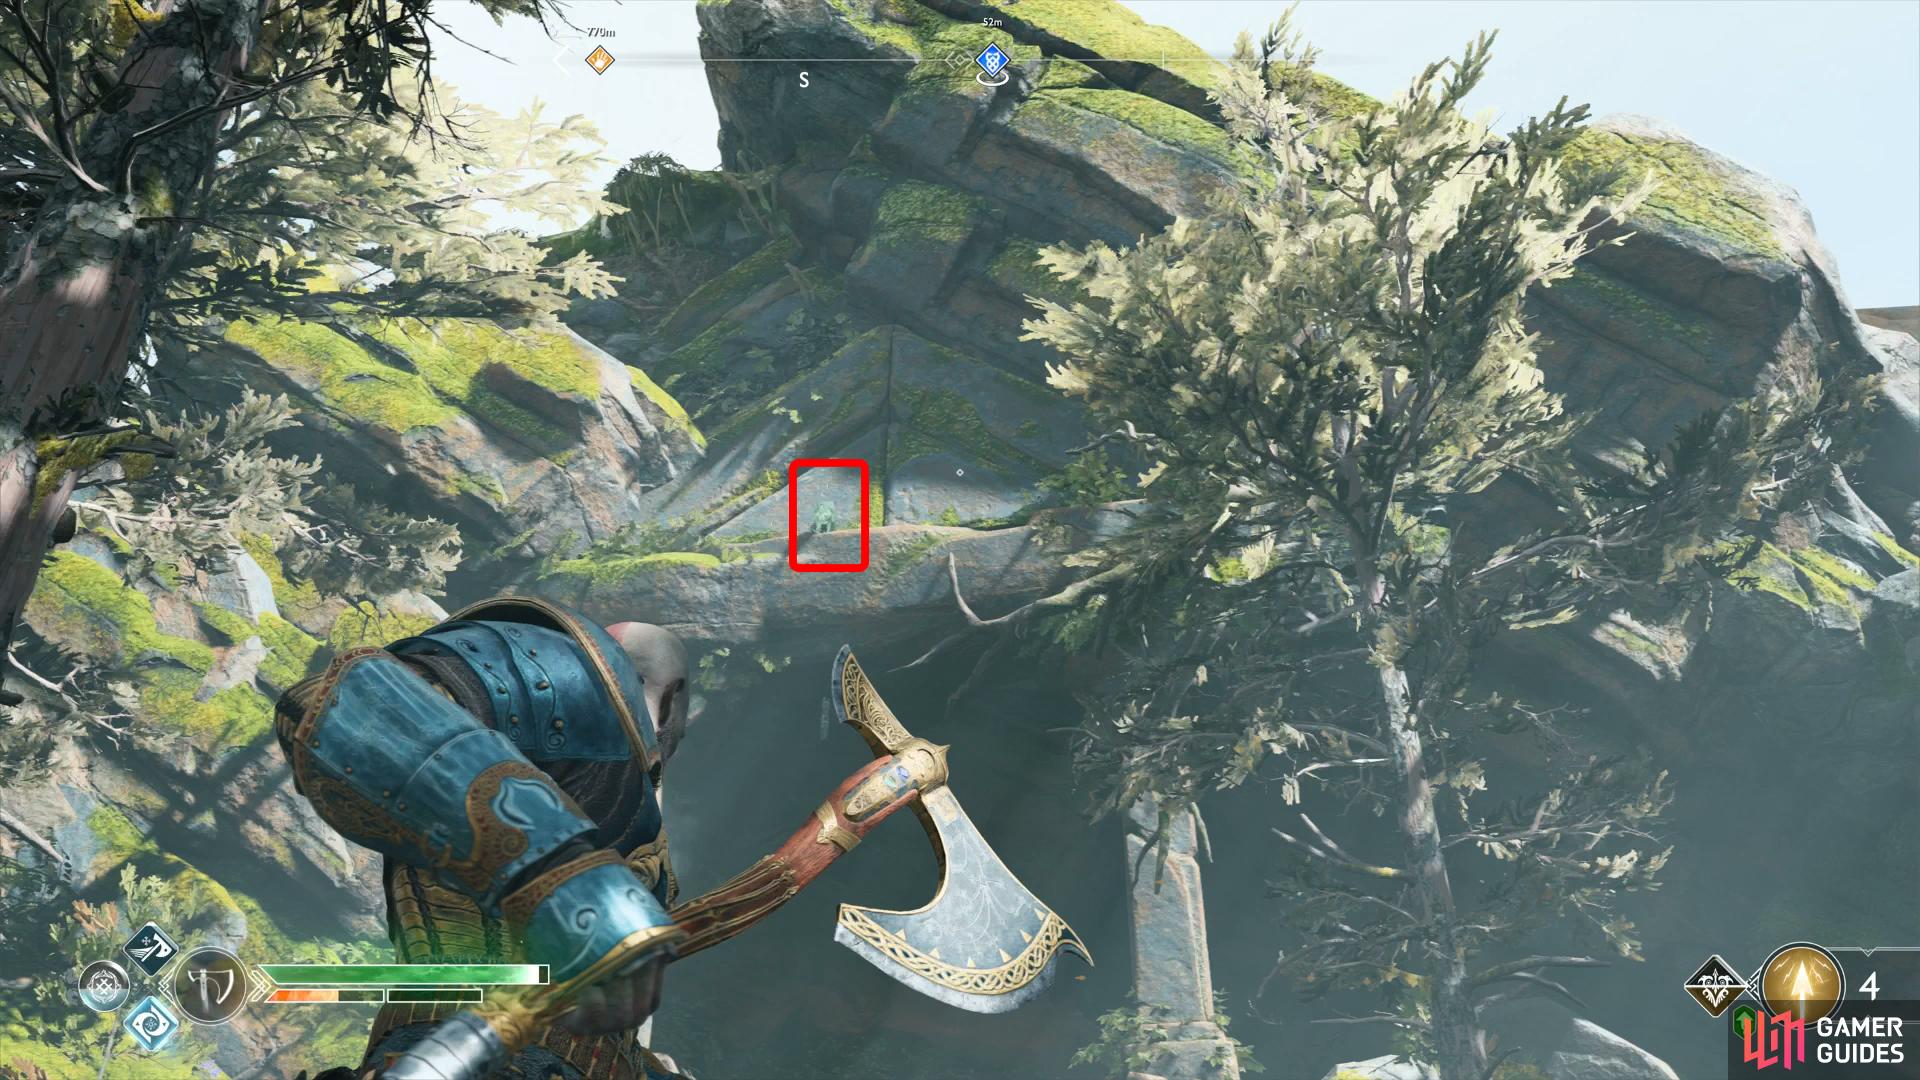

The next Raven is on top of the sealed entrance (left), hit the bell above the waterfall before hitting the two above the chest to unlock it. (right)
Head over to the southeast side of the clearing and climb the ledge there to find a coffin. Drop down and head along the side here to find a sealed entrance along with two sacks of Hacksilver. Search near the left brazier to unearth the treasure belonging to The Historian Treasure Map containing an Eternal Frost, a Legendary Enchantment, 30 Aegir’s Gold and 5000 Hacksilver.
Now head through the passageway behind the waterfall and approach the ledge at the end. Before dropping down, look in the air to spot yet another Raven.


(1 of 2) Check near the left brazier in front of the sealed door to find The Historian treasure
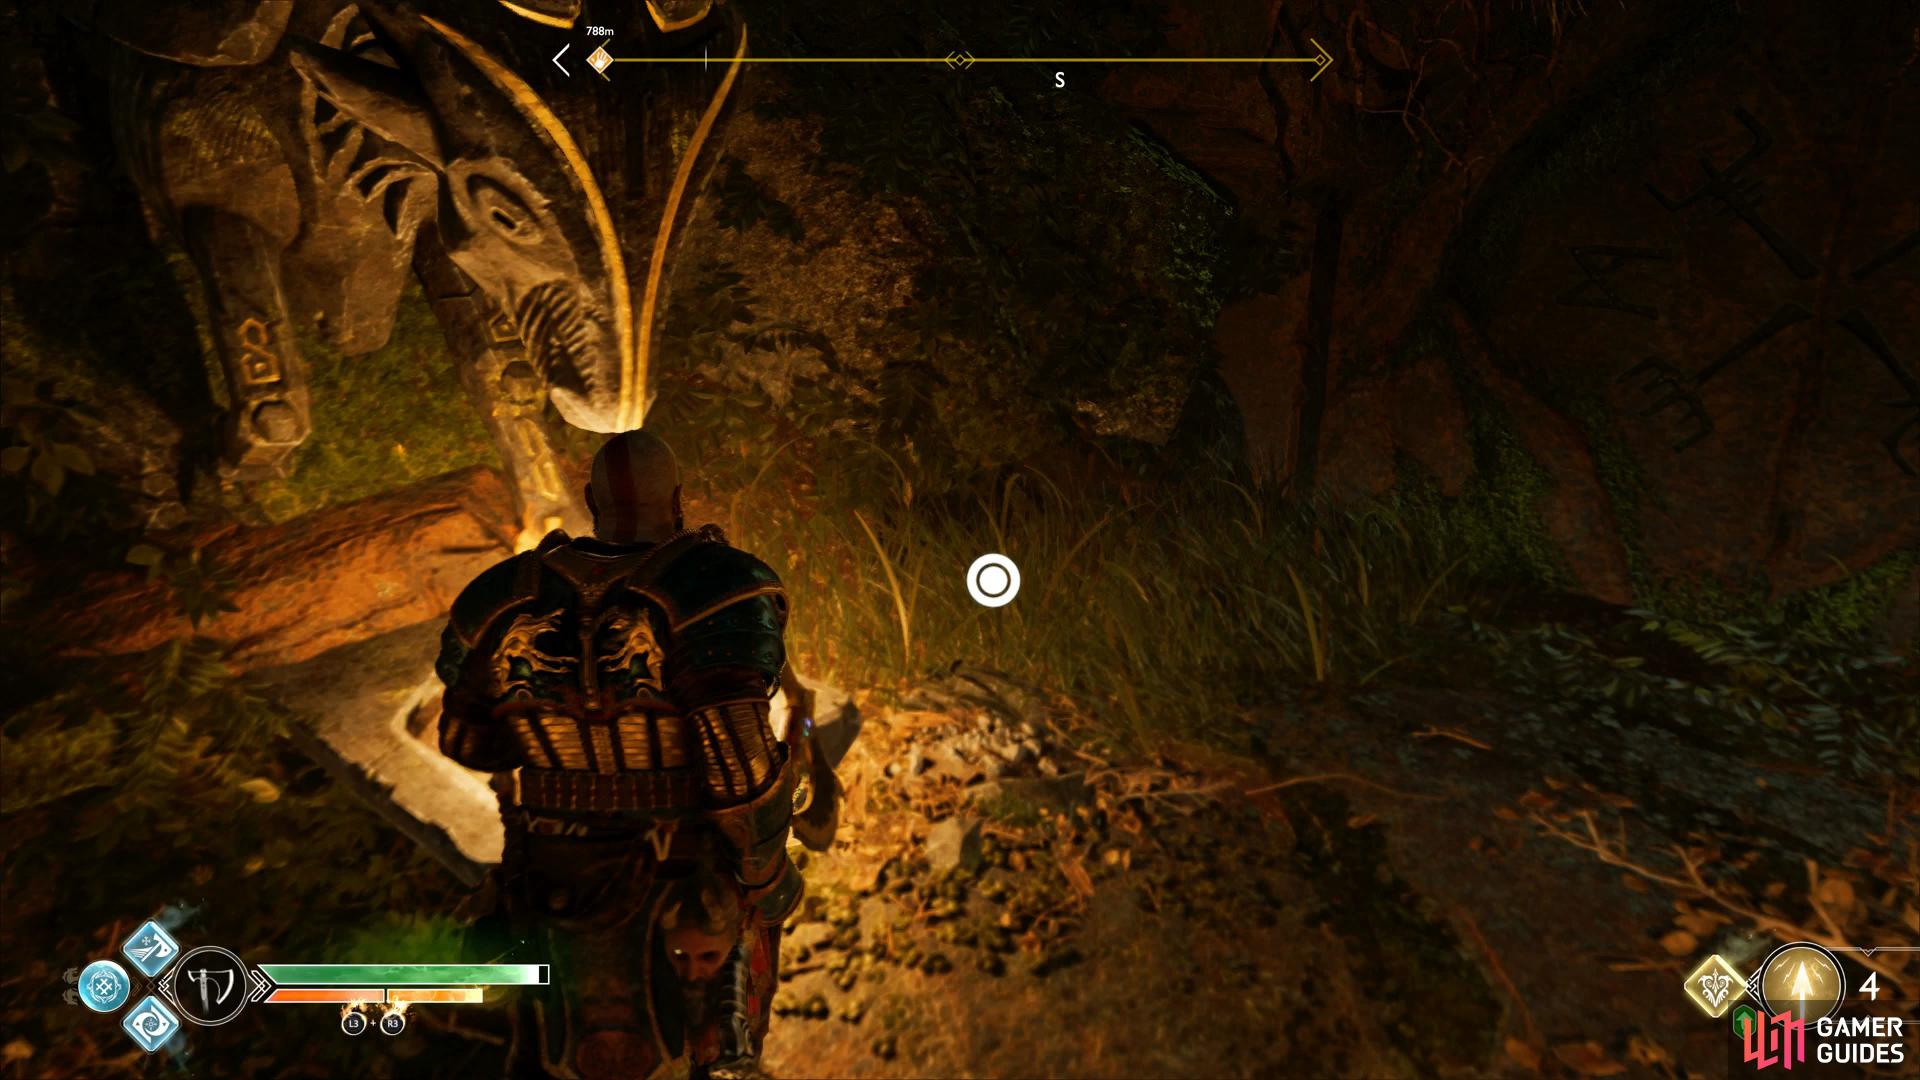
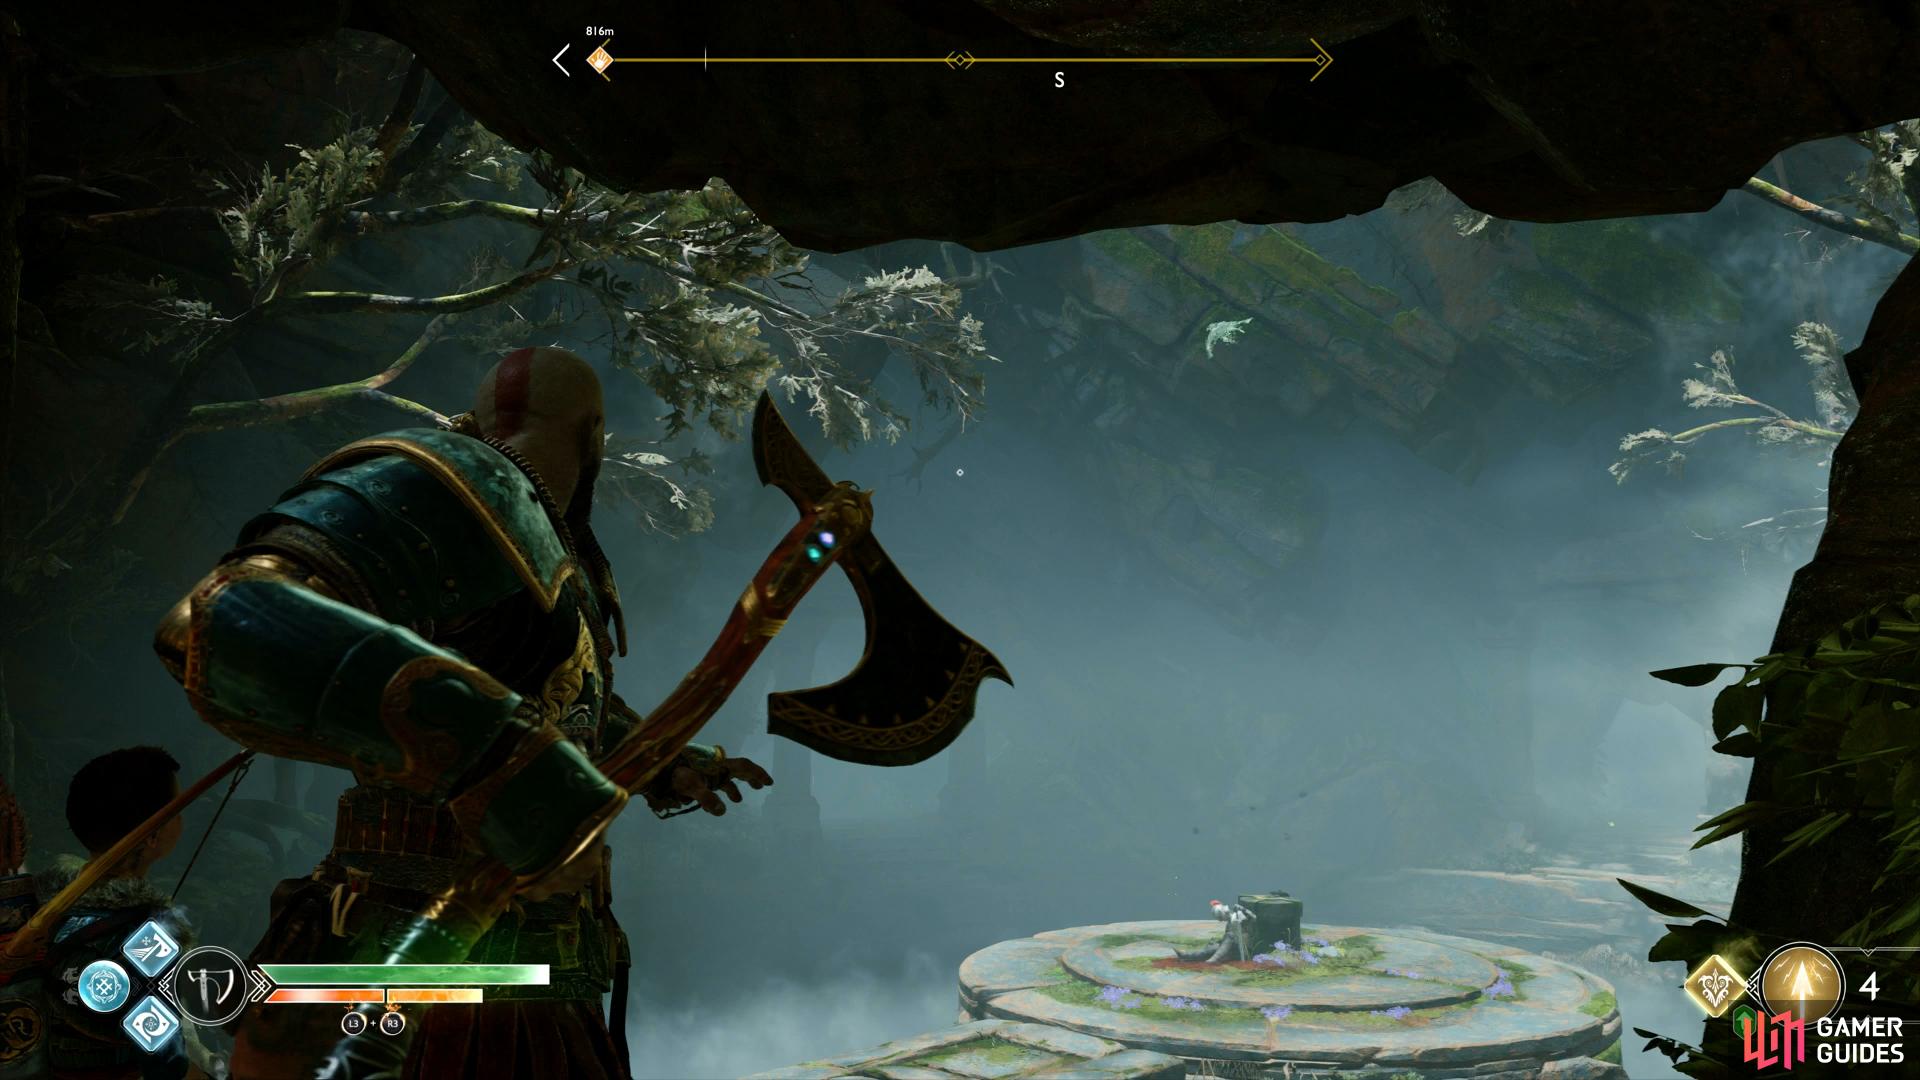
Check near the left brazier in front of the sealed door to find The Historian treasure (left), the final Raven for this area can be found in the air of the pedestal room. (right)
Search for the whetsone
Head over to the pedestal in front of you and pick up the Treasure Map on the corpse before placing the entry stone into the pedestal. This raises a walkway leading to a room to the west, cross over and pass through the door. As you walk forward, you’ll be assaulted by two Heavy draugrs, fortunately however, someone has carelessly left bombs in this room. Make use of these and direct the Draugrs toward them before blowing them up. Once the enemies are defeated, loot the spoils and pick up Fáfnir’s Entry Stone before returning to the pedestal.
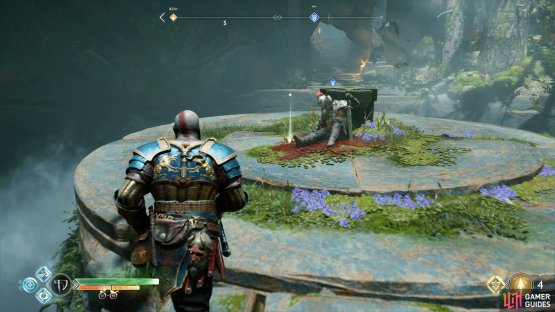
(1 of 2) Grab the Treasure Map before inserting the entry stone


Grab the Treasure Map before inserting the entry stone (left), Heavy Draugrs await in the first room. (right)
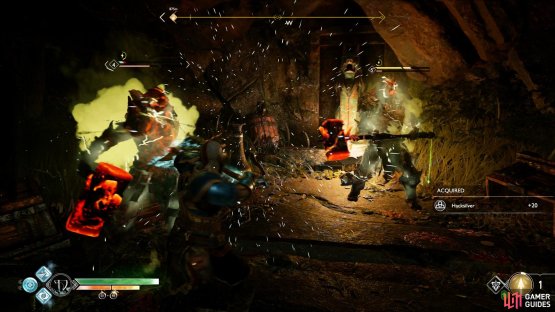
Two more Draugrs pounce as you approach it, defeat them and place the next entry stone into the pedestal. This raises a walkway to your east, cross over and open the door. A Viken awaits with two Reavers in this poison filled room, this is a perfect time to use Murder of Crows and then wait for the enemies to come to you. Once defeated, toss the axe into the Scorn Pole and pick up another Fáfnir Entry Stone at the back before leaving and returning to the pedestal once again.
This next stone unlocks a walkway to the northwest, cross over and enter into the next room. This time, a pair of Poison Revenants are your guests. Try to lock them down with Shock Arrows and then focus on one at a time. Upon their deaths, loot the spoils on the ground and grab the next Fáfnir Entry Stone.

(1 of 2) Use Murder of Crows and let the enemies come to you in the second room

Use Murder of Crows and let the enemies come to you in the second room (left), focus on one Revenant at a time in the third room. (right)
Return to the pedestal, defeat the two Projectile Draugrs that spawn and insert the next Entry Stone to raise a walkway to the southeast. A large pack of Wolves attack in this next room, provided that you have good crowd control abilities such as an upgraded Ivaldi’s Anvil and Murder of Crows, this should be the easiest room yet. Once defeated, open the coffin and then pick up another Fáfnir Entry Stone before returning to the pedestal once more.
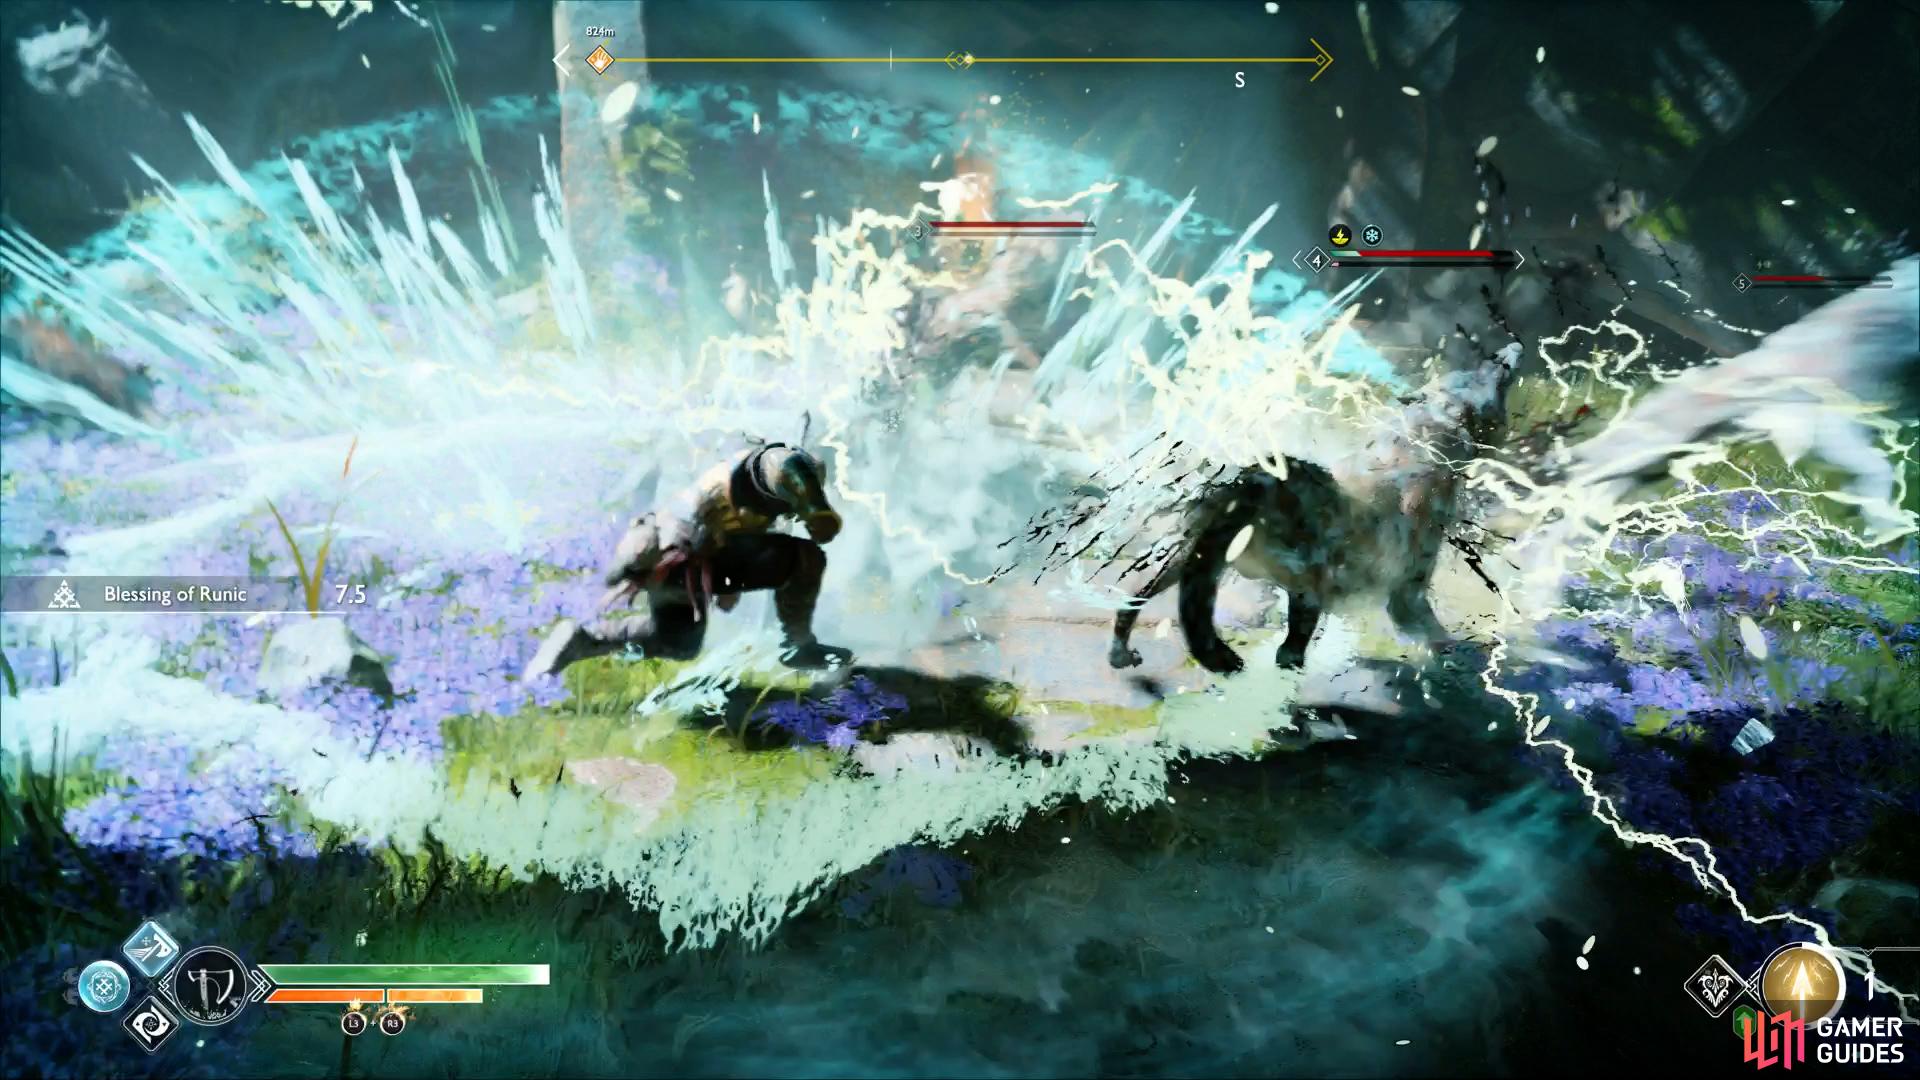
Ivaldi’s Anvil makes quick work of these Wolves.
Insert the final Entry Stone into the pedestal to create a walkway down the center of the room, cross over and open the door. Strangely, no enemies are lurking around this time but there is a Legendary Chest waiting for you to the right of the room, open it to obtain the Wrath of the Frost Ancient Light Runic Attack gem.
Head forward and approach the Reaver Spirit in front of the opened Legendary Chest. It seems that the Spirit’s son already beat you to the Whetstone, killing his father in the process. Two Ogres gatecrash the party, focus on one of them and build up it’s stun gauge so you can mount it and defeat the other one alongside the Nightmares that also pop up. With all the enemies dead, loot all the spoils from your victory and then begin to head outside. Head straight in front of the pedestal to find a different exit, take it and you’ll find yourself back in the clearing.
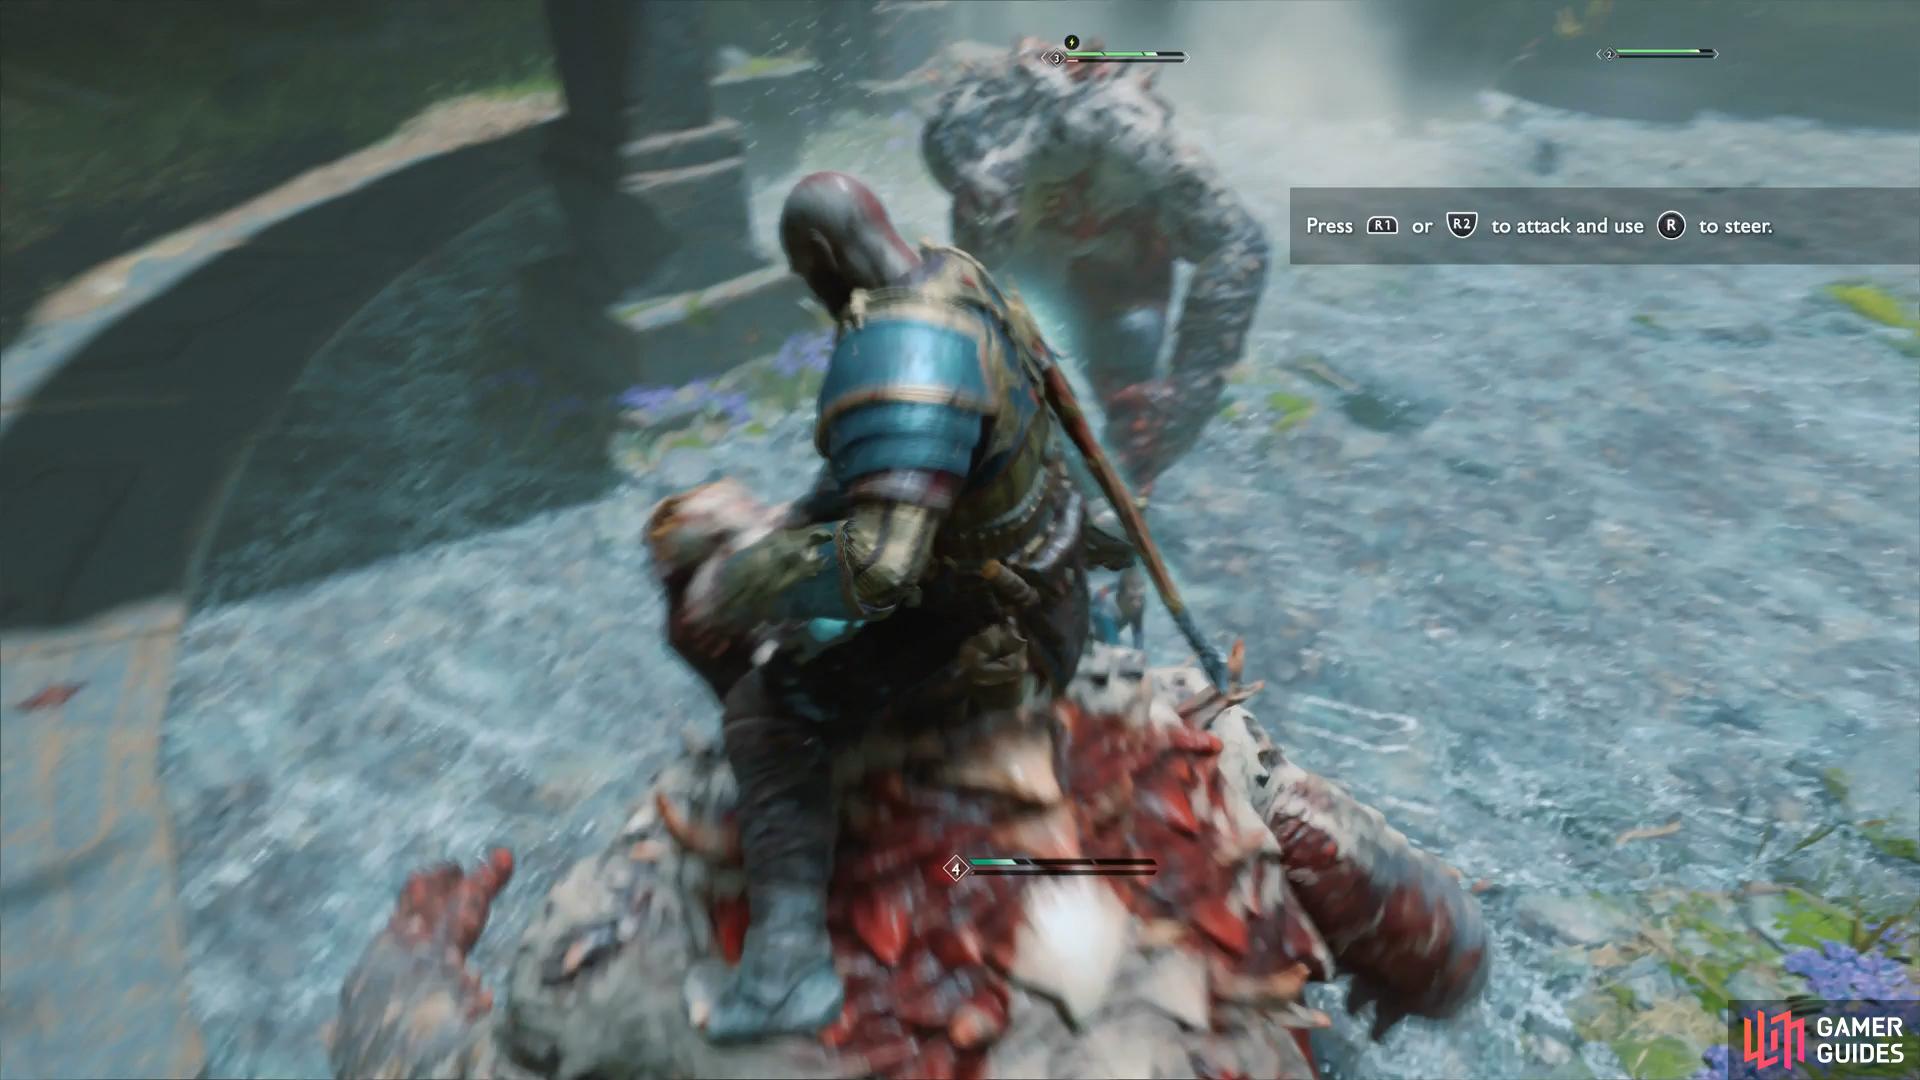
Mount one Ogre to easily kill the other.
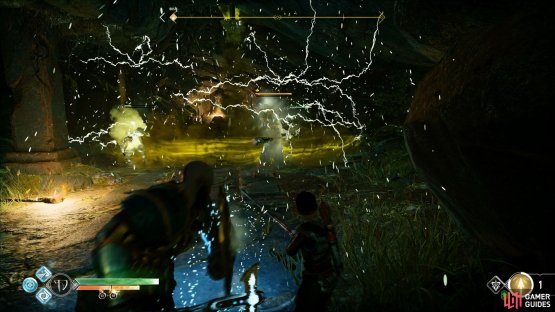
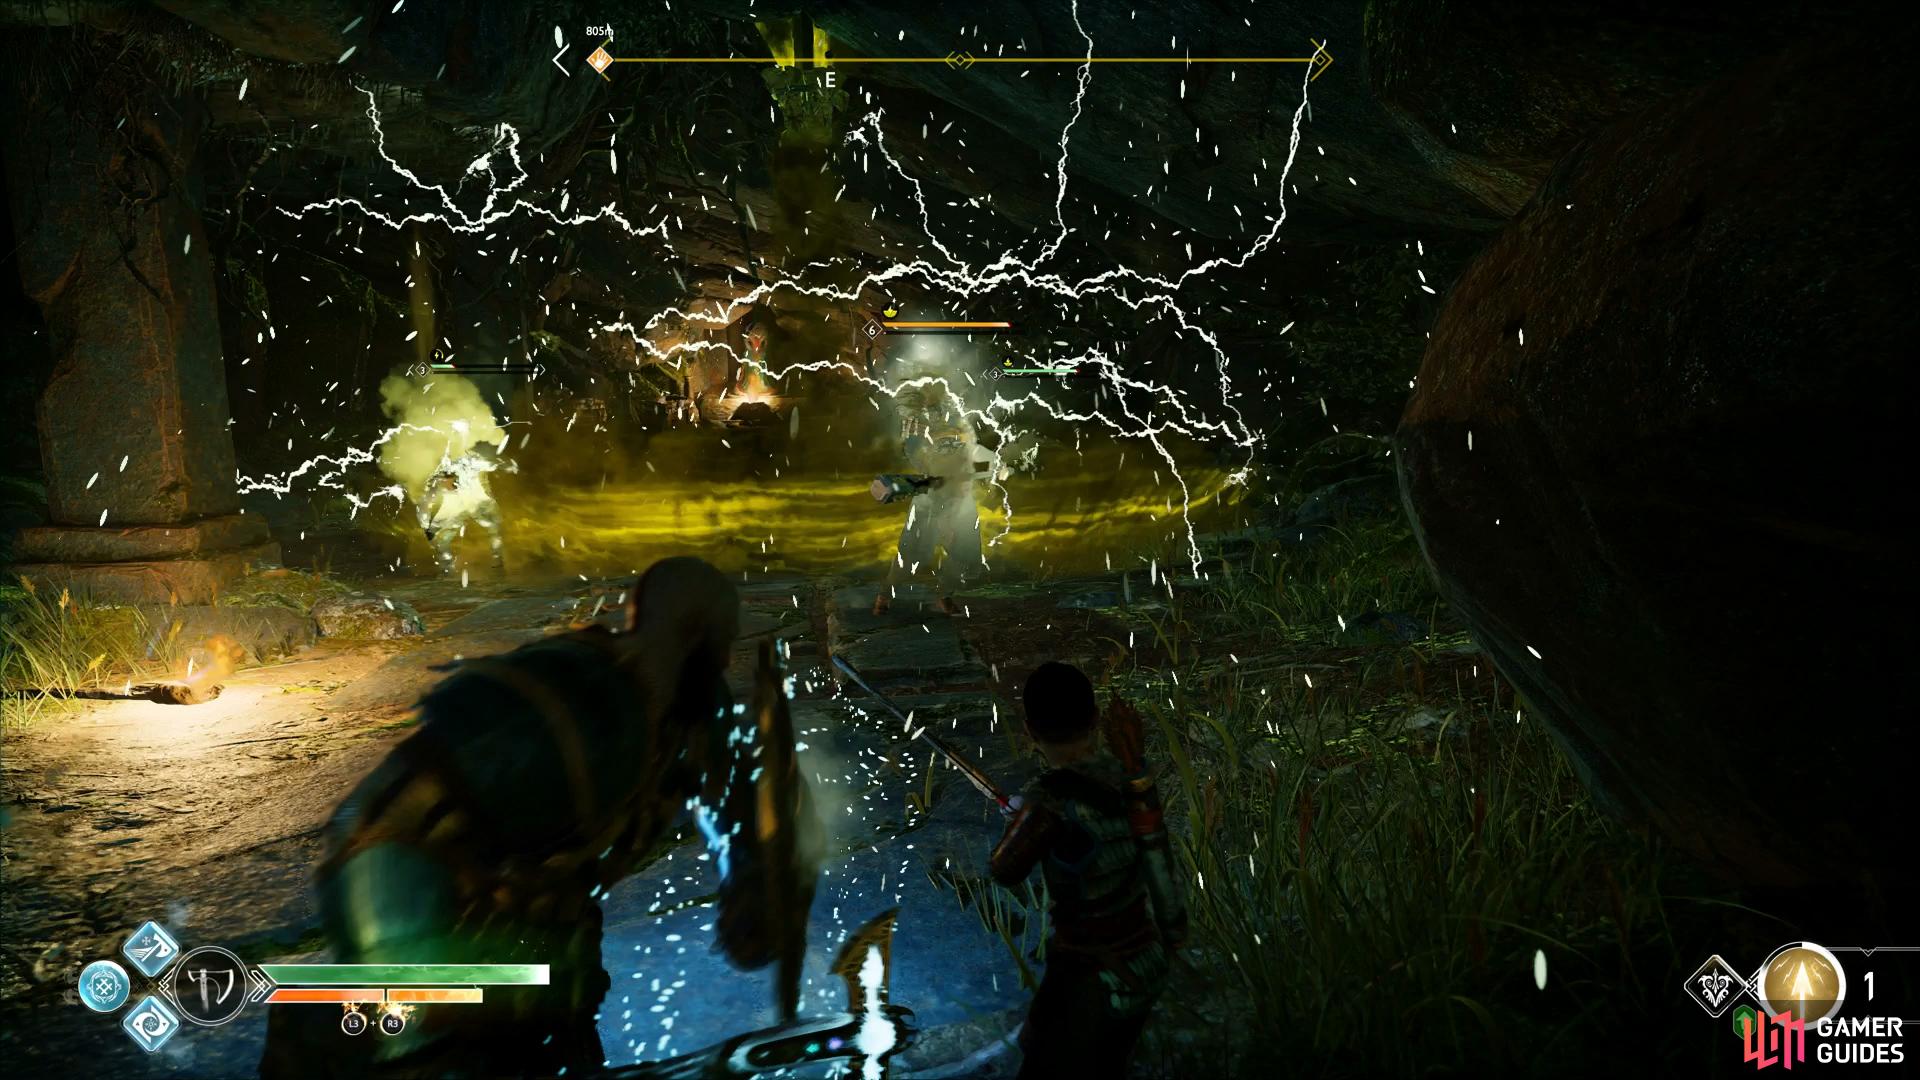
A Forest Ancient is now strolling around here, be prepared for a tough battle because this Ancient is your toughest one yet. The Forest Ancient adds a beam attack to it’s regular list of attacks, make sure you use the trees here for cover, the beam won’t pass through it.
To make matters worse, Speed Draugrs will also spawn during the battle, take these out as soon as possible. Not only will they distract you but they have the possibility to drop useful health stones. Remember, if you find yourself overwhelmed, don’t be afraid to use Spartan Rage, especially with the new skills you should have purchased during your journey.


(1 of 2) Use the trees to take cover from the Forest Ancient’s beams
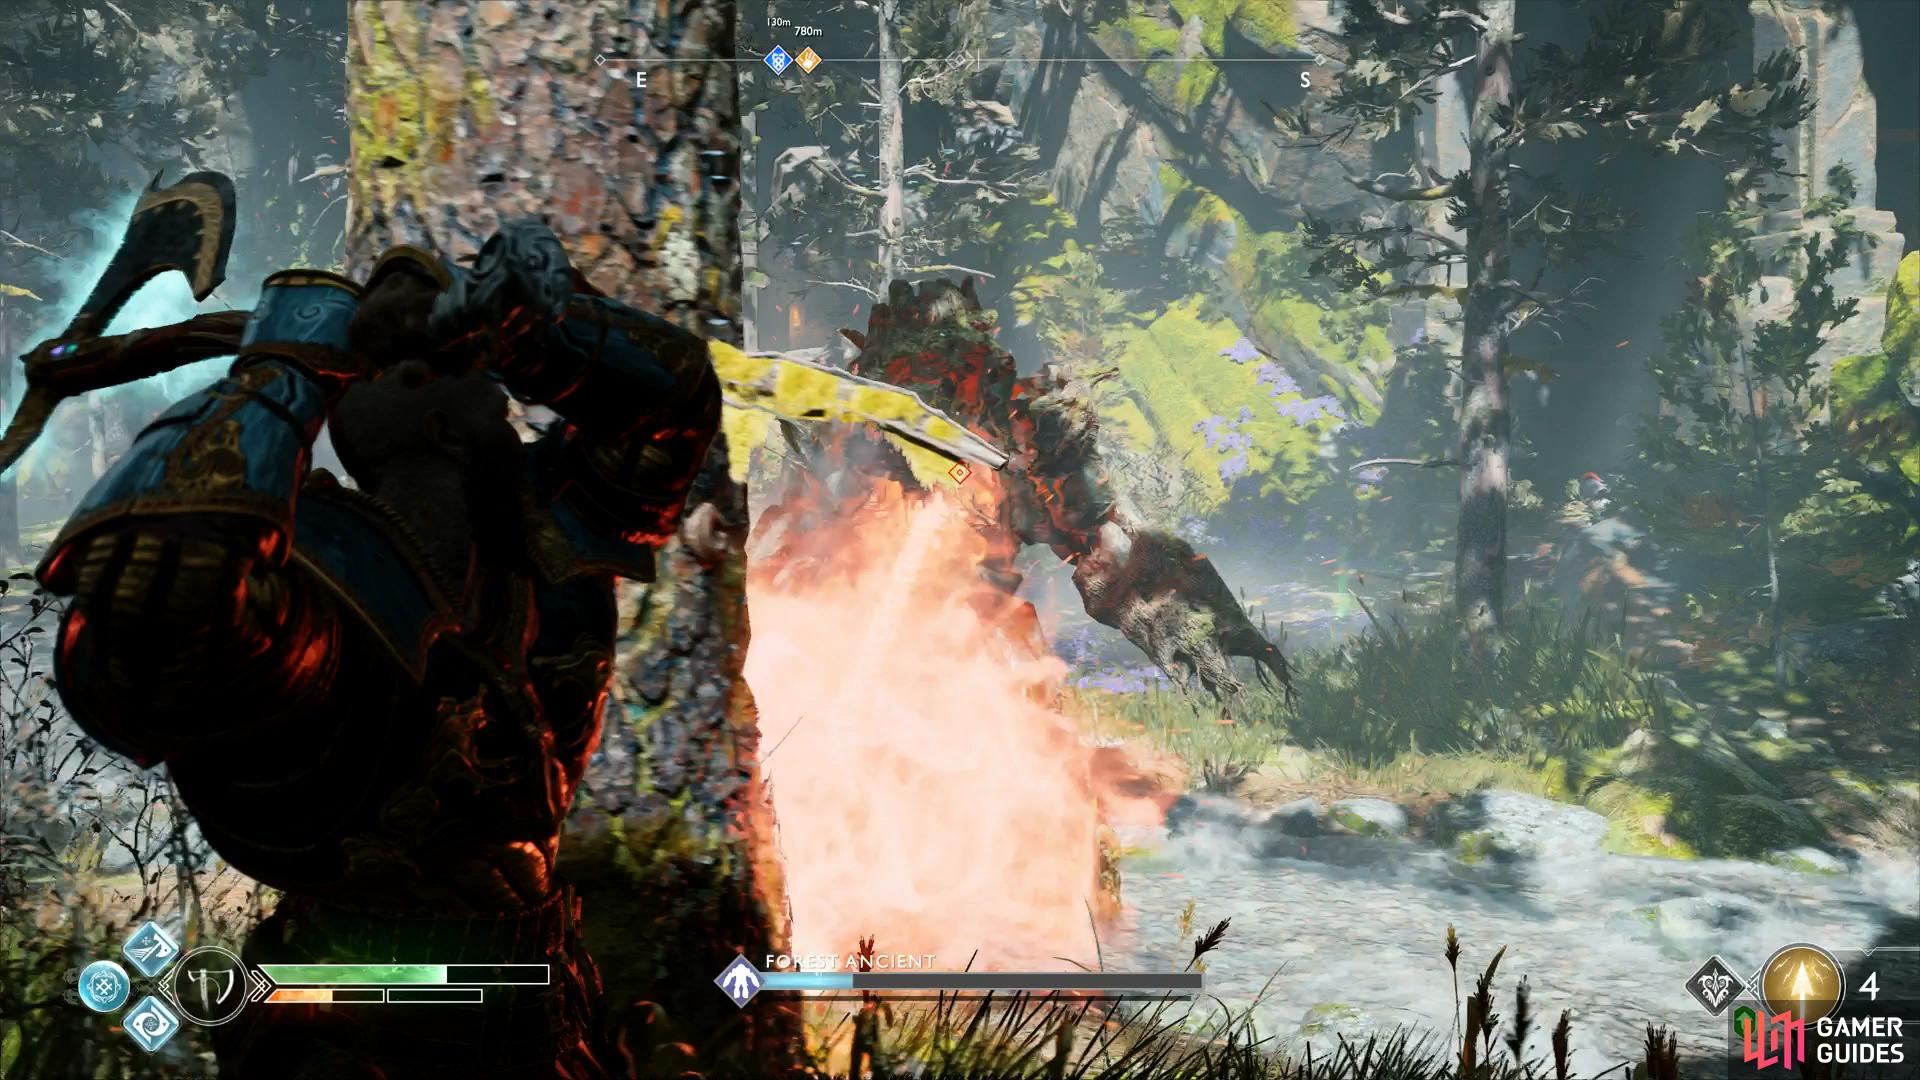
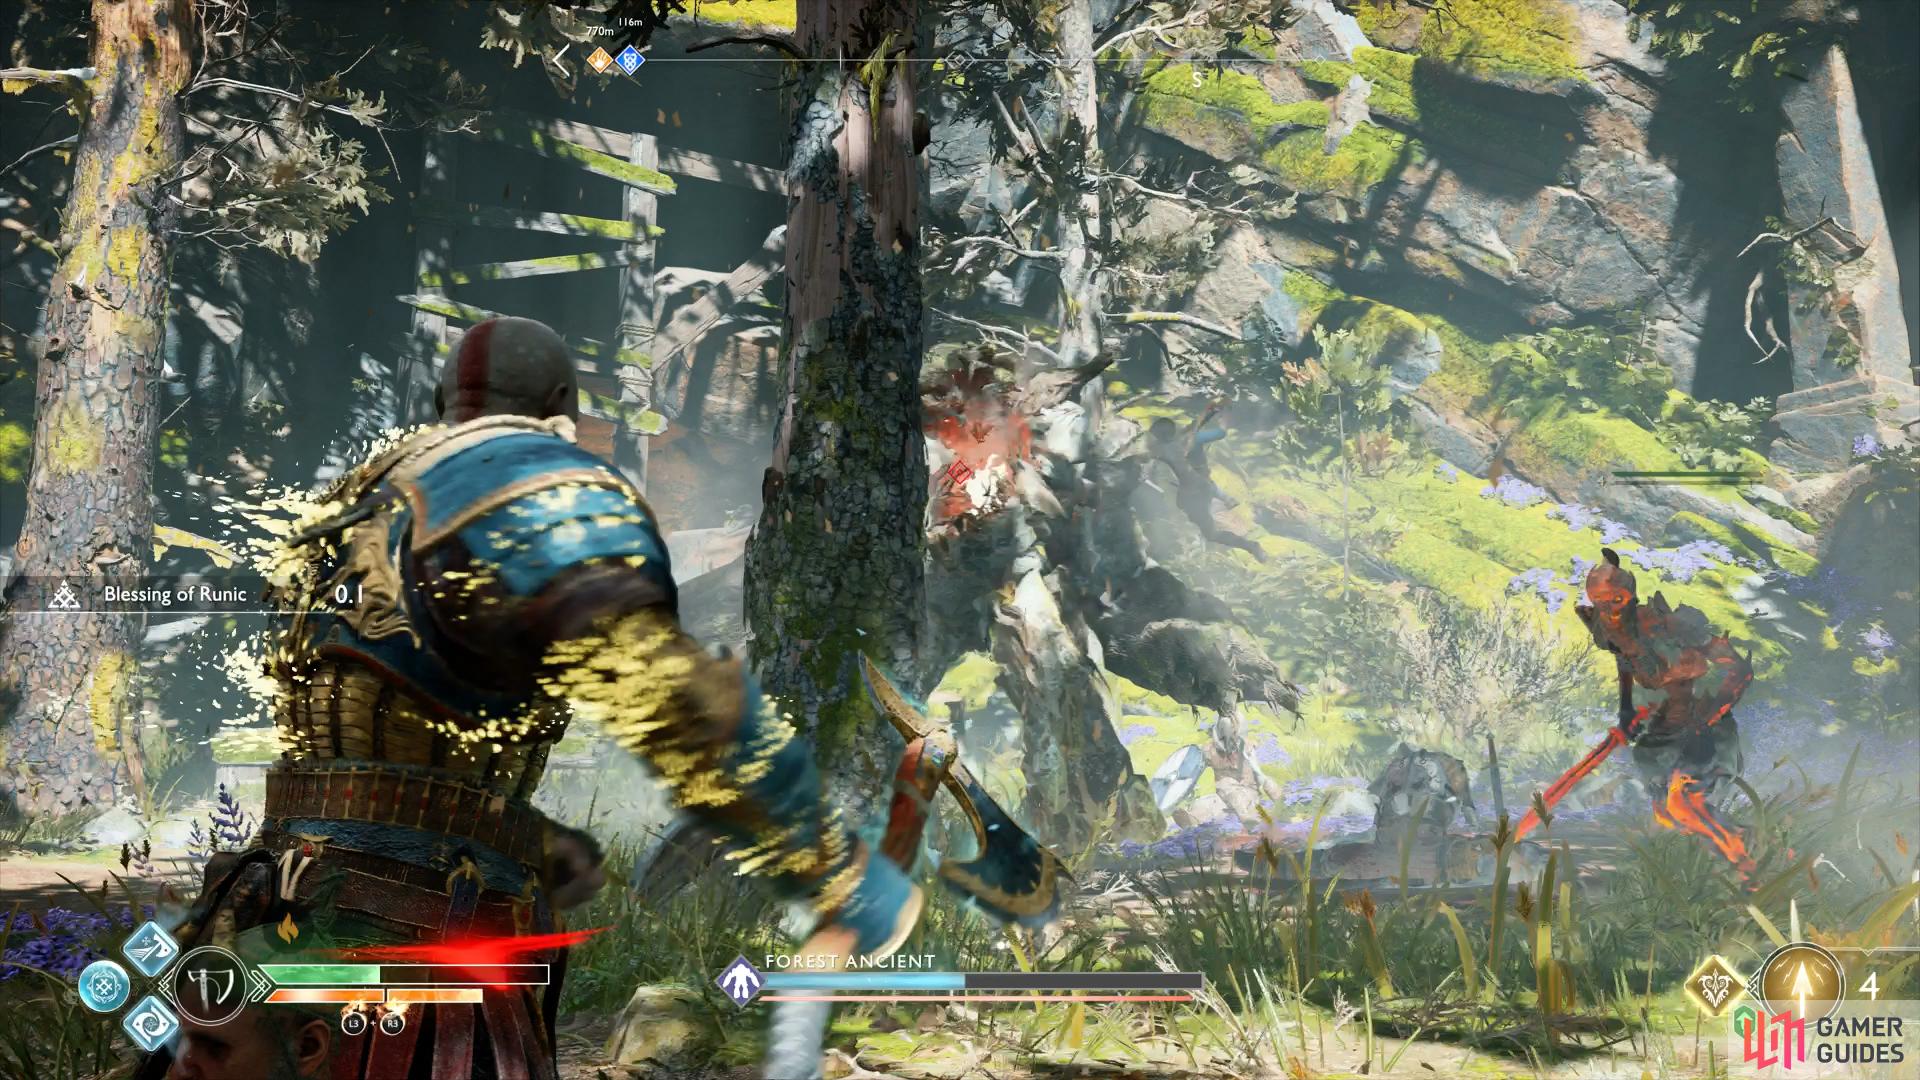
Use the trees to take cover from the Forest Ancient’s beams (left), take out the Speed Draugrs as soon as they spawn. (right)
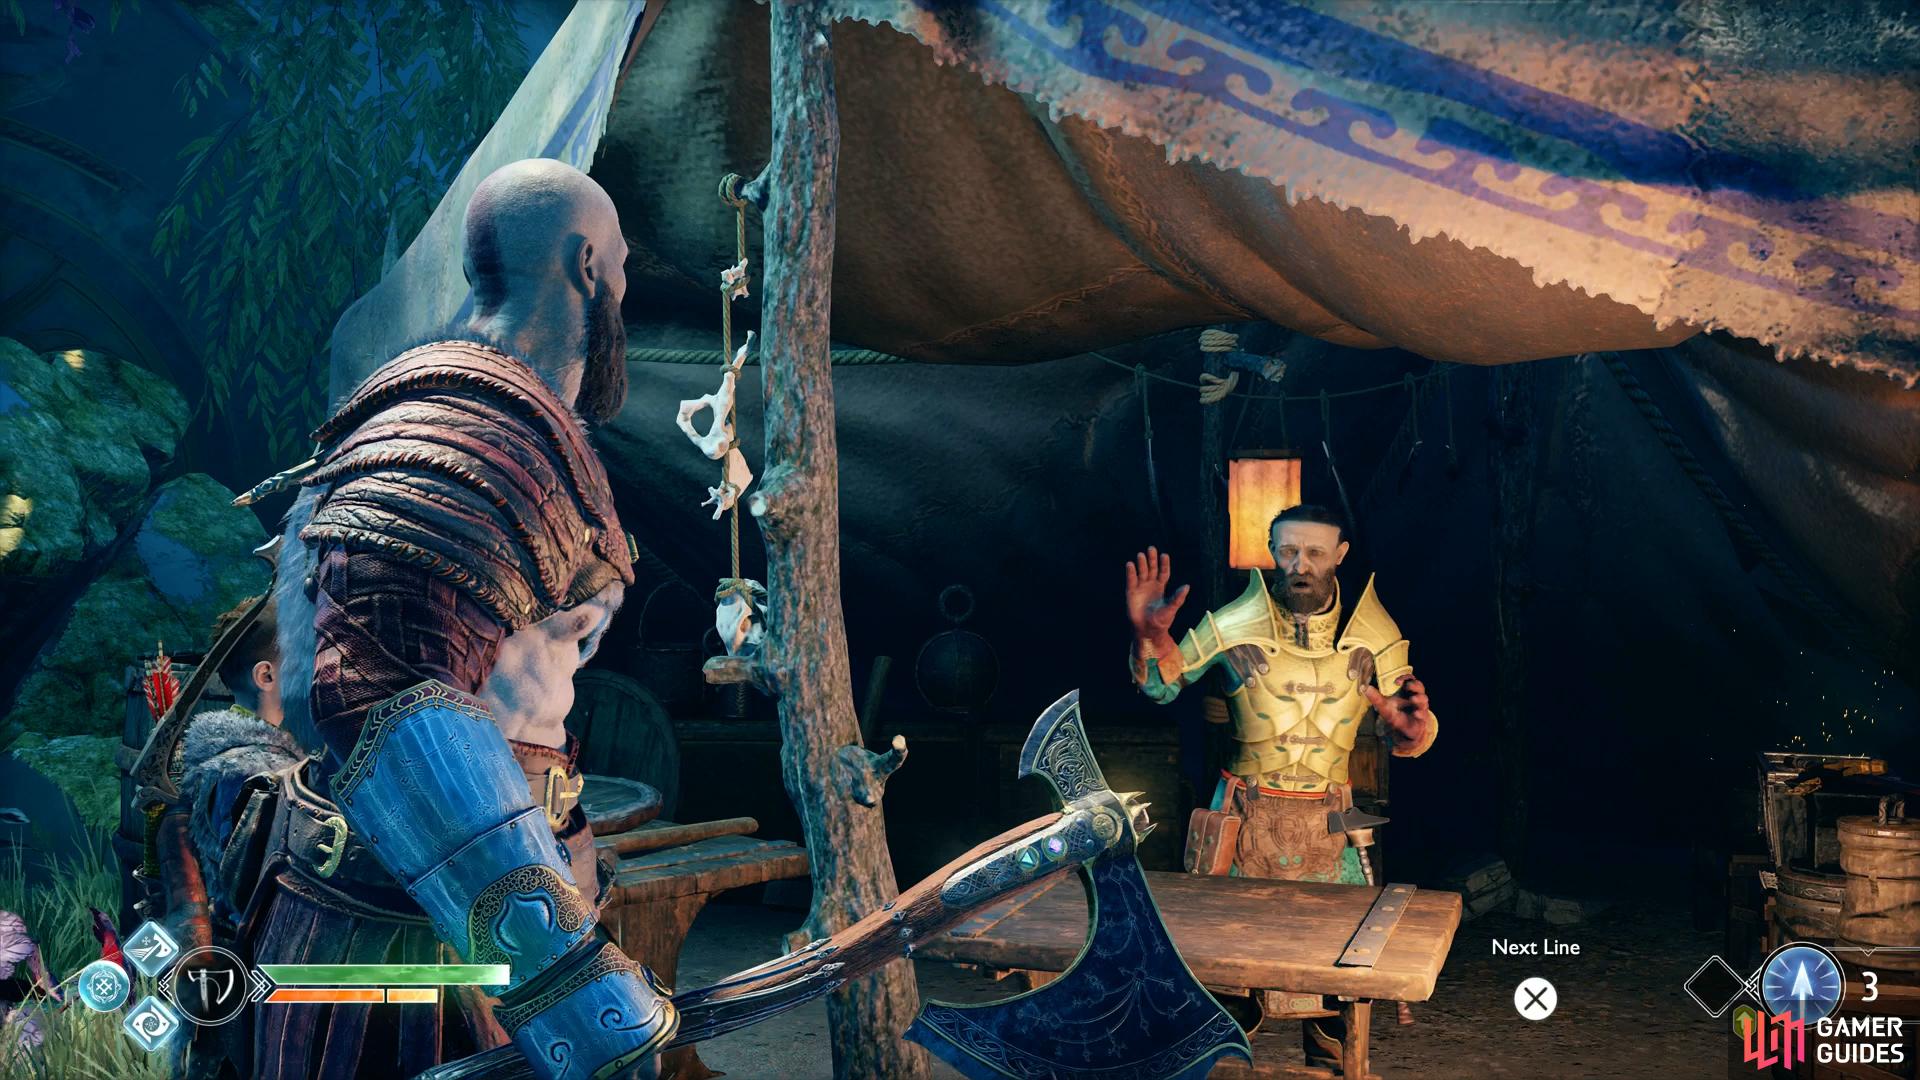
Be sure to pick up all the loot on the ground once it falls and then make your way back to Sindri’s Shop to deliver your findings to him. He’ll make you a trade for the dagger that Kratos took, a Talisman of Betrayal and the Favor will conclude.
No Comments