

Path to the Mountain 2, God of War.
Continue to the Mountain
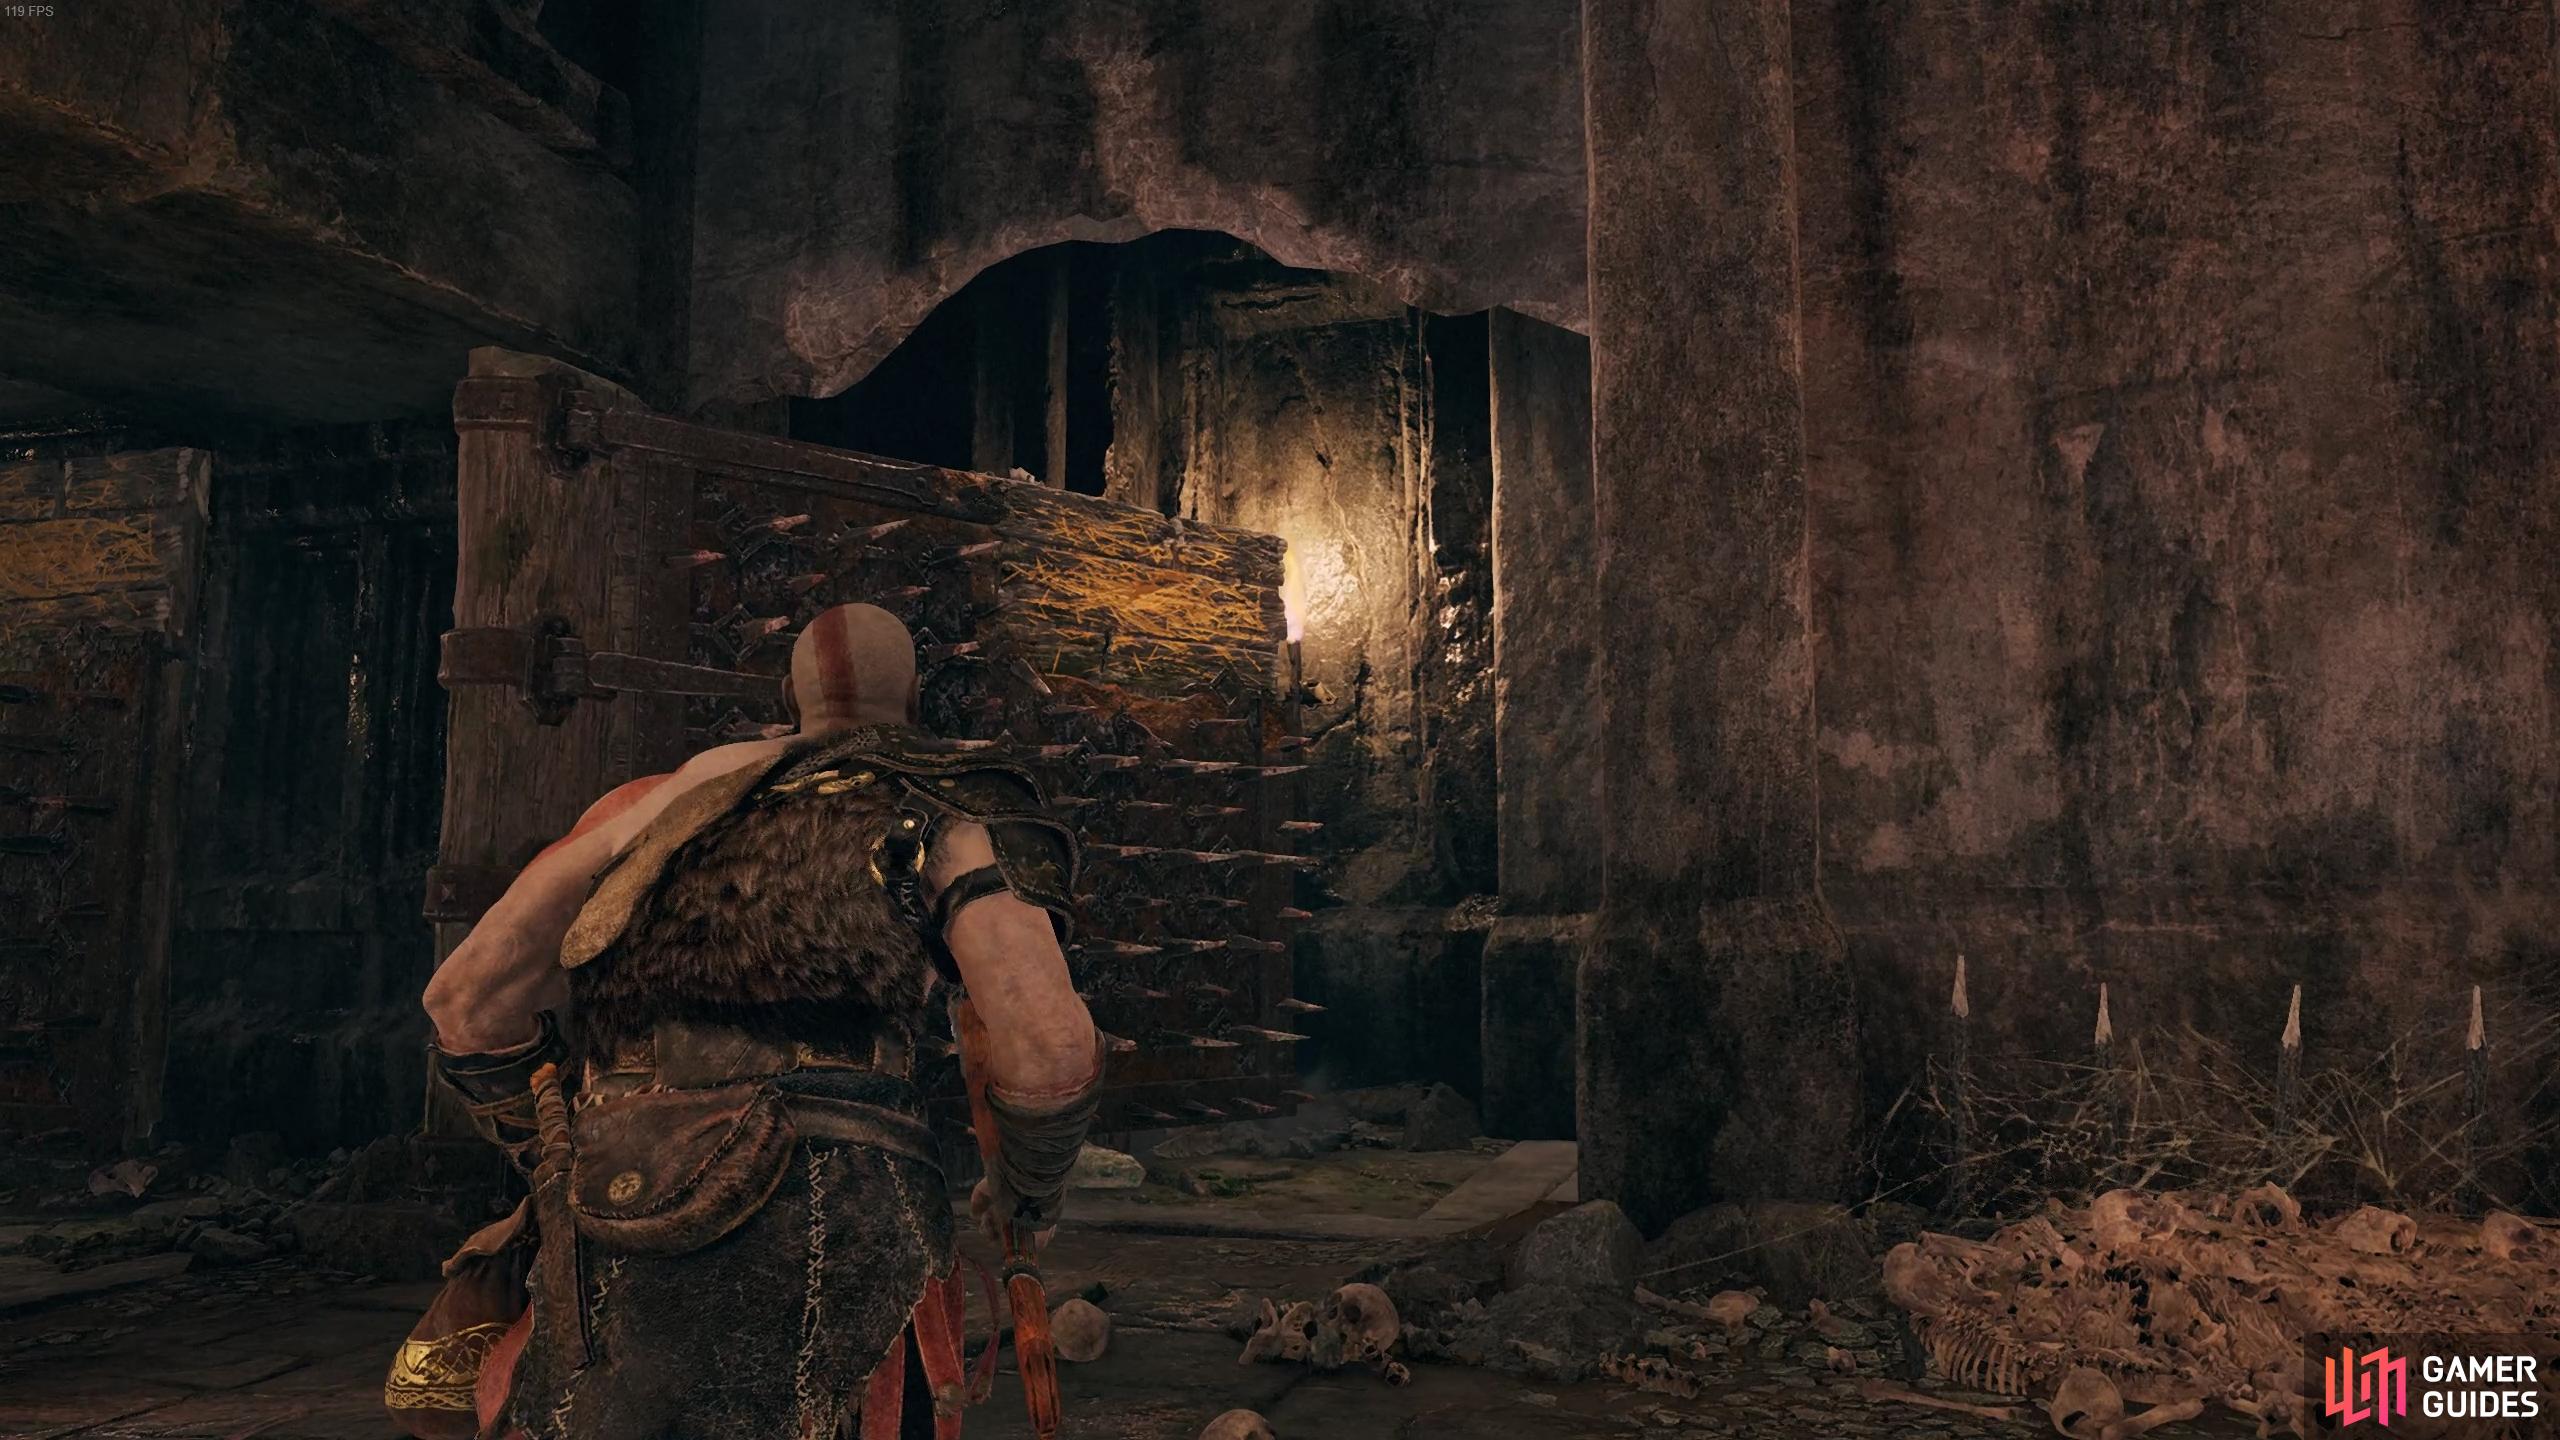
There’s only one way forward for now, crouch under the small gap in front of you to come out in front of a spiked door. If you look to the right corner of the door, you’ll spot an area without spikes, throw the axe at it (more than once if necessary, or with a heavy axe throw) to push the door back. There’s another door right behind, repeat the same procedure to gain access to the main room. Turn to face the door you just opened and throw the axe at it one more time to push it even further back allowing you to access the coffin hiding behind the wall.

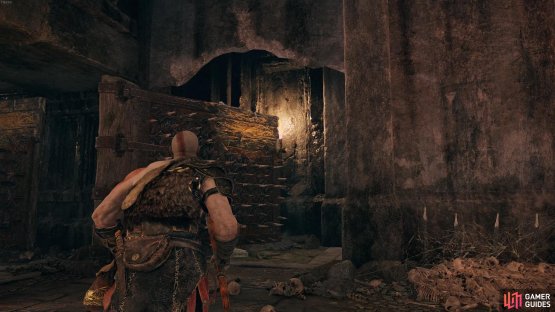
(1 of 2) Throw the axe at the top right of the door to push it back.
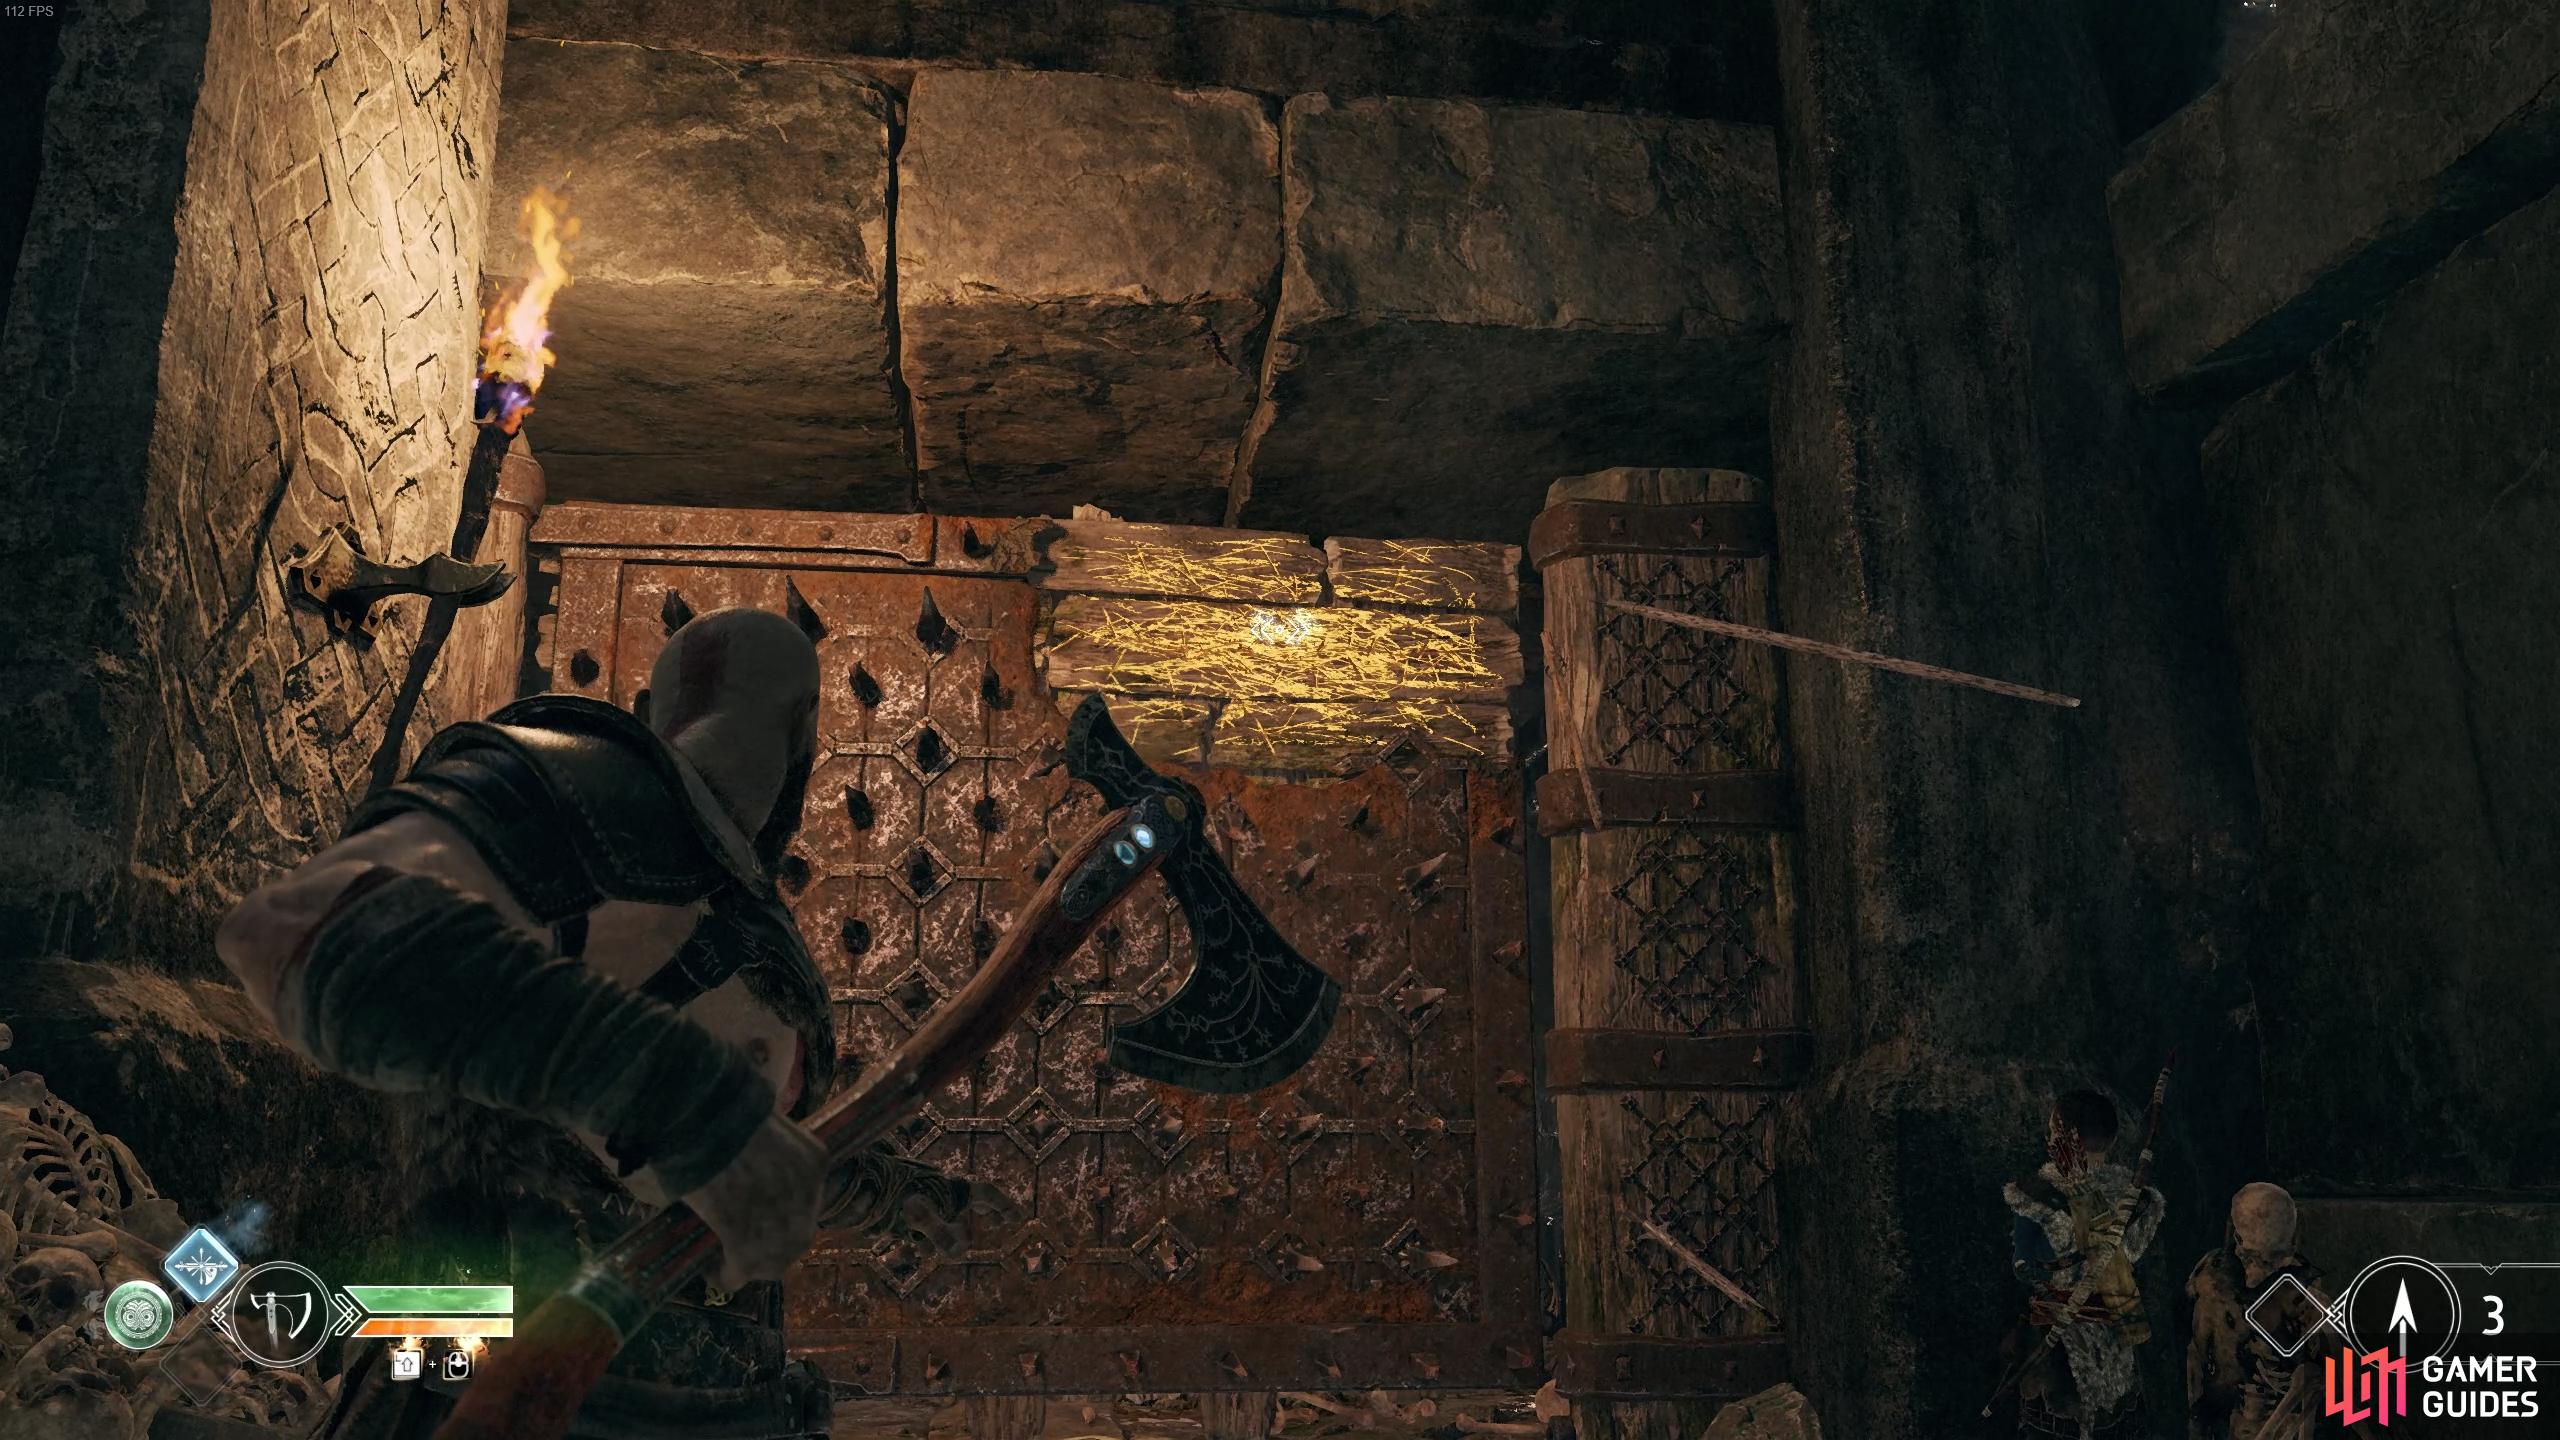
Throw the axe at the top right of the door to push it back. (left), Push the second door back twice to reach a hidden area. (right)
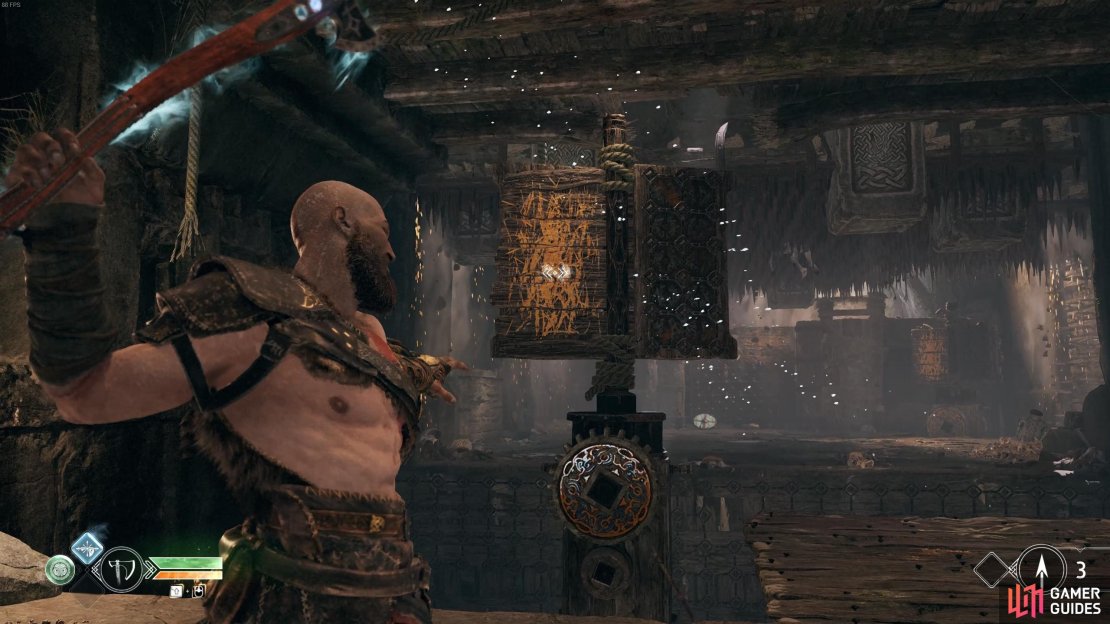
You’re now faced with the an impassable gap with a contraption in front of you. Throw the axe at the board in front to cause it to spin and raise the ceiling, do this a few times until it reaches its highest point before throwing the axe at the gear below to lock it in place.
Once you jump the gap, Draugrs will spawn from the ground, resist the temptation to recall your axe and instead jump back over to your starting position. You can now recall the axe to cause the ceiling to lower again, any enemies caught in this will be crushed to death. The Draugrs can jump this gap themselves so be prepared to take out any that make the trip across. You’ll have to repeat this tactic a few times to clear out all of the enemies (you can kill them with the axe while under the falling ceiling but this is much safer).
You’re now free to explore the area without the hassle of Dragur, with the axe still locked in place, jump back over. Destroy the barricade to the left to find a Hacksilver chest before heading over to the far side. You’ll see a gate up ahead with another spinning board to your right to control the ceiling, recall the axe and push the gate in front of you back, using the spinning board to your right to keep the ceiling up if need be. With the gate open, head through and climb the ledge to find a corpse with the third Artefact for the River Pass.

(1 of 3) Throw the axe at the board multiple times to raise the ceiling, then throw it at the disc to secure it in place.
Once you’ve looted the artefact, summon your axe back to you. Turn back towards the room you just left and jump over to the now lowered ceiling. To your right is the next Nornir Chest, face the gap you just jumped over and look above it to find the first rune. You’ll find the second rune through the hole to your left with a Hacksilver chest further down the path. For the last rune, position Kratos to the left of the Nornir chest and hit the spinning board in front to raise the ceiling a little, allowing you to throw the axe at the third rune on the beam above. Wait for the ceiling to lower all the way to the bottom again and open the now unlocked Nornir Chest for your first Horn of Blood Mead, three of these will increase Kratos’ Spartan Rage gauge.
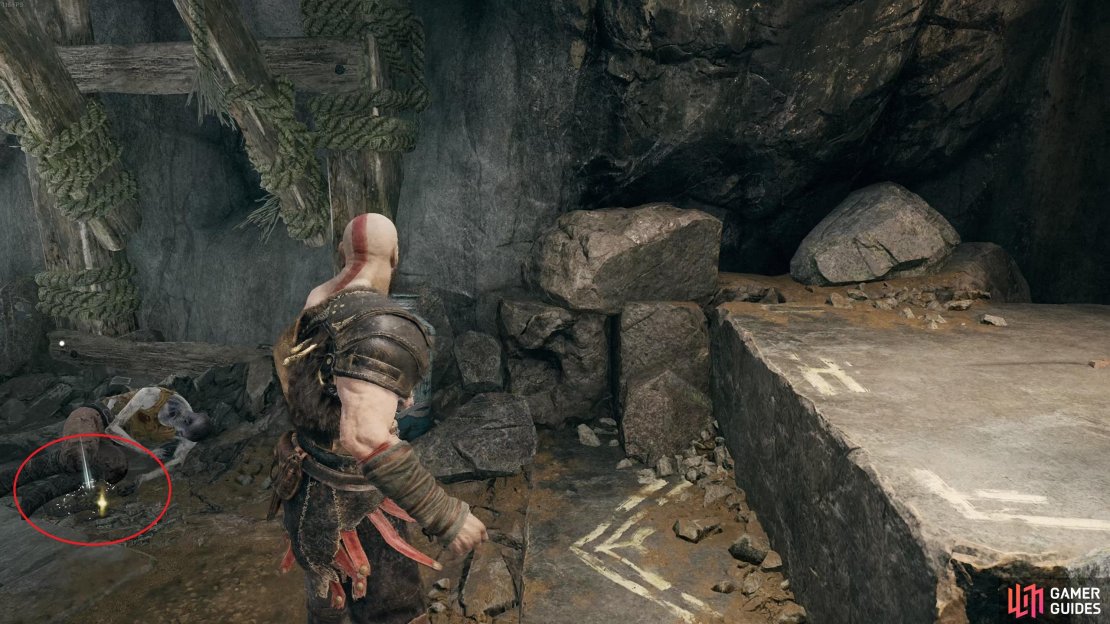
You can now exit the cave at long last and take in the wonder of the Mountain ahead, your destination is in sight at last. Before you follow Atreus, continue to walk forward to the corner where a corpse lies with the next Artefact. Now follow Atreus to arrive at a large circular door with a sand bowl in front of it, have Atreus read the runes within.
Head to the corner from where you can see the Mountain to discover this Artefact.
Turn to the left of the door and climb the ledges along the path, picking up the sack of Hacksilver on your way. You’ll find a handle you can turn at the top, turn this to have the door begin rotating. You’ll need to recreate a rune phrase on the door by tossing the axe at three gears on the door controlling the three rings.
Start with the bottom and throw the axe when the yellow edges of the rune are to the left and right sides of the door. Wait for the next ring to rotate and remove the axe once the next part of the arrow shape aligns with the left ring (see the pictures for more details), you’ll know you have it in the right position when it lights up. You’ll want to aim for the center gear now, wait until it becomes visible and launch the axe at it to cause the rune phrase to light up and complete the phrase. You can now have Atreus read the runes to be able to trace them into the sand bowl and unlock the door. If you’re struggling with the puzzle, see the gif below.
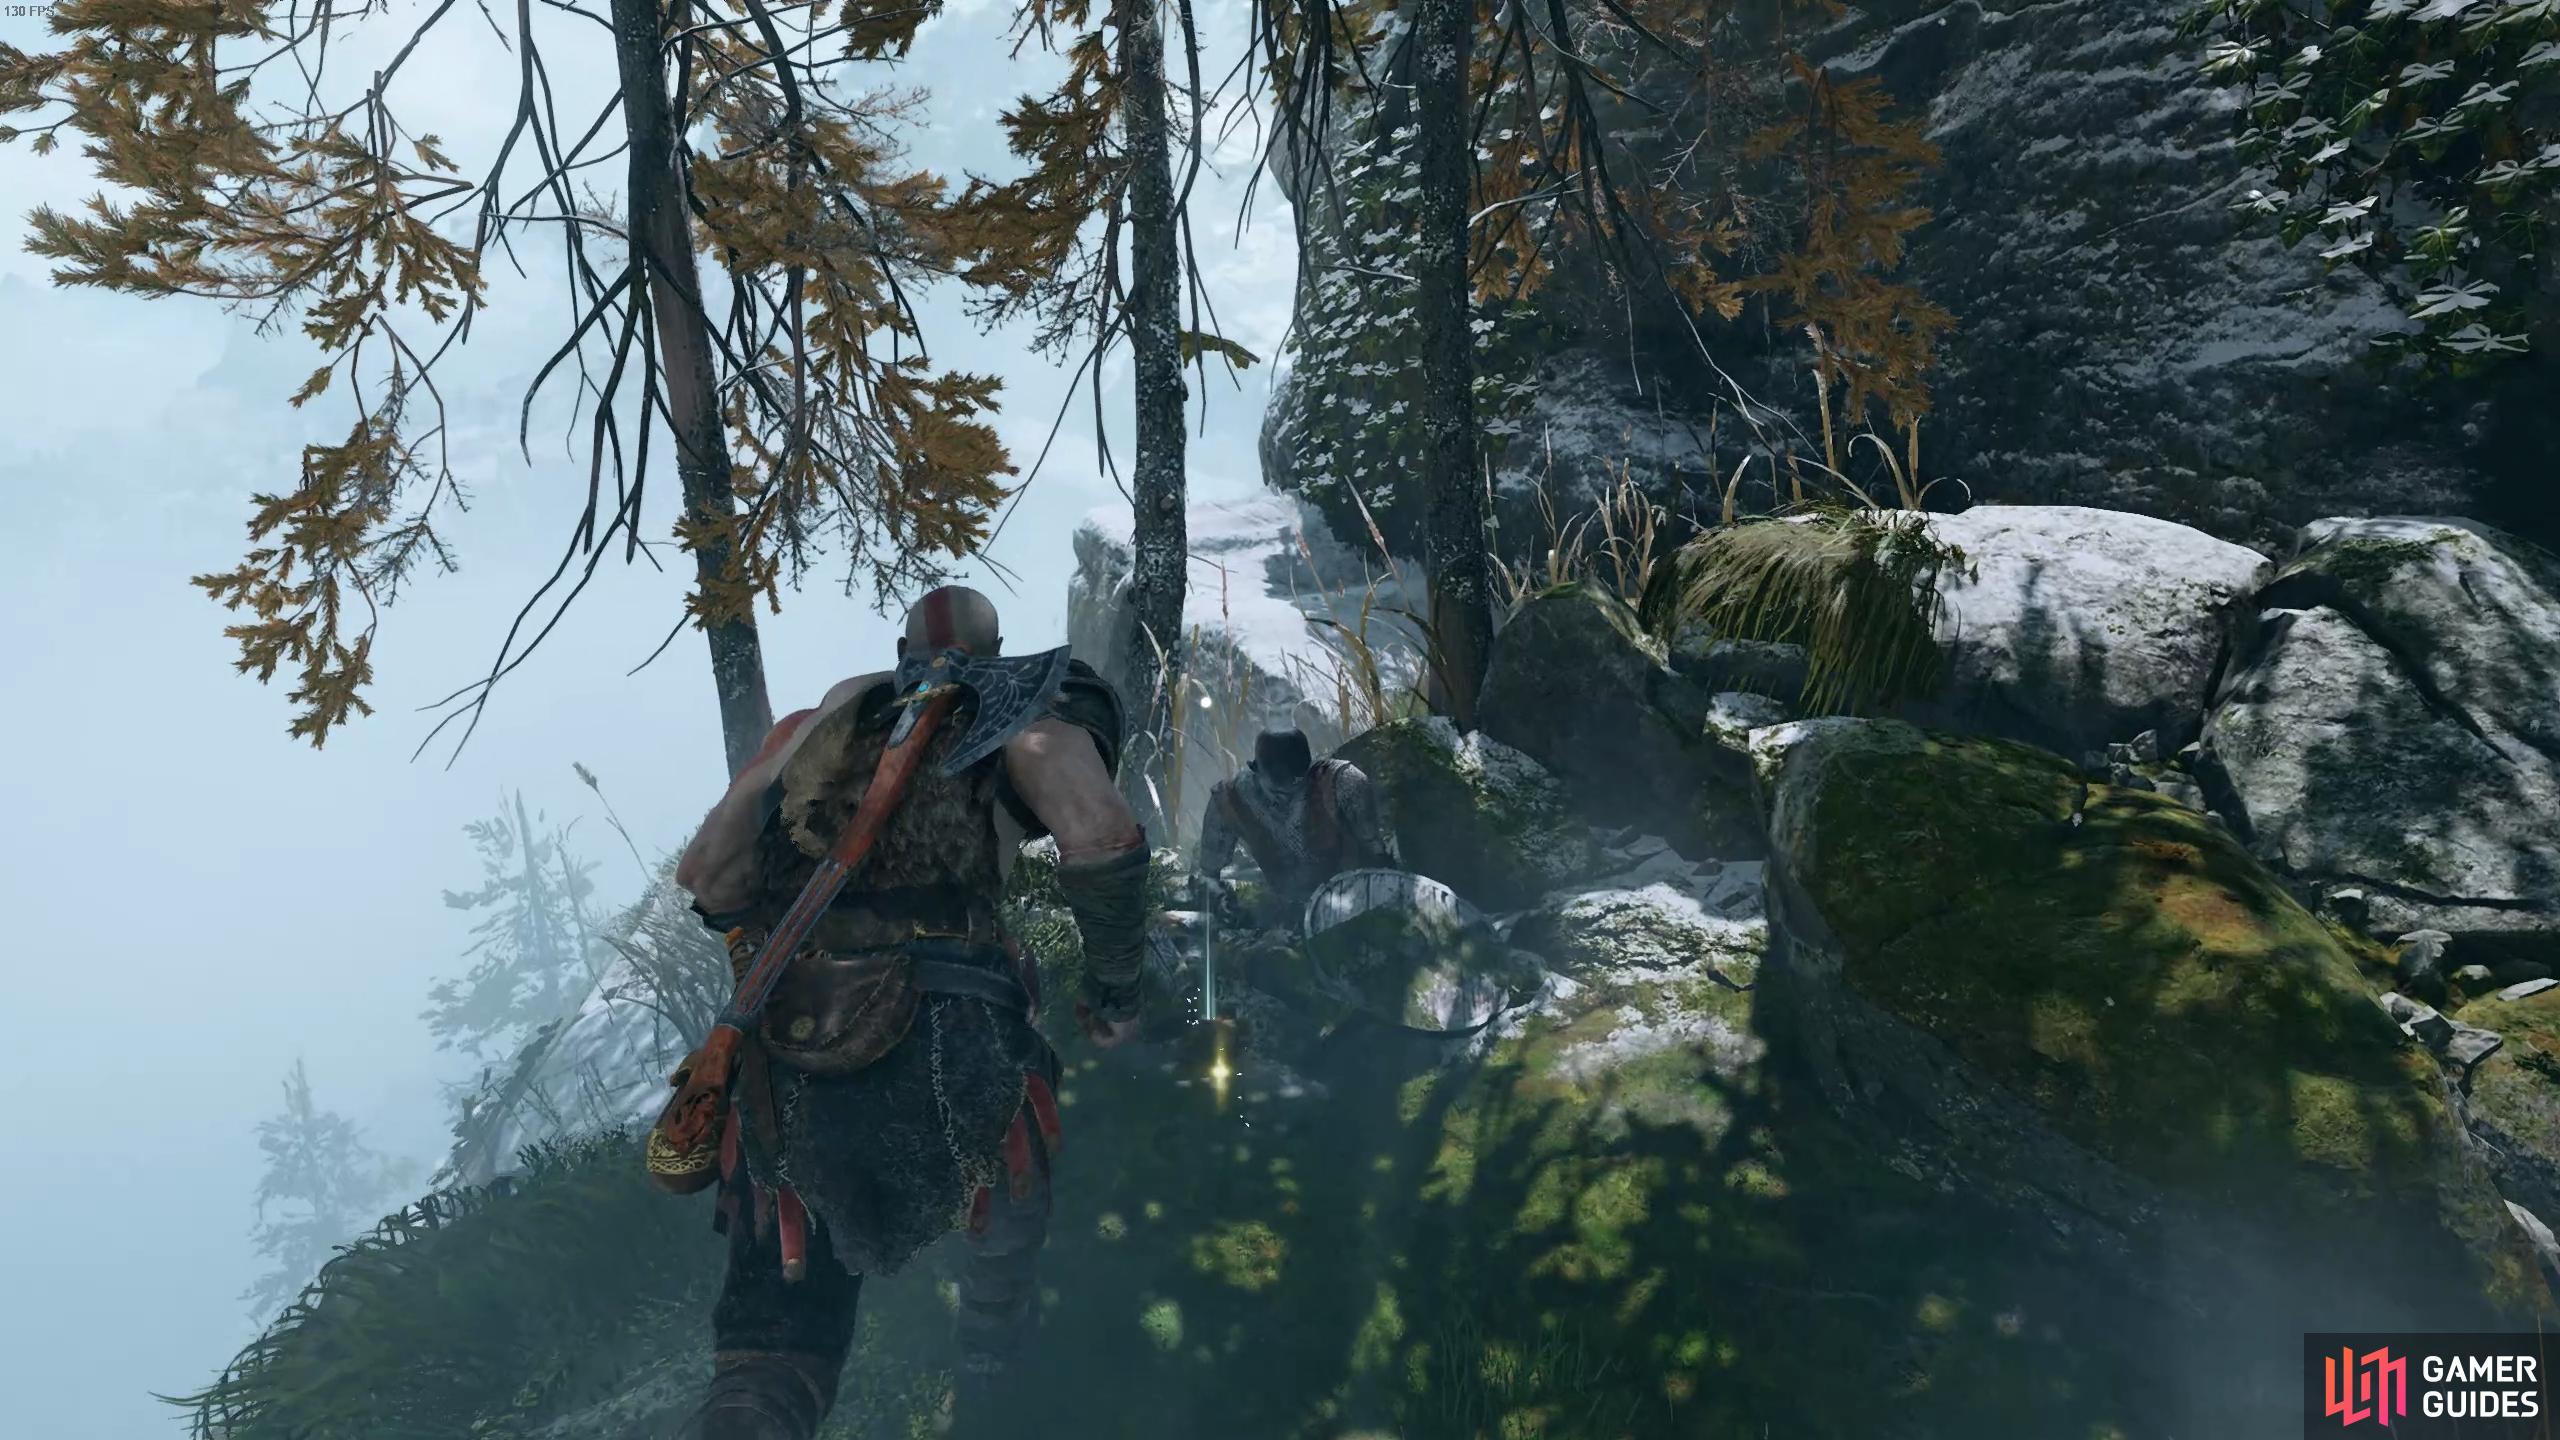
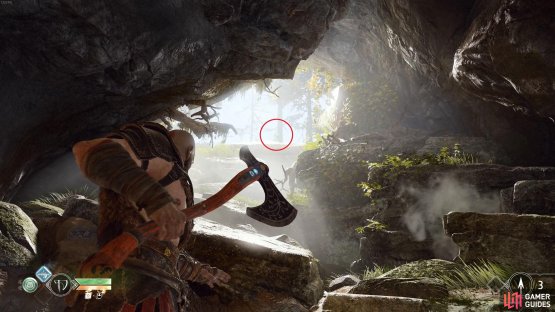
Head inside the cavern ahead and take a left, climbing the ledge to find the next Artefact. Continue back to the fork and once you see the open sky, look up at the rocks to spot a hard to see Raven for you to throw the axe at. Follow the path to exit the cavern and enter the clearing ahead.
(1 of 2) After you pass through the rune door, take a left at the fork to find Artefact.

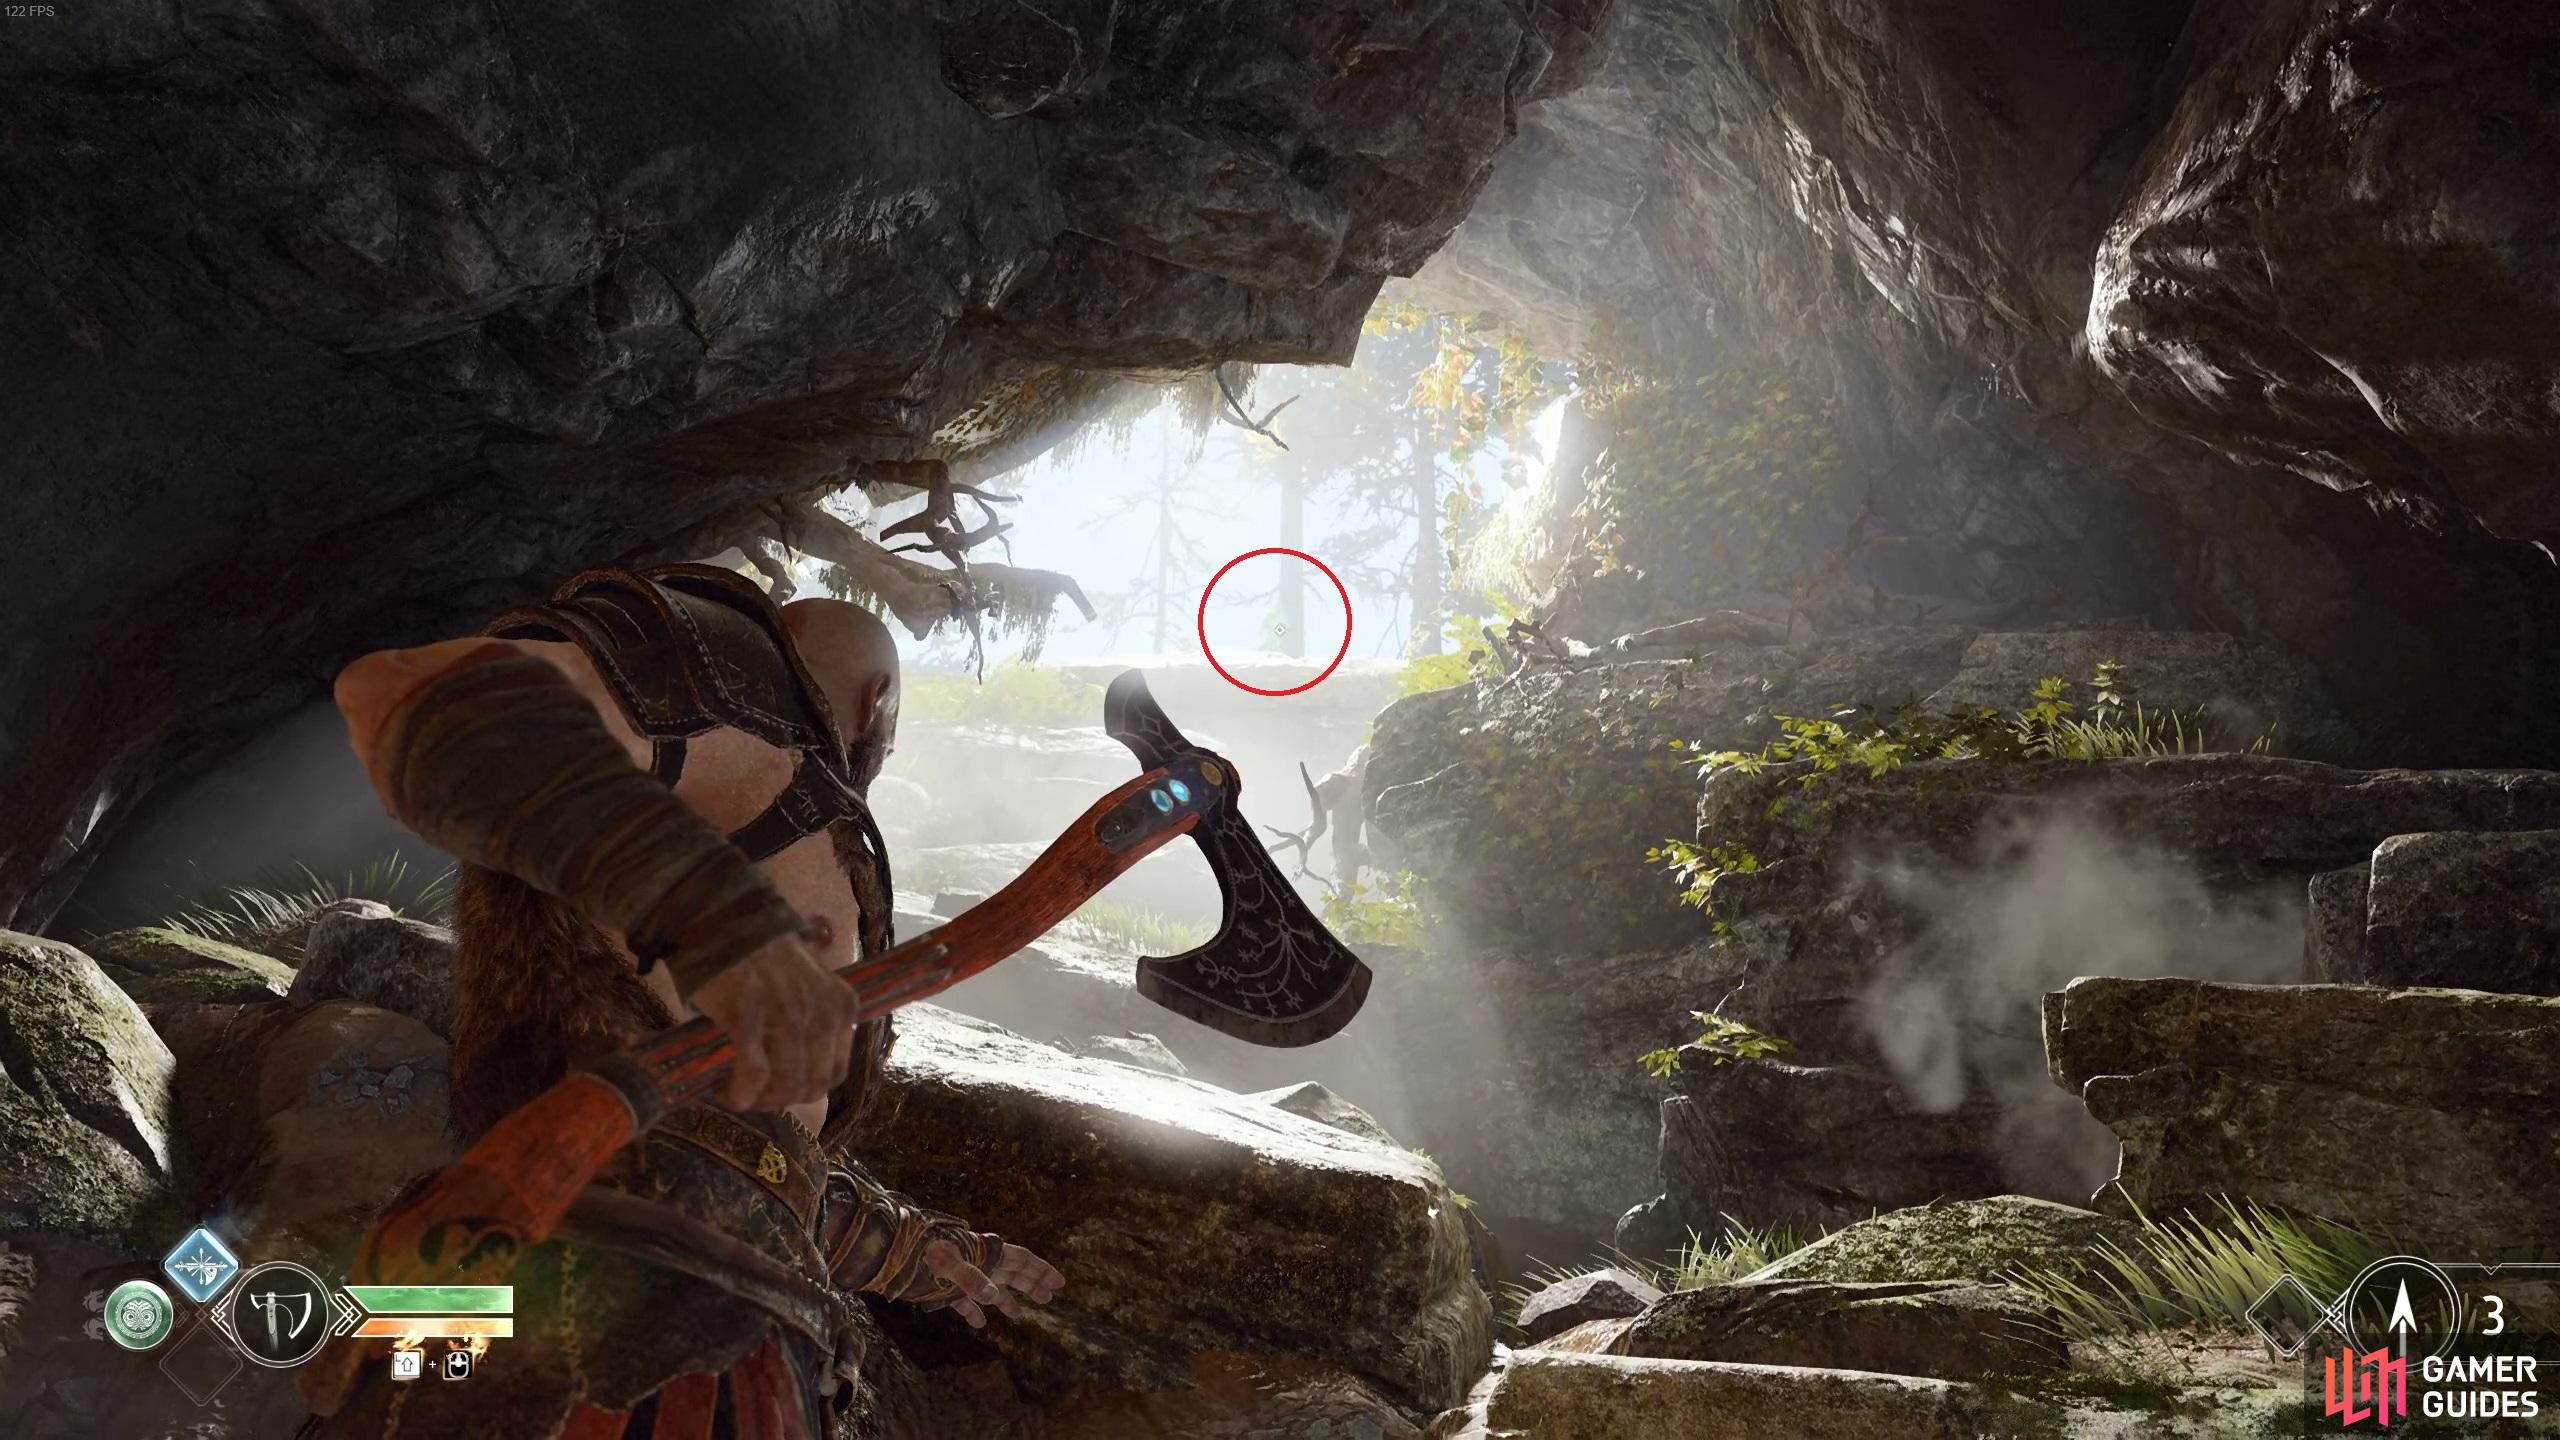
After you pass through the rune door, take a left at the fork to find Artefact. (left), The next Raven is found on the rocks at the top, the light makes this hard to see. (right)
Hunt the Boar with Atreus
Kratos spots some boar tracks in the mud just outside this cavern and it’s important for Atreus to keep up his training. Take off after Atreus and you’ll come face to face with another troll, Brenna Dauði.
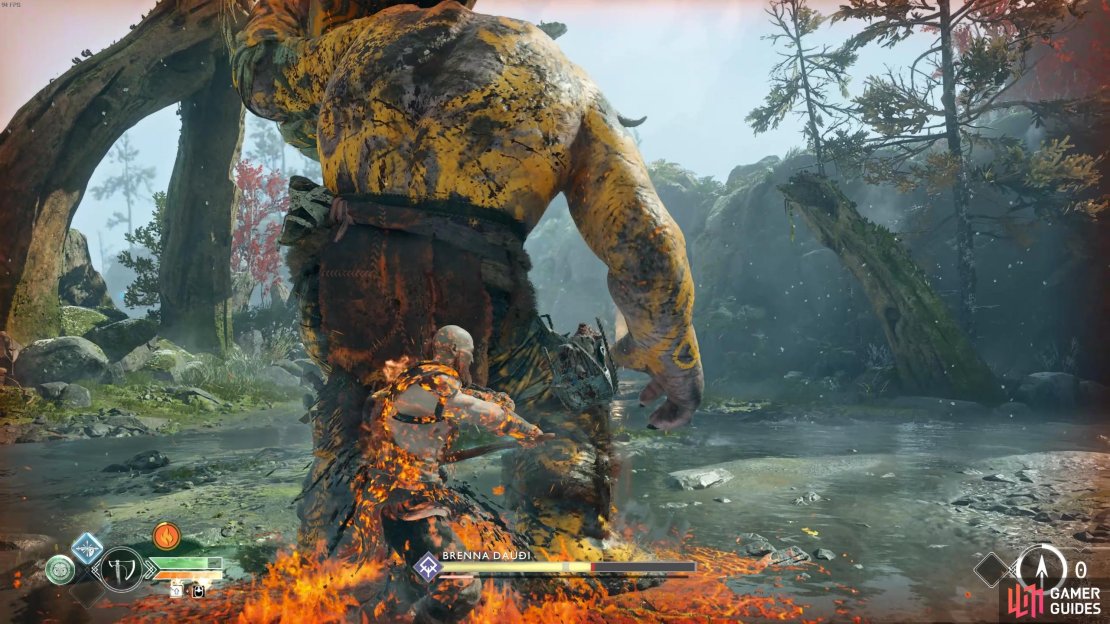
Brenna Dauði is another Troll similar to the one you fought back in the Wildwoods with one glaring difference, he’s a Fire Troll. With all of the skills from the previous Troll, Brenna can cause a pool of fire to appear around him after slamming his pillar down, stay away while this is on the floor to avoid being burnt. He can also toss fire at you in a wide arc at any range so be prepared to dodge out of the way of it.
Utilize the same tactics as you did for the first Troll fight, use Atreus’ arrows to gain Brenna’s attention and dart in for some quick combos before dashing back out. Note the large area you have available to you, don’t be afraid to hide behind the rock formations to avoid fireballs or take a breather. As the fight draws on, Shadows enter the battle hurling projectiles at you. Keep a mindful eye on the threat indicators around Kratos and be ready to dodge, you should avert your attention to taking out these Shadows before continuing the assault on Brenna, remembering to make good use of the rocks to hide behind.
Don’t forget to use your Spartan Rage should you have it available and your health is low, there’s another Spartan Rage stone on the ground that you can pick up and use to refill the gauge after. Once Brenna Dauði is near death, perform a finisher when he falls to the ground.

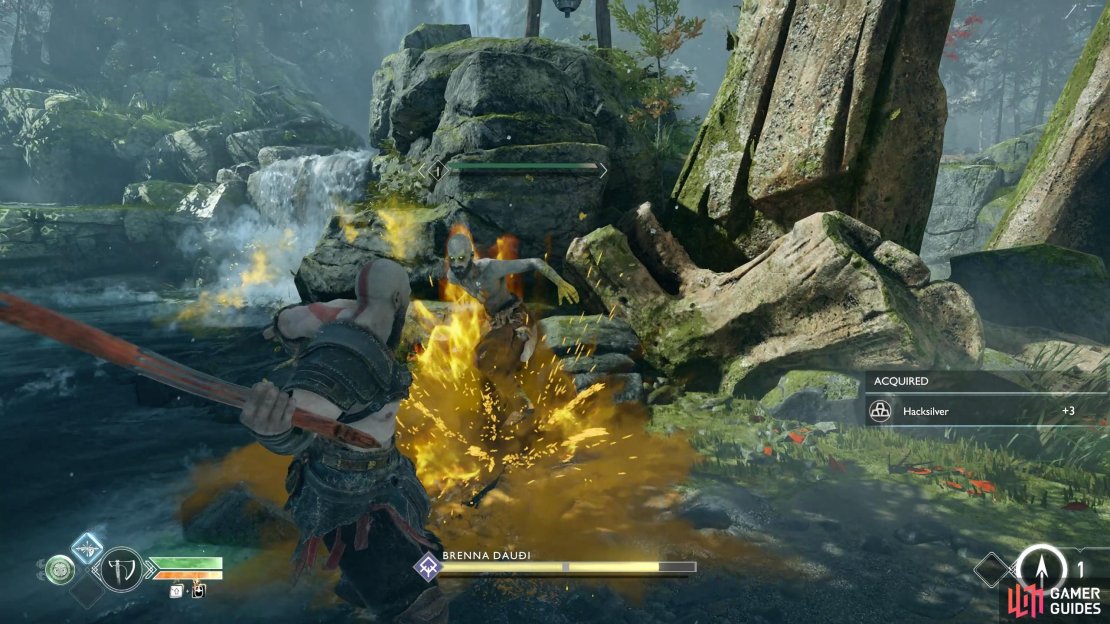
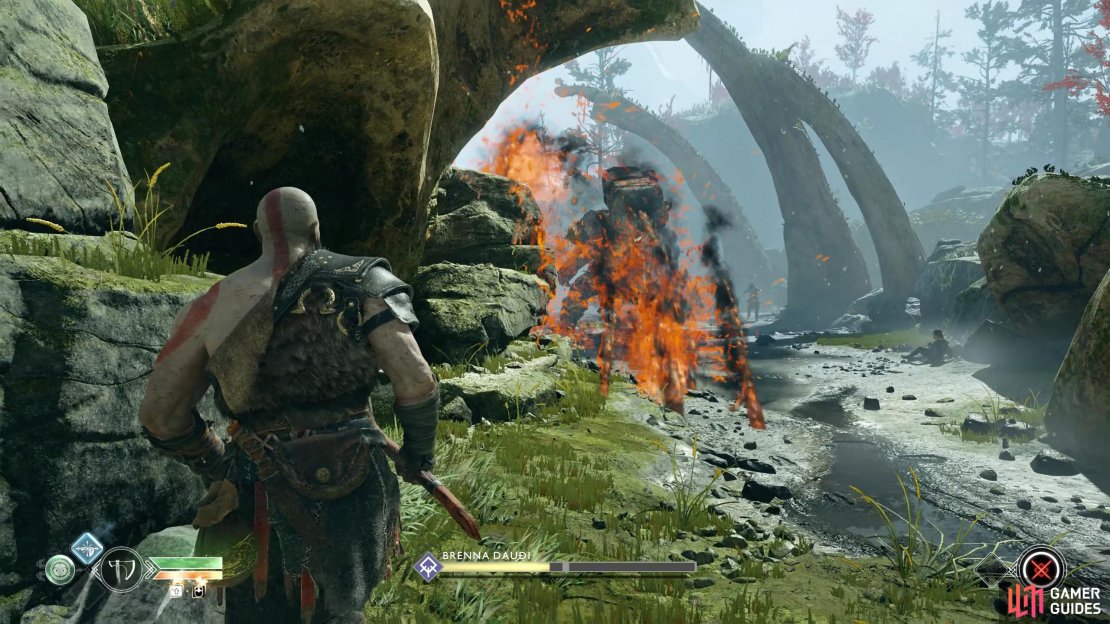
(1 of 4) You can see when Brenna will hurl fire at you by looking at his hands.
With the battle over, pick up the loot that Brenna Dauði dropped, you’ll find Hacksilver, a Soft Svartalfheim Steel and your first Heavy Runic Attack gem, Ivaldi’s Anvil.
Take the time to loot the spoils from the rest of the Shadows you killed and then look on top of one of the large curved rocks above you to spot the next Raven. Continue around the corner of this large rock to find two ledges near a waterfall that you can climb, there’s a sack of Hacksilver waiting here. Return the way you came and head over toward the Nornir Chest before turning to your left to find a wooden wall. Toss the Leviathan Axe at the barricade at the top to destroy it allowing you to boost Atreus up and lower the chain. At the top you’ll find another Lore Marker for Atreus to read and add to his journal.
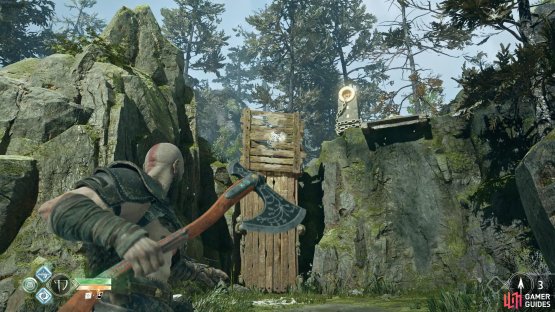
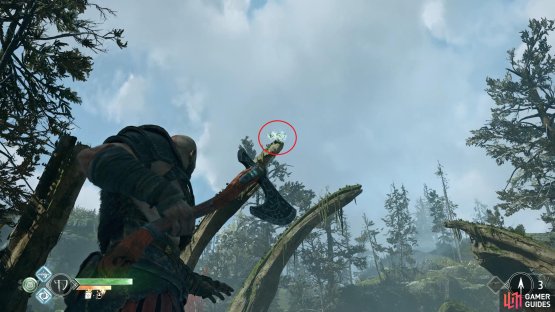
(1 of 2) Destroy the barricade to boost Atreus up and reach the Lore Marker.


Destroy the barricade to boost Atreus up and reach the Lore Marker. (left), This Raven sits on top of the large rocks where you fought Brenna Dauði. (right)
Drop down now and head on over to the Nornir Chest in the corner, this one requires quick feet in order to unlock. You’ll notice above the chest is two runes etched onto bells to the left and right of the chest, hitting these will cause the associated rune on the chest to darken however they will only stay dark for a short period of time so you’ll need to hit all three as quickly as possible.
Since these two runes are close together, leave them for last and turn around and face the large curved rocks in the center from just behind the rock formation in the center. You’ll spot the third rune bell in the distance, toss the axe to hit it before dashing back over to the other two near the chest and hitting them before they light up again. It may take a few tries to get the aiming right but eventually you’ll unlock the chest containing your third Iðunn Apple increasing your maximum health.
There’s nothing left for you now in this clearing so continue the journey by heading through the next tunnel. There’s a sack of Hacksilver to your left as you enter and then a ledge to drop down at the end. You’ve found the boar that you’ve been tracking, assist Atreus with his aim to find the arrow bounces off its hard skin. When you reach the wooden platform at the end, turn to your right and the next Raven is waiting for your axe.
You can now drop down into the deserted village, turn behind you and slash away at the bottom of the wooden platform to find a Hacksilver chest hiding under it. Take the time to enter the houses here by breaking the doors open, the first and third houses have a sack of Hacksilver for you to find. The next house is on fire, so you can’t enter it but instead search behind it to find another corpse with the next Artefact for you to plunder.
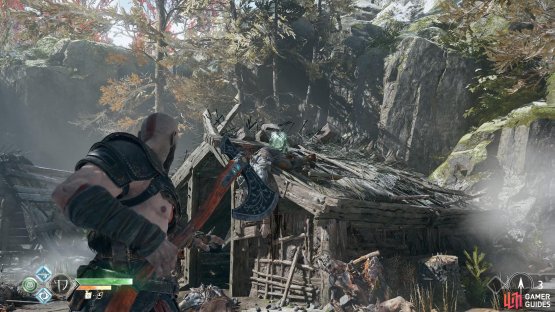

(1 of 2) This raven is perched on top of the house to your right before you drop down into the village.

This raven is perched on top of the house to your right before you drop down into the village. (left), This is the only burning house in the area, the Artefact is hidden behind. (right)
Continue your search of the village, there’s one more house up ahead but as you approach, a Reaver comes crashing out. Try out your new Heavy Runic Attack, Ivaldi’s Anvil to get a feel for how it works. If you defeat this enemy while he’s frozen you may unlock the Shatterer Labor if you haven’t already done so. Search the now open house to find yet another sack of Hacksilver and then turn around to face the way you came from. There’s a ledge you can climb here to find another Hacksilver chest and a container to knock down. Return to your hunt, heading toward the rock and lifting it to continue on.
Find Atreus in the Maze
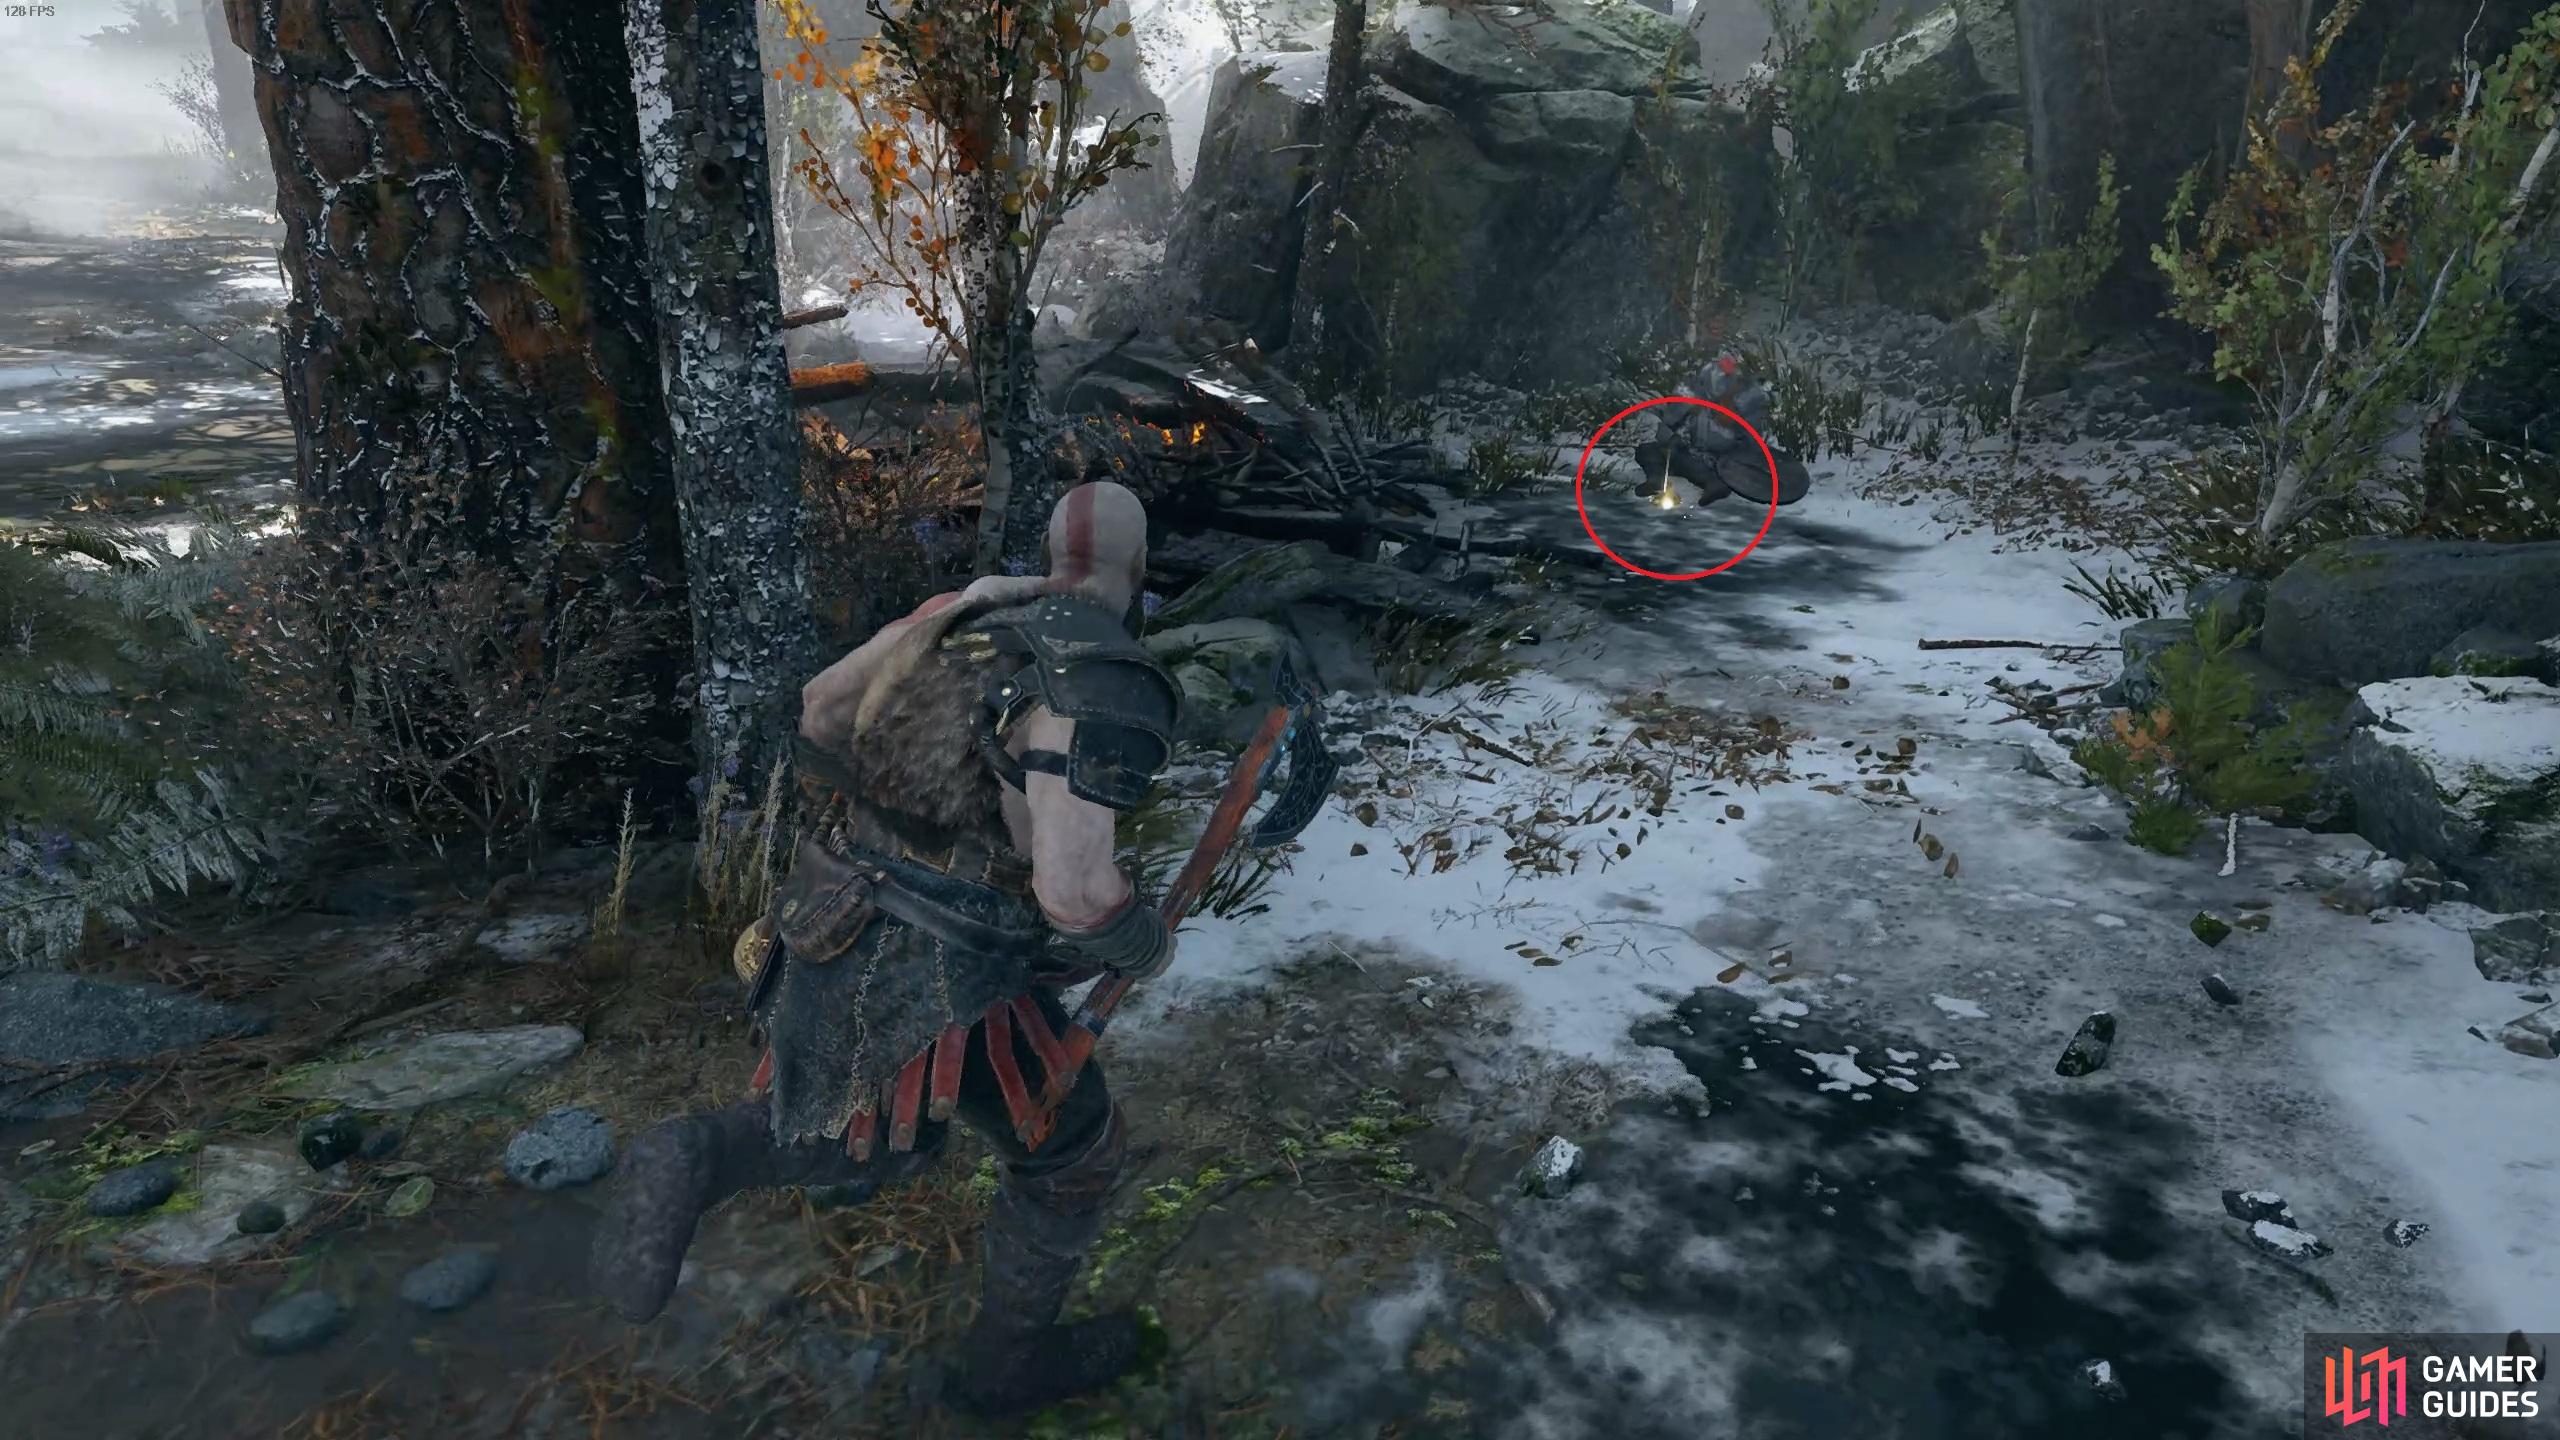
Follow the path after Atreus dashes in pursuit of his quarry and you’ll enter an area blanketed in a mist. Press the  button or
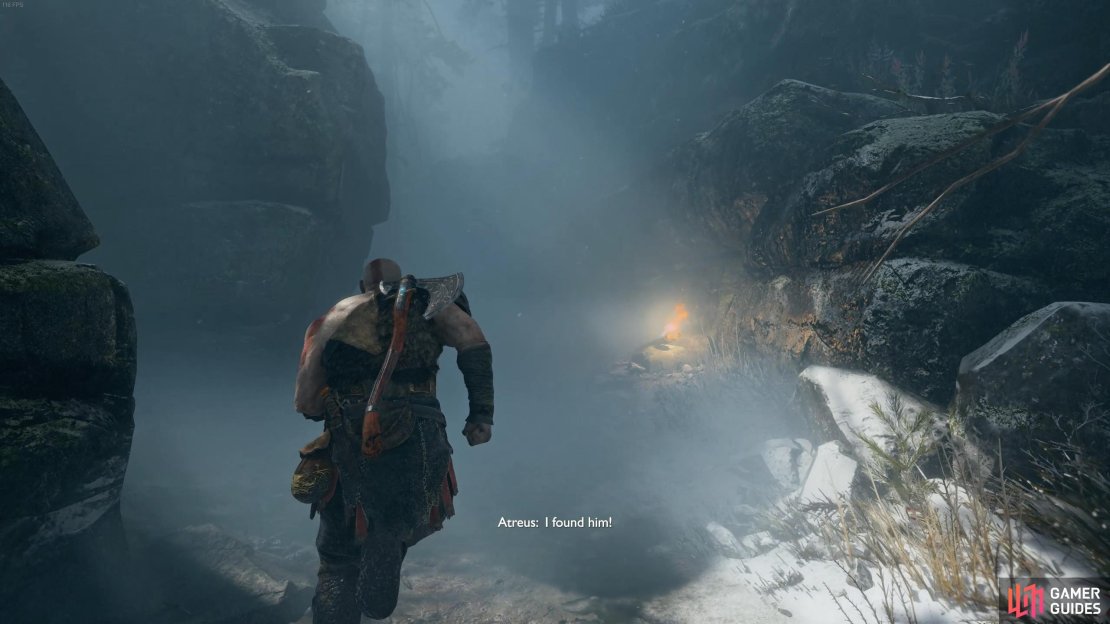
  key whenever the prompt appears to call out to Atreus and begin navigating this maze by keeping to the right wall as you round the first corner. When you see the torch on the floor, take a left and jump over the log. At the next fork take a right and follow the path through a cave. At the final fork, take a left and follow the path to the end to be reunited with Atreus and a rather strange woman.
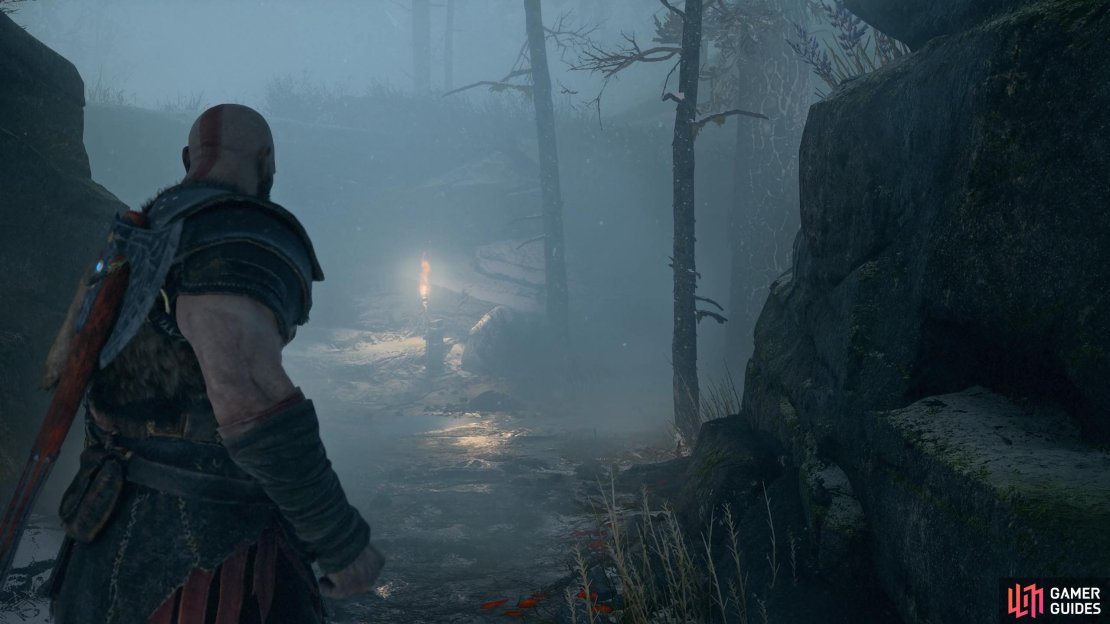

(1 of 3) Turn left at the first torch.
Unfortunately for you, the boar appears to be a friend of this Witch. Using magic she attempts to save its life, assist by first pressing and holding the  button or
  button, followed by the
  button or
  button.
Follow the Witch
With boar in hand, follow the Witch into the enchanted forest beyond. You’ll reach a giant tree, with which the Witch’s house hides below. When you regain control, head out the back door and search to the left, you’ll find the white-petalled flower behind the rock. Head over to the right side now to aid Atreus with his task before returning to the Witch. After leaving the woods, you’ll unlock the A New Friend achievement.
Get to the boat
With the boar saved, the Witch offers her thanks in the way of a glyph to hide you from the gaze of outsiders and a compass that will help with navigation. Kratos and Atreus can now depart the Witch’s House and explore the cave beyond.
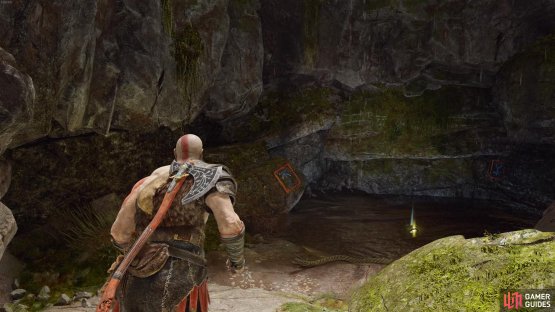
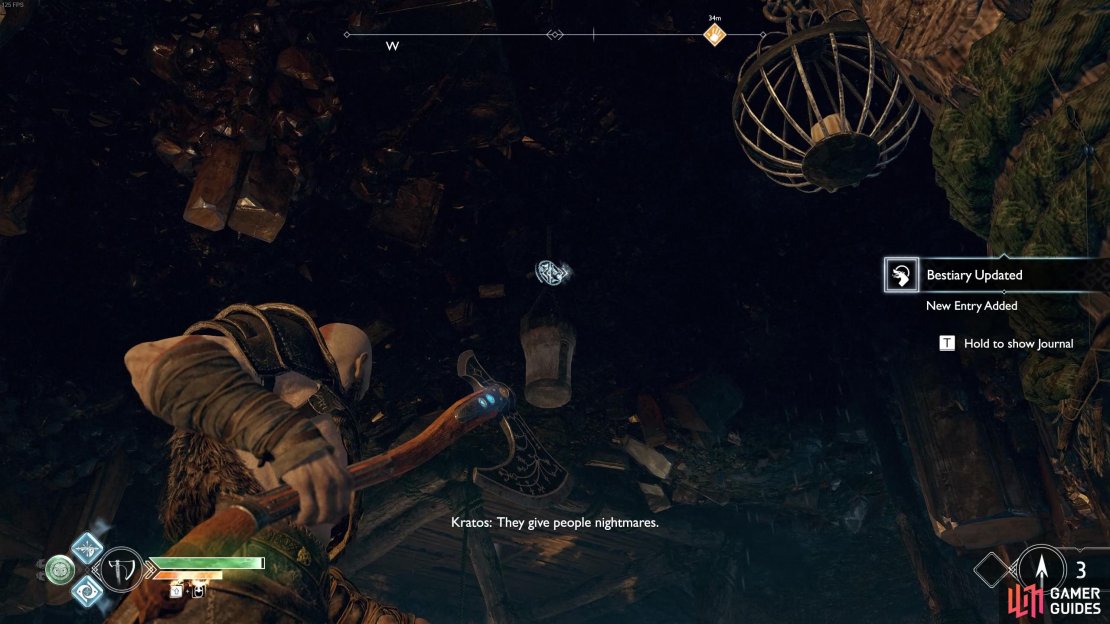
Although this cave is huge, you’ll have to wait until later in the adventure to discover all of its secrets but for now, head forward into the room ahead. You’ll be set upon by a new type of enemy, Nightmares, small flying creatures that are capable of firing projectiles at you. They don’t have much health so make use of Atreus’ arrows to take them down however beware that they can trap Atreus, if you see this, dash over to his aid and knock the Nightmare off.
With the area free of Nightmares, look into the air to find containers you can knock down. You can’t progress past the area with the Red Crystals for now, this is something you will have to return later for. You can however head to the left of that crystal to find a sack of Hacksilver and a ledge to drop down. Beware of the Draugr to the left, attack him a few times to knock him into the water below and then turn to the right and walk into the corner.
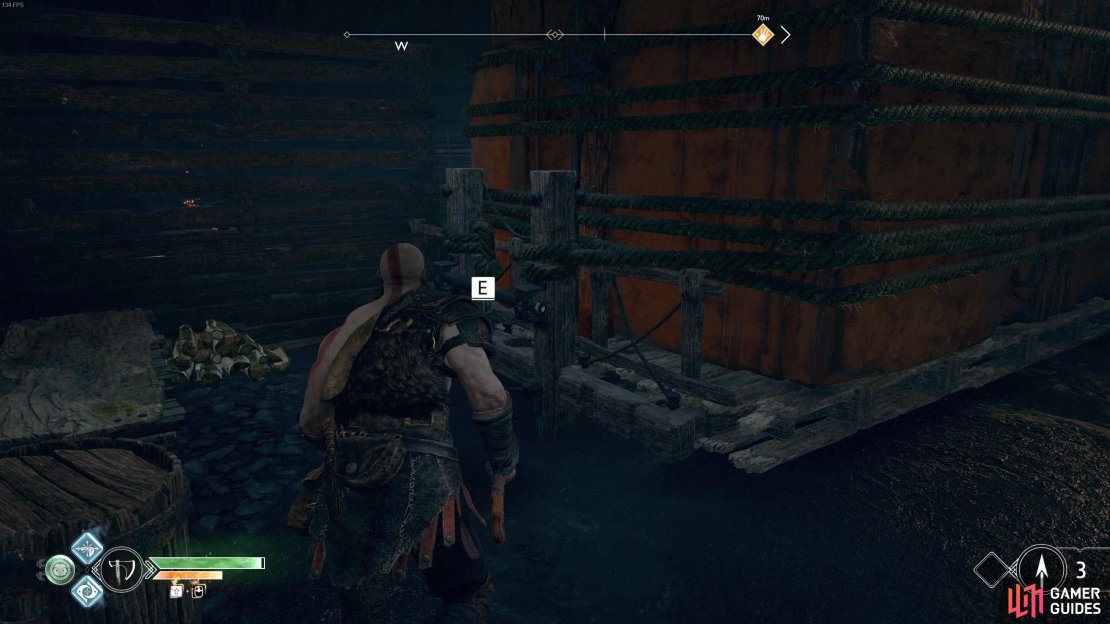
There’s a large cart you can interact with, do so and pull it far to the right. You can now access the area behind it to find a coffin with a Soft Svartalfheim Steel inside. Head to the other side of the cart and push it forward and into the water, creating a path to the other side and the next Artefact. Return to where you fought the Nightmares and jump across the gap to find a Chest containing the Talisman of Concentrated Vitality.
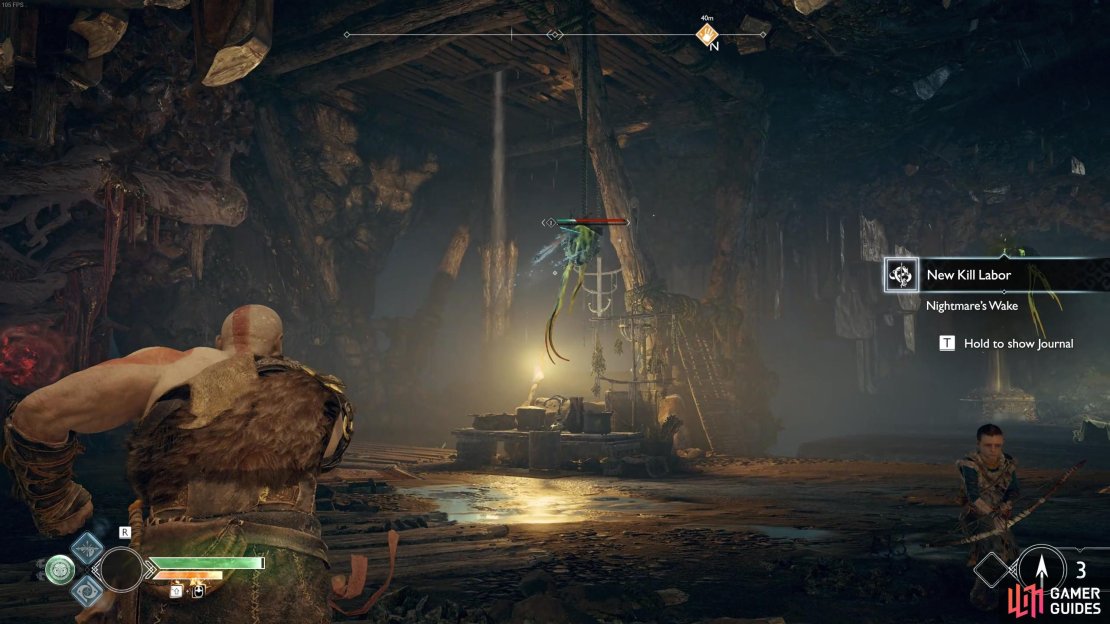
(1 of 4) You can kill the nightmares with your axe or Atreus’ arrows.
Equip this Talisman now and try out the ability, this will unlock a new Labor for you to work on. This particular Talisman offers a burst of Health upon use, regenerating a small portion of your health while it’s active, this is a great Talisman to keep your health topped up between battles. Head down the steps and board the boat at the dock stationed here.
Boat towards daylight
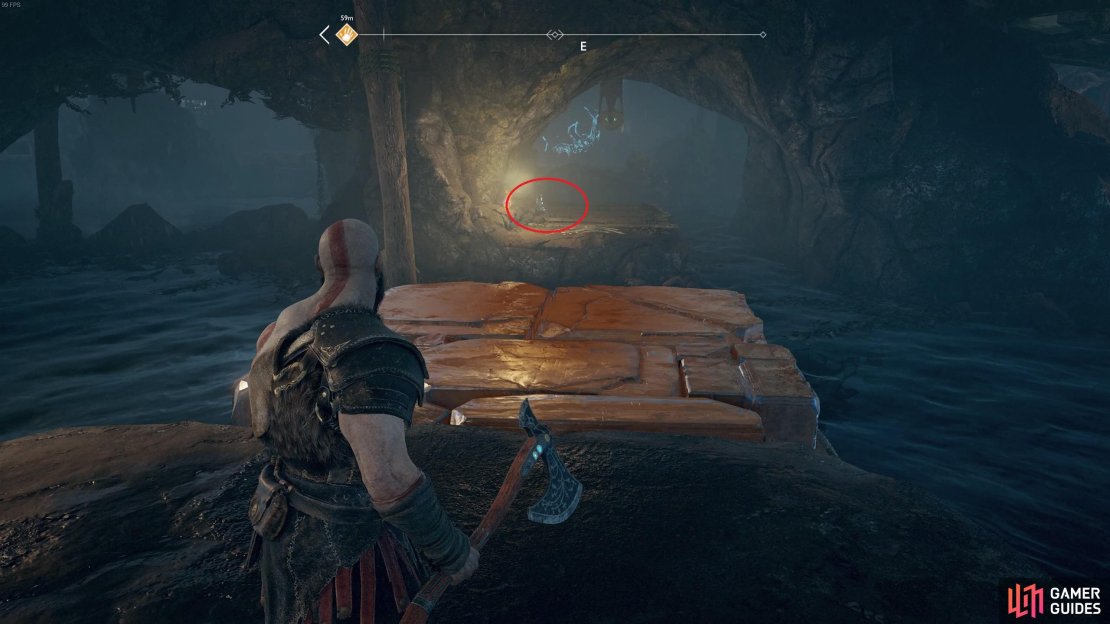
You can now sail along the water and toward your objective. The path is linear but take this time to get more acquainted with how the compass works, you’ll be relying on it from here on out. Continue to the caves to find yourself in the sea beyond, the Lake of Nine.
Investigate the glowing statue
You’ll see a glowing light in this distance, row the boat toward the statue in the water and bring it in close to have Atreus read the runes. Kratos take heed of the words inscribed and tosses the Leviathan Axe into the water, waking the World Serpent in the process.
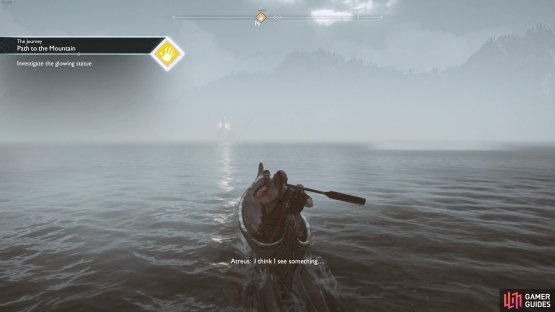

(1 of 2) Bring the boat close to the glowing statue and have Atreus read the runes.

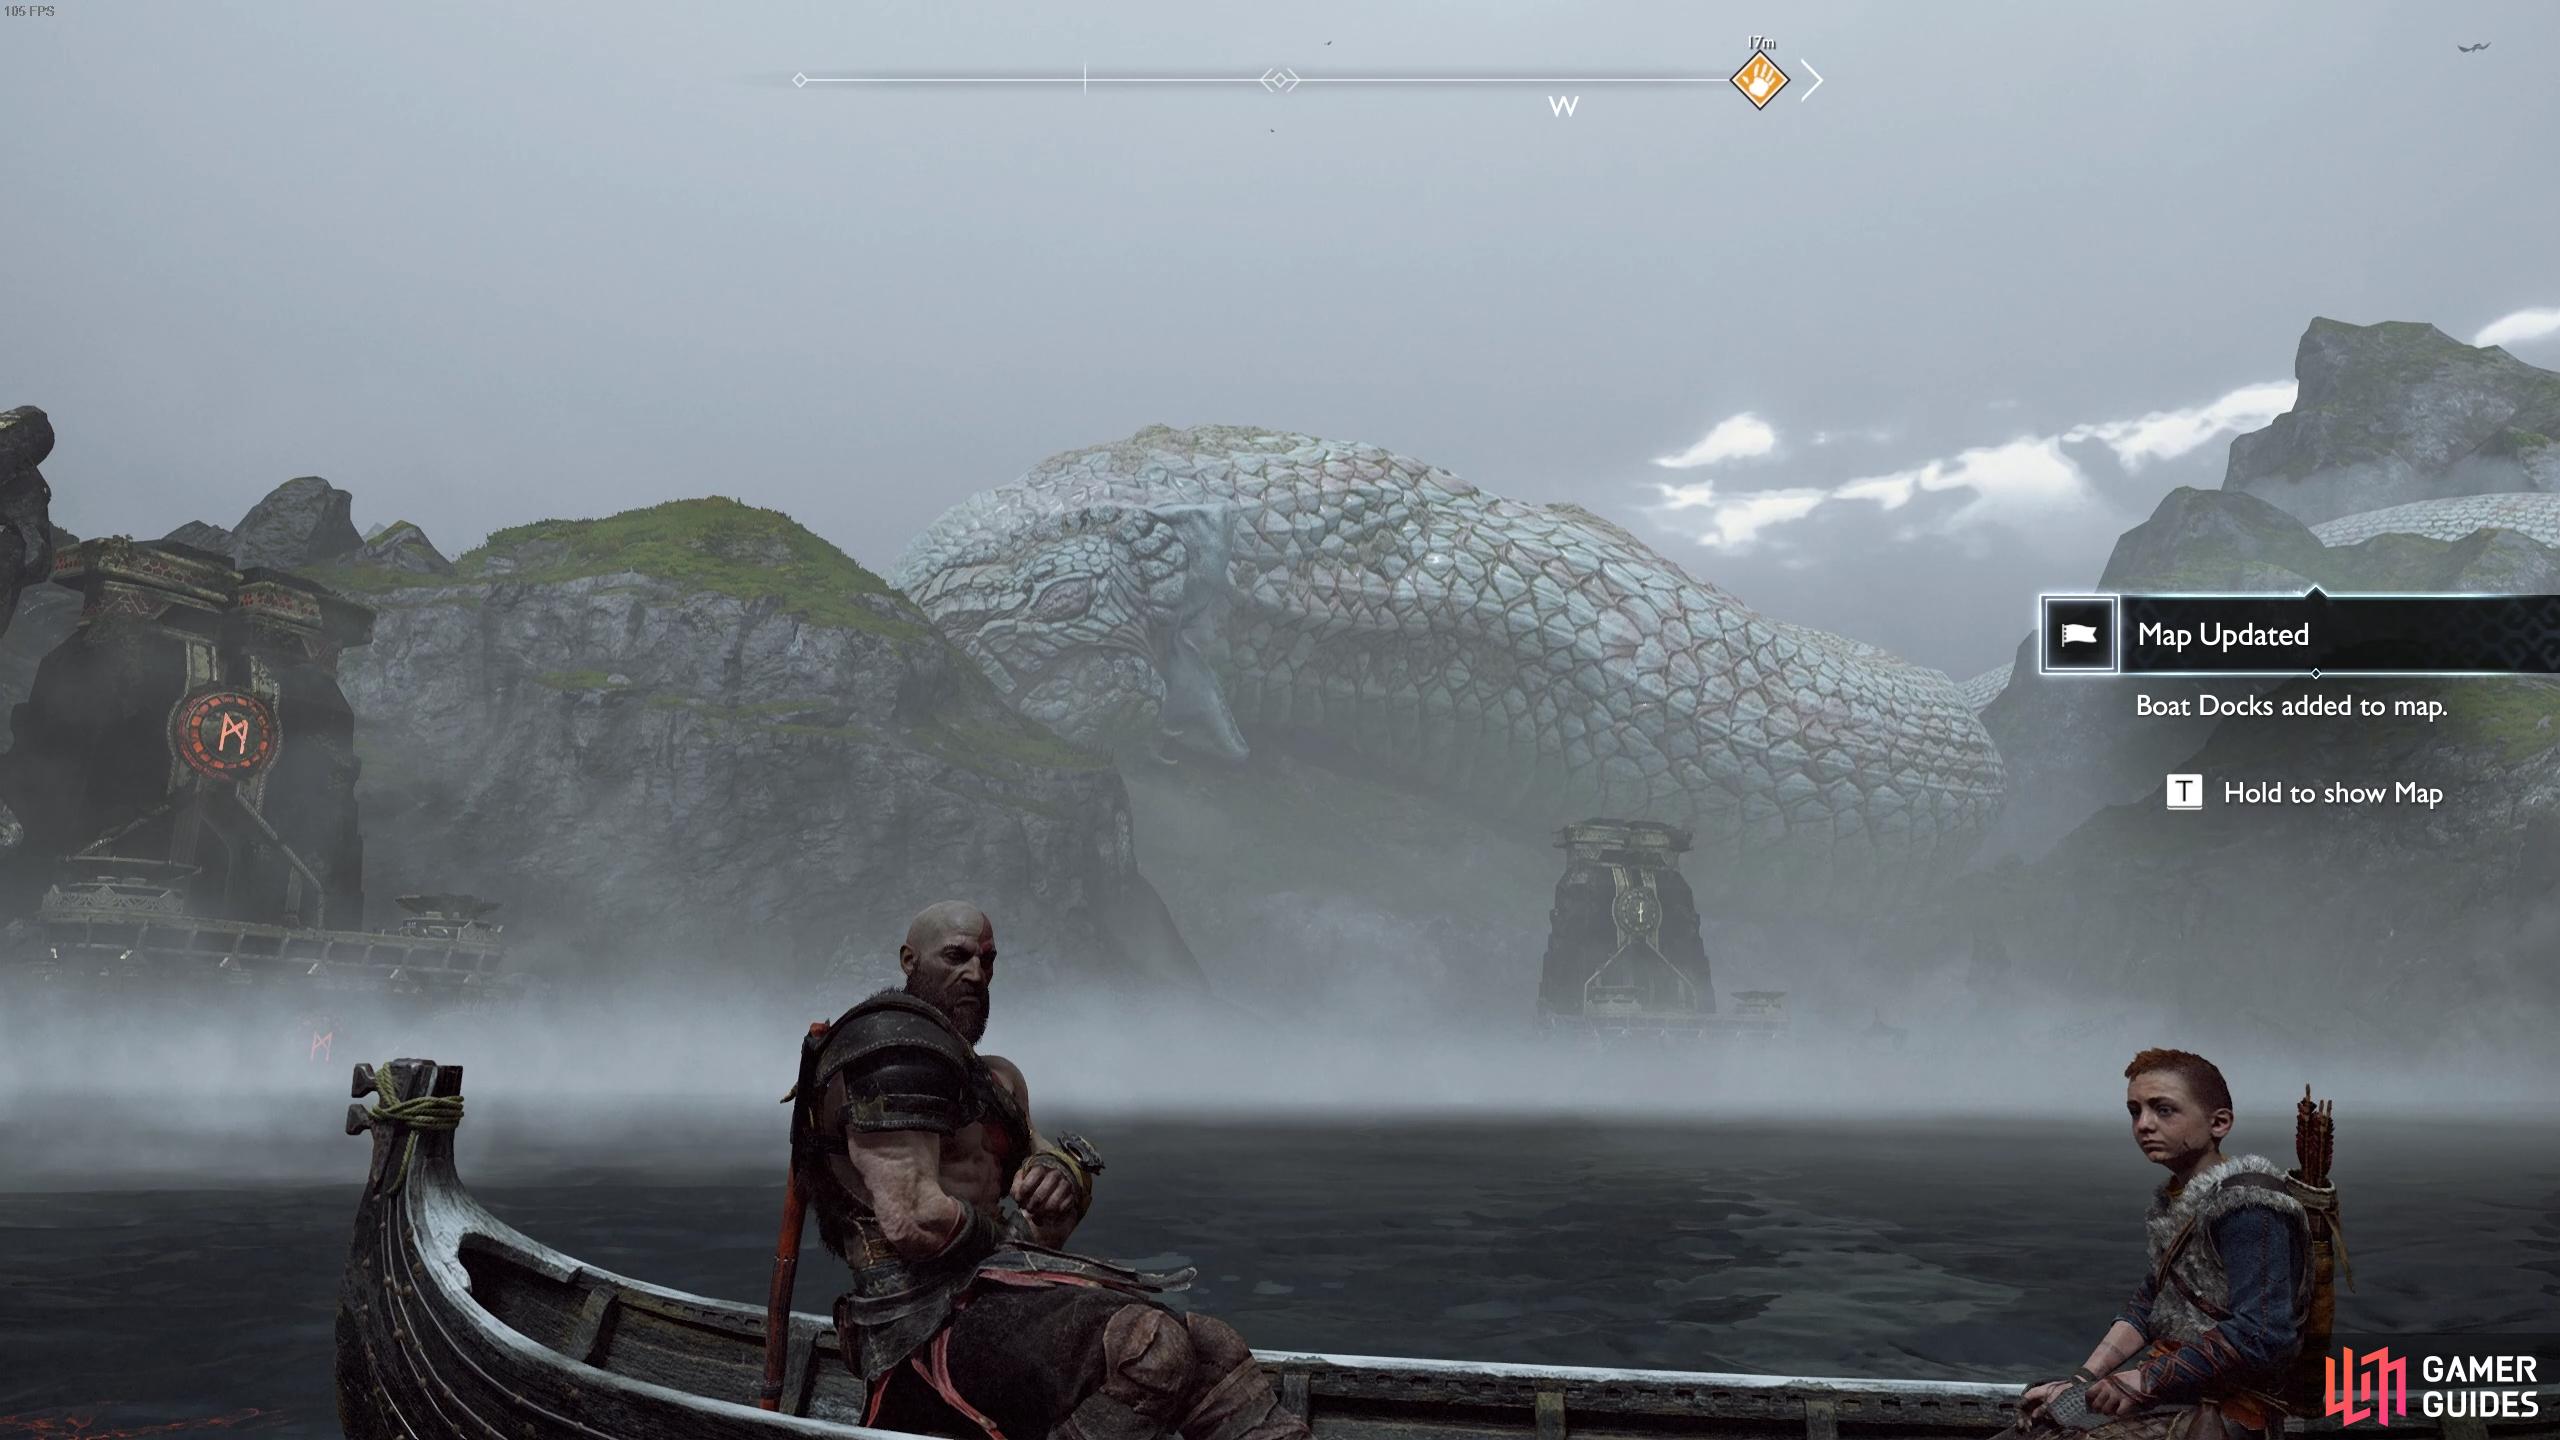
Bring the boat close to the glowing statue and have Atreus read the runes. (left), The Lake of Nine is a vast sea for you to explore after this section. (right)
Following these startling events, the water level in the Lake of Nine will drop, revealing many interesting areas that were hiding below. Your adventure becomes more open at this point, the Lake of Nine is a huge place to explore with many discoveries to make. For now, dock the boat at the nearby Týr’s Temple and head up the stairs.
Head into Brok’s Shop and talk to him, he’ll give you a key to open up portals between realms known as Mystic Gateways and is a form of fast travel.
This guide will take a break from the main Journey for now and explore the Lake of Nine for everything that is available to you right now. If you wish to continue the main journey, head to the page Path to the Mountain (3).
No Comments