Veithurgard Pass, God of War.
Veithurgard Pass
How to Destroy the Statue of Thor
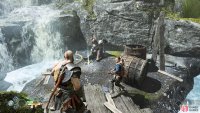
You’ll reach this area by travelling down the river accessed through the doors you opened back at Stone Falls. Continue sailing and you’ll eventually come upon a beach where you can dock the boat. You’ll find a Lore Marker to your right and Brok’s Shop to your left, speak to him if you wish to learn more about the area and use the Shop if you need to.
This is also a good time to take a look at your skills before heading in further, following this walkthrough, you should have around 4500+ XP. There are many useful skills but by far the most useful one for now is the Countering Blast skill found at the bottom left of the Shield Combat tree, this allows you to Parry projectiles, shooting them back at the attacker and hitting anything else in it’s path. Consider saving the rest of your XP for now until you upgrade the Leviathan Axe and Talon Bow once more.
Continue forward and squeeze through the gap toward the Dragurs ahead, you’ll receive a short tutorial informing you that Atreus will now participate in melee combat, helping to stun enemies. Defeat the Draugr and wolves ahead of you, they shouldn’t pose too much of a threat. Look toward the spiked door in front of you and turn to your left to spot a barricade you can break and open the coffin behind. You can now use the axe to push the spiked door back revealing yet another coffin for you to plunder before you crawl through the tunnel to the right of it.
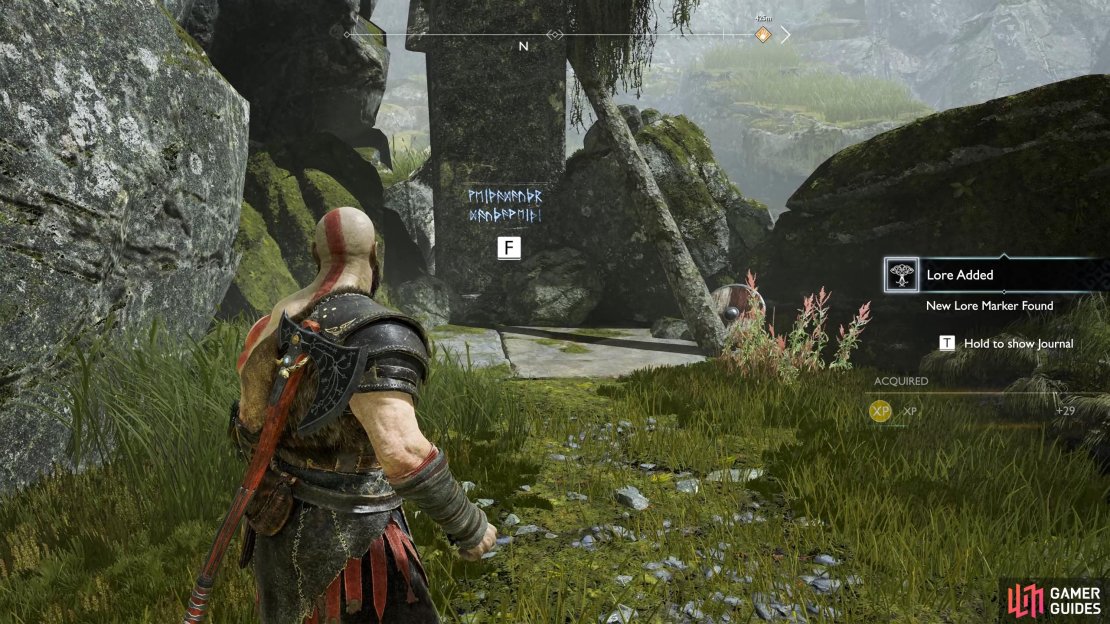
(1 of 3) Don’t forget to read the lore here before you proceed.
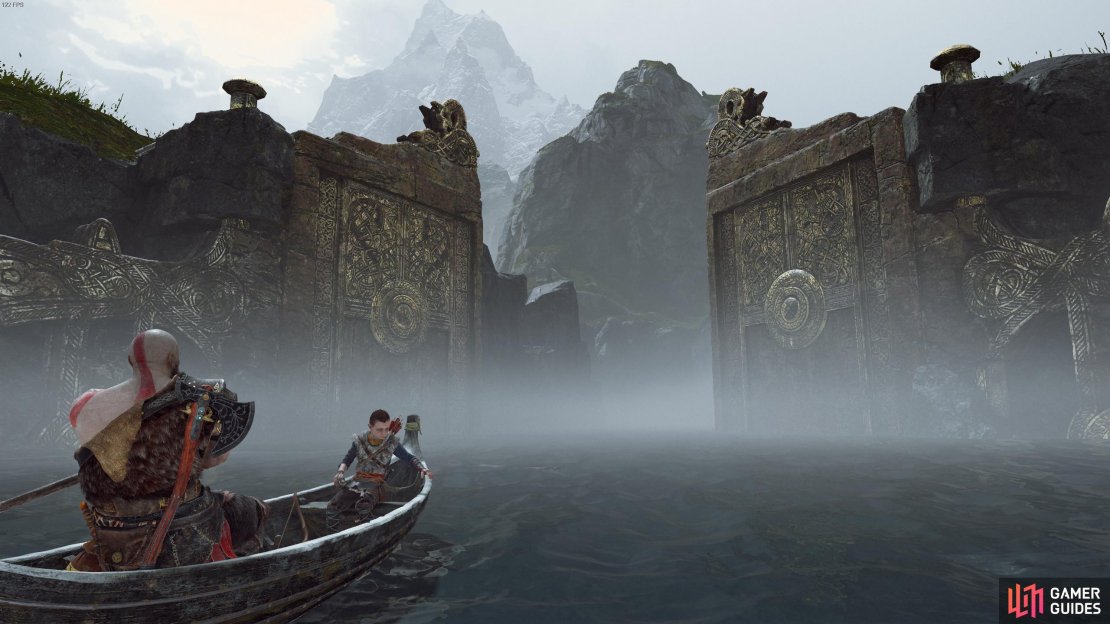
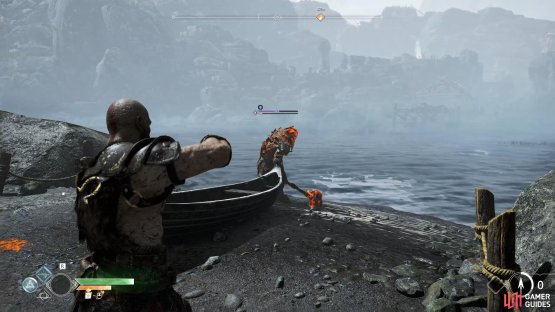
Three more Rabid Wolves await you when you exit the tunnel, defeat them easily with Runic Attacks and then read the Lore Marker nearby before looking to the right to find a second Lore Marker on the pillar at the back. Lift the rock to the south and head towards the beach, you can release the boat to your right by hitting the runic disc holding it in place. Board the boat and pass through the middle of the large statues looming ahead to enter Veithurgard.
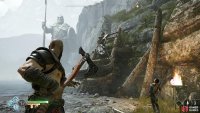
You have two destinations available to you from here, mainland Veithurgard to the south or a smaller island with a statue of Thor to the north. You may remember that you accepted a request from a spirit back at Stone Falls asking for vengeance on that statue of Thor so head there first.
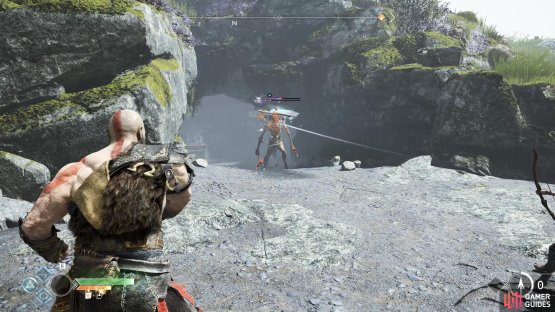
Once you dock at the beach, head toward the cave in front but be prepared, there’s a Level 5 dual wielding Draugr in there. It’s a difficult battle but keep your shield up while maintaining distance and defeat it, making use of your Runic Attacks and Atreus’ arrows, chipping in with axe throws when the opportunity arises. The danger doesn’t end there however, you’ll be assaulted by a Heavy Draugr from behind, now is a good time to make use of Spartan Rage if you have it allowing you to push the Draugr back and create more openings. Once both the Draugrs are dead, you’re free to explore this small island trouble free, begin by opening the Hacksilver chest in this cave.
(1 of 2) You can pin this enemy back with arrows and axe throws.
You can pin this enemy back with arrows and axe throws. (left), Beware the Heavy that attacks from behind after, and use the boat to kite it if necessary. (right)
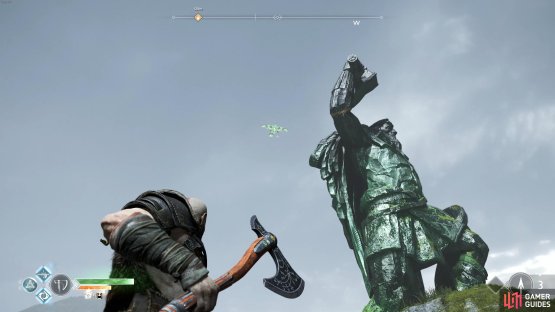
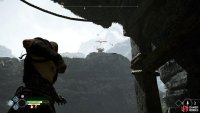
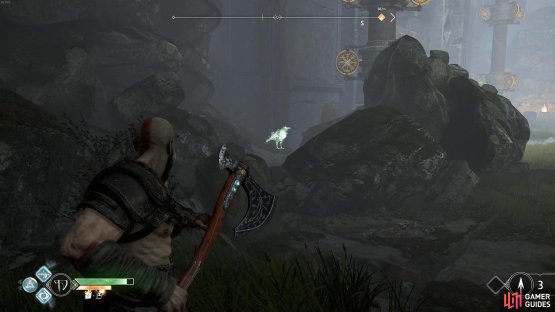
Exit the cave and climb the ledge to the east, look into the sky and you’ll see the next Raven circling around the statue, take aim and put it down. Continue around to the back of the island and you’ll discover three graves, search the ground in front of the middle one to unearth a Grip of Tanngiost. This pommel is useful once upgraded but for now, the fully upgraded Versatile Warrior’s Handle is more useful.
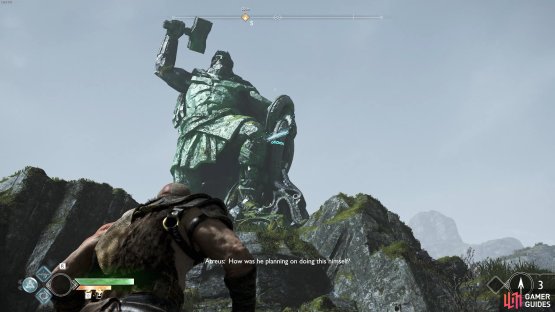
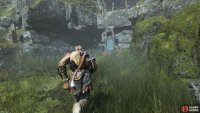
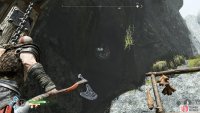
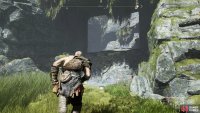
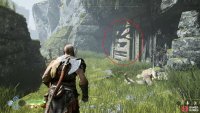
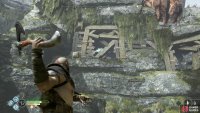
If you look up at the statue from this location, you’ll notice runic markings at certain places, these are spots where the statue is weak. Throw the axe at all of the locations with this marking to bring the statue down, you can hit three pieces from your current location. To reach the last two spots you’ll have to return to where you climbed the ledge, hitting the back of the statue’s leg and the back itself. With all of these parts destroyed, the statue crumbles to nothing and your task is complete.
(1 of 2) The runic markings show where the statue is vulnerable to axe throws.
The runic markings show where the statue is vulnerable to axe throws. (left), Look for the Raven circling the statue. (right)
Resist the temptation to return for your reward for now and instead board the boat again, taking it south to the beach on the main island.
How to Free the Dragon at Veithurgard
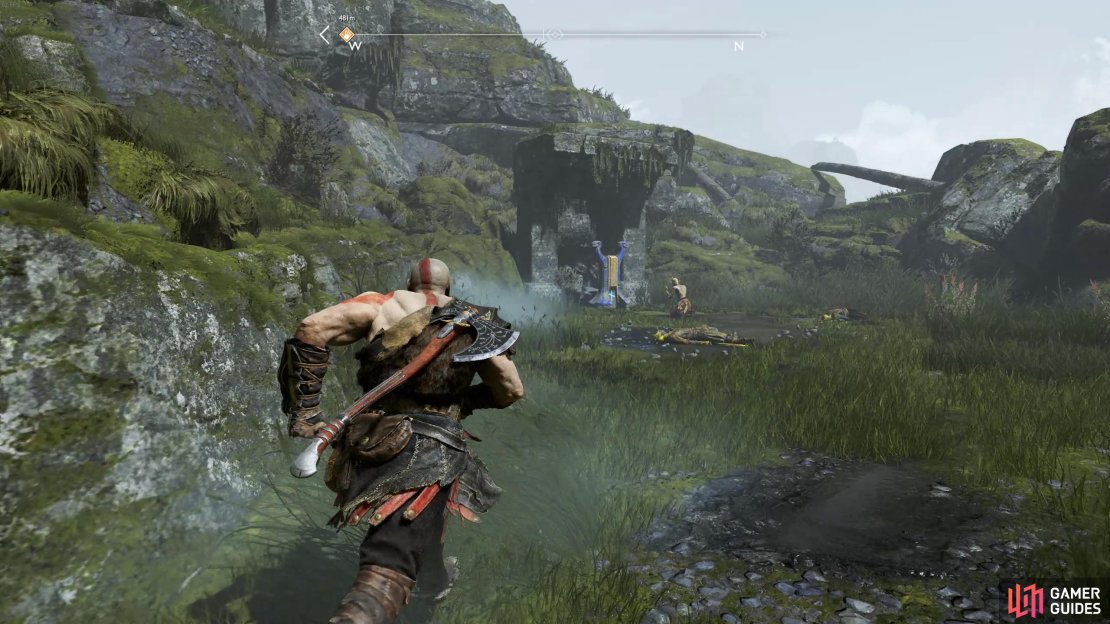
As you depart from the boat, you’ll spot a Mystic Gateway to your left and then a whole bunch of Draugrs, before you get to exploring you’ll want to clear this area first. Begin the assault by tossing the axe at the Draugr patrolling the dock, two throws and an arrow will put him down and cause the rest of the pack to head your way. There will be two Speed Draugrs and two Heavies, wait for them to close in together and unleash your Runic attacks before finishing them off. Keep on the move and you shouldn’t have too much trouble, it’s important not to face both Heavies at the same time.
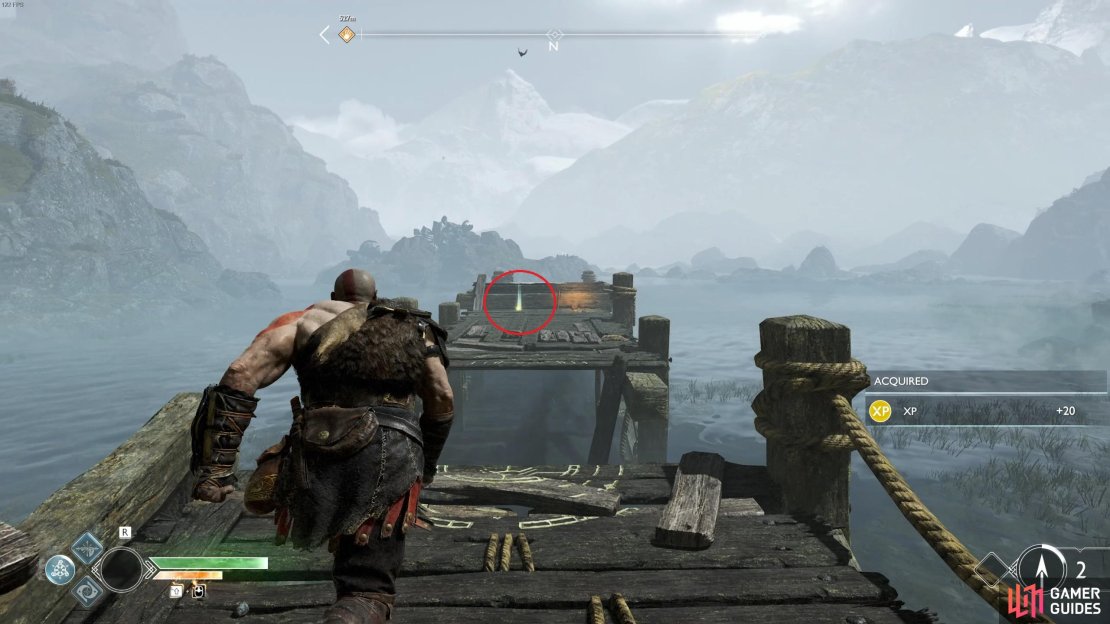
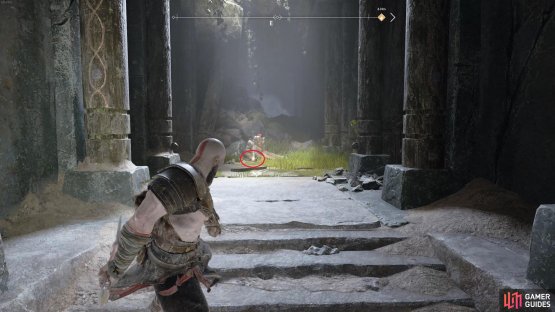
With the initial area clear, head over to the dock where the first Draugr was patrolling and take out the Projectile Draugr across the gap, you’ll find your first Artefact of the Horns of Veithurgard quest at the end. Return across the gap (the left path on this dock is a dead end for now) and look at the remains of the house, knocking the container down to the ground. As you approach the coffin, a lone Tatzelwurm attacks, defeat him and open the coffin.
The first Artefact is found at the end of the dock.
Before proceeding towards the prescene of the large dragon ahead, cross over to the west side, finding a Lore Marker in the process. Continue northwest along the wall (towards the shore) until you leap over a log in the corner and find a chain. Pull the chain and then look to the right while still grasping it to find a runic gear that you can plunge the axe into. Jump back over the log and follow the wall, the gate is now open for you to climb inside and recall the axe.
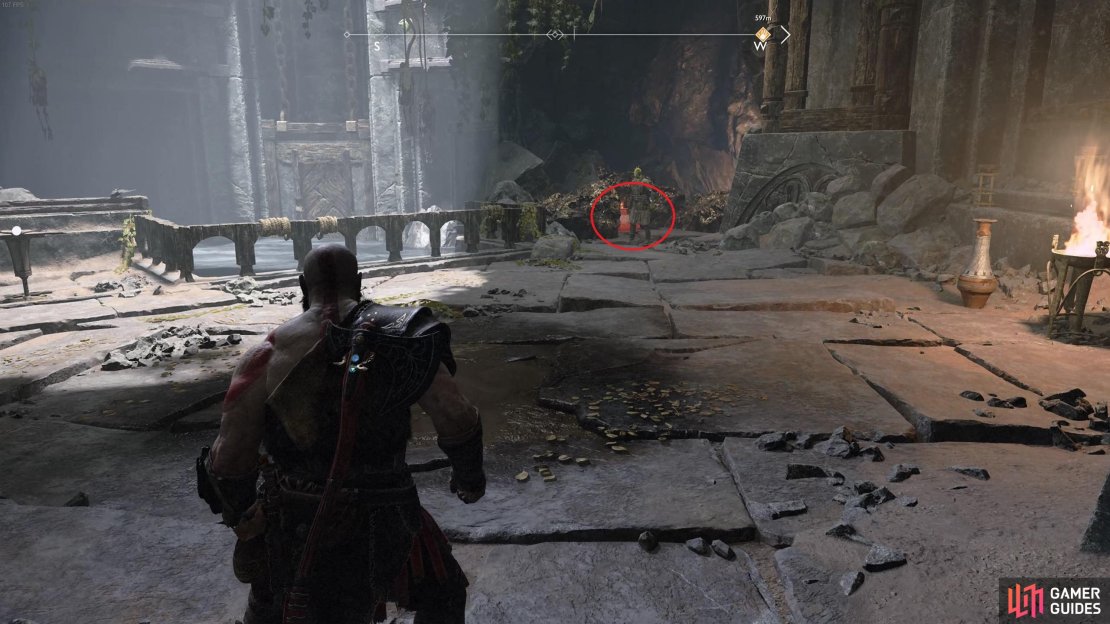
You’ll find a rage stone inside and then a wall that you can scale, allowing you to reach the top. The Realm Tear at the top doesn’t contain any enemies so reach inside and pull out the Dust of Realms before following the path and dropping down the ledge. There’s a container hanging overhead waiting to be knocked down and a barricade to your south with the next Artefact waiting inside. A Projectile Draugr spawns after acquiring this, take him out and drop down the ledge.
(1 of 4) Read the lore to the right of the steps leading to the dragon.
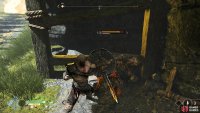
There’s only one way to go now, toward the lightning that the Dragon is breathing. You’ll have to time your runs in between bouts of Lightning to survive, begin by hiding to the left under the ledge to avoid the first round of lightning. Once gone, dash forward again before darting to the left once more where a Draugr will burst out the wooden boards, take him out within this area and then approach the corner. You’ll spot a Draugr standing in your next hiding spot to the right, take aim with Atreus’ arrows and axe throws to kill him and take the spot for yourself. You’ll need to be careful and keep your shield up here, there’s a Shadow on the wall above, guard and have Atreus take him out. You are now free to dash toward the anchor ahead and officially start the Dragons Favor, Otr’s Imprisonment.
The Dragon is bound by three runic statues scattered around the island, your task is to destroy these before returning to this anchor. To begin with, look toward the wall where the Dragon is perched to find two wooden walls that can be broken, the right one contains a Draugr who will jump down. The other wall will contain the next Raven taking shelter from the Dragon. There are now two paths available to you, west and east, begin by climbing the ledge to the west.
(1 of 3) Take refuge from the dragon fire as you kill the enemies.
Follow the path up to the end and you’ll have to contend with a Shadow and two Reavers, taking care to avoid the lightning from the dragon (look for the static circles appearing on the ground to indicate where the Dragon will strike). You’re now free to strike the statue, destroying the first runic statue on the anchor before returning to the fork and taking the east path.
You’ll have to avoid the lightning circles as you explore here, defeating two initial Reavers. Look to your right as you enter this open area to spot a waterfall, at the back is a corpse with the next Artefact. The path splits ahead, take the left path first and follow it to the end, defeating the Reavers and destroying the second runic statue.
(1 of 3) There are shadows and reavers guarding each runic statue which enslave the dragon.
Before crossing the bridge, look to the right of the statue to find a small ledge you can drop down and look at the rocks in front, you’ll find the first Rune to destroy for an upcoming Nornir Chest. Drop down this ledge and continue north along the path to reach an open area with a group of Shadows worshiping. Once you kill this initial group of four, two more will spawn on the stone arches around this arena.
With the area clear, head to the standing stone in the center and then turn to face the west, you’ll spot the next Rune in the middle of one of the outer standing stones. There’s a chain in the corner of this area that you can kick down, creating a shortcut back to the beach should you need it. Take the only other path out of this area and destroy the barricade in front of you, there’s a Draugr to the right of the alcove as you open the coffin. Continue up the path and you’ll see a gate, turn to the right to spot the final Rune. You’re now free to open the gate and open the Nornir Chest just in front to receive a Horn of Blood Mead. If you’re struggling to locate the runes, see the gif below.
Return to the area before you passed through the gate and take the south path down, leaping over the gap and climbing onto the bridge ahead. In front of the large doors looming ahead is two Vikens, deadly foes if you’re caught under their maces. Try to take one on at a time and use Atreus to distract the other, don’t be afraid to use your Spartan Rage should you need it.
Turn away from the doors and destroy the bomb on the bridge, jumping over the gap after and picking up the Artefact on the body. Return to the other side of the bridge and head left of the main doors to find a Lore Marker and then face the statues to your right. If you have the Hunter’s Kingdom Treasure Map found at the Lookout Tower then you will find the treasure spot here, unearth it to find Leiptr Alloy, Sigil of the Axe, 5 Solid Svartalfheim Steel and 6000 Hacksilver. Equip the Sigil of the Axe if you have space for it, this enchantment increases the damage of your axe throws. Finally, if you look between these rocks, you’ll find a crafty Raven taking refuge.
(1 of 2) Search in front of this statue to find the treasure for Hunter’s Kingdom.
Search in front of this statue to find the treasure for Hunter’s Kingdom. (left), The final Raven for Veithurgard hides behind this rock. (right)
As for the doors themselves, you’ll spot runes inscribed on the door with two pillars either side containing runes that can be altered by spinning them. The left side is simple enough, hit the objects to match the two positions on the door, this will lock them in and remove two of the locks on the door. The right side is a little trickier as there’s no visual aid at first. Look to the right of the pillar to find some barrels you can break, do so and you’ll find the broken piece of the bottom right rune. Note however that it’s upside down so you’ll need to flip the rune to create the needed one. The rune for the top right is found behind you, once again behind some barrels you’ll need to destroy. Inputting these correctly will cause the doors to open, granting you access to the area inside. For the correct runic order to the door, see the gif below.
As you head inside, look to your right to spot two Reaver’s waiting to get the drop on you, unfortunately for them, a bomb hangs overhead. Knock it down and finish them off before reading the nearby Jötnar Shrine, Skaði. Continue up the stairs to the left of the Shrine, yet another two Reavers are waiting to ambush you, defeat them and check the corpse for another Artefact.
(1 of 2) You can’t miss the Jötnar Shrine in front of you.
You can’t miss the Jötnar Shrine in front of you. (left), The next Artefact is found to the left of the shrine. (right)
Drop down the ledge and destroy the bomb to gain access to a lever, pull it all the way back to be able to open the coffin ahead. Continue to delve deeper and another two Reavers attempt to stop you, put them out of their misery and then look to the right to see a bomb, destroying it to remove the debris. Follow this path back outside to where the final runic statue awaits along with a group of three Shadows, defeat them and destroy the final statue before heading back inside (the gate is a shortcut back to the bridge)
Turn the lever in this room to raise the sluice and lower the water. Look into the air to spot another two containers to knock down and then drop down the ledge yourself. Two Tatzelwurms will attack you, kill them and then search the corpse to your right to find the last Artefact for the Horns of Veithurgard quest. Continue to the next room to find another Lore Marker and spot the two Reavers and a Shadow at the back. Run forward and into the center before unleashing an Ivaldi’s Anvil attack to make quick work of them. Climb the ledge to the left of the door to find a Hacksilver chest and then look into the air to find another container to knock down before opening the doors.
(1 of 4) Destroy the bomb in the corner to open the path to the last Dragon statue.
How to Defeat Daudi Hamarr
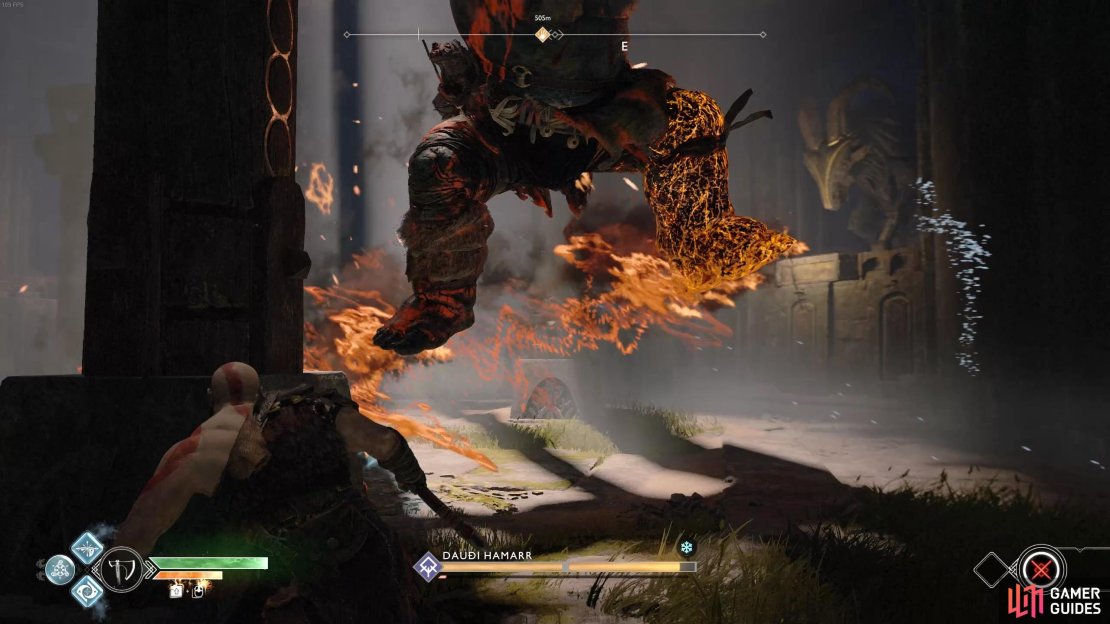
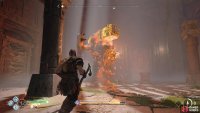
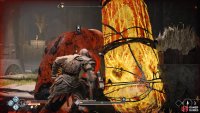
Atreus will notice the Troll trapped below, prepare yourself and then operate the lever to release the Troll and begin the battle. Dauði Hamarr is another Fire Troll, similar to the one you fought back in The River Pass with one huge difference, he can jump into the air and slam the ground causing Fire damage all around him. This is a deadly attack and one you should avoid at all costs, thankfully it’s easy to spot, wait for him to brace himself and then begin your dodge roll out of the way. Other than this attack, his other attacks remain the same and the strategy along with it, use Atreus to distract and close in when you can, using your Runic Attacks on cooldown. You’ll also notice that this Fire Troll now has a Stun gauge, it’s possible to build this up enough to allow you to scale him and attack his head.
(1 of 3) Once you see the Fire Troll jump, dodge roll out of the way.
Once the Fire Troll falls, pick up the loot left behind to receive World Serpent Scale Fragments, Soft Svartalfheim Steel, 2000+ Hacksilver, Horn of Heimdall Talisman and the Vivarium Key Stone needed to leave this room.
There’s two barricaded walls either side of this area, one containing a health stone should you need a top up. Head toward the door and insert the Key Stone to open them and find a Legendary Chest inside. Upon opening this you’ll receive the Leviathan’s Wake Light Runic Attack and you’ll unlock the Death Happened Here achievement.
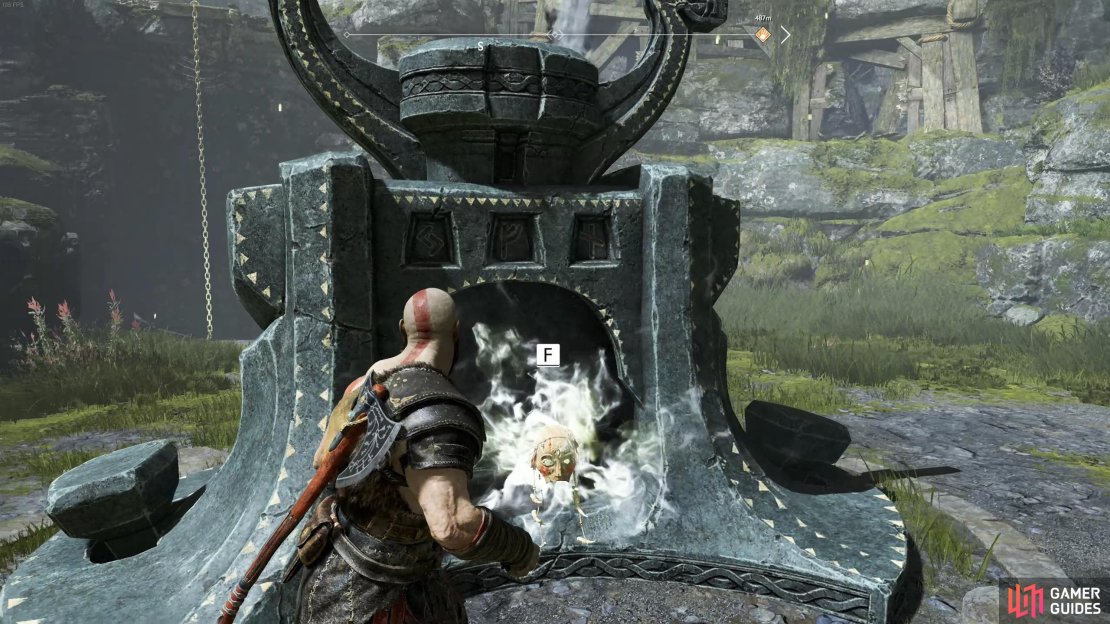
Climb the wall to your right and you’ll find yourself back outside, just below the head of the Dragon. Kick the chain down and climb down, heading over to the anchor in the middle. Have Atreus destroy the mask floating here and the Dragon will be free of it’s bindings. Thankfully for you, Otr is in a grateful mood and flies away, this completes this stage of the favor rewarding you with a Brilliant Mark of the Dragon, a Dragon Tear and XP. Brilliant Mark of the Dragon is an excellent enchantment, it provides a boost to Strength and Cooldown but also a Perk that prevents your attacks being interrupted after sprinting for 3 seconds.
You’ll need to have Atreus destroy the mask to free the dragon.
There’s nothing left for you to do in Veithurgard for now so head back to the boat and sail out of the pass, making a short stop at the Stone Falls on the way to report the news to the spirit about your success on destroying the statue of Thor, he’ll reward you with Týr’s Lost Gauntlets Recipe, a Týr’s Offering and 1880 XP.
You’ve fully tackled every piece of side content for now so it’s time to continue the journey, head back to Brok’s Shop and prepare for the task ahead.






No Comments