
Path to the Mountain 3, God of War.
Cross the Bridge to the Tower from Brok’s Shop
With all of the side content finished for now, it’s time to continue the journey to the Mountain. Head to Brok’s Shop if you’re not already there and take a look at his new offerings, you should be able to craft Týr’s Lost Unity Gauntlets with your rewards from the Hammer Fall Favor, these are excellent gauntlets for this stage of your journey (remember to remove sockets from the old armor and insert into the new). You should also have enough Solid Svartalfheim Steel to purchase the next Talon Bow upgrade and finally, remember to sell any Artefacts you may have on you.
With a new Talon Bow upgrade comes new skills to unlock, you should have enough XP to purchase both the Atreus Power II and Dexterous Shot II skills. If you still have over 4000 XP remaining, be sure to upgrade the Ivaldi’s Anvil Runic Attack to Level 3, unlocking The Best Moves achievement in the process.
With all the preparations complete, exit Brok’s Shop and head along the long bridge ahead of you. As you approach the Tower at the far end, a group of three Reavers ambush you, these are nothing you haven’t already dealt with so quickly dispatch them taking care to avoid the post death explosions. Open the two Hacksilver chests either side of the large door and then pass through them toward the Mountain ahead.
More Reavers and a Tatzelwurm await inside, use Ivaldi’s Anvil to deal a huge amount of damage to the entire group before finishing the rest off. The two Lore Markers ahead of you are indecipherable for now, ignore them and turn left, destroying the debris and leaping over to the next Jötnar Shrine, Jörmungandr.
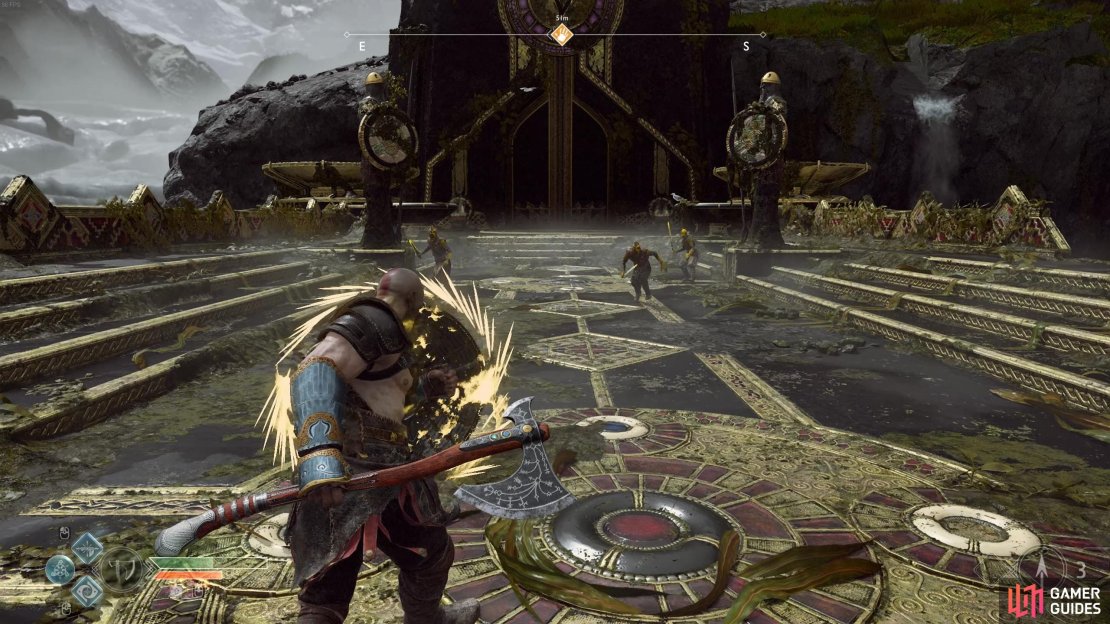
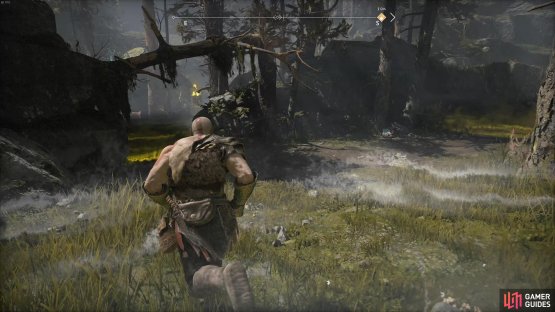
(1 of 3) You’ll encounter some Reavers on the bridge, and two chests at the end.
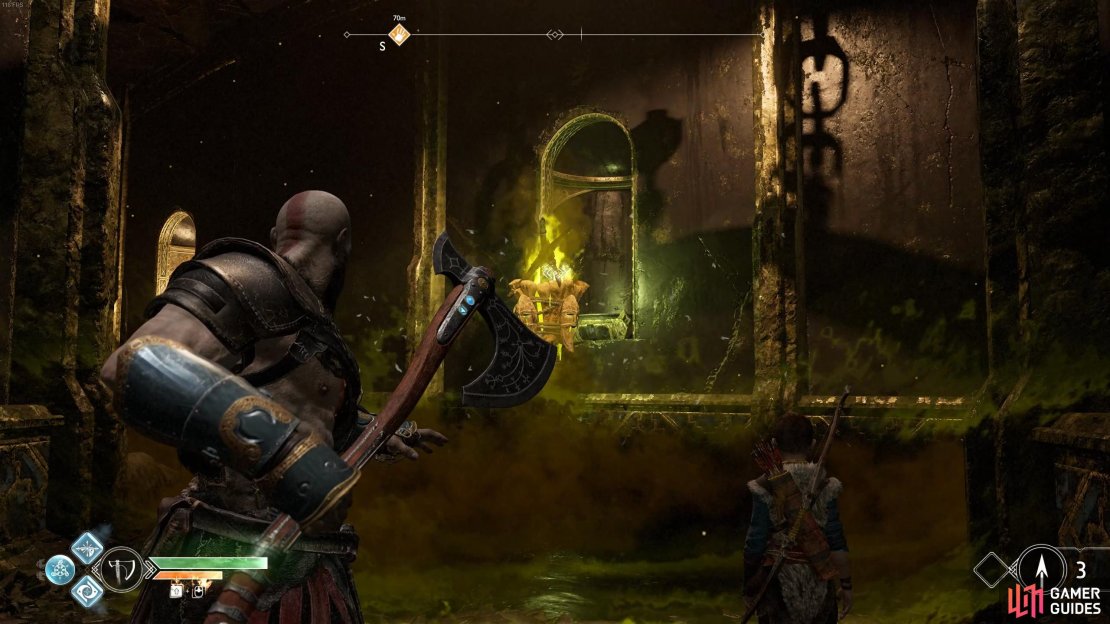
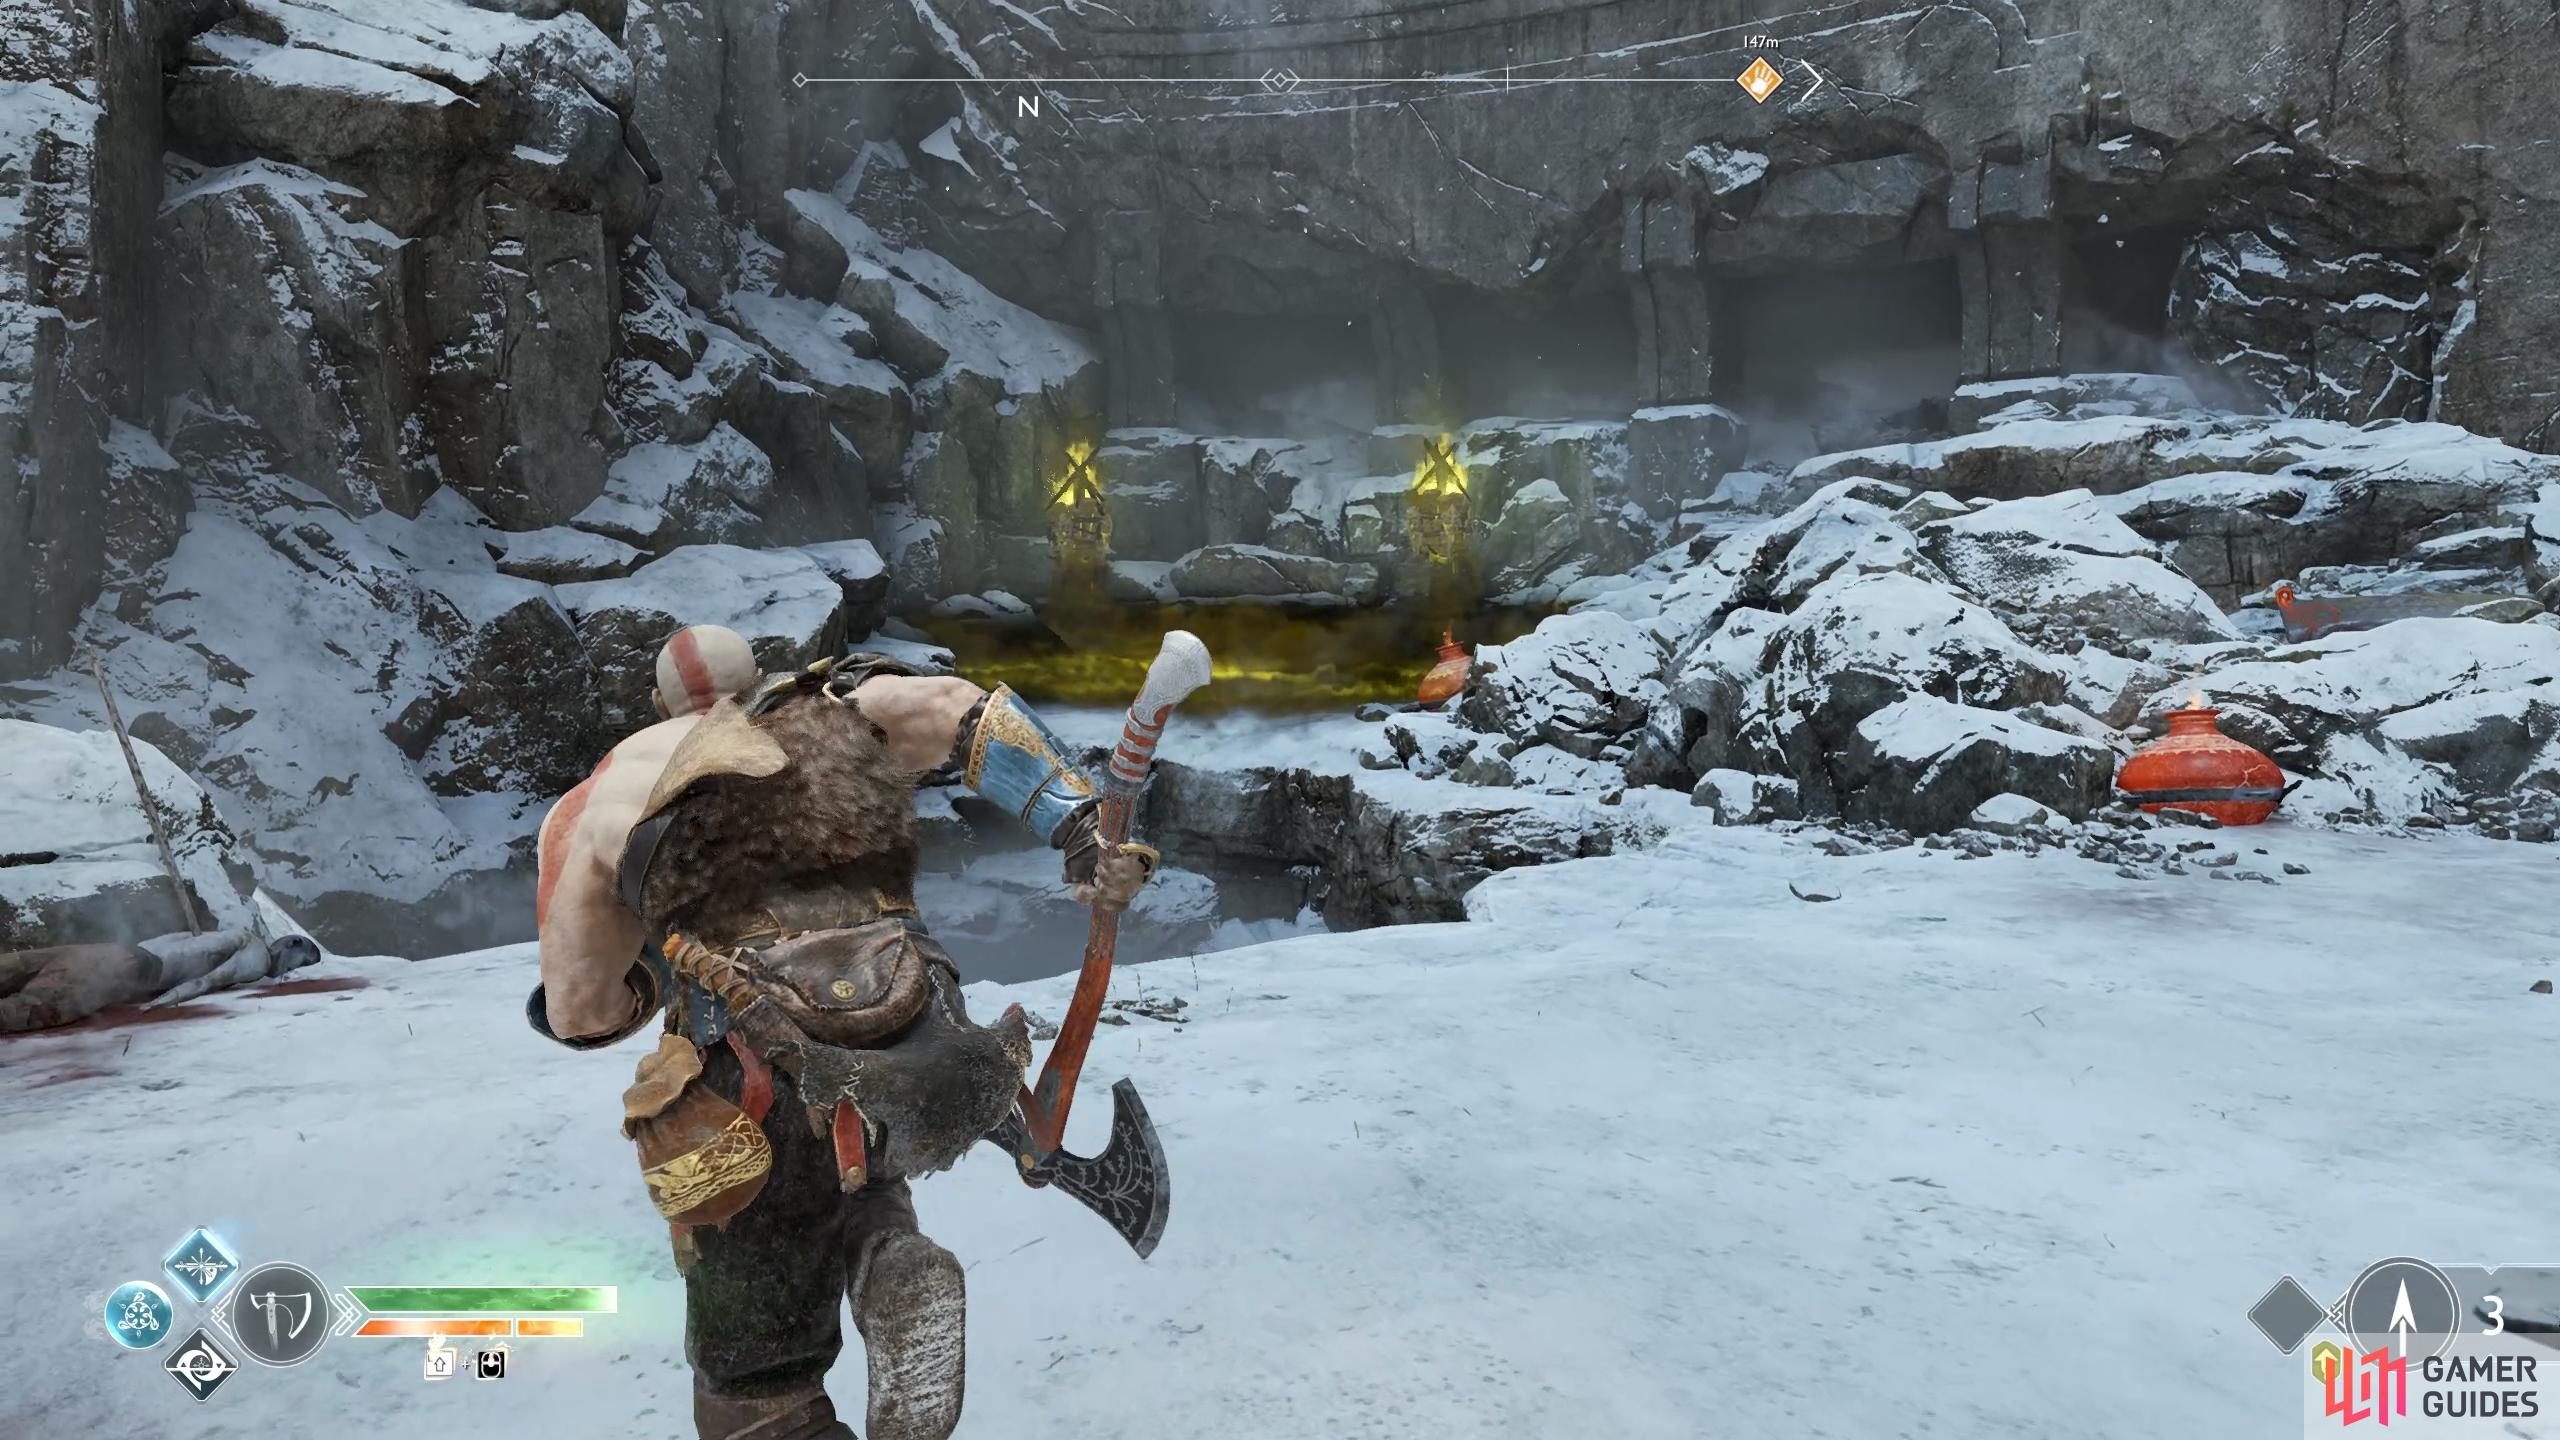
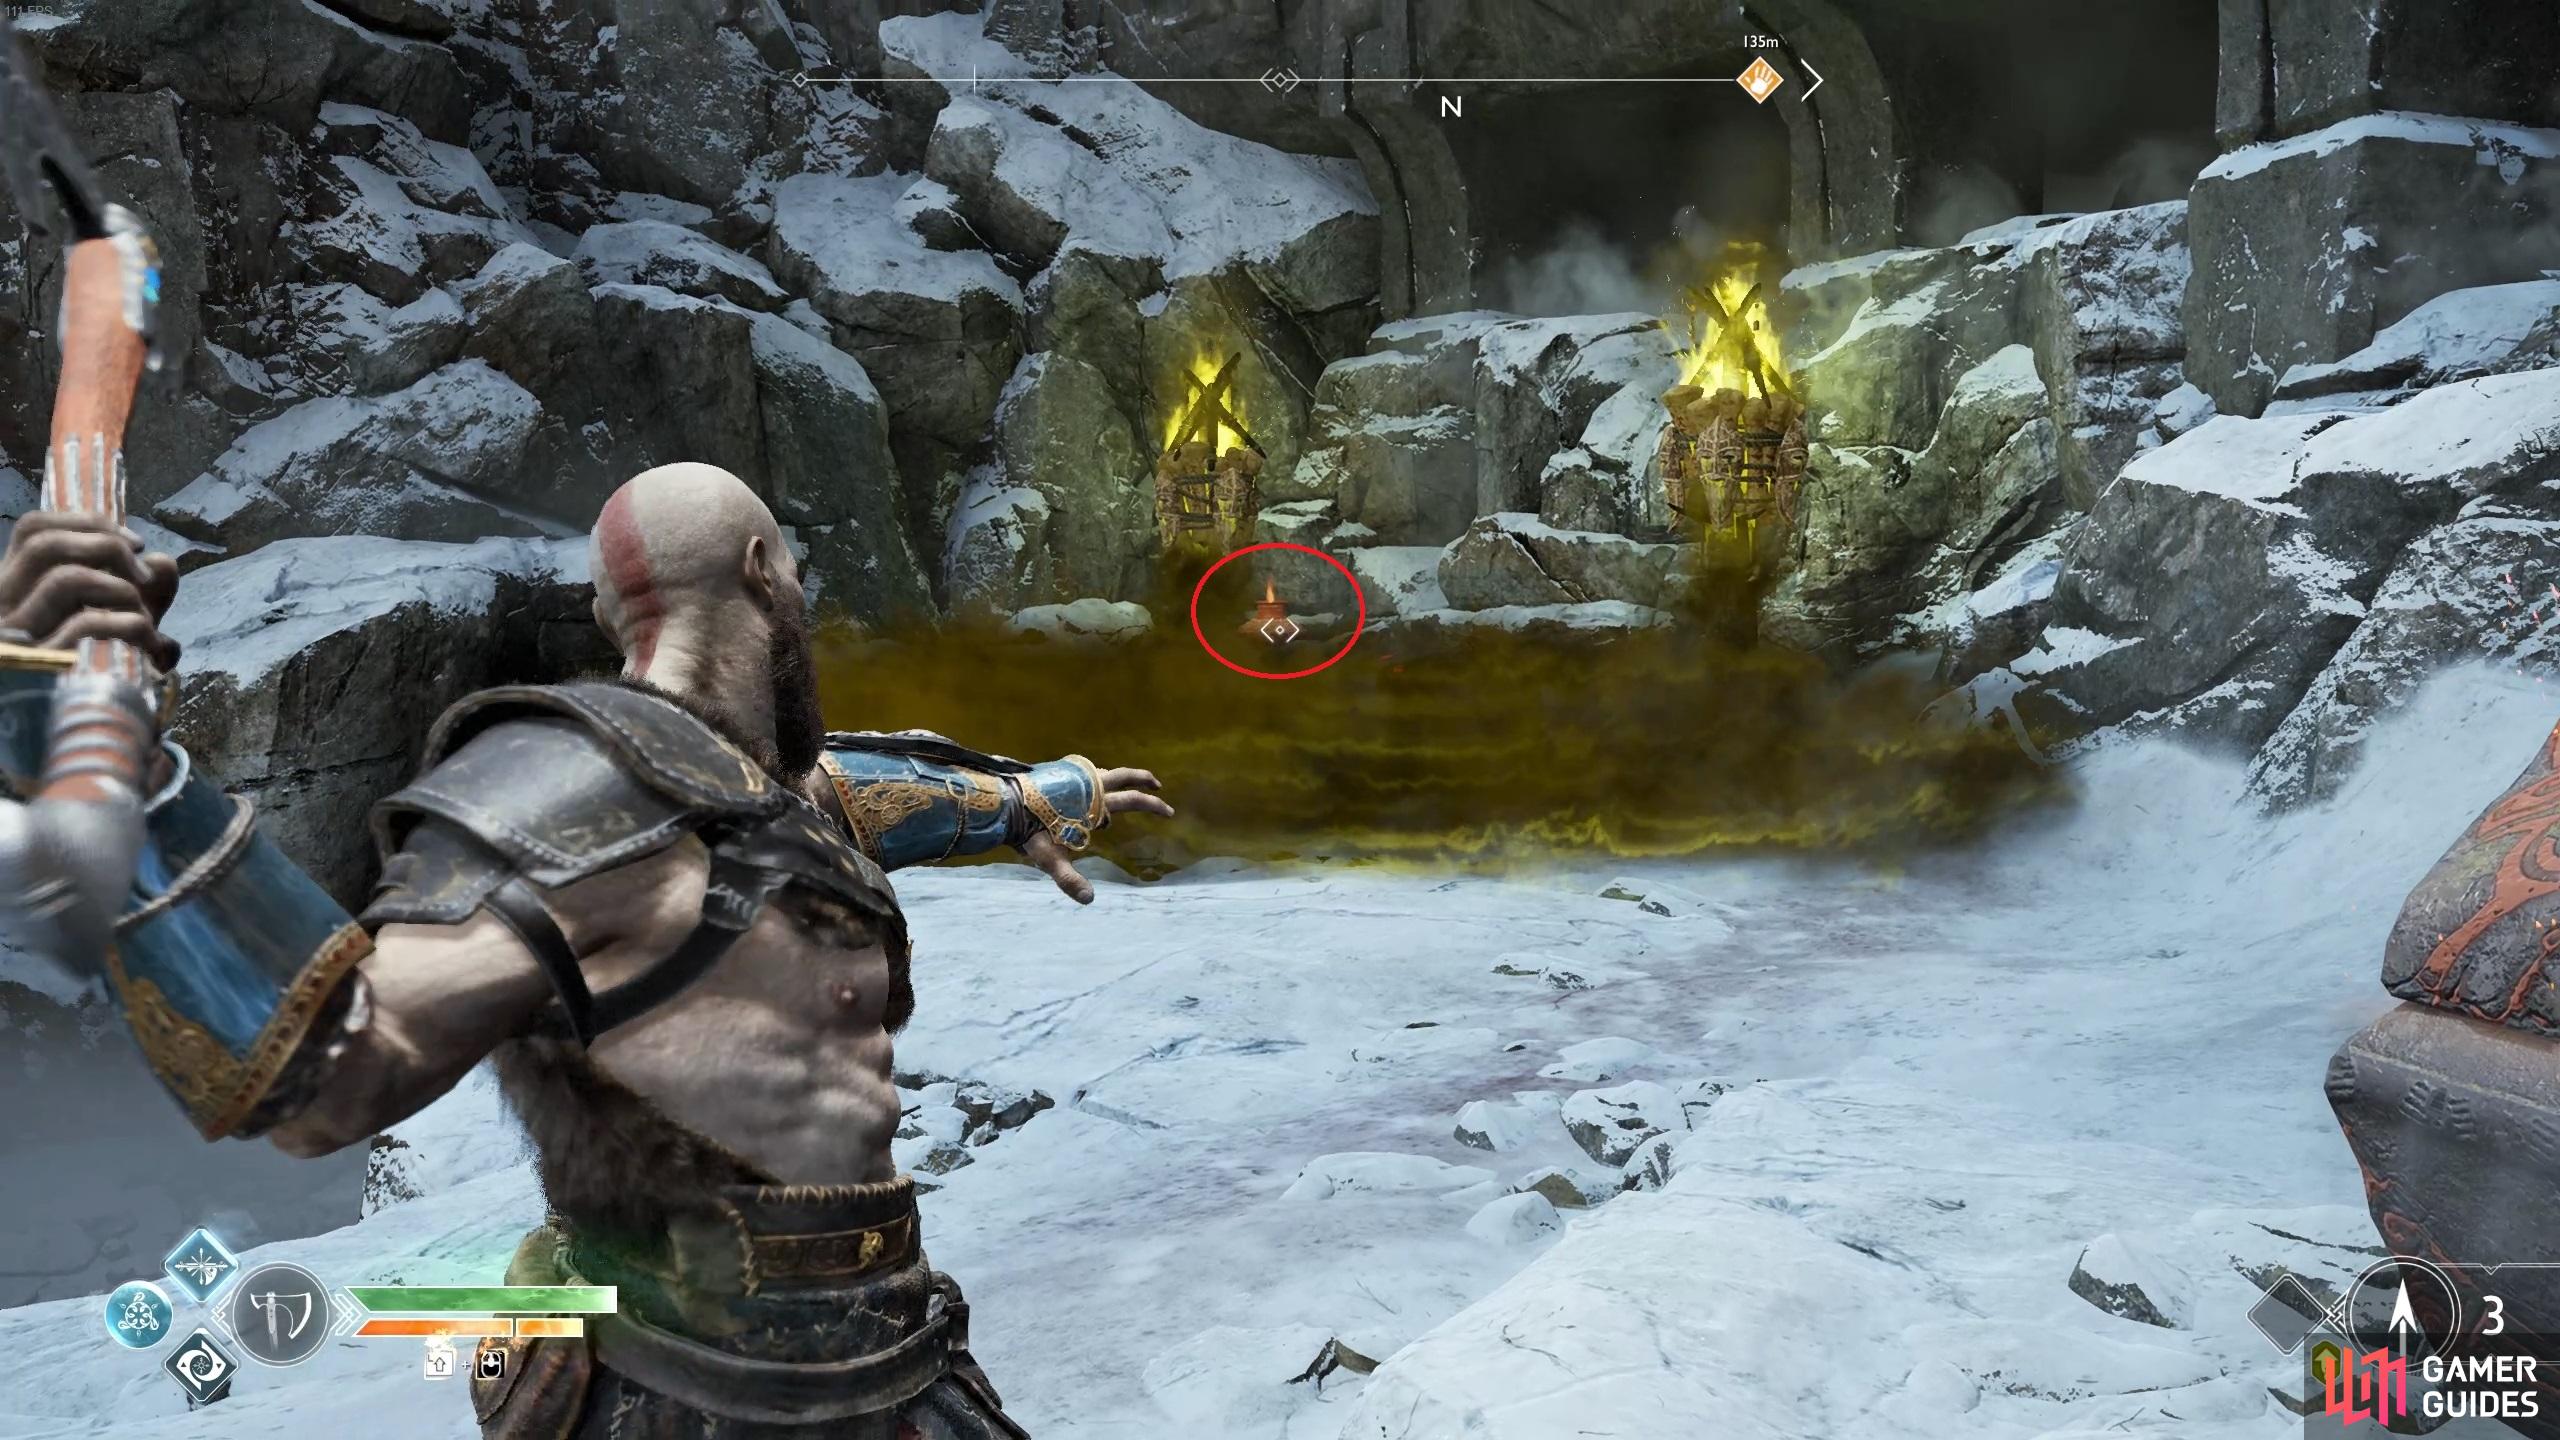
Head in the opposite direction to be stopped by a wave of Poison. Throw the axe at the Scorn Pole in front of you to freeze the Poison and let you advance, picking up two small sacks of Hacksilver on your way to the next Scorn Pole. Repeat the procedure of throwing the axe at the Scorn Pole and continue on.
Drop down the ledge and throw the axe at the next Scorn Pole to trigger the appearance of a Cursed Tatzelwurm, stand back and use axe throws and Atreus’ arrows to put it down. With the axe back into the Scorn Pole, open the Legendary Chest to your left to obtain your third Muspelheim Cipher Piece. Climb up the nearby wooden wall and to the right to reach the ledge above and proceed through the doors.
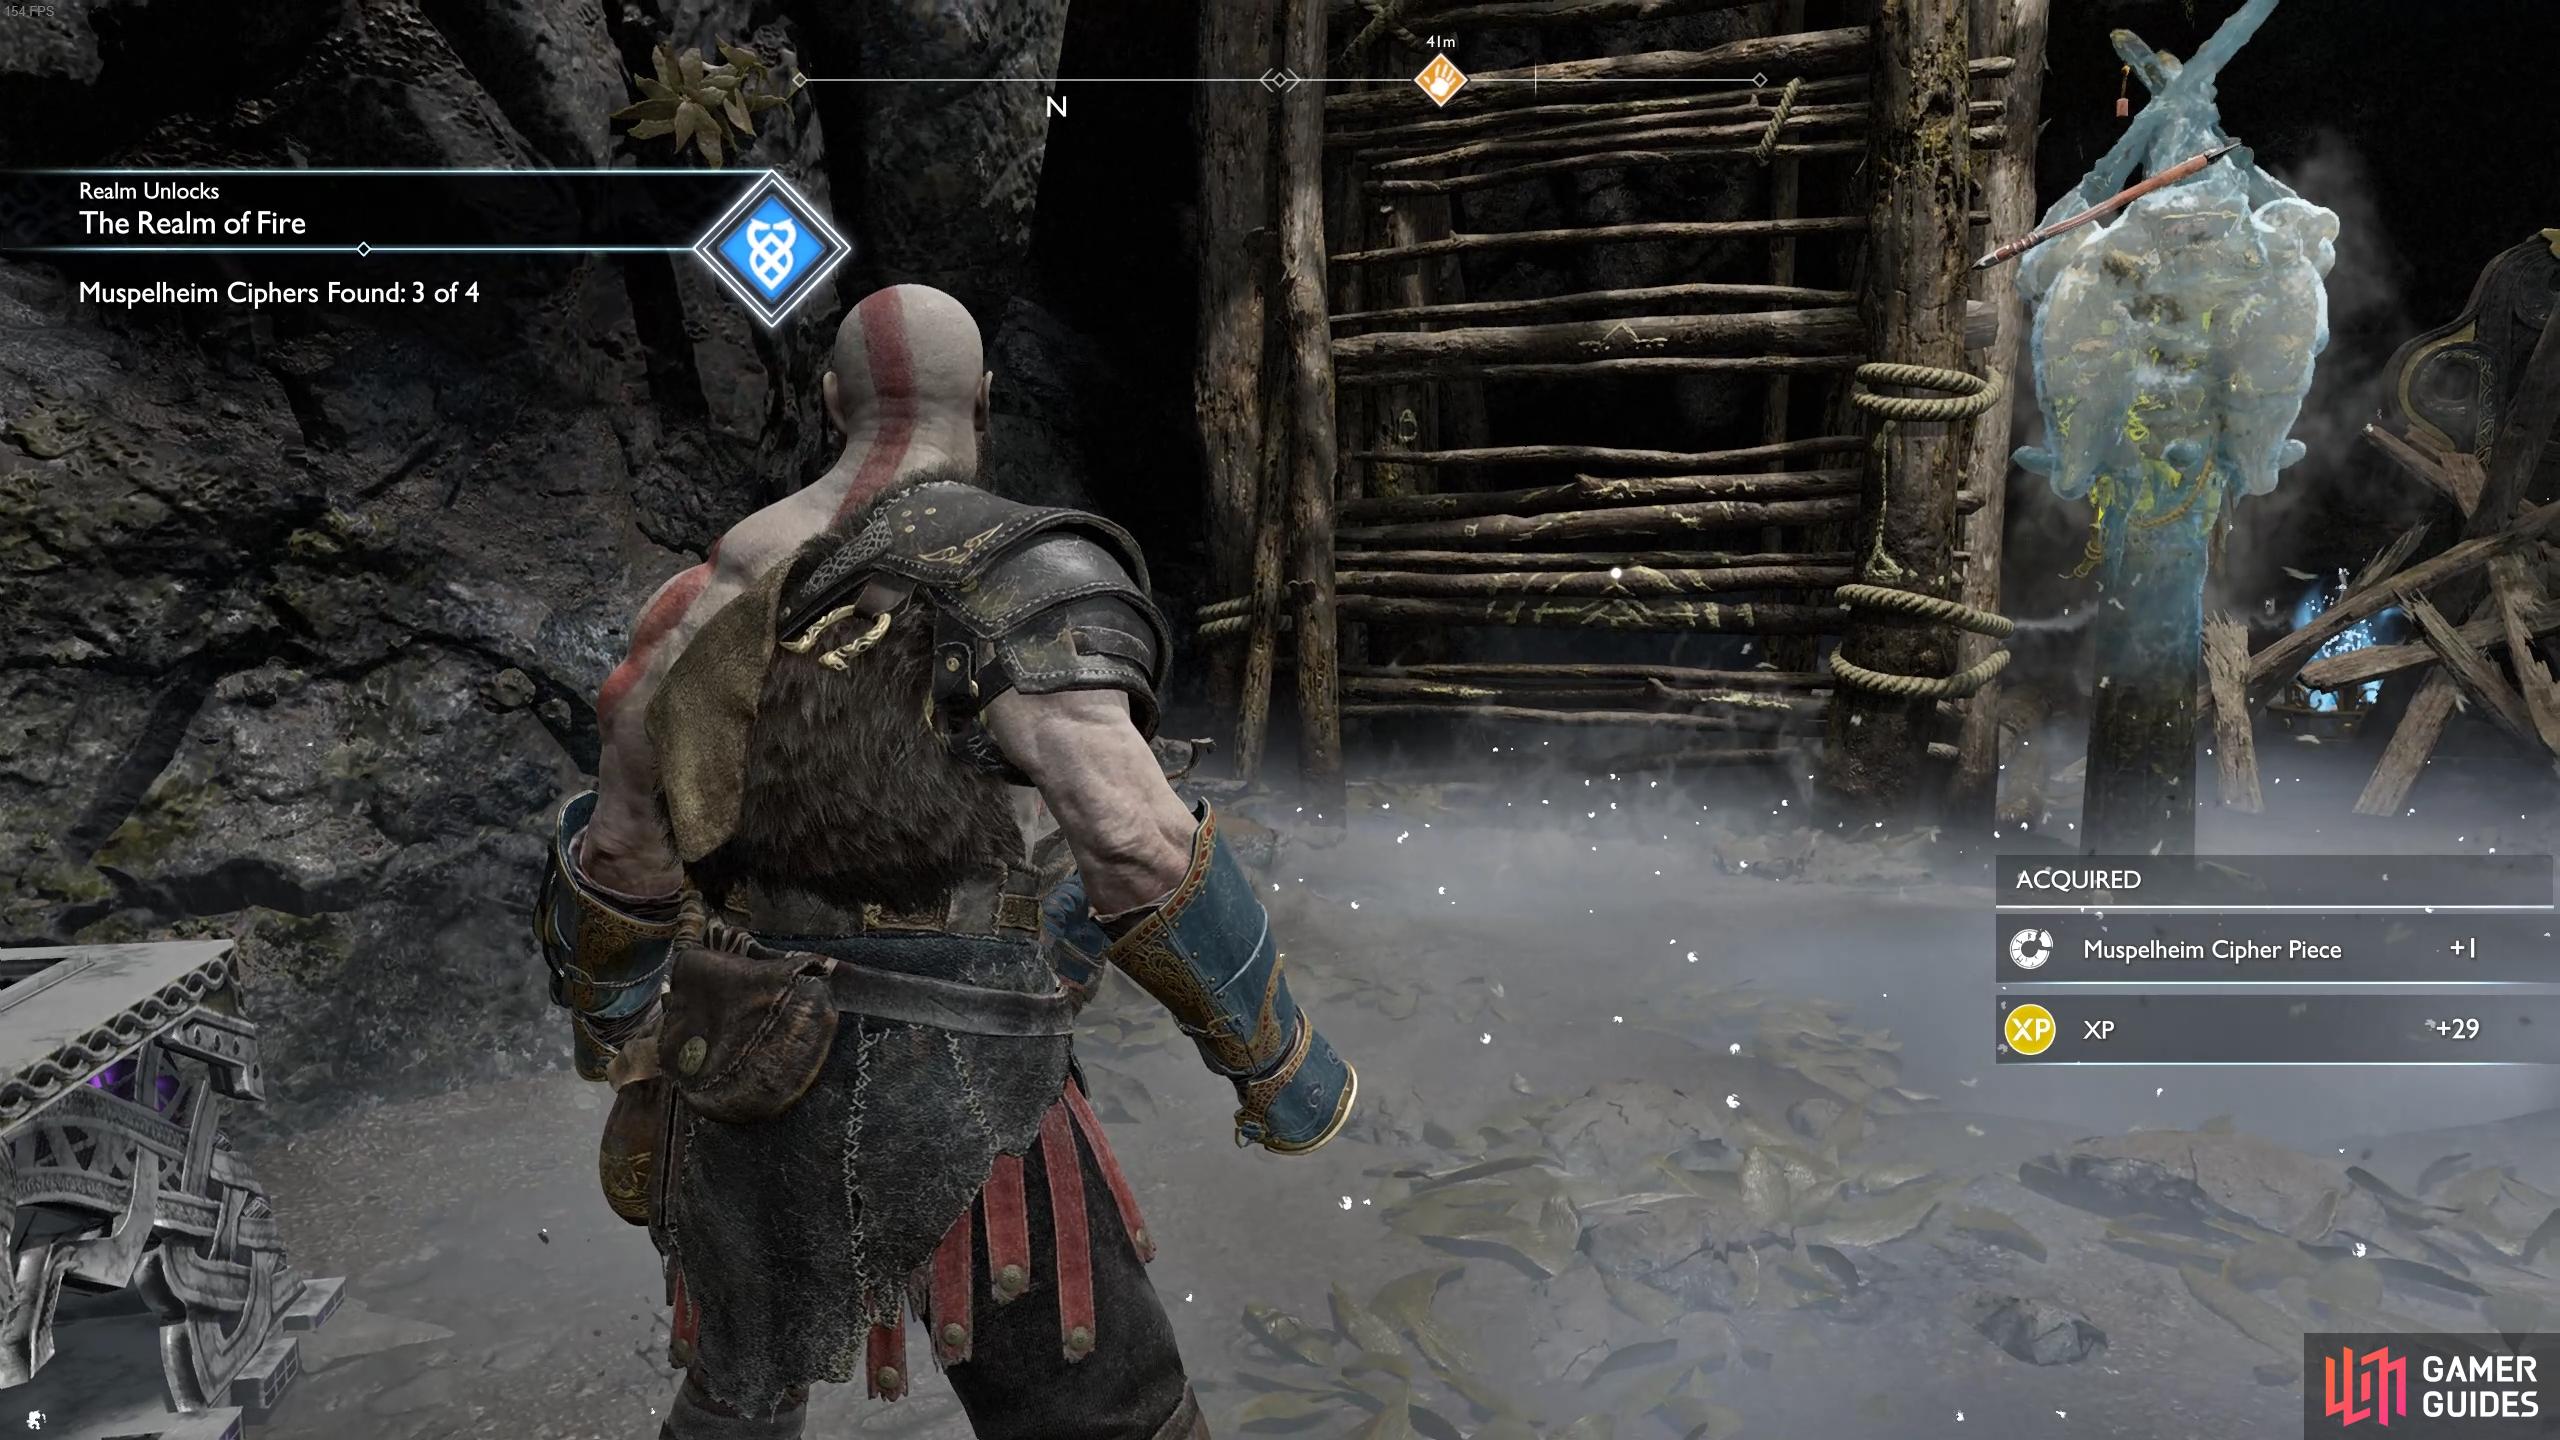
After looting what should be your third Muspelheim Cipher, climb the wall next to the chest.
You’ll meet the rather eccentric Sindri, brother of Brok and a talented Blacksmith himself. After your conversation with him, he’ll add a Mark of the Dwarves to the hilt, increasing your Runic stat by 4.
Explore the Foothills
Be sure to look at Sindri’s Shop, you’ll now have the option of purchasing Resurrection Stones, these handy stones act like an insurance policy. Should Kratos fall in battle with one of these in his possession (shown with an arrow icon to the left of Atreus’ arrow count gauge) then you will have a short period of time to hit the [Square] button and Atreus will revive Kratos with a small amount of health. Make a habbit of always having a Resurrection Stone on you from this point on.
Once you’re ready, move forward to trigger the appearance of a large group of enemies consisting of Shadows and Tatzelwurms. Use Atreus’ arrows to hit the Shadows firing from the top of the rocks while you manage the ones on the ground. Keep moving to avoid their magic and they should go down with relative ease.
Return to where Sindri’s Shop is and head to where the rocks in the corner are, next to the fire to spot a Scorn Pole in view, toss the axe at it and head around the corner to gain access to the coffin. Turn around and head up the path behind you to find another Scorn Pole, toss the axe to freeze this one and head through, recalling the axe. You’ll only be able to pick up the small sack of Hacksilver for now, you’ll gain the tools to access these coffins much later in your journey.

(1 of 2) This Scorn Pole can be hit just to the right of Sindri’s Shop.
This Scorn Pole can be hit just to the right of Sindri’s Shop. (left), The second Scorn Pole can be found on the other side of the courtyard. (right)
Leave this area and head back north toward Sindri’s Shop, you’ll see another Scorn Pole between some rocks that you can hit, do so and open the coffin that was hiding in the Poison mist to receive an Arcane Waist Guard. This armor favours a playstyle looking for better Cooldown on your Runic Attacks along with a modest increase to Defense.
How to Unlock the Rune Chest near Sindri’s Shop
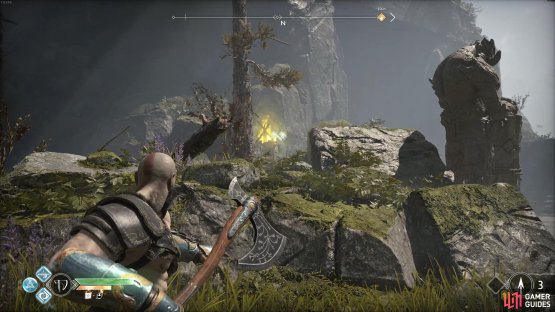
Head further up the path and then look to your right to spot the next Nornir Chest. You’ll see the first Rune block to the left of this, you can change the Rune displayed by spinning it with the axe. For the first rune, hit the left disc twice (the light in the middle will go dim on the chest when you have the correct one) and then head back down towards Sindri Shop and then turn to face the direction of the chest to find the second Rune block, hitting the left disc once. Finally, head to the end of this path here and look to the west to see a Scorn Pole in the distance, hit this to be able to view the Rune displayed on this block. Hit the left disc of this block twice to unlock the final Rune and the chest itself, containing your third Horn of Blood Mead and increasing your maximum Rage.
If you’re struggling to open the runic chest, see the gif below to see how. Note that you don’t need to hit the Scorn Pole, just hit the left disc twice.
Turn around from the chest and knock the container down that is hanging overhead before following the path along at the top. Before you climb the wall, pick up a small sack of Hacksilver on the corpse and look for a Hacksilver chest to the left of the wall.
A Scorn Pole awaits at the top and when struck with the axe, a Revanant comes out to greet you. Let the Revenant dash to your right and head through the first mist before recalling your axe in the center. There’s two paths available here, take the left one for now, hitting the Scorn Pole and heading through to the middle of the next clearing. Recall the axe once more and hit the next Scorn Pole in front to be able to reach a coffin containing Arcane Bracers. Pick up the small sack of Hacksilver and return to the fork.
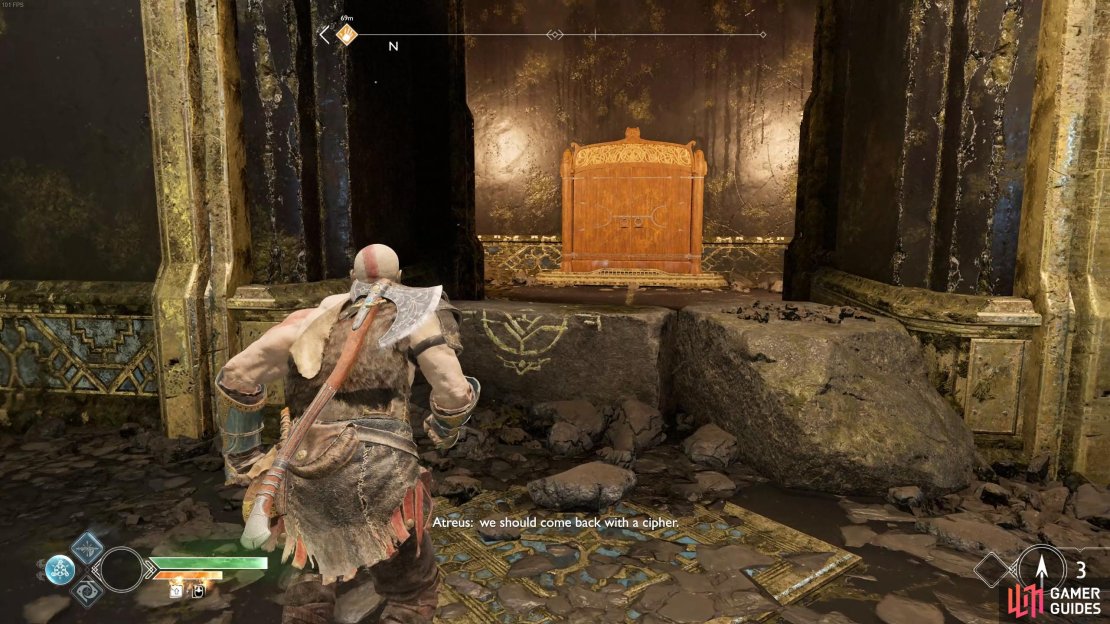
Take the other path this time, going past the first Scorn Pole and picking up a small sack of Hacksilver. When you freeze the next Scorn Pole, the Revenant will reappear, use Atreus’ arrows to lock it in place and beat on her with Kratos’ fists to make quick work of her. With the Revenant dead, head into the caves to the south, picking up the sack of Hacksilver before reaching yet another Hidden Chamber that is inaccessible for now (this will add it to your map however). Return to where you killed the Revenant and refreeze the Scorn Pole, heading through to the southeast.

(1 of 2) Take the left path at the fork to find a coffin containing armor.

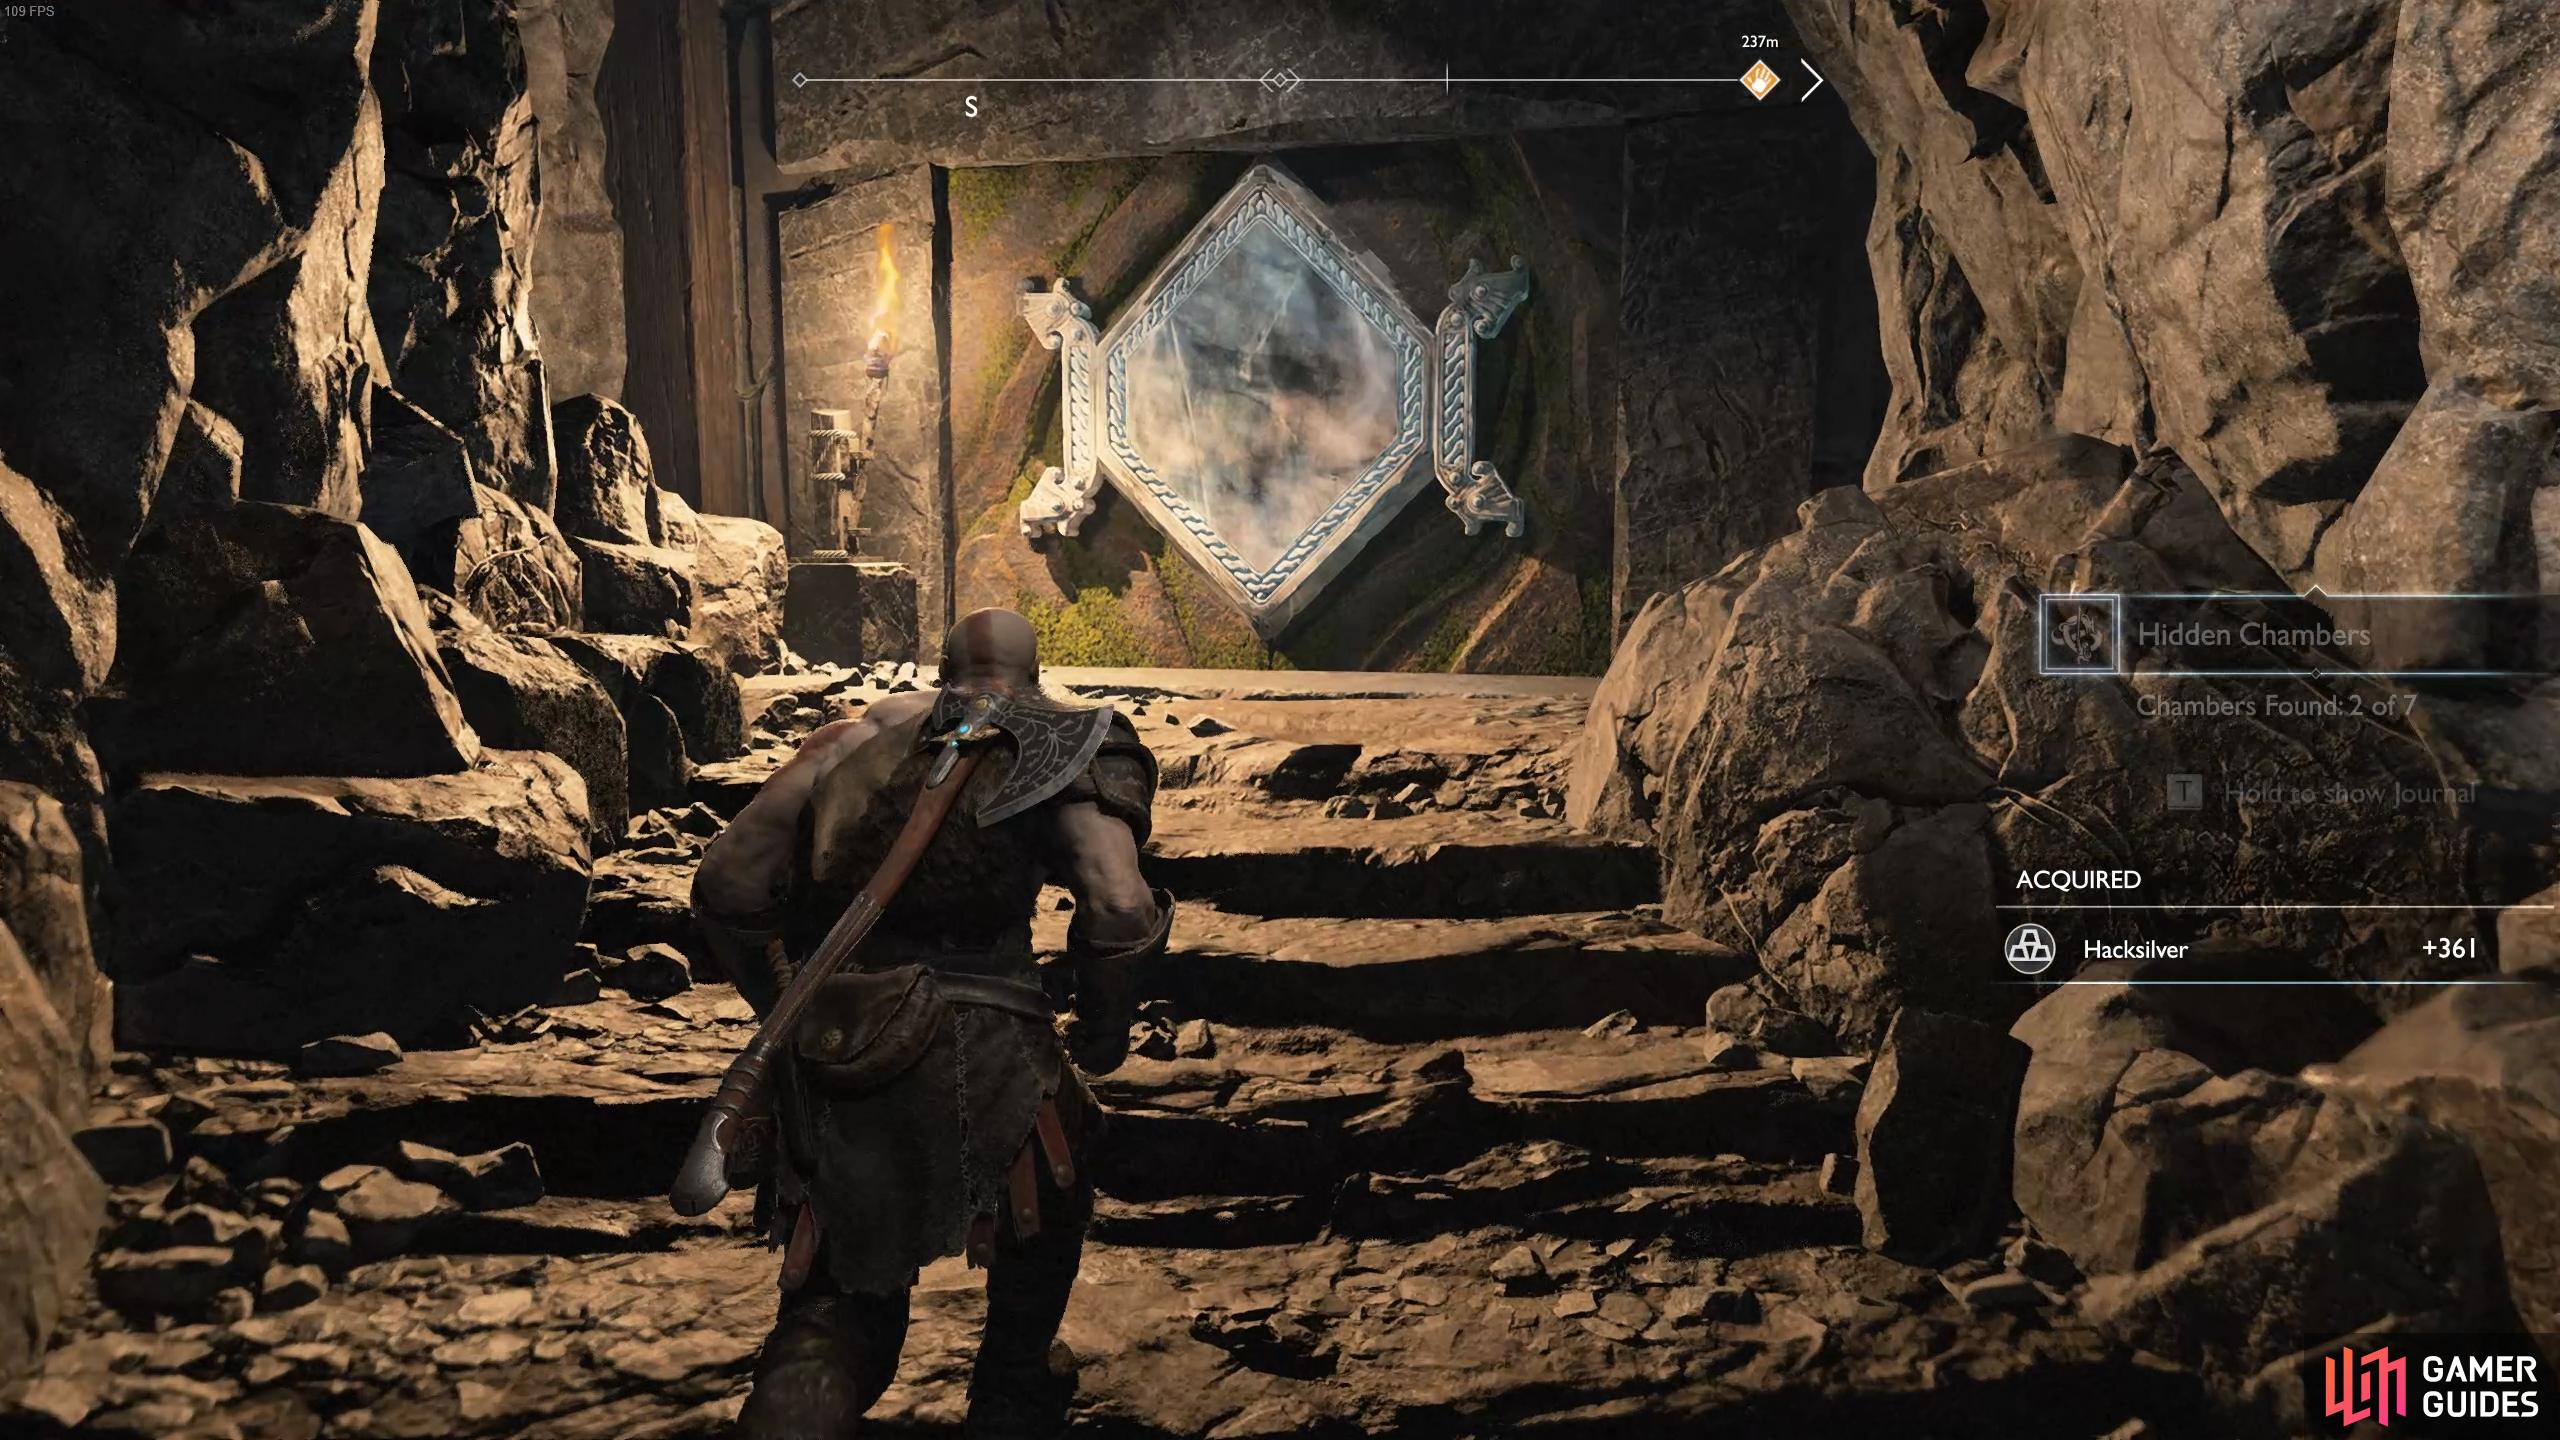
Take the left path at the fork to find a coffin containing armor. (left), Another mysterious Hidden Chamber hides through the caves to the right. (right)
Look into the air to spot the next Scorn Pole hanging overhead and freeze it, passing into the passage, picking up a small sack of Hacksilver and reaching a wall that you can scale. At the clearing at the top, a pack of Poison Wolves and a Reaver await. Wade into the group and use a knockback skill if you can to knock the enemies into the ravine below before picking off any survivors.
Destroy the Bombs and Defeat the Ogre
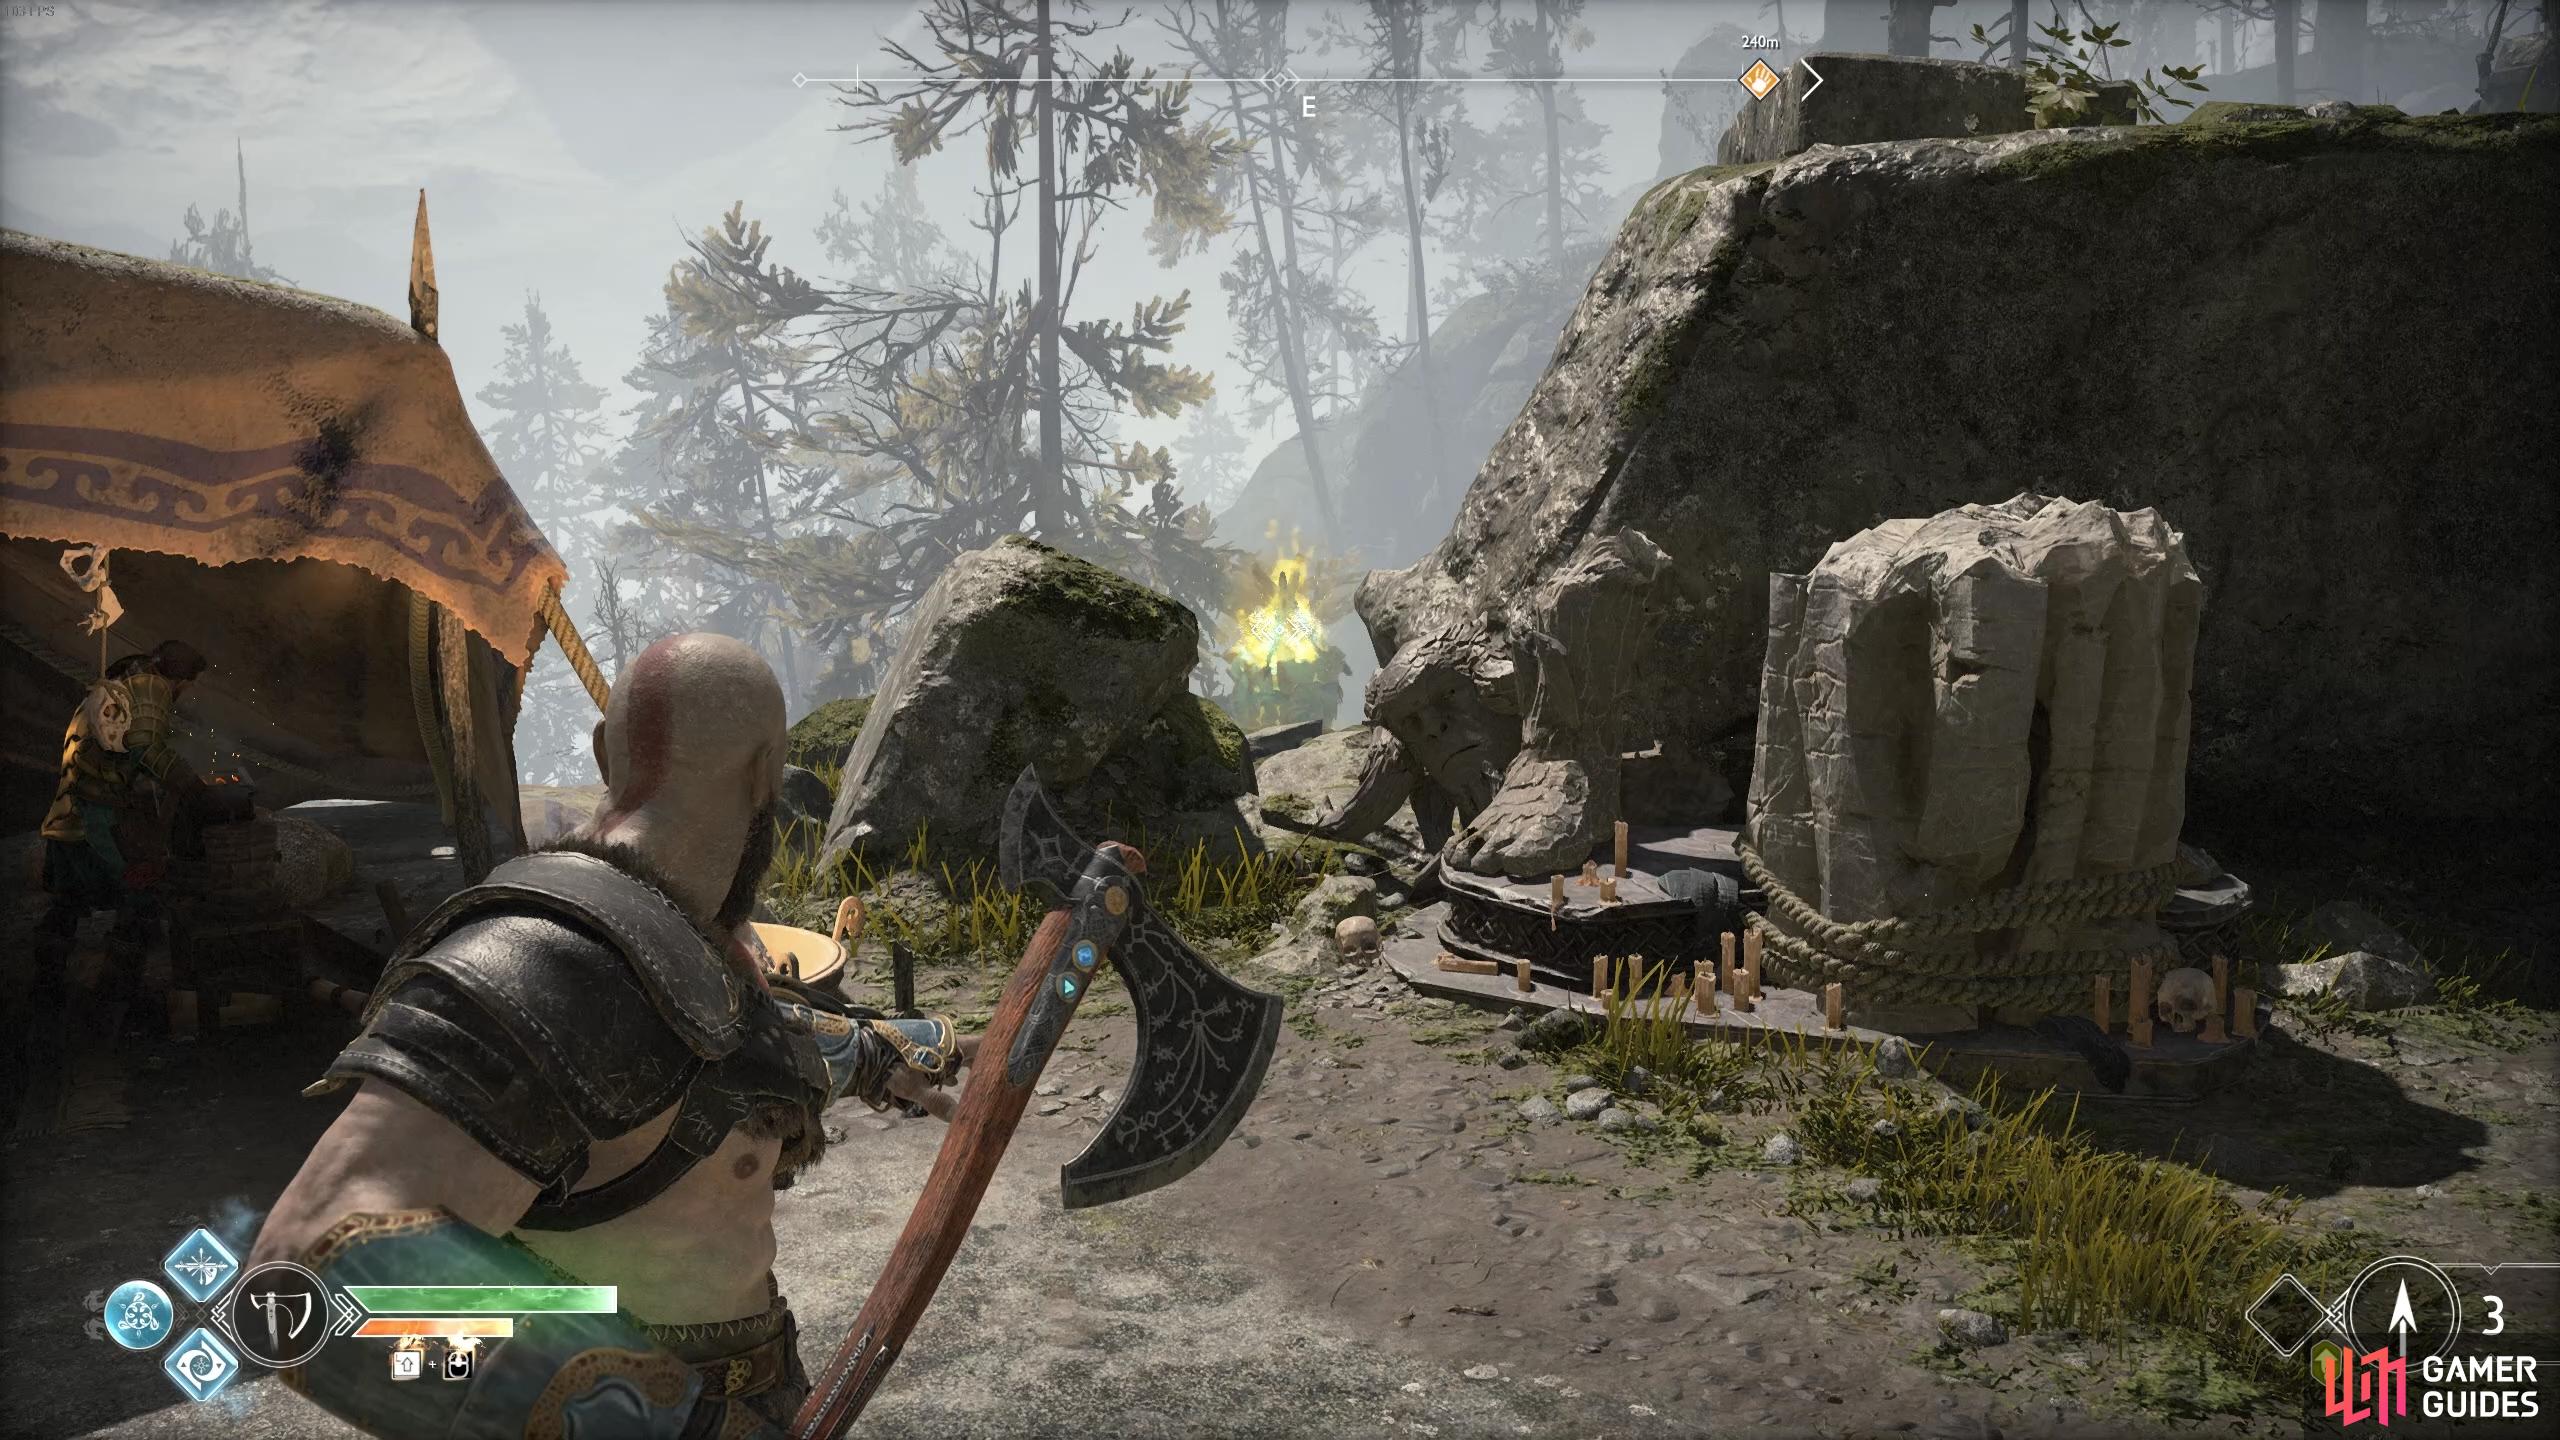
Head to the left of the large doors to spot two bombs that you can destroy, clearing the debris and giving you access to a coffin containing Arcane Shoulder Wraps. You’ll spot two Scorn Poles to the left of this, hit the bomb next to the left one to destroy it permanently and then freeze the right one, giving you access to the Legendary Chest containing the incredibly useful Charge of the White Bear Light Runic Attack.


(1 of 2) Destroy all the bombs to clear the debris.
Destroy all the bombs to clear the debris. (left), There’s a bomb at the left Scorn Pole you can use to destroy it permanently. (right)
Equip this gem immediately and upgrade it to Level 2 to add a shield slam follow up with the  /
/  or
or 
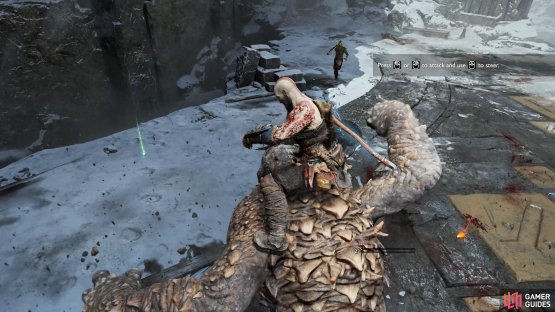
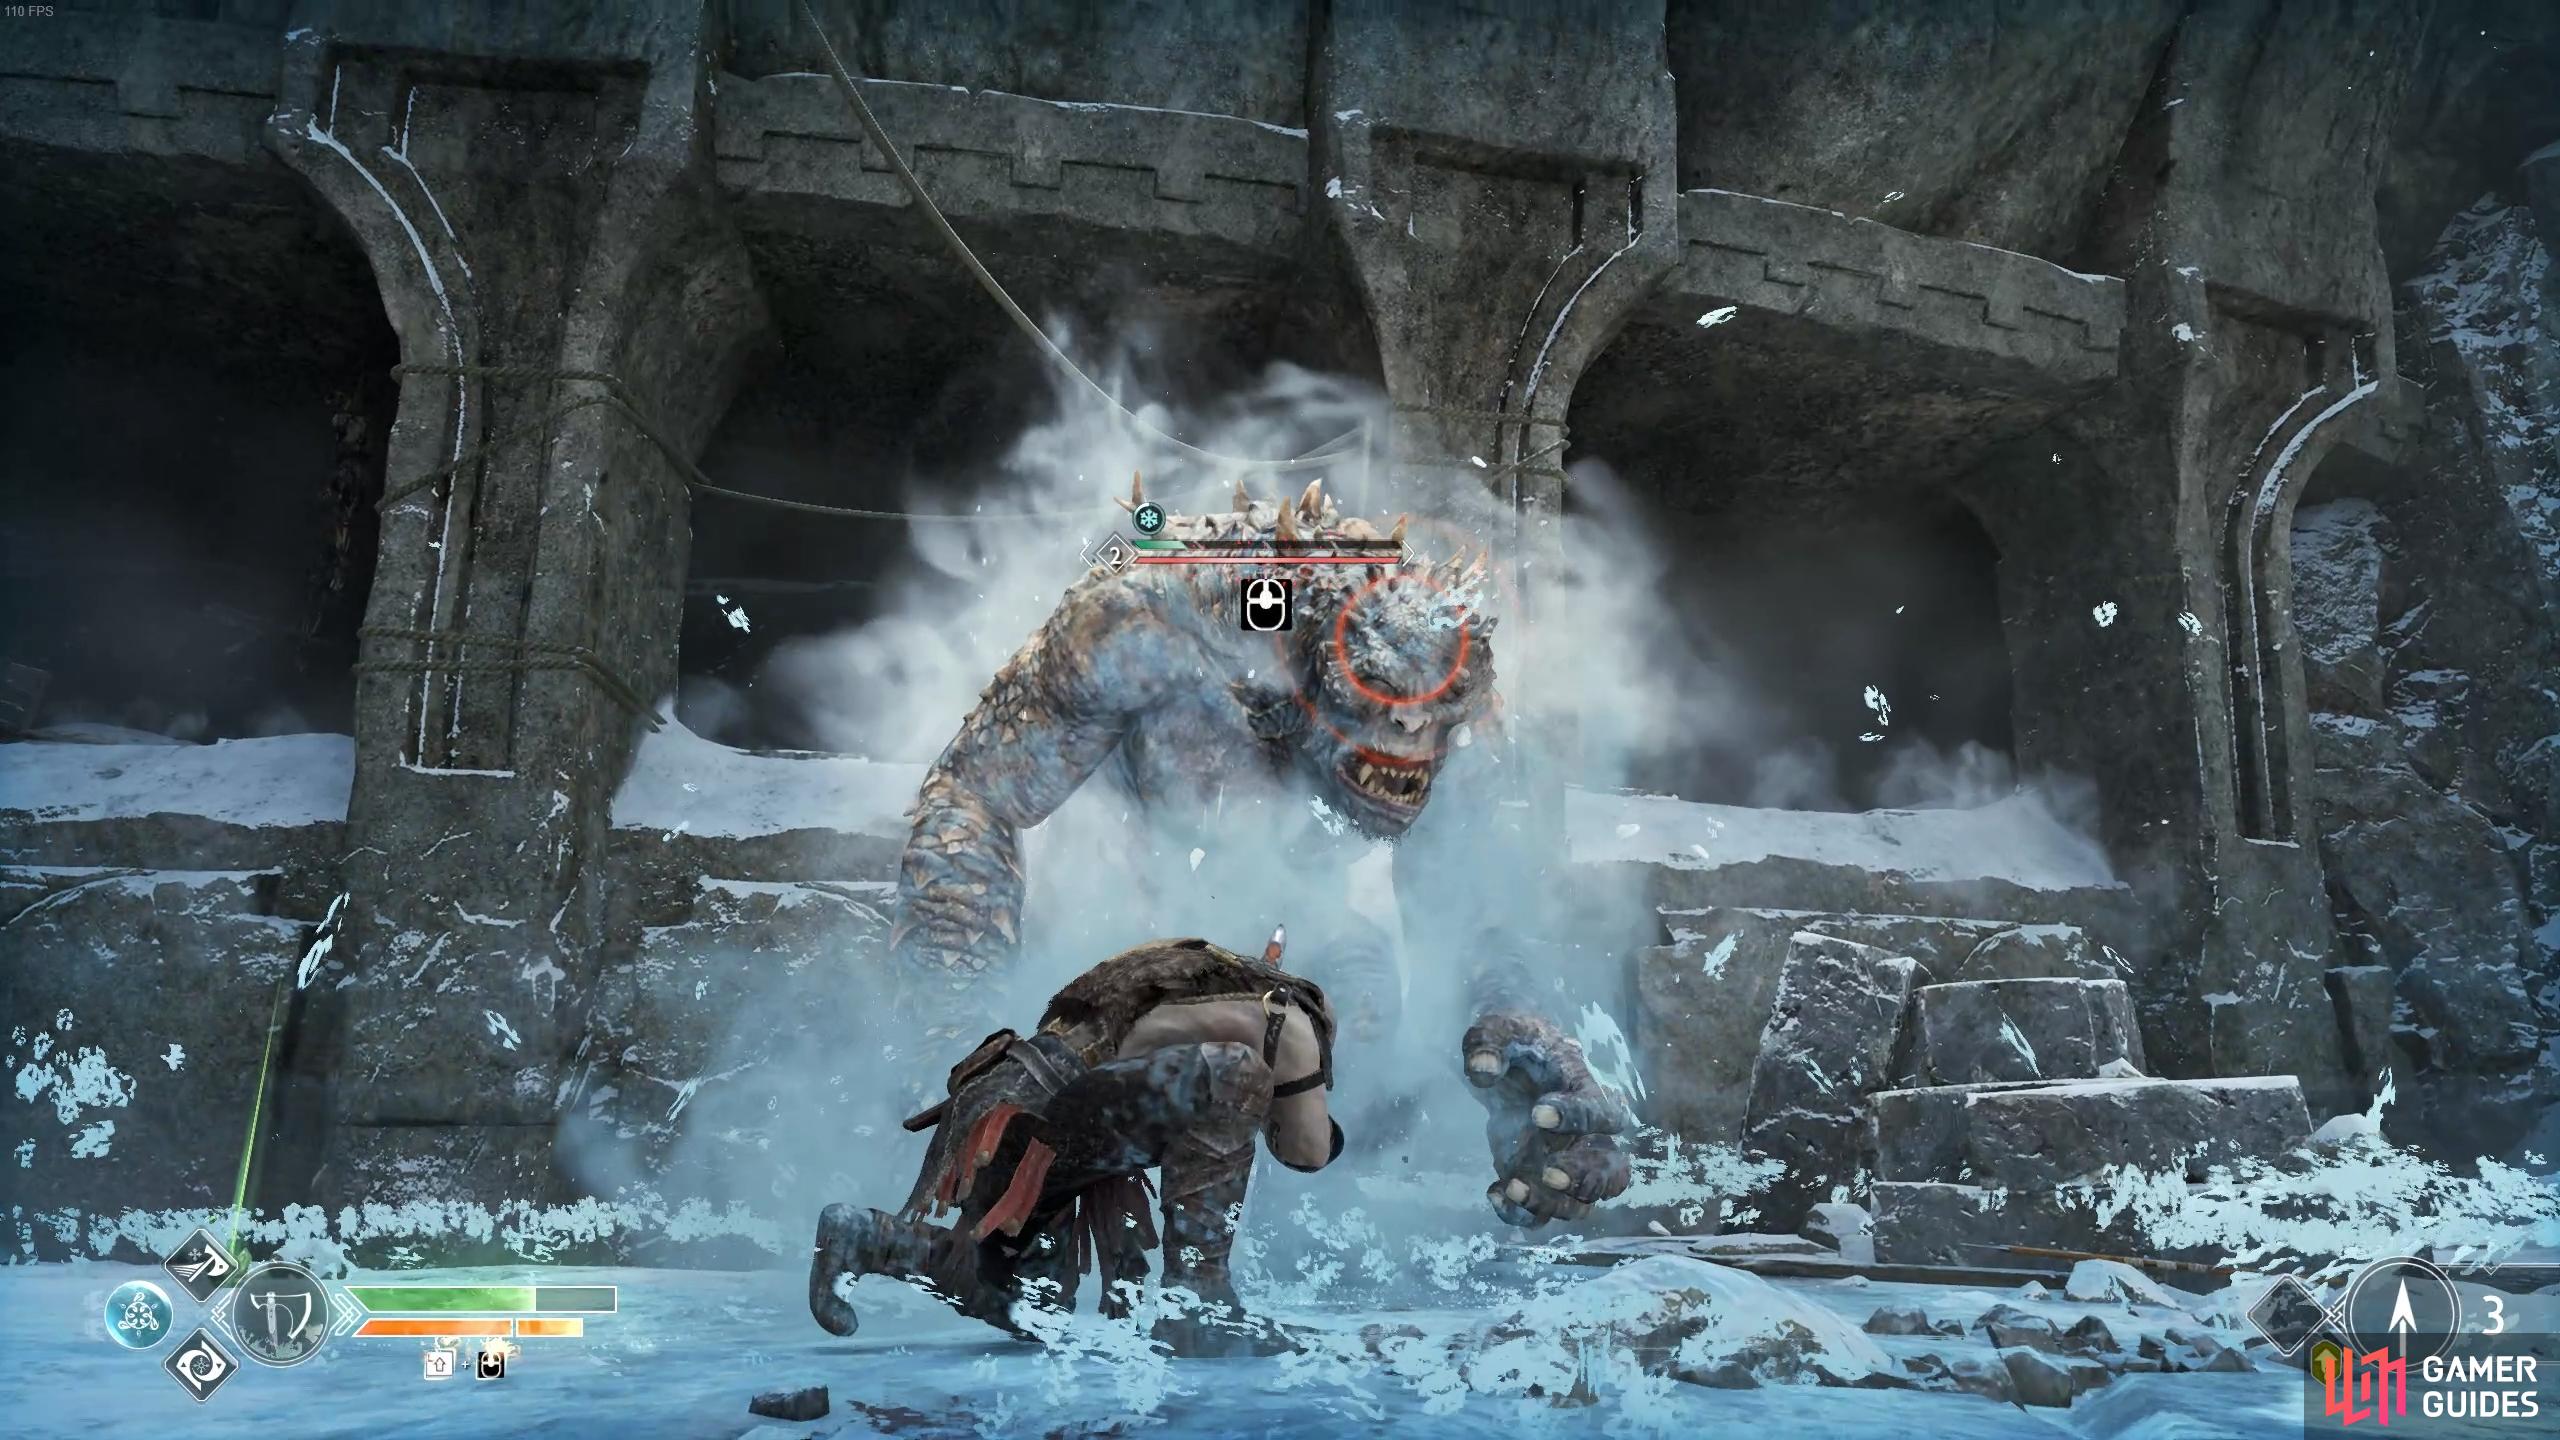
 button. You can now proceed to the doors ahead and lift the stone pillar to trigger the appearance of a frightening Ogre and a group of Reavers. The Ogre is the main priority here, ignore the Shadows and focus on dealing damage with your Runic Attacks and Atreus to damage the Ogre and trigger a Stun Grab. Kratos will mount the beast and you’ll be able to direct the Ogre to attack with the / and / buttons. Direct the Ogre around the arena, attacking any Shadows that may remain and then finish off the Ogre itself once Kratos dismounts.
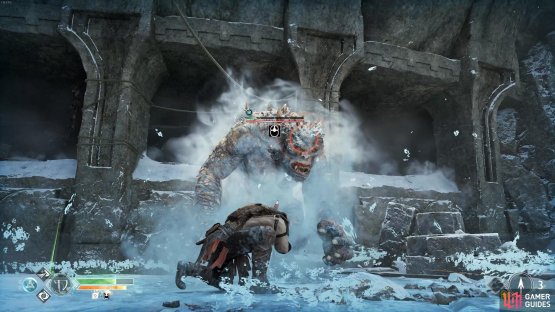
(1 of 2) Stun the Ogre as quickly as you can to mount the beast.

Stun the Ogre as quickly as you can to mount the beast. (left), Use the Ogre’s attacks while mounted to defeat the rest of the enemies. (right)
With all the enemies defeated, loot the spoils and from the Ogre you’ll receive the next Frozen Flame upgrade, a Rare Enchantment, 5 Soft Svartalfheim Steel and a large sack of Hacksilver. You’re now free to pass through the large doors ahead and onto the Mountain’s Base.
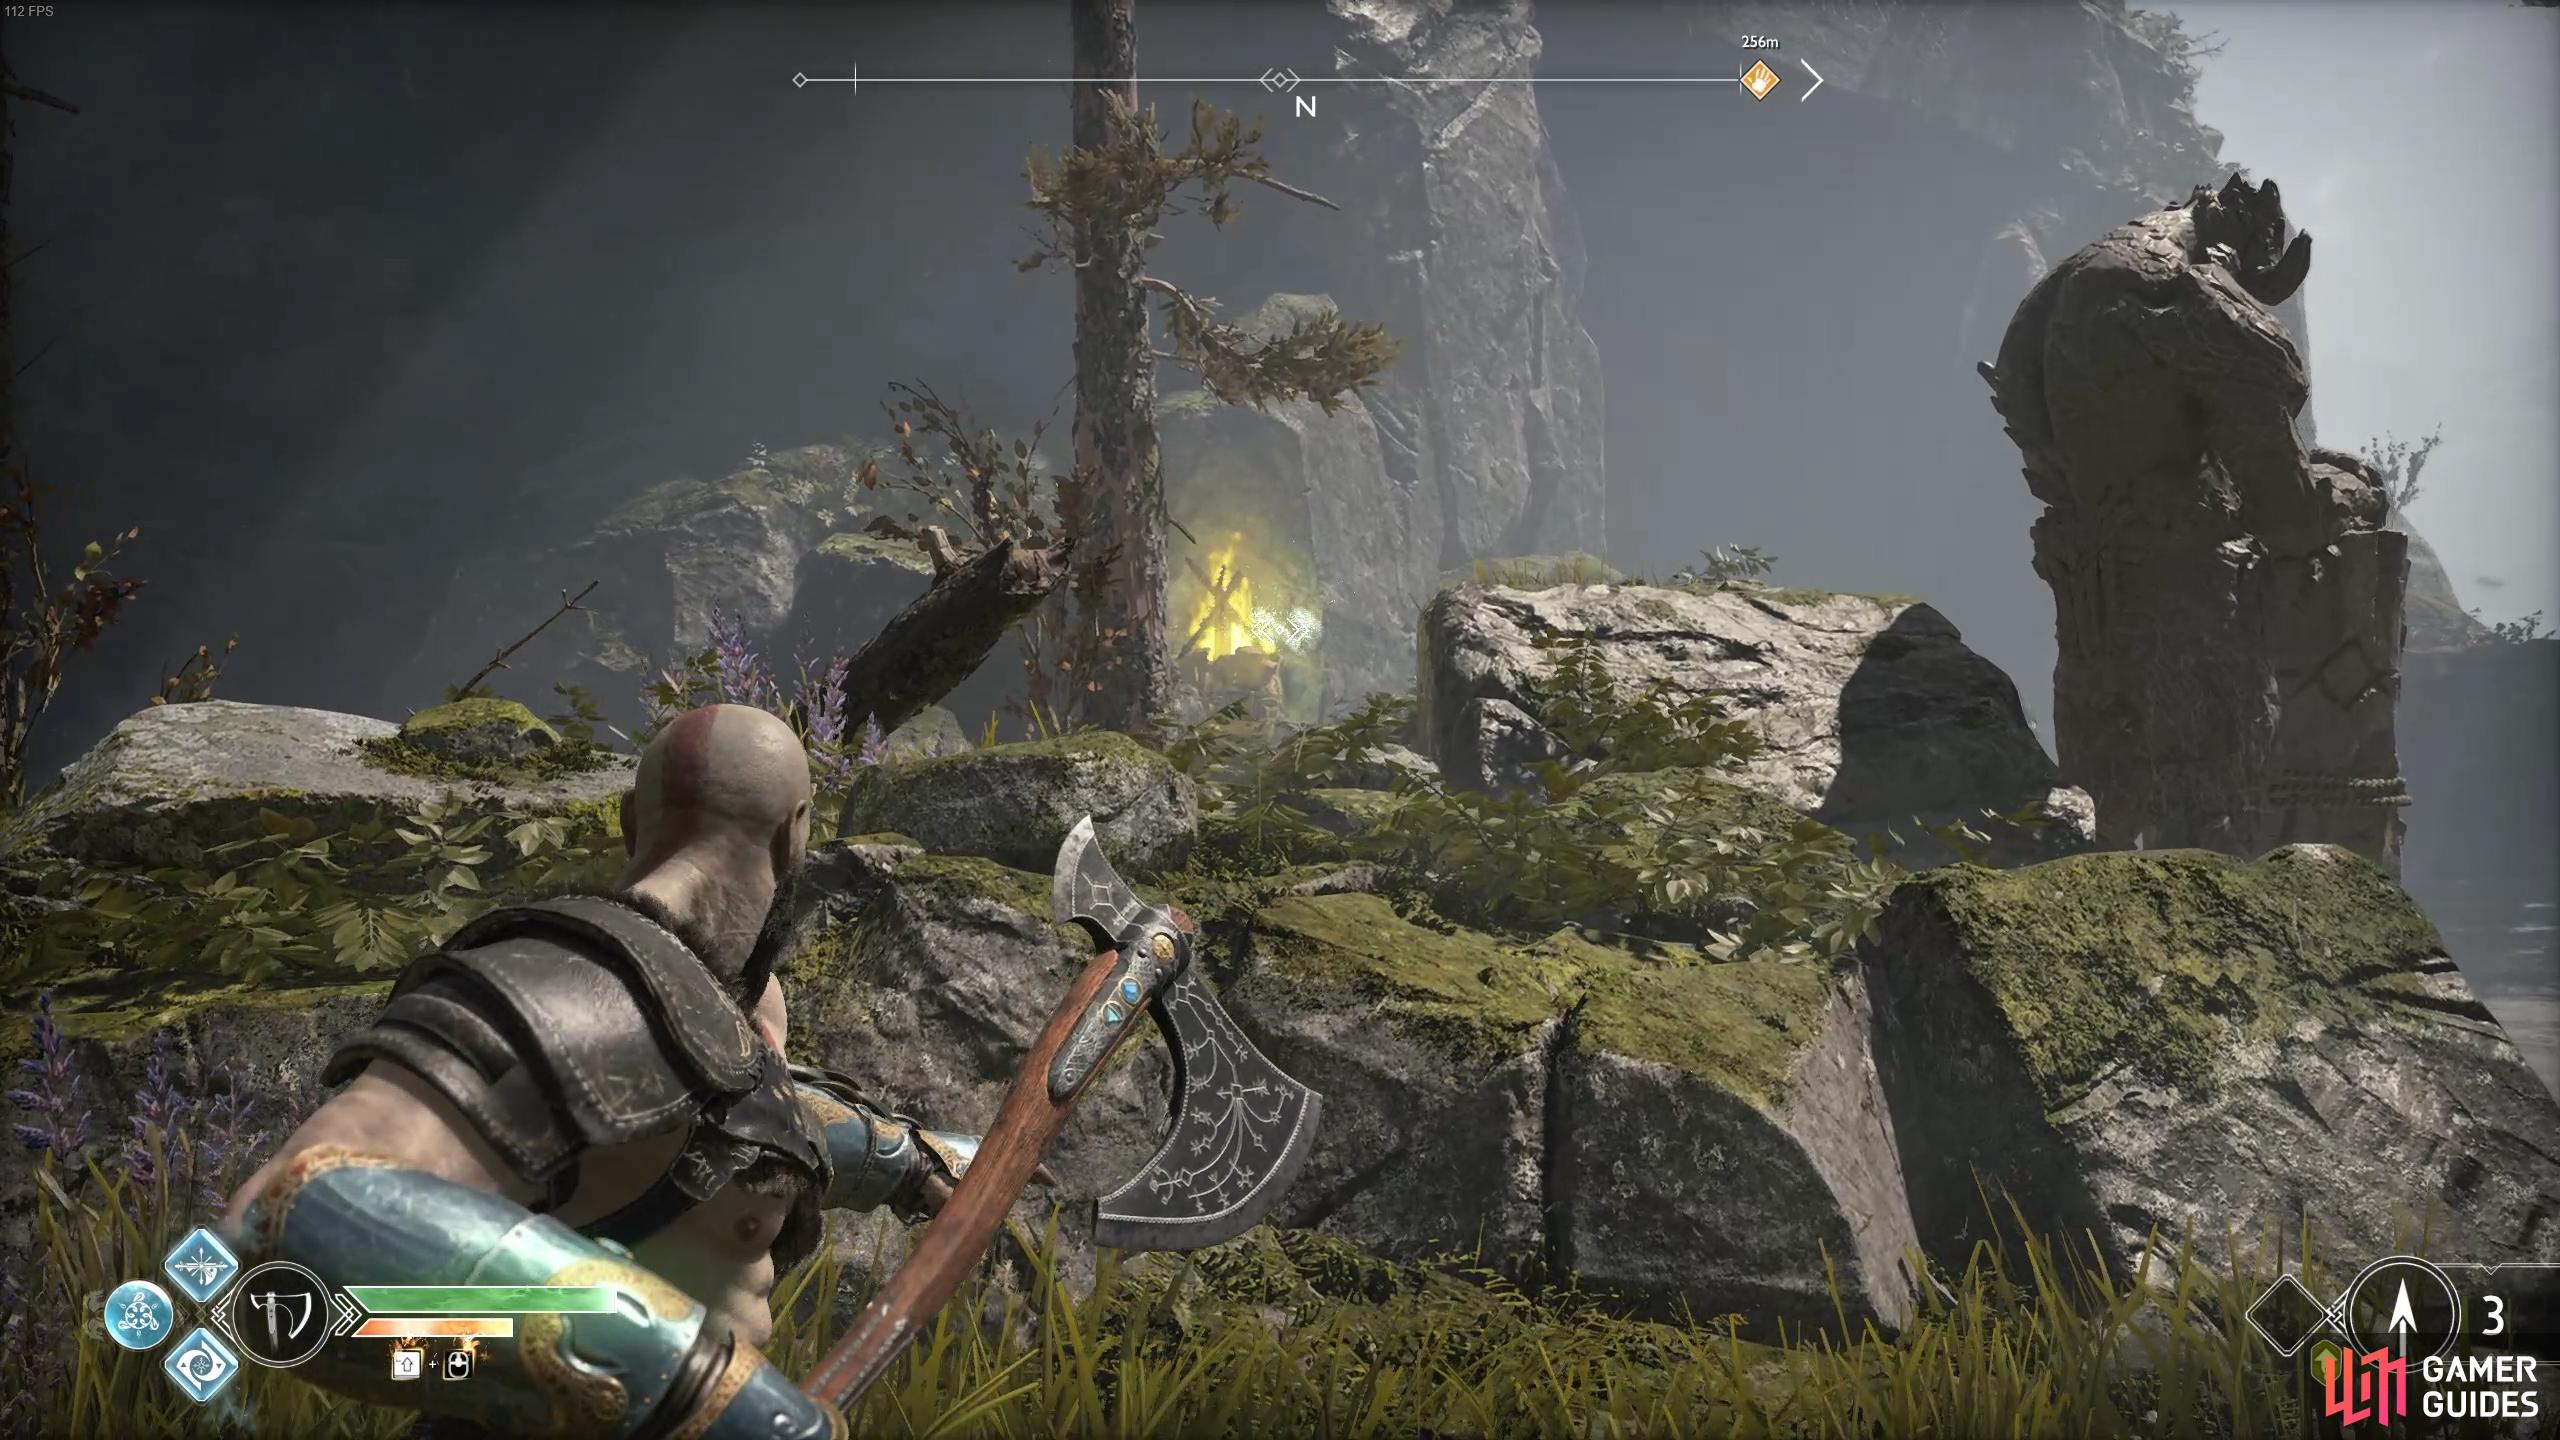
Refrain from following the path for now and instead head around the corner to the west to find Sindri’s tangled lift. This is still inoperable for now however look to the top of the cliff to spot the next Raven. Follow the path along the Mountain Base and take the right path as soon as you can to find two more small sacks of Hacksilver before heading toward the ominous black smoke ahead.
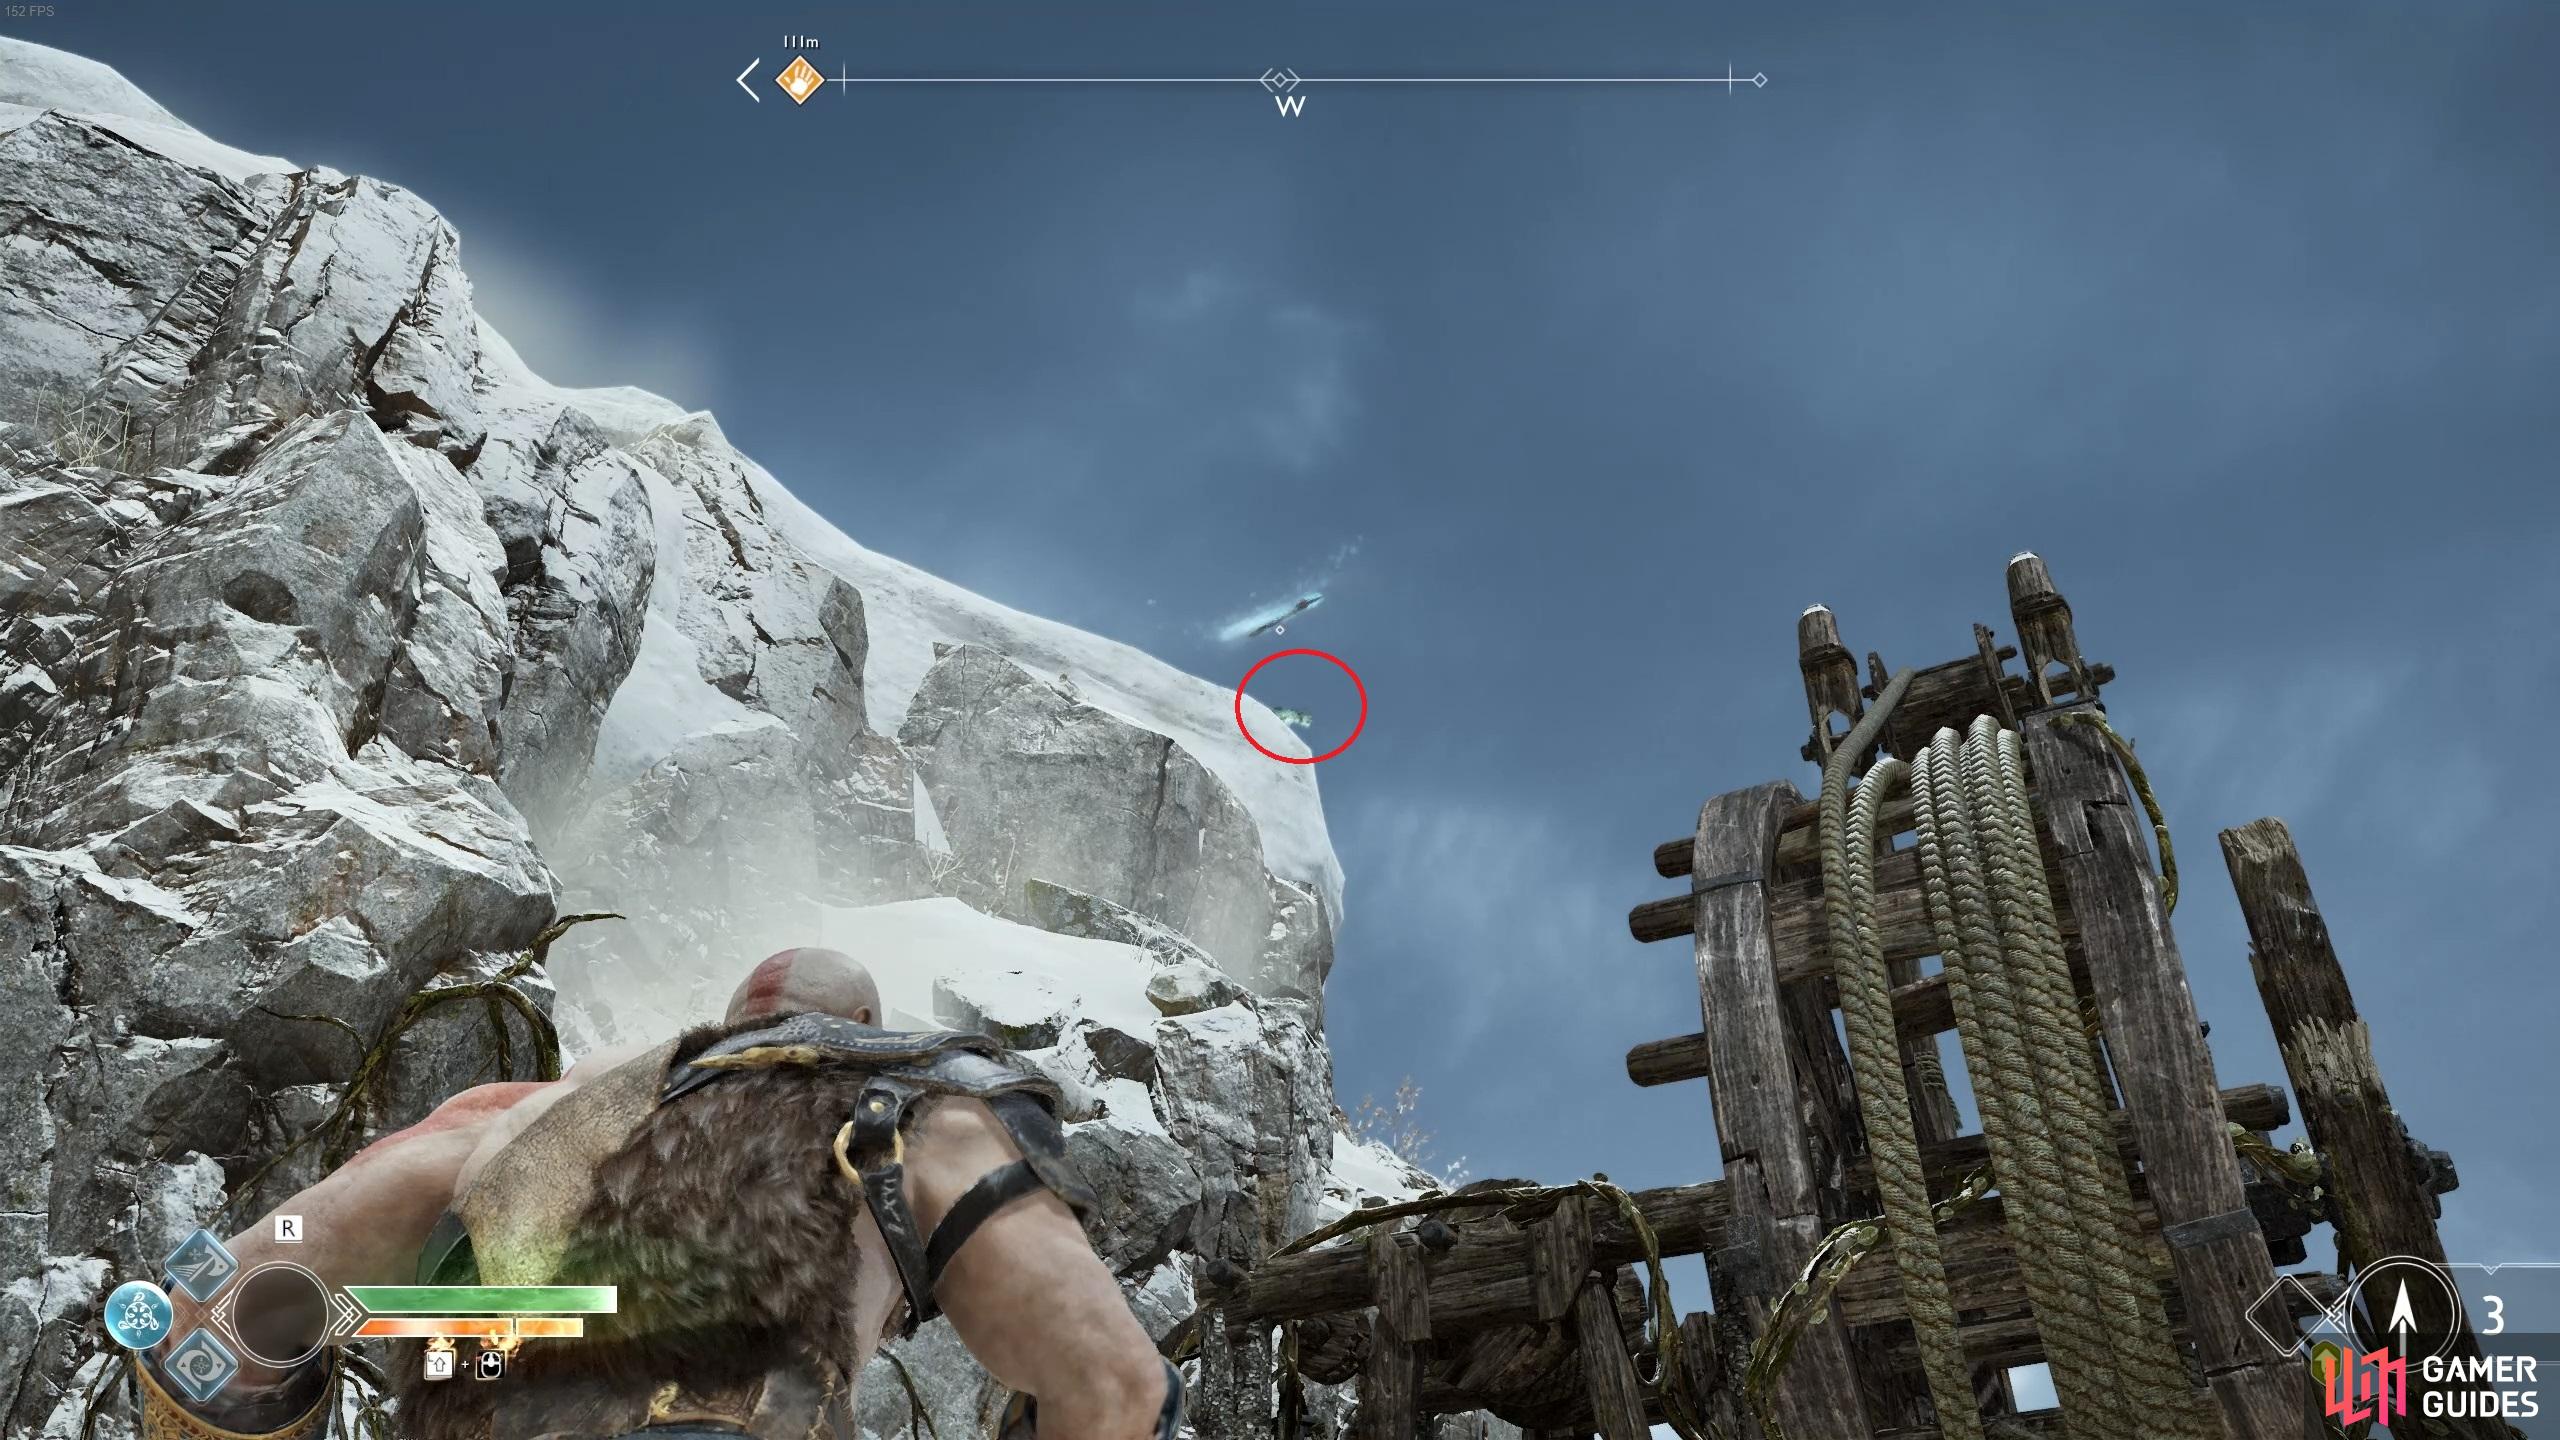
There’s a Raven hiding near Sindri’s lift.
No Comments