Völunder Mines, God of War.
Enter the Völunder Mines
With all of the smaller islands fully explored now, it’s time to head back to the Völunder Mines and help Brok with his task. If you’ve forgotten how to get there, you’ll find it to the southeast of Týr’s Temple.
Before you begin the voyage however, take the time to review your Skills again. If you’ve been following this walkthrough, you should find yourself sitting on a nice chunk of XP in the region of 3400+. It’s a great idea at this point to upgrade the Ivaldi’s Anvil Heavy Rune attack, costing 1000 XP, this adds a follow-up attack with [R2] after the initial slam. It’s also a good idea to purchase the Block Break skill in the Shield Combat tree, this allows you to break the guard of blocking enemies. Other useful skills at this point are Grinding Storm from the Close Combat tree, Acrobatics and Ferocity from the Expert Combat tree.
With your XP spent, make the voyage to the Völunder Mines and make your way back to Brok’s Shop. Access the Shop to upgrade the Versatile Warrior’s Handle to it’s final Level using the last Corrupted Remnant from the Unfinished Business Favor and you should have enough Hacksilver (sell all of your Artefacts) to upgrade the Talon Quiver to Level III.
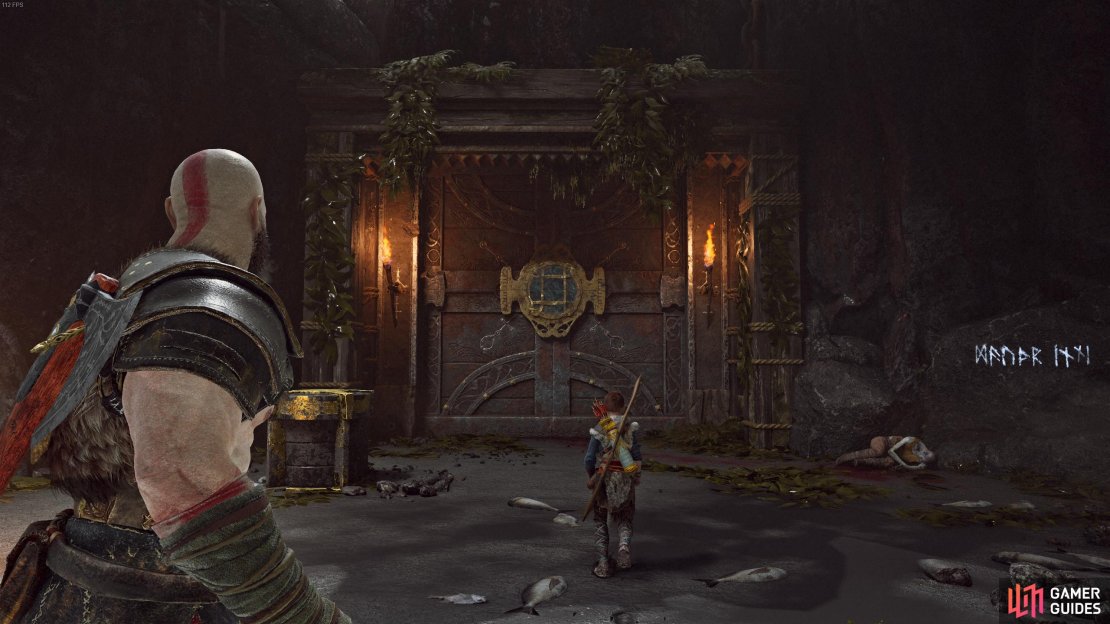
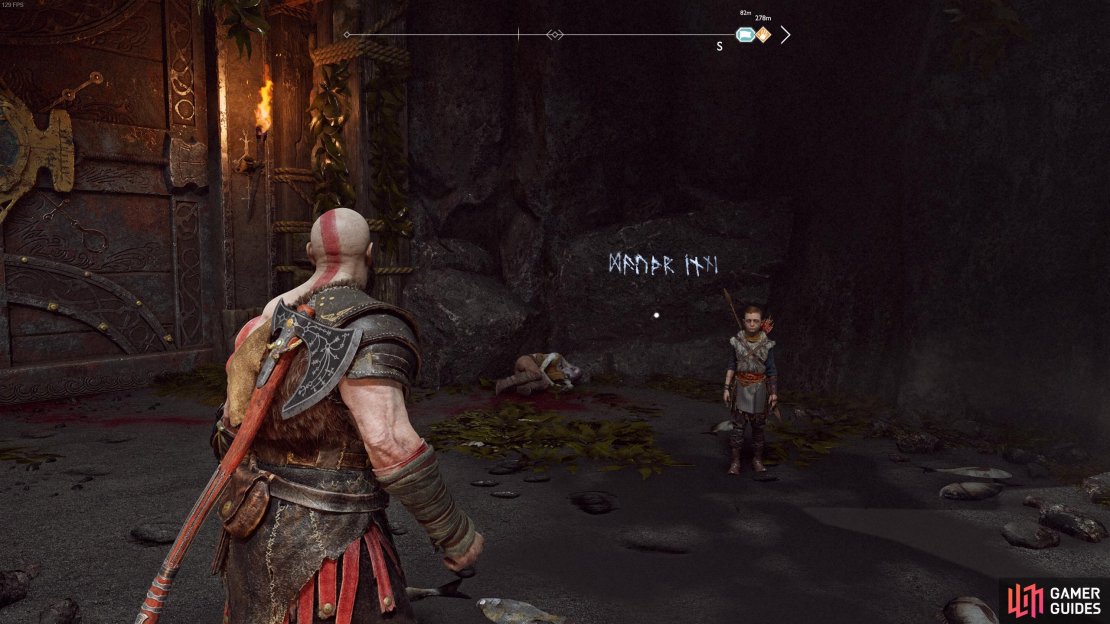
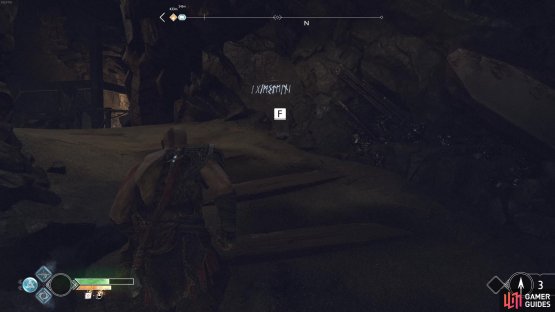
Look to the right of the main door to find a Lore Marker for Atreus to read before placing the Entry Stone into the pedestal.
Don’t forget to read this rune before proceeding into the mines.
Find the dwarf with a green ring
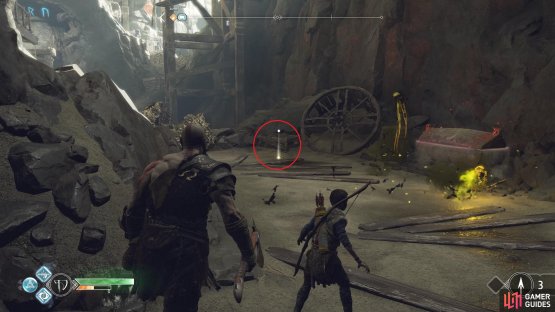
Head through the now open door into the mines beyond and stop when you reach the gap ahead. There’s a bomb to your left, stand back and toss the axe at it to destroy the debris, finding a small sack of Hacksilver and a coffin. Jump the gap and break the boards at the end to find yourself in an open passageway. Proceed to the right to trigger the attention of a new enemy, a Soul Eater, however you won’t need to fight it as it’s attention lies elsewhere.
Break the boards at the end and search the ground within to unearth a sack of Hacksilver before dropping into the area below. This will trigger the appearance of Nightmares and Draugrs, trigger an explosion down the far end by striking the bomb overhead before killing the rest. Search the corpse for a sack of Hacksilver and then open the gate to head further in.
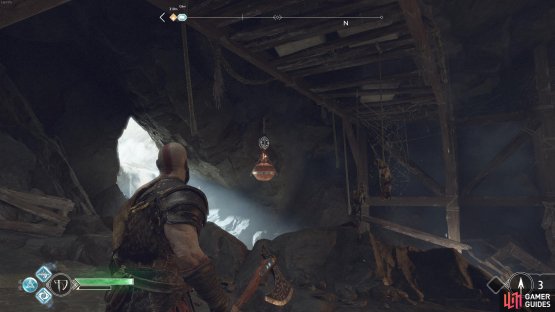
(1 of 2) Toss the axe at the disc to drop the fire pot on enemies below when they spawn.
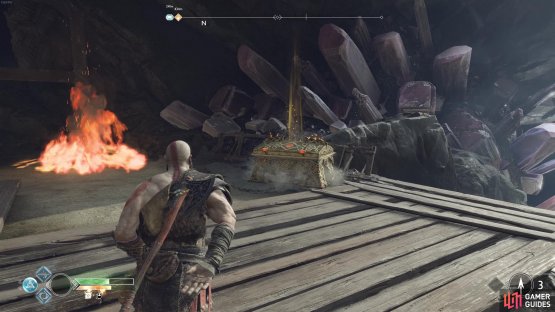
Toss the axe at the disc to drop the fire pot on enemies below when they spawn. (left), Don’t worry about the chest up here for now, you’ll be able to access it on the way back. (right)
A Revenant will attack you upon entry, use Atreus like always to pin her in place and hit her with axe throws. Look to your right here to find some boards you can destroy to find a Hacksilver chest before picking up another sack of Hacksilver from the corpse of another dwarf. Look to your left and you’ll spot a door across the bridge locked by Nornir Runes, you’ll need to find and destroy the three runes to head deeper into the mine.
Begin by climbing down the chain to the right of the bridge and destroy the two Nightmares that spawn. There’s a coffin here followed by another Treasure Map for Atreus to grab before proceeding along the path until you’re under the bridge. Look to your right to find some boards to break and then look to the right to see a bomb you can explode, destroying the debris you just passed.
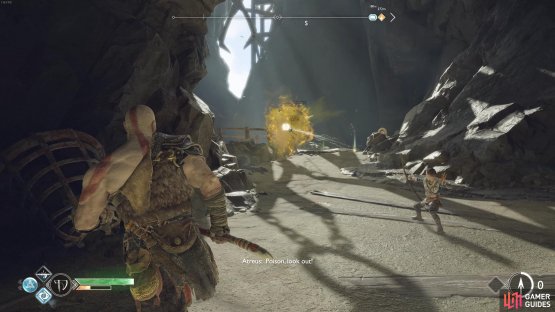
(1 of 2) Fire at the Revenant with Atreus’ arrows to stun it in place, and be sure to avoid the poison waves.
Fire at the Revenant with Atreus’ arrows to stun it in place, and be sure to avoid the poison waves. (left), You’ll find a treasure map on the ground here. (right)
Head back to this now accessible area and drop down the ledge to find a large sack of Hacksilver and then look into the air to the east. You’ll see a bomb in the distance hanging from a runic disc, hit this disc to destroy the first Rune.
Head back to where you destroyed the boards under the bridge and continue on, climbing a ledge and reaching a chain to drop, look at the wall to the west here to find the second Rune to destroy. Climb down the chain and note the bombs, don’t waste these as you’ll be wanting to make use of them soon. Instead, open the gate to the right to find a coffin, the final Rune to destroy and the location of the ring you’re searching for, on a head dangling from the Soul Eater.
If you’re struggling to locate all three runes, see the gif below.
Defeat the Soul Eater
When you exit from this area, you’ll be set upon by Nightmares and Draugrs including both Heavies and Speed types. Make full use of the bombs situated around the area and don’t let yourself get cornered remembering to attack the Projectile Drauger from where the chain is as soon as he spawns. Once the area is clear, climb the chain again and head through the now open Nornir door.
There’s a small sack of Hacksilver to your right as you enter this passage and then head around the corner, jumping down the ledge when you’re ready to face the Soul Eater.
The Soul Eater is passive until you make the first move, note the bombs around the arena. These enemies are made of rock, your attacks are useless against it’s shell however it’s weak point is it’s core that it reveals when it begins to attack. The Soul Eater’s main method of attacking you is by shooting out fireballs from it’s core, you can dodge these by making use of the stone columns in the arena.
To attack the creature itself, you’ll need to throw your axe, preferably Heavy throws, at it’s exposed core when it attacks. Not only will this do damage but it will also knock small clusters off it’s core. You can then pick these up and throw it back at the Soul Eater to have it explode upon impact. Deal enough damage and you’ll stun it, causing a red ring to appear above it’s head, dash in and hit the 


(1 of 3) You can only inflict damage to the Soul Eater by hitting its core with your axe.
Check where the Soul Eater fell to find the Alchemist’s Ring, 3000+ Hacksilver, Fire Sigil of Protection, Soft Svartalfheim Steel and some World Serpent Scale Fragments. If you have slots free in some of your armor, be sure to equip the Enchantment straight away, not only does it offer good resistance against Burn but also a +4 increase to Defense.
Return to Brok
You have what you came here for now but first, open the Legendary Chest in this chamber to obtain a new Light Runic Attack gem, Fury of the Ice Troll.
Boost Atreus up the ledge to the north here and have him drop the chain for you to climb, heading up the path to find the final Lore Marker for this area. Use the zipline now to gain access to the other side where more Nightmares and Draugrs are waiting for you, make use of the bombs once more and put them down. Pick up the spoils from the enemies and open the Hacksilver chest to the south before climbing the ledge to the west (the ledge to the right leads back to the zipline and a small sack of Hacksilver should you want it).
(1 of 2) Be sure to loot the legendary chest before you leave.
Be sure to loot the legendary chest before you leave. (left), The final Lore Marker is to you right after you climb the chain following the Soul Eater’s destruction. (right)
Another three Draugrs will attack at the far end, make use of your new Runic Attack and defeat them easily before climbing the ledge, picking up the small sack of Hacksilver and opening the Hacksilver chest to your left. Drop the chain, drop down and climb the ledge ahead leading back to Brok’s Shop. Deliver the grave news to Brok about the Alchemist to complete the Favor and receive a Grip of Völunder along with XP. The Pommel you received is great if you haven’t upgraded the Versatile Warrior’s Handle to max yet and it does offer a low chance for a useful Perk activation, the chance to create a barrier preventing attacks when striking enemies with the Leviathan Axe.
Before you depart from Brok’s Shop, take the time to upgrade one more piece of Kratos’ armor if you have the resources. This should be enough to push you over to Level 2, aiding you in your next task.
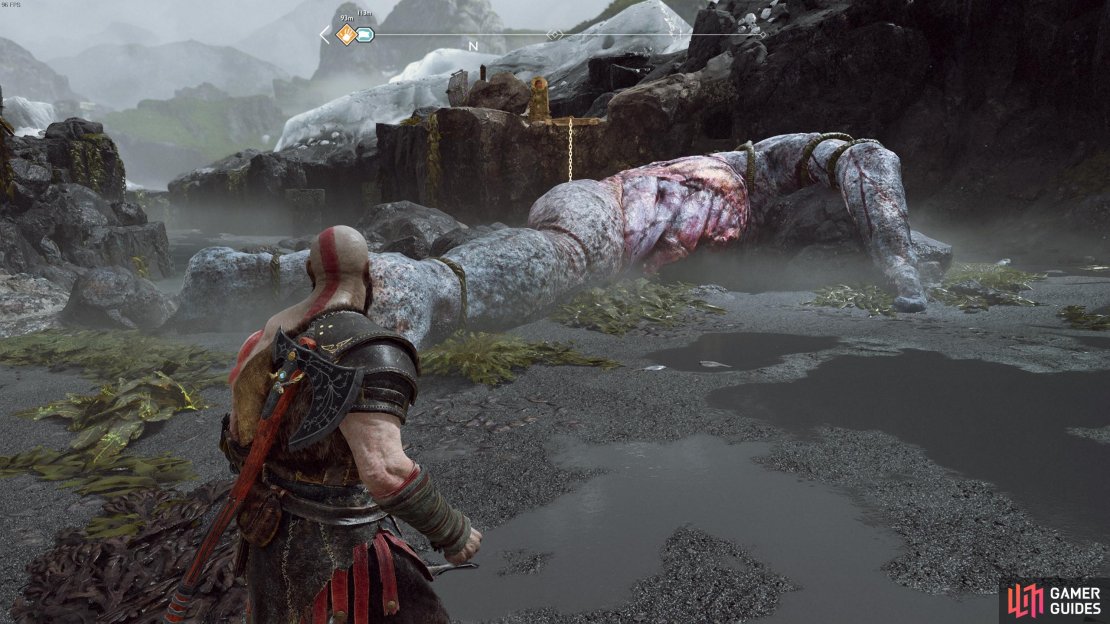
Leave the Völunder Mines now, board the boat and before you head to your next destination, there’s a small matter of a Treasure Map to decipher. Head back to the Cliffs of the Raven to the west after you exit the Völunder Chasm and dock the boat. You’ll see the remains of a massive Troll, search the ground to the right of it’s stomach to unearth the treasure related to the Dead and Bloated Treasure Map containing an Oblivion Stone, 6000 Hacksilver, 5 Soft Svartalfheim Steel and a Rare Enchantment.
You can’t miss the mound containing the treasure next to the Troll’s remains.
Board the boat once more and sail back to where Stone Falls is to the east and through the now opened doors you opened a while ago to enter the Veithurgard Pass, your next destination.


No Comments